Introduction
Welcome to the world of 3D printing! Whether you’re a seasoned enthusiast or just starting out, you’ll quickly learn that achieving a successful print requires more than just a quality 3D printer. One essential factor to consider is the adhesion of your printed object to the print bed. This is where a glue stick comes in handy.
A glue stick, a common tool used in the realm of arts and crafts, has proven to be a valuable aid in 3D printing. Its adhesive properties help improve the bonding between the print bed and the filament, preventing warping, shifting, and uneven layers. In this guide, we’ll explore the various aspects of using a glue stick for 3D printing.
From understanding the purpose of a glue stick in 3D printing to learning how to use it effectively, we will cover everything you need to know to achieve excellent adhesion and successful prints. So, let’s dive in and discover the world of glue sticks in 3D printing!
What is a Glue Stick in 3D Printing?
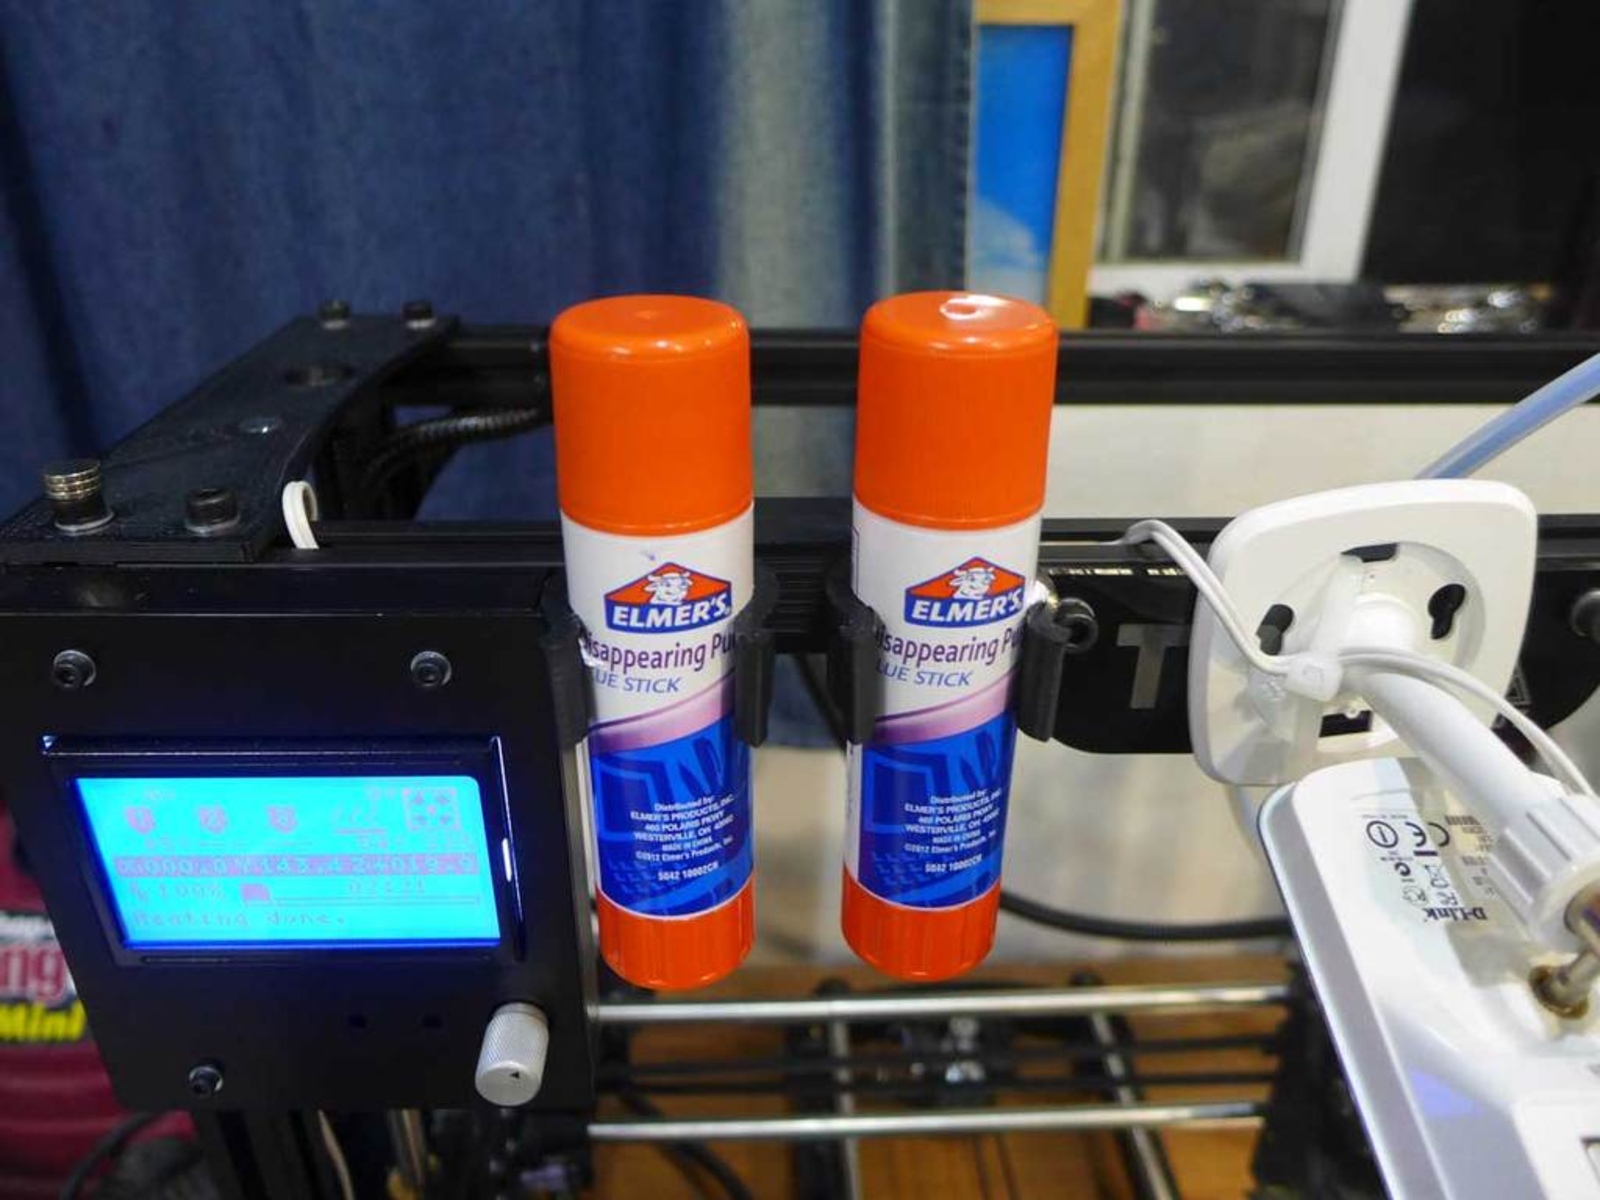
A glue stick, in the context of 3D printing, is a simple yet effective adhesive tool that is used to enhance the adhesion between the print bed and the 3D filament. Typically made of non-toxic substances like polyvinyl alcohol (PVA), glue sticks serve as an additional bonding agent, creating a strong connection between the printed object and the print bed surface.
When applied to the print bed, the glue stick leaves a thin layer of adhesive, acting as a temporary adhesive surface for the filament to adhere to. As the printer starts the printing process, the filament adheres to the glue layer, providing a stable foundation and minimizing the chances of warping or shifting during the print.
Glue sticks are a popular choice among 3D printing enthusiasts because they are readily available, affordable, and easy to use. Furthermore, they provide a versatile solution that works well with various types of print bed surfaces, such as glass, heated beds, and BuildTak.
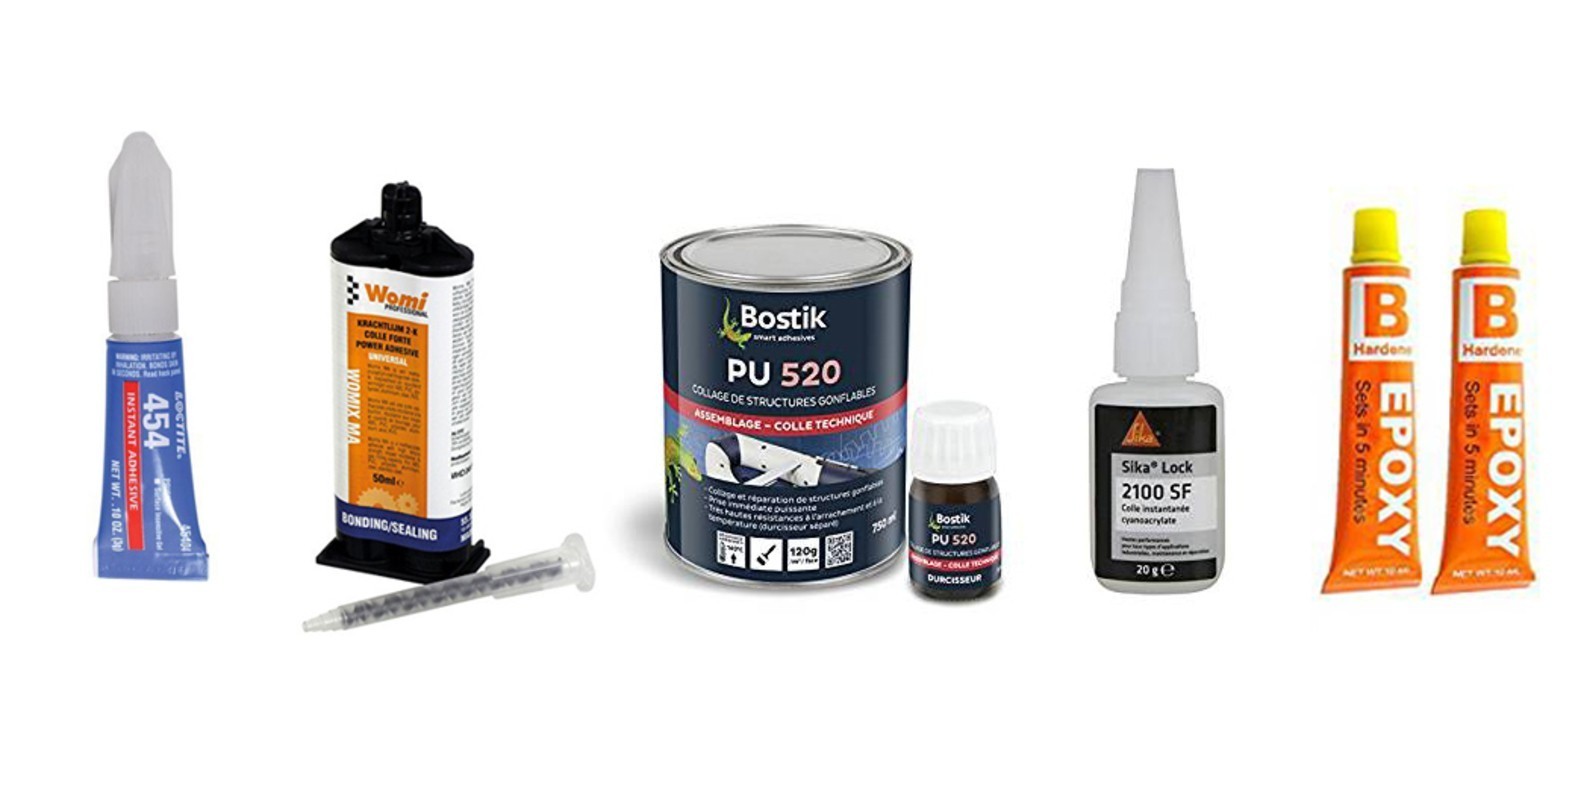
It’s important to note that not all glue sticks are suitable for 3D printing. Some glue sticks may contain additives or ingredients that can cause issues during the printing process. Therefore, it’s recommended to use glue sticks specifically designed for 3D printing or those recommended by experienced users.
Now that we understand what a glue stick is in the realm of 3D printing, let’s explore the reasons why you should consider using one to improve your 3D printing experience.
Why Use a Glue Stick in 3D Printing?
Using a glue stick in 3D printing offers several advantages that can greatly improve the quality and success of your prints. Let’s explore some of the key reasons why incorporating a glue stick into your 3D printing workflow is beneficial:
Enhanced Adhesion: One of the primary reasons to use a glue stick is to improve the adhesion between the print bed and the filament. The layer of adhesive provided by the glue stick creates a more reliable and stable bond, reducing the chances of warping, detachment, or uneven layers during printing.
Compatibility with Multiple Print Bed Surfaces: Glue sticks are compatible with various print bed materials, including glass, heated beds, and adhesive surfaces like BuildTak. This flexibility allows you to use a glue stick regardless of the type of print bed you have, making it a versatile solution for different printers.
Cost-effective Solution: Glue sticks are affordable and easily accessible, making them a cost-effective option for improving adhesion in 3D printing. Compared to other adhesion methods like specialized sprays or tapes, glue sticks provide excellent results without breaking the bank.
Easy Application and Cleanup: Using a glue stick is a simple and straightforward process. With just a few swipes on the print bed, you can create a thin and even layer of adhesive. Additionally, the cleanup process is hassle-free, requiring only water or a damp cloth to remove the residue once the print is complete.
Compatible with Different Filament Materials: Glue sticks work well with various types of filaments, including PLA, ABS, PETG, and more. Regardless of the material you’re using, applying a glue stick to the print bed can help ensure proper adhesion and minimize the risks of print failure.
Improved Print Quality and Success Rate: By using a glue stick, you can significantly enhance the overall quality of your prints. The improved adhesion leads to better print accuracy, reduced warping, and consistent layer adhesion, resulting in successful prints with clean and well-defined details.
Incorporating a glue stick into your 3D printing process is a simple yet effective way to overcome adhesion challenges and enhance the outcome of your prints. Now that we understand the benefits of using a glue stick, let’s explore the different types of glue sticks suitable for 3D printing.
Types of Glue Sticks for 3D Printing
When it comes to selecting a glue stick for 3D printing, it’s essential to choose one that is specifically designed for this purpose. Not all glue sticks work well with 3D printing, as they may contain additives or ingredients that could interfere with the printing process. Here are some of the common types of glue sticks that are suitable for 3D printing:
Traditional Glue Sticks: These are the standard glue sticks commonly found in craft stores. They are typically made of non-toxic materials like polyvinyl alcohol (PVA) and are safe to use on print beds. Traditional glue sticks are an affordable option, but make sure to choose one without any additives or fragrances that could affect the print quality.
Adhesive Spray Glue Sticks: These glue sticks come in a spray form, offering a convenient and quick way to apply the adhesive to the print bed. They are designed to create a thin and even layer of adhesive, ensuring optimal adhesion for 3D prints. Adhesive spray glue sticks are suitable for print beds made of glass or other smooth surfaces.
Heat-Activated Glue Sticks: These glue sticks require heat to activate the adhesive properties. When the print bed is heated, the glue stick melts and creates a sticky layer, providing excellent adhesion for the filament. Heat-activated glue sticks are commonly used on heated beds to ensure proper bonding between the print and the bed.
Specialized 3D Printing Glue Sticks: There are also glue sticks specifically formulated for 3D printing. These glue sticks are designed with the specific needs of 3D printing in mind, ensuring optimal adhesion and compatibility with various filament materials. They often have enhanced adhesive properties and may offer additional features like water solubility for easy cleanup.
When choosing a glue stick for 3D printing, it’s important to consider compatibility with your print bed material and filament type. Additionally, check for any recommendations or reviews from other 3D printing enthusiasts to ensure you’re selecting a reliable and effective adhesive.
Now that we’ve explored the types of glue sticks available for 3D printing, let’s move on to the next section, where we’ll discuss how to prepare your print bed before applying the glue stick.
How to Prepare Your Print Bed
Before applying a glue stick to your print bed, it’s important to ensure that the surface is clean and properly prepared. Follow these steps to prepare your print bed effectively:
Step 1: Clean the Print Bed: Start by cleaning the print bed to remove any dust, debris, or residue that may affect adhesion. Use isopropyl alcohol or a mild detergent with water to wipe down the bed surface. Ensure that the bed is completely dry before proceeding.
Step 2: Level the Print Bed: Check the print bed for proper leveling to ensure that it is even. An uneven print bed can lead to adhesion issues, so use the appropriate leveling method for your printer to achieve a flat and level surface.
Step 3: Adjust the Temperature (if applicable): If you have a heated print bed, adjust the temperature to the recommended setting for your filament. Different filaments require different bed temperatures, so refer to the filament manufacturer’s guidelines or research optimal bed temperatures for the filament you’re using.
Step 4: Optional Bed Treatment (for specific materials): Some print bed surfaces may require additional preparation for optimal adhesion. For example, glass beds can benefit from a surface treatment like a thin layer of hairspray or painter’s tape. Follow the recommended treatment method for your specific print bed material.
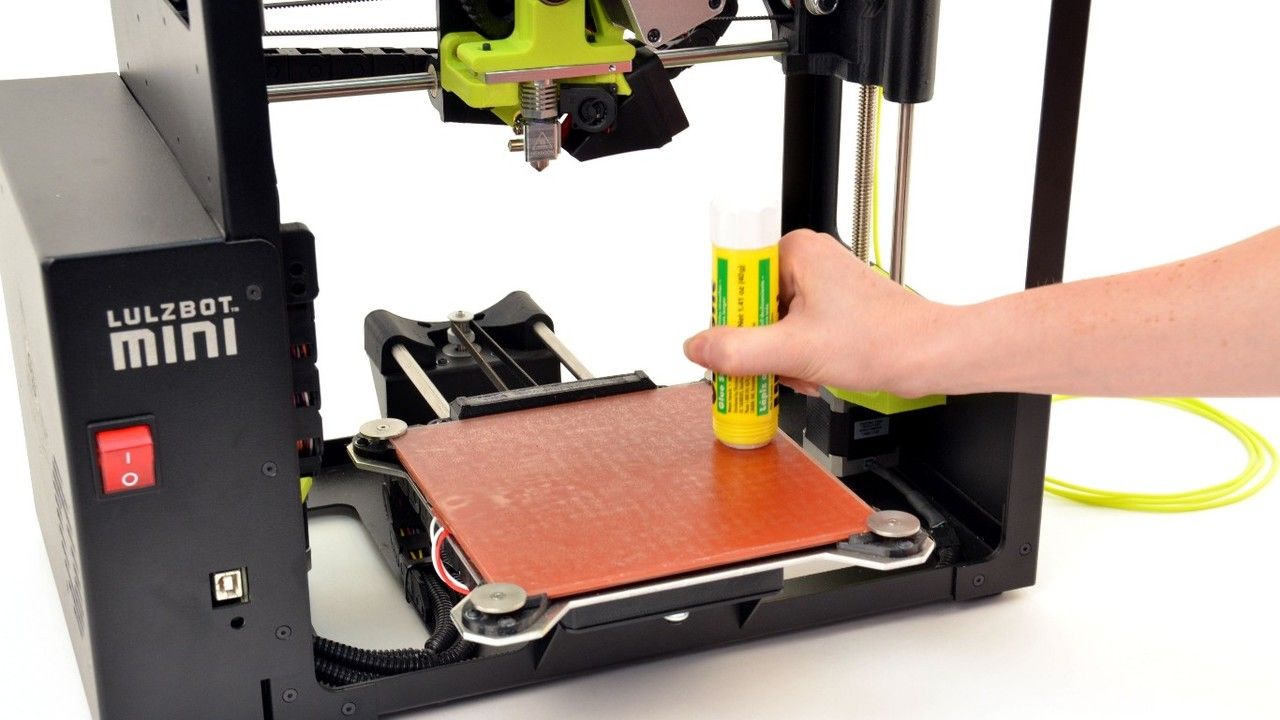
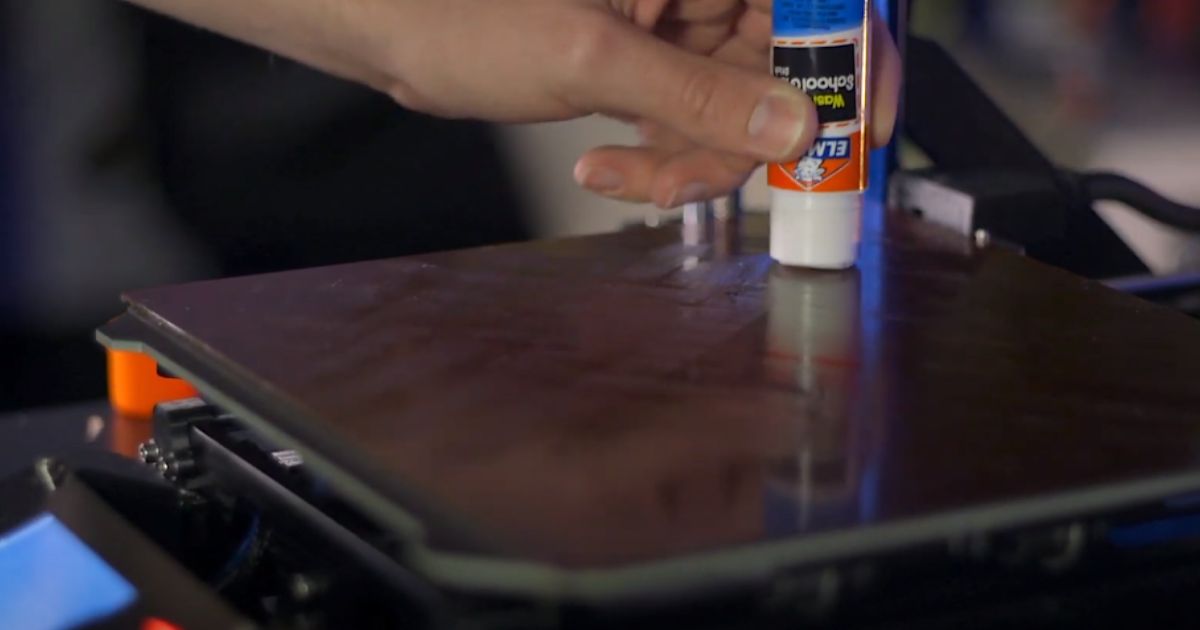
Step 5: Apply the Glue Stick: Once your print bed is clean and properly prepared, it’s time to apply the glue stick. Twist up the glue stick and firmly swipe it across the print bed surface, applying an even layer of adhesive. Avoid applying too much glue, as excessive adhesive can lead to difficulties in removing the print afterward.
Step 6: Evenly Spread the Glue: After applying the glue stick, use a clean cloth or your finger to spread the adhesive evenly across the print bed surface. This helps ensure consistent adhesion throughout the print area.
Following these steps will help prepare your print bed for optimal adhesion when using a glue stick in 3D printing. Now that your print bed is ready, let’s move on to the next section, where we’ll provide a step-by-step guide on how to use a glue stick for 3D printing.
Step-by-Step Guide: How to Use Glue Stick for 3D Printing
Using a glue stick in 3D printing is a simple process that can greatly improve the adhesion and success of your prints. Follow this step-by-step guide to effectively use a glue stick:
Step 1: Prepare Your Print Bed: Before applying the glue stick, ensure that your print bed is properly cleaned and prepared. Follow the steps mentioned in the previous section to clean the surface and level the bed if necessary.
Step 2: Choose the Right Glue Stick: Select a suitable glue stick based on your print bed material and the filament you’re using. Refer to the types of glue sticks discussed earlier and choose one that is compatible with your setup.
Step 3: Apply the Glue Stick: Twist up the glue stick and firmly swipe it across the print bed surface, covering the entire area where the print will be placed. Ensure an even layer of adhesive is applied, but avoid applying excessive glue as it can be difficult to remove later.
Step 4: Optional: Spread the Glue Evenly: After applying the glue stick, you can use a clean cloth or your finger to evenly spread the adhesive across the print bed. This helps ensure consistent adhesion throughout the printing area.
Step 5: Preheat the Print Bed (if applicable): If you have a heated print bed, preheat it to the recommended temperature for your filament. This helps activate the adhesive properties of the glue stick and improves bonding between the print and the bed.
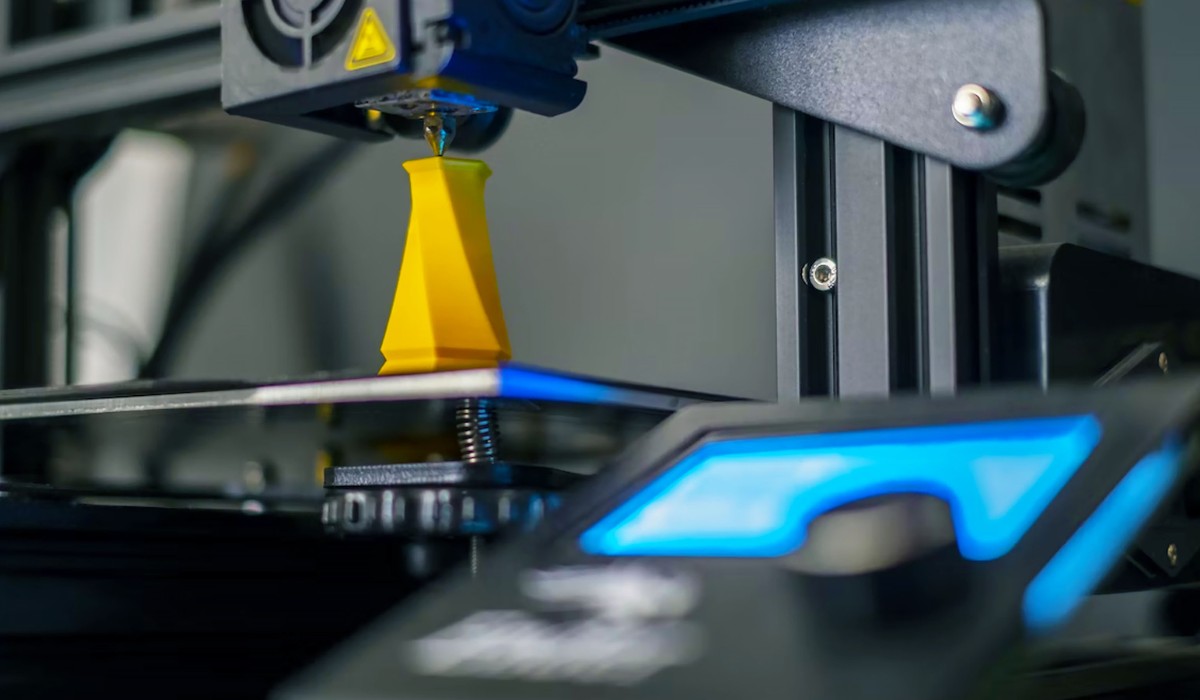
Step 6: Start the 3D Print: Once the print bed is prepared and the glue stick is applied, start your 3D print as you normally would. The filament will adhere to the glue layer, ensuring a stable and secure printing process.
Step 7: Monitor the Print: During the printing process, keep an eye on the print and make sure it adheres properly to the glue layer. This helps detect any issues early on, such as warping or detachment, allowing you to make adjustments if necessary.
Step 8: Complete the Print and Remove the Print Bed: Once the print is complete, remove the print bed from the printer and allow it to cool down. Use a gentle force or a spatula to carefully remove the printed object from the bed surface.
Step 9: Clean the Print Bed: After removing the print, clean the print bed by wiping it with a damp cloth or rinsing it with water. This helps remove any residual glue or filament debris, preparing the print bed for the next use.
By following this step-by-step guide, you can effectively use a glue stick to improve adhesion and achieve successful 3D prints. In the next section, we’ll provide some helpful tips for using a glue stick in 3D printing.
Tips for Using Glue Stick in 3D Printing
While using a glue stick in 3D printing is a straightforward process, there are a few tips and tricks that can help you optimize your results. Consider the following tips when using a glue stick for 3D printing:
1. Start with a Clean Print Bed: Always ensure that your print bed is clean and free from any debris or residue before applying the glue stick. This helps maintain a smooth and even surface for proper adhesion.
2. Use the Right Amount of Glue: Apply the glue stick in a thin and even layer across the print bed. Avoid using excessive glue, as it can lead to difficulties in removing the print or cause uneven adhesion.
3. Spread the Glue Evenly: After applying the glue stick, take a clean cloth or your finger and spread the adhesive evenly across the print bed. This ensures consistent adhesion and helps prevent any clumps or uneven patches.
4. Experiment with Different Print Bed Temperatures: If you have a heated print bed, try experimenting with different temperatures to find the optimal setting for your filament. Each filament material may require a specific bed temperature for better adhesion.
5. Consider Surface Treatments: Depending on your print bed material, you may want to explore additional surface treatments, such as applying a thin layer of hairspray or painter’s tape, to enhance adhesion. These treatments can provide added security and improve print quality.
6. Monitor Print Progress: Keep an eye on your prints, especially during the first few layers. This allows you to ensure that the print is adhering properly and makes it easier to identify any issues, such as warping or shifting, early on.
7. Adjust Glue Application for Large Prints: For larger prints that cover a significant portion of the print bed, consider applying an additional layer of glue or adjusting the application technique to ensure sufficient adhesion throughout the entire print.
8. Clean and Maintain the Print Bed: After each print, clean the print bed by removing any glue residue or leftover filament. This helps maintain the effectiveness of the glue stick and ensures optimal adhesion for future prints.
9. Experiment and Iterate: Every printer and filament combination may require slight adjustments when using a glue stick. Take the time to experiment, iterate, and find the settings and techniques that work best for your specific setup.
By following these tips, you can maximize the effectiveness of the glue stick and achieve reliable adhesion for your 3D prints. Now that you’re equipped with these tips, you’re ready to dive into the world of glue sticks in 3D printing!
Cleaning Your Print Bed After Use
Properly cleaning your print bed after each use is an essential step in maintaining its functionality and ensuring optimal adhesion for future 3D prints. Here are some guidelines to follow when cleaning your print bed:
1. Allow the Print Bed to Cool: After completing a print, it’s important to let the print bed cool down before initiating the cleaning process. This prevents any accidental burns or injuries.
2. Remove the Printed Object: Carefully remove the printed object from the print bed surface using a gentle force or a spatula. Take caution not to damage the bed or the print during this process.
3. Clean with a Damp Cloth: Most print beds can be cleaned with a damp cloth. Gently wipe the surface to remove any residual glue, filament debris, or dust. Ensure that the cloth is not dripping wet, as excess moisture can enter the printer and cause damage.
4. Use Isopropyl Alcohol for Stubborn Residue: If there are stubborn residues or adhesive marks left on the print bed, you can use isopropyl alcohol (IPA) on a cloth or cotton pad to gently rub the affected area. IPA helps dissolve the glue residue and provides a thorough cleaning.
5. Rinse (if applicable): If your print bed is water-safe, you can rinse it with water after cleaning with a cloth. Be sure to completely dry the bed before using it for the next print.
6. Inspect the Print Bed: After cleaning, closely inspect the print bed to ensure that it is free from any leftover residue or debris. Check for any signs of wear or damage that may affect future prints.
7. Reapply Glue Stick (if needed): Depending on your preference and the condition of the print bed, you may choose to reapply the glue stick after cleaning. Apply a fresh layer of adhesive before starting the next print, following the instructions provided earlier in this guide.
8. Regular Maintenance: In addition to cleaning after each print, it’s advisable to incorporate regular maintenance into your routine. This includes periodically checking the print bed’s condition, leveling if necessary, and ensuring it remains clean and free from any obstructions.
By following these cleaning practices, you can maintain a clean and well-prepared print bed, ensuring optimal adhesion and successful 3D prints. Taking the time to properly care for your print bed will contribute to a smooth printing experience and improve the longevity of your equipment.
Conclusion
Using a glue stick in 3D printing can significantly improve the adhesion between the print bed and the filament, leading to successful prints with minimal warping or shifting. By understanding what a glue stick is and why it’s beneficial in 3D printing, you can enhance your printing experience and achieve better print quality.
In this guide, we’ve explored the different types of glue sticks suitable for 3D printing and provided a step-by-step guide on how to properly use a glue stick. We’ve also shared tips to optimize your results and discussed the importance of cleaning and maintaining your print bed after use.
Remember, the key to using a glue stick effectively lies in proper preparation of the print bed, choosing the right glue stick for your setup, and applying it in an even and controlled manner. Monitoring your prints and making necessary adjustments along the way will help you achieve consistent adhesion and minimize print failures.
It’s important to note that while a glue stick can greatly improve adhesion, it may not be necessary for every print or every type of filament. Experimentation and finding the optimal settings for your specific setup will help you achieve the best results.
With the knowledge gained from this guide, you’re now ready to incorporate a glue stick into your 3D printing workflow. Whether you’re a beginner or an experienced user, using a glue stick can take your 3D prints to the next level and provide you with more reliable and successful results.
So go ahead, grab a glue stick, prepare your print bed, and embark on your next 3D printing adventure with confidence!