Introduction
Welcome to this step-by-step guide on how to clean glue stick off a 3D printer bed. If you’ve been using a glue stick to help with bed adhesion during your 3D printing projects, you know how important it is to clean the bed properly to maintain optimal print quality. Whether you’re a beginner or experienced in the world of 3D printing, knowing the right techniques for removing glue stick residue is essential.
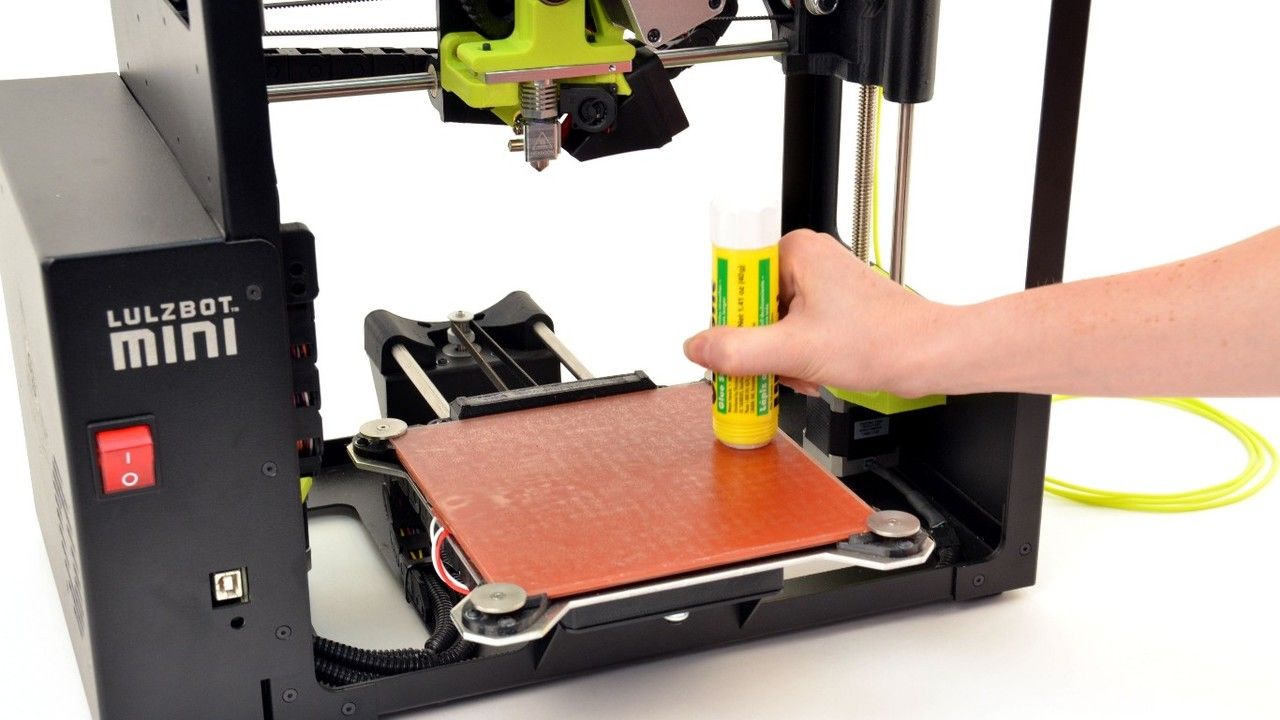
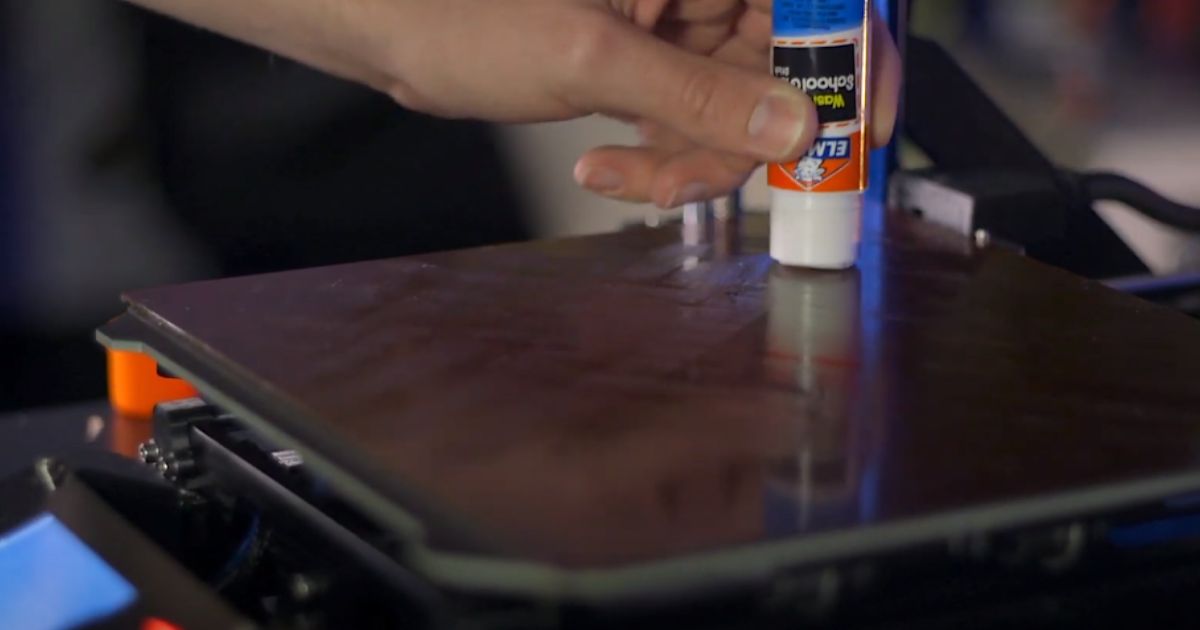
The printer bed is a critical component of the 3D printing process, and keeping it clean and free from any debris or residue is vital for successful prints. Glue sticks are commonly used to improve bed adhesion, especially when printing with materials like ABS or PLA that tend to warp or detach from the bed during printing. However, over time, the buildup of glue stick can become problematic, affecting the quality of your prints.
In this guide, we’ll walk you through a step-by-step process of safely and effectively removing glue stick residue from your 3D printer bed. We’ll cover everything from preparing the bed for cleaning to ensuring a thorough and spotless finish. So, let’s dive in and learn how to clean glue stick off a 3D printer bed!
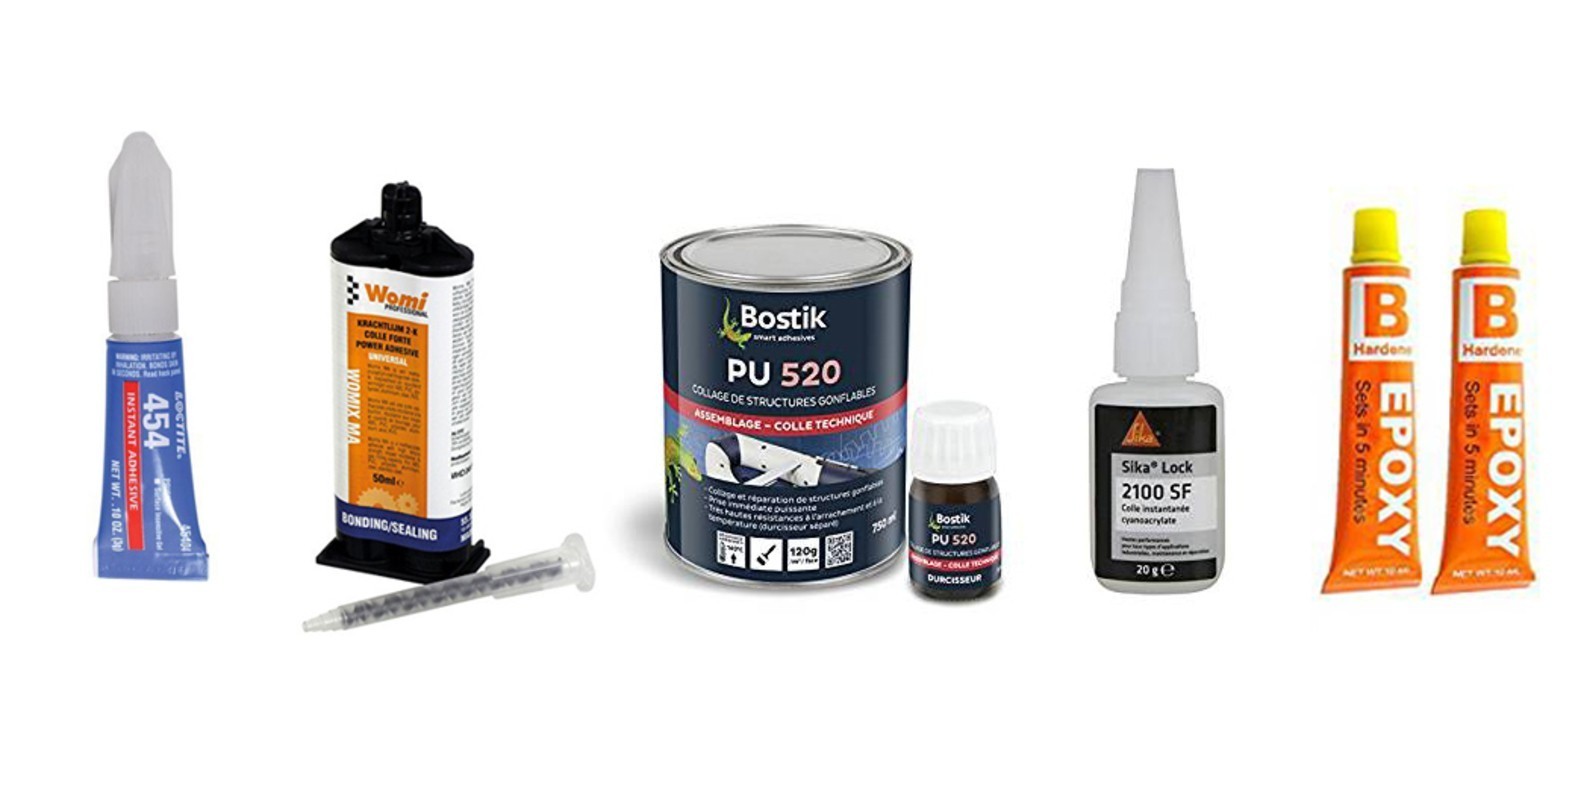
Supplies Needed
Before we begin the process of cleaning glue stick off a 3D printer bed, make sure you have the following supplies ready:
- Isopropyl alcohol (at least 70% concentration)
- Clean, lint-free microfiber cloth or cotton swabs
- Plastic scraper or spatula
- Mild dish soap
- Warm water
- Protective gloves (optional)
The isopropyl alcohol will be the main cleaning agent used to remove the glue stick residue from the bed. You can find it readily available at most pharmacies or online. It’s essential to use isopropyl alcohol with a concentration of at least 70% to ensure effective cleaning.
A clean, lint-free microfiber cloth or cotton swabs are ideal for scrubbing off the residue without leaving any fibers behind. Avoid using paper towels or regular cotton balls, as these can leave lint or fibers on the bed and potentially affect future prints.
A plastic scraper or spatula can come in handy for gently loosening and lifting stubborn glue stick residue. Make sure the scraper is made of plastic to prevent any scratches on the printer bed surface.
Mild dish soap and warm water can be used for an additional cleaning step if necessary. This mixture can help remove any remaining residue or oils left after the isopropyl alcohol cleaning process.
Lastly, wearing protective gloves during the cleaning process is optional but recommended. Gloves can help protect your hands from any harsh chemicals or prolonged exposure to cleaning agents.
Step 1: Preparing the 3D Printer Bed
Before we start the cleaning process, it’s important to prepare the 3D printer bed to ensure effective and safe cleaning. Follow these steps to prepare the bed:
- Turn off the 3D printer: Begin by turning off the 3D printer and allowing the bed to cool down completely. This is crucial for your safety and also prevents any potential damage to the printer components.
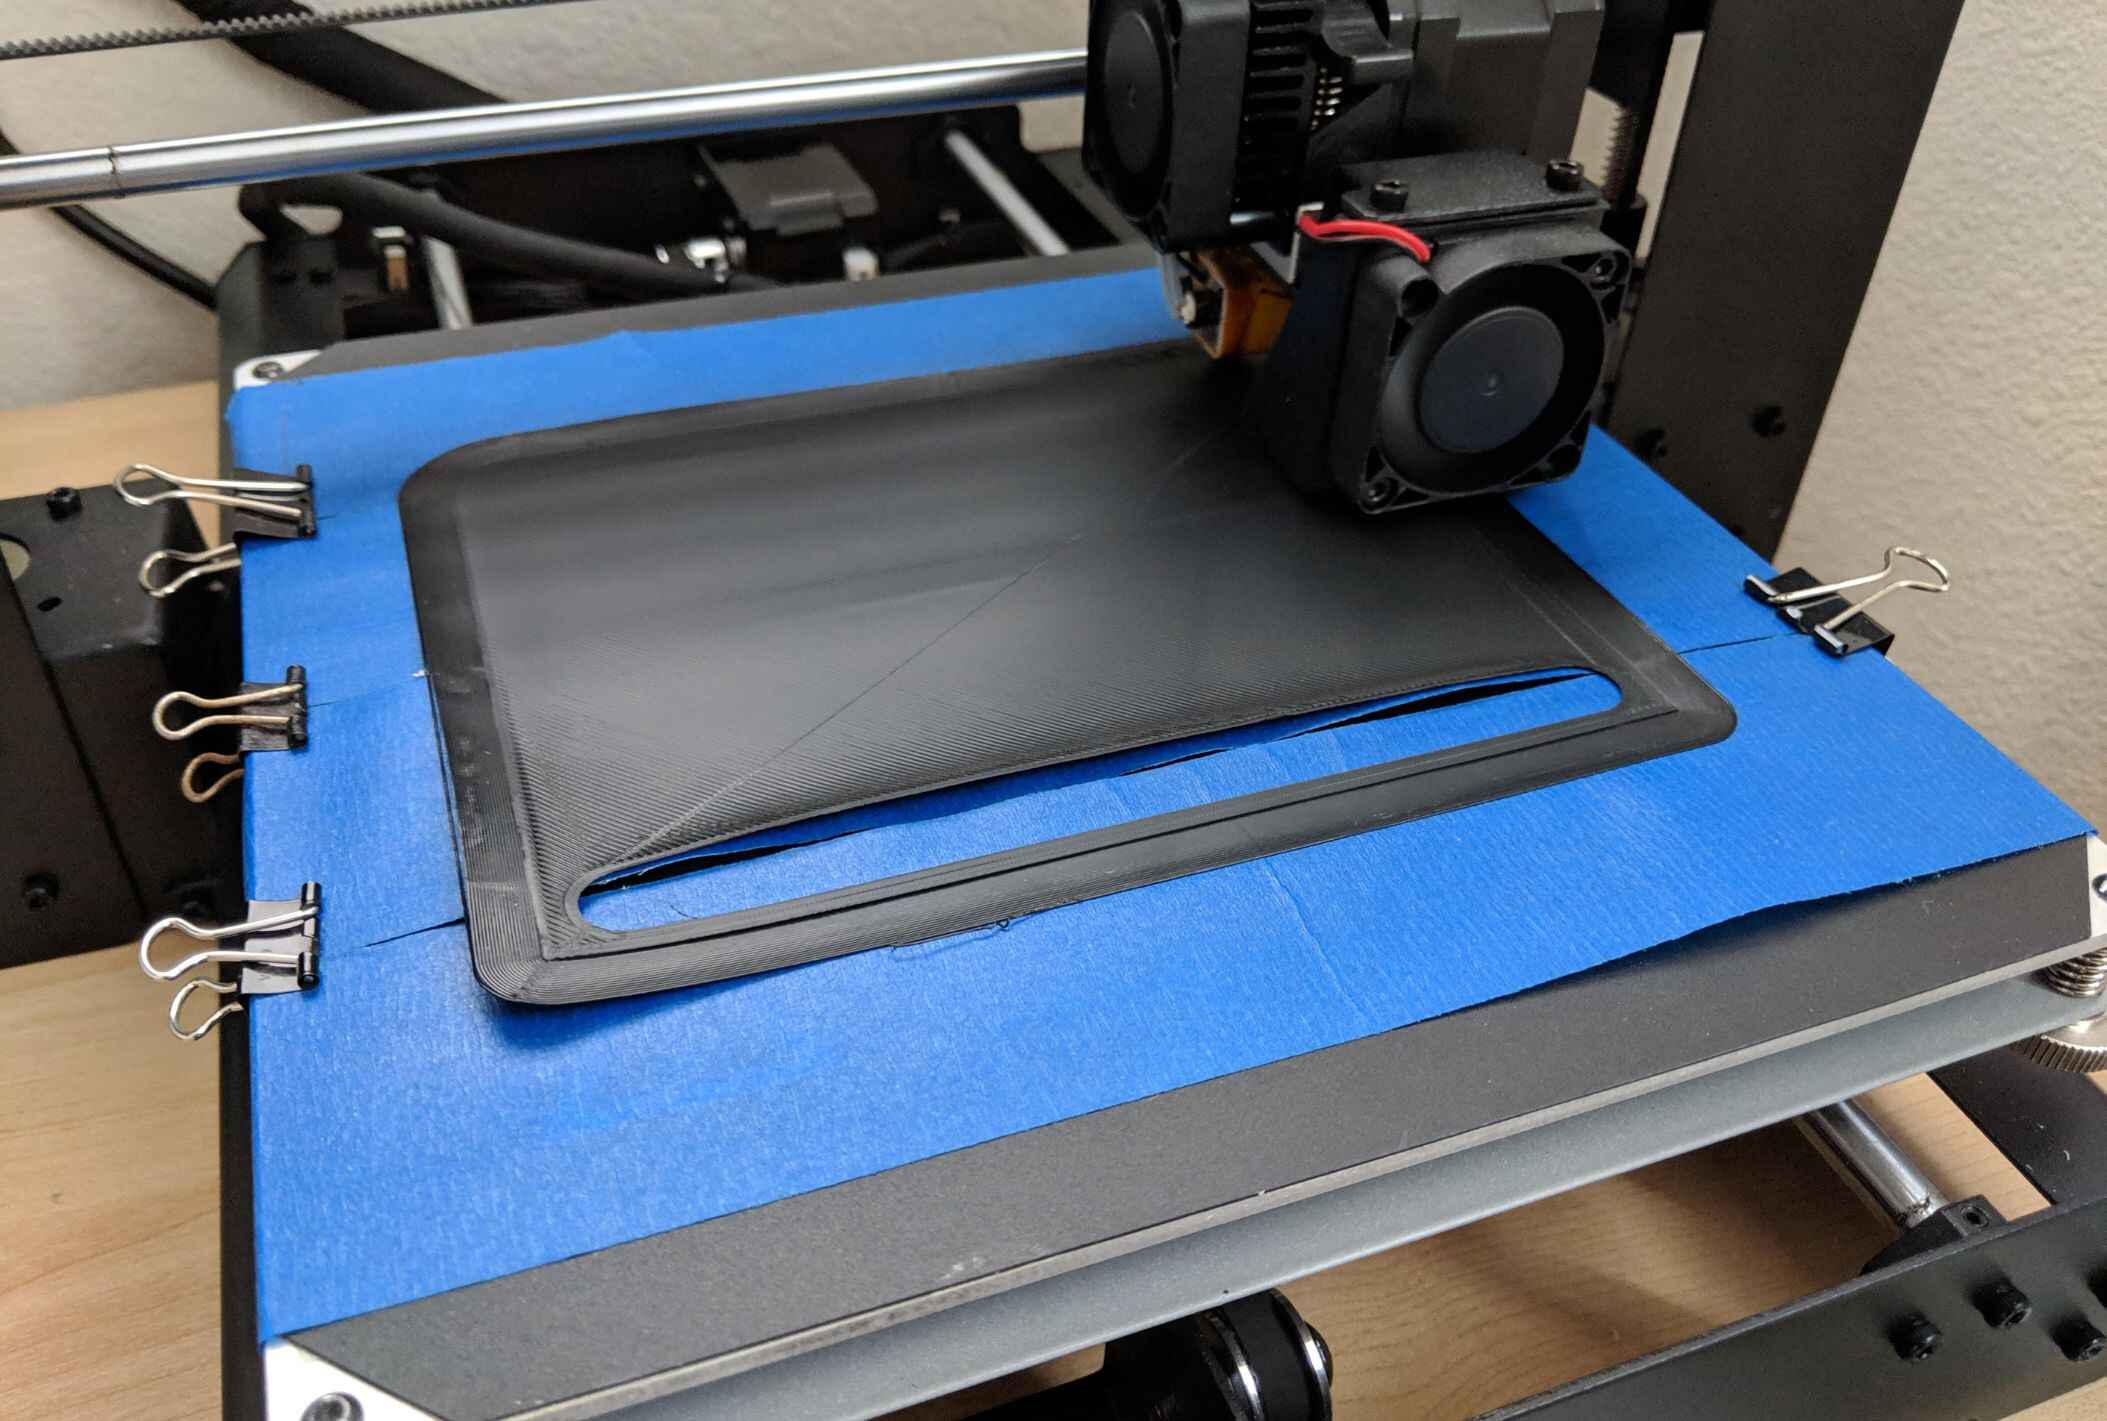
- Remove the print surface (if applicable): If you have a removable print surface, such as a glass bed or build plate, carefully detach it from the printer. This step will make the cleaning process more manageable and prevent any accidental damage to the printer or the print surface.
- Disconnect the printer bed’s power supply: Double-check that the printer bed’s power supply is unplugged or turned off. This precautionary measure ensures your safety and prevents any accidental movement during cleaning.
- Inspect the bed for any loose debris: Take a moment to visually inspect the printer bed. Look for any loose filament, dust, or other debris that may have accumulated. If there is any loose debris, gently remove it with a soft brush or compressed air.
By following these steps, you ensure that the printer bed is ready for the cleaning process. Preparation is essential for achieving the best possible results and avoiding any mishaps during the cleaning of glue stick residue.
Step 2: Softening the Glue Stick
Now that you’ve prepared the 3D printer bed, it’s time to soften the glue stick residue for easier removal. Follow these steps to effectively soften the glue stick:
- Apply heat to the printer bed: Power on your 3D printer, and set the bed temperature to a moderately low setting. This will vary depending on the specific printer model and the type of filament you typically use. It’s best to refer to your printer’s manual or recommended settings for guidance.
- Allow the printer bed to heat up: Let the printer bed heat up for a few minutes, allowing the glue stick residue to soften. The heat will help loosen the adhesive bond between the residue and the bed surface, making it easier to remove.
- Observe the residue as it softens: Keep a close eye on the glue stick residue as it softens. You may notice it becoming more pliable and starting to bubble or slightly melt. This is an indication that the heat is working to soften the residue and prepare it for removal.
- Do not overheat the bed: It’s important to maintain a moderate temperature and avoid overheating the bed. Excessive heat can potentially damage the printer or the bed surface. If you notice the residue is not softening or you feel uncertain about the temperature, it’s best to consult your printer’s manual or seek guidance from the manufacturer.
By following these steps, the glue stick residue should soften, making it easier to remove in the next step. Softening the residue helps minimize the risk of scratching or damaging the printer bed while cleaning.
Step 3: Removing the Glue Stick
With the glue stick residue softened, it’s time to remove it from the 3D printer bed. Follow these steps to effectively remove the glue stick:
- Gently scrape the residue: Take a plastic scraper or spatula and gently scrape the softened glue stick residue from the bed surface. Start at one edge and work your way across, applying light pressure. Be cautious not to scratch or damage the bed surface. If the residue is stubborn, continue to scrape gently and avoid using excessive force.
- Use a lint-free cloth or cotton swabs: Dampen a clean, lint-free microfiber cloth or cotton swabs with isopropyl alcohol. Gently wipe the bed surface to remove any remaining residue. When using cotton swabs, make small circular motions to ensure thorough cleaning. Repeat this process until the bed surface is clean and free from glue stick residue.
- Be thorough and patient: Take your time during the removal process. It’s important to be thorough and ensure all residue is completely removed. Additionally, if you encounter any particularly stubborn residue, apply a small amount of isopropyl alcohol directly to the residue and let it sit for a minute or two before attempting to scrape it off again.
- Dispose of residue properly: As you scrape off the glue stick residue, collect it in a disposable container. Avoid letting the residue fall onto the floor or other surfaces, as it can be messy and potentially interfere with future prints. Once you have finished cleaning, dispose of the collected residue in accordance with local waste disposal regulations.
By following these steps, you can effectively remove the glue stick residue from your 3D printer bed. Remember to be patient and cautious to avoid any damage to the bed surface while cleaning.
Step 4: Cleaning the Residue
After removing the glue stick residue from the 3D printer bed, it’s important to give it a thorough cleaning to ensure a pristine surface for your future prints. Follow these steps to clean the residue effectively:
- Mix a mild dish soap solution: In a bowl or basin, mix a small amount of mild dish soap with warm water. Stir gently until the soap is well-dissolved in the water. This solution will help remove any remaining residue and oils from the bed surface.
- Dampen a clean cloth or sponge: Dip a clean cloth or sponge into the dish soap solution. Make sure it’s only damp, not soaking wet. Wring out any excess water to avoid dripping onto the printer or causing unnecessary moisture to the bed surface.
- Wipe down the printer bed: Gently wipe down the bed surface using the damp cloth or sponge. Make smooth, even strokes, covering the entire bed area. Pay attention to any areas where residue might still be present and apply a bit more pressure if needed.
- Rinse with clean water: Once you have thoroughly cleaned the bed with the dish soap solution, rinse off any remaining soap residue with clean water. You can use a separate damp cloth or sponge for this step. Ensure there is no soap residue left on the bed surface.
- Dry the bed surface: Wipe the bed surface with a clean, dry, lint-free cloth or allow it to air-dry completely. It’s vital to ensure the bed is completely dry before using the printer again to prevent any moisture-related issues, such as filament adhesion problems.
Following these steps will help ensure that the residue is effectively cleaned from the printer bed, leaving you with a clean and optimal surface for your future 3D prints.
Step 5: Wiping Down the Bed
Once the 3D printer bed is clean and dry, it’s important to give it a final wipe down to remove any remaining particles or lint. Follow these steps to effectively wipe down the bed:
- Use a clean microfiber cloth: Choose a clean, lint-free microfiber cloth specifically designated for wiping down the printer bed. Avoid using paper towels or regular cotton cloths, as these can leave lint behind.
- Moisten the cloth with isopropyl alcohol: Dampen the microfiber cloth with a small amount of isopropyl alcohol. Ensure the cloth is not soaked but slightly damp. This will help remove any remaining dirt or debris from the bed surface.
- Gently wipe the bed surface: Starting from one edge of the bed, gently wipe the surface with the damp microfiber cloth. Make smooth, even strokes across the entire bed area. Pay attention to corners and crevices where particles may accumulate.
- Inspect and repeat if necessary: After wiping down the bed, take a moment to inspect the surface for any remaining particles or lint. If you notice any areas that require further cleaning, repeat the process by dampening the cloth with isopropyl alcohol and wiping those specific areas again.
- Allow the bed to air dry: Once you’re satisfied with the cleanliness of the bed surface, allow it to air dry completely before using the printer again. This will help ensure that no moisture remains on the bed, which can affect filament adhesion or cause other printing issues.
By following these steps, you can effectively remove any lingering particles or lint from the printer bed, leaving it in optimal condition for your next 3D printing project.
Step 6: Final Tips for Maintaining a Clean 3D Printer Bed
In addition to the cleaning process, it’s essential to implement some maintenance practices to keep your 3D printer bed clean in the long run. Here are some valuable tips:
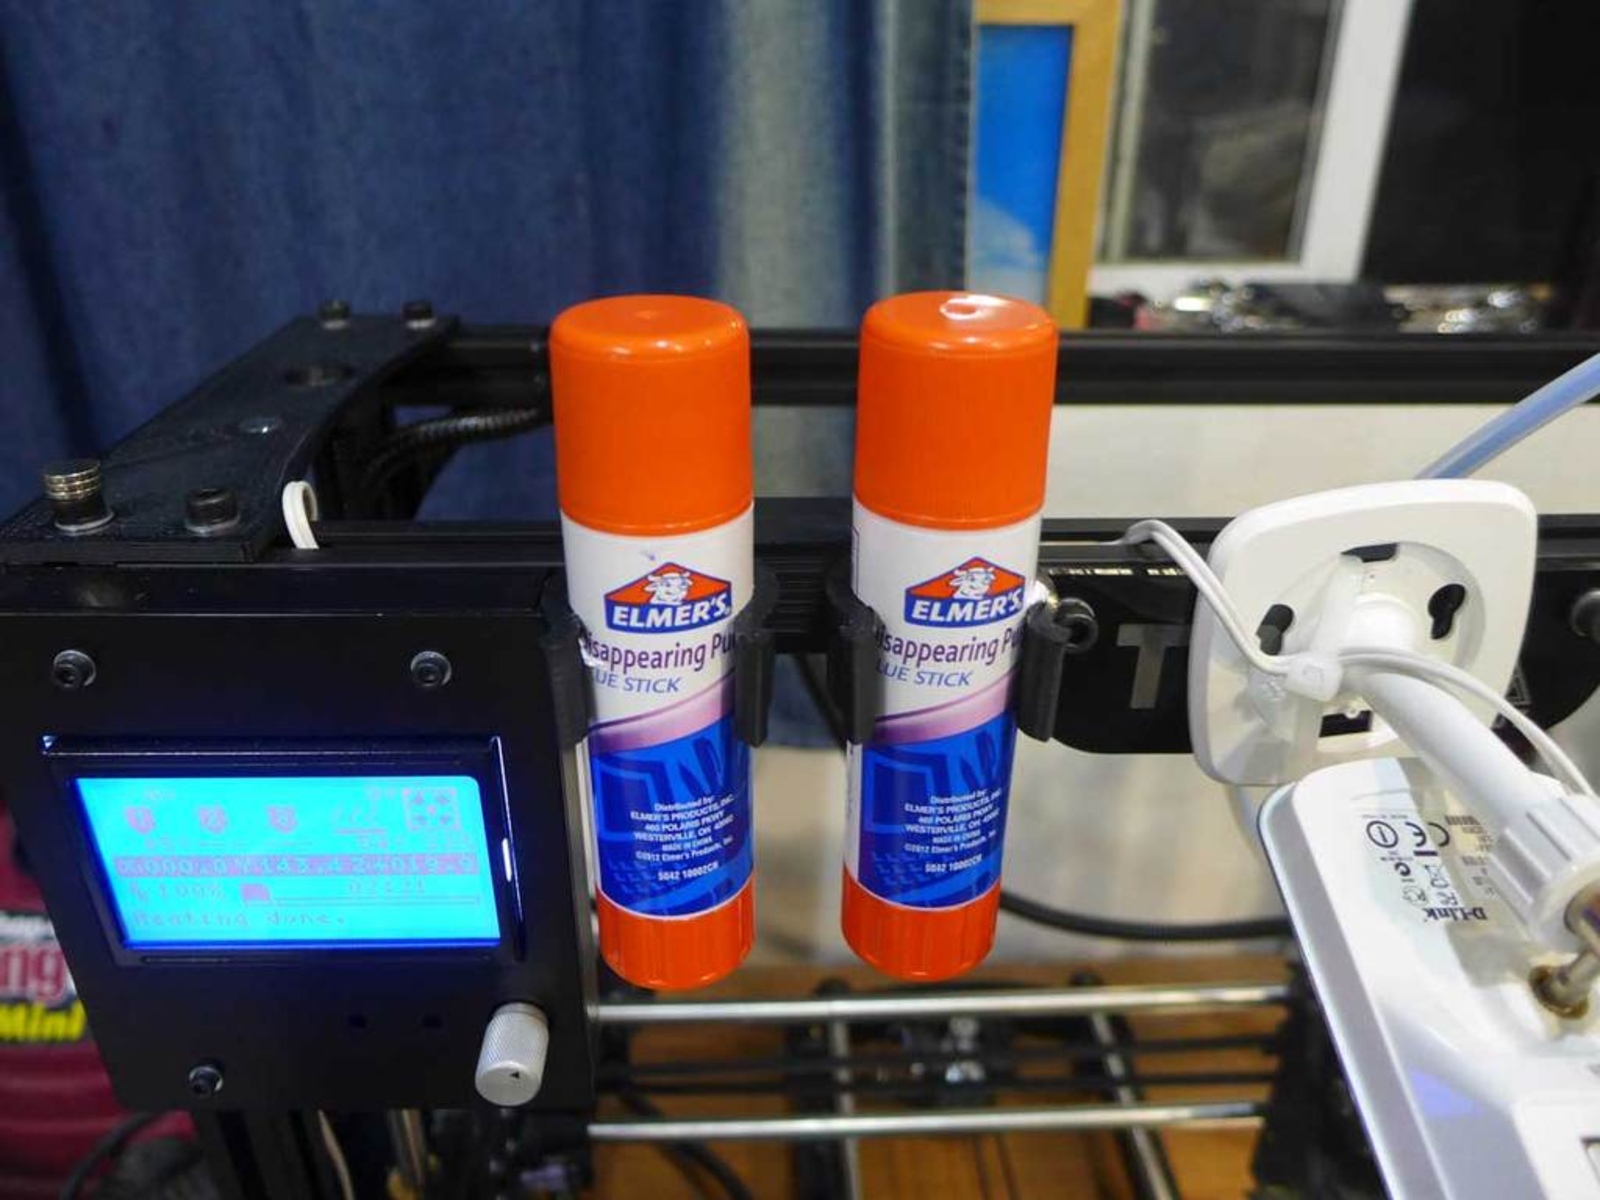
- Use adhesive aids sparingly: While glue sticks can help with bed adhesion, using them excessively can lead to more frequent cleaning and residue buildup. Consider using adhesive aids like glue sticks only when necessary, and experiment with other bed adhesion methods such as using a heated bed or applying adhesive sprays or tapes sparingly.
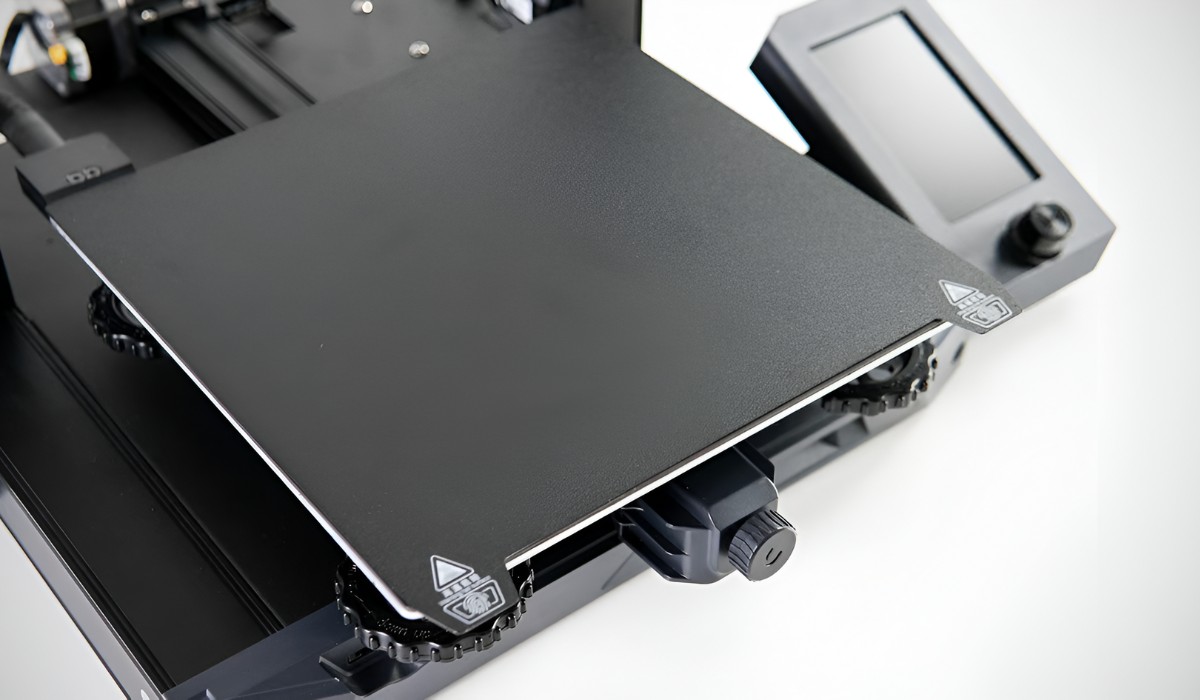
- Opt for removable print surfaces: If possible, invest in a removable print surface like a glass bed or magnetic bed. These surfaces are easier to remove and clean separately, reducing the risk of damaging the printer while cleaning.
- Regularly check and clean the bed: Make it a habit to regularly inspect the printer bed for any debris, residue, or damage. Regular cleaning and maintenance will help prevent a significant build-up of glue stick residue and ensure optimal printing conditions.
- Consider using a protective sheet: To minimize residue buildup and make cleaning easier, you can apply a removable and replaceable protective sheet like PEI or BuildTak to the printer bed. These sheets provide a smooth printing surface and are easier to clean than the printer bed itself.
- Keep your workspace clean: Maintaining a clean workspace around your 3D printer helps prevent dust and debris from settling on the bed surface. Regularly dust and clean the area, especially if you notice excessive debris that could potentially contaminate the printer bed during the printing process.
- Take caution when removing prints: Be mindful and use proper techniques when removing completed prints from the bed. Using too much force or using sharp tools can scratch or damage the bed surface, leading to more difficult cleaning and potential print issues in the future.
- Follow manufacturer’s guidelines: Always refer to the specific printer manufacturer’s guidelines and recommendations for bed cleaning and maintenance. Different printer models may have specific instructions tailored to their design and materials used, so following these guidelines ensures optimal performance and longevity.
By implementing these final tips, you can maintain a clean and well-functioning 3D printer bed, leading to better print quality and a smoother printing experience overall.
Conclusion
Keeping your 3D printer bed clean and free from glue stick residue is crucial for achieving high-quality prints. By following the step-by-step process outlined in this guide, you can effectively remove the residue and maintain a pristine printing surface.
Remember to start by preparing the bed and softening the glue stick residue with gentle heat. Then, carefully remove the residue using a plastic scraper or spatula, followed by wiping down the bed with isopropyl alcohol. Additionally, make sure to thoroughly clean the residue from the bed, rinse with clean water, and allow the bed to dry completely before use.
To maintain a clean 3D printer bed in the long term, consider using adhesive aids sparingly, opting for removable print surfaces, and regularly checking and cleaning the bed. Keeping your workspace clean and practicing caution when removing prints can also contribute to a cleaner printing environment.
By implementing these tips and following the proper cleaning techniques, you can optimize your 3D printer bed’s performance, prevent print issues caused by residue buildup, and achieve consistent and high-quality prints.
Now that you have the knowledge and tools to clean glue stick off a 3D printer bed, you can confidently maintain a clean and optimal printing surface for your future 3D printing endeavors.