Introduction
The Cube 3D Printer is an innovative and revolutionary device that has transformed the way we approach manufacturing and design. This advanced technology has opened up a world of possibilities, enabling individuals and businesses to create three-dimensional objects with unparalleled precision and detail.
With its user-friendly interface and cutting-edge features, the Cube 3D Printer has become a game-changer in various industries, including engineering, architecture, medicine, and even fashion. This article will provide an in-depth look into how the Cube 3D Printer works, its main components, the printing process, and common troubleshooting issues.
By understanding the capabilities and functionality of this remarkable device, you can unlock your creativity, bring your designs to life, and revolutionize your production process.
Whether you are a hobbyist, a designer, or a manufacturer, the Cube 3D Printer offers a seamless and efficient solution to transform your ideas into tangible objects. Gone are the days of relying solely on traditional manufacturing methods; with the Cube 3D Printer, you have the power to create intricate and complex objects with ease.
This article will serve as a comprehensive guide, providing you with all the necessary information to make the most of your Cube 3D Printer. From understanding the main components and software to optimizing your printing settings and troubleshooting any issues that may arise, this guide will equip you with the knowledge and skills needed to become a proficient Cube 3D Printer user.
So, without further ado, let’s delve into the fascinating world of the Cube 3D Printer and uncover the secrets behind this revolutionary technology.
Overview of the Cube 3D Printer
The Cube 3D Printer is a cutting-edge device that utilizes additive manufacturing technology to create three-dimensional objects layer by layer. Unlike traditional subtractive manufacturing methods, which involve cutting or drilling away material, the Cube 3D Printer adds material in a precise and controlled manner to build up the object.
This printer is compact and user-friendly, designed to be accessible to both beginners and seasoned professionals. It boasts a sleek and modern design, with a small footprint that makes it suitable for home, office, or educational environments.
The Cube 3D Printer allows you to unleash your creativity by transforming digital designs into physical objects with remarkable accuracy and detail. This opens up endless possibilities for customization, prototyping, and production across a wide range of industries.
The printer utilizes Fused Deposition Modeling (FDM) technology, which involves melting a filament and extruding it through a nozzle onto a build platform. The material rapidly cools down, solidifying into the desired shape. The Cube 3D Printer is compatible with a variety of filaments, including ABS (Acrylonitrile Butadiene Styrene) and PLA (Polylactic Acid), giving you flexibility in choosing the right material for your projects.
With its intuitive touchscreen interface and user-friendly software, the Cube 3D Printer allows you to effortlessly navigate through the printing process. The printer firmware ensures smooth and precise movements, resulting in high-quality prints every time.
The Cube 3D Printer is known for its reliability and consistency across multiple prints. It incorporates calibration and leveling features, ensuring optimal performance and avoiding any potential printing issues. Additionally, it has a built-in auto-detection system that recognizes the type and color of the filament, making it easier to switch between materials without any manual adjustments.
One of the standout features of the Cube 3D Printer is its ability to connect wirelessly to your computer or mobile device. You can transfer your designs directly to the printer using Wi-Fi or USB, eliminating the need for cables and simplifying the workflow.
Overall, the Cube 3D Printer offers a combination of advanced technology, ease of use, and versatility that makes it an ideal choice for both beginners and professionals. In the following sections, we will explore the main components of the Cube 3D Printer, the filament and cartridges used, the software and file preparation process, the printing settings, and how to troubleshoot common issues that may arise.
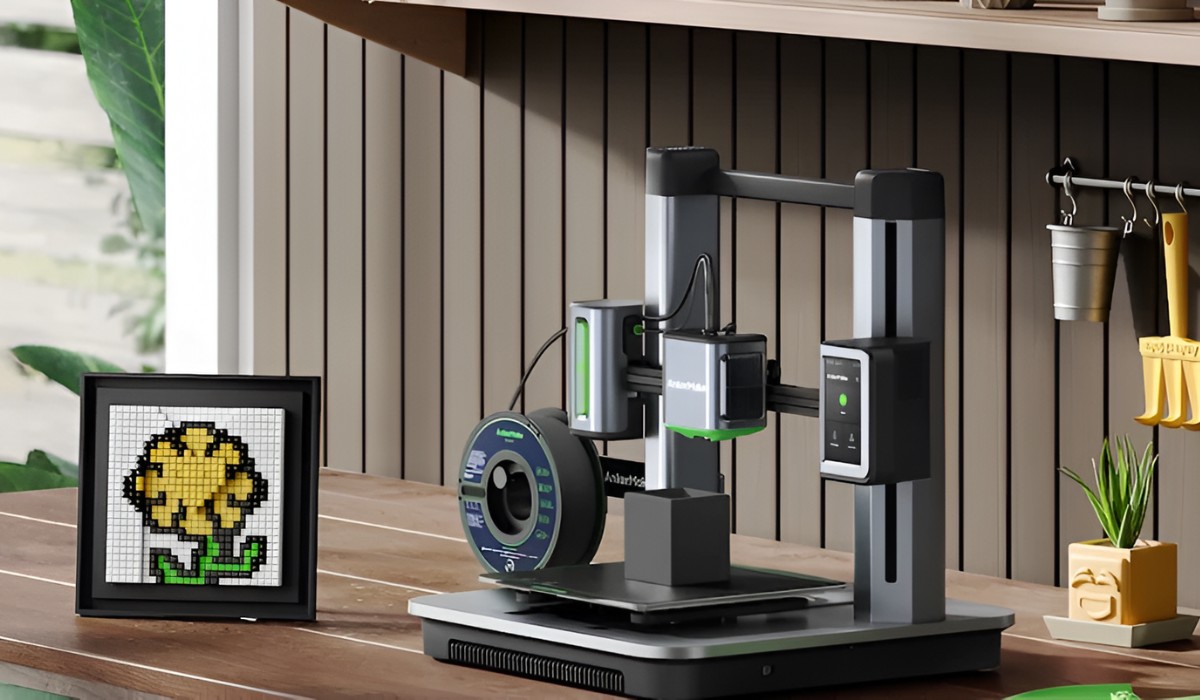
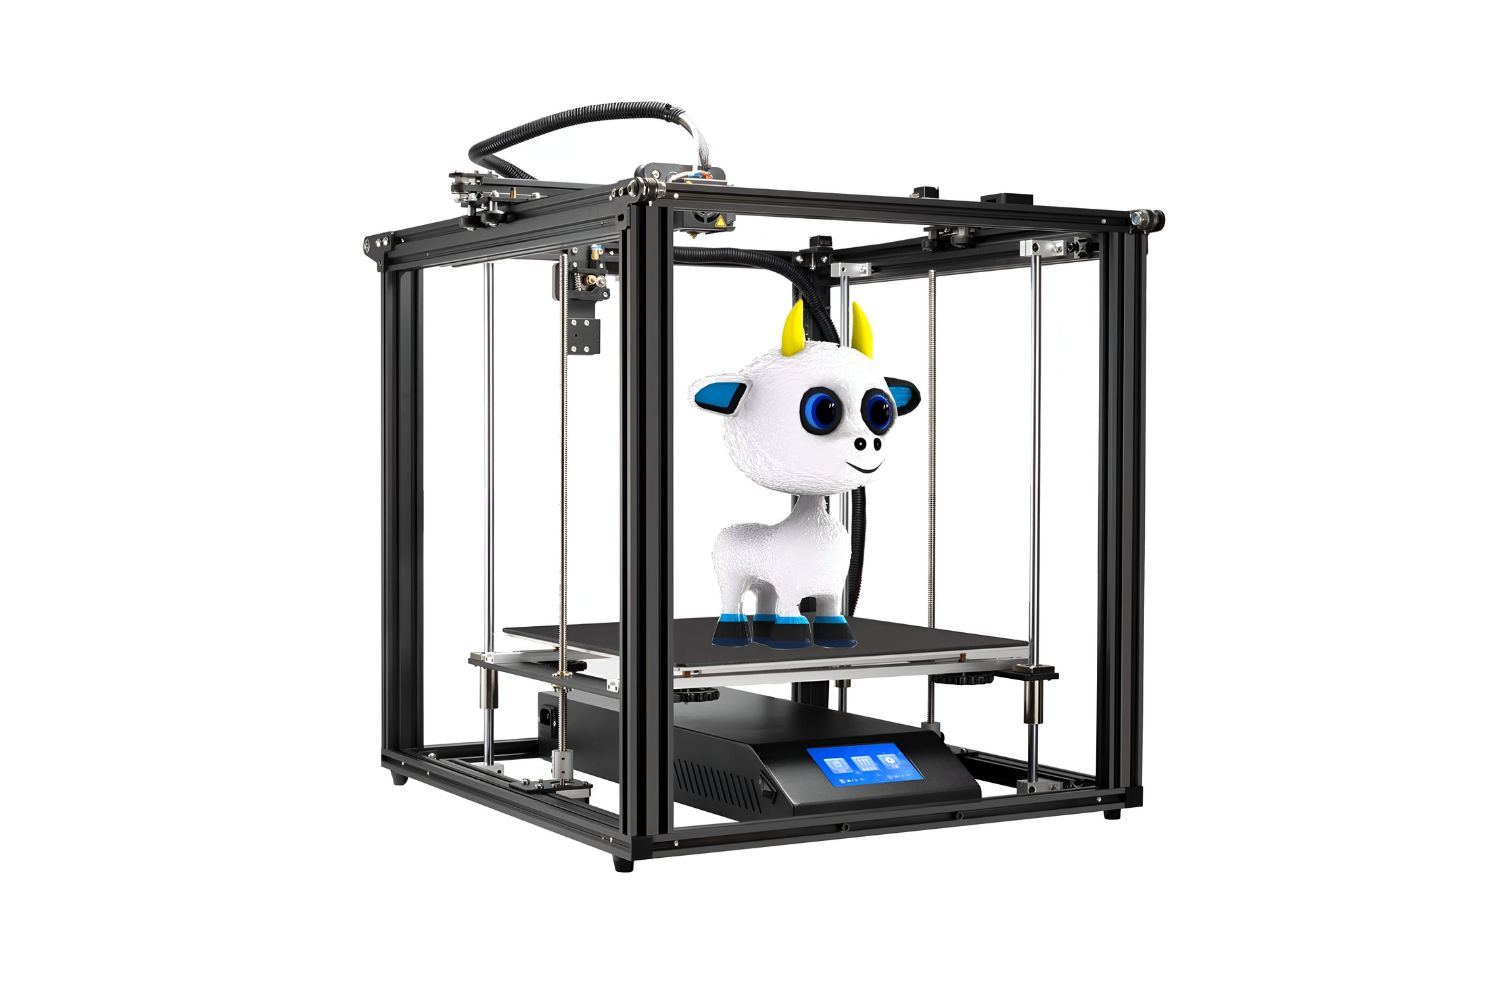
Main Components of the Cube 3D Printer
The Cube 3D Printer consists of several key components that work together seamlessly to create three-dimensional objects. Understanding these components is essential for operating and maintaining the printer effectively.
1. Frame: The frame of the Cube 3D Printer provides stability and support for the entire system. It is typically made of durable materials such as metal or high-quality plastic to ensure rigidity and precision during the printing process.
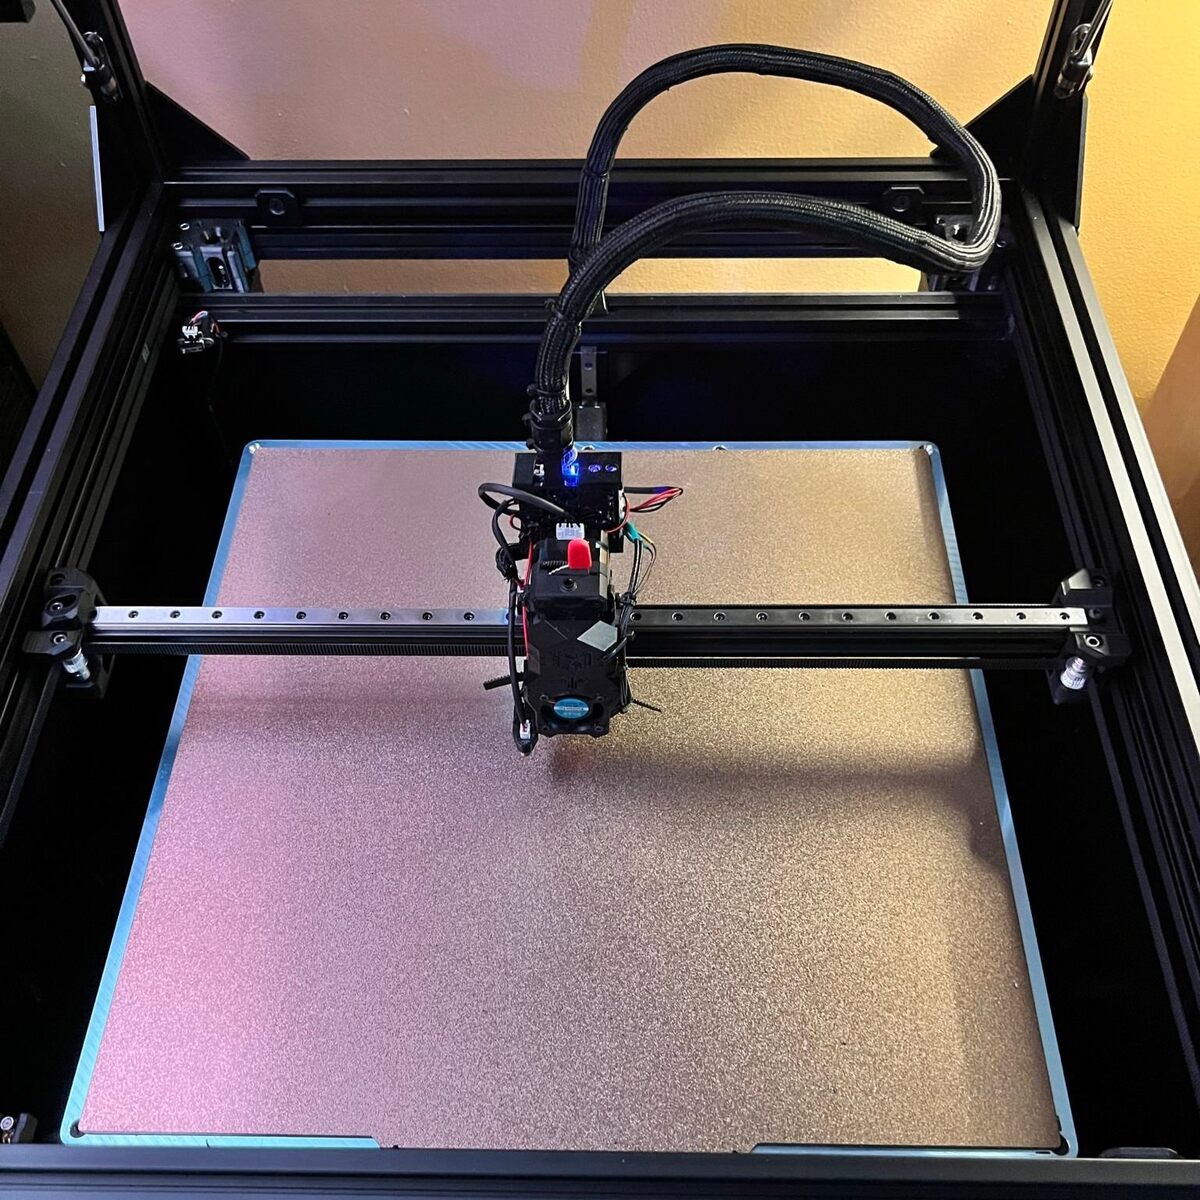
2. Build Platform: The build platform is the surface on which the object is printed. It is essential for maintaining stability and positioning during the printing process. The Cube 3D Printer’s build platform is typically heat-resistant and adjustable, allowing for easy removal of printed objects once they have cooled down.
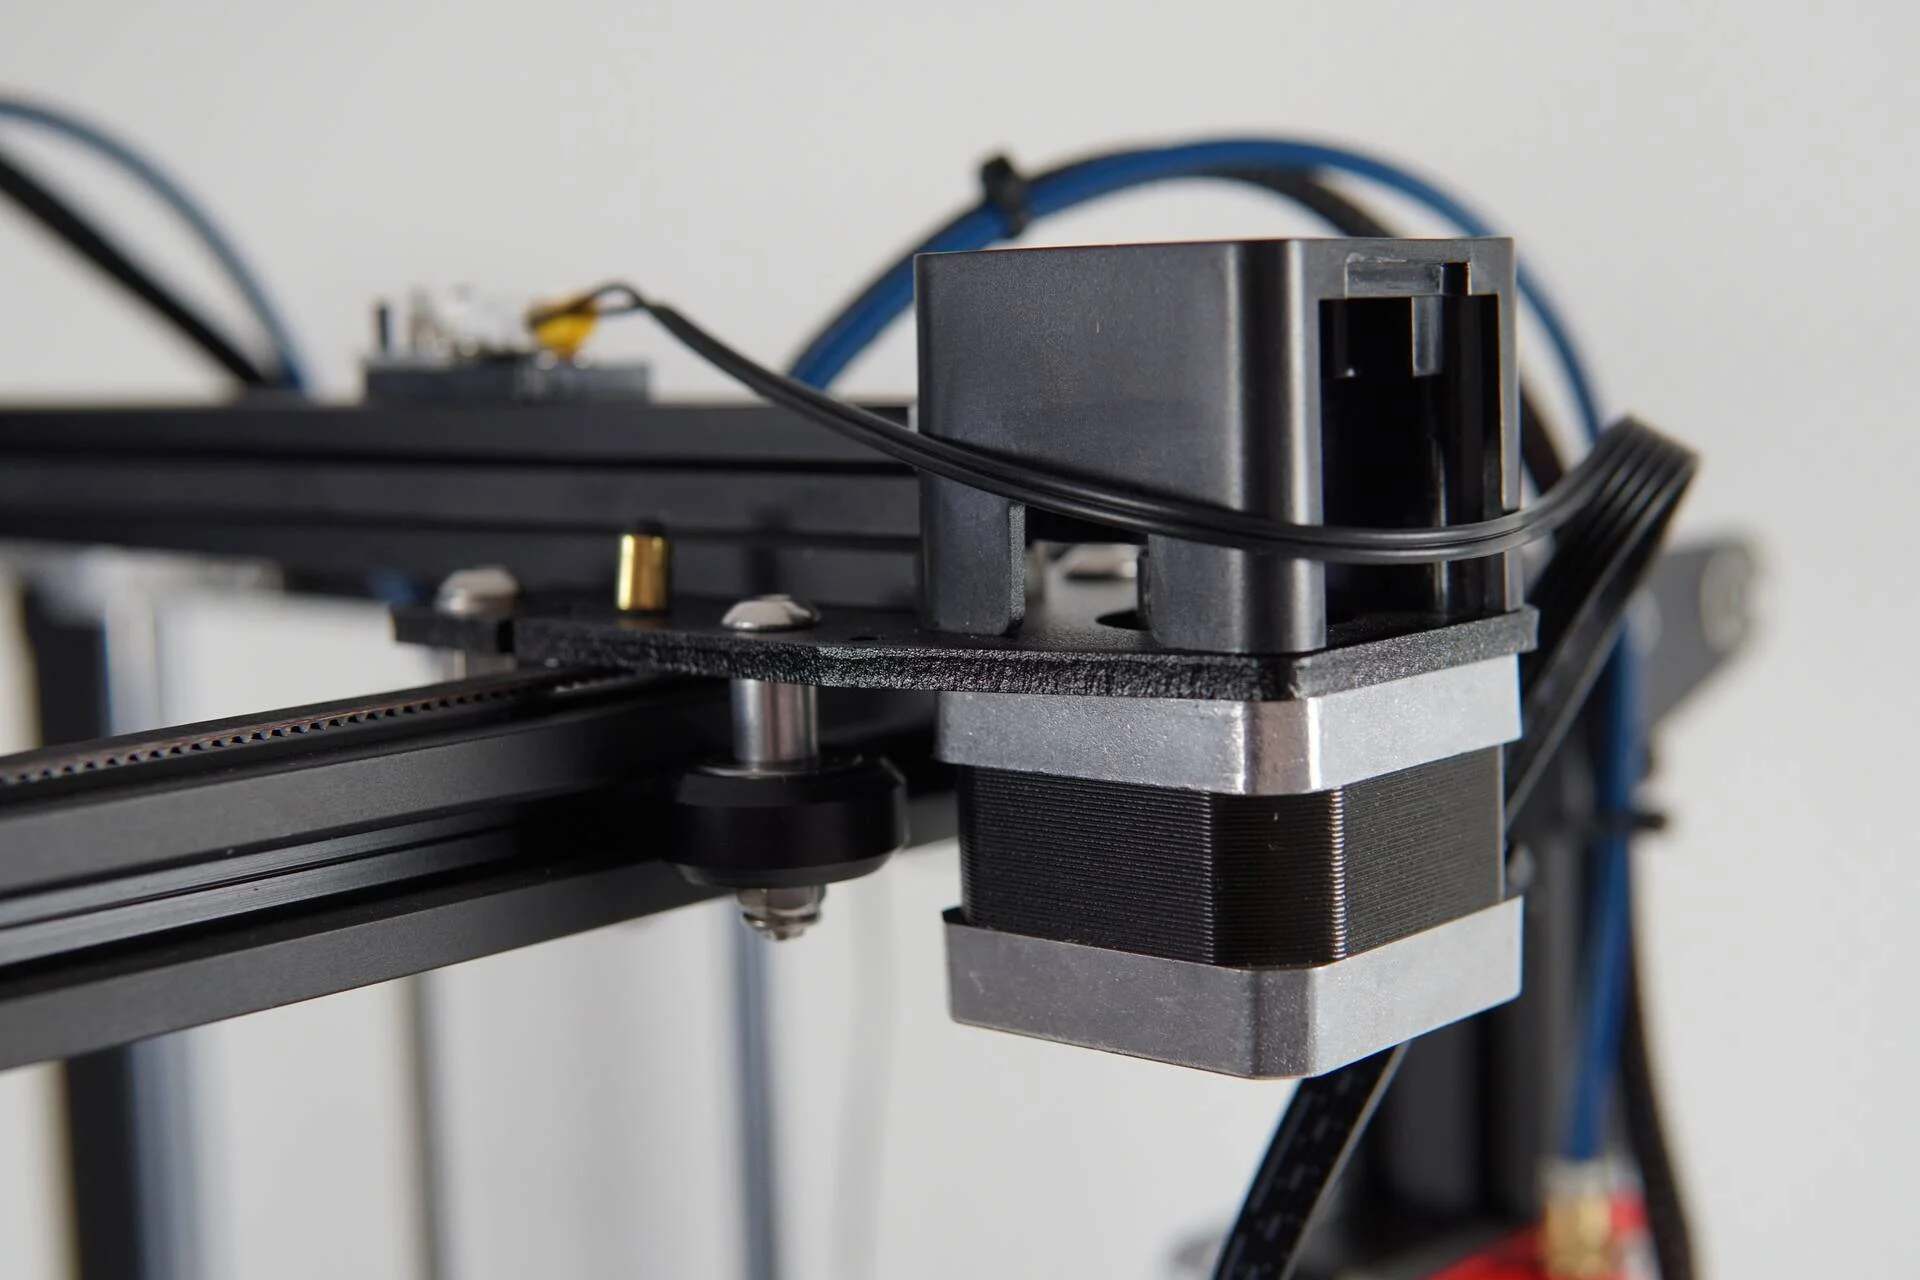
3. Extruder: The extruder is a crucial component that melts and deposits the filament onto the build platform. It consists of a heating element, a nozzle, and a mechanism for feeding the filament. The Cube 3D Printer uses a single extruder setup, but there are advanced models available with dual extruders for more intricate printing capabilities.
4. Filament Cartridges: The Cube 3D Printer utilizes filament cartridges that contain the material used for printing. These cartridges are designed for easy loading and unloading, ensuring a seamless workflow. The cartridges also contain an RFID chip that communicates with the printer, allowing it to recognize the type and color of the filament automatically.
5. Control Panel: The control panel is located on the front of the Cube 3D Printer and provides a user-friendly interface for navigating through the printer’s settings and options. It typically consists of a touchscreen display that allows you to control various parameters, such as temperature, print speed, and layer thickness.
6. Connectivity Options: The Cube 3D Printer offers multiple connectivity options, including USB and wireless connectivity. This allows you to easily transfer your designs from your computer or mobile device to the printer without the need for physical cables.
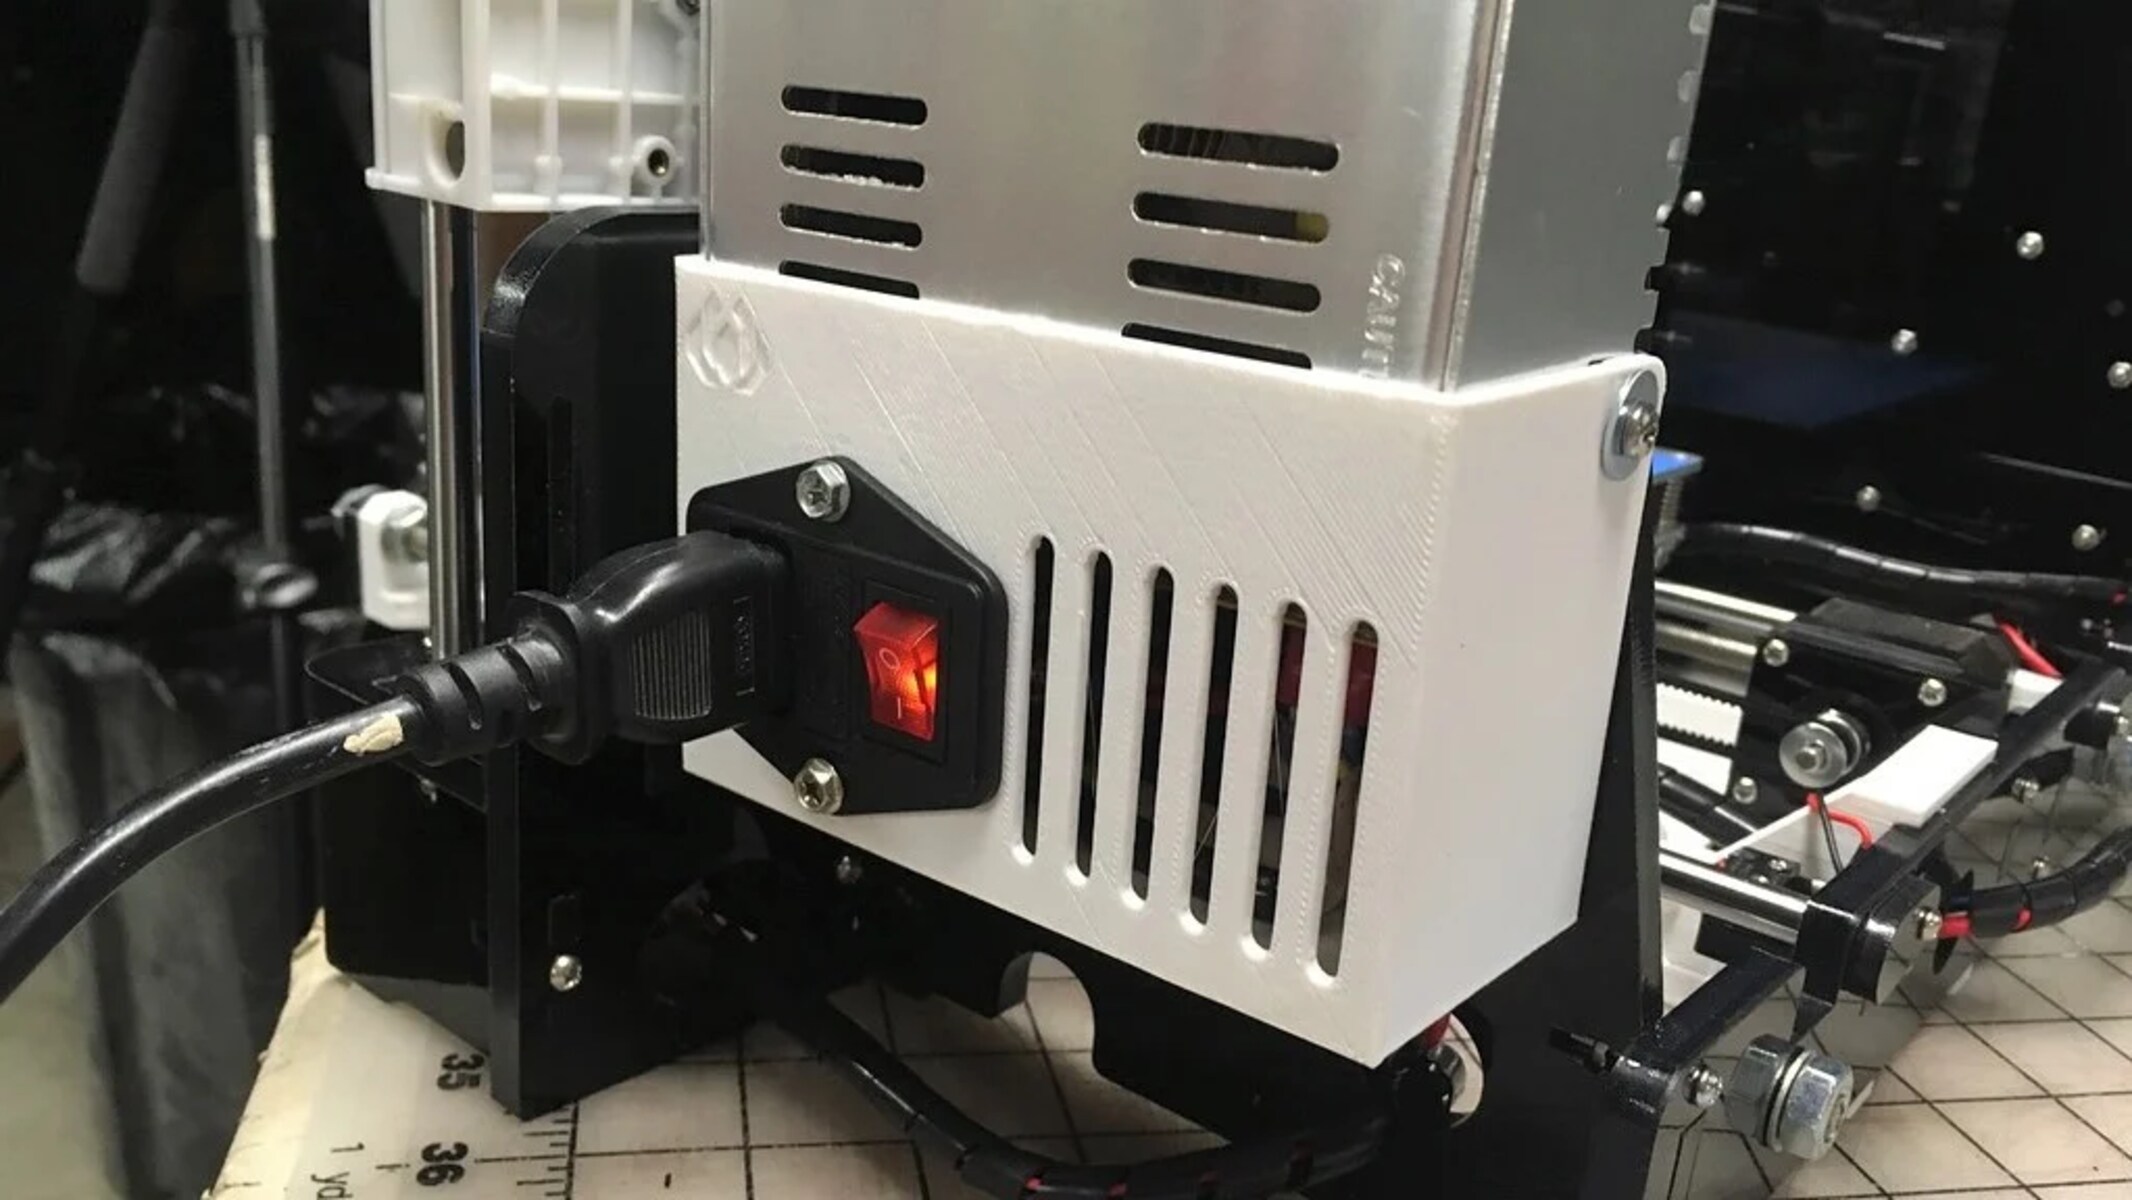
7. Power Supply: The Cube 3D Printer is equipped with a reliable power supply that ensures stable and consistent operation. It is essential to connect the printer to a stable power source to avoid any interruptions during the printing process.
Understanding the main components of the Cube 3D Printer is crucial for effectively operating and maintaining the device. In the next sections, we will explore the filaments and cartridges compatible with the printer, the software used for file preparation, and the printing process and settings to achieve optimal results.
Filament and Cartridges
Filament is a crucial component of the Cube 3D Printer, as it is the material that is melted, extruded, and deposited onto the build platform to create the three-dimensional object. The Cube 3D Printer is compatible with various filaments, including ABS (Acrylonitrile Butadiene Styrene) and PLA (Polylactic Acid).
ABS filament is known for its durability and strength, making it suitable for functional objects that require high impact resistance. It has a higher melting temperature compared to PLA, which means the Cube 3D Printer’s extruder needs to reach a higher temperature to properly melt and deposit the ABS filament.
PLA filament, on the other hand, is easier to work with and offers a wide range of color options. It is derived from renewable resources and has a lower environmental impact. PLA filament is ideal for creating detailed and intricate objects that may not require as much strength as ABS.
The Cube 3D Printer uses filament cartridges, which house the filament spools. These cartridges not only provide convenient storage for the filament but also feature an RFID chip. The RFID chip contains information about the filament type and color, allowing the printer to automatically detect and adjust the settings accordingly.
The filament cartridges are easy to load and unload from the printer, ensuring a smooth and hassle-free printing experience. When the filament runs out, you can simply replace the cartridge with a new one, eliminating the need to manually feed the filament into the extruder.
Furthermore, the Cube 3D Printer offers a wide range of color options for both ABS and PLA filaments, allowing you to bring your designs to life with vibrant and eye-catching hues. This is particularly beneficial for projects that require color differentiation or customization.
It is important to note that the Cube 3D Printer is designed to work specifically with the cartridges provided by the manufacturer. This ensures compatibility and optimal performance. Using third-party filaments or cartridges may result in compatibility issues and affect the quality of the prints.
By utilizing the appropriate filament and cartridges, you can achieve high-quality prints with the Cube 3D Printer. In the next section, we will explore the software used for file preparation and how to ensure your designs are ready for printing.
Software and File Preparation
The Cube 3D Printer comes with user-friendly software that is essential for preparing and optimizing your design files for printing. This software allows you to import, modify, and slice your 3D models, ensuring a smooth and seamless printing experience.
One of the popular software options for the Cube 3D Printer is CubePrint, which is developed by the manufacturer of the printer. CubePrint provides a straightforward interface that allows users to easily navigate through the software and prepare their files for printing.
When preparing your design files, you will typically start by importing your 3D model into the software. The software supports various file formats such as .STL and .OBJ, which are commonly used in 3D modeling software.
Once the model is imported, you can make any necessary adjustments or modifications to ensure it is ready for printing. This includes resizing, scaling, or making minor changes to the design as needed. The software provides tools and features to assist in these modifications, allowing you to achieve the desired dimensions and details.
After making the necessary adjustments, the next step is to slice the model. Slicing is the process of converting your 3D model into a series of 2D layers that the printer can understand and print. The software provides options to adjust the layer height, infill density, and other settings to optimize the print quality and speed.
Once the slicing process is complete, the software generates a G-code file, which contains the instructions for the printer on how to print the model layer by layer. This G-code file is then transferred to the Cube 3D Printer either via USB or wirelessly, depending on the connectivity options available.
Before initiating the printing process, it is important to ensure that the printer firmware is up to date. This ensures compatibility and stability during the printing process. The software may prompt you to update the firmware if needed, or you can manually check for updates periodically.
The software also provides features to monitor the progress of the print, including estimated print time, filament usage, and real-time status updates. This allows you to keep track of the printing process and make any necessary adjustments if needed.
By utilizing the software and properly preparing your design files, you can optimize the printing process with the Cube 3D Printer. In the next section, we will explore the printing process itself, including the various settings and considerations for achieving the best results.
Printing Process and Settings
The printing process with the Cube 3D Printer involves several steps and settings to ensure optimal results. Understanding these settings and considerations will help you achieve high-quality prints consistently.
Firstly, it is important to ensure that the build platform is clean and properly leveled. A clean and level platform ensures proper adhesion of the printed object and prevents any warping or shifting during the printing process. Follow the manufacturer’s guidelines for leveling the build platform to ensure accurate printing.
Next, select the appropriate filament and cartridge for your print. The Cube 3D Printer recognizes the filament type and color through the RFID chip embedded in the cartridge. Make sure to load the filament cartridge correctly into the printer and ensure that there is sufficient filament remaining to complete the print.
Once your design file is imported into the software and sliced, select the desired print settings. These settings may include layer height, print speed, infill density, and support structures. The layer height determines the thickness of each printed layer, with lower values resulting in finer detail but longer print times. Print speed affects the overall printing time, while infill density determines the amount of material inside the object, impacting both strength and material usage. Additionally, consider whether your design requires support structures or rafts to ensure successful printing of overhangs or delicate features.
Before initiating the print, double-check the printing settings and review a preview of the sliced model to ensure everything is as desired. Pay attention to any warnings or errors indicated by the software, as these may indicate potential issues with the print. Make any necessary adjustments before proceeding.
Once the print is started, monitor the progress periodically to ensure proper layer adhesion and filament flow. Pay attention to any unusual sounds or movements from the printer that may indicate an issue. Avoid disturbing the printer during the printing process to avoid introducing errors or imperfections into the print.
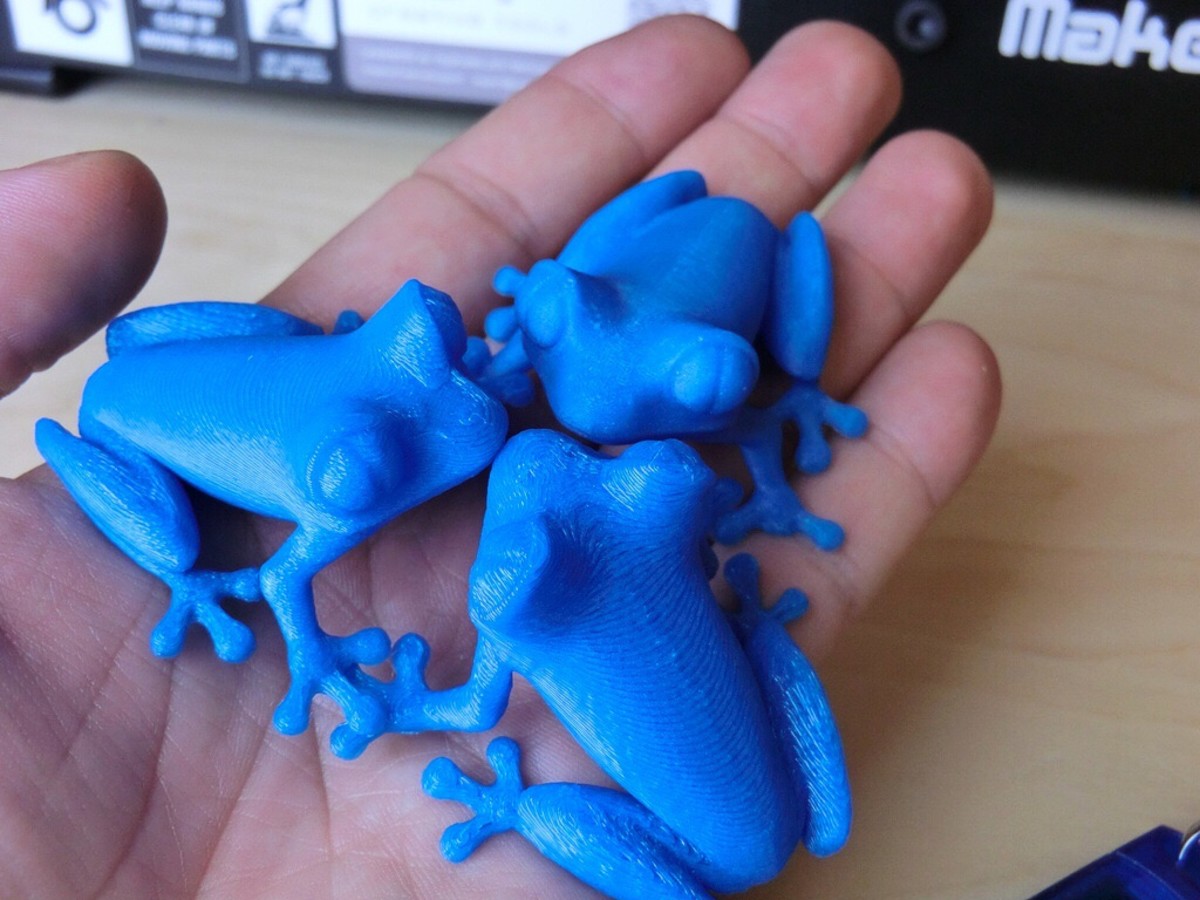
Once the print is completed, allow the printed object to cool down before removing it from the build platform. If necessary, use tools or support to carefully remove the print. Avoid using excessive force, as this can damage the print or the build platform.
Finally, inspect the printed object for any defects or imperfections. Sanding, polishing, or additional post-processing may be necessary to achieve the desired finish or smoothness. The Cube 3D Printer offers a range of post-processing options to enhance the appearance and functionality of your printed objects.
By understanding the printing process and adjusting the settings accordingly, you can achieve high-quality prints with the Cube 3D Printer. In the next section, we will explore common troubleshooting issues that you may encounter and how to resolve them.
Support Structures and Rafts
Support structures and rafts play a crucial role in successful 3D printing, especially when it comes to printing complex or intricate designs. The Cube 3D Printer offers options to generate these support structures automatically, ensuring the stability and accuracy of your prints.
Support structures are temporary structures that are printed alongside the main object to provide stability during the printing process. They are typically required for overhangs, undercuts, or other areas where the filament might sag or collapse without additional support. The support structures prevent these areas from deforming or distorting during printing, resulting in cleaner and more accurate prints.
When generating support structures, it is important to consider the orientation of your object. Printing certain geometries on their side or at an angle can minimize the need for extensive support structures. Experimenting with different orientations and angles can lead to more efficient and successful prints.
The Cube 3D Printer software offers options to adjust the density and pattern of the support structures. Higher support density provides more stability but may result in increased material usage and longer print times. Choosing the appropriate density depends on the complexity and fragility of your design.
Rafts, on the other hand, are an additional layer of material printed underneath the actual object. They serve two main purposes: adhesion and leveling. The raft provides a stable base for the object to adhere to during printing, ensuring better overall print quality and reducing the chances of warping or shifting. It also helps compensate for any slight irregularities in the build platform, ensuring a level surface for printing.
When using rafts, it is important to determine the appropriate raft thickness and air gap. The thickness depends on the size and complexity of your object, while the air gap affects the ease of removing the printed object from the raft after printing. Finding the right balance between adhesion and ease of removal is crucial.
After the print is completed, the support structures and rafts can be removed. Use necessary tools, such as tweezers or pliers, to carefully detach them from the printed object. This process may require some post-processing, such as sanding or smoothing, to achieve the desired finish on the object’s surface.
Understanding and utilizing support structures and rafts appropriately will enhance your 3D printing experience with the Cube 3D Printer. In the next section, we will discuss common troubleshooting issues that may arise during the printing process and provide solutions to resolve them.
Post Processing and Finishing
Post processing and finishing are crucial steps in the 3D printing process that can greatly enhance the appearance and functionality of your printed objects. The Cube 3D Printer allows for a variety of post-processing techniques and finishing options to achieve your desired results.
After removing the printed object from the build platform, it is important to inspect it for any imperfections or support remnants. Use necessary tools such as sandpaper, files, or putty knives to remove any excess material or to smooth rough edges. This step will improve the overall aesthetics and make the object more visually appealing.
If higher accuracy or smoother surfaces are desired, post-processing techniques such as acetone vapor smoothing or employing an external sanding or polishing process can be applied. These techniques can help achieve a more professional and refined finish, particularly for objects printed with ABS filament.
For objects that require mechanical functionality, additional steps may be necessary. This can include assembling different printed parts, inserting screws or other connectors, or performing post-print modifications to ensure proper functionality and structural integrity.
Additionally, finishing techniques such as painting or applying coatings can be utilized to add color, texture, or protective layers to your printed objects. It is essential to choose appropriate paints or coatings compatible with the material used and the intended purpose of the object.
Depending on your specific project requirements, post-processing may also involve additional steps such as heat treating, annealing, or other specialized techniques. These processes can help improve the strength, flexibility, or other mechanical properties of your 3D printed objects.
Post-processing and finishing provide an opportunity to unleash your creativity and enhance the quality of your printed objects. Experimenting with different techniques, materials, and tools can lead to unique and visually stunning results.
Remember to follow safety guidelines and best practices when performing post-processing and finishing tasks. Utilize appropriate protective gear, work in well-ventilated areas, and exercise caution when handling tools or chemicals to ensure a safe and enjoyable post-processing experience.
By incorporating post-processing and finishing techniques into your 3D printing workflow, you can elevate the quality and functionality of your printed objects, making them truly stand out. In the next section, we will discuss common troubleshooting issues that you may encounter while using the Cube 3D Printer and provide solutions to overcome them.
Troubleshooting Common Issues
While the Cube 3D Printer is known for its reliability, there may be instances where you encounter common issues during the printing process. Understanding these issues and knowing how to troubleshoot them will help you resolve problems efficiently and ensure successful prints.
1. Warping: Warping occurs when the corners or edges of the printed object lift or curl up from the build platform. To prevent warping, ensure that the build platform is clean and level. Additionally, consider using a heated build platform or applying a suitable adhesive, such as a glue stick or special bed adhesive, to improve adhesion.
2. Layer Separation or Delamination: Layer separation refers to the occurrence of visible gaps or weak bonds between layers of the printed object. This can happen due to improper layer adhesion or incorrect printing temperature settings. Verify that the extruder is properly calibrated and that the printing temperature matches the recommended settings for the filament being used.
3. Stringing or Blobbing: Stringing or blobbing is when small strings or blobs of filament appear between different parts of the printed object. This can happen due to improper retraction settings or excessive filament oozing. Adjust the retraction settings in your printer software to minimize the amount of filament being pulled back during non-printing movements.
4. Under-Extrusion: Under-extrusion occurs when the printed object does not have enough material, resulting in weak or incomplete layers. This can be caused by a clogged nozzle or insufficient filament flow. Check that the filament is loaded correctly, clean the nozzle if necessary, and verify that the extruder gear is gripping the filament properly.
5. Overheating or Melting: Overheating or melting of the printed object can occur when the printing temperature is too high or if there is inadequate cooling. Ensure that the appropriate printing temperature is selected for the filament being used. Consider using a cooling fan to maintain proper cooling during the printing process, especially for small or intricate prints.
6. Misalignment or Shifted Layers: Misalignment or shifted layers may occur when the printhead moves unintentionally during the printing process. This can be caused by loose belts, faulty motor drivers, or mechanical issues. Check that all belts and pulleys are properly tensioned and secure. Additionally, inspect the printer mechanics for any signs of damage or misalignment.
7. Filament Jamming: Filament jams can happen if the filament gets stuck in the extruder mechanism or the nozzle opening. Check for any obstructions or debris in the extruder assembly or clean the nozzle if necessary. Also, make sure that the filament is not tangled or kinked, as this can cause issues with the filament feed.
If you encounter any of these issues or experience other unexpected problems, refer to the manufacturer’s documentation or support resources for further guidance. Additionally, online forums and communities dedicated to 3D printing can provide valuable insights and solutions from experienced users.
By troubleshooting common issues and implementing the necessary adjustments, you can overcome challenges and improve the overall printing experience with the Cube 3D Printer.
Conclusion
The Cube 3D Printer is an innovative and versatile device that allows individuals and businesses to bring their creative visions to life. With its user-friendly interface, reliable performance, and a wide range of compatible filaments, the Cube 3D Printer offers a seamless 3D printing experience.
Through a thorough understanding of the main components, filament and cartridges, software and file preparation, printing process and settings, support structures and rafts, as well as post-processing and finishing techniques, users can optimize their printing workflow and achieve high-quality prints with precision and accuracy.
While challenges may arise during the printing process, common troubleshooting techniques can help identify and resolve issues effectively. It is important to have patience, experiment with different settings, and make any necessary adjustments to ensure successful printing results.
By harnessing the power of the Cube 3D Printer, individuals and businesses can unlock their creativity, streamline their manufacturing processes, and explore new possibilities in various industries, ranging from engineering and architecture to medicine and fashion.
Whether you are a hobbyist, a designer, or a manufacturer, the Cube 3D Printer provides a platform for endless innovation. With its cutting-edge technology and accessibility, this device has the potential to revolutionize the way we approach manufacturing and design.
As 3D printing technology continues to advance and evolve, the Cube 3D Printer stands as a testament to the incredible achievements made in the field. It empowers individuals and businesses to push the boundaries of what is possible and turn their ideas into tangible objects.
In conclusion, the Cube 3D Printer is a game-changing device that offers a seamless and efficient solution for transforming digital designs into physical realities. With its user-friendly interface, reliable performance, and the ability to create complex, customized objects, the Cube 3D Printer opens up endless opportunities for innovation and creative expression.