Introduction
Welcome to the world of 3D printing! With the advancement of technology, 3D printing has become more accessible to the masses. Whether you’re a hobbyist, a designer, or an engineer, being able to bring your ideas to life in a tangible form is an incredible experience. One of the key steps in the 3D printing process is uploading your STL file to the printer. In this article, we will guide you through the process of uploading an STL file to a 3D printer.
STL (Standard Tessellation Language) files are the most common file format used in 3D printing. They contain information about the 3D model’s geometry, such as its shape, size, and position. Uploading an STL file to your 3D printer enables the printer to understand and reproduce the model accurately. However, if you’re new to 3D printing, the process of uploading an STL file might seem daunting. But fear not! We’re here to help you navigate through it step by step.
Before we dive into the specific steps, it’s important to note that the process may vary slightly depending on the 3D printer you’re using. However, the fundamental steps remain the same. So, let’s get started!
What is an STL File?
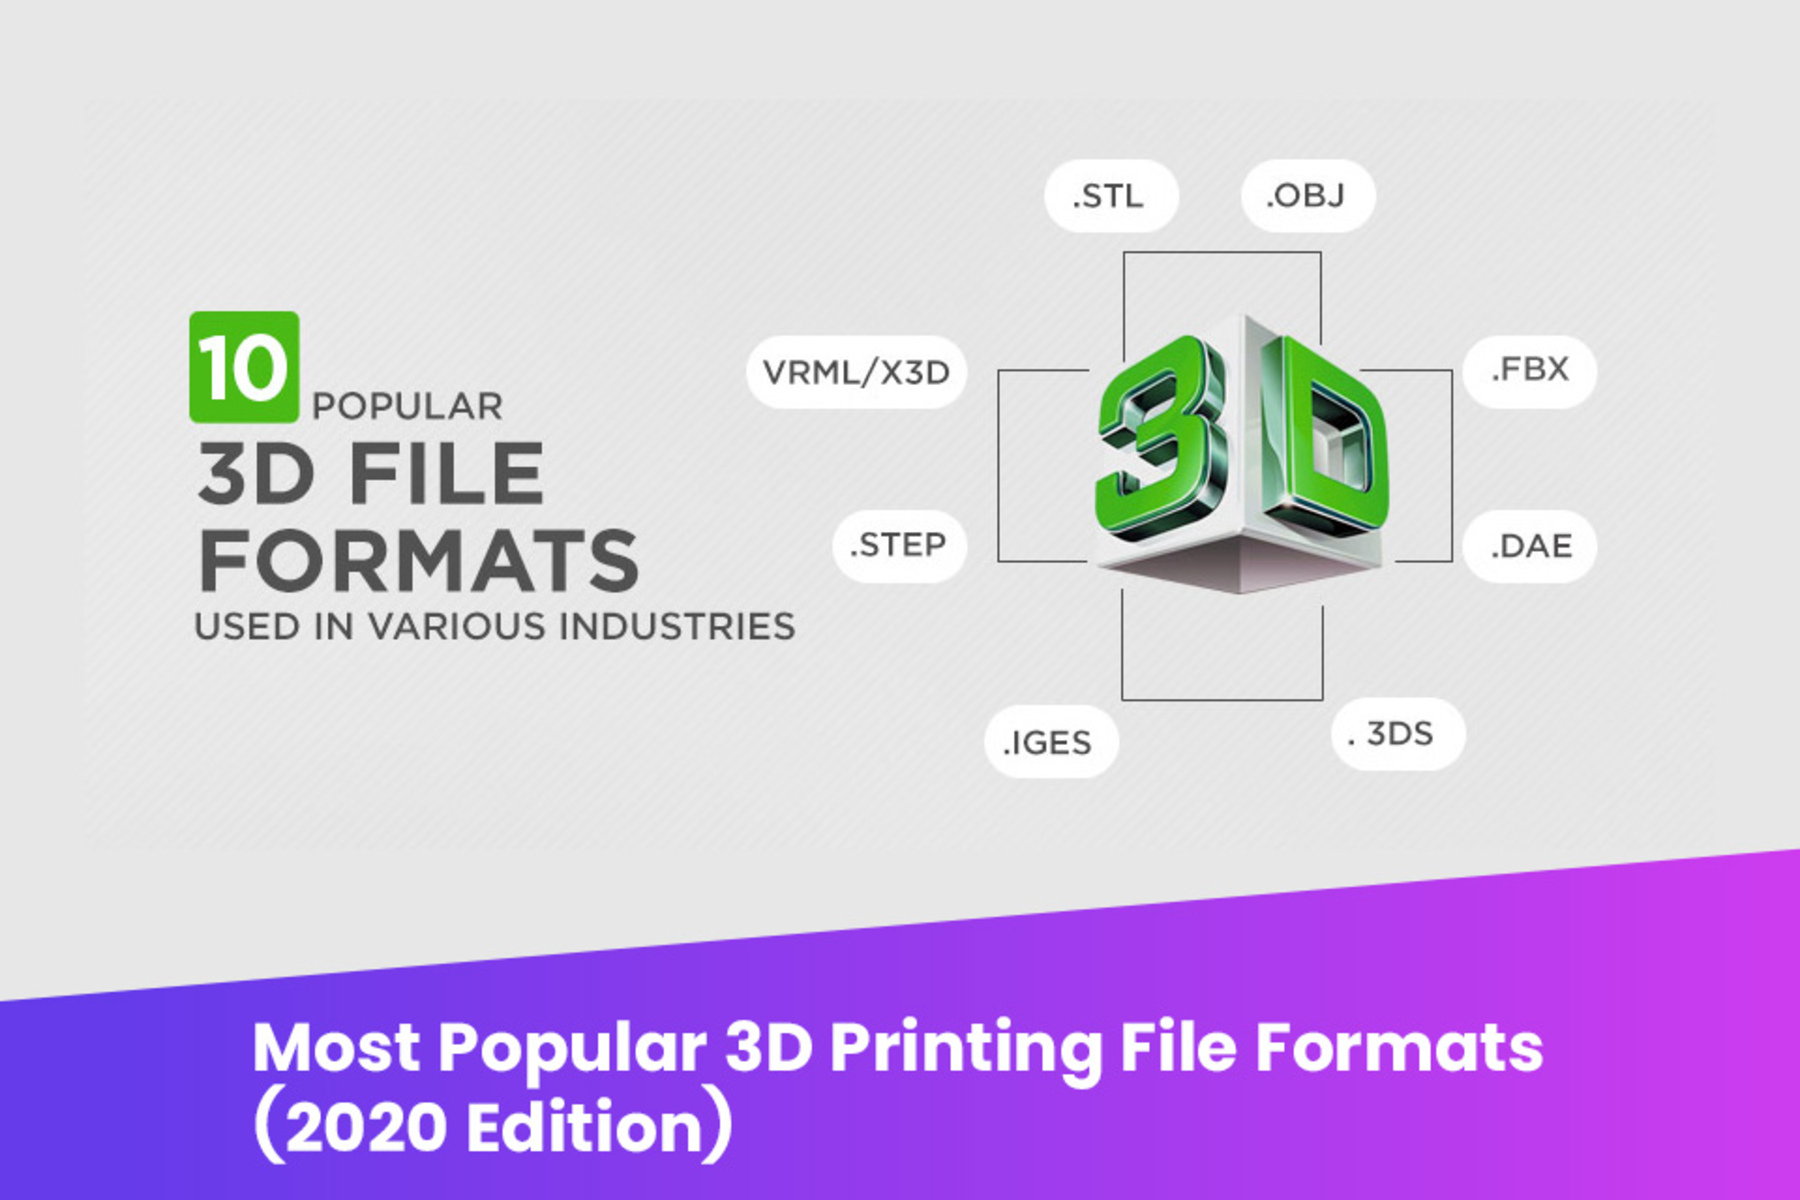
An STL (Standard Tessellation Language) file is the standard file format used for 3D printing. It contains information about the geometric shape of a 3D model, allowing 3D printers to accurately recreate the object layer by layer. The STL file format represents the surface of the model using a mesh of triangles, which are defined by their vertices and normals.
When you create or download a 3D model, it is usually saved in a software-specific format, such as .obj or .stl. While .obj files contain more detailed information about the model (such as colors and textures), STL files focus solely on the geometry of the object. This simplicity makes STL files compatible with most 3D printers and slicing software.
An STL file consists of a series of triangles that approximate the shape of the 3D model. The more triangles there are, the smoother and more detailed the printed object will be. However, more triangles also increase the file size and printing time. Balancing the level of detail with efficiency is important when preparing an STL file for printing.
Before uploading an STL file to a 3D printer, it’s essential to ensure that the file is properly prepared. This involves checking for any errors, such as non-manifold geometry or intersecting triangles, and making necessary adjustments. Slicing software, which converts the STL file into a format that the 3D printer understands, also allows you to set parameters such as layer height, infill density, and support structures.
Now that you understand what an STL file is and its significance in 3D printing, let’s walk through the step-by-step process of uploading the file to your 3D printer.
Step 1: Prepare the STL File
Before you can upload an STL file to your 3D printer, it’s important to ensure that the file is properly prepared. Here are a few key steps to follow:
- Check for Errors: Open the STL file in a 3D modeling software or a dedicated STL viewer to check for any errors. Look for issues like non-manifold geometry, intersecting triangles, or inverted normals. These errors can cause problems during the printing process and result in a low-quality print.
- Repair the File: If you notice any errors in the file, use the repair function in your 3D modeling software or utilize a third-party tool to fix them. This will ensure that your STL file is clean and ready for printing.
- Optimize the File: Depending on the complexity of your model, you may want to optimize the STL file to reduce its size without compromising the overall quality. This can be done by reducing the number of triangles or simplifying intricate details that are not essential to the final print.
- Ensure Proper Scaling: Double-check the scaling of your model before printing. Make sure that the dimensions of the model match your desired specifications. This step is crucial to ensure that the final print matches your intended size and proportions.
By thoroughly preparing your STL file, you can avoid potential issues and improve the overall print quality. Take the time to check for errors, repair them if necessary, optimize the file, and verify the scaling. Once you’ve completed these steps, you’re ready to move on to the next phase of the printing process.
Step 2: Connect the 3D Printer to Your Computer
Once you have prepared the STL file, the next step is to connect your 3D printer to your computer. Most 3D printers use a USB connection to establish a connection and transfer data between the printer and the computer. Follow these steps to connect your printer:
- Gather the Necessary Cables: Ensure that you have the USB cable that came with your 3D printer. If you cannot find it, you may need to purchase a new one that is compatible with your printer.
- Power Up the 3D Printer: Plug in your 3D printer and power it up. Depending on your printer model, you may need to press a power button or switch to activate it.
- Locate the USB Port: Locate the USB port on your 3D printer. It is usually located at the back or side of the printer. Connect one end of the USB cable to the 3D printer’s USB port.
- Connect the USB Cable to Your Computer: Connect the other end of the USB cable to an available USB port on your computer. Make sure that the cable is securely connected to both the printer and the computer.
- Wait for Recognition: Once the printer is connected to your computer, give it a few moments to be recognized by your operating system. You may see a prompt or notification indicating that a new device has been connected.
It’s worth noting that some newer 3D printers offer wireless connectivity options, allowing you to connect to the printer over a Wi-Fi network. In this case, you will need to follow the manufacturer’s instructions to set up the wireless connection.
Once the 3D printer is successfully connected to your computer, you’re ready to move on to the next step, which involves installing the printer software.
Step 3: Install the Printer Software
Installing the printer software is an essential step in setting up your 3D printer. The software serves as a bridge between your computer and the printer, allowing you to control and manage the printing process. Follow these steps to install the printer software:
- Check the Printer Manufacturer’s Website: Visit the manufacturer’s website for your 3D printer and navigate to the support or downloads section. Look for the software specifically designed for your printer model.
- Download the Software: Once you’ve located the appropriate software, click on the download button or link to initiate the downloading process. Save the file to a location on your computer that is easily accessible.
- Run the Installer: Once the download is complete, locate the downloaded file and double-click on it to run the installer. Follow the on-screen prompts to install the software.
- Read and Accept the License Agreement: During the installation process, you may be presented with a license agreement. Read through the agreement carefully, and if you agree, check the box indicating your acceptance before proceeding.
- Choose Installation Options: Some printer software may provide options for customizing the installation. You may be able to choose the installation location or select additional components. Review the options and choose the settings that best suit your preferences.
- Complete the Installation: Once you have selected your preferred installation options, click on the “Install” or “Finish” button to proceed with the installation. The software will be installed on your computer.
After the installation is complete, you should see the printer software’s icon or shortcut on your desktop or in the Start menu. Double-click on the icon to launch the printer software.
It’s important to note that different printer models may have different software interfaces and functionalities. Take some time to explore the software and familiarize yourself with its features. In the next step, we’ll guide you through the process of opening the printer software and connecting it to your 3D printer.
Step 4: Open the Printer Software
Now that you have installed the printer software, it’s time to open it and establish a connection between the software and your 3D printer. Follow these steps:
- Locate the Printer Software: Look for the printer software’s icon on your desktop or in the Start menu. It is usually represented by the manufacturer’s logo or the name of the software. Double-click on the icon to launch the software.
- Connect Your 3D Printer: Once the software is open, ensure that your 3D printer is still connected to your computer via the USB cable. The software should automatically detect the connected printer and display it as an available device.
- Select Your Printer: In some cases, the software may support multiple printer models from the same manufacturer. If this is the case, select your specific printer model from the list of available devices. This will ensure that the software’s settings and features are optimized for your printer.
- Establish the Connection: Click on the “Connect” or “Connect to Printer” button within the software to establish a connection between the software and your 3D printer. The software will send commands and information to the printer for printing your model.
- Confirm Connection: Once the connection is successfully established, you should see a confirmation message or notification within the software. This indicates that the software is now ready to communicate with your 3D printer.
Once the connection is established, you may have access to various features within the printer software, such as monitoring print progress, adjusting print settings, and managing your print queue. Take some time to navigate through the software and explore its functionalities.
With the printer software open and connected to your 3D printer, you’re now ready to move on to the next step, which involves importing the STL file into the software.
Step 5: Import the STL File
With the printer software open and connected to your 3D printer, it’s time to import the STL file that you prepared earlier. Follow these steps to import the file:
- Locate the Import or Open File Option: Look for an option within the printer software that allows you to import or open files. This option is usually located in the main menu or toolbar of the software. It may be represented by an icon with a folder or a menu item with a label like “File” or “Import”.
- Browse for the STL File: Select the import or open file option, and a file browser window will appear. Use this window to navigate to the location where you saved the STL file on your computer. Once you’ve located the file, select it and click on the “Open” or “Import” button.
- Wait for File Import: After selecting the STL file, the printer software will begin importing it. Depending on the complexity of the model and the performance of your computer, this process may take a few moments. Be patient and allow the software to import the file completely.
- Confirm Successful Import: Once the import is complete, the printer software should display a preview or representation of the 3D model within its interface. This indicates that the STL file has been successfully imported and is ready for further processing.
At this stage, you may also have the option to perform additional adjustments to the imported model, such as scaling, rotation, or positioning. These adjustments allow you to fine-tune the print settings and ensure the best possible outcome.
Now that the STL file has been imported into the printer software, you’re ready to move on to the next step, which involves adjusting the print settings to optimize your 3D print.
Step 6: Adjust Print Settings
After importing the STL file into the printer software, it’s important to adjust the print settings to ensure optimal results. These settings determine the quality, speed, and other parameters of the 3D print. Follow these steps to adjust the print settings:
- Access the Print Settings: Look for a section or tab in the printer software that allows you to access and modify the print settings. This section is usually labeled as “Print Settings” or something similar.
- Layer Height: One crucial setting to consider is the layer height. This refers to the thickness of each layer that the printer will create. Smaller layer heights result in higher detail but can also increase the print time. Adjust the layer height based on your desired balance between detail and print time.
- Infill Density: Infill density determines the amount of material used to fill the inside of the printed object. Higher infill densities make the print more robust and solid, while lower densities reduce material usage and print time. Choose the appropriate infill density based on the intended use of the printed object.
- Support Structures: If your model has overhangs or complex geometries, enabling support structures is necessary. Support structures prevent the print from sagging during the printing process. Depending on the software and printer, you may have options to customize the support structure settings, such as density and pattern.
- Printing Speed: Adjusting the printing speed can impact the quality and time it takes to complete the print. Higher speeds may result in reduced print quality, while lower speeds offer finer details. Consider the complexity of your model and desired print quality when adjusting the printing speed.
- Other Settings: Depending on the printer software, you may have additional settings to refine your print, such as temperature, cooling, layer adhesion, or filament type. Explore these options and make adjustments according to your specific requirements.
- Preview and Verify: Before starting the print, use the printer software’s preview feature to visualize the layers and ensure that the settings are optimized for your desired outcome. Make any necessary adjustments if the preview reveals any issues or areas for improvement.
Remember, the optimal print settings may vary depending on the complexity of the model, the capabilities of your 3D printer, and your specific preferences. It may take some trial and error to find the perfect settings for your prints.
Once you’ve adjusted the print settings to your satisfaction, you’re ready to move on to the final step – starting the printing process.
Step 7: Start Printing
After adjusting the print settings, you’re finally ready to start the 3D printing process. Follow these steps to initiate the print job:
- Position the Print Bed: Ensure that the print bed of your 3D printer is clean and properly leveled. If necessary, use the printer software or the printer’s manual controls to move the print bed to the desired starting position.
- Preheat the Printer: Depending on your printer and filament type, you may need to preheat the printer before starting the print. Refer to your printer’s manual or the filament manufacturer’s guidelines to determine the appropriate temperature.
- Send the Print File: Within the printer software, look for a button or option, such as “Print”, “Start Print”, or “Send to Printer”, to initiate the printing process. Click on this option to send the print file to the printer.
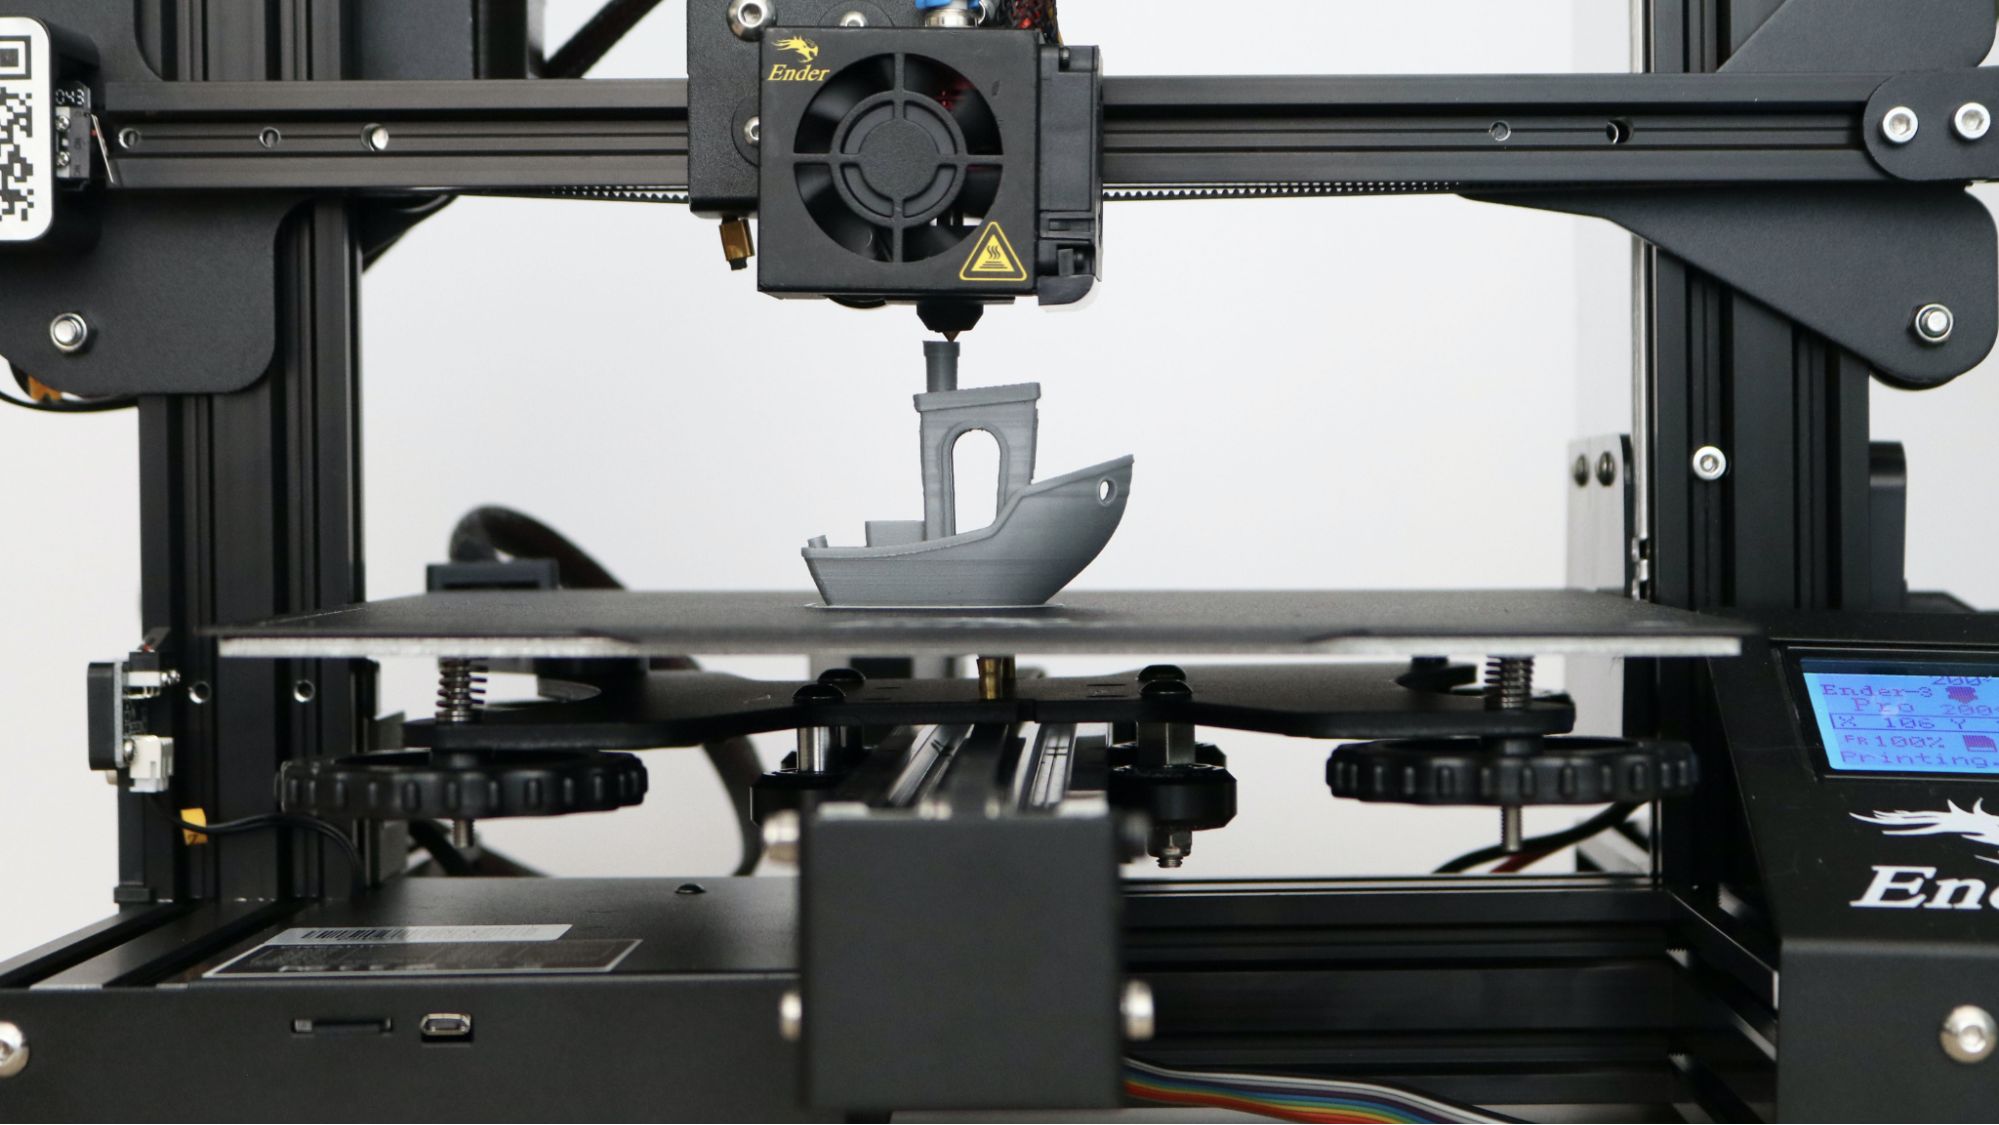
- Monitor the Print: Once the print has started, keep an eye on the printer to ensure that everything is proceeding smoothly. Observe the first few layers to check for proper adhesion and filament flow. Make adjustments if necessary.
- Allow the Print to Complete: Depending on the complexity and size of the model, the printing process can take anywhere from a few minutes to several hours. Be patient and allow the printer to complete the print job without interruption.
- Remove the Print: Once the print is finished, allow some time for it to cool down before removing it from the print bed. Be careful when removing the print to avoid damaging it or the printer.
- Post-Processing (if applicable): Depending on the desired outcome, you may need to perform post-processing tasks on the printed object, such as removing support structures, sanding, or painting. Follow the appropriate post-processing techniques to achieve the desired final result.
Throughout the printing process, it’s important to pay attention to any error messages, unusual noises, or other signs that may indicate a problem. In the event of any issues, consult your printer’s manual or reach out to the manufacturer for assistance and troubleshooting steps.
Congratulations! You have successfully completed the 3D printing process by uploading the STL file, adjusting the print settings, and starting the print job. Now you can enjoy your newly printed 3D object!
Conclusion
Printing your own 3D objects is an exciting and rewarding experience, and being able to upload an STL file to a 3D printer is a crucial step in the process. By following the steps outlined in this guide, you can successfully upload your STL file, connect your 3D printer to your computer, install the necessary software, adjust the print settings, and start the printing process.
Remember, each 3D printer may have its own unique setup and software, so it’s essential to familiarize yourself with the specific instructions provided by the manufacturer. However, the general steps covered in this guide should apply to most 3D printers on the market.
As you gain more experience and confidence with 3D printing, you can explore advanced features and techniques to further enhance your prints. Experimenting with different materials, print settings, and post-processing methods can help you achieve even better results.
With the ability to create 3D objects from digital designs, the possibilities are endless. Whether you’re prototyping a new product, creating personalized gifts, or simply satisfying your curiosity, 3D printing opens up a world of creativity and innovation.
So, what are you waiting for? Dive into the world of 3D printing, unleash your creativity, and bring your ideas to life!