Introduction
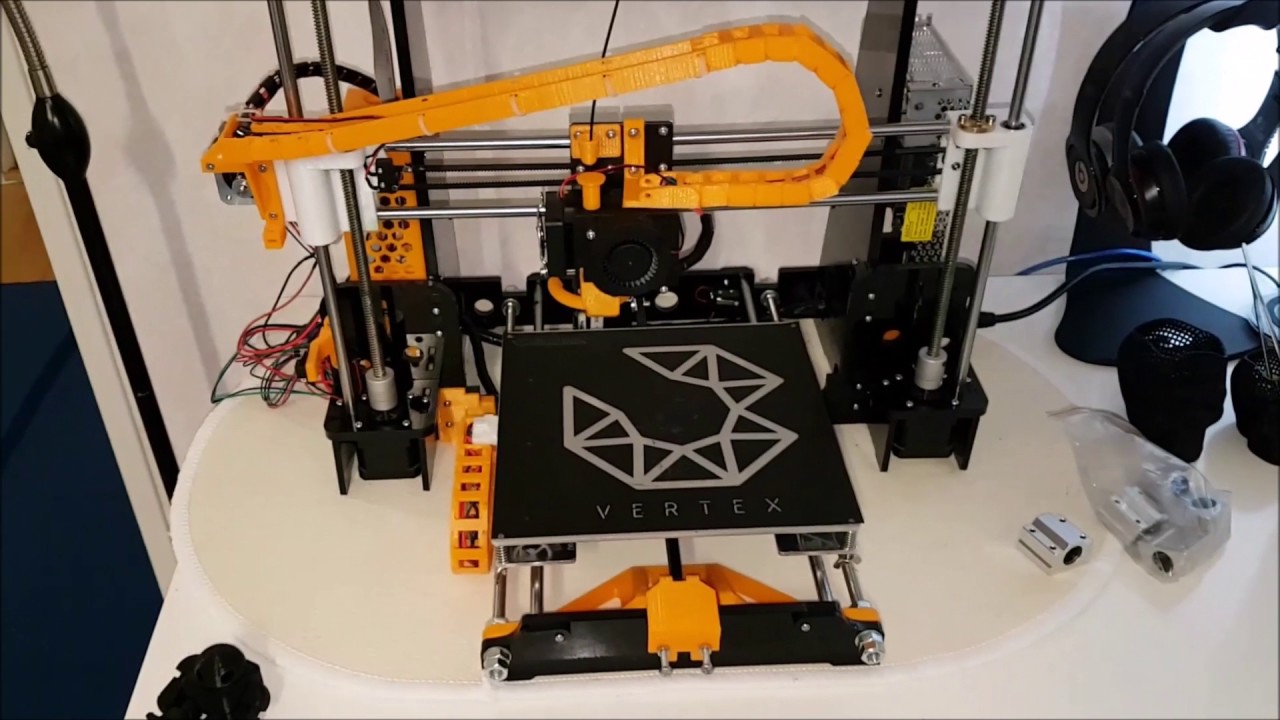
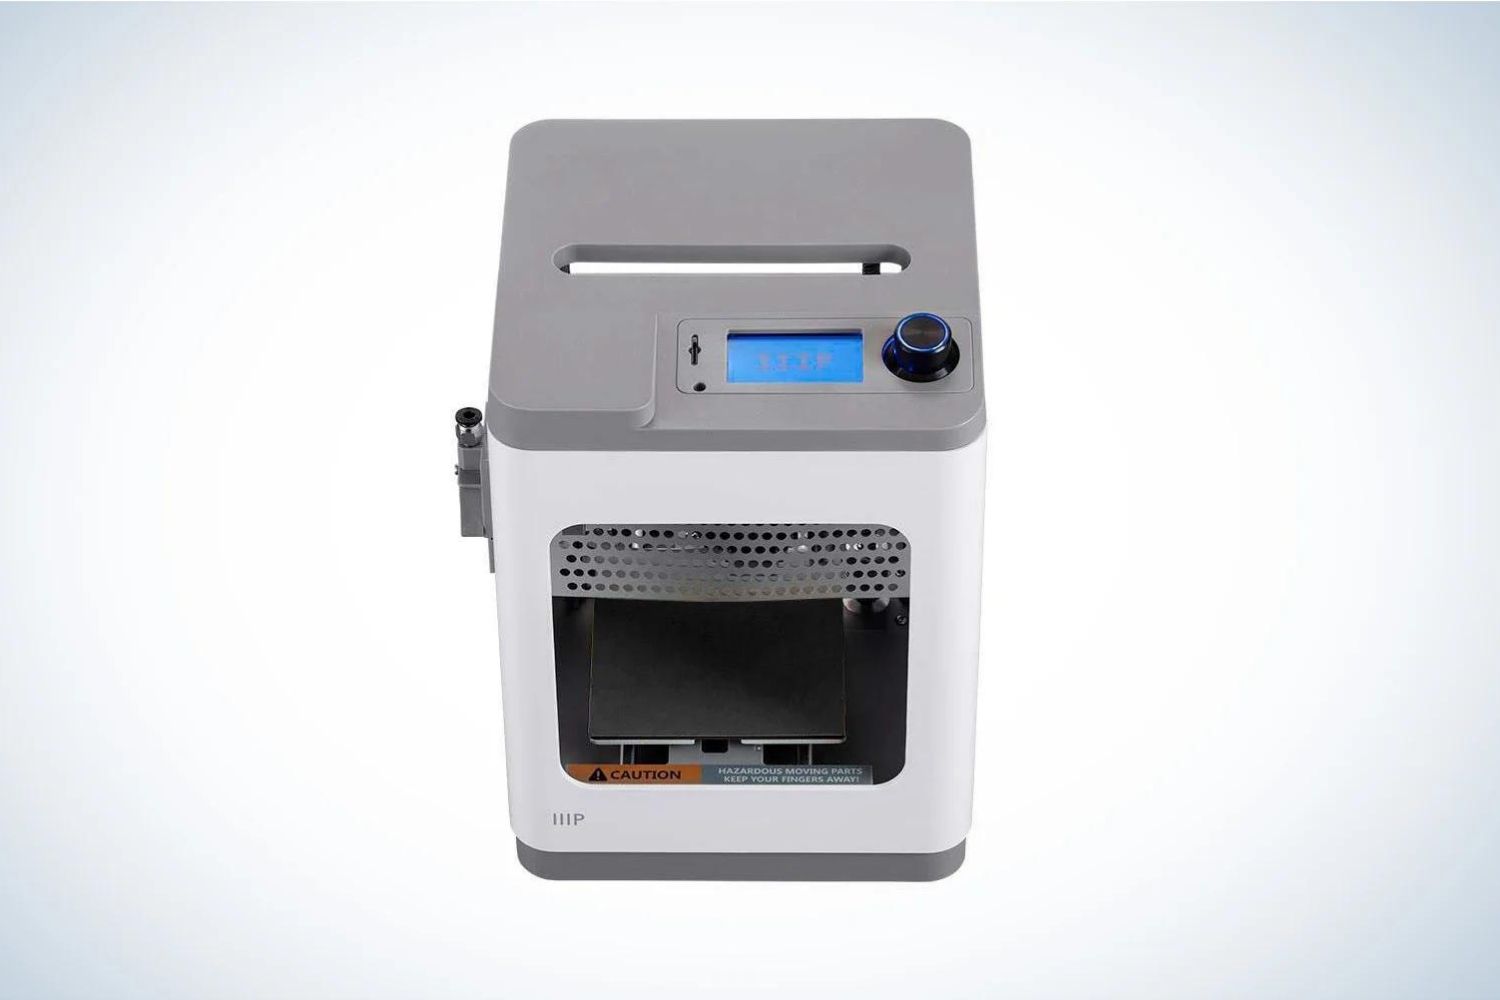
Welcome to the world of 3D printing, where the possibilities are endless! With advancements in technology, personal 3D printers have become more accessible than ever before. Robo Personal 3D Printers are popular choices for enthusiasts and professionals alike, offering high-quality prints and user-friendly interfaces. While these printers usually allow you to directly connect to a computer for file transfer, there’s another convenient option you can explore – using an SD card.
An SD card, short for Secure Digital card, is a small, portable storage device commonly used in digital cameras, smartphones, and other electronic devices. It’s a handy accessory that enables you to store and transfer files easily. In the context of a Robo Personal 3D Printer, using an SD card allows you to save your 3D models and print them directly from the card, without the need for a continuous computer connection.
In this guide, we will walk you through the process of using an SD card with a Robo Personal 3D Printer. We’ll cover everything from formatting the card to troubleshooting common issues. So let’s dive in and explore how this simple yet powerful tool can enhance your 3D printing experience.
What is an SD card?
An SD card, also known as a Secure Digital card, is a small, portable storage device commonly used in various electronic devices. It was first introduced in 1999 and quickly became a popular choice due to its compact size and high storage capacity.
SD cards are widely utilized in digital cameras, smartphones, tablets, and now, in the world of 3D printing. They come in different capacities ranging from a few gigabytes to several terabytes, allowing users to store a vast amount of data.
These cards use non-volatile memory, which means they retain data even when not powered. This makes them suitable for storing important files and documents, including 3D models for printing.
SD cards have evolved over the years, and different formats have been introduced to accommodate changing technology requirements. The most common types of SD cards include:
- SDSC (Standard Capacity): These are the original SD cards with a storage capacity of up to 2GB.
- SDHC (High Capacity): These cards have a storage capacity between 2GB and 32GB.
- SDXC (Extended Capacity): SDXC cards offer storage capacities starting from 32GB and can reach up to 2TB.
- microSD: These are smaller versions of SD cards, mainly used in smartphones, tablets, and other portable devices. They are commonly available in SDHC and SDXC formats.
SD cards are designed for easy and convenient usage. They have a rectangular shape and a set of copper pins that connect to the device’s card slot. Additionally, the cards are built to withstand various environmental conditions, including temperature, moisture, and physical shock.
Overall, SD cards provide a reliable and portable solution for data storage and transfer. Understanding their capabilities and compatibility with different devices is crucial for maximizing their usefulness, especially when it comes to utilizing them in a Robo Personal 3D Printer.
Benefits of using an SD card with a Robo Personal 3D Printer
Using an SD card with your Robo Personal 3D Printer offers several advantages that can greatly enhance your printing experience. Let’s explore some of the key benefits:
- Convenience: Using an SD card eliminates the need for a continuous computer connection. Once your 3D models are saved on the card, you can simply insert it into the printer and select the desired file for printing. This allows you to work on other tasks or even disconnect your computer while the printer works independently.
- Portability: SD cards are portable and can be easily carried around. This means you can save your 3D models on the card and transfer them to different Robo Personal 3D Printers if needed. It’s a great option for workshops, classrooms, or collaborative projects where multiple printers are involved.
- Data Preservation: When using an SD card, your 3D models are stored directly on the card itself. This ensures that your valuable designs and projects are safely preserved, even if something happens to your computer. It provides an additional layer of security and peace of mind.
- No Software Compatibility Issues: Sometimes, certain software versions or configurations may not be compatible with your printer. However, when using an SD card, you are not dependent on software compatibility. As long as the file format is supported by your printer, you can simply transfer the files to the SD card and print them without any compatibility issues.
- Offline Printing: Using an SD card allows you to print even when you don’t have an internet connection. This is particularly useful in areas with limited or no internet access. You can easily save your designs on the card and take your printer to any location to continue printing offline.
These benefits highlight the versatility and convenience that come with using an SD card in conjunction with your Robo Personal 3D Printer. It provides a flexible and efficient workflow, giving you the freedom to print your designs without the need for constant computer access or internet connectivity.
Step-by-step guide on using the SD card
Using an SD card with your Robo Personal 3D Printer is a straightforward process. Here is a step-by-step guide on how to effectively use the SD card:
- Step 1: Formatting the SD card: Before using the SD card with your printer, it’s recommended to format it to ensure compatibility. To format the card, insert it into your computer’s SD card slot or use an external card reader. Right-click on the card, select “Format,” and choose the appropriate file system (usually FAT32). This will prepare the card for storing and transferring your 3D models.
- Step 2: Transferring files to the SD card: Once the SD card is formatted, you can transfer your 3D model files to the card. Connect your SD card to your computer and open the folder that contains your 3D models. Simply drag and drop the files onto the SD card, or copy and paste them. Make sure to organize the files into folders if needed, for better organization and easy file navigation.
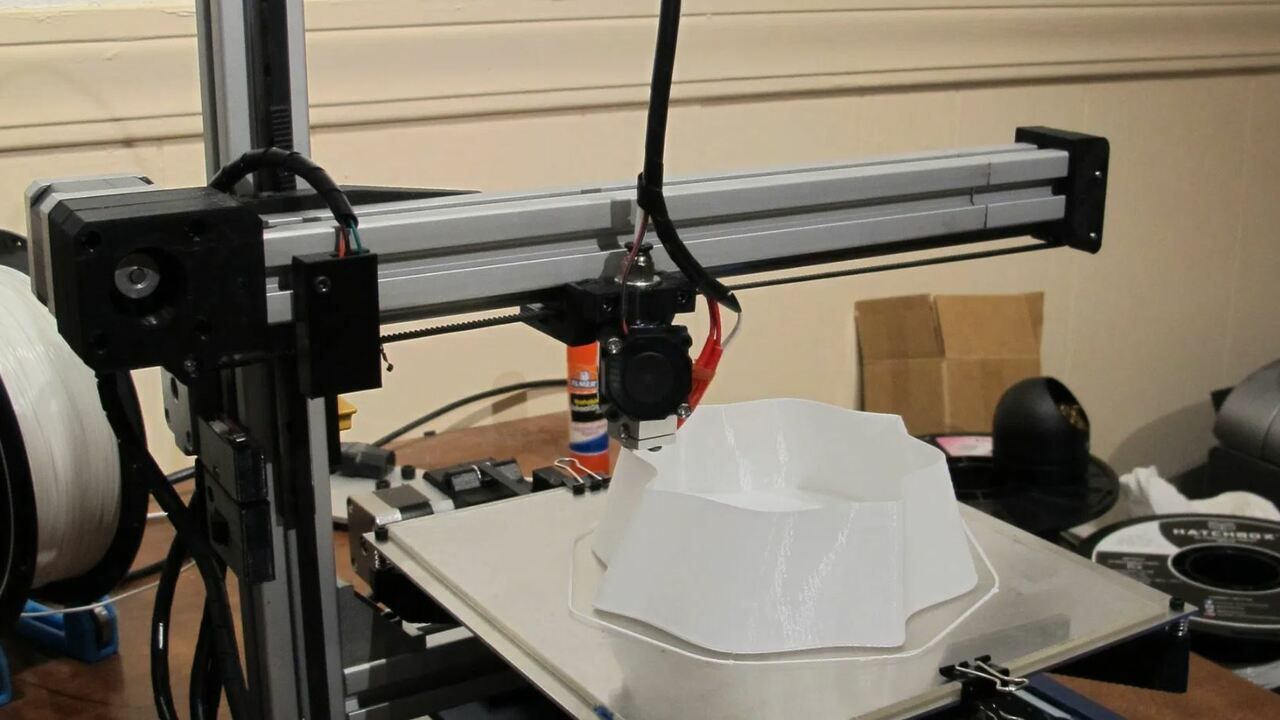
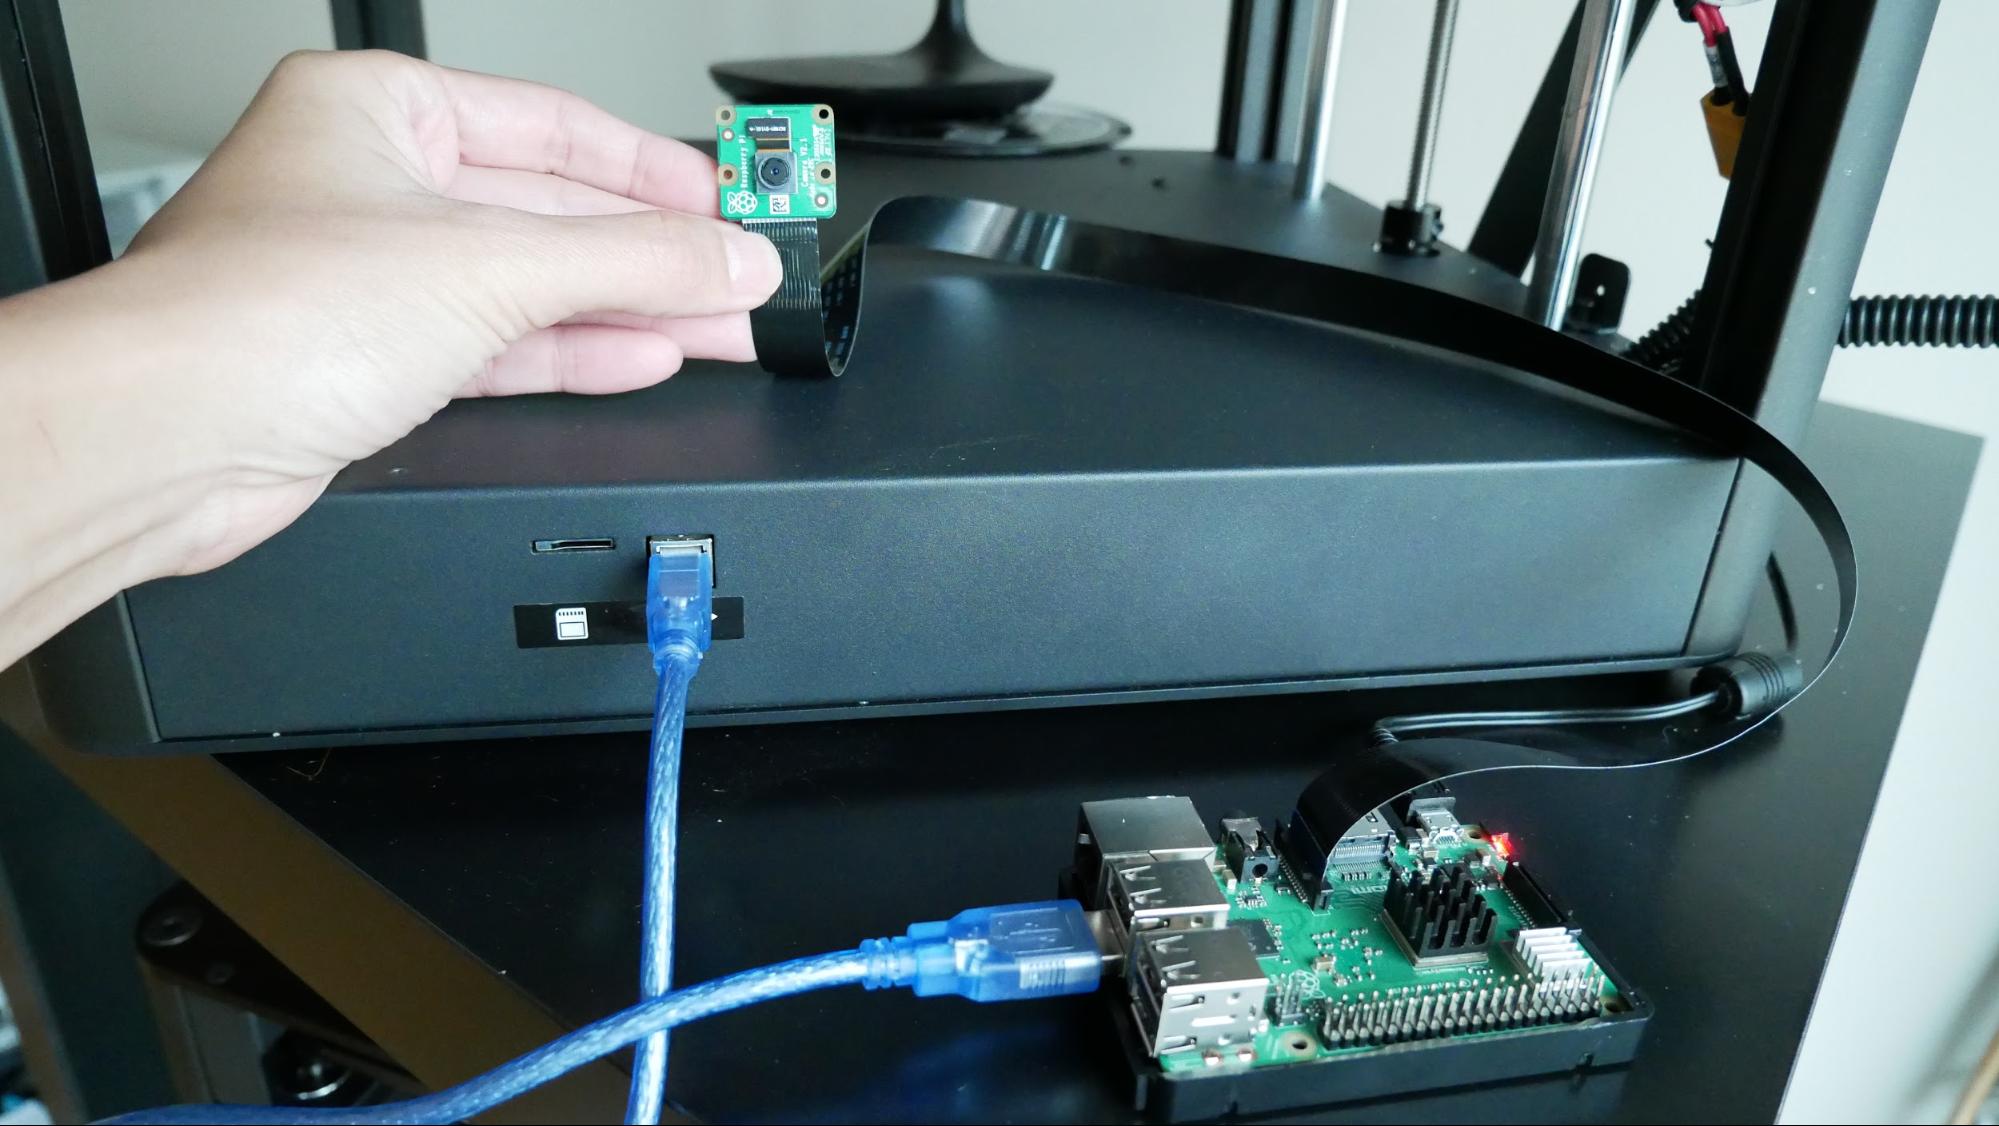
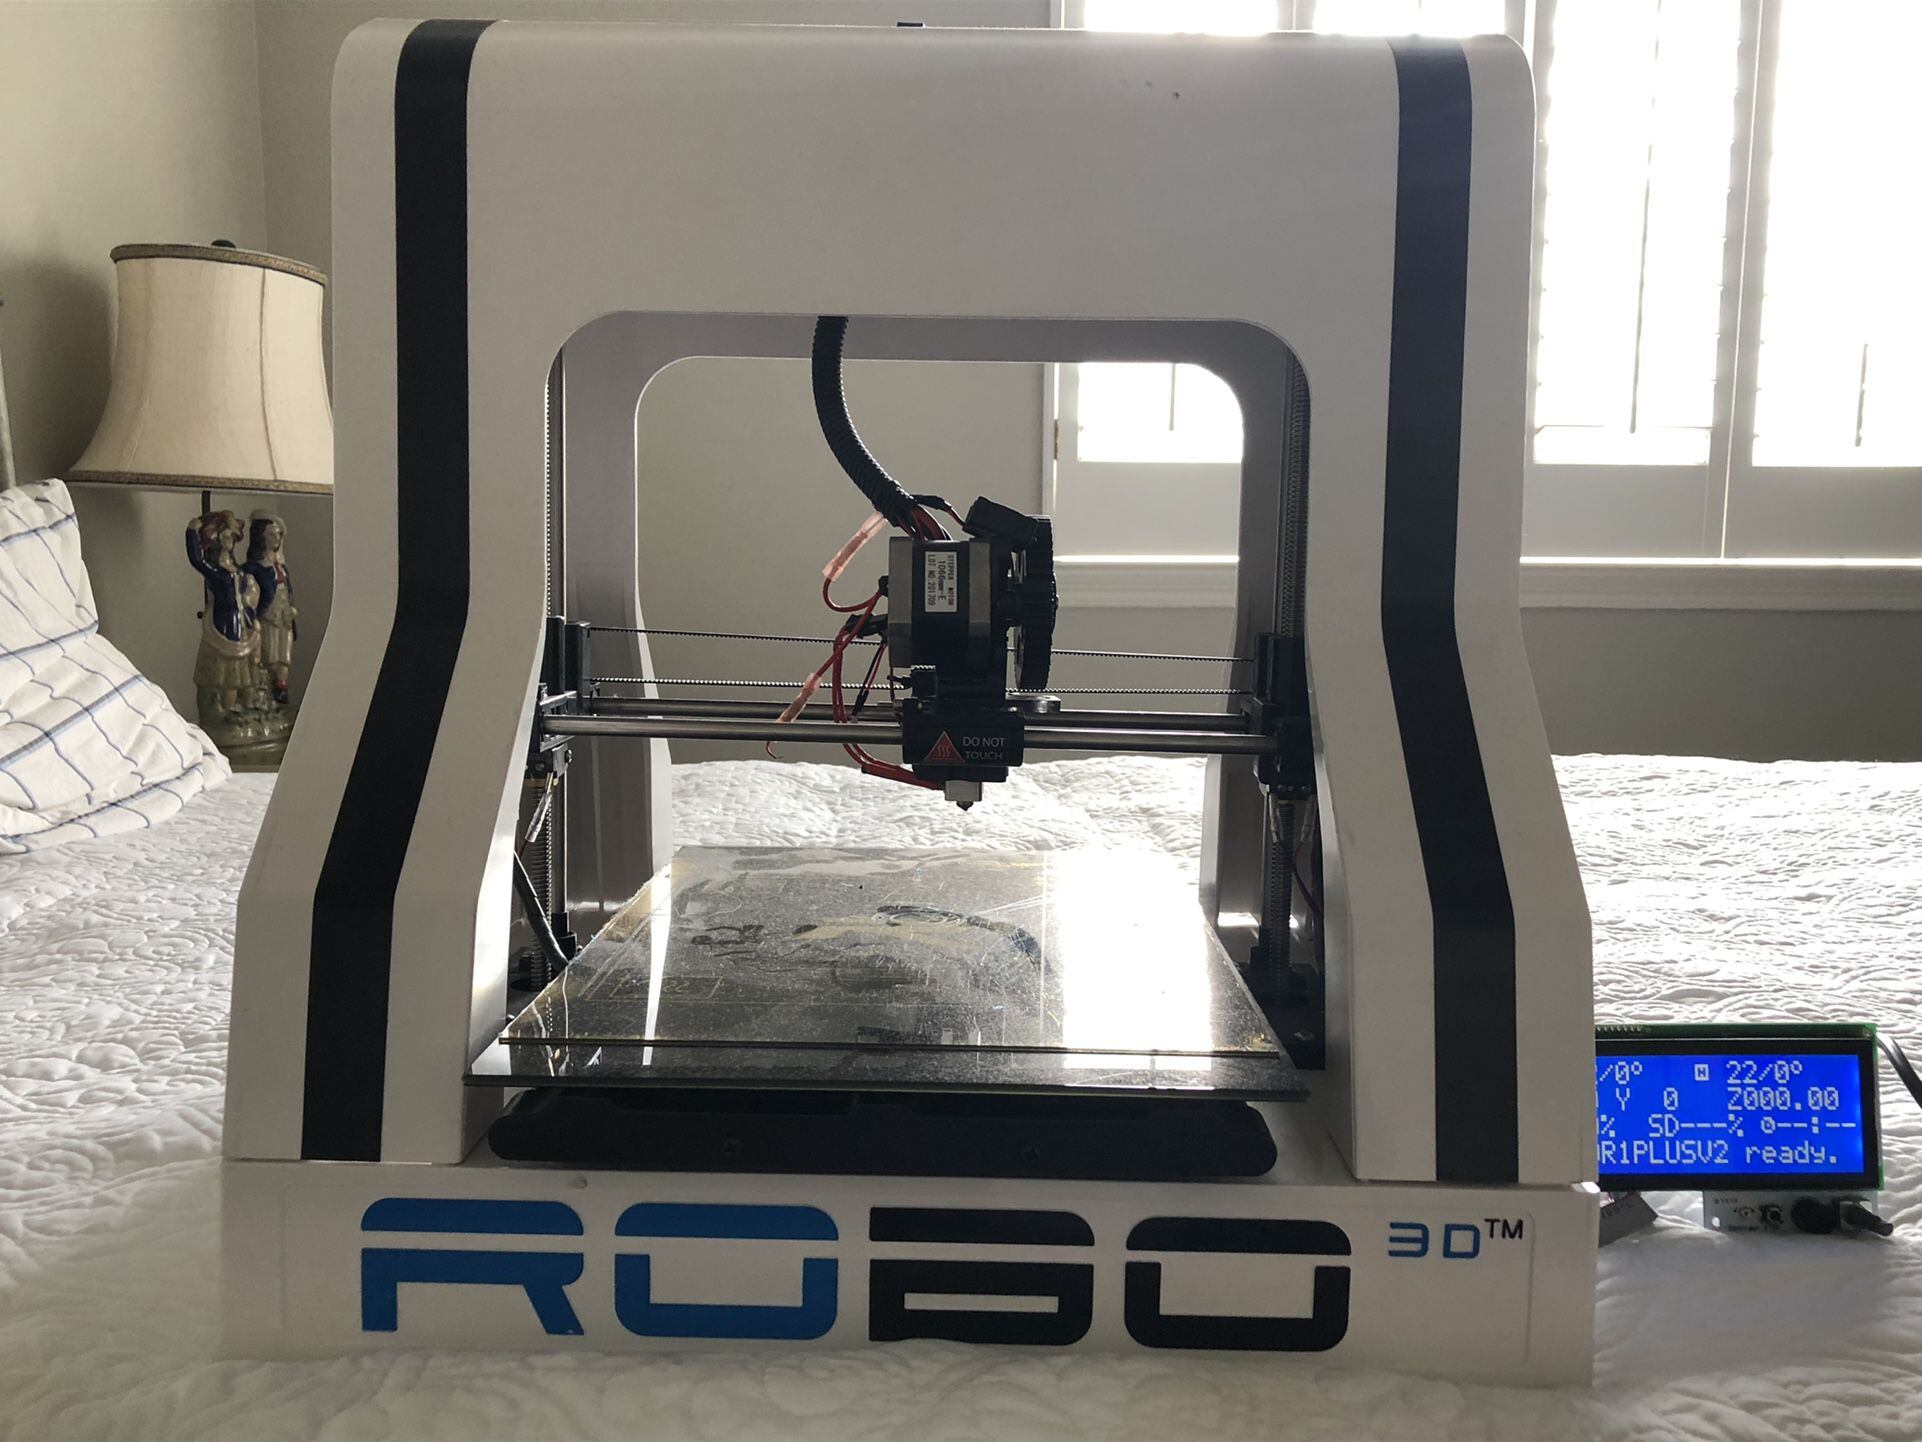
- Step 3: Inserting the SD card into the Robo Personal 3D Printer: Locate the SD card slot on your Robo Personal 3D Printer. It is usually located near the control panel or on the side of the printer. Gently insert the SD card into the slot, taking care not to force it in the wrong way. Ensure that the card is securely inserted, as loose connections may interrupt the printing process.
- Step 4: Selecting and printing files from the SD card: Once the SD card is inserted, navigate through the printer’s interface to access the SD card files. Use the printer’s control panel or LCD screen to browse through the folders and select the desired 3D model file for printing. Follow the on-screen instructions to specify the desired print settings, such as print quality, infill density, and support structures. Once you have configured the settings, initiate the printing process and monitor the progress as your Robo Personal 3D Printer brings your design to life.
Following these steps will enable a seamless and efficient experience when using the SD card with your Robo Personal 3D Printer. Remember to keep your SD card protected and stored safely when not in use to prevent damage or data loss.
Step 1: Formatting the SD card
Before using the SD card with your Robo Personal 3D Printer, it’s essential to format the card to ensure compatibility and optimal performance. Formatting the card will erase any existing data and set it up for storing and transferring your 3D models. Here’s a step-by-step guide on how to format an SD card:
- Insert the SD card: Locate the SD card slot on your computer or use an external card reader. Insert the SD card into the appropriate slot, ensuring it is fully inserted and properly aligned.
- Access the formatting options: Open “File Explorer” (Windows) or “Finder” (Mac) and navigate to “This PC” or “My Computer” (Windows) or “Devices” (Mac). Locate the SD card drive, which is usually labeled as “Removable Disk,” “SD Card,” or something similar. Right-click on the SD card drive icon and select “Format” from the drop-down menu.
- Choose the file system format: A formatting window will appear. Select the relevant file system format for the SD card. The recommended format for SD cards is usually FAT32, which is widely compatible with devices. However, if your SD card is larger than 32GB, you may need to choose exFAT or NTFS depending on your operating system’s compatibility.
- Optional: Name the SD card: You can choose to provide a name for the SD card in the “Volume Label” or “Name” field. This step is not necessary but can help you identify the card when multiple SD cards are used.
- Start the formatting process: Double-check the selected options, ensuring that all data on the SD card has been backed up elsewhere if necessary. Click on the “Start” or “Format” button to initiate the formatting process.
- Wait for the formatting to complete: The formatting process may take a few moments to complete, depending on the size of the SD card. Avoid removing or disconnecting the SD card during this time to prevent any potential data corruption.
- Formatting complete: Once the formatting process is finished, a notification will appear indicating that the formatting was successful. You can now safely remove the SD card from your computer or card reader.
Formatting your SD card before using it with your Robo Personal 3D Printer ensures that it is ready to store and transfer your 3D models reliably. Remember to format the SD card again if you decide to use it with a different device that requires a different file system format.
Step 2: Transferring files to the SD card
Once you have formatted your SD card, the next step is to transfer your 3D model files onto the card. This process allows you to conveniently store and organize your designs for printing on your Robo Personal 3D Printer. Here’s a step-by-step guide on transferring files to the SD card:
- Connect the SD card: Insert the SD card into your computer’s SD card slot or use an external card reader to connect it to your computer.
- Locate your 3D models: Open the folder or directory where your 3D model files are saved on your computer. This could be a folder dedicated to your designs, or you may need to navigate through your computer’s file explorer to locate the specific files.
- Select the files: Select the 3D model files you want to transfer to the SD card. You can use the Ctrl key (Windows) or the Command key (Mac) to select multiple files at once.
- Copy the files: Once the files are selected, right-click on one of the selected files and choose the “Copy” option. Alternatively, you can use the Ctrl+C (Windows) or Command+C (Mac) keyboard shortcuts.
- Navigate to the SD card: Open the folder or directory where the SD card is recognized on your computer. This may appear as a removable disk in your file explorer.
- Paste the files: Right-click inside the SD card folder and select the “Paste” option. Alternatively, you can use the Ctrl+V (Windows) or Command+V (Mac) keyboard shortcuts to paste the files onto the SD card.
- Ensure successful transfer: Once the copying process is complete, verify that the transferred files appear on the SD card. You can double-check by opening the SD card folder and confirming that the files are present.
- Safely eject the SD card: Before removing the SD card from your computer, ensure that it is safely ejected to prevent data corruption. Right-click on the SD card drive and select the “Eject” or “Safely Remove” option. Wait for the notification that it is safe to remove the card.
Following these steps will enable you to easily transfer your 3D model files from your computer to the SD card. Once the files are successfully transferred, you can proceed to insert the SD card into your Robo Personal 3D Printer and start printing your designs.
Step 3: Inserting the SD Card into the Robo Personal 3D Printer
With your 3D model files safely stored on the SD card, the next step is to insert the card into your Robo Personal 3D Printer. Follow these steps to ensure a proper and secure insertion:
- Power off the 3D printer: Before inserting or removing the SD card, make sure that your Robo Personal 3D Printer is powered off. This will prevent any potential damage to the card or the printer.
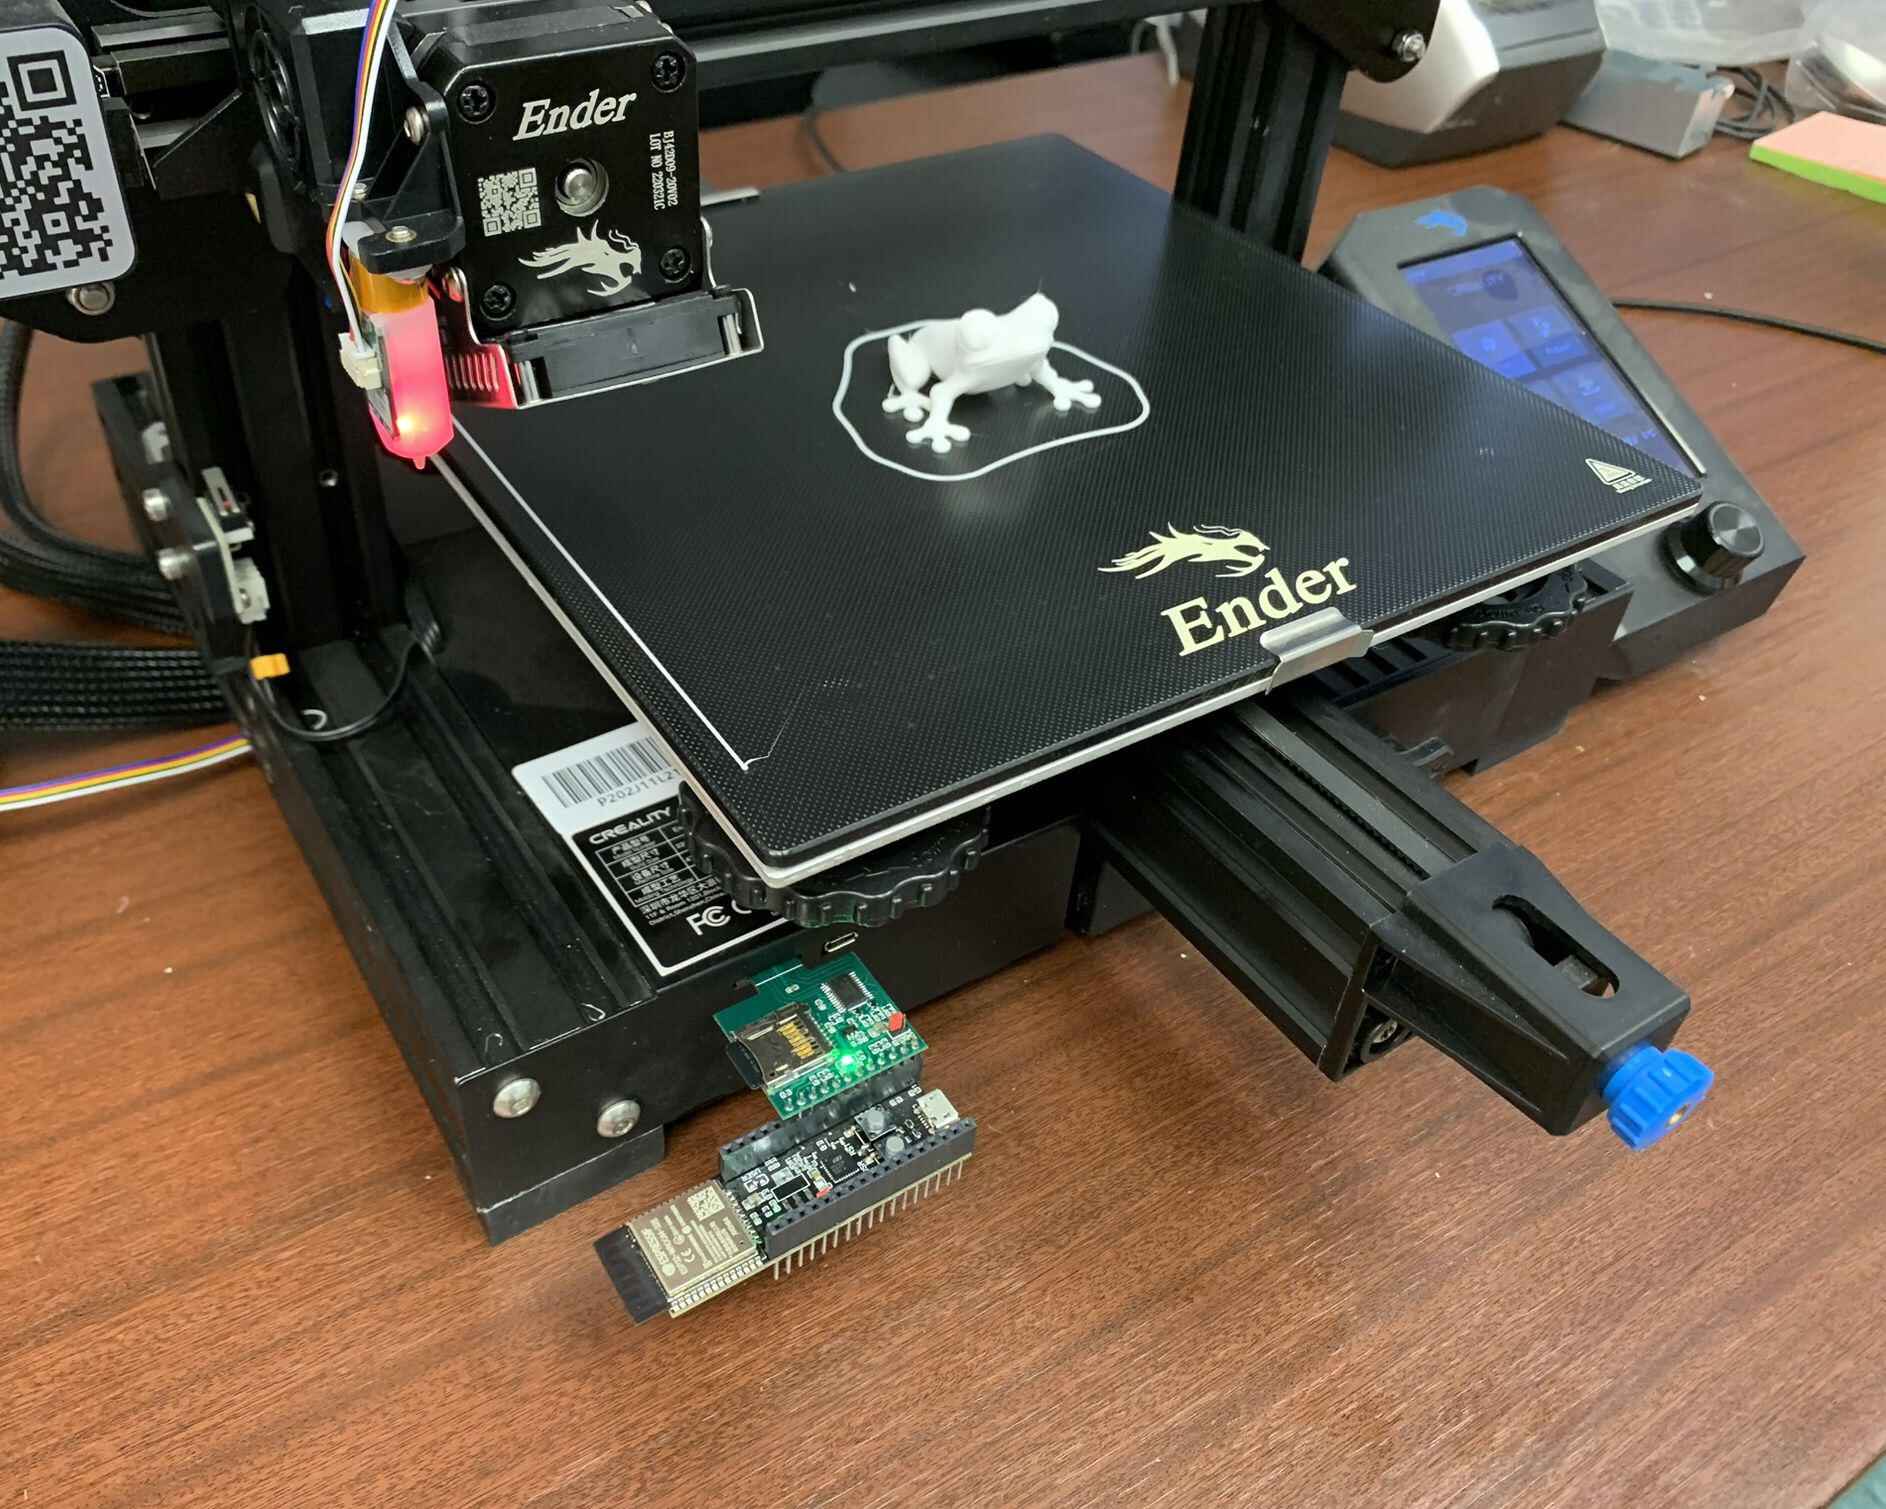
- Locate the SD card slot: Identify the location of the SD card slot on your Robo Personal 3D Printer. Typically, it is situated near the control panel or on the side of the printer. Refer to your printer’s user manual if you’re unsure about the exact location.
- Prepare the SD card: Ensure that the SD card is properly oriented before insertion. Look for the notch or a small groove on one side of the card. This indicates the correct direction for insertion and helps prevent the card from being inserted upside down.
- Insert the SD card: Gently insert the SD card into the designated slot, following the correct orientation. Apply firm but gentle pressure until the card is fully inserted. Avoid applying excessive force, as this may damage the card or the card slot.
- Ensure a secure connection: Once inserted, verify that the SD card is securely connected to the printer. It should fit snugly into the slot without any loose movements. Double-check that the card is properly aligned and fully inserted, as an incomplete connection may lead to printing errors or interruptions.
By following these steps, you can confidently insert the SD card into your Robo Personal 3D Printer, ensuring a reliable connection. With the SD card securely in place, you can now proceed to access and select the 3D model files for printing on your printer’s interface.
Step 4: Selecting and Printing Files from the SD Card
Now that the SD card is inserted into your Robo Personal 3D Printer, you are ready to select and print your desired files. Here is a step-by-step guide on how to navigate the printer’s interface and initiate the printing process:
- Power on the 3D printer: Turn on your Robo Personal 3D Printer and allow it to fully boot up. Ensure that the SD card is securely inserted before proceeding.
- Access the SD card files: Navigate through the printer’s menu or control panel options to find the “SD Card” or “Files” section. Depending on your printer model, you may need to select the option that allows you to browse the contents of the SD card.
- Browse and select the desired file: Use the printer’s interface to navigate through the folders and files on the SD card. Choose the 3D model file that you want to print by highlighting it or selecting it with the printer’s control buttons.
- Configure print settings: Before initiating the printing process, you may need to configure certain print settings. Use the printer’s interface to adjust parameters such as print quality, layer height, infill density, and support structures. Follow the on-screen instructions or refer to your printer’s user manual for guidance on the specific settings.
- Initiate the printing process: Once you have selected and configured the print settings, proceed to start the printing process. The printer will begin the preheating phase, where it warms up the 3D printing material. Once the desired temperature is reached, the printing will begin.
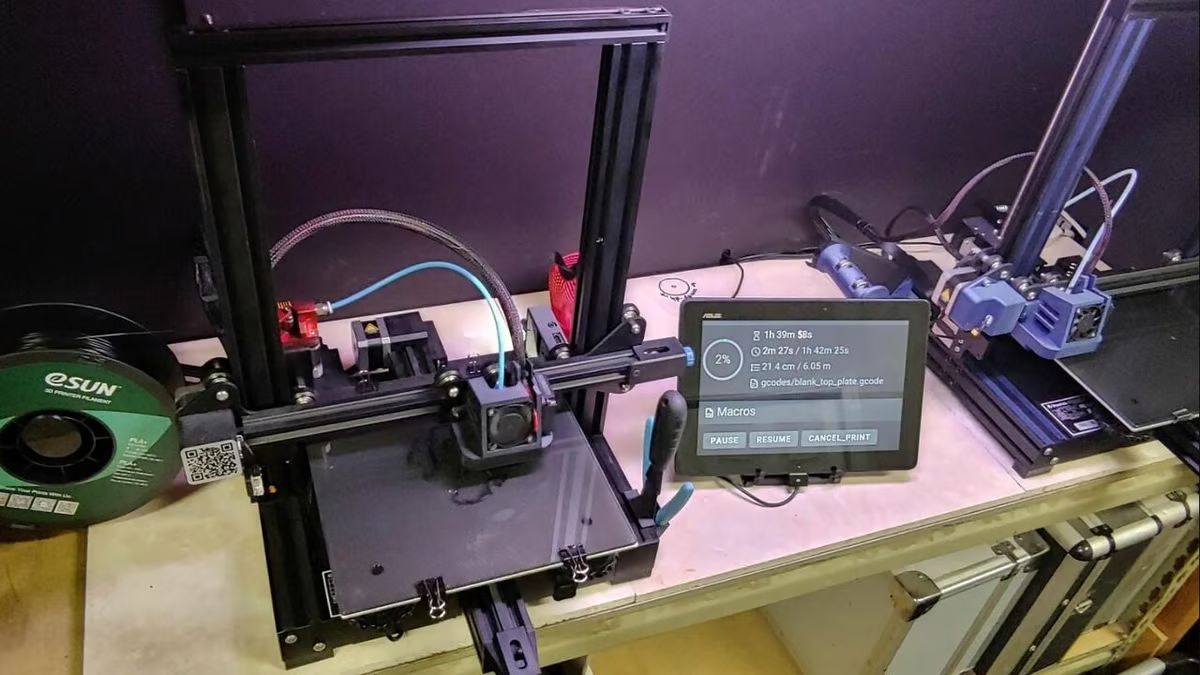
- Monitor the printing progress: While the printer is working, closely monitor the printing progress. Pay attention to any error messages or alerts that may appear on the printer’s interface. This will allow you to address any issues promptly, ensuring a successful printing outcome.
- Complete the printing process: Once the printing is complete, allow the printed object to cool down before removing it from the printer’s build plate. Take care when handling the printed object, as it may still be fragile or hot, depending on the material used.
Following these steps will guide you through the process of selecting and printing files directly from the SD card using your Robo Personal 3D Printer. Enjoy the convenience and freedom that comes with using an SD card for seamless 3D printing.
Tips and Tricks for Using the SD Card Efficiently
Using an SD card with your Robo Personal 3D Printer can greatly streamline your printing process. To ensure an efficient and hassle-free experience, consider the following tips and tricks:
- Organize your files: Create folders on the SD card to categorize and organize your 3D model files. This can help you easily locate specific designs and minimize searching time.
- Keep backups: While the SD card serves as a convenient storage solution, it’s always wise to keep backups of your important 3D model files. Consider regularly transferring your files to a computer or other storage devices to prevent any data loss.
- Choose a reliable SD card: Invest in a high-quality and reliable SD card that has sufficient storage capacity for your needs. Look for cards with good read and write speeds to ensure smooth file transfer and printing processes.
- Maintain good file hygiene: Periodically clean up and delete any unnecessary or outdated files on the SD card. This will free up space and help keep your card organized.
- Resize large files: If a 3D model file is too large to fit on the SD card, consider resizing or optimizing it to reduce its size while preserving its integrity. Many 3D modeling software programs have options for file compression and size reduction.
- Label your SD card: Consider labelling your SD card with a unique identifier to differentiate it from other cards you may own. This can help you keep track of which card is associated with which set of files or projects.
- Regularly check for software updates: Keep your Robo Personal 3D Printer’s firmware and software up to date. Manufacturers often release updates that can improve compatibility, stability, and performance when using an SD card.
- Be cautious with file removal: When removing the SD card from the printer or computer, always eject it safely to prevent any potential data corruption. Avoid unmounting the card while printing or transferring files.
- Format the SD card when needed: If you encounter any issues with file compatibility or performance, consider formatting the SD card again. This can help resolve potential conflicts and ensure a fresh start.
By implementing these tips and tricks, you can optimize your usage of the SD card with your Robo Personal 3D Printer. Enjoy a more efficient and organized workflow, allowing you to focus on the creative aspects of your 3D printing projects.
Troubleshooting Common Issues with SD Card Usage
While using an SD card with your Robo Personal 3D Printer can be convenient, you may encounter some common issues along the way. Here are some troubleshooting tips to help you overcome these challenges:
- SD card not recognized: If the printer does not recognize the SD card, ensure that it is properly inserted into the card slot. Try removing and reinserting the card, making sure it is securely connected. If the issue persists, check if the SD card is formatted correctly and try formatting it again if necessary.
- File compatibility issues: Some printers have specific file format requirements. Verify that your 3D model files are saved in a compatible file format, such as STL or OBJ. If necessary, use modeling software or online converters to convert the files to the appropriate format.
- Printing errors: If you encounter errors during the printing process or the print result is not as expected, double-check the file on the SD card. Ensure that it is not corrupted or improperly transferred. Consider transferring the file to the SD card again or trying a different file to isolate the issue.
- Slow transfer speeds: If transferring files to the SD card takes longer than usual, ensure that the card is not nearly full. Free up space on the card by deleting unnecessary or unused files. Additionally, check the read and write speed specifications of the SD card to ensure it meets your requirements.
- Corrupted files: If you encounter corrupted files on the SD card, try transferring them again from a backup source. In some cases, a damaged or faulty SD card may be the culprit. Consider using a different SD card or consulting with the manufacturer for troubleshooting assistance.
- Physical damage: If your SD card becomes physically damaged or bent, it may no longer function properly. Avoid excessive bending or mishandling of the card. If the card is visibly damaged, it may be necessary to replace it.
- Incompatible SD card: It’s important to check the compatibility of the SD card with your Robo Personal 3D Printer. Some printers may have specific constraints or limitations on the type of SD card they can support. Refer to your printer’s user manual or contact the manufacturer for information regarding compatible SD cards.
Remember, troubleshooting SD card issues can sometimes involve trial and error. It’s always beneficial to keep backups of important files and regularly maintain your SD card to prevent data loss. If you encounter persistent issues, don’t hesitate to seek support from the manufacturer or the printer’s community for further assistance.
Conclusion
Using an SD card with your Robo Personal 3D Printer can significantly enhance your 3D printing experience. It provides convenience, portability, and the ability to print without the need for a continuous computer connection. Following the step-by-step guide outlined in this article, you can easily format the SD card, transfer files, insert it into the printer, and select files for printing.
By efficiently utilizing the SD card, you can organize your files, keep backups, and optimize your printing workflow. Remember to troubleshoot common issues that may arise, such as file compatibility or card recognition problems. Following the tips and tricks mentioned here will help you have a seamless and successful experience with SD card usage.
With the convenience and flexibility offered by an SD card, you can unlock new possibilities for 3D printing. Whether you’re a hobbyist, educator, or professional, incorporating an SD card into your printing process can streamline your workflow and give you more freedom to create and print your designs.
So, embrace the simplicity and convenience of using an SD card with your Robo Personal 3D Printer and enjoy the endless opportunities for bringing your 3D visions to life.