Introduction
Welcome to the exciting world of 3D printing! With advancements in technology, 3D printing has become more accessible and affordable, allowing hobbyists, professionals, and enthusiasts to bring their ideas to life. Whether you are a beginner or have some experience in 3D printing, understanding how to send commands to your 3D printer is crucial for achieving the desired results.
In this article, we will explore the various methods of sending commands to a 3D printer. We will discuss the different ways to connect to your printer, such as via USB, SD card, or Wi-Fi. Additionally, we will delve into commonly used G-Code commands and provide insights on how to handle errors and troubleshoot common issues.
By the end of this article, you will have a solid understanding of how to communicate with your 3D printer and unleash your creativity through precise and accurate command execution.
So, let’s dive into the intricacies of sending commands to a 3D printer and discover the fascinating possibilities that await!
Understanding 3D Printer Commands
Before we delve into the specifics of sending commands to a 3D printer, it’s crucial to understand the structure and language behind these commands. 3D printer commands are typically written in G-Code, which is a language specific to the 3D printing industry.
G-Code commands are a set of instructions that tell the printer how to move, extrude filament, control the temperature, and perform other necessary tasks. These commands are parsed by the printer’s firmware, which then executes them in a sequential manner.
Each command in G-Code is comprised of a letter followed by a number or set of parameters. For example, the command “G1 X10 Y20” tells the printer to move the X-axis 10 units and the Y-axis 20 units. Similarly, the command “M104 S200” sets the nozzle temperature to 200 degrees Celsius.
It’s important to note that different printers may have variations in the specific G-Code commands they support. However, the basic commands related to movement, extrusion, and temperature control remain standardized.
Understanding G-Code commands allows you to have fine-grained control over your 3D printer’s behavior. You can adjust parameters such as print speed, layer height, infill density, and more. This level of control enables you to optimize the printing process for different materials and achieve the desired quality for your prints.
In the next sections, we will explore various methods of sending G-Code commands to your 3D printer, including USB connections, SD card transfers, and using Wi-Fi capabilities. Let’s continue our journey towards mastering the art of sending commands to a 3D printer.
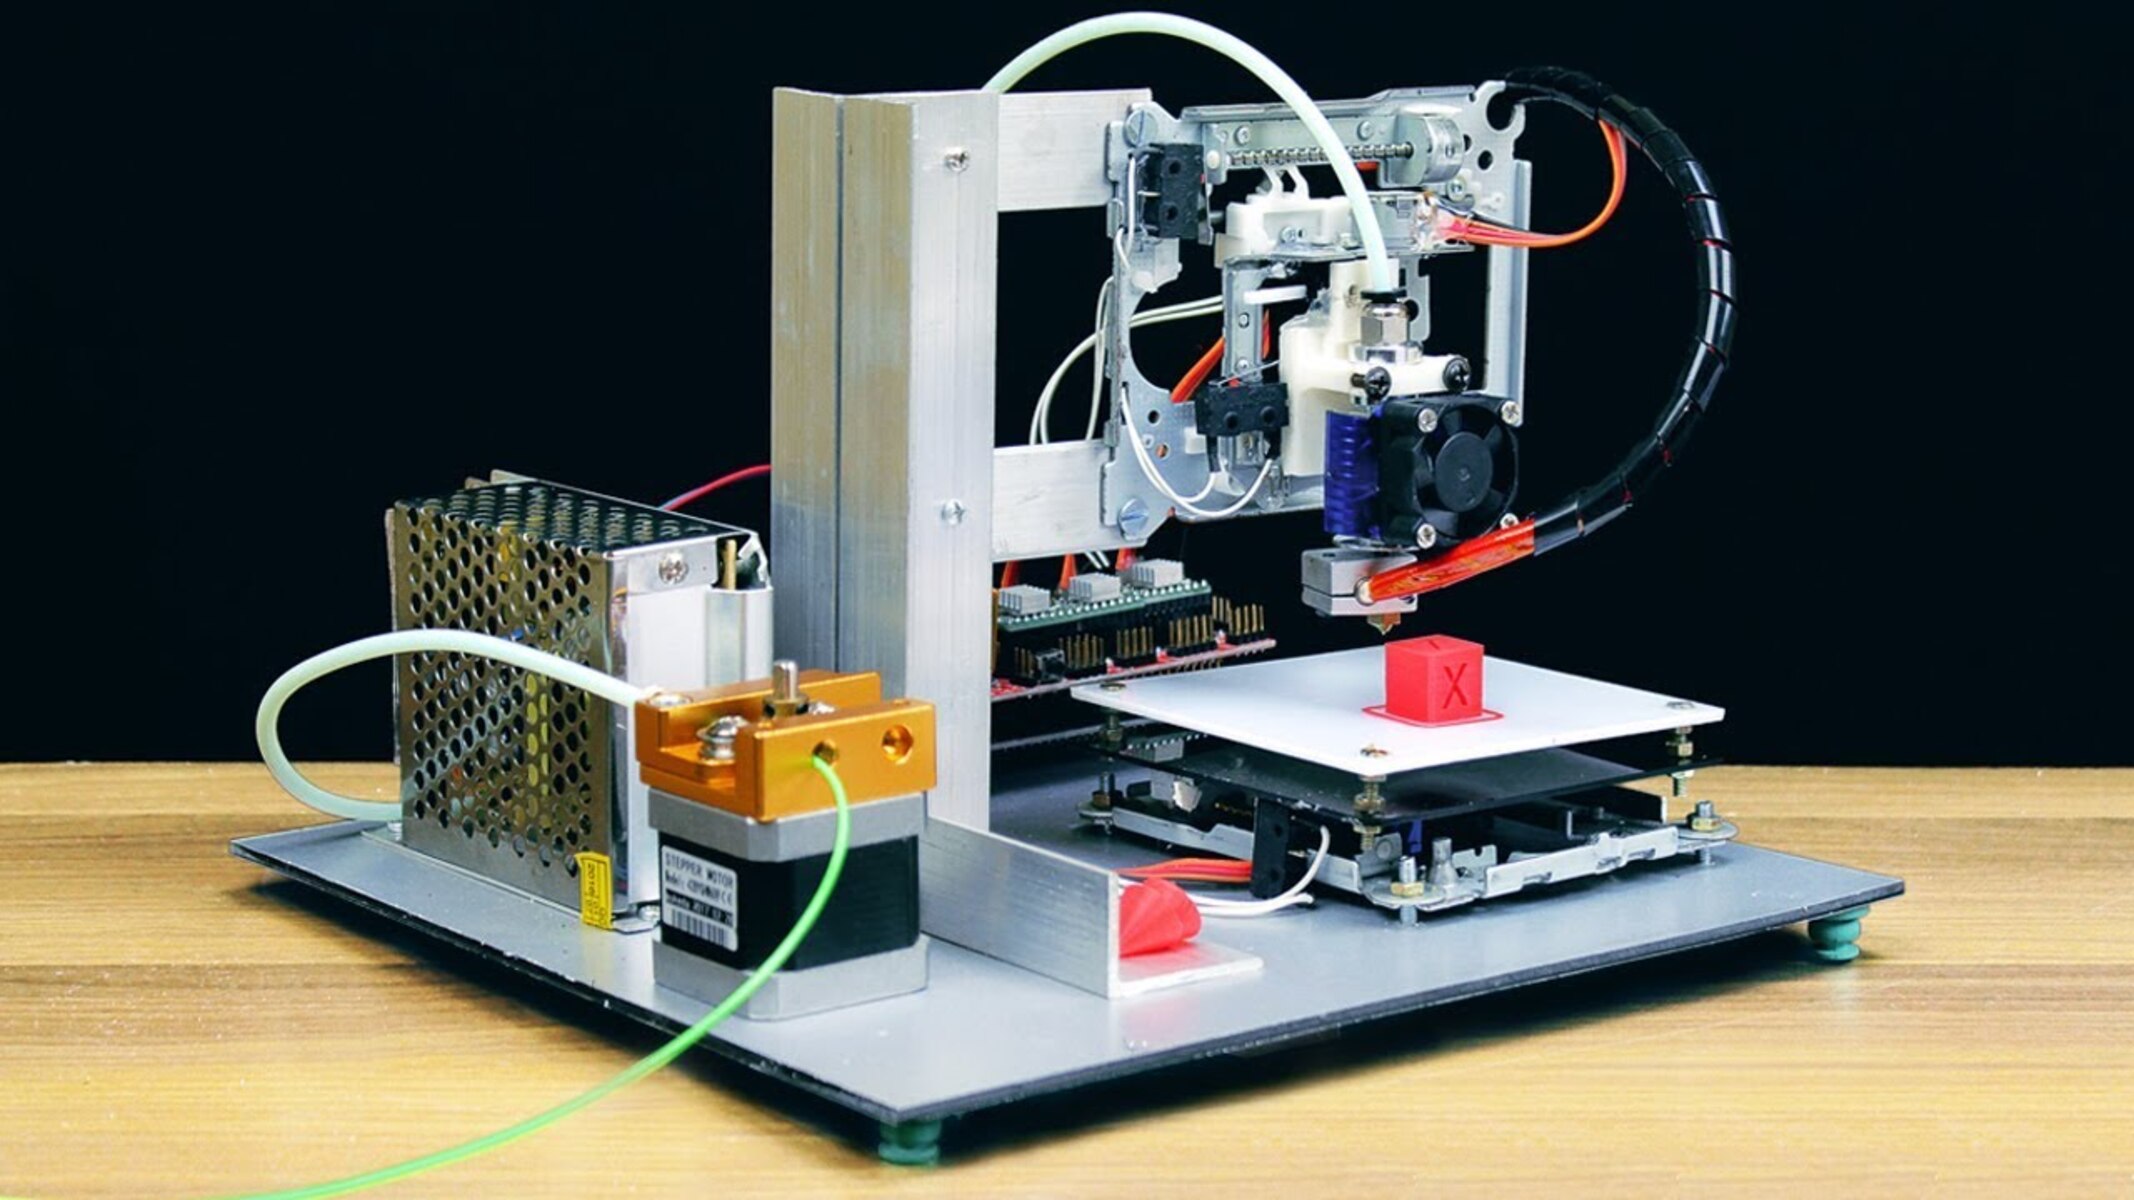
Connecting to Your 3D Printer
Before you can start sending commands to your 3D printer, you need to establish a connection between your computer or device and the printer itself. The method of connection may vary depending on the model and capabilities of your printer. Here are three common ways to connect to a 3D printer:
- USB Connection: The most straightforward method is to connect your 3D printer to your computer using a USB cable. This allows for a direct and reliable connection. Once connected, you can use specialized software to send commands to the printer and monitor the printing progress in real-time.
- SD Card: Many 3D printers have an SD card slot, allowing you to store your G-Code files on an SD card. By transferring your files to the card, you can disconnect your printer from your computer and initiate prints directly from the SD card. This method is convenient and eliminates the need for a constant computer connection during printing.
- Wi-Fi: Some advanced 3D printers come equipped with Wi-Fi capabilities, enabling wireless communication between your computer or device and the printer. By connecting both devices to the same Wi-Fi network, you can send commands wirelessly, eliminating the need for physical cables. This method offers flexibility and convenience, allowing you to control and monitor your printer from a distance.
It’s important to consult your printer’s manual or manufacturer’s instructions to determine the specific steps and requirements for establishing each type of connection. Some printers may require you to install additional software or drivers to enable communication.
Once you have successfully established a connection, you are ready to start sending commands to your 3D printer. In the following sections, we will explore the steps involved in sending commands via USB, SD card, and Wi-Fi, as well as common G-Code commands used in 3D printing. Let’s continue our journey into the fascinating world of 3D printing!
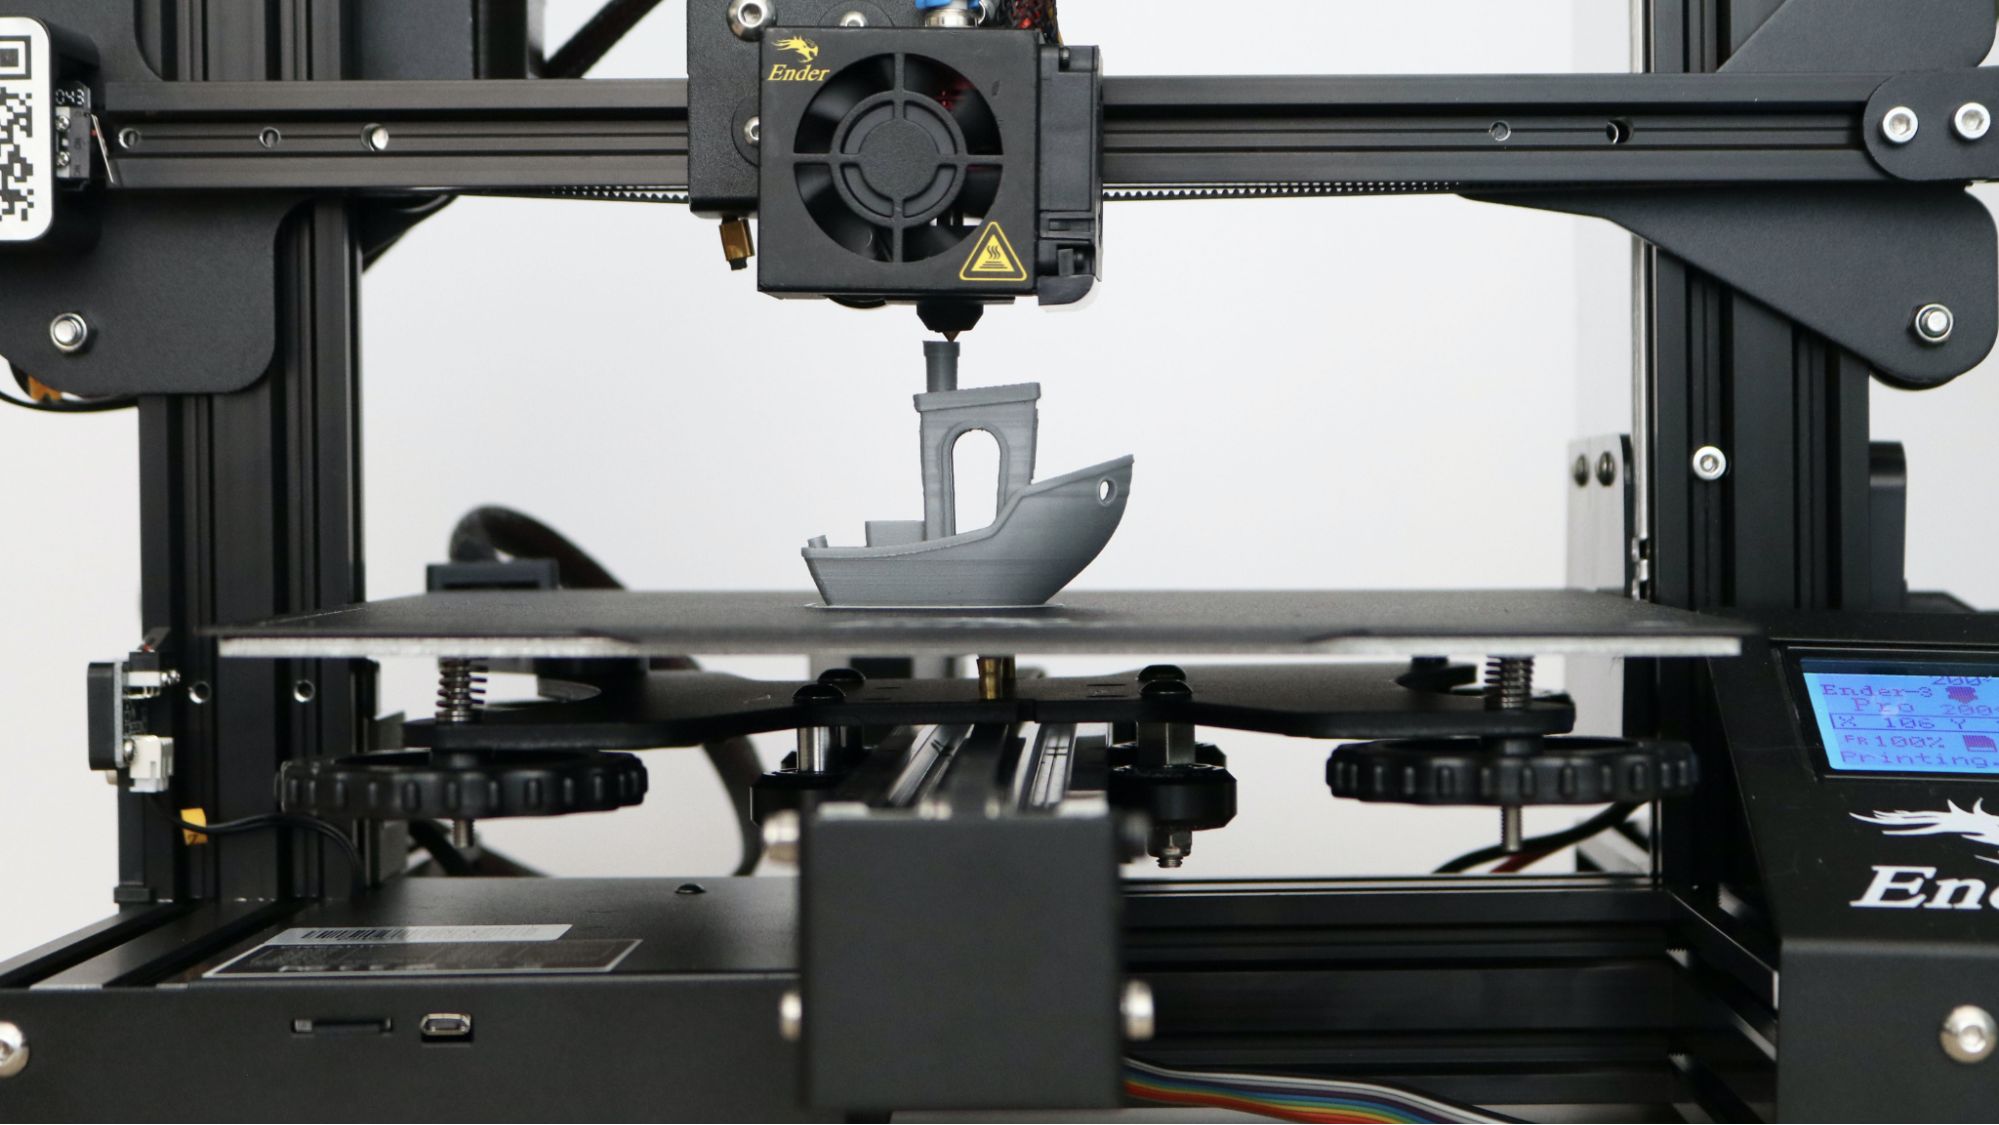
Sending Commands via USB
One of the most common and reliable methods of sending commands to a 3D printer is through a USB connection. This method allows for a direct and robust communication between your computer and the printer. Here’s how you can send commands via USB:
- Connect the USB Cable: Start by connecting one end of the USB cable to your 3D printer and the other end to your computer. Ensure that both devices are powered on.
- Install Printer Drivers: If this is your first time connecting the printer to your computer, you may need to install the necessary printer drivers. These drivers facilitate the communication between your computer’s operating system and the printer. Check the manufacturer’s website or the printer’s manual for the appropriate drivers.
- Choose Printer Communication Software: Depending on your printer’s brand and model, there may be specific software available for sending commands to the printer. Examples include Pronterface, Repetier Host, or OctoPrint. Install the software that is compatible with your printer.
- Open the Communication Software: Launch the communication software on your computer and ensure that it is configured to communicate with the correct printer port. You can usually select the appropriate port from a drop-down menu within the software’s settings or configuration options.
- Load and Send G-Code Files: With the communication software open, you can now load your G-Code files. These files contain the specific commands that the printer will execute. You can either create your own G-Code files or obtain them from various sources, such as online 3D model repositories or slicing software.
- Monitor and Control the Print: Once the G-Code file is loaded, you can preview the model and adjust any printing parameters if necessary. Monitor the printing progress and use the software’s interface to control aspects such as print speed, temperature, and filament extrusion.
By following these steps, you can successfully send commands to your 3D printer via a USB connection. Be sure to consult your printer’s manual or the software’s documentation for any specific instructions related to your printer model. With a USB connection established, you have a direct and reliable method of controlling your printer and bringing your creations to life.
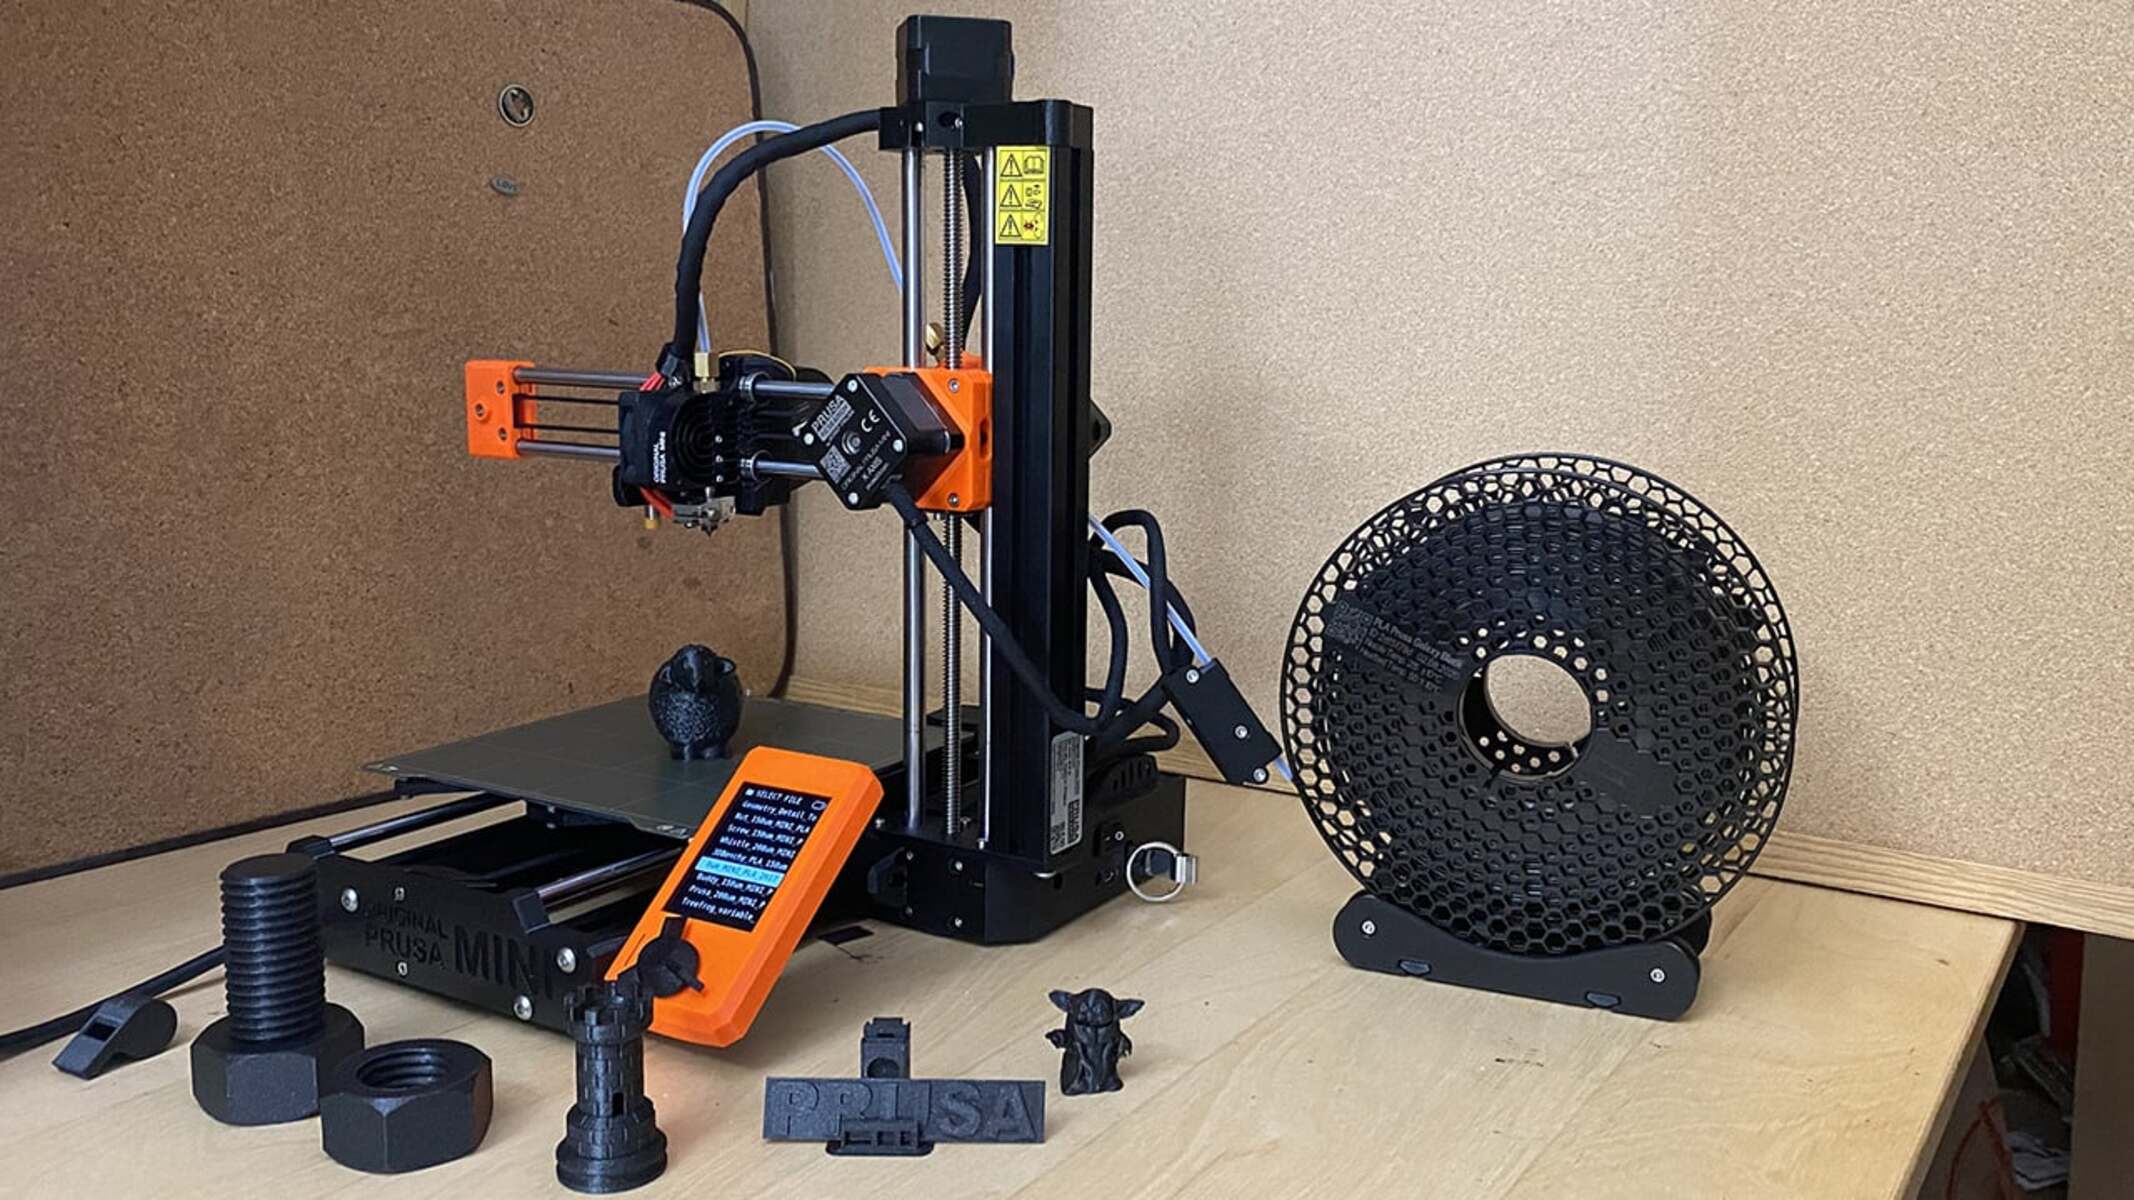
Sending Commands via SD Card
If your 3D printer is equipped with an SD card slot, you have the option to send commands to the printer using an SD card. This method allows for standalone operation, as you can transfer your G-Code files to the SD card and initiate prints without the need for a continuous computer connection. Here’s how you can send commands via SD card:
- Prepare the SD Card: Insert the SD card into your computer’s card reader or use an external card reader if needed. Ensure that the SD card is properly formatted and empty, or contains only the G-Code files you wish to print.
- Transfer G-Code Files: Copy your G-Code files from your computer to the SD card. You can do this by simply dragging and dropping the files into the SD card’s directory. It’s recommended to organize the files in a logical manner, such as creating a separate folder for each print job.
- Insert the SD Card: Remove the SD card from your computer and insert it into the SD card slot on your 3D printer. Ensure that it is fully inserted and properly seated in the slot.
- Access the SD Card Menu: With the SD card inserted, navigate to the menu or settings on your 3D printer’s display. Look for an option to access the SD card menu or print files from the SD card.
- Select and Print: Browse the files on the SD card using your printer’s interface and select the desired G-Code file for printing. Follow any prompts or settings prompts for that specific file, such as selecting the print speed or print temperature.
- Monitor the Print: Once the printer starts the print job, you can monitor the progress using the printer’s display or through any provided status updates. Ensure that the printer is functioning correctly and that the print adheres to your desired parameters.
By utilizing the SD card functionality of your 3D printer, you can achieve standalone operation and minimize the need for a computer connection. This method is particularly useful if you want to initiate prints remotely or if you need your computer for other tasks while the prints are in progress. However, keep in mind that you will not have real-time control over the print settings using this method.
Remember to consult your printer’s manual for any specific instructions or limitations regarding the use of SD cards. With the ability to send commands via an SD card, you can easily print your creations with convenience and flexibility.
Sending Commands via Wi-Fi
If your 3D printer supports Wi-Fi connectivity, you have the convenience of sending commands wirelessly from your computer or device. This method eliminates the need for physical cables and allows for greater flexibility in controlling and monitoring your printer. Here are the steps to send commands via Wi-Fi:
- Connect the Printer to Wi-Fi: Start by connecting your 3D printer to your Wi-Fi network. Follow the instructions provided by the printer’s manufacturer on how to establish a Wi-Fi connection. This may involve navigating through the printer’s settings menu or using a dedicated software application.
- Install Wi-Fi Printer Software: To communicate with your printer over Wi-Fi, you will need to install the appropriate software on your computer or device. This software acts as the intermediary between your computer and the printer, enabling you to send commands wirelessly. Examples of popular Wi-Fi printer software include OctoPrint or Repetier-Server.
- Configure Wi-Fi Printer Software: Launch the Wi-Fi printer software on your computer or device, and configure it to connect to your specific printer. This typically involves entering the IP address or hostname of the printer, as well as any required login credentials.
- Upload G-Code Files: Using the Wi-Fi printer software, you can upload your G-Code files to the printer. This can be done through a user-friendly interface, allowing you to select the files you want to print and send them wirelessly to the printer.
- Monitor and Control the Print: With the files uploaded, you can monitor the progress of the print job using the Wi-Fi printer software. The software provides real-time updates on the printing status, including temperature, progress, and any errors or warnings. Some software also allows you to adjust print settings on the fly, such as print speed or extrusion multiplier.
- Remote Access: One of the major advantages of sending commands via Wi-Fi is the ability to remotely access and control your printer. Many Wi-Fi printer software applications provide a web-based interface, allowing you to connect to your printer from anywhere with an internet connection. This enables you to start or monitor prints while away from the printer.
Sending commands to your 3D printer via Wi-Fi offers a convenient and flexible way to control your printer and unleash your creativity. It allows for remote access, real-time monitoring, and the freedom to send commands from multiple devices within your Wi-Fi network. Keep in mind that the specific steps may vary depending on the Wi-Fi printer software and printer model you are using, so consult the respective documentation for any unique instructions.
With the power of Wi-Fi connectivity, you can seamlessly integrate your 3D printer into your digital workflow and explore new horizons in the world of 3D printing.
Commonly Used G-Code Commands
G-Code commands are the backbone of 3D printing, offering precise control over various aspects of the printing process. Familiarizing yourself with commonly used G-Code commands empowers you to optimize print quality, adjust settings, and achieve the desired results. Here are some commonly used G-Code commands:
- G0/G1 – Move: These commands instruct the printer to move along the specified axes. G0 is used for rapid movement, while G1 is used for controlled and precise movement. For example, “G0 X10 Y20” moves the print head to the X10 Y20 position.
- G28 – Home: The G28 command is used to home the printer, which means it moves the print head to the predefined home position. This position is where the printer considers all axes to be at their zero points.
- G92 – Set Position: The G92 command allows you to set the current position of the printer without physically moving it. For example, “G92 X0 Y0” sets the current position to X0 Y0.
- M104/M109 – Set Nozzle Temperature: These commands control the temperature of the printer’s nozzle. M104 sets the nozzle temperature without waiting, while M109 waits for the nozzle to reach the desired temperature before proceeding.
- M140/M190 – Set Bed Temperature: Similar to the nozzle temperature commands, these commands control the temperature of the printer’s heated bed. M140 sets the bed temperature without waiting, while M190 waits for the bed to reach the desired temperature before proceeding.
- M82/M83 – Set Extruder Mode: These commands determine the extruder mode and how the printer interprets extrusion commands. M82 sets the mode to absolute positioning, while M83 sets it to relative positioning.
- M106/M107 – Fan Control: These commands control the cooling fan of the printer. M106 turns on the fan at a specified speed, while M107 turns it off.
- M104/M140 – Turn Off Temperature: These commands turn off the nozzle and bed temperature respectively. M104 turns off the nozzle temperature, while M140 turns off the bed temperature.
These are just a few examples of commonly used G-Code commands in 3D printing. Each printer model and firmware may support additional commands or variations. It’s important to consult your printer’s documentation and firmware specifications to ensure compatibility and understand the specific commands it supports.
By mastering these commands, you gain the ability to fine-tune your printer’s behavior and produce high-quality prints. Experimenting with different settings and understanding the impact of each command allows you to unleash your creativity and achieve remarkable results in 3D printing.
Handling Errors and Troubleshooting
While 3D printing can be a rewarding and exciting process, it’s not uncommon to encounter errors or face challenges along the way. Understanding how to handle errors and perform troubleshooting is essential for achieving successful prints. Here are some common issues and troubleshooting tips:
- Print Misalignment: If you notice that your printed object is misaligned or shifted, it may be due to loose belts or pulleys. Check the tension of the belts and ensure that all pulleys are properly tightened.
- Layer Adhesion Problems: Poor layer adhesion can result in weak or brittle prints. Ensure that your print bed is clean and leveled properly. Adjust the nozzle temperature and print speed to optimize layer adhesion for the specific material you are using.
- Filament Jamming: If your filament gets stuck in the extruder, it can lead to underextrusion or failed prints. Check for any obstructions in the nozzle or extruder assembly and clean them if necessary. Adjust the extrusion temperature and make sure that the filament is properly guided through the feeding mechanism.
- Print Warping: Warping occurs when the corners or edges of a print lift off the print bed, causing uneven surfaces or print failures. Ensure that your print bed is leveled and clean. Consider using a heated bed or applying adhesive solutions like glue stick or a heated PEI sheet to improve adhesion.
- Layer Shifting: Layer shifting refers to the sudden displacement of multiple layers in one direction. This issue can be caused by several factors, such as loose belts, a faulty stepper motor, or excessive friction. Inspect and tighten all belts and pulleys, and ensure that the stepper motor is functioning properly.
- Extruder Skipping Steps: If you notice that your extruder is skipping steps or grinding against the filament, it may be due to excessive friction, incorrect extrusion settings, or a partially clogged nozzle. Check the extruder assembly for any obstructions, adjust the tension of the filament feed mechanism if necessary, and clean or replace the nozzle as needed.
- Print Quality Issues: If you’re experiencing poor print quality, such as stringing, rough surfaces, or inconsistent layering, review your slicer settings. Adjust parameters like print speed, layer height, temperature, and retraction settings to optimize print quality for your specific filament material and model geometry.
These are just a few examples of common issues and troubleshooting solutions in 3D printing. Remember to consult your printer’s documentation, online forums, or user communities for additional guidance specific to your printer model. Patience, persistence, and experimentation are key to becoming proficient in troubleshooting and achieving excellent print results.
By learning from these challenges and successfully troubleshooting issues, you will become more confident and skilled in the art of 3D printing. Embrace the learning process and don’t be discouraged by setbacks, as they present opportunities to improve and refine your printing techniques.
Conclusion
Sending commands to your 3D printer is a crucial skill for anyone venturing into the world of 3D printing. Understanding the G-Code language, different connection methods, and common troubleshooting techniques empowers you to unleash your creativity and achieve high-quality prints.
In this article, we explored the various methods of sending commands to a 3D printer. We discussed the importance of understanding G-Code commands and how they control the movement, extrusion, and temperature of the printer. We also explored different connection methods, including USB, SD card, and Wi-Fi, each offering its own advantages and convenience.
Addtionally, we touched upon commonly used G-Code commands and their impact on the printing process. These commands give you precise control over the printer’s behavior, allowing you to fine-tune settings and optimize print quality.
Furthermore, we discussed the importance of handling errors and troubleshooting common issues in 3D printing. By learning how to identify and resolve common problems such as misalignment, adhesion issues, and filament jams, you can overcome obstacles and achieve successful prints.
As you continue your journey in 3D printing, remember that practice makes perfect. Experiment with different settings, materials, and techniques to discover what works best for your specific printer and projects. Don’t be afraid to seek guidance from online communities, forums, and resources to expand your knowledge and expertise.
Now that you have a solid understanding of how to send commands to your 3D printer, it’s time to put your knowledge into action. Unleash your creativity, bring your ideas to life, and embrace the endless possibilities that 3D printing has to offer. Happy printing!