Introduction
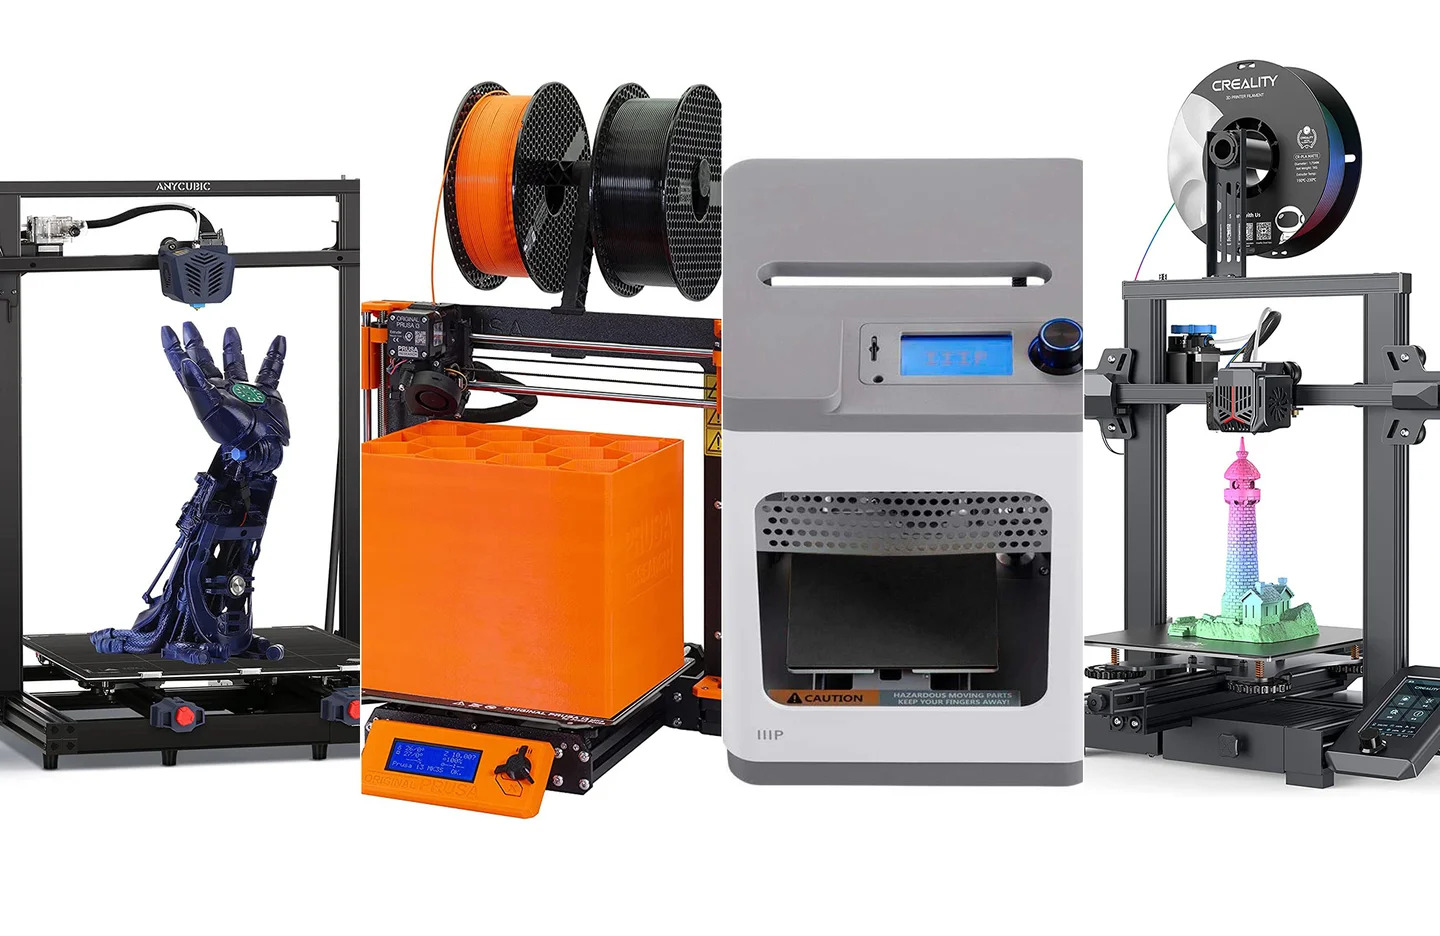
Welcome to the world of 3D printing! The ability to create three-dimensional objects from digital designs has revolutionized various industries, from manufacturing to healthcare. However, the cost of commercial 3D printers can be prohibitive for many individuals and small businesses.
But don’t worry, because in this article, we will guide you on how to make a cheap 3D printer right at home. By following these steps and gathering a few essential materials, you can embark on your journey into the exciting world of 3D printing without breaking the bank.
While it’s true that commercial 3D printers come with advanced features and higher precision, a DIY 3D printer can be a great entry point for beginners or those on a budget. By building your own 3D printer, you’ll not only save money but also gain a better understanding of the technology behind it.
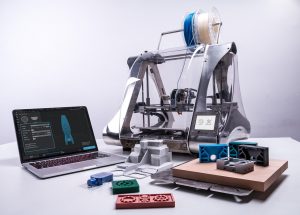
In this tutorial, we’ll walk you through the process of building a simple 3D printer using easily accessible materials. We’ll cover everything from gathering the necessary components to calibrating the printer for optimal performance. By the end of this tutorial, you’ll have your very own 3D printer up and running, ready to bring your creations to life.
It’s important to note that while this DIY 3D printer may not have all the bells and whistles of high-end models, it will still allow you to explore the basics of 3D printing and unleash your creativity. So, let’s dive in and get started on this exciting DIY adventure!
Materials Needed
Before you begin building your cheap 3D printer, it’s important to gather all the necessary materials. Fortunately, most of the components needed for this project are readily available and affordable. Here’s a list of the materials you’ll need:
- Frame Materials: You will need aluminum extrusion or acrylic sheets to build the frame of your 3D printer. Aluminum extrusion provides stability and durability, while acrylic sheets are lightweight and easy to work with.
- Print Bed: A flat, sturdy surface is required to serve as the print bed. You can use a glass plate or a heated bed for better adhesion and easier object removal.
- Motors and Belts: Stepper motors are essential for controlling the movement of the printer. You will need three or four motors, depending on the printer design. Additionally, you’ll need timing belts and pulleys to transfer motion from the motors to the printer’s axes.
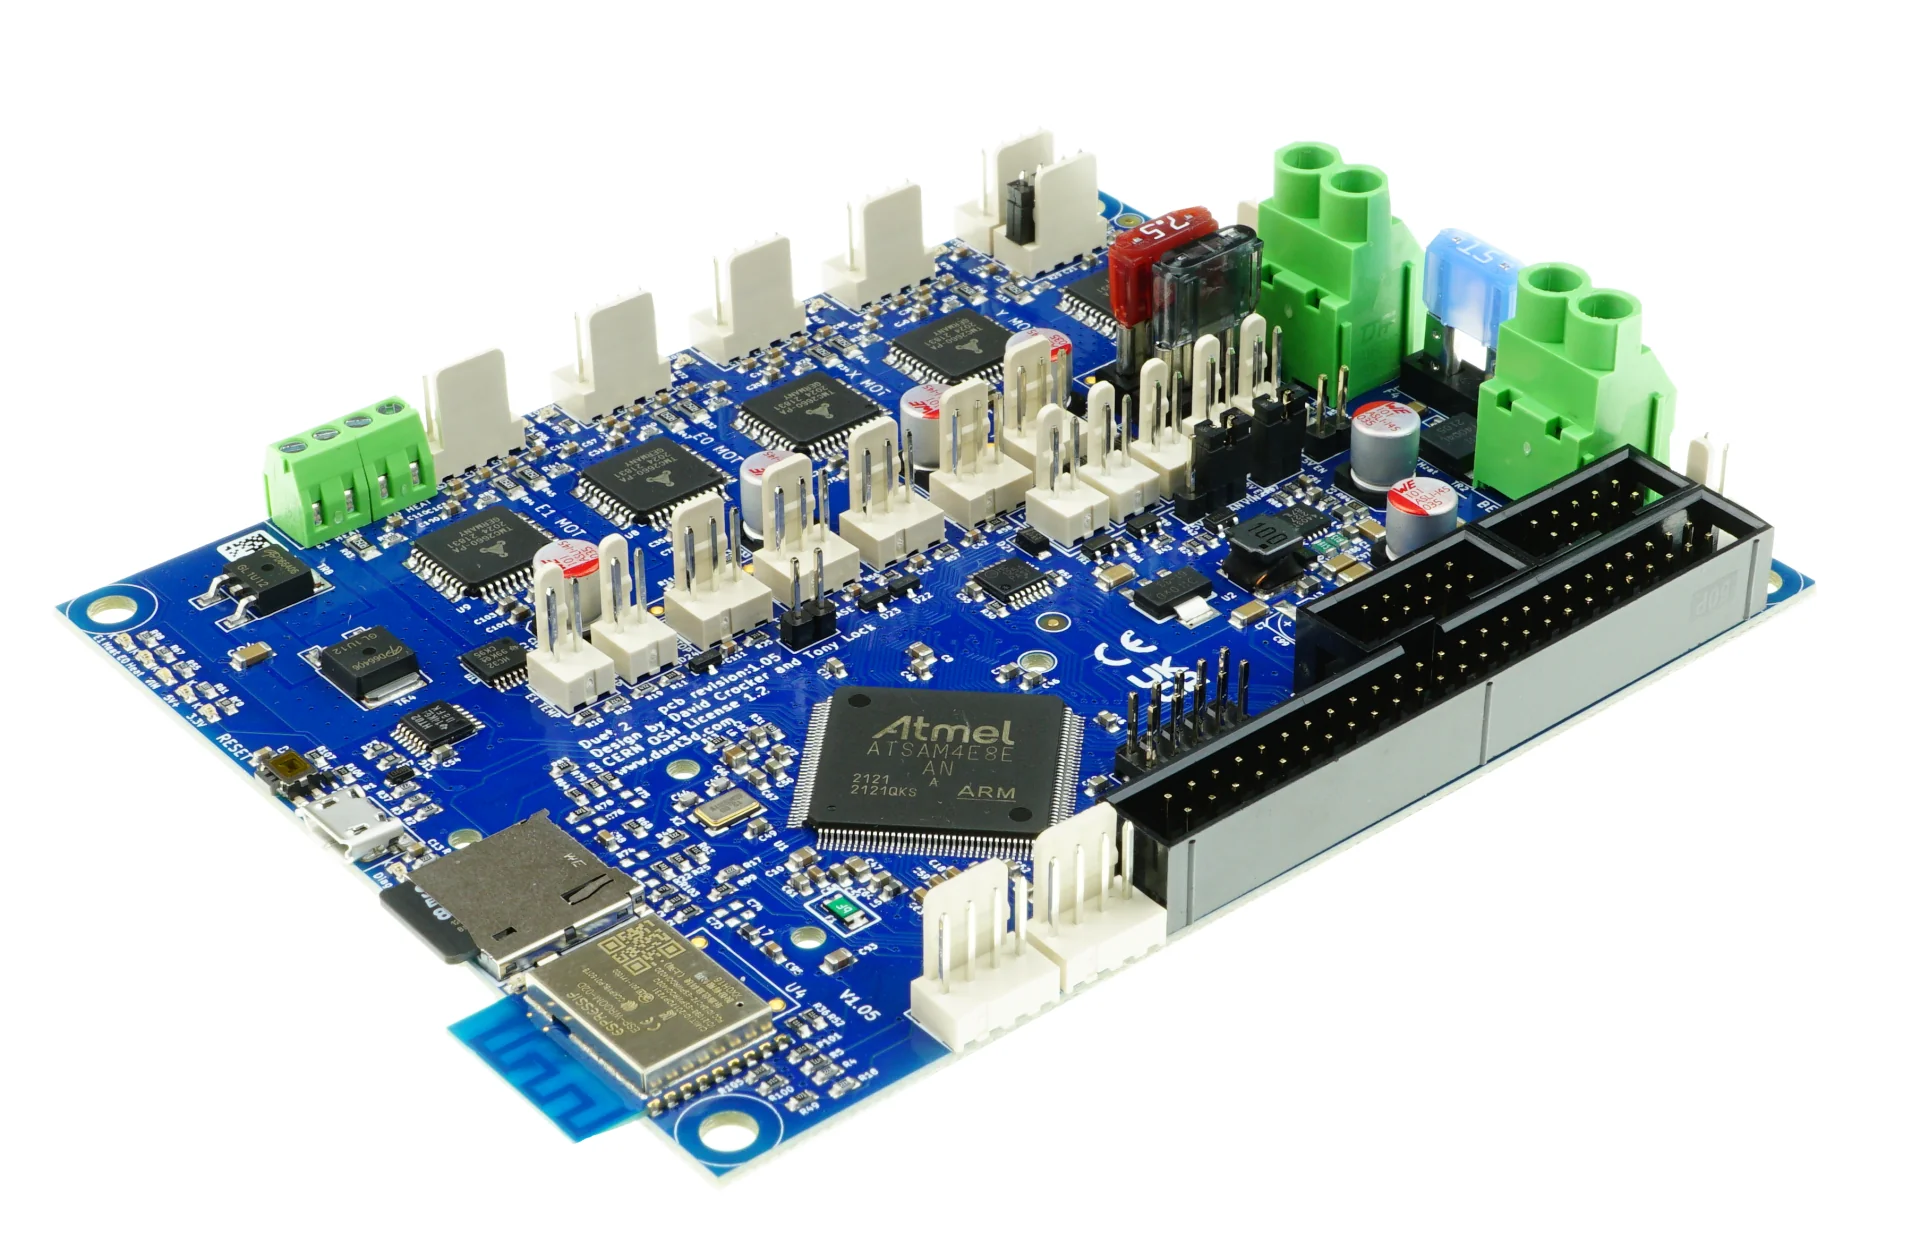
- Electronics: To control the printer, you’ll need an Arduino board or a similar microcontroller, along with motor drivers to power the stepper motors. A power supply unit is also required to provide the necessary electrical power.
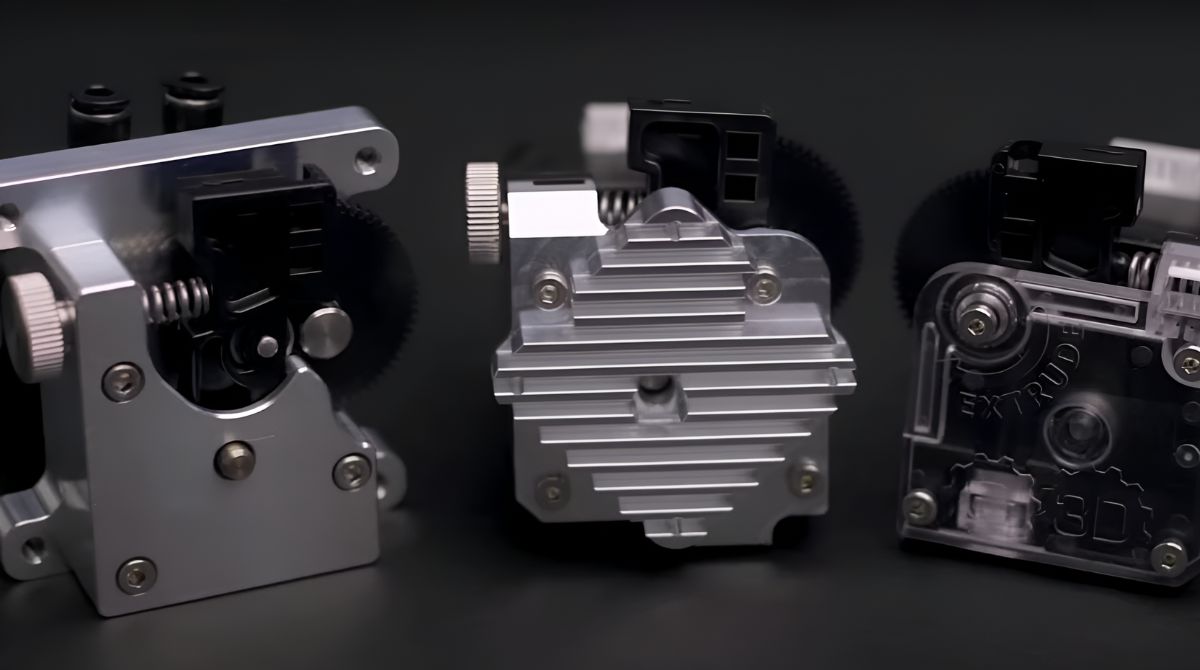
- Hot End and Extruder: The hot end, which heats and melts the filament, and the extruder, which pushes the melted filament through a nozzle, are crucial components. You can purchase a pre-made extruder or build your own using a stepper motor and a filament drive mechanism.
- Filament: Filament is the material used for 3D printing. PLA (polylactic acid) and ABS (acrylonitrile butadiene styrene) are the most commonly used filaments. It’s advisable to have multiple colors and types of filament on hand to experiment with different printing projects.
- Fasteners and Tools: Various fasteners, such as screws, nuts, and bolts, will be needed to assemble the printer components. Additionally, basic tools like Allen wrenches, screwdrivers, and pliers will be required for the construction process.
It’s worth noting that the specific materials needed may vary depending on the design and specifications of your 3D printer. Make sure to check the documentation or instructions for your chosen DIY 3D printer design to ensure you have all the necessary materials.
Now that you have gathered all the required materials, it’s time to move on to the next step: building the frame of your 3D printer.
Step 1: Gathering the Parts
Before you start building your cheap 3D printer, it’s important to gather all the necessary parts. By ensuring you have everything you need, you can streamline the construction process and avoid delays. Here’s a breakdown of the parts you’ll need:
- Frame Materials: The frame is the backbone of the 3D printer, providing stability and support. Depending on your chosen design, you’ll need aluminum extrusion or acrylic sheets for the frame. Aluminum extrusion offers durability and rigidity, while acrylic sheets are lightweight and easy to work with.
- Print Bed: The print bed is where your 3D objects will be printed. You can use a glass plate or a heated bed. A glass plate provides a smooth and level surface, while a heated bed helps with better adhesion and easier object removal.
- Motors and Belts: Stepper motors play a crucial role in controlling the movement of the printer. You will need three or four motors, depending on the design of your printer. Additionally, you’ll need timing belts and pulleys to transfer motion from the motors to the printer’s axes.
- Electronics: To control the printer, you’ll need an Arduino board or a similar microcontroller. This will serve as the brain of the printer, interpreting the commands and controlling the motors. Additionally, you’ll need motor drivers to power the stepper motors and a power supply unit to provide the necessary electrical power.
- Hot End and Extruder: The hot end and extruder are responsible for melting the filament and pushing it through the nozzle. You can either purchase a pre-made extruder or build your own using a stepper motor and a filament drive mechanism. Make sure to choose a hot end compatible with the type of filament you plan to use.
- Filament: Filament is the material used for 3D printing. PLA and ABS are the most commonly used filaments. It’s advisable to have multiple colors and types of filament on hand to experiment with different printing projects.
- Fasteners and Tools: Various fasteners such as screws, nuts, and bolts will be needed to assemble the printer components. Additionally, basic tools like Allen wrenches, screwdrivers, and pliers will be required for the construction process. Having a good assortment of fasteners and tools will make the assembly much easier.
Once you have gathered all the necessary parts, you’re ready to move on to the next step: building the frame of your 3D printer.
Step 2: Building the Frame
With all the necessary parts in hand, it’s time to start building the frame of your cheap 3D printer. The frame provides the structure and stability for the printer, ensuring precise and accurate printing. Follow these steps to assemble the frame:
- Prepare the frame materials: If you’re using aluminum extrusion, cut it to the desired lengths according to your printer design. If you’re using acrylic sheets, make sure they are cut to the required dimensions.
- Align and connect the frame components: Start by aligning the extrusions or acrylic sheets to form the base of the frame. Secure them in place using fasteners such as screws, nuts, and bolts. Ensure that the connections are tight and sturdy.
- Build the vertical supports: Attach the vertical extrusions or sheets at the corners of the base to create the vertical structure of the frame. Use appropriate fasteners to secure them tightly. This will provide stability and support for the printer’s moving parts.
- Attach the top and cross beams: Depending on your printer design, you may have top beams or cross beams that add additional strength and rigidity to the frame. Attach these beams securely using fasteners.
- Mount the print bed: Depending on the type of bed you have chosen, mount it securely on the frame. Ensure that it is level and properly aligned. If you have a heated bed, make sure the wiring and connections are in place.
- Check for stability: Once the frame is assembled, check for any wobbling or instability. Make necessary adjustments and tighten any loose connections. A stable frame is essential for accurate and high-quality prints.
Building the frame is a critical step in the construction process, as it sets the foundation for your 3D printer. Take your time to ensure that all the components are securely connected and aligned properly. Having a sturdy frame will contribute to the overall performance of your DIY 3D printer.
Now that the frame is built, it’s time to move on to the next step: installing the motors.
Step 3: Installing the Motors
With the frame of your cheap 3D printer built, it’s time to move on to the next crucial step: installing the motors. The motors play a vital role in controlling the movement of the printer. Follow these steps to properly install the motors:
- Identify the motor locations: Review your printer design and identify the locations where the motors will be placed. Common positions include the X-axis, Y-axis, and Z-axis. Each motor will be responsible for controlling the movement along a specific axis.
- Attach the motors to the frame: Securely mount the motors to their designated locations on the frame. Use screws or brackets to fasten them in place. Ensure that the motors are aligned properly and securely attached to avoid any wobbling or movement during operation.
- Connect the timing belts: Install the timing belts on the pulleys attached to the motors. The timing belts are responsible for transferring the rotational motion of the motors to the linear movement of the printer’s axes. Make sure the belts are properly tensioned and aligned with the pulleys.
- Route the wiring: Organize and route the motor wiring along the frame to prevent any interference or tangling. Use cable management solutions such as zip ties or cable clips to keep the wiring neat and secure. It’s important to ensure that the wiring doesn’t impede the movement of the printer’s components.
- Connect the motor drivers: Connect the motor drivers to the respective motors. The motor drivers serve as the interface between the microcontroller and the motors, providing the necessary power and control signals. Follow the manufacturer’s instructions to properly connect and configure the motor drivers.
- Test the motor movements: Before proceeding further, test the motor movements to ensure they are functioning correctly. Use the printer control software or manually send commands to move the motors along each axis. Check for smooth and precise movement without any skipping or stuttering.
Properly installing the motors is crucial for the overall functionality and performance of your DIY 3D printer. Take your time to ensure that the motors are securely attached, the timing belts are properly tensioned, and the wiring is organized. With the motors in place, you’re now ready to move on to the next step: connecting the electronics.
Step 4: Connecting the Electronics
After installing the motors in your cheap 3D printer, it’s time to connect the electronics. The electronics control the functionality of the printer and enable communication between the printer and the computer. Follow these steps to properly connect the electronics:
- Prepare the microcontroller: If you’re using an Arduino board or a similar microcontroller, ensure that it is programmed with the appropriate firmware for your printer. This firmware allows the microcontroller to interpret commands and send instructions to the motors.
- Connect the microcontroller: With the firmware loaded, connect the microcontroller to your computer using a USB cable. This connection will allow you to communicate with the printer and control its functions. Ensure that the connection is secure and the microcontroller is recognized by your computer.
- Connect the motor drivers: Connect the motor drivers to the appropriate pins on the microcontroller. This connection enables the microcontroller to send signals to the motor drivers, controlling the movement of the stepper motors. Follow the manufacturer’s instructions for proper wiring and configuration of the motor drivers.
- Connect the power supply unit: Connect the power supply unit to the microcontroller and motor drivers. The power supply unit provides the necessary electrical power to run the electronics and the motors. Make sure the power supply unit is compatible with the voltage and power requirements of your printer.
- Wire the endstops: Endstops are sensors that help the printer determine the limits of its movement along each axis. Connect the endstops to the appropriate pins on the microcontroller. Properly wired endstops ensure accurate and controlled movement of the printer’s components.
- Test the electronics: Once all the connections are made, test the electronics to ensure they are functioning correctly. Use the printer control software to test the communication between the microcontroller and the computer. Additionally, test the functionality of the motors and endstops to ensure proper operation.
Properly connecting the electronics is essential for the successful operation of your DIY 3D printer. Take your time to double-check all the connections, ensuring they are secure and properly wired. With the electronics connected, you’re now ready to move on to the next step: calibrating the printer.
Step 5: Calibrating the Printer
After connecting the electronics of your cheap 3D printer, it’s crucial to calibrate the printer for optimal performance. Calibration ensures that the printer’s movements are precise and accurate, resulting in high-quality prints. Follow these steps to calibrate your printer:
- Level the print bed: Use a leveling tool, such as a piece of paper or a leveling probe, to adjust the print bed. Ensure that the bed is level in all directions, as this will help with proper adhesion and consistent layer heights.
- Calibrate the endstops: Check the functionality of the endstops and adjust them if necessary. The endstops should accurately detect the limits of the printer’s movement along each axis.
- Set the steps-per-mm: Configure the steps-per-mm values for each axis in the printer’s firmware. This value determines the distance the printer moves for each step of the stepper motor. Calibration of these values ensures accurate movement and proper scaling of prints.
- Adjust the extruder steps-per-mm: Similarly, calibrate the steps-per-mm value for the extruder. This setting affects the amount of filament that is fed through the nozzle. Proper calibration ensures accurate filament extrusion and prevents under or over-extrusion.
- Test print: Once all the calibration settings have been adjusted, perform a test print. Choose a simple model or calibration print from your slicing software and observe the results. Check for proper layer adhesion, consistent extrusion, and overall print quality.
- Fine-tune settings: Analyze the test print and make any necessary adjustments to settings such as layer height, print speed, and temperature. These settings may vary depending on the type of filament you are using and the desired print quality.
- Repeat calibration if needed: If the test print doesn’t meet your expectations, repeat the calibration process, focusing on the areas where improvements are needed. Iterative calibration may be necessary to fine-tune the printer’s performance.
Calibrating your 3D printer is an iterative process that may require some trial and error. Take your time to properly adjust the settings and analyze the results. With the printer calibrated, you’re now ready to move on to the next step: installing the extruder.
Step 6: Installing the Extruder
With your 3D printer calibrated, it’s time to move on to the next step: installing the extruder. The extruder is responsible for feeding the filament into the hot end, where it is melted and deposited to create the printed object. Follow these steps to properly install the extruder:
- Prepare the extruder assembly: If you are using a pre-made extruder assembly, ensure that it is fully assembled and ready for installation. If you are building your own extruder, assemble the required components such as the stepper motor, filament drive mechanism, and hot end adapter.
- Mount the extruder: Determine the appropriate location on the printer’s frame to mount the extruder assembly. Typically, the extruder is mounted near the hot end and in a position that allows for smooth filament feeding. Securely attach the extruder assembly to the designated location using screws or brackets.
- Connect the extruder motor: Connect the extruder stepper motor to the motor driver using the appropriate wiring. Ensure that the connections are secure and properly aligned with the motor driver’s pins.
- Attach the filament guide tubes: Install the filament guide tubes that will guide the filament from the spool to the extruder. These guide tubes ensure smooth and consistent filament feeding without any tangling or interference.
- Insert the filament: Insert a filament spool into the extruder and feed the filament through the guide tubes. Ensure that the filament is properly aligned with the extruder drive mechanism and the hot end.
- Secure the filament: Use the appropriate filament tensioning mechanism, such as an adjustable spring or lever, to secure the filament in place. Proper tension will ensure consistent filament feeding and prevent any slipping or skipping.
- Verify filament feeding: Test the filament feeding by manually pushing the filament through the extruder and observing its movement. Ensure that the filament is properly guided and smoothly enters the hot end for melting and extrusion.
- Check for proper cooling: Ensure that the extruder assembly is properly cooled to prevent filament jams or hot end clogs. Add cooling fans or heat sinks as necessary to maintain the optimal operating temperature of the extruder.
Properly installing the extruder is crucial for the smooth and continuous operation of your 3D printer. Take your time to ensure that all the connections are secure, the filament is properly aligned, and the extruder assembly is properly cooled. With the extruder installed, you’re now ready to move on to the final step: testing your 3D printer!
Step 7: Testing the Printer
Congratulations! You have reached the final step of building your cheap 3D printer: testing it to ensure that everything is functioning as expected. Follow these steps to test your printer:
- Prepare a test print: Choose a simple test print or calibration model to print as your first test. This will allow you to evaluate the printer’s performance and identify any issues that need to be addressed.
- Load the filament: Load the filament into the extruder and ensure that it is properly fed into the hot end. Check for any filament jams or obstructions that can hinder proper filament flow.
- Start the print: Use the printer control software to initiate the test print. Monitor the printer as it performs the print, paying attention to any unusual noises or vibrations.
- Observe the print quality: As the print progresses, observe the quality of the printed object. Look out for issues such as layer adhesion, stringing, warping, or misalignment. Make note of any issues that need adjustment or further calibration.
- Check for accuracy and precision: Measure certain dimensions of the printed object using calipers or other measuring tools to verify the printer’s accuracy and precision. Compare the measurements to the desired specifications to ensure that the printer is performing as expected.
- Make adjustments if necessary: If you encounter any issues or inconsistencies during the test print, refer back to the previous steps to identify potential areas for improvement. Fine-tune settings such as print speed, temperature, or re-level the print bed if necessary.
- Perform additional test prints: Once you have made any necessary adjustments, repeat the test print process to ensure that the changes have resulted in improved performance. Iterate and refine until you are satisfied with the print quality.
Testing your 3D printer is an essential step to identify any deficiencies and make the necessary adjustments. By carefully observing the print quality and addressing any issues that arise, you can ensure that your DIY printer is capable of producing high-quality prints.
Remember, testing and troubleshooting are ongoing processes, particularly as you explore different materials and designs. Continuously monitor and fine-tune your printer to achieve the best results for your 3D printing projects.
Conclusion
Congratulations on successfully building your very own cheap 3D printer at home! By following the steps outlined in this guide, you have taken a big step into the exciting world of 3D printing. Not only have you saved money by building your own printer, but you have also gained a deeper understanding of the technology behind it.
Throughout the process, you have gathered the necessary materials, built the frame, installed the motors and electronics, calibrated the printer, installed the extruder, and tested its functionality. Each step has brought you closer to having a fully functioning 3D printer that can bring your creative ideas to life.
Remember that building and fine-tuning a 3D printer is an ongoing process. As you gain more experience, you may want to explore advanced features or experiment with different materials. Continuously learning and refining your printer’s settings will help you achieve the best possible print quality.
With your DIY 3D printer, you have the power to unleash your creativity and bring your ideas to tangible reality. Whether you’re a hobbyist, an artist, or an entrepreneur, the possibilities are endless. From prototyping and product development to custom designs and personalized gifts, your 3D printer opens up a whole new world of possibilities.
So, get ready to embark on an exciting journey of exploration and innovation. Embrace the challenges, learn from your experiences, and enjoy the incredible satisfaction of creating objects with your very own 3D printer. Happy printing!