Home-based printing in 3D has become immensely popular in recent years. However, while this particular hobby is quite interesting and useful, it does have a high barrier to entry. Fortunately, anyone can learn how to make a 3D print model thanks to many online resources. You just need to know the basics.
What Is A 3D Print Model
Before we learn how to make a 3D print model, we must understand what 3D models and printing are. 3D printing is a mechanism or process wherein a virtual model is “printed” and turned into a solid object.
Machines that print in 3D usually do so by printing each of the object’s thin layers in succession. 3D printers usually use different types of polymers, plastics, and resin to achieve this feat.
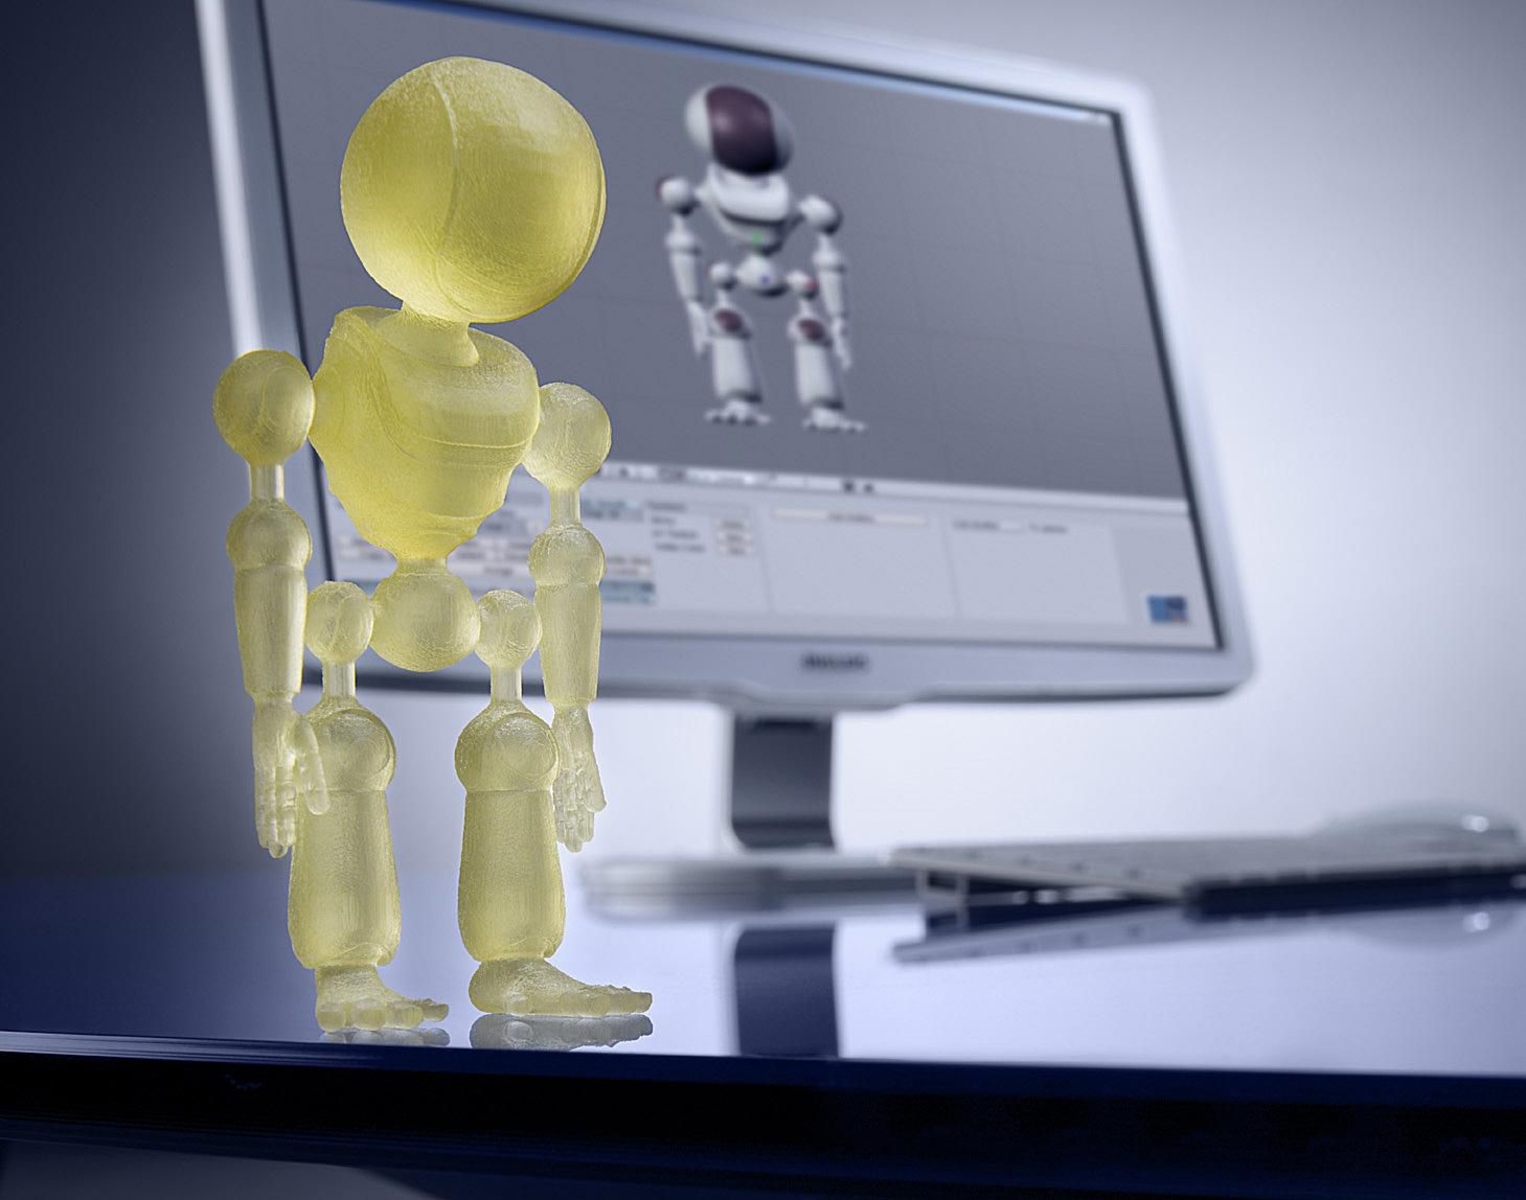
Meanwhile, a 3D print model is simply the 3D file the computer will use for printing. People will see it as a digital sculpture that represents the object we want to print. However, for the computer, the 3D print model is more of a mathematical representation of a three-dimensional object.
The computer will then communicate this mathematical model to the printer, resulting in the layer-by-layer printing of 3D objects. With that said, 3D printing has many use cases in various industries.
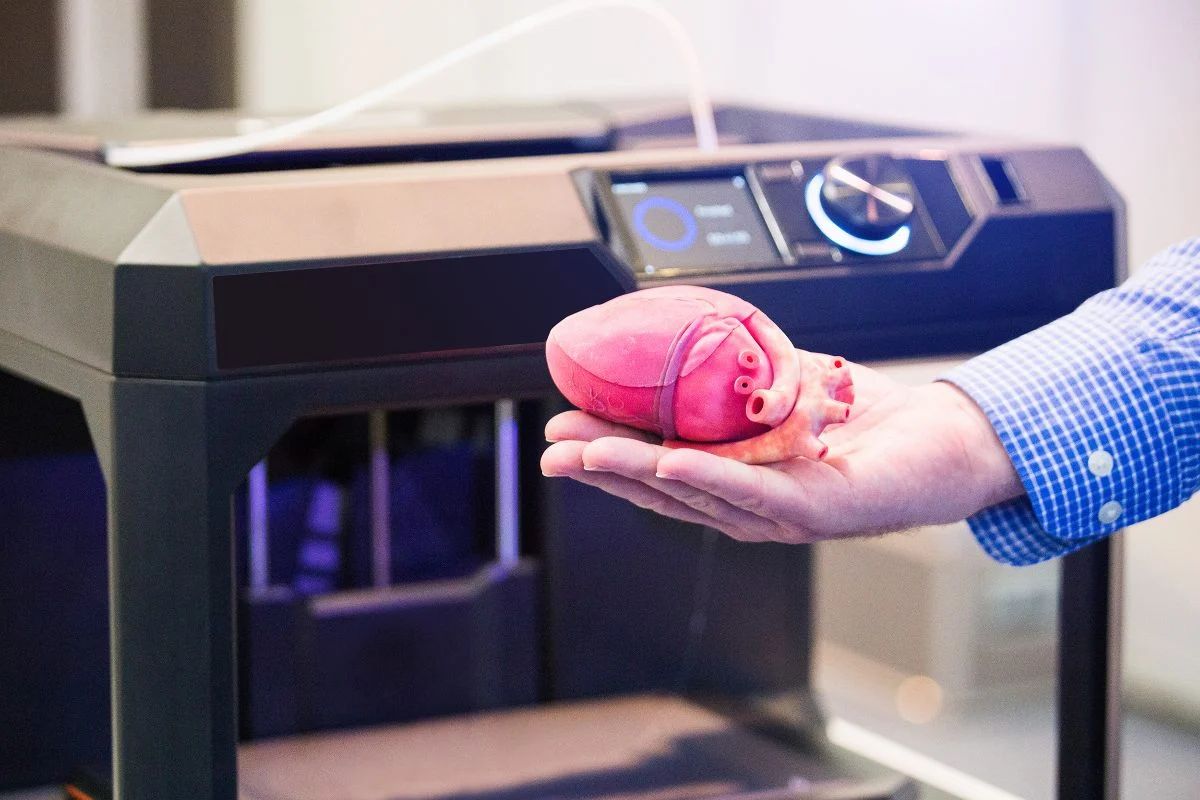
For hobbyists, 3D printing has become a popular way to print figurines for tabletop games. It’s also a handy way to create cosplay or Halloween costumes. Moreover, you can even use 3D printing to create everyday household items and even print custom keycaps.
Meanwhile, professionals can use 3D printing to sell and distribute figurines for sale. Some industries have also recreated 3D printing on larger scales, allowing them to create bigger structures like houses or furniture. The fashion industry has even dipped its toe into it with 3D-printed, limited-edition shoes.
Hence, there’s no limit to what models can be as long as you can create them in a 3D program. However, for the 3D object to be ready for printing, you may need to make certain adjustments. These include changes in the file type, scaling, and building proper support for the 3D structure.
How To Make A 3D Print Model
Learning how to make a 3D print model requires some patience and the right tools. Fortunately, you can easily break down the steps and tools if you follow the guidelines below.
1. Choose A 3D Sculpting Or CAD Program
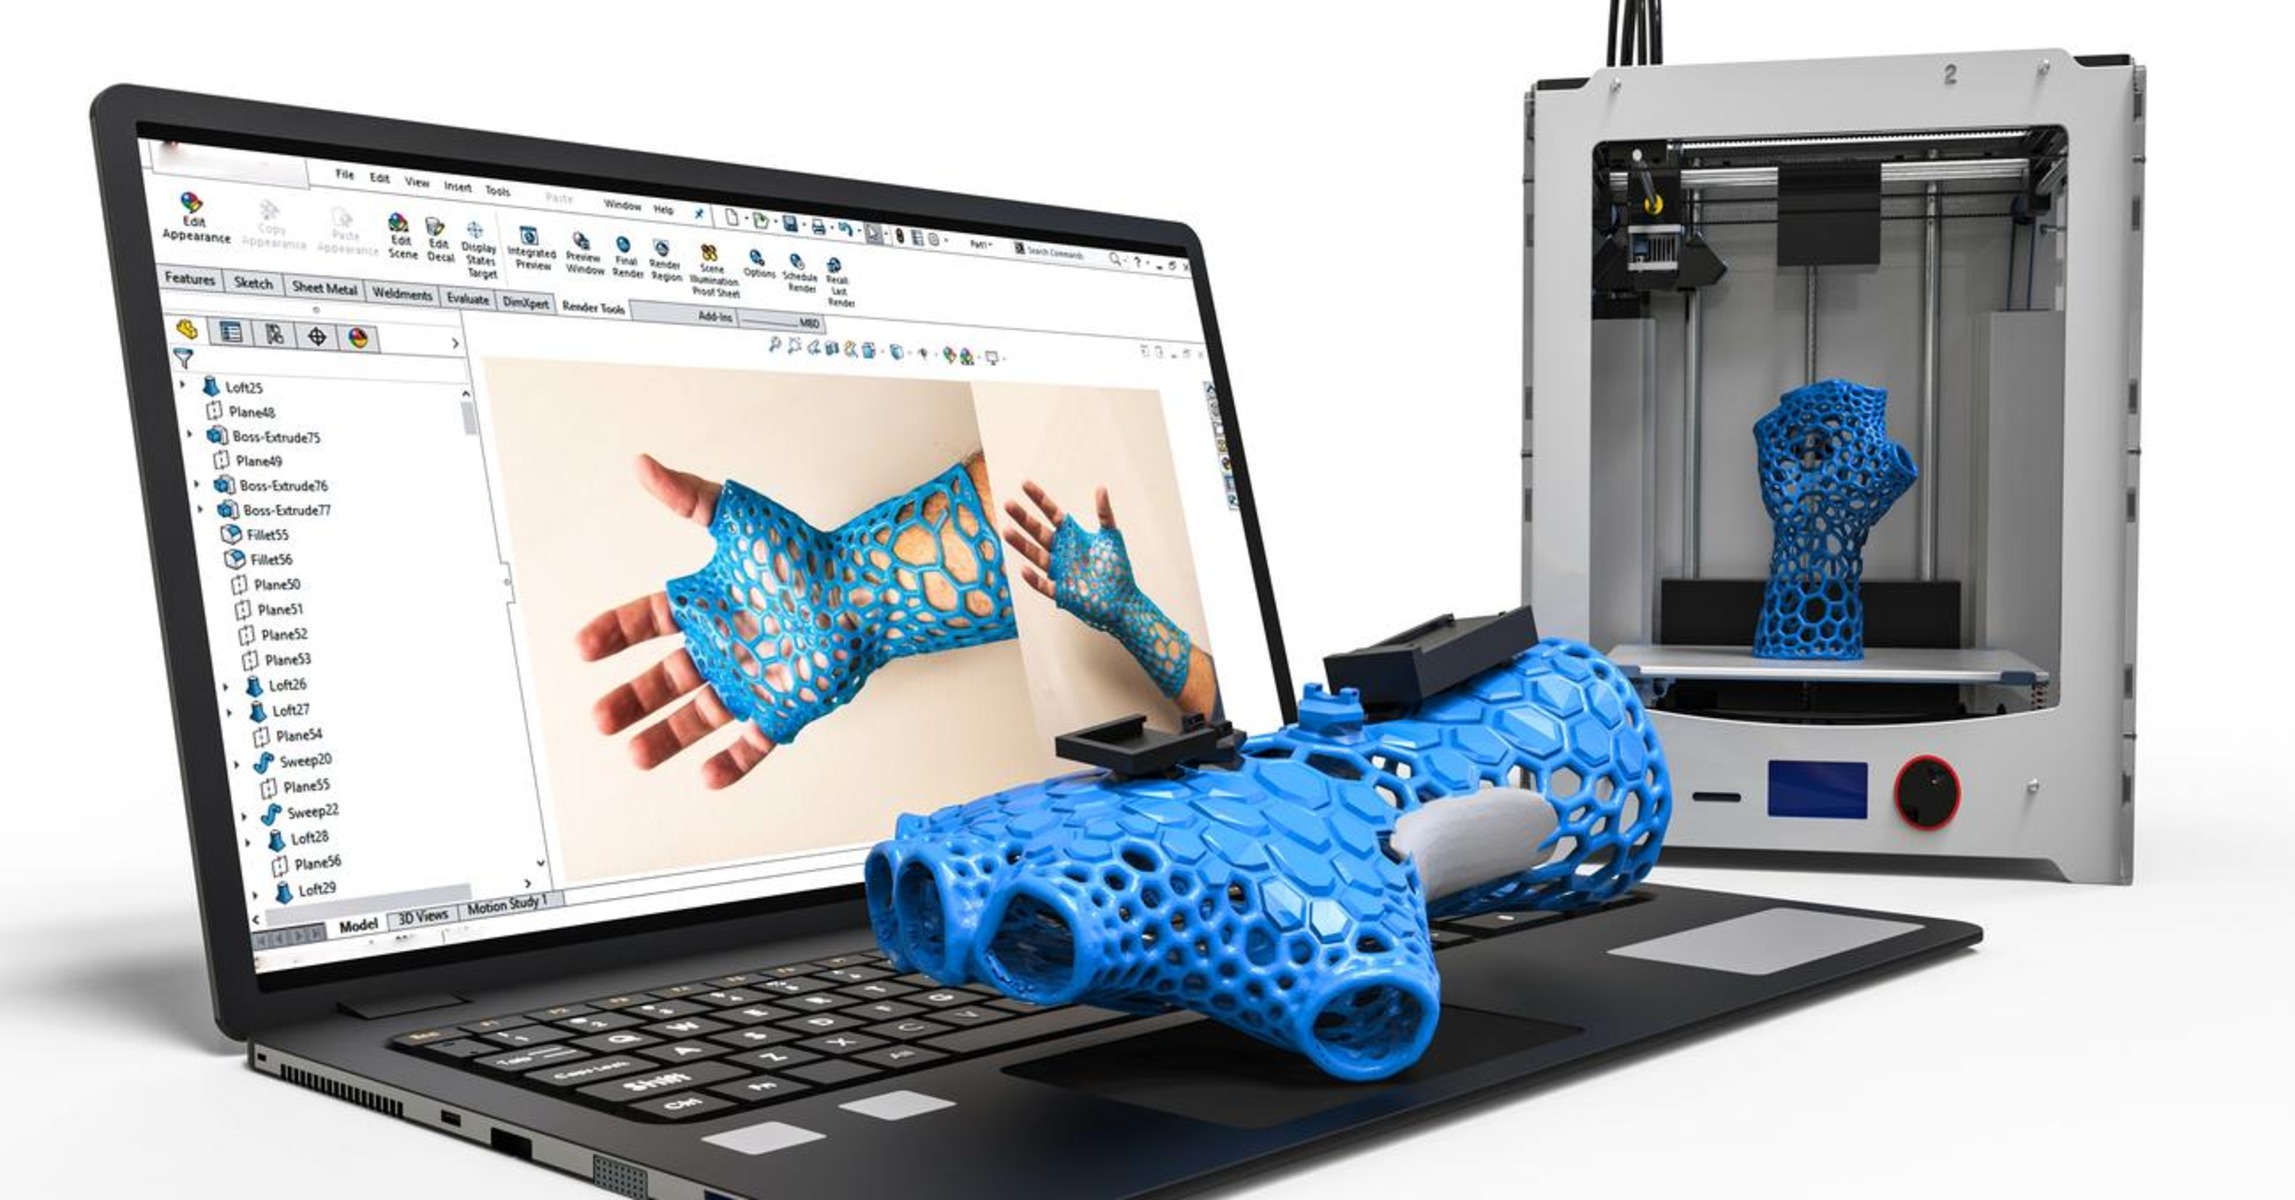
If you want to know how to make a 3D print model, the first thing you need is the software. More specifically, you need a proper 3D sculpting, CAD, or modeling program to begin. After all, you can’t print designs without having them ready, right?
Thankfully, there are plenty of free designing programs available (more on the different options later). The most famous one is Blender but you can choose any tool you feel comfortable with. If you want a beginner-friendly program, we recommend using TinkerCAD.
2. Design The Model
Afterward, it’s time to start sculpting or modeling the object you want. Most tools have tutorials built into their software or have online tutorials on Skillshare or even YouTube. Unless you already know how to sculpt and model, you’ll need to follow along to start modeling.
For the time being, you don’t need to mess with learning how to make a 3D model to print. Don’t think about the file type or size for now and simply sculpt or model the item you want. You can also practice the craft by sculpting small, basic household objects. Once you’ve got enough practice, you can start making what you truly want to print in 3D.
With that said, we understand that this process can be challenging. However, it’s essential if you truly want to learn how to make a 3D print model, especially one that’s customized.
On the other hand, you can circumvent this step by learning how to make a 3D print model through photos. We have a discussion dedicated to that in later sections. However, making 3D models through photos will likely result in less accuracy and more quirks.
Alternatively, you can also simply download ready-made 3D models online. This will eliminate the need to learn 3D sculpting and modeling yourself. It also usually ensures better quality if the seller is a more experienced 3D modeler.
However, this method will usually cost money as high-quality 3D models are rarely put up for free. Moreover, you still need to have compatible 3D software available to open those 3D files.
3. Save & Export Your Model As An STL File On Your Computer
After designing your model, it’s time to learn how to create STL files for 3D printing. To do this, simply save and export the file within your modeling software. Head to your menu bar and look for the share, save, or export options.
A new pop-up window should appear showcasing you can rename your file and save it as different file types. We recommend exporting your object as an STL file as it’s the most compatible with 3D printers.
4. Slice The Model With a Slicer
Finally, learning how to make a 3D print model will not be complete without using a slicer. That’s because slicers are the software computers use to translate 3D models into something understandable by the 3D printer.
For this, we recommend Cura by Ultimaker. It’s the most well-known cross-platform slicer you can download. Moreover, it’s free so anyone can use it. Once you have Cura on your device, it’s time to convert your STL file into a G-code file.
G-code is simply the file type that provides printers with sequential instructions to tell them how to print the object. It also instructs the printer regarding other requirements like the proper temperature, movement, and fan speed.
5. Adjust Slicer Settings
Afterward, your slicer should allow you to preview your 3D model in the printing format. You should see how the printer will print each layer from top to bottom. To view this, head to the settings and press the blue “Slice” button that you see.
Now, you might think slicing the model is the end of it. However, learning how to print 3D models and how to make STL files for 3D printing isn’t that simple. That’s because you also have to tweak a bunch of different settings to ensure that the 3D model prints well.
You can find these settings in the settings pane. There, you can see the print speed, various temperatures, retraction settings, cooling fan settings, and more. You can adjust them individually to optimize your print.
On the other hand, you can choose from Cura’s various profiles if you’re not keen on modifying individual settings yourself. However, keep in mind that you may inevitably need to adjust individual settings later to get better printing results. It’s all part of learning how to make a 3D print model that has decent-quality output.
6. Send The Sliced File To Your 3D Printer
Afterward, get a USB and microSD card and export your sliced object into those external storage devices. Then plug them into your printer and begin printing.
If your print comes out poorly, then you may need to adjust various slicer settings or your model’s size/positioning. Once you’ve made adjustments, you can try printing again. This may take some trial and error because learning how to make a 3D print model can be complicated. Nonetheless, the results will be satisfying if you keep at them and make the proper adjustments.
How To Make A 3D Model From A Picture
If you’re not keen on learning 3D modeling, you can also learn how to create STL files from photos. This will reduce the need to learn complex sculpting and 3D modeling, but it may require some basic knowledge.
In addition, learning how to make a 3D print model from photos also has its constraints. Firstly, the outcome may not be as detailed compared to sculpting the model yourself. Moreover, the quality of your model will hinge on the quality of the photos (and how many) you take.
With that said, what tools can you use to generate 3D print models out of 2D images? Here are the best ones.
Extrude Tool
This tool is a handy feature you can use to make your 2D, two-axes file into a 3D, three-axe one. It extrudes your 2D file from a selected component, providing your 2D file with more volume. The tool calculates the extrusion from different algorithms.
Most commonly, it extrudes your image elements based on their gray levels, varying the height based on brightness/darkness. It’s a fairly common tool you can find in most CAD programs like Blender and SketchUp.
Smoothie 3D
Alternatively, you can also learn how to make a 3D print model from photos using third-party software. We recommend trying Smoothie 3D, an easy online program that lets you create 3D models from just one photo.
This program recreates the model for you in 3D space. Of course, it works better if your 2D photo is easily replicated symmetrically. However, it’s not as ideal if your desired model is asymmetrical with intricate details.
Artificial Intelligence (AI)
We’ve made large strides in AI in recent years, including those related to recreating 3D models. With the proper tools, you can even learn how to make a 3D print model with just one photo. Some online programs and even mobile apps can accomplish this. However, the technology is still in its infancy so you may need to test each one to verify its quality.
Lithophane
If you’re fine with recreating photos in 3D (instead of recreating the subjects within them), we recommend lithophane. This method is a cool way to print photos using different thicknesses to display various shades of gray. When you illuminate the model from behind, you can see the photo. You can achieve this by using software like Cura.
After generating the model, you can slice it and let your slicer create layer guides for 3D printing. However, remember that these kinds of models may require specific printers to work well. Generally speaking, we suggest steering clear of FDM printers because layering on these machines isn’t as high-quality.
6 Programs To Help You Make 3D Print Models
Learning how to make a design for 3D printing is impossible without the right 3D program. Which one is the best for you? Here are our top recommendations.
1. AutoCAD
Pros
- Powerful with advanced tools
- Seamless to use for 3D printing
- Includes a 30-day free trial
- Cross-platform compatible
Cons
- Paid
- Steep learning curve
- Not ideal for organic shapes
- High system requirements
AutoCAD is a wonderful CAD modeling program that makes 3D printing simple and easy. It’s powerful, versatile, and one of the most popular programs available. It’s one of the most widely-used tools by interior designers, engineers, and architects.
However, unlike Blender and Tinkercad, AutoCAD isn’t free. Moreover, it has a steep learning curve and isn’t the ideal software if you want to sculpt organic forms. It also has high basic hardware requirements like 8GB (Windows) or 4GB (Mac) of RAM.
Apart from this, it only supports 64-bit Windows 10 or 11 for PC users. Meanwhile, Mac users will need macOS Catalina v10.15, Big Sur v11, or Monterey v12.
2. Blender
Pros
- Free
- Highly versatile and powerful
- Specializes in creating organic shapes
- Cross-platform
Cons
- Not the best for modeling structured and technical objects
- Steep learning curve
- High hardware requirements
Can you make your 3D model even if what you want is complex? You can if you learn how to make 3D models for printing in Blender. With this free, open-source software, you can create almost any organic shape you want.
Moreover, it’s powerful and has several tools that can even animate your 3D models. Best of all, it has tons of plugins that make the program even more useful in different ways. However, its requirements are a little steep. That’s because you need 8GB of RAM and an FHD monitor. It also needs a 2GB RAM graphics card with OpenGL 4.3 and a 64-bit quad-core CPU w/ SSE2.
Fortunately, it’s cross-platform and runs on Windows 8.1, 10, and 11 and Linux. It even supports macOS 10.13 Intel and 11.0 Apple Silicon.
3. FreeCAD
Pros
- Free
- User-friendly enough for beginners
- Ideal for geometric prints related to engineering or architecture
- Cross-platform compatibility
Cons
- Not great for organic objects and 3D models
- Requires 8GB of memory or more
FreeCAD is a decent program that allows you to create your 3D model for free. It’s open-source and is great for making 3D objects that are more structured and geometric.
Hence, it’s best for making designs related to industrial design, electrical or mechanical engineering, and architecture. In addition, the software is relatively powerful and beginner-friendly, making it a good starting point program.
The requirements are pretty decent as you only need a 32 or 64-bit Windows 7 (or later) OS on PCs. Meanwhile, Mac users require macOS 10.12 Sierra or newer. You can also run it on most modern Linux distributions. However, it’s a bit more power-hungry than some as it requires 8GB of memory and a competent CPU and GPU.
4. Fusion 360
PROS
- Three-year free personal license
- Provides advanced features
- Can create even the most complex model
CONS
- Steep learning curve
- Paid program
If you want to know how to make a model in a 3D print program, we recommend Autodesk’s Fusion 360. With a personal license, you gain access to powerful tools that can create almost any kind of model. However, there is a learning curve because its tools and capabilities are more complex.
Nonetheless, the software is more professional than most free alternatives. It’s certainly good to consider if you’re serious about 3D printing. Fortunately, while Fusion 360 isn’t completely free, the personal license does let you use it for free for three years.
However, remember that the program does have certain OS requirements. For example, Windows users will need a 64-bit version of Windows 10 or 11. Meanwhile, macOS users should be running macOS 12 Monterey or higher. It also needs at least 4GB of RAM, 3GB of storage space, and a decent graphics card.
5. TinkerCAD
Pros
- Free
- Browser-based and compatible with almost all operating systems
- User-friendly interface that uses simple shapes and tools
Cons
- Lacks advanced features
- Cannot create more complex designs
Are you interested in learning how to make a 3D model for free? If so, we suggest Tinkercad, a free, browser-based CAD software that’s beginner-friendly — ideal for novices with no 3D modeling experience.
Through this tool, you can use drag-and-drop gestures and select simple shapes to make your 3D model. It’s powerful, user-friendly, and even saves your files in the cloud. Moreover, it’s compatible with almost any OS — even Chrome OS for Chromebooks.
6. ZBrush
Pros
- Ideal for sculpting organic forms
- Ideal for sculpting organic forms
- Industry-standard features and advanced tools
- Cross-platform support
- A free (but more basic) version is available
Cons
- The full software is paid
- Steep learning curve
- Not ideal for structured or geometric models
- High hardware requirements
ZBrush is the industry leader when it comes to sculpting organic shapes. It’s widely used in the movie and video game industry for creating character models and designs. It also has advanced tools like those necessary for texturing and even painting 3D models.
However, as you might expect, it has a steep learning curve and requires payment. It does have a free version called ZBrush mini core but it’s not as advanced as the regular ZBrush app. Furthermore, the free version is only available for non-commercial use.
ZBrush requires a 64-bit version of Windows 10/11 or macOS 10.14 or later. The program needs at least a Core2Duo with SSE2 support or an AMD equivalent. Moreover, it needs 4GB of RAM at a minimum, though the program recommends 6GB if possible.
Final Word
Learning how to make a 3D print model can be intimidating if you’re just beginning. However, with patience and enough practice, you can learn the skill and start printing cool things. We guarantee that the results will be satisfying whether you’re doing this as a hobby or for business purposes.