What is Sketchup 3D Printing?
Sketchup is a powerful 3D modeling software that enables designers, architects, and hobbyists to create intricate 3D models with ease. It offers a wide range of tools and features that make it ideal for various applications, including 3D printing.
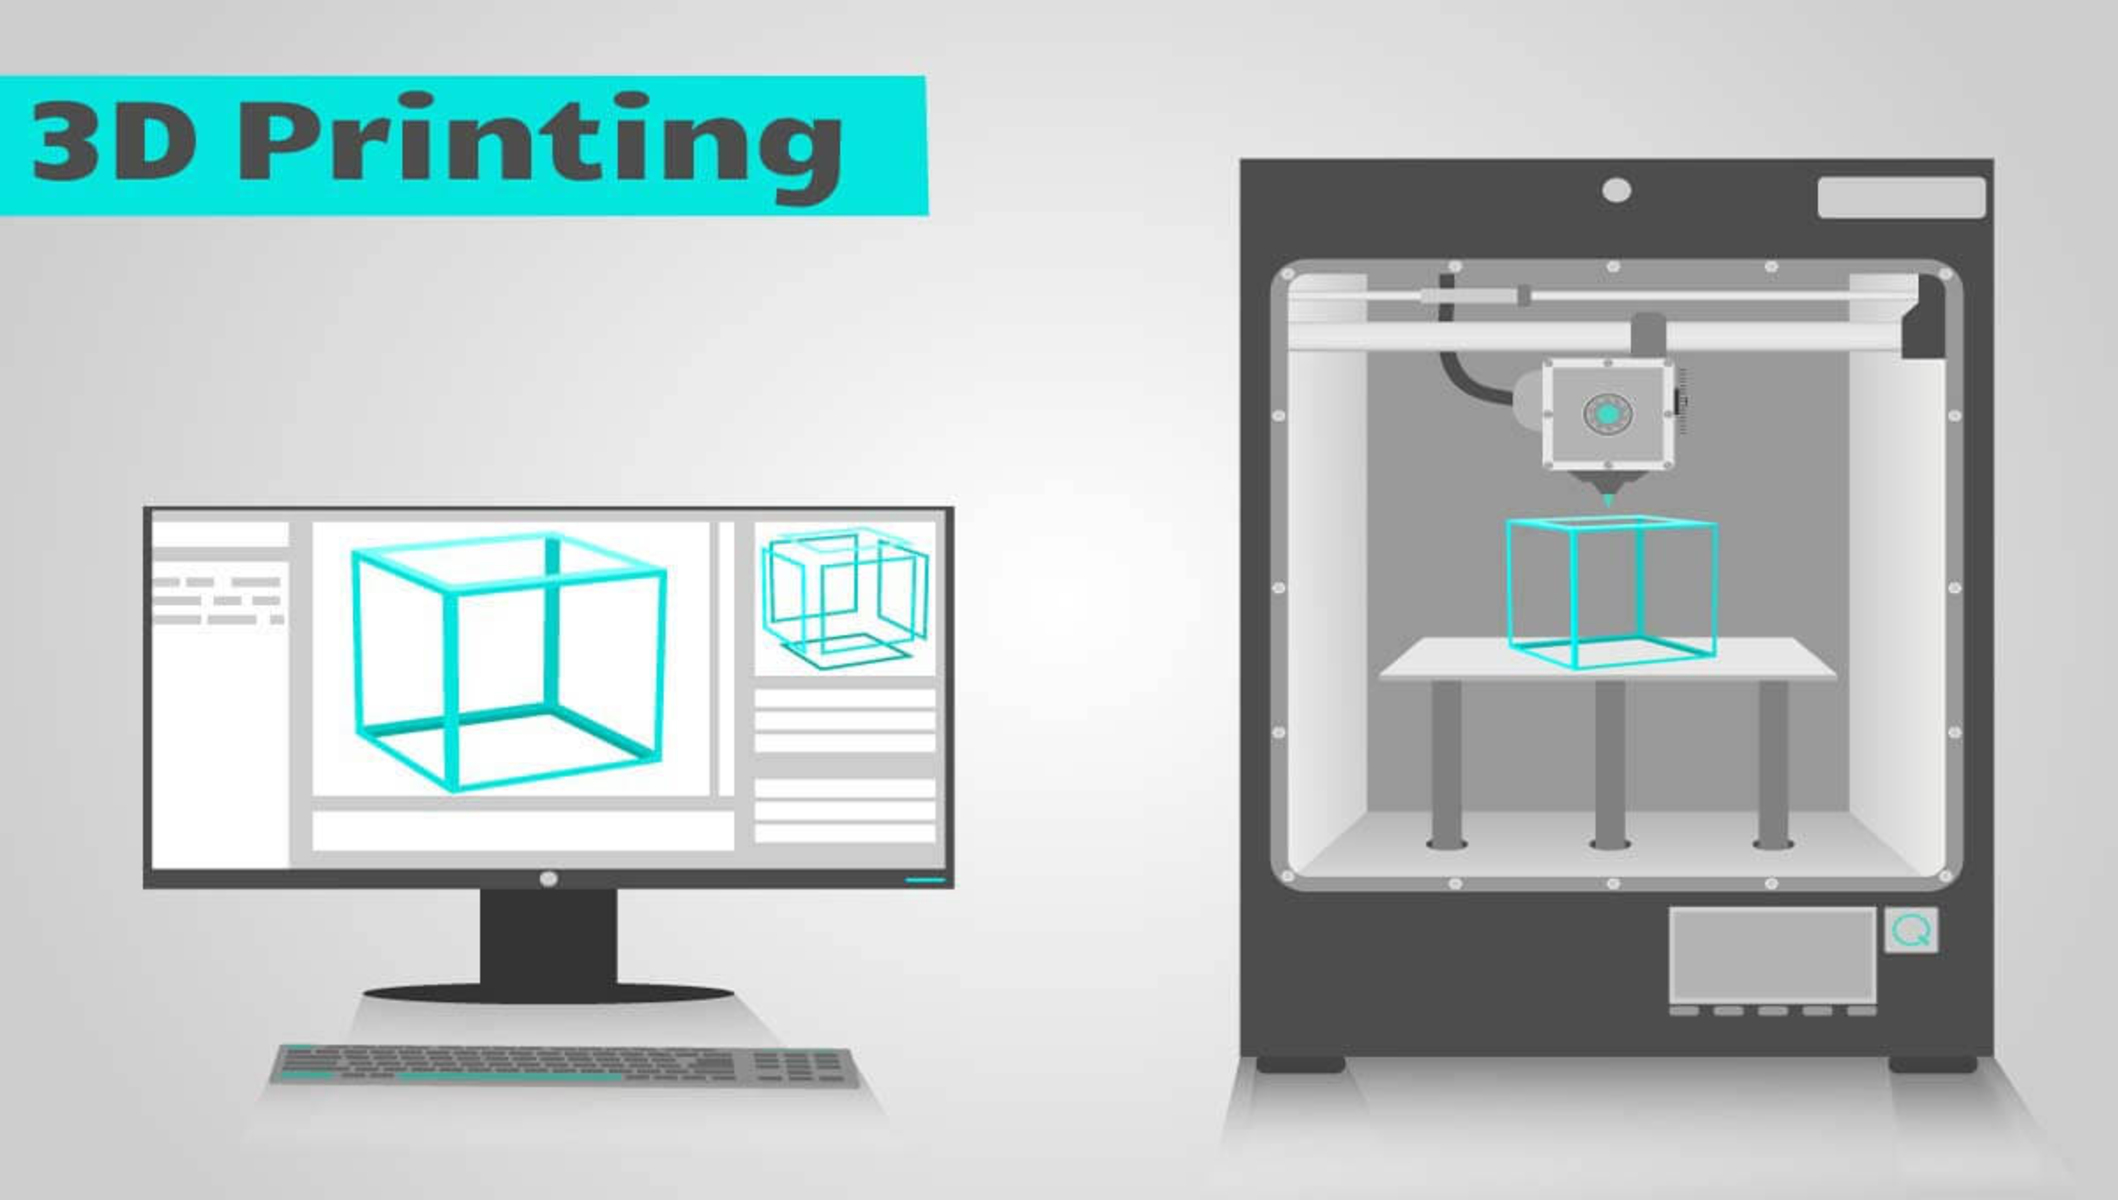
3D printing, also known as additive manufacturing, is a process of creating three-dimensional objects by layering successive layers of material on top of each other. This technology has gained popularity in recent years due to its versatility and ability to bring digital designs to life.
Sketchup 3D Printing combines the capabilities of Sketchup software with the possibilities of 3D printing, allowing users to design and create physical objects directly from their digital models. With Sketchup, you can build intricate and detailed 3D models and then export them to a 3D printer for fabrication.
Sketchup simplifies the 3D modeling process by providing a user-friendly interface and intuitive tools that enable users to create precise and complex designs. Whether you’re creating architectural models, product prototypes, or artistic sculptures, Sketchup offers the flexibility and functionality to bring your ideas to life.
One of the key advantages of using Sketchup for 3D printing is its compatibility with various file formats used by 3D printers. Sketchup allows you to export your models in common formats such as STL (Standard Tessellation Language) and OBJ (Wavefront Object), ensuring seamless integration with different 3D printing software and hardware.
In addition to its compatibility, Sketchup provides advanced tools for optimizing your models for 3D printing. This includes features like solid modeling, which ensures that your design is watertight and properly oriented for printing, and support generation, which helps you create support structures for overhangs and delicate features.
Overall, Sketchup 3D Printing is a dynamic and versatile solution for anyone interested in harnessing the power of 3D printing. Whether you’re a professional designer or a hobbyist, Sketchup empowers you to bring your ideas to life in a tangible and satisfying way.
Getting Started with Sketchup
If you’re new to Sketchup, getting started is a breeze. Follow these steps to begin your journey into the world of 3D modeling and printing:
- Download and Install Sketchup: Visit the official Sketchup website and download the appropriate version of the software for your operating system. Follow the installation instructions to complete the setup process.
- Explore the User Interface: Launch Sketchup and take some time to familiarize yourself with the user interface. The main screen consists of toolbars, menus, and a 3D workspace where you’ll be creating your models.
- Learn the Basic Tools: Sketchup offers a wide range of tools for creating and manipulating 3D geometry. Start by learning the basic tools, such as the line, rectangle, circle, and push/pull tools. These will form the foundation of your 3D modeling skills.
- Practice with Simple Shapes: Begin by creating simple shapes like cubes, spheres, and cylinders. Use the basic tools to draw and manipulate these shapes in the 3D workspace. This will help you understand how to control and modify geometry in Sketchup.
- Experiment with Advanced Tools: Once you feel comfortable with the basic tools, start exploring the advanced features. These include tools like the follow me tool for creating complex shapes along a path, the rotate tool for rotating objects in 3D space, and the scale tool for resizing objects.
- Master the Navigation Controls: Sketchup provides various navigation controls to move around in the 3D workspace. Learn how to pan, zoom, and orbit around your models to get a better view from different angles.
- Take Advantage of Sketchup’s Extensive Resources: Sketchup has a vibrant community of users and an abundance of online resources. Explore tutorials, forums, and YouTube channels dedicated to Sketchup to learn new techniques, tips, and tricks.
Remember, practice is key to mastering Sketchup. Dedicate time each day to honing your skills and experimenting with different tools and techniques. With patience and persistence, you’ll soon be creating impressive 3D models ready for 3D printing.
Creating Your First 3D Model in Sketchup
Now that you’ve familiarized yourself with the basics of Sketchup, it’s time to dive into creating your first 3D model. Follow these steps to get started:
- Plan Your Design: Before you begin, envision what you want to create. Sketch out a rough plan or gather reference images to guide your modeling process.
- Start with a Base Shape: Begin by creating a base shape using the basic tools like the line, rectangle, or circle tool. This will serve as the foundation of your model.
- Extrude and Push/Pull: Use the push/pull tool to extrude your base shape and add depth to it. Experiment with different heights and dimensions to achieve the desired form.
- Add Details and Features: Once you have the basic shape, start adding details and features to your model. Use the various drawing and modifying tools to create edges, faces, and intricate designs.
- Use Groups and Components: As your model becomes more complex, it’s a good idea to group related geometry or create components. This helps organize your model and makes it easier to edit and manipulate different parts.
- Apply Materials and Textures: Sketchup allows you to apply materials and textures to your model, giving it a realistic appearance. Experiment with different materials to bring your model to life.
- Utilize Layers: Layers are useful for managing different elements of your model. Assign different parts to separate layers to control visibility and make editing more efficient.
- Inspect and Fine-tune: Once your model is complete, inspect it from different angles and perspectives. Make any necessary adjustments to ensure it looks aesthetically pleasing and meets your design goals.
- Export for 3D Printing: When you’re satisfied with your model, it’s time to prepare it for 3D printing. Export your model in a compatible file format, such as STL or OBJ, ensuring appropriate sizing and orientation.
Remember, creating 3D models takes practice and experimentation. Don’t be afraid to try new techniques and explore the vast array of tools and features Sketchup offers. With time and dedication, you’ll be creating intricate and impressive models ready for 3D printing.
Importing Existing Models into Sketchup
In addition to creating models from scratch, Sketchup also allows you to import existing 3D models into your workspace. Whether you’re collaborating with others or reusing models from online libraries, the import feature in Sketchup offers flexibility and convenience. Here’s how you can import existing models into Sketchup:
- Select the Import Option: Open Sketchup and go to the “File” menu. From there, select the “Import” option to open the import dialog box.
- Choose the File to Import: In the import dialog box, navigate to the location where your existing model file is saved. Sketchup supports a variety of file formats such as STL, OBJ, DWG, and more. Choose the appropriate file format for your model.
- Configure Import Settings: Depending on the file format you’re importing, you may have the option to adjust various import settings. These settings can include units, scale, visibility, and material handling. Take the time to review and adjust these settings based on your needs.
- Position and Scale the Imported Model: After importing the model, Sketchup will place it in your workspace. You can use the Sketchup tools to position and scale the imported model as desired. This allows you to integrate the imported model with your existing project.
- Make Edits and Modifications: Once the model is imported, you can make further edits and modifications to customize it for your specific requirements. Use the Sketchup tools to add details, change materials, or modify the geometry to fit seamlessly with your project.
- Group or Componentize the Imported Model: If the imported model consists of multiple components or groups, consider organizing them for easier management. You can group related elements or create components to maintain the structure and hierarchy of the imported model.
- Integrate the Imported Model with Your Design: Once you have made the necessary modifications, integrate the imported model with your overall design. This may involve aligning it with other elements, adjusting the scale, or fine-tuning the positioning to achieve the desired result.
- Save and Export: Finally, save your project to retain the changes you made to the imported model. If you plan to use the model outside of Sketchup, you can also export it in a compatible format for further use or 3D printing.
Importing existing models into Sketchup allows you to leverage the work of others or incorporate complex designs into your own projects easily. By following the above steps, you can seamlessly import and customize models to enhance your 3D modeling experience with Sketchup.
Using Sketchup’s 3D Printing Tools
Sketchup provides a range of specific tools and features designed to enhance the 3D printing workflow. These tools make it easier to optimize your models for 3D printing and ensure successful outcomes. Here’s an overview of some key 3D printing tools in Sketchup:
- Solid Tools: The Solid Tools in Sketchup are essential for creating watertight and printable models. These tools allow you to perform operations like union, subtraction, and intersection to merge or cut solid objects. Solid models are necessary for successful 3D printing, as they ensure correct geometry and prevent printing errors.
- Section Planes: Section planes allow you to slice your model and view its internal structure. This is particularly useful for identifying potential issues and ensuring there are no hidden geometry or intersecting elements that may cause printing problems. Use section planes to analyze and optimize your model’s design before printing.
- Component and Group Explode: Sketchup’s explode feature enables you to break down components or groups into individual entities. This flexibility is beneficial when preparing complex models for 3D printing, as you may need to modify or edit specific elements before printing.
- Intersect Faces: The intersect faces tool allows you to create intersections between different faces and geometry within your model. This can be helpful for merging or connecting separate components, ensuring they form a solid object that will print successfully.
- Section Cut Face: Section cut face is a tool that creates a flat, printable surface from a section cut. This can be useful if you want to create a polished, exhibition-ready model by removing the outer layers and displaying the internal geometry of your design.
- 3D Warehouse: Sketchup’s 3D Warehouse is a vast online repository of 3D models created by the Sketchup community. It offers a wealth of pre-designed models that you can use directly in your projects or modify to suit your needs. The 3D Warehouse is a valuable resource for finding ready-made components or inspiration for your 3D printing creations.
- Extension and Plugin Support: Sketchup’s extensibility through plugins and extensions further enhances the 3D printing capabilities. There are various plugins available, such as those for generating support structures, analyzing printability, or optimizing model orientation for better printing results. Explore the Sketchup extension warehouse to find plugins that align with your specific 3D printing needs.
By utilizing these 3D printing tools in Sketchup, you can refine and optimize your models for successful 3D printing. Take advantage of solid modeling, section planes, and other available features to ensure your designs are printer-friendly and ready to bring to life through the 3D printing process.
Preparing Your Model for 3D Printing
Before sending your model to the 3D printer, it’s crucial to prepare it to ensure a successful and high-quality print. Here are some important steps to follow when preparing your model for 3D printing in Sketchup:
- Check for Errors: Thoroughly examine your model for any existing errors or issues. Look out for intersecting geometry, non-manifold edges, or any other irregularities that may cause problems during printing. Utilize the Solid Tools and other corrective actions to fix these errors.
- Ensure Watertight Geometry: Make sure your model is solid and watertight, without any gaps or holes. This is vital for a successful 3D print, as an incomplete or non-solid model can result in structural weakness or print failures. The Solid Tools in Sketchup can help you create a closed and watertight model.
- Scale and Orient Properly: Adjust the scale and orientation of your model to match the desired print size and fit within the printer’s build volume. Consider the limitations and capabilities of your specific 3D printer and make any necessary adjustments to ensure a proper fit.
- Create Supports if Needed: Identify areas of your model that may require support structures during printing, such as overhangs or intricate details. Sketchup provides plugins and extensions that can help generate automated support structures, or you can manually create them using Sketchup’s drawing and editing tools.
- Consider Printing Orientation: Think about the best orientation for your model during printing. Consider factors such as minimizing the need for supports, optimizing the strength and surface quality, and reducing the risk of print failures. Experiment with different orientations to find the best balance between aesthetics and functionality.
- Save and Export in a Suitable Format: Save your model file and export it in a compatible format for 3D printing, such as STL (Standard Tessellation Language) or OBJ (Wavefront Object). Ensure that your model’s size and units are correctly preserved during the export process.
- Split Large Models if Necessary: If your model is too large for your printer’s build volume, consider splitting it into smaller parts that can be printed individually and later assembled. Sketchup’s group and component features can assist in organizing and separating your model into more manageable pieces.
- Perform a Test Print: Before committing to a full-scale print, consider doing a test print on a smaller scale or with simplified settings. This allows you to identify any potential issues and make adjustments before investing time and materials into a final print.
- Validate the Model: Before sending your model to the 3D printer, use validation tools or online services to check its integrity. These tools can help identify potential issues such as non-manifold geometry, wall thickness, or other printability concerns.
By following these steps, you can properly prepare your Sketchup model for 3D printing. Taking the time to correct errors, ensure watertight geometry, and optimize the print settings will greatly increase the chances of a successful and high-quality print outcome.
Choosing the Right 3D Printer for Your Sketchup Models
When it comes to bringing your Sketchup models to life through 3D printing, choosing the right 3D printer is crucial. Consider the following factors to ensure that you select a printer that meets your specific needs and produces quality prints:
- Print Size and Build Volume: Evaluate the size of your models and determine the required print volume. Ensure that the 3D printer you choose can accommodate your desired print size and has a build volume that aligns with your project requirements.
- Print Resolution: Consider the level of detail and precision required for your models. Higher print resolution provides finer details and smoother surfaces, but it may also impact print speed and cost. Balance your needs for quality with the practical limitations of your budget and time.
- Supported Materials: Different 3D printers support different types of materials. Determine the material compatibility needed for your projects, such as PLA, ABS, or specialized filaments like wood or flexible materials. Choose a printer that can handle the materials you plan to use.
- Print Speed: Assess the required print speed for your projects. Faster printers may sacrifice some print quality, while slower printers may provide more precise output. Consider the trade-offs and find a balance that suits your needs.
- Ease of Use: Evaluate the user-friendliness of the 3D printer and its accompanying software. Look for features like an intuitive interface, easy maintenance, and reliable customer support. A user-friendly printer can save you time and frustration, especially if you’re new to 3D printing.
- Connectivity: Consider the connectivity options available, such as USB, Wi-Fi, or SD card. Ensure that the printer can easily connect to your computer or network for seamless file transfer and printing.
- Compatibility with Sketchup: Ensure that the 3D printer you choose is compatible with the file formats exported by Sketchup, such as STL, OBJ, or other commonly used formats. This compatibility will streamline the printing process and ensure smooth integration between Sketchup and the printing software.
- Price and Budget: Set a budget for your 3D printer and consider the overall cost of ownership, including materials and maintenance. Balance your budget constraints with the desired features and capabilities to find the best-value option for your needs.
- Reviews and Recommendations: Research and read reviews from other users to gain insights into the performance and reliability of different 3D printer models. Look for reputable brands and models that have positive feedback and recommendations from the user community.
- Future Expansion and Upgrading: Consider whether you anticipate expanding your 3D printing capabilities in the future. Evaluate the 3D printer’s compatibility with additional accessories or attachments, as well as its upgrade options, to ensure potential growth and customization.
By carefully considering these factors, you can choose a 3D printer that aligns with your specific Sketchup modeling needs. Remember that the right printer will not only produce quality prints but also enhance your overall 3D printing experience and efficiency.
Troubleshooting Common Issues in Sketchup 3D Printing
While Sketchup is a powerful tool for 3D modeling, you may encounter some common issues when preparing your models for 3D printing. Understanding these issues and knowing how to troubleshoot them can help ensure successful prints. Here are some common problems and their solutions:
- Non-manifold Geometry: Non-manifold geometry, where faces are not properly connected or intersecting, can cause printing errors. To fix this, use Sketchup’s solid tools to ensure your model is watertight and connected. Check for gaps or overlapping geometry and make necessary adjustments.
- Thin or Fragile Walls: When creating thin or delicate parts, ensure that the walls are thick enough to be printable. If the walls are too thin, they may break or collapse during printing. Adjust the thickness accordingly to achieve the desired strength and stability.
- Overhangs: Overhangs or unsupported angles can result in poor print quality or even failure. Consider adding supports to help stabilize these areas during printing. Sketchup’s plugins or manual support structures generated using the drawing tools can assist in adding necessary support to your model.
- Printing Orientation: Incorrect printing orientation can affect the quality and strength of your prints. Experiment with different orientations to minimize the need for supports and improve the overall print quality. Consider the part’s geometry and critical dimensions when selecting the optimal orientation.
- Printing Scale: Verify that the scale of your model is accurate before printing. Sketchup allows you to specify the units of measurement, ensuring that the final print matches your desired dimensions. Double-check the size using a ruler or refer to the specifications of your printer to ensure accurate scaling.
- Printing Speed and Temperature: Adjusting the printing speed and temperature settings can affect the final print quality. Experiment with different settings to find the optimal balance between print speed and quality. Higher speeds may result in reduced detail, while lower speeds can enhance accuracy.
- Adhesion and Warping: Poor adhesion between the print bed and the model can cause warping or detachment during printing. Ensure the print bed is properly leveled and clean, and consider using adhesion aids like a heated bed, glue, or other adhesives to promote better adhesion and prevent warping.
- Print Filament and Material Quality: The quality and type of filament used can impact the final print. Ensure you use high-quality filaments that are suitable for your specific printer and project requirements. Consider factors such as material strength, flexibility, and print temperature recommendations.
- Print Layer Height: Adjusting the layer height affects the level of detail and printing time. A lower layer height produces finer details but extended print times, while a higher layer height reduces detail but shortens print time. Find a balance between speed and quality that suits your project.
- Print Slicer Settings: The parameters set in the slicing software can significantly influence the print outcome. Review and fine-tune settings such as infill density, shell thickness, and support structures based on your specific model and printing requirements.
By understanding these common issues and the corresponding troubleshooting steps, you can overcome challenges encountered during Sketchup 3D printing. It’s essential to iterate, experiment, and analyze the results to continually improve your print quality and efficiency.
Tips and Tricks for Successful Sketchup 3D Printing
To ensure successful 3D printing using Sketchup, here are some tips and tricks that can improve your workflow and results:
- Design with 3D Printing in Mind: Consider the limitations and capabilities of your 3D printer while designing. Keep in mind factors like print bed size, support requirements, and material compatibility to optimize your designs for successful printing.
- Practice Good Modeling Techniques: Use proper modeling techniques to create clean and efficient geometry. Avoid excessive details or unnecessary complexity that can impact printability or increase file size.
- Optimize Print Orientation: Experiment with different orientations to minimize the need for supports and achieve the best balance between aesthetics and structural integrity. Consider factors like overhangs, surface quality, and part strength when deciding the optimal orientation.
- Test and Iterate: Before committing to a final print, do smaller test prints or prototypes to identify potential issues and make necessary adjustments. This can save time and materials in the long run by catching and fixing problems early on.
- Utilize Sketchup Plugins and Extensions: Take advantage of the vast array of plugins and extensions available for Sketchup. These tools can assist in tasks like generating support structures, optimizing print parameters, analyzing printability, and more.
- Check Print Bed Leveling: Consistently check and ensure the print bed is properly leveled. This ensures proper adhesion and prevents warping or detachment during the print process.
- Use Quality Filaments: Invest in high-quality filaments that are suitable for your specific printing needs. Quality filaments provide better print results, improved strength, and durability.
- Optimize Support Structures: When supports are necessary, optimize them to minimize the need for excessive material and facilitate easy removal. Adjust support density, size, and placement to balance support effectiveness with print quality.
- Explore Post-Processing Techniques: Consider post-processing techniques to enhance the appearance and functionality of your printed models. Techniques like sanding, painting, and adding finishes can greatly improve the final outcome.
- Document and Organize: Keep track of your settings, adjustments, and successful print parameters. Maintain an organized library of models and associated files for future reference and easy reuse.
By implementing these tips and tricks, you can enhance your Sketchup 3D printing experience and achieve successful and high-quality prints. Remember, practice, experimentation, and continuous learning are key to becoming proficient in both Sketchup and the art of 3D printing.
Conclusion
Sketchup is a powerful tool for 3D modeling, and when combined with 3D printing, it opens up a world of opportunities for designers, architects, and hobbyists. Throughout this guide, we explored the various aspects of using Sketchup for 3D printing, from getting started with the software to troubleshooting common issues.
We learned how to create 3D models from scratch, import existing models, and optimize them for 3D printing using Sketchup’s specialized tools. We discussed the importance of selecting the right 3D printer that suits your needs and budget, as well as the significance of proper model preparation for successful prints.
Additionally, we shared tips and tricks to help you achieve the best results, including designing with printing in mind, optimizing print orientation, and utilizing plugins and extensions. We also emphasized the importance of testing and iterating, using quality filaments, and exploring post-processing techniques to enhance your printed models.
Remember, becoming skilled in Sketchup 3D printing requires practice, experimentation, and a willingness to continuously learn and improve. Don’t be discouraged by initial challenges, as they are all part of the learning process. Embrace them as opportunities to expand your skills and knowledge.
By following the techniques and recommendations outlined in this guide, you’ll be well-equipped to harness the power of Sketchup and 3D printing to bring your ideas to life. Enjoy the journey and have fun exploring the endless possibilities that this combination offers!