Introduction
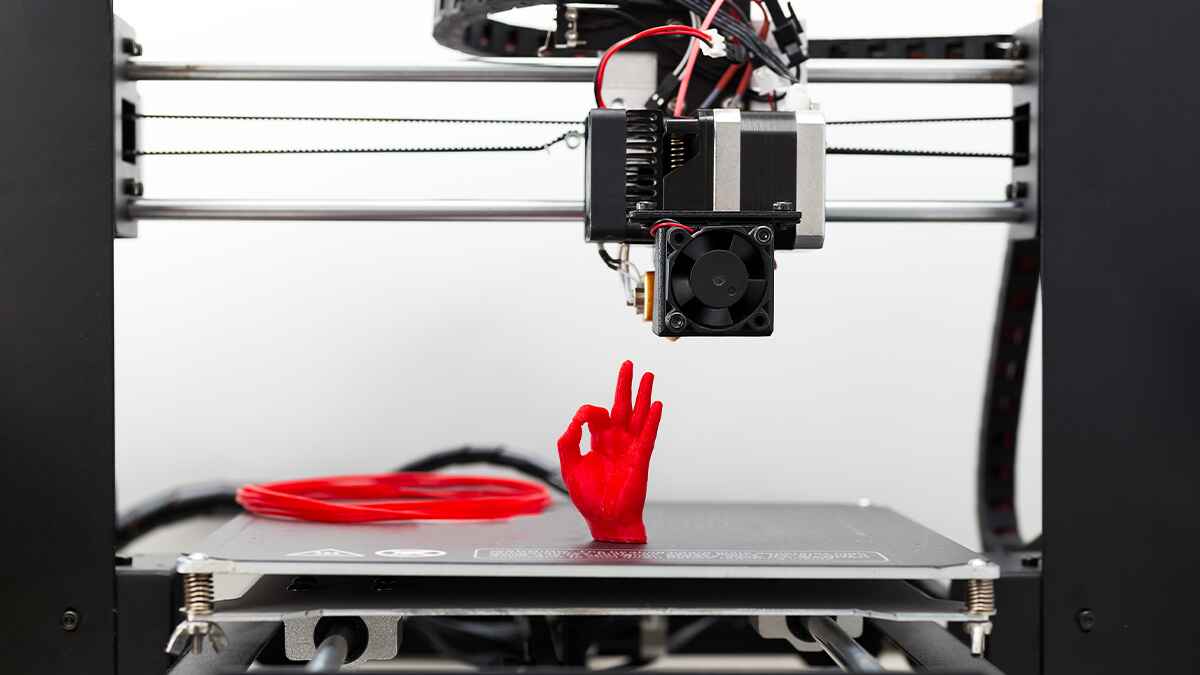
Welcome to the world of 3D printing, where you can bring your creativity to life by designing and manufacturing your own custom phone cases. With the advancements in technology, 3D printers have become more accessible, making it possible for anyone to create unique and personalized phone cases.
Gone are the days of settling for generic phone cases that lack personality. With a 3D printer, you can design a case that reflects your style, interests, or even showcases your brand. Whether you want to create a sleek and minimalist case or a bold and eye-catching design, the possibilities are endless.
In this tutorial, we will guide you through the process of making a phone case with a 3D printer. We will cover everything from designing the case to printing it and adding personalized touches. By the end of this tutorial, you will have a one-of-a-kind phone case that will make your device stand out from the crowd.
Ready to unleash your creativity? Let’s get started!
Materials Needed
Before you begin creating your own phone case with a 3D printer, gather the following materials:
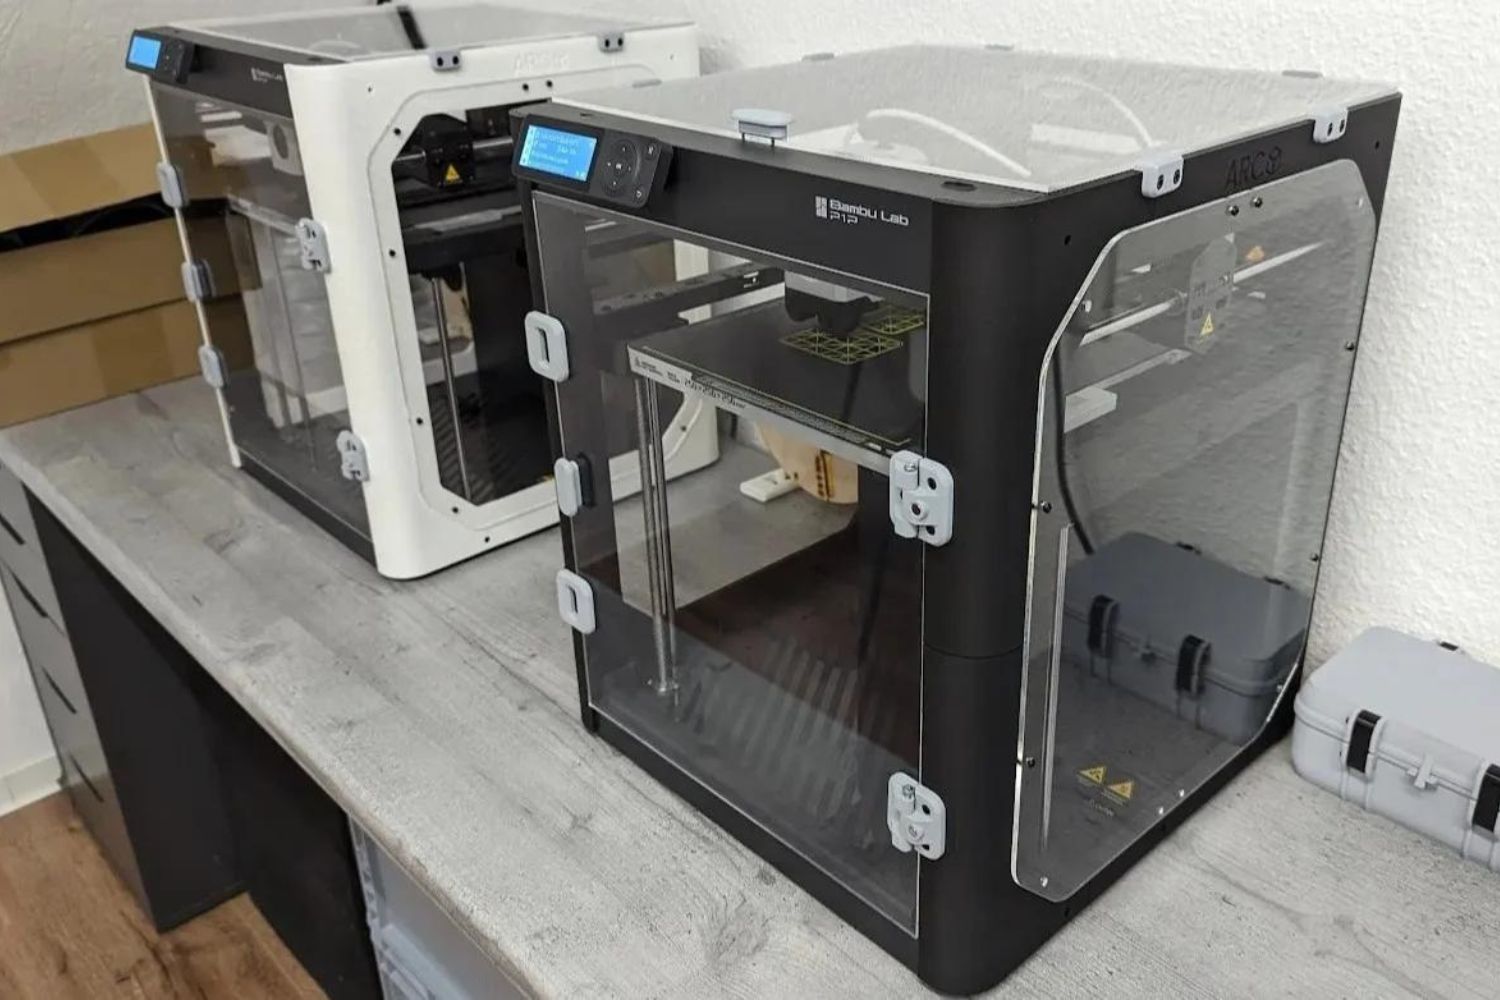
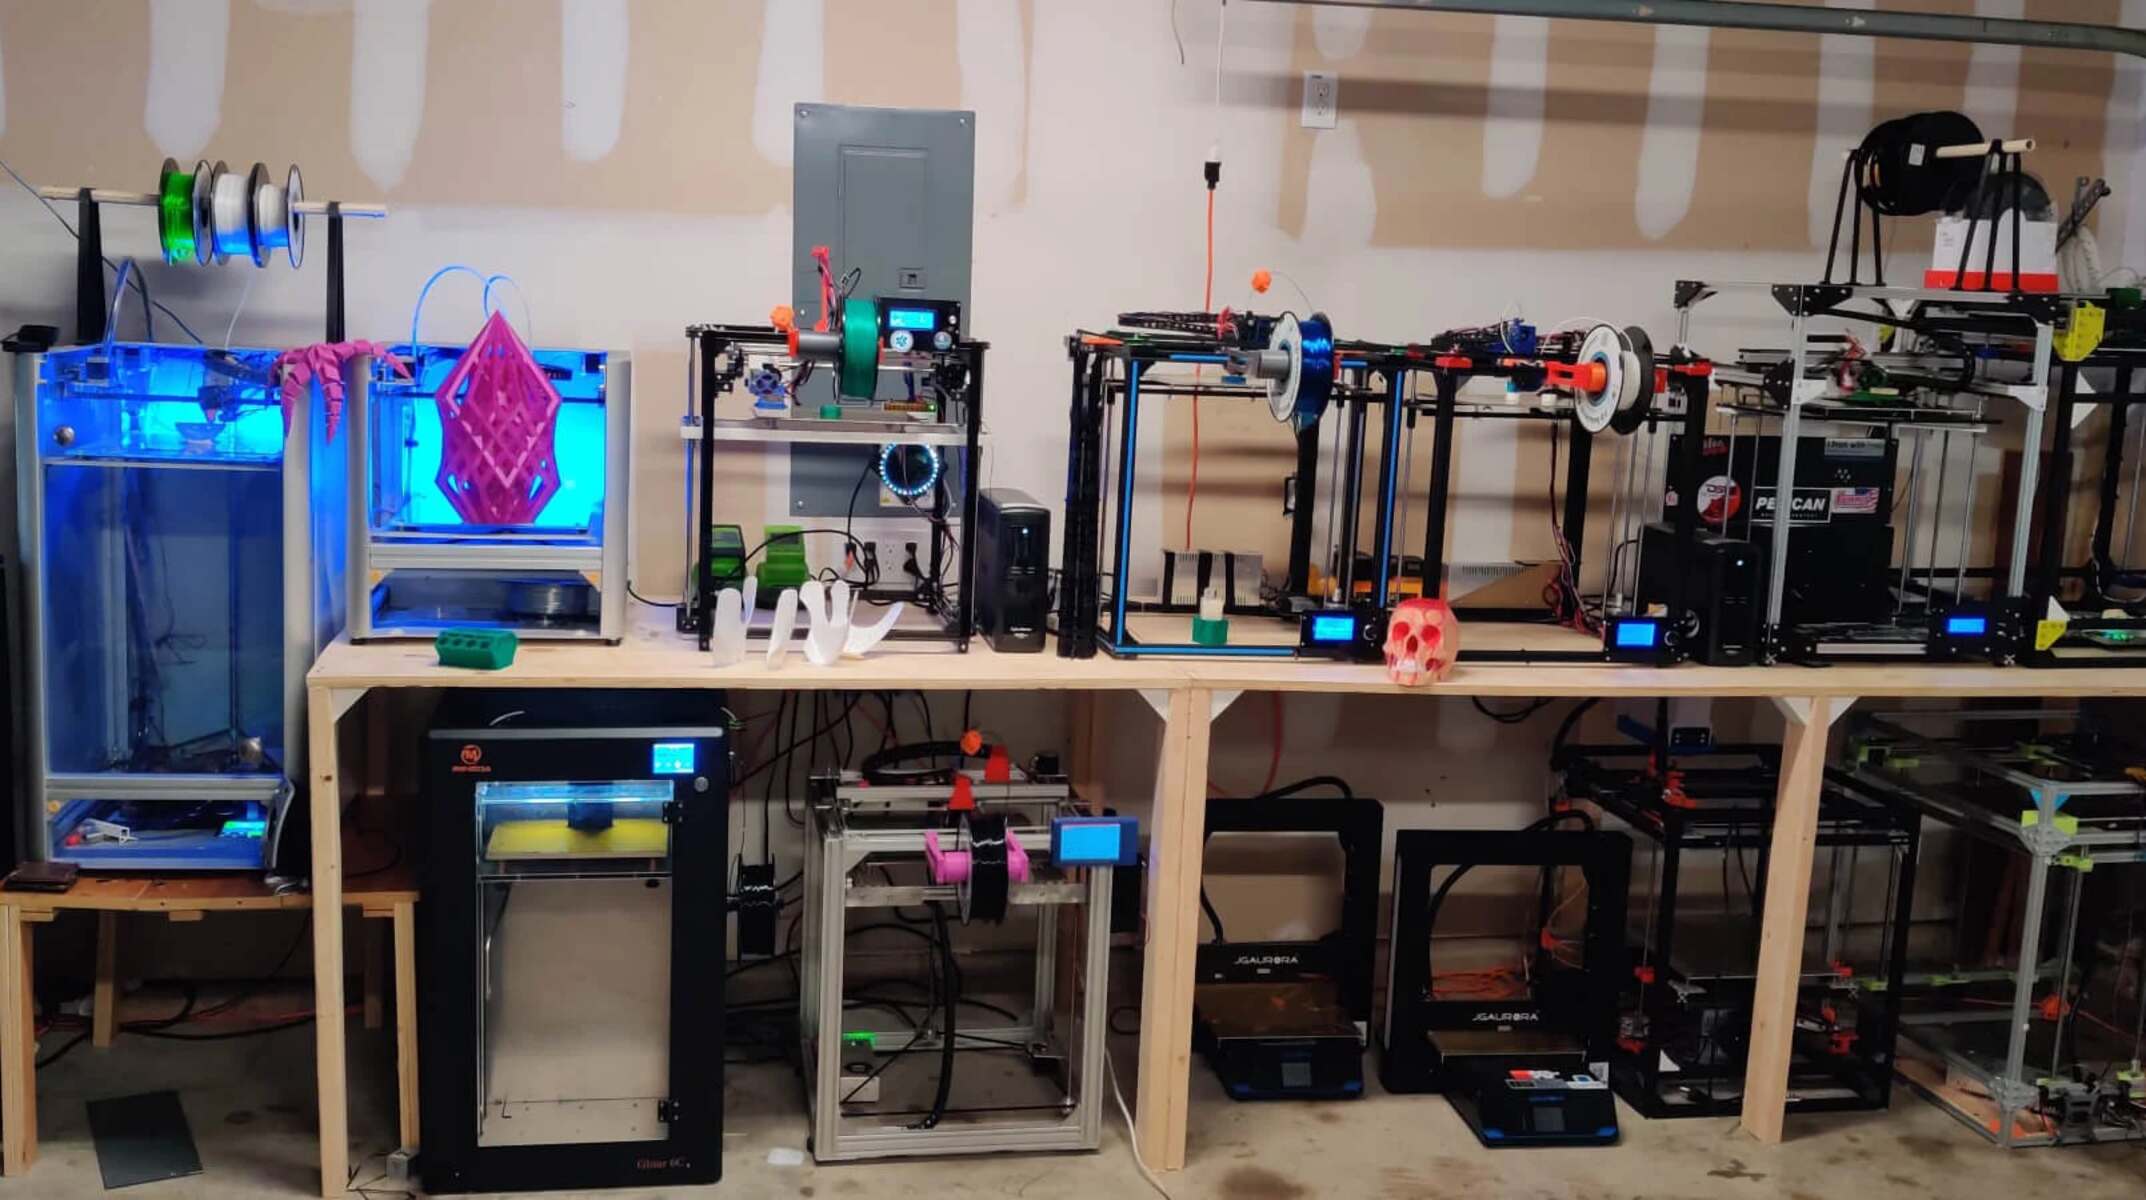
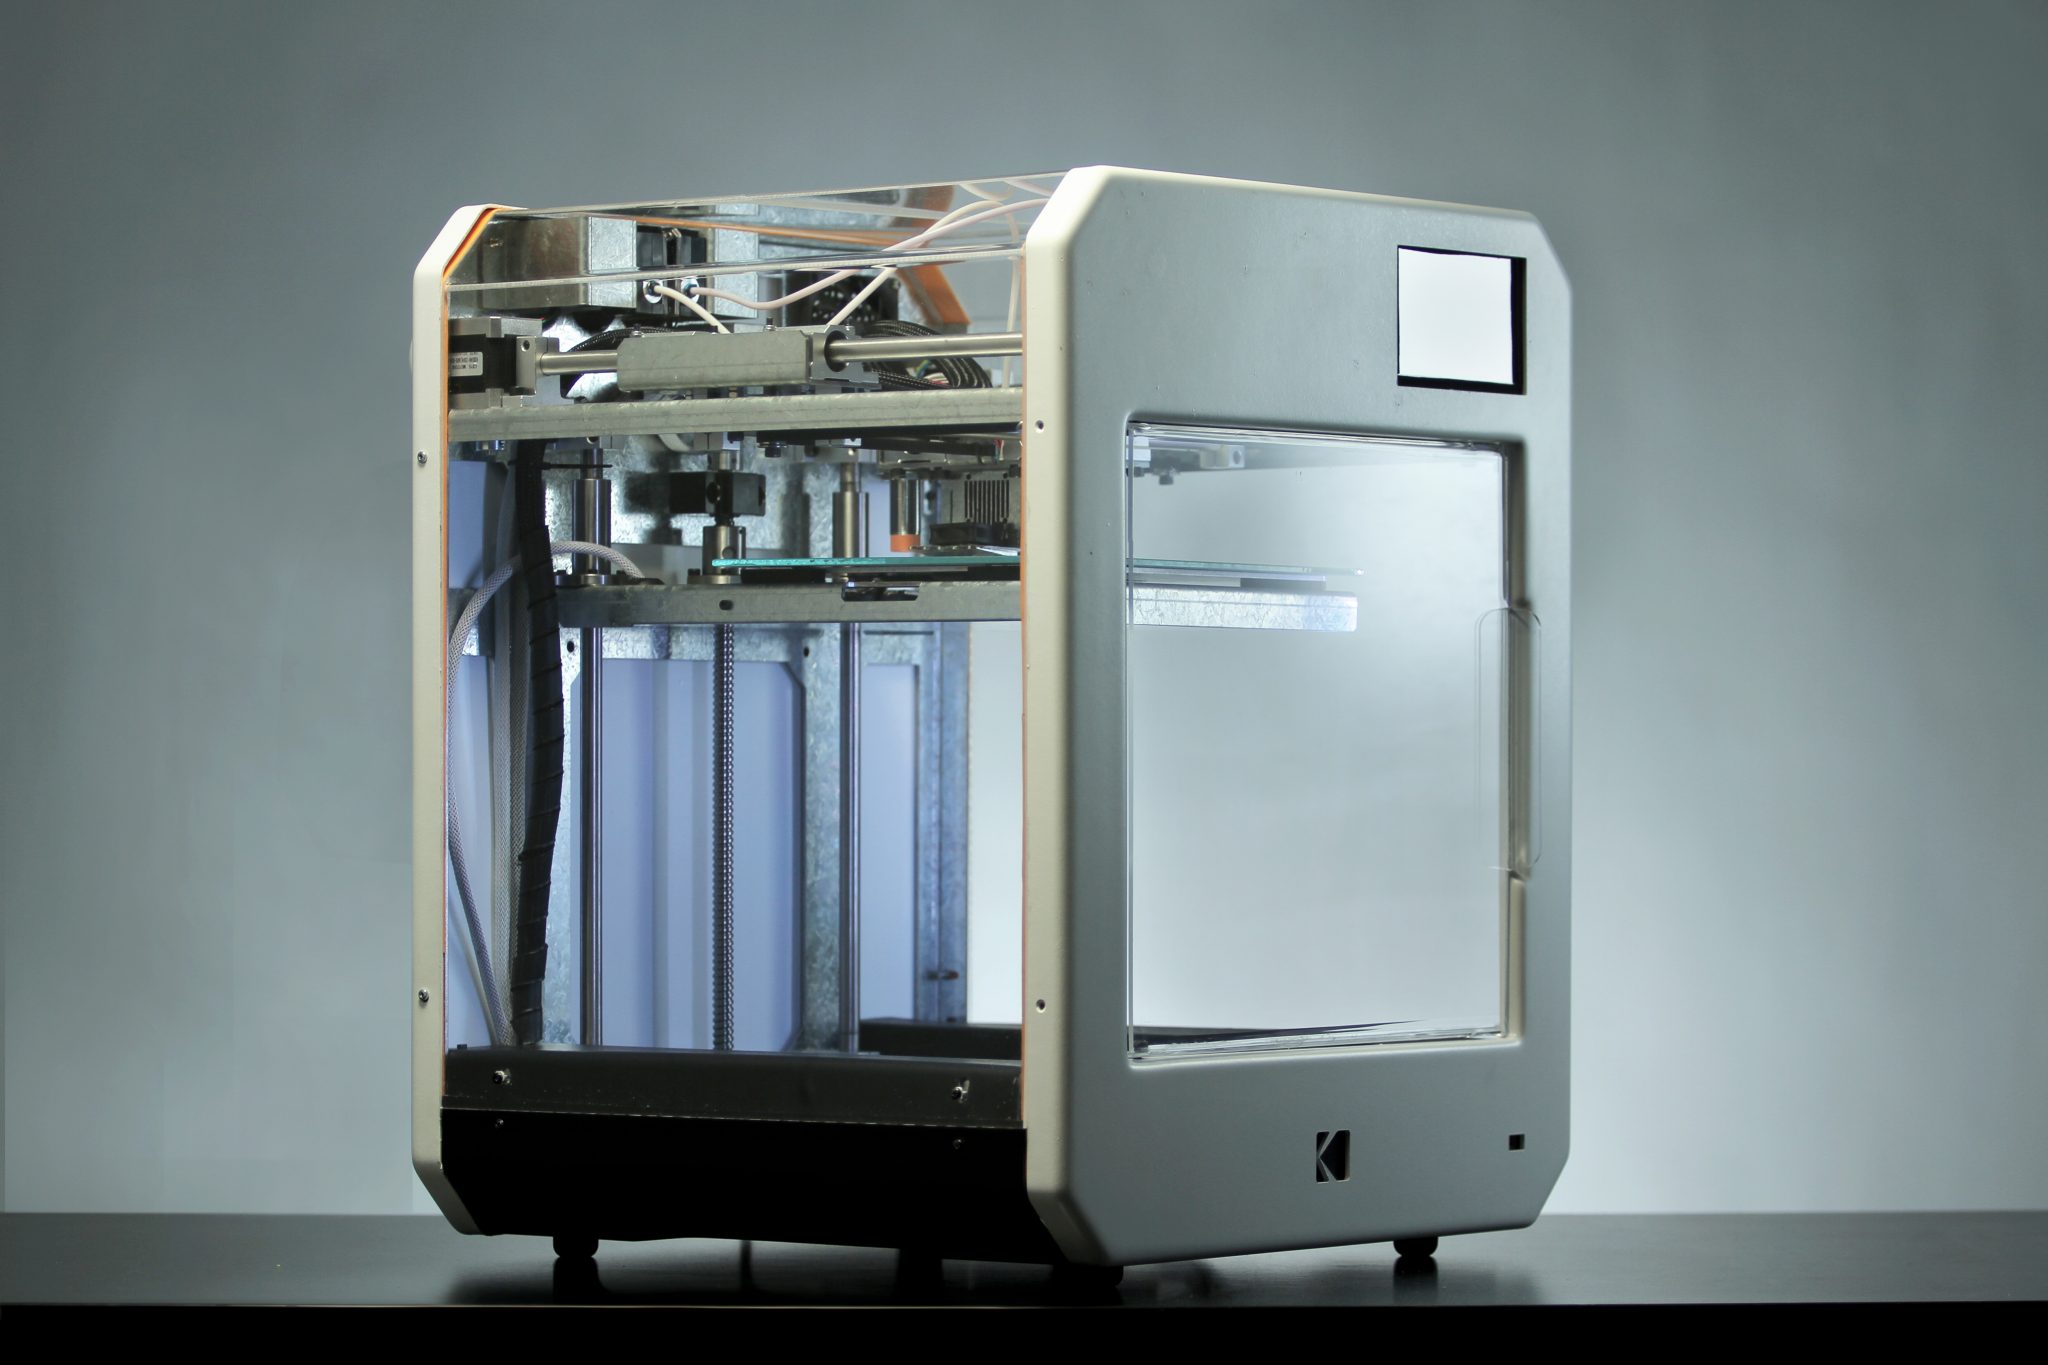
- A 3D printer: You will need a 3D printer that is capable of printing in the desired material, such as PLA or ABS.
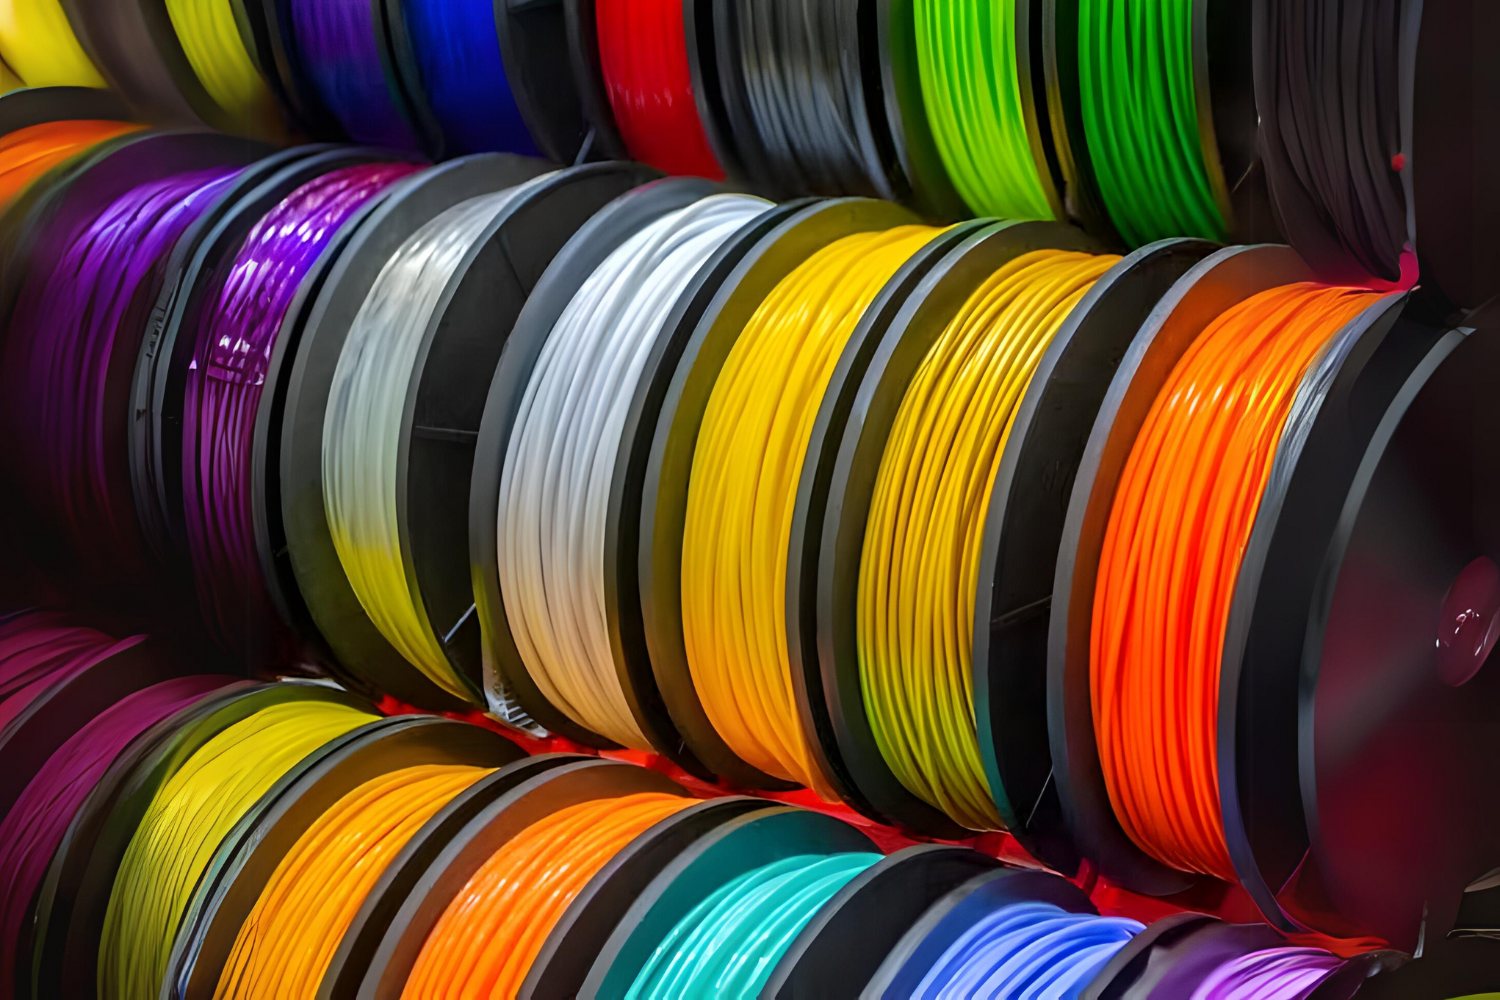
- 3D filament: Choose a filament that is suitable for your printer and meets your desired criteria in terms of color, durability, and finish.
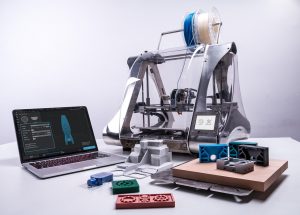
- Computer or laptop: You will need a computer or laptop to design the phone case and prepare it for printing.
- Design software: Depending on your skill level and preferences, you can use online design platforms or CAD software to create your phone case design.
- Calipers: Calipers are helpful for taking precise measurements of your phone, ensuring a perfectly fitting case.
- Sanding and finishing tools: To achieve a smooth and polished finish on your phone case, you may need sandpaper, sanding blocks, and other finishing tools.
- Primer and paint (optional): If you wish to personalize your phone case with colors or designs, you will need primer and paint suitable for the chosen material.
- Accessories and decorations (optional): If you want to add extra elements or decorations to your phone case, gather the necessary accessories such as beads, gems, or stickers.
Having these materials ready will ensure a smooth and efficient process when creating your own phone case using a 3D printer. It’s time to let your imagination run wild and turn your ideas into a tangible reality!
Step 1: Designing the Phone Case
The first step in creating a phone case with a 3D printer is designing the case itself. This is where you get to unleash your creativity and come up with a design that reflects your style and personal preferences. There are two main options for designing your phone case:
Option 1: Using Online Design Platforms
If you have limited experience with design software, you can take advantage of online design platforms that offer user-friendly interfaces and pre-made design templates. These platforms allow you to customize the dimensions, shape, and various design elements of your phone case. Simply select the template that suits your phone model, and then modify it to your liking. You can add text, graphics, and even incorporate your own images or designs. Once you are happy with the design, save it and move on to the next step.
Option 2: Creating a Custom Design with CAD Software
If you have a knack for design or prefer more control over the creative process, you can use computer-aided design (CAD) software to build your phone case from scratch. CAD software allows you to create 3D models by manipulating shapes, dimensions, and angles. You can start with a basic outline of the phone case and then add details such as textures, patterns, and cutouts. The software also enables you to fine-tune the measurements to ensure a snug and precise fit for your phone. Once you have completed your design, save the file in a compatible format for the 3D printer.
Whichever option you choose, take your time during this step to make sure you’re satisfied with the design. Consider the functionality of the case, ensuring that it provides proper access to buttons, ports, and the camera. Pay attention to aesthetics as well, choosing colors and patterns that resonate with your personal style.
Once you have finalized the design, you are ready to move on to the next step: preparing the 3D printer for printing your phone case.
Option 1: Using Online Design Platforms
Designing your own phone case using online design platforms is a great option for individuals who don’t have much experience with design software or prefer a more user-friendly approach. These platforms provide a wide range of templates and tools that make it easy to customize your phone case design.
Here are the steps to design your phone case using online design platforms:
- Select the platform: Choose a reputable online design platform that offers phone case design options. There are several popular platforms available, each with its own unique features and template choices.
- Select your phone model: Identify the model of your phone from the list provided in the platform. This ensures that the template is accurately sized to fit your device.
- Choose a template: Browse through the available templates and select the one that catches your eye. These templates are pre-designed cases that you can modify to suit your preferences.
- Customize the design: Once you have selected a template, start customizing it to create your unique phone case. The online platform usually provides a user-friendly interface that allows you to modify various design elements, such as color, texture, patterns, and even add text or graphics.
- Add personal images (optional): Some platforms allow you to upload your own images or designs to incorporate into the phone case design. This is a great opportunity to add a personal touch or showcase your artistic talents.
- Preview and finalize: After customizing the design, use the platform’s preview feature to visualize how the final phone case will look. Make any necessary adjustments to ensure it meets your expectations.
- Save the design file: Once you are satisfied with the design, save it in the compatible file format recommended by the platform. This file will be used to prepare the design for 3D printing.
Using online design platforms takes the guesswork out of the design process, allowing you to create a custom phone case quickly and easily. These platforms are ideal for those who want a hassle-free experience and prefer to have access to a variety of pre-made templates. With just a few clicks, you can transform your concept into a visually appealing phone case design.
Now that you have learned about designing your phone case using online design platforms, let’s explore the alternative option of creating a custom design with CAD software in the next section.
Option 2: Creating a Custom Design with CAD Software
If you have a knack for design or prefer more control over the creative process, creating a custom phone case design with computer-aided design (CAD) software is an excellent option. CAD software provides the tools and flexibility to bring your unique vision to life and create a phone case design that perfectly suits your style and preferences.
Here are the steps to create a custom phone case design with CAD software:
- Select CAD software: Choose a CAD software program that is suitable for beginners or matches your existing design skills. There are various options available, both free and paid, each with its own learning curve.
- Create a 3D model: Start by creating a 3D model of the phone case using the CAD software. Begin with a basic outline or template that matches the dimensions of your phone model. Then, use the software’s tools and features to shape and refine the design.
- Add details and features: Once the basic shape is in place, you can add details and features to enhance the design. This may include cutouts for buttons and ports, textures, patterns, or even unique embellishments.
Creating a custom phone case design with CAD software offers limitless possibilities for customization. You can experiment with different shapes, styles, and features to ensure that your phone case reflects your unique personality and preferences.
While using CAD software requires some learning and practice, it grants you the freedom to create a truly one-of-a-kind phone case design that perfectly aligns with your vision.
Now that you have learned how to create a custom phone case design using CAD software, it’s time to move on to the next step: preparing the 3D printer for printing your masterpiece.
Step 2: Preparing the 3D Printer
Once you have finalized your phone case design, it’s time to prepare your 3D printer for the printing process. Proper preparation ensures that the printer operates smoothly and produces high-quality results. Here are two options for preparing your 3D printer:
Option 1: Calibrating the Printer
Calibrating the 3D printer is crucial for achieving precise and accurate prints. Follow these steps to calibrate your printer:
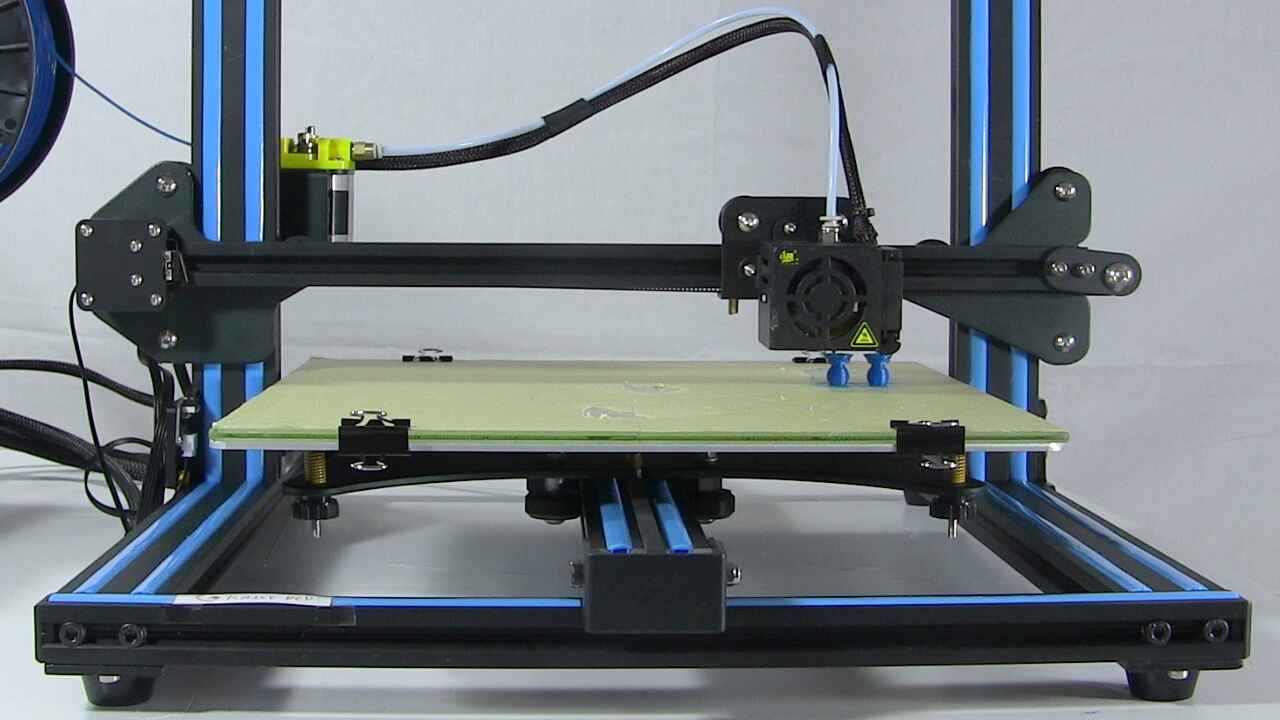
- Level the bed: Ensure that the printer’s bed is perfectly level. Use the printer’s built-in leveling tools or follow the manufacturer’s instructions to make the necessary adjustments.
- Set the nozzle height: Adjust the height of the printer’s nozzle to the optimal distance from the bed. This ensures proper adhesion of the filament and prevents any extrusion issues during the print.
- Check the filament flow: Manually feed the filament into the printer and observe that it flows smoothly without any blockages or resistance. Clean the nozzle if necessary.
- Perform a test print: Run a test print to ensure that the printer is properly calibrated. Choose a simple model or use a calibration cube to check the dimensions and overall print quality.
- Make necessary adjustments: Analyze the test print and make any necessary adjustments to the printer’s settings, such as temperature or speed, to achieve the desired results.
Option 2: Loading Filament
Before loading the filament, ensure that you have the appropriate filament type and color that matches your design. Follow these steps to load the filament into your 3D printer:
- Heat the extruder: Preheat the printer’s extruder to the recommended temperature for the filament material you are using. This allows the filament to melt and flow smoothly.
By properly calibrating your 3D printer and loading the filament correctly, you set the foundation for a successful printing process. These steps ensure that your printer is ready to bring your phone case design to life. Now you’re ready to move on to the next step: printing the phone case!
Option 1: Calibrating the Printer
Calibrating your 3D printer is a crucial step to ensure accurate and reliable prints. Proper calibration helps to fine-tune the printer’s settings and alignment, resulting in high-quality and precise prints. Here are the steps for calibrating your 3D printer:
- Level the bed: The first step is to level the printer’s bed. You want to ensure that the bed is perfectly level to provide a flat printing surface. Use the built-in leveling tools or follow the manufacturer’s instructions to make the necessary adjustments to achieve a leveled bed.
- Set the nozzle height: Next, adjust the height or distance between the printer’s nozzle and the bed surface. This is crucial for proper adhesion and filament deposition. Follow the manufacturer’s guidelines to set the optimal nozzle height. Some printers have automated methods for nozzle height calibration.
- Check filament flow: It’s important to ensure smooth and consistent filament flow during extrusion. Manually feed the filament into the extruder and observe how it feeds through the nozzle. Make sure there are no blockages or filament jams. Clean the nozzle if necessary.
- Perform a test print: Run a test print using a calibration model or a simple design. This will help you assess the printer’s performance and identify any issues or inconsistencies. Pay attention to details such as layer adhesion, surface quality, and dimensional accuracy.
- Make necessary adjustments: Analyze the test print and make any necessary adjustments to the printer’s settings. This may include adjusting the temperature, extrusion speed, or flow rate. Some printers have calibration software that can assist with these adjustments.
Proper calibration is an iterative process that may require multiple test prints and adjustments. This step is crucial for achieving reliable and high-quality prints, especially when it comes to intricate designs such as phone cases.
By taking the time to calibrate your 3D printer, you can ensure that your phone case prints accurately and consistently. Now that your printer is properly calibrated, you’re ready to move on to the next step: loading the filament and preparing for printing!
Option 2: Loading Filament
Loading filament into your 3D printer is an essential step in preparing for the printing process. Properly loading filament ensures a smooth and consistent flow, which is crucial for producing high-quality prints. Here are the steps to load filament into your 3D printer:
- Preheat the extruder: Begin by preheating the printer’s extruder to the recommended temperature for the filament material you are using. This ensures that the filament will melt properly and flow smoothly through the nozzle.
- Prepare the filament: Cut the end of the filament at a 45-degree angle to create a clean tip. This will allow for easier insertion into the printer’s filament feeder. It’s also important to have the correct filament spool handy, ensuring it matches the material type and color you intend to use.
- Insert the filament: Locate the filament feeding mechanism on your printer, which could be a tube or a direct feeder. Insert the tip of the filament into the feeder and push it gently until it reaches the extruder. Follow the printer’s instructions to ensure proper alignment and installation.
- Feed the filament: Begin feeding the filament through the extruder by manually pushing it through. Observe the extruder and nozzle area to ensure the filament is flowing smoothly without any tangles or obstructions.
- Monitor the extrusion: As the filament begins to flow through the nozzle, monitor the extrusion for consistent and even filament deposition. Make sure there are no gaps or irregularities in the extruded filament. Adjust the feeding speed or temperature as needed until the filament flows consistently.
Properly loading filament ensures that the printer’s extruder is ready for the printing process. This step helps prevent filament jams or uneven extrusion, which can negatively impact the quality of your phone case print.
By following these steps to load filament into your 3D printer, you are now ready to start the printing process and bring your phone case design to life!
Step 3: Printing the Phone Case
With your 3D printer calibrated and filament loaded, it’s time to start printing your phone case. This step is where your design comes to life and transforms into a physical object. Follow these steps to ensure a successful printing process:
- Import the design file: Load your phone case design file into the slicing software that corresponds to your 3D printer. Slicing software takes your 3D model and generates the necessary instructions for the printer to create each layer.
- Choose printing settings: In the slicing software, select the desired printing settings, such as layer height, print speed, infill density, and support structure. These settings will affect the final print quality and durability of the phone case.
- Position and scale the design: Adjust the position and scale of the phone case design within the slicing software to ensure the desired orientation and size. You can also add or remove supports if needed.
- Generate the G-code: Once you have finalized the settings and positioning, generate the G-code file. This file contains the specific instructions for the 3D printer, including the movement paths, filament extrusion, and temperature settings.
- Transfer the G-code to the printer: Save the G-code file to an SD card or transfer it directly to the 3D printer using a USB connection, depending on the printer’s specifications. Make sure the printer is ready and properly loaded before initiating the printing process.
- Start the printing process: Initiate the printing process using the printer’s control panel or software interface. Observe the initial layers to ensure proper adhesion and filament flow.
- Monitor the print: Throughout the printing process, monitor the progress to check for any issues or errors. Keep an eye on the printer’s temperature, filament flow, and overall print quality. Address any problems that arise promptly.
- Allow the print to complete: Depending on the complexity and size of the phone case, the printing process may take several hours. Allow the printer to complete the entire print job without interruption.
- Remove the printed phone case: Once the printing is complete and the print bed has cooled down, carefully remove the printed phone case from the printer. Use a spatula or similar tool to gently pry it off the print bed.
Printing a phone case requires patience and attention to detail to ensure a successful outcome. Make sure to follow the printer’s instructions and consider any specific recommendations for the material you are using.
Now that you have successfully printed your phone case, it’s time to move on to the next step: post-processing and finishing.
Step 4: Post-processing and Finishing
After printing your phone case, there are typically post-processing steps required to refine the final result and achieve the desired look and feel. Here are some common options for post-processing and finishing your 3D printed phone case:
Option 1: Removing Support Structures
If your phone case design includes overhangs or intricate details that require support during printing, you will need to remove these support structures. Use a pair of pliers, tweezers, or other appropriate tools to carefully break away and remove the support material, taking care not to damage the phone case itself. Once the supports are removed, you can inspect the phone case for any remaining marks or rough spots that may need further attention.
Option 2: Sanding and Smoothing the Surface
If your phone case has a rough or textured surface, you may want to sand and smooth it for a more polished look and feel. Start with coarse sandpaper and gradually move to finer grits to achieve a smooth surface. Be gentle and patient during this process to avoid sanding away too much material. After sanding, you can use polish or a soft cloth to buff the surface and bring out a glossy finish.
Option 3: Applying a Clear Coat
If you want to give your phone case a protective coating or enhance its appearance, applying a clear coat can be a good option. Choose a clear coat that is compatible with the material of your phone case, such as acrylic or polyurethane. Follow the manufacturer’s instructions for application, allowing sufficient drying time between coats. A clear coat can provide added durability and give your phone case a glossy or matte finish, depending on your preference.
Option 4: Personalizing the Phone Case
Once the post-processing steps are complete, you can take it a step further by adding personal touches to your phone case. Here are a couple of popular options:
– Painting and Coloring: Use acrylic paints or specialized paints for 3D prints to add color and patterns to your phone case. Let your creativity shine and customize the design to suit your style. Ensure that the paint is fully dry before using or handling the phone case.
– Adding Designed Elements: If you want to add extra flair to your phone case, you can incorporate designed elements such as gems, beads, or other decorative accessories. Use adhesive or a strong glue to securely attach these elements to the phone case, taking care to achieve a balanced and visually appealing arrangement.
Remember to let each layer of post-processing dry or cure fully according to the manufacturer’s instructions before proceeding to the next step.
With post-processing and finishing complete, your phone case is now ready to be used and flaunted. The effort you put into these final touches will ensure a truly unique and professional-looking phone case that perfectly matches your style and personality.
In the next step, we will explore additional options for personalizing your phone case.
Option 1: Removing Support Structures
If your phone case design includes intricate details or overhangs that require support during the printing process, it’s essential to remove these support structures to achieve the final desired look. The following are the steps involved in removing support structures from your 3D printed phone case:
- Assess the support structures: Carefully examine your 3D printed phone case to identify the areas where supports were generated. These may be thin structures or small pillars that kept the overhanging parts of the design intact during printing.
- Select appropriate tools: Choose the right tools for removing the support structures. Needle-nose pliers, small wire cutters, or flush cutters are commonly used tools for this purpose. Ensure that the tools are sharp and precise enough to access tight spaces without damaging the phone case.
High attention to detail and patience is crucial when removing support structures from your 3D printed phone case. Take your time to carefully remove each support, ensuring a clean and flawless appearance.
By removing support structures effectively, you not only improve the overall aesthetics of the phone case but also enhance its comfort and functionality. With this step complete, your phone case is one step closer to being a finished masterpiece.
Option 2: Sanding and Smoothing the Surface
To achieve a professional and refined look for your 3D printed phone case, sanding and smoothing the surface is an effective post-processing technique. Sanding helps to remove layer lines, imperfections, and rough surfaces, resulting in a polished and visually appealing finish. Here are the steps involved in sanding and smoothing the surface of your phone case:
- Gather the necessary supplies: Prepare a variety of sandpaper grits, ranging from coarse to fine. Start with a low grit, such as 150 or 180, for initial sanding and gradually work your way up to higher grits like 320, 400, and 600 for finer smoothing. Having sanding blocks or holders can provide better control and even pressure during the process.
Sanding and smoothing the surface of your 3D printed phone case significantly enhances its visual appeal and tactile qualities. It helps to create a more professional-looking finish and ensures a pleasant feel when holding or using the case.
Remember to exercise patience and care during the sanding process to avoid removing too much material or causing damage to the phone case. With proper sanding and smoothing, your phone case will have a refined and polished appearance, ready for any additional finishing touches or customization you desire.
Step 5: Personalizing the Phone Case
Now that you have a 3D printed phone case that is beautifully designed and finished, it’s time to personalize it and add your own unique touch. Personalizing your phone case allows you to make it truly one-of-a-kind and tailored to your individual style. Here are a couple of popular options for personalizing your phone case:
Option 1: Painting and Coloring
One of the simplest ways to personalize your phone case is by painting or coloring it. You can use acrylic paints or specialized paints formulated for 3D prints. Choose a color or combination of colors that resonate with your personality and style. Use fine brushes for detailed designs or larger brushes for broader strokes. Get creative and experiment with different techniques such as gradients, patterns, or even stencils. Allow the paint to fully dry before handling or using the phone case to prevent smudging or damage to the design.
Option 2: Adding Designed Elements
If painting is not your forte, you can personalize your phone case by adding designed elements such as gems, beads, or other decorative accessories. Use a strong adhesive or glue specifically designed for attaching objects to your chosen material. Arrange the elements on the phone case to achieve a visually pleasing composition. Get inspired by your interests, hobbies, or simply express your creativity. Remember to ensure the added elements do not obstruct or interfere with the functionality or usability of the phone case.
Personalizing your phone case allows you to truly make it your own and showcase your individuality. Whether it’s through painting, adding designed elements, or combining multiple techniques, the goal is to create a phone case that reflects your unique style and personality.
When personalizing your phone case, consider factors such as the durability and compatibility of the chosen materials and finishes. Ensure that any post-personalization steps, such as sealing or protecting the design, are implemented to ensure longevity and preserve the appearance of your customized phone case.
With the personalization complete, your phone case becomes an extension of your style and a statement of self-expression. Enjoy the satisfaction of using a phone case that is truly unique and showcases your individuality!
Option 1: Painting and Coloring
One of the most popular and creative ways to personalize your 3D printed phone case is by painting and coloring it. This option allows you to add vibrant colors, unique patterns, and intricate designs to your phone case, making it stand out and truly reflect your personal style. Here are the steps to paint and color your phone case:
- Gather your supplies: Start by gathering the necessary painting supplies. This includes acrylic paints in your desired colors, a palette or paint dish, various brush sizes, water for rinsing brushes, and a protective covering for your work surface.
With painting and coloring, you have the freedom to unleash your creativity and make your phone case truly unique. Choose colors that reflect your personality, incorporate patterns or designs that you love, or even create a custom artwork that represents your style. The possibilities are endless!
Remember to take your time, be patient, and allow each layer of paint to dry thoroughly before proceeding with additional layers or protective coatings. This will ensure the longevity and durability of your painted phone case.
Once your painted design is complete, you’ll have a beautifully customized phone case that showcases your artistic flair and adds a personal touch to your device. Enjoy using your one-of-a-kind creation and let it be a reflection of your individuality!
Option 2: Adding Designed Elements
Another creative way to personalize your 3D printed phone case is by adding designed elements. This option allows you to incorporate various decorative accessories, such as gems, beads, or other small items, to enhance the visual appeal and uniqueness of your phone case. Here are the steps involved in adding designed elements to your phone case:
- Gather your materials: Start by gathering the materials you plan to use for decorating your phone case. This could include gems, beads, rhinestones, charms, stickers, or any other decorative elements of your choice. Ensure that the materials are appropriate for use with the specific material of your phone case.
Adding designed elements to your phone case allows for a truly customized and eye-catching design. Whether you opt for a simple arrangement or a more elaborate composition, you can showcase your creativity and make your phone case a unique reflection of your style.
Take care to ensure the adhesive you use is suitable for bonding the chosen materials to the phone case. Additionally, consider the size, weight, and functionality of the elements to avoid hindering the phone’s usability or causing any discomfort while holding or using the case.
With the added designed elements, your phone case will become a personal masterpiece that stands out and highlights your individuality. Enjoy the process of customizing your phone case and let your creativity shine!
Conclusion
Congratulations! You have successfully learned how to make a phone case with a 3D printer and personalize it to your liking. By following the steps outlined in this guide, you were able to design a unique phone case, prepare your 3D printer, print the case, and add personal touches. The end result is a one-of-a-kind phone case that perfectly reflects your style and personality.
Throughout the process, you learned about different design options, such as using online design platforms or CAD software to create your phone case design. You also gained insights into preparing the 3D printer, whether it’s calibrating the printer or loading filament.
Post-processing and finishing steps, such as removing support structures, sanding, and smoothing the surface, helped you achieve a polished and professional-looking phone case. Finally, personalization options like painting and coloring or adding designed elements allowed you to put your creative touch on the phone case.
Remember, each step in the process requires attention to detail, patience, and a bit of creativity. Take the time to experiment, try different techniques, and make adjustments along the way. Your phone case is an expression of your individuality, so make it truly unique to you.
Now that you have a newly printed and personalized phone case, show it off with pride! Use it to protect your phone while making a style statement. Whether it’s a sleek and minimalistic design or a vibrant and eye-catching pattern, your phone case is sure to turn heads and make your device truly stand out.
Continue exploring the world of 3D printing and discover new ways to unleash your creativity. With practice, you will be able to design and create even more amazing things with your 3D printer.
So, go ahead, enjoy your customized phone case, and let your imagination soar in the world of 3D printing!