Introduction
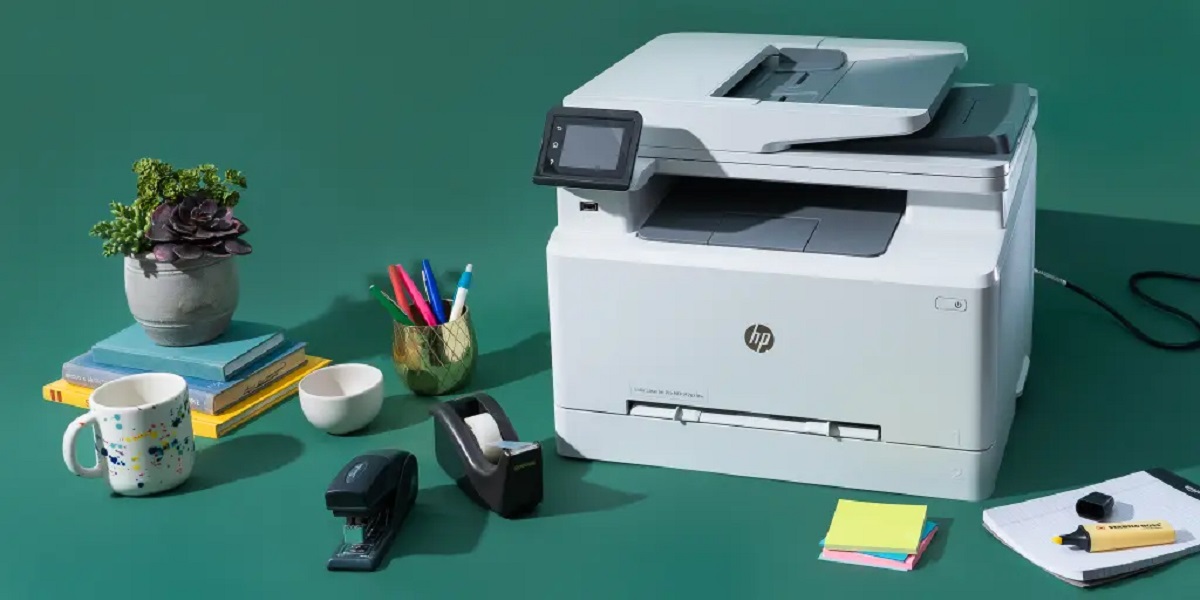
Connecting your HP printer to a Wi-Fi network allows you to print wirelessly from any device connected to the same network. This eliminates the need for cables and provides you with the convenience and flexibility to print from anywhere within the network range.
Whether you have recently purchased a new HP printer or you are setting up an existing printer on a new network, this guide will walk you through the steps to connect your HP printer to Wi-Fi. By following these instructions, you’ll be able to enjoy the benefits of wireless printing in no time.
Before diving into the process, it’s important to note that the exact steps may vary slightly depending on the model of your HP printer. However, the general principles remain the same.
In this article, we will provide you with a comprehensive guide on how to connect your HP printer to Wi-Fi. We will cover how to check the wireless capability of your printer, gather network information, and troubleshoot any connection issues that may arise.
Now, let’s get started and make your printing experience more convenient and efficient with a wireless connection to your HP printer.
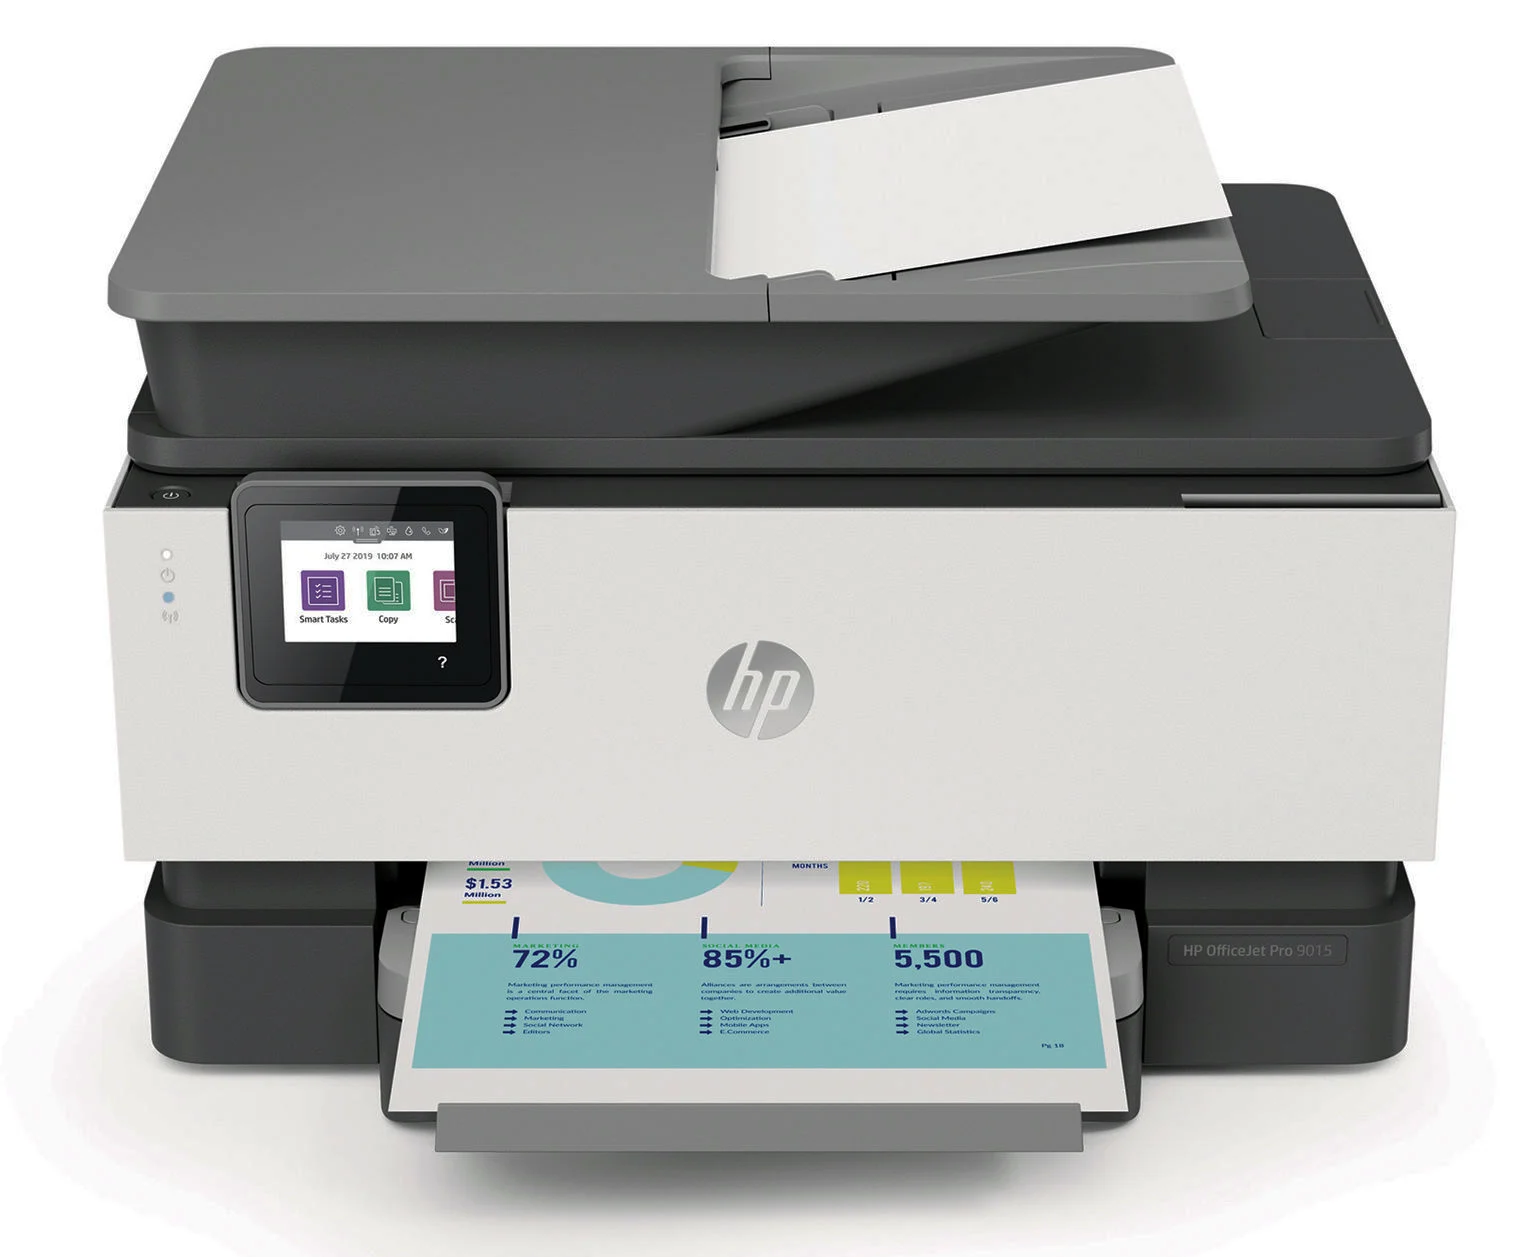
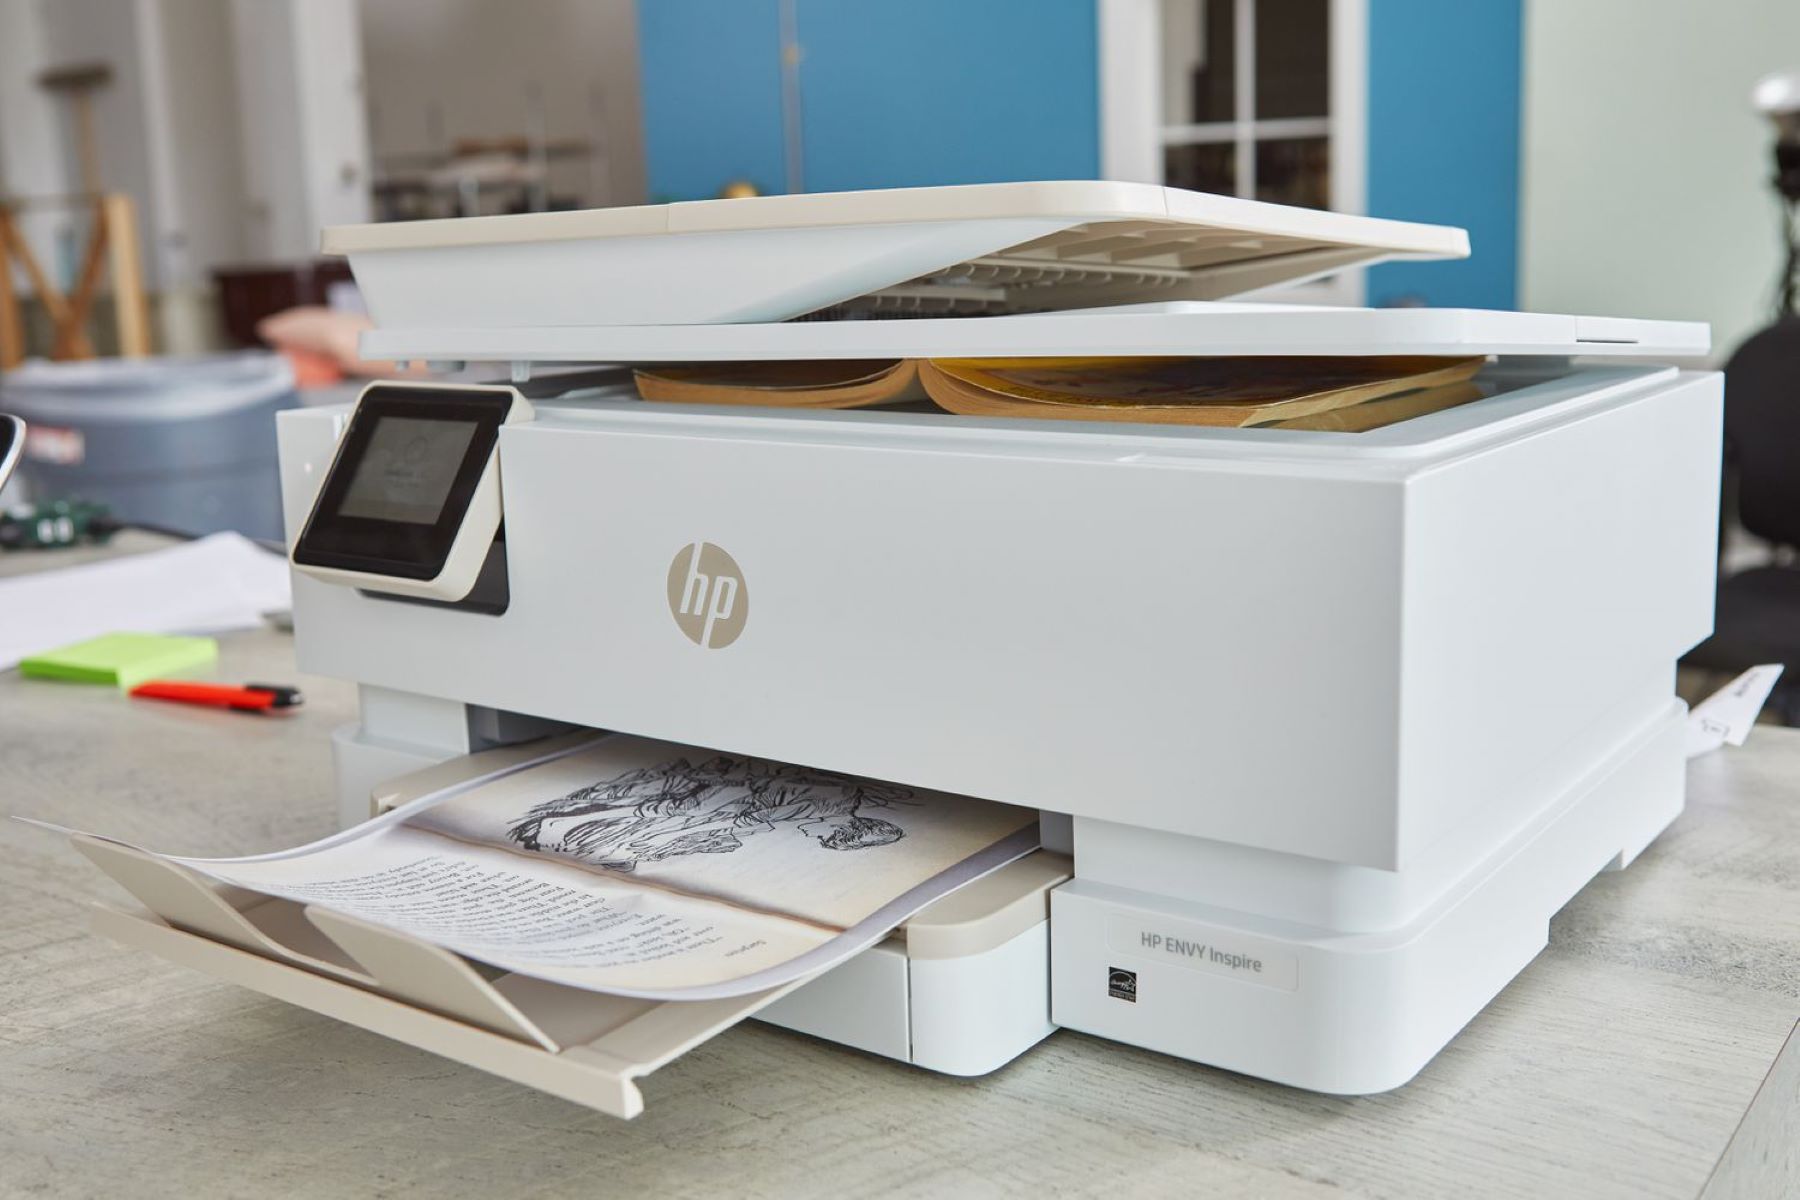
Checking the Printer’s Wireless Capability
Before you begin the process of connecting your HP printer to Wi-Fi, it’s essential to ensure that your printer has built-in wireless capability. Most modern HP printers come with wireless functionality, but it’s always good to double-check.
Here are the steps to verify the wireless capability of your printer:
- Start by turning on your HP printer and ensuring that it is properly connected to a power source.
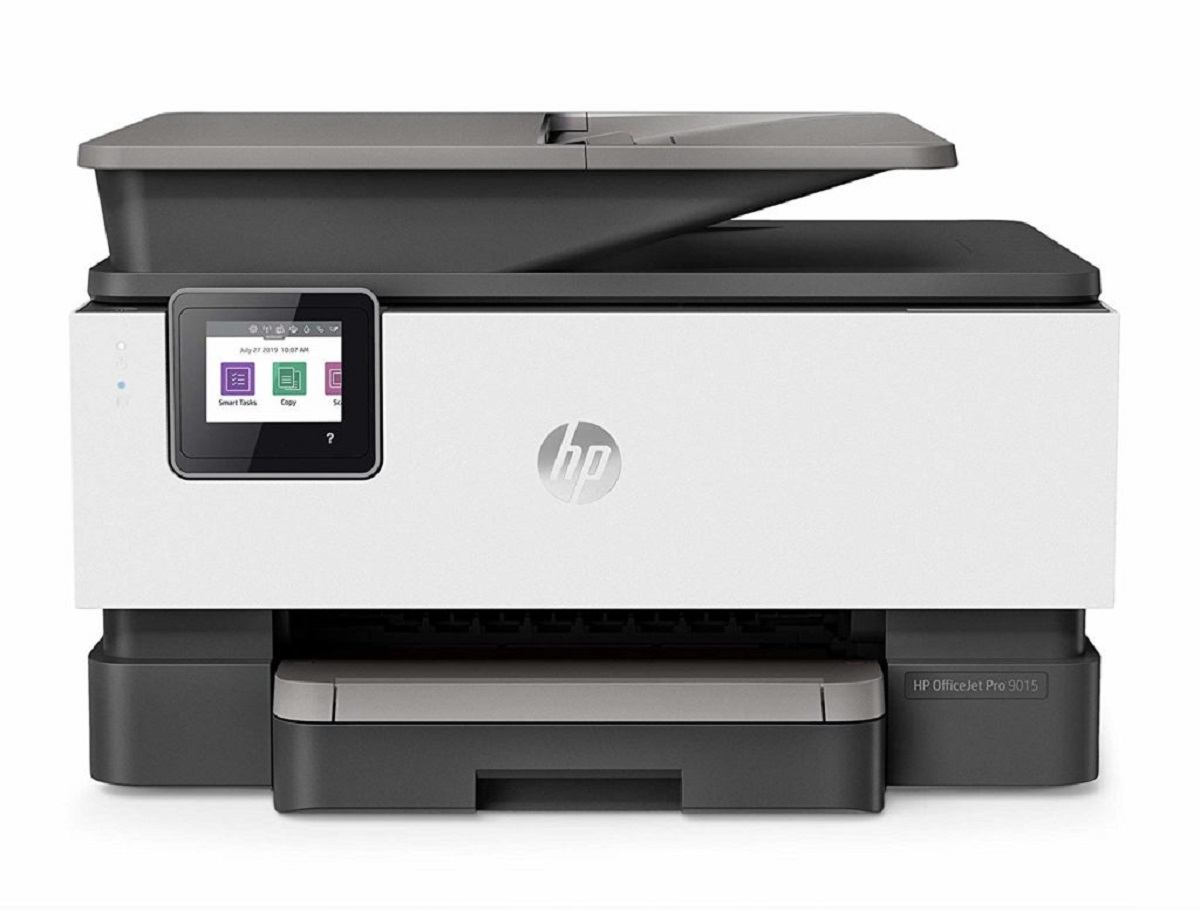
- Next, locate the control panel on your printer. This panel varies from model to model but is typically found on the front or top of the printer.
- On the control panel, look for a wireless or network settings icon. It is usually represented by a series of curved lines or radio waves.
- Press the wireless or network settings icon to access the wireless setup options.
- Within the wireless setup menu, you should see an option to enable or disable the wireless functionality. Make sure that the wireless option is turned on or enabled.
- If your printer doesn’t have a control panel or wireless settings icon, refer to the user manual or online documentation provided by HP to confirm its wireless capabilities.
Once you have verified that your printer has wireless capabilities and it is turned on, you are ready to proceed to the next step of connecting it to your Wi-Fi network.
Gathering Network Information
Before connecting your HP printer to Wi-Fi, you will need to gather some necessary network information. This information includes the network name (also known as the SSID) and the network password. Having this information at hand will allow you to smoothly complete the setup process.
Here are the steps to gather the network information:
- Locate the Wi-Fi router or access point that your printer will connect to.
- Check the back or bottom of the router for a sticker that displays the network name (SSID).
- Write down the network name (SSID) exactly as it appears on the sticker. Pay attention to uppercase and lowercase letters as they are case-sensitive.
- Now, you will need to find the network password. This is usually located on the same sticker as the network name or in the router’s documentation.
- Write down the network password carefully. It is often a combination of letters, numbers, and special characters.
Once you have the network name (SSID) and password recorded, you are ready to move on to the next step, which is connecting your HP printer to the Wi-Fi network.
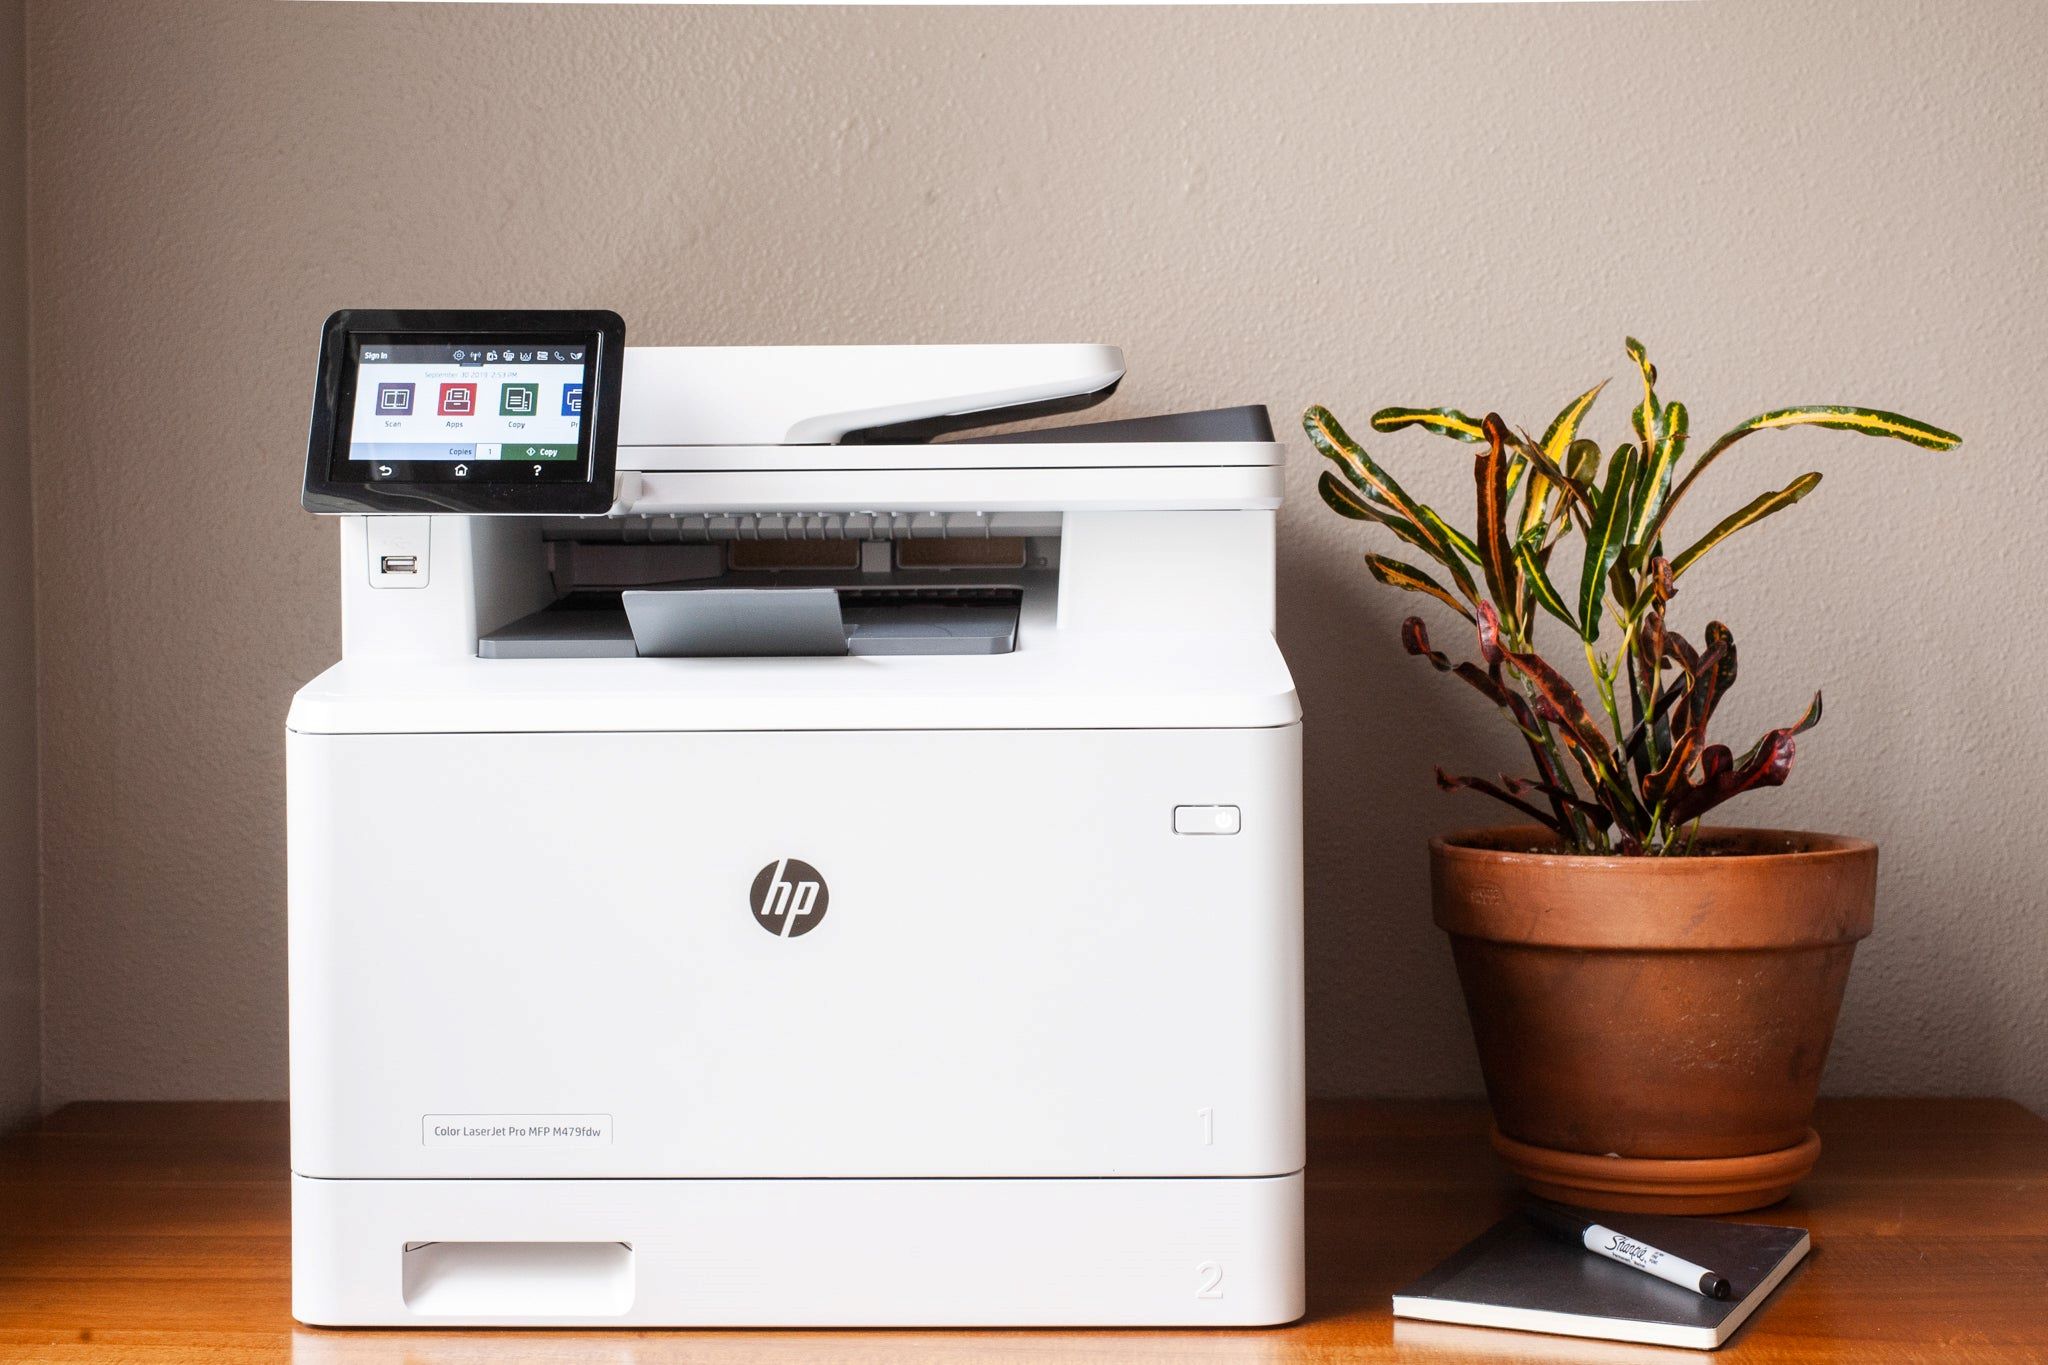
Connecting the Printer to the Wi-Fi Network
Now that you have verified your printer’s wireless capability and gathered the necessary network information, it’s time to connect your HP printer to the Wi-Fi network. The exact steps may vary slightly depending on the model of your printer, but the following general guidelines should help you through the process.
Follow these steps to connect your HP printer to the Wi-Fi network:
- Ensure that your printer is turned on and properly connected to a power source.
- Access the printer’s control panel, which can typically be found on the front or top of the printer.
- Navigate through the control panel menu to find the “Network” or “Wireless” setup options.
- Select the “Network” or “Wireless” setup option and choose the “Wireless Setup Wizard” or “Wi-Fi Setup” option.
- Your printer will scan for available networks. Select your Wi-Fi network from the list.
- If prompted, enter the network password using the printer’s control panel. Use the arrow keys or numeric keypad to enter letters, numbers, and special characters.
- Once you have entered the network password, select “Done” or “OK” to confirm.
- Your HP printer will now attempt to connect to the Wi-Fi network. It may take a few moments to establish a connection.
- Once the connection is successful, your printer will display a confirmation message on the control panel.
Congratulations! Your HP printer is now connected to the Wi-Fi network. You can now enjoy the convenience of wireless printing from any device within the network range.
If you are experiencing any issues during the setup process, check your network information again to ensure accuracy. You may also refer to the user manual or online documentation provided by HP for further assistance.
Troubleshooting Connection Issues
While connecting your HP printer to the Wi-Fi network is usually a straightforward process, you may encounter some connection issues along the way. Don’t worry, as there are a few troubleshooting steps you can take to resolve these issues.
Here are some common solutions to troubleshoot connection issues with your HP printer:
- Ensure that your Wi-Fi router is turned on and functioning properly. Check if other devices can connect to the Wi-Fi network.
- Verify that you have entered the correct network name (SSID) and password. Pay attention to uppercase and lowercase letters and any special characters.
- Move your printer and Wi-Fi router closer together to eliminate potential distance-related issues. Sometimes, a weak signal can cause connection problems.
- Restart your printer and Wi-Fi router. Power them off, wait for a few seconds, and then turn them back on.
- Check for any firmware updates available for your printer. Visit the official HP support website and download any necessary software updates.
- If you are still experiencing connection issues, try resetting your printer’s network settings to default. This option is usually available in the printer’s control panel under the network settings menu.
- If all else fails, consult the user manual or contact HP customer support for further assistance. They can provide specific troubleshooting steps based on your printer model.
By following these troubleshooting steps, you should be able to resolve most common connection issues and successfully connect your HP printer to the Wi-Fi network.
Remember, patience and attention to detail are key when troubleshooting. Take your time, double-check your settings, and explore the available resources provided by HP to ensure a seamless wireless printing experience.
Conclusion
Connecting your HP printer to a Wi-Fi network offers a convenient way to print wirelessly from any device connected to the same network. By following the steps outlined in this guide, you can easily set up your printer and enjoy the benefits of wireless printing.
We started by checking the wireless capability of your printer, ensuring that it has the necessary functionality to connect to a Wi-Fi network. Then, we moved on to gathering the network information, such as the network name (SSID) and password, which are crucial for establishing the connection.
Next, we discussed the process of connecting your HP printer to the Wi-Fi network, using the printer’s control panel to navigate through the wireless setup options. By selecting your Wi-Fi network and entering the correct password, you can establish a connection and start printing wirelessly.
In case you encountered any connection issues, we provided troubleshooting steps to help resolve common problems. From checking the router’s functionality to resetting the printer’s network settings, these troubleshooting techniques can help you overcome any obstacles you might face.
Remember to refer to the user manual or contact HP customer support if you require further assistance. They can provide specific guidance based on your printer model and address any unique issues you might encounter.
Now, armed with the knowledge and steps outlined in this guide, you can confidently connect your HP printer to a Wi-Fi network. Enjoy the convenience of wireless printing, increased flexibility, and the ability to print from any device within the network range.