Introduction
Welcome to this step-by-step guide on how to set up your Nest Wifi! Whether you’re a tech-savvy individual or just getting started with home networking, our comprehensive instructions will walk you through the process effortlessly. Nest Wifi is a mesh system developed by Google that combines a router and access points to provide fast and reliable internet coverage throughout your home.
Setting up Nest Wifi can seem daunting at first, but fear not! With our easy-to-follow instructions, you’ll have your network up and running in no time. Before we dive into the steps, it’s important to understand the benefits of Nest Wifi. This system offers seamless connectivity, allowing you to move around your home without experiencing any interruptions. It also allows for easy network management through the Google Home app, enabling you to prioritize devices, set up guest networks, and more.
Now, let’s get started with the setup process. We’ll guide you through each step, from unpackaging the devices to customizing your network settings. So grab your Nest Wifi kit and let’s begin this exciting journey together!
Step 1: Unpackaging and Location
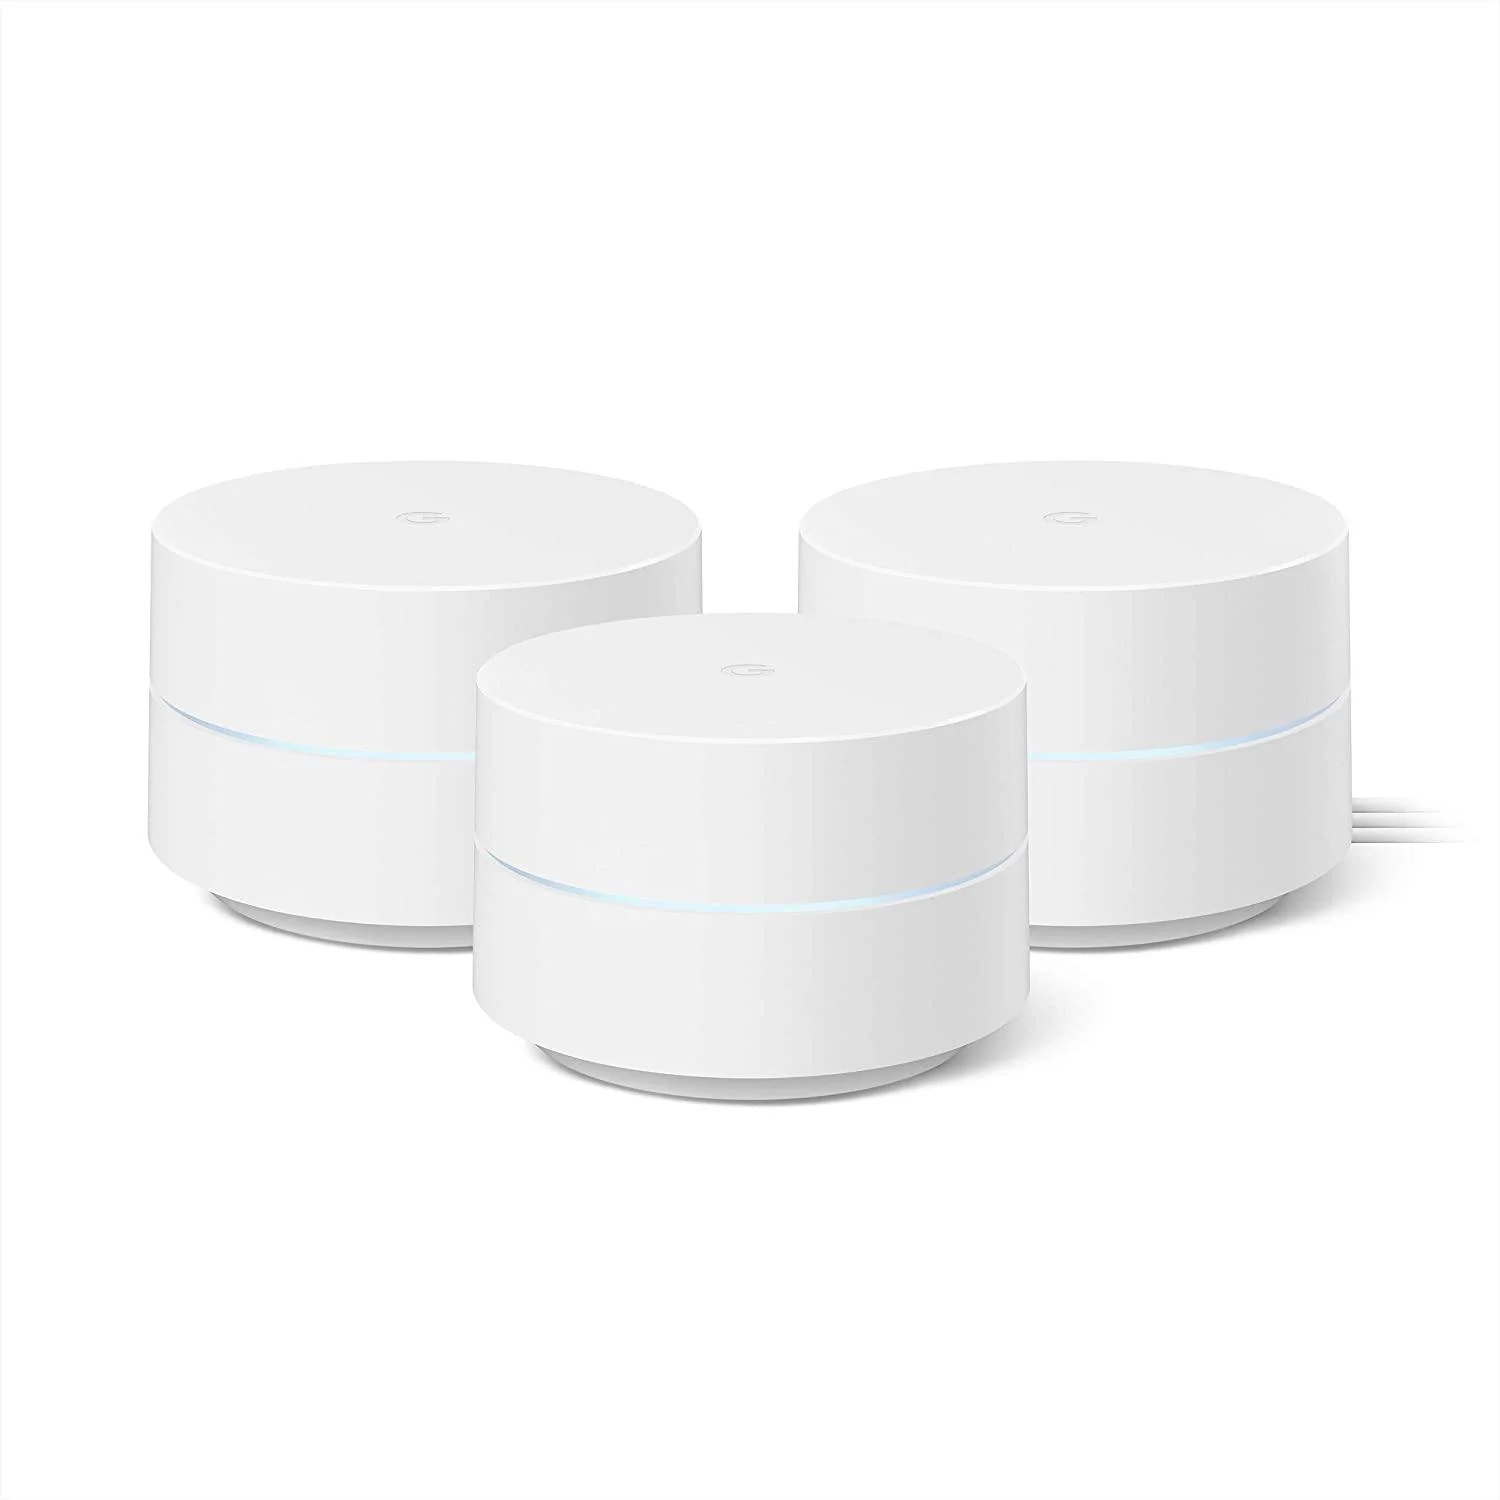
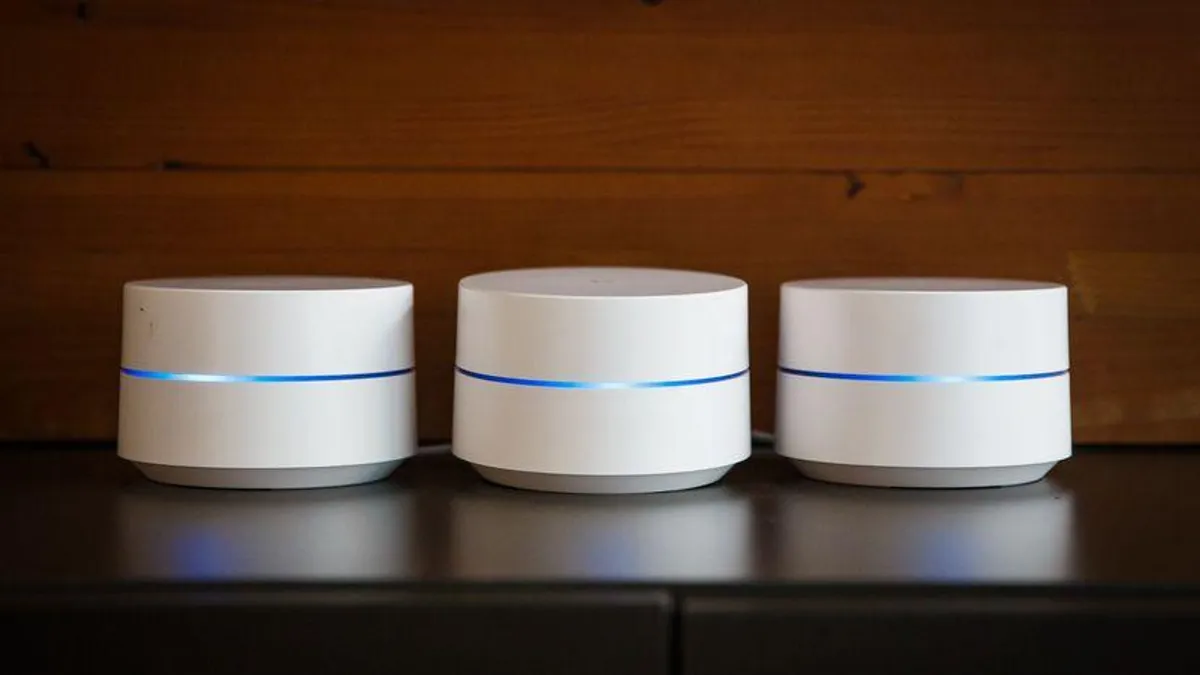
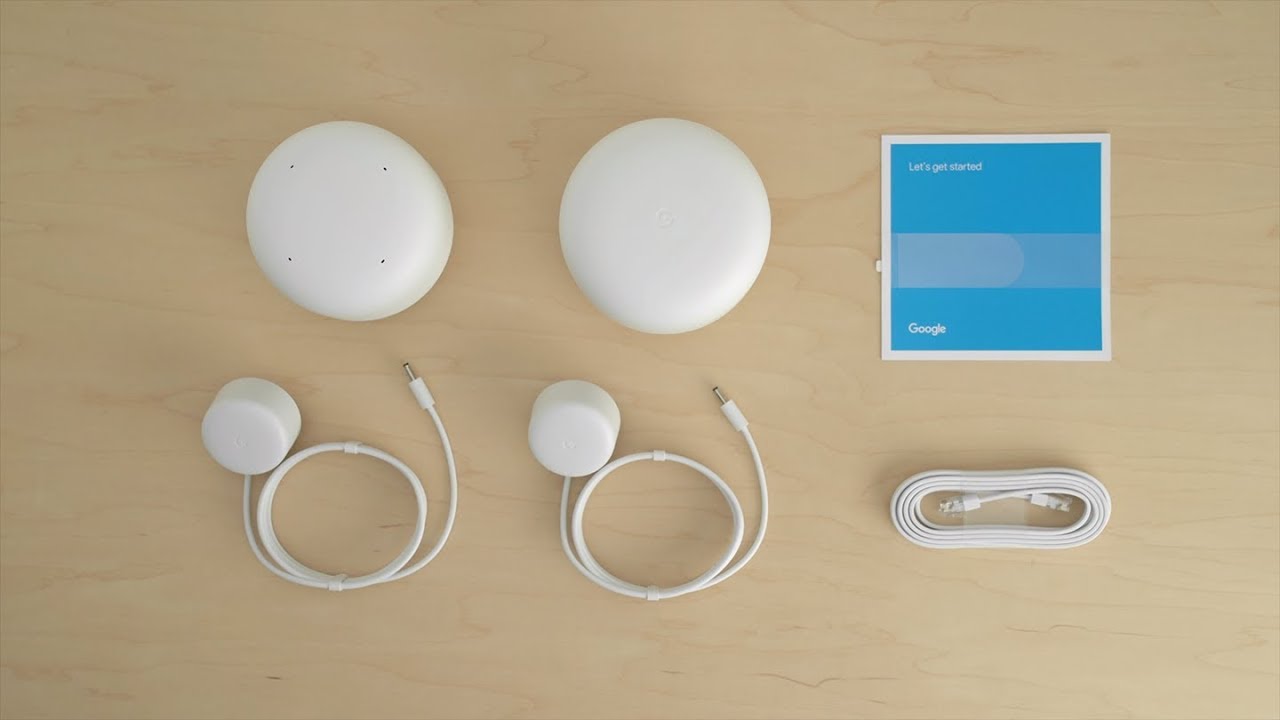
The first step to setting up your Nest Wifi is unpackaging the devices and finding the optimal location for them. Start by opening the box and taking out the router and the access point(s) included in your kit. Take a moment to familiarize yourself with the devices and their components.
Next, find a suitable location for your Nest Wifi router. It’s important to place it in a central area of your home, away from obstructions such as walls and appliances that can interfere with the Wi-Fi signal. Ideally, the router should be positioned on a higher surface, like a desk or shelf, to maximize coverage. Additionally, ensure that it is placed near a power outlet for easy access.
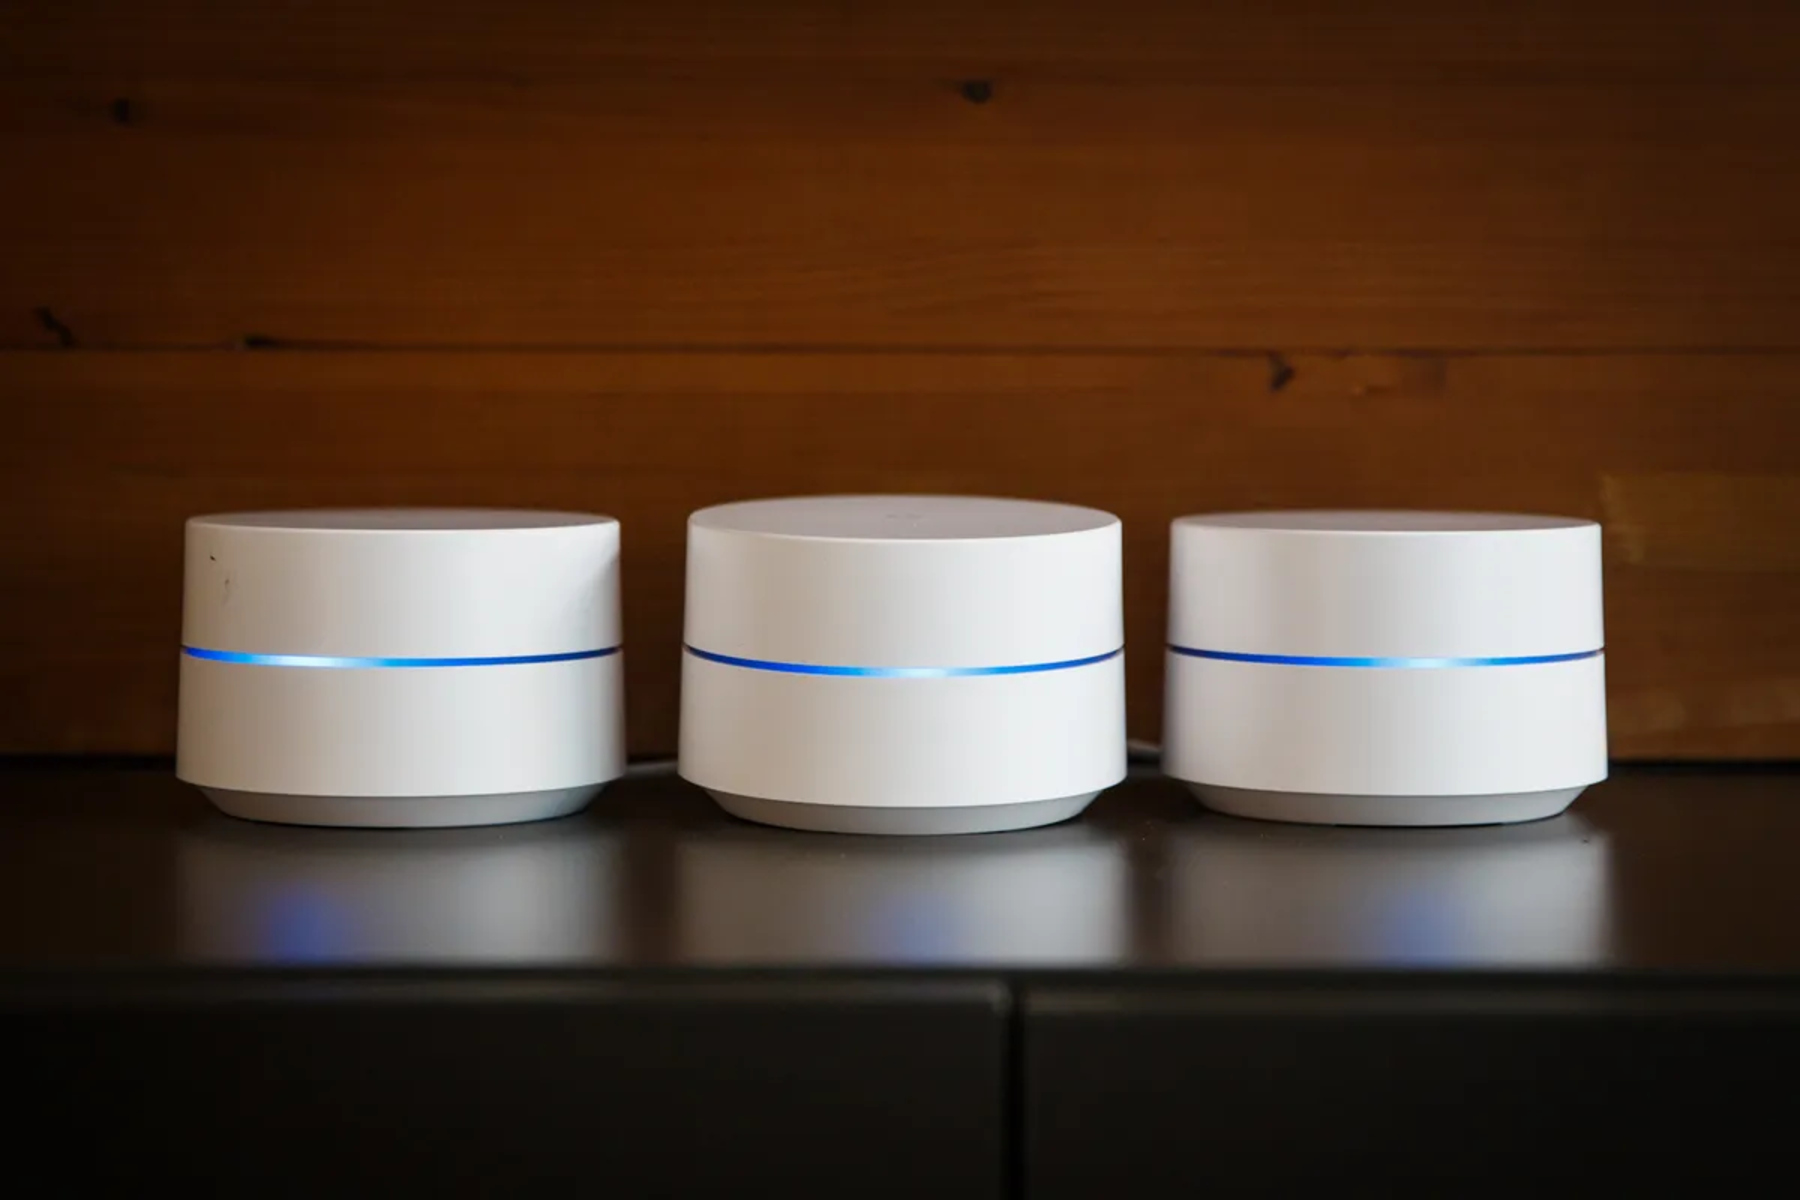
If you have purchased additional Nest Wifi points, you’ll need to strategically place them throughout your home to extend the coverage. These access points should be located in areas with weak signal strength, such as the basement or upper floors. By strategically placing the access points, you can ensure a strong and reliable Wi-Fi connection throughout your entire home.
Once you have decided on the locations for your router and access points, it’s time to connect them to the power source. Plug in the power adapters provided with the devices and ensure that they are properly connected to a power outlet. You should see the lights on the devices indicating that they are powered on.
Now that you have unpackaged the devices and found the ideal locations for them, you’re ready to move on to the next step: connecting the Nest Wifi router. Stay tuned for step two of our guide, where we’ll walk you through the process with ease!
Step 2: Connecting the Nest Wifi Router
Now that you have positioned your Nest Wifi router in the ideal location, it’s time to connect it to your modem and set up your network. Follow these simple steps to get your Nest Wifi router up and running:
- Locate the Ethernet cable included in your Nest Wifi kit. Connect one end of the cable to the WAN port on the back of your Nest Wifi router.
- Take the other end of the Ethernet cable and connect it to the LAN port on your modem. This establishes a connection between the two devices.
- Once the connection is made, plug in the power adapter of your Nest Wifi router and ensure it’s properly connected to a power outlet.
- Wait for a few minutes as the Nest Wifi router powers on and establishes a connection with your modem. The lights on the router will indicate the status of the connection.
- Once the connection is established, you can move on to the next step and connect the Nest Wifi point(s) to extend the coverage, or proceed with setting up your network using the Google Home app.
It’s important to note that in some cases, your modem may require additional configuration to work with your Nest Wifi router. If you experience any issues with the connection, consult the user manual of your modem or contact your internet service provider for assistance.
By following these steps, you have successfully connected your Nest Wifi router to your modem. Now, you’re one step closer to enjoying fast and reliable Wi-Fi throughout your home. Let’s move on to the next step, where we’ll guide you through connecting the Nest Wifi point(s) and expanding your network coverage.
Step 3: Connecting the Nest Wifi Point
Now that your Nest Wifi router is successfully connected, it’s time to extend your network coverage by connecting the Nest Wifi point(s). These additional access points will ensure a strong and reliable Wi-Fi signal throughout your home. Here’s how to connect the Nest Wifi point:
- Identify the location where you want to place the Nest Wifi point. It should be in an area with weak signal strength or where you need additional coverage.
- Plug in the power adapter of the Nest Wifi point and ensure it’s properly connected to a power outlet.
- Wait for a few minutes as the Nest Wifi point powers on and establishes a connection with the router. The lights on the point will indicate the status of the connection.
- If the connection is successful, the Nest Wifi point will automatically sync with the router and extend your network coverage. You can add multiple Nest Wifi points throughout your home for even greater coverage.
It’s worth noting that the Nest Wifi point(s) should be placed within a reasonable distance from the router to ensure a strong signal. If you experience any issues with the connection, try repositioning the Nest Wifi point closer to the router or consult the troubleshooting section in the user manual.
Once the Nest Wifi point(s) are connected and synced with the router, you can enjoy seamless Wi-Fi coverage throughout your home. Now that you have successfully connected the Nest Wifi point(s), let’s move on to the next step and download the Google Home app to complete the setup process.
Step 4: Downloading the Google Home App
To complete the setup process for your Nest Wifi system, you’ll need to download the Google Home app. This app will be your go-to tool for managing your network, setting up additional features, and troubleshooting any issues that may arise. Follow these steps to download the Google Home app:
- Open the app store on your smartphone or tablet. The Google Home app is available for both iOS and Android devices.
- Search for “Google Home” in the app store’s search bar.
- Locate the official Google Home app and tap on the “Install” or “Get” button to download and install the app onto your device.
- Once the app is installed, open it and sign in with your Google account. If you don’t have a Google account, you’ll need to create one.
- Follow the on-screen prompts to set up the Google Home app.
Once you have successfully downloaded and set up the Google Home app, you’ll be able to access and control your Nest Wifi system from your smartphone or tablet. The app provides a user-friendly interface that allows you to manage your network settings, prioritize devices, set up guest networks, and perform various other tasks.
It’s important to note that the Google Home app may require certain permissions, such as access to your location and microphone, in order to function properly. Make sure to review and grant these permissions when prompted, as they are necessary for the app to provide the full range of features and functionality.
Now that you have downloaded and set up the Google Home app, you’re ready to move on to the next step and set up your network using the app. Stay tuned as we guide you through the process in step five of our Nest Wifi setup guide.
Step 5: Setting up the Network
With the Google Home app successfully installed on your device, you’re now ready to set up your Nest Wifi network. This step will involve connecting the app to your router and configuring your network settings. Follow these simple steps to get your network up and running:
- Open the Google Home app on your smartphone or tablet.
- Tap on the “+” sign to add a new device.
- From the device list, select “Set up device.”
- Next, choose “Have something already set up?”
- Locate and select your Nest Wifi router from the available options.
- Follow the on-screen instructions to connect the Google Home app to your Nest Wifi router.
- Once connected, the app will guide you through the process of setting up your network, including choosing a network name and password.
During the setup process, you’ll also have the option to customize various network settings according to your preferences. These options may include setting up guest networks, creating device groups, and managing network priority.
When choosing a network name and password, it’s recommended to create a unique and secure combination. Avoid using common or easily guessable passwords, and consider enabling WPA2 encryption for added security.
Once you have completed the network setup process, the Google Home app will display a confirmation message indicating that your network is ready to use. You can now start connecting your devices to the newly created Nest Wifi network and enjoy high-speed internet throughout your home.
Congratulations! You have successfully set up your Nest Wifi network using the Google Home app. But our journey doesn’t end here—there’s more to explore and customize. In the next step, we’ll walk you through additional network settings and customization options available to you.
Step 6: Customizing the Network Settings
Now that you have set up your Nest Wifi network, it’s time to personalize it and customize the network settings according to your preferences. The Google Home app offers a range of customization options to enhance your network experience. Here’s how you can further customize your network settings:
- Open the Google Home app on your device.
- Select your Nest Wifi network from the main screen.
- Tap on the settings icon to access the network settings.
- Explore different options such as device priority, network status, and network preferences.
- To prioritize certain devices, go to the “Network Devices” section and select the device you want to prioritize. Enable the “Priority Device” option to give it a higher bandwidth allocation.
- Under the “Network preferences” section, you can manage settings such as network mode, DHCP configuration, and DNS configuration.
- Explore the “Guest network” option to create a separate network for guests, with its own network name and password.
- Consider enabling advanced features such as port forwarding or creating IP reservations for specific devices under the “Advanced networking” section.
By customizing these settings, you can optimize your network for better performance and tailor it to your unique needs. Whether you want to prioritize gaming consoles for low-latency gaming or create a separate network for guests, the customization options available in the Google Home app allow you to have full control over your Nest Wifi network.
Remember to save any changes you make in the app for them to take effect. Additionally, if you encounter any issues or have further questions, refer to the help documentation within the Google Home app or visit the official Google Nest support website for assistance.
With your Nest Wifi network now personalized and customized, you can enjoy seamless connectivity and enhanced performance. But before we wrap up, let’s explore what to do in case you encounter any issues during the setup or while using your network in the next step.
Step 7: Troubleshooting in Case of Issues
While setting up and using your Nest Wifi network, you may encounter some issues or challenges. Don’t worry – troubleshooting common problems is a part of the process. Here are some troubleshooting steps to help you resolve any issues you may face:
- Ensure that your Nest Wifi router and access points are powered on and all cables are securely connected.
- Check that your modem is connected and working properly. Restart both your modem and router to refresh the connection.
- If you’re experiencing slow or intermittent internet speeds, try moving your Nest Wifi router to a central location or adjusting the placement of your access points for better signal coverage.
- Make sure that your device is within the range of your Nest Wifi network and not too far away from the router or access point.
- If you’re having trouble connecting to the network, try forgetting the network on your device and then reconnecting to it. Ensure that you’re entering the correct network name and password.
- Check for any firmware updates for your Nest Wifi devices. Keeping them up to date can resolve compatibility issues and improve performance.
- If all else fails, resetting your Nest Wifi devices to their factory settings can help resolve persistent issues. Refer to the Nest Wifi user manual or the Google Home app for instructions on how to reset your devices.
If you’re still encountering problems or have specific technical issues, you can access the help documentation built into the Google Home app for more detailed troubleshooting steps. Additionally, the Google Nest support website provides a wealth of resources and a community forum where you can seek assistance or interact with other users.
Remember, troubleshooting is a normal part of setting up and using any network, and most issues can be resolved with a few simple steps. With persistence and the resources available to you, you’ll be able to overcome any challenges and enjoy a seamless Nest Wifi experience.
Congratulations! You’ve completed the final step of troubleshooting in our Nest Wifi setup guide. You are now equipped with the knowledge to overcome any issues you may encounter along the way. Now it’s time to sit back, relax, and enjoy the reliable and fast Wi-Fi coverage provided by your Nest Wifi network.
Conclusion
Congratulations on successfully setting up your Nest Wifi network! By following the step-by-step guide provided, you have connected your Nest Wifi router, extended your network coverage with Nest Wifi points, downloaded the Google Home app, set up your network, customized the settings, and learned how to troubleshoot any issues that may arise.
Your Nest Wifi system offers seamless connectivity, high-speed internet, and easy network management. With the Google Home app, you have full control over your network, allowing you to prioritize devices, create guest networks, and customize various settings to suit your needs.
Remember to periodically check for firmware updates for your Nest Wifi devices to ensure optimal performance and security. Additionally, if you ever encounter any issues or have questions, don’t hesitate to refer to the help documentation within the Google Home app or visit the Google Nest support website for assistance.
We hope that this guide has been helpful in simplifying the setup process for your Nest Wifi network. Now, enjoy seamless Wi-Fi coverage throughout your home, whether you’re streaming, gaming, or working online.
Thank you for choosing Nest Wifi, and we wish you a fantastic internet experience!