Introduction
So you’ve recently changed your Wi-Fi network and now you’re wondering how to reconnect your Nest camera to the new network? Well, fret not! In this guide, we’ll walk you through the step-by-step process of connecting your Nest camera to a new Wi-Fi network with ease.
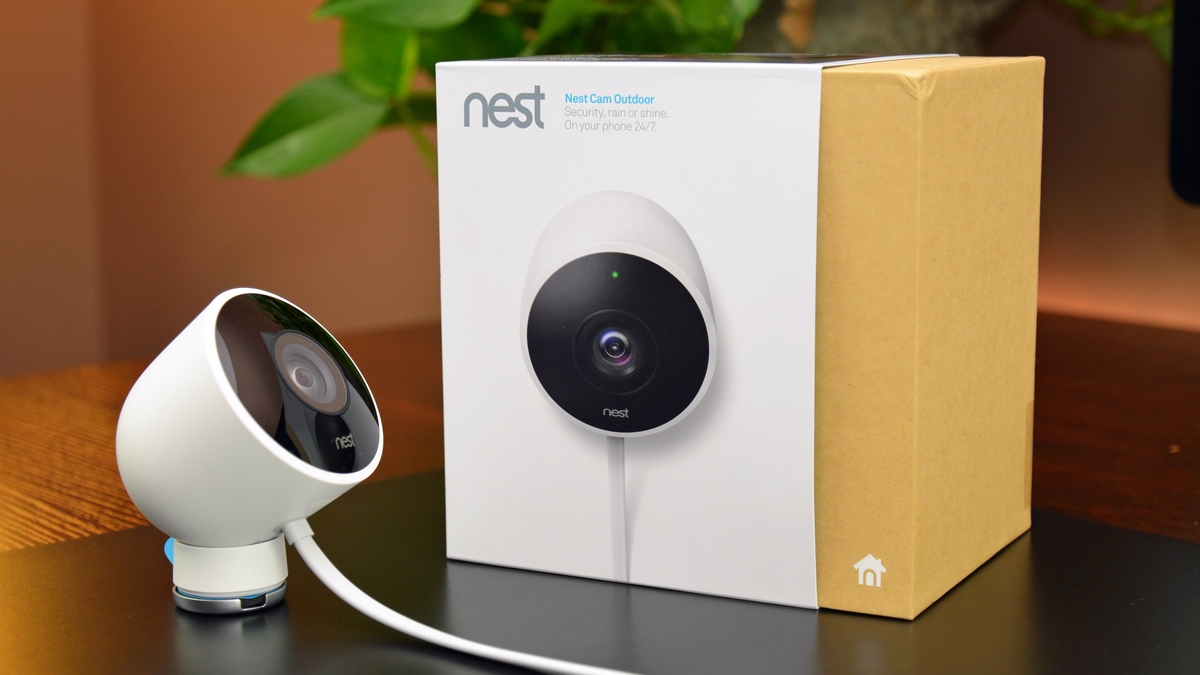
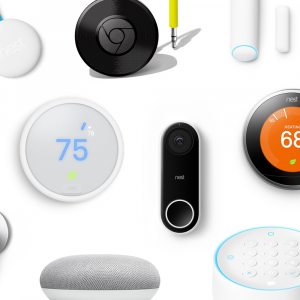
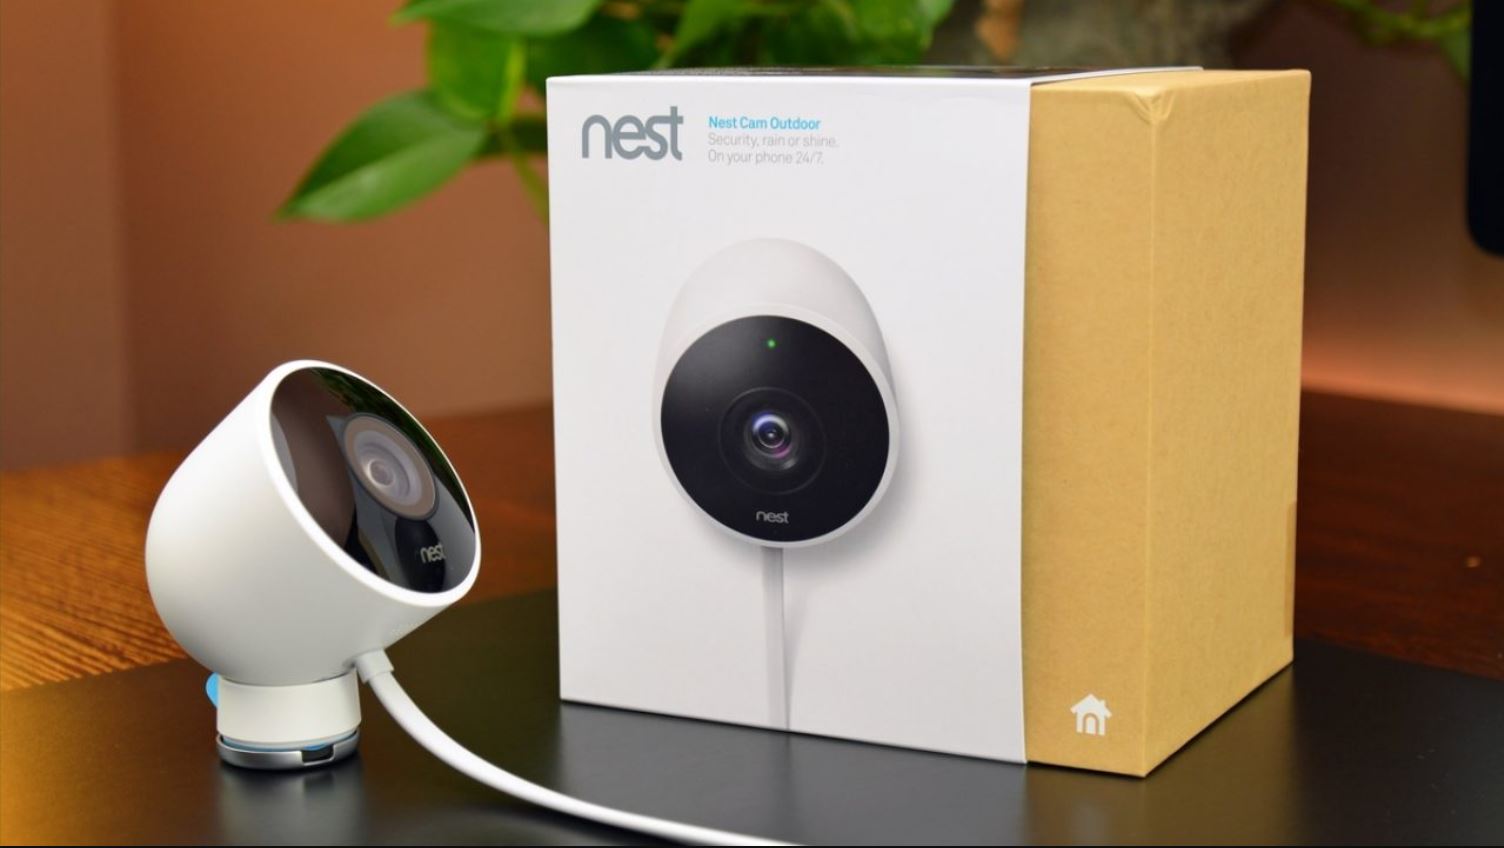
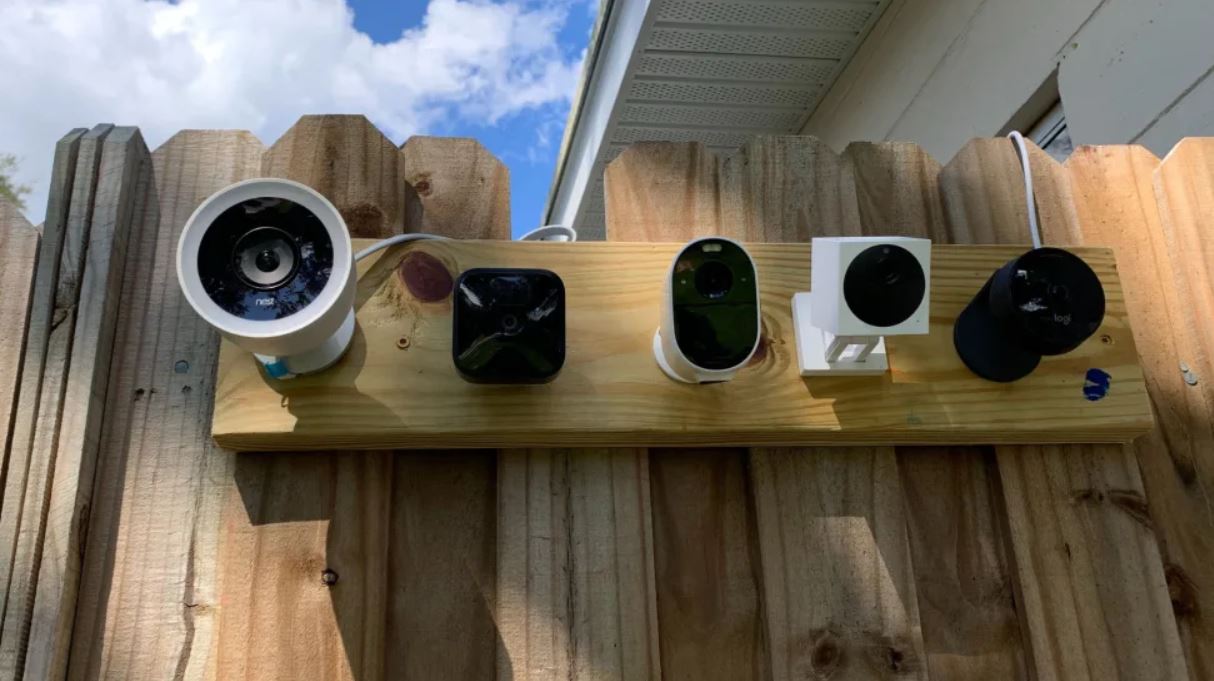
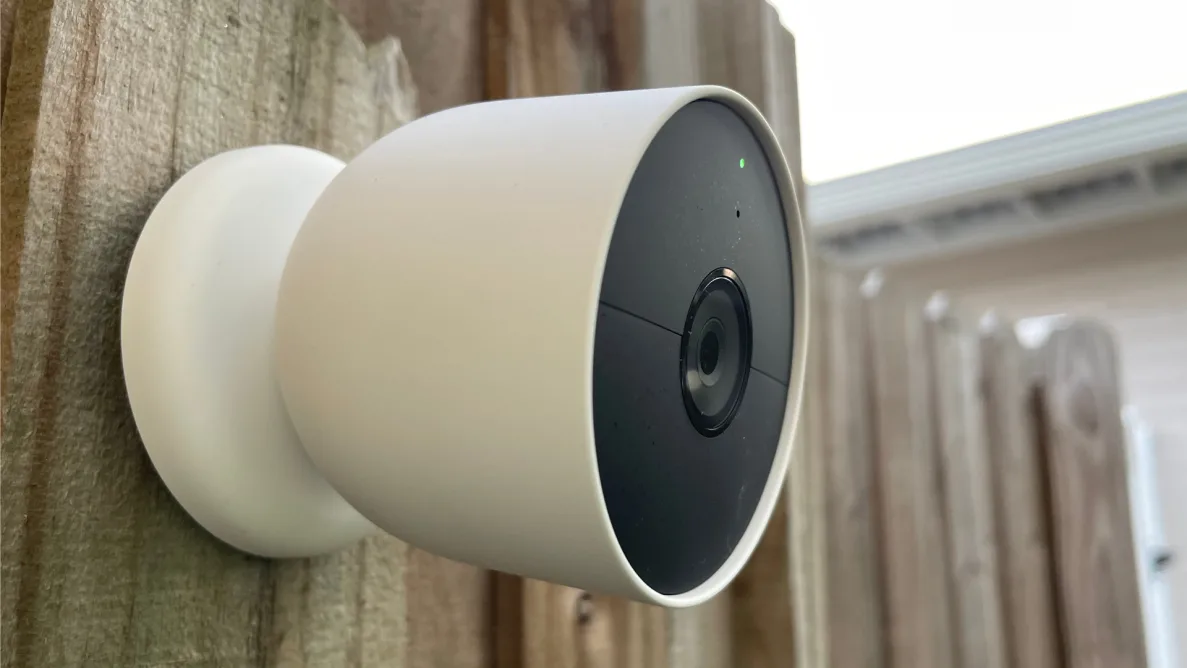
Your Nest camera is a powerful tool for keeping your home and loved ones safe. It offers advanced features like live streaming, motion detection, and alerts, making it an essential addition to any home security setup. However, when you change your Wi-Fi network, you’ll need to update the camera’s settings so it can connect to the new network and continue functioning properly.
Connecting your Nest camera to a new Wi-Fi network may sound daunting, but with the right guidance, it can be a hassle-free experience. In the following steps, we’ll show you exactly how to prepare your camera, download the necessary app, and walk you through the process of connecting to your new network seamlessly.
Please note that the steps outlined in this guide specifically apply to Nest cameras and may not be applicable to other brands or models. Make sure you have access to the Nest app on your smartphone or tablet, as it will be essential for completing the setup process.
Now, let’s dive into the step-by-step instructions and get your Nest camera connected to your new Wi-Fi network in no time!
Step 1: Prepare your Nest camera
Before you begin the process of connecting your Nest camera to a new Wi-Fi network, it’s important to ensure that the camera is properly prepared. Follow these steps to get started:
- Locate your Nest camera: Identify the exact location of your Nest camera in your home. Make sure it is positioned in a strategic spot for optimal security coverage.
- Check the camera’s power source: Ensure that your Nest camera is plugged into a power source. It is crucial to have a steady power supply for uninterrupted operation.
- Ensure a stable internet connection: Check that your Wi-Fi router is functioning properly and that you have a stable internet connection. A reliable connection is vital for the camera to connect to the new Wi-Fi network.
- Remove any obstructions: Clear any physical obstructions that may interfere with the camera’s view or signal transmission. This will help optimize the camera’s performance.
Taking the time to properly prepare your Nest camera before attempting to connect it to a new Wi-Fi network will help ensure a smooth and successful setup process. Once you have completed these initial steps, you’re ready to move on to the next stage of the process.
Step 2: Connect your Nest camera to a power source
Now that you have prepared your Nest camera, the next step is to connect it to a power source. Follow these instructions to ensure a proper and secure connection:
- Locate the power cable: Find the power cable that came with your Nest camera. It should have a USB connector on one end and a power adapter on the other.
- Connect the power cable: Plug the USB connector of the power cable into the Nest camera. Ensure it is securely inserted.
- Connect to the power adapter: Insert the other end of the power cable into the power adapter. Plug the power adapter into a nearby electrical outlet.
- Check the camera’s LED status: After connecting the camera to power, check the LED lights on the camera. They should illuminate, indicating that the camera is receiving power.
It is crucial to connect your Nest camera to a stable power source for uninterrupted operation. Make sure to choose a location near an electrical outlet that is easily accessible. By connecting your Nest camera to a power source, you are ensuring consistent power flow, which is essential for the camera’s functionality.
Once you have followed these steps and confirmed that your Nest camera is properly connected to a power source, you can proceed to the next stage of the setup process.
Step 3: Download and open the Nest app
To connect your Nest camera to a new Wi-Fi network, you’ll need to download and open the Nest app on your smartphone or tablet. Follow these instructions to get started:
- Visit your app store: Open the app store on your device (Google Play Store for Android or the App Store for iOS).
- Search for the Nest app: In the search bar, type “Nest” and look for the official Nest app.
- Download and install the app: Tap on the Nest app from the search results and select “Install” or “Get” to download and install it on your device.
- Open the Nest app: Once the installation is complete, locate the Nest app on your device’s home screen or app drawer and tap on it to open.
- Sign in or create an account: If you already have a Nest account, sign in using your credentials. Otherwise, create a new account by following the app’s instructions.
The Nest app is an essential tool for managing and configuring your Nest camera. It allows you to view live feeds, adjust settings, and control various features of your camera. By downloading and opening the Nest app, you’ll be one step closer to connecting your camera to your new Wi-Fi network.
Once you have successfully downloaded and opened the Nest app on your device, proceed to the next step to begin the camera setup process within the app.
Step 4: Choose your camera in the app
After opening the Nest app on your smartphone or tablet, you need to select your camera within the app to initiate the setup process. Here’s what you need to do:
- Open the Nest app: Locate and open the Nest app on your device. Make sure you are logged in to your Nest account.
- Tap on the camera icon: Look for the camera icon or the “Add” button within the app’s interface. Tap on it to add a new camera to your account.
- Select your camera model: From the list of available Nest camera models, choose the one that matches the model you have.
- Scan the QR code: Follow the on-screen instructions in the app to scan the QR code found on the back of your Nest camera. This will help the app identify and connect to your specific device.
- Confirm the camera’s identification: Once the app has successfully scanned the QR code, it will display information confirming the correct identification of your camera model.
By selecting your Nest camera within the app, you are establishing a connection between the camera and your account. This step ensures that the app can recognize your camera and streamline the setup process further.
Once you have completed these steps and successfully chosen your camera within the Nest app, you are ready to proceed to the next step in connecting your camera to the new Wi-Fi network.
Step 5: Connect to a new Wi-Fi network
Now that you’ve chosen your Nest camera within the app, it’s time to connect it to your new Wi-Fi network. Follow these instructions to establish a connection:
- Select the camera settings: Within the Nest app, locate the settings or configuration options for your camera. This is usually represented by a gear or cog icon.
- Choose “Wi-Fi settings”: Look for the “Wi-Fi settings” or a similar option within the camera settings menu. Tap on it to access the Wi-Fi configuration section.
- Select “Change Wi-Fi network”: Within the Wi-Fi settings, choose the “Change Wi-Fi network” option to initiate the process of connecting to a new network.
- Provide Wi-Fi credentials: The app will prompt you to enter the details of your new Wi-Fi network, such as the network name (SSID) and password. Make sure to input the information correctly.
- Confirm Wi-Fi network selection: After entering the Wi-Fi information, the app will display a summary of the network details. Confirm that the displayed information matches your desired network.
Connecting your Nest camera to a new Wi-Fi network involves providing the necessary details of the network to enable a successful connection. Double-check that you have entered the correct network information to avoid any connection issues.
Once you have completed these steps and successfully provided the Wi-Fi credentials in the app, you’re ready to move on to the next step of the setup process, where the camera will attempt to connect to the new Wi-Fi network.
Step 6: Enter the new Wi-Fi network details
In this step, you will need to enter the new Wi-Fi network details into the Nest app to facilitate the connection between your Nest camera and the network. Follow these instructions to enter the new Wi-Fi network details:
- Open the Nest app: Launch the Nest app on your device and navigate to the camera settings section.
- Access the Wi-Fi settings: Locate the Wi-Fi settings option within the camera settings menu. This is where you’ll enter the new network details.
- Choose “Change Wi-Fi network”: Select the “Change Wi-Fi network” option to begin the process of updating the camera’s network settings.
- Enter the new network details: Input the new Wi-Fi network’s name (SSID) and password into the appropriate fields in the app. Ensure accuracy when entering the details to avoid connection issues.
- Verify the entered information: Double-check the entered details to ensure that they match the new network’s credentials. This will help prevent any connection problems during the setup process.
By entering the correct Wi-Fi network details, you are allowing your Nest camera to establish a secure connection with the new network. This step is crucial for ensuring that your camera can effectively communicate and transmit data over the Wi-Fi network.
Once you have successfully entered the new Wi-Fi network details, you can proceed to the next step, during which the camera will attempt to connect to the new network using the provided credentials.
Step 7: Wait for the camera to connect to the new Wi-Fi network
After entering the new Wi-Fi network details in the Nest app, the camera will begin the process of connecting to the new network. This step requires patience as the camera establishes a secure connection. Follow these instructions as you wait for the camera to connect:
- Stay within range: Make sure you are within range of your Wi-Fi network to ensure a strong and stable connection between the camera and the network.
- Avoid interference: Minimize potential sources of interference such as thick walls, large appliances, and other electronic devices that may affect the signal strength and hinder the camera’s connection process.
- Allow time for the connection: It may take a few minutes for the camera to establish a connection with the new Wi-Fi network. Be patient and give it sufficient time to complete the process.
- Monitor the LED lights: Keep an eye on the LED lights on the camera. They will provide indicators of the connection status. The lights may blink or change color during the connection process.
During this period, it’s crucial to allow the camera ample time to connect to the new Wi-Fi network. Avoid interrupting the process or making any changes to the camera’s settings during this time, as it may disrupt the connection establishment.
Once the camera successfully connects to the new Wi-Fi network, you’re almost there! The final step involves testing the camera’s connection to ensure it is working correctly on the new network.
Step 8: Test the camera’s connection
Once your Nest camera has successfully connected to the new Wi-Fi network, it’s time to test the camera’s connection to ensure it is working properly. Follow these steps to conduct a connection test:
- Open the Nest app: Launch the Nest app on your smartphone or tablet.
- Select your camera: Choose your camera from the list of devices in the app’s interface.
- View the live feed: Tap on the camera’s live feed to check if the video is streaming properly. This will verify that the camera’s connection to the new Wi-Fi network is stable.
- Check for notifications: Monitor the app for any motion detection notifications or alerts. If the camera is set up to send notifications, make sure you receive them.
- Test additional features: If your camera has other features such as two-way audio or recording, test them to ensure they are functioning correctly.
By conducting a thorough test of the camera’s connection and features, you can confirm that the camera is properly connected to the new Wi-Fi network. This step is essential in ensuring the camera’s functionality and the reliability of its security features.
If any issues or inconsistencies arise during the testing process, it’s recommended to review the camera’s settings, restart the camera and the app, or contact Nest customer support for further assistance.
Congratulations! You have successfully connected your Nest camera to a new Wi-Fi network. Enjoy the peace of mind of knowing your home is under the watchful eye of your Nest camera on its new network.
Conclusion
Connecting your Nest camera to a new Wi-Fi network may seem like a daunting task, but by following the step-by-step instructions outlined in this guide, you can easily ensure a successful setup. From preparing your camera and connecting it to a power source to downloading the Nest app and entering the new Wi-Fi network details, each step plays a crucial role in establishing a secure connection.
Remember to be patient during the process, as it may take some time for the camera to connect to the new Wi-Fi network. Stay within the network’s range and avoid any potential sources of interference to ensure a stable connection.
Once the camera is connected, it’s important to test its connection and verify that all the features, such as live streaming and motion detection, are working as expected. This will give you peace of mind knowing that your home and loved ones are being monitored effectively.
If you encounter any issues or need further assistance, consult the Nest documentation or reach out to their customer support for guidance. They are dedicated to helping you maximize the functionality of your Nest camera.
Now that your Nest camera is successfully connected to your new Wi-Fi network, you can enjoy the benefits of enhanced home security and the convenience of remote monitoring. Keep an eye on your home from anywhere and rest easy knowing that your Nest camera is safeguarding what matters most to you.
Thank you for following this guide, and we hope it has been helpful in connecting your Nest camera to a new Wi-Fi network. Happy monitoring!