Introduction
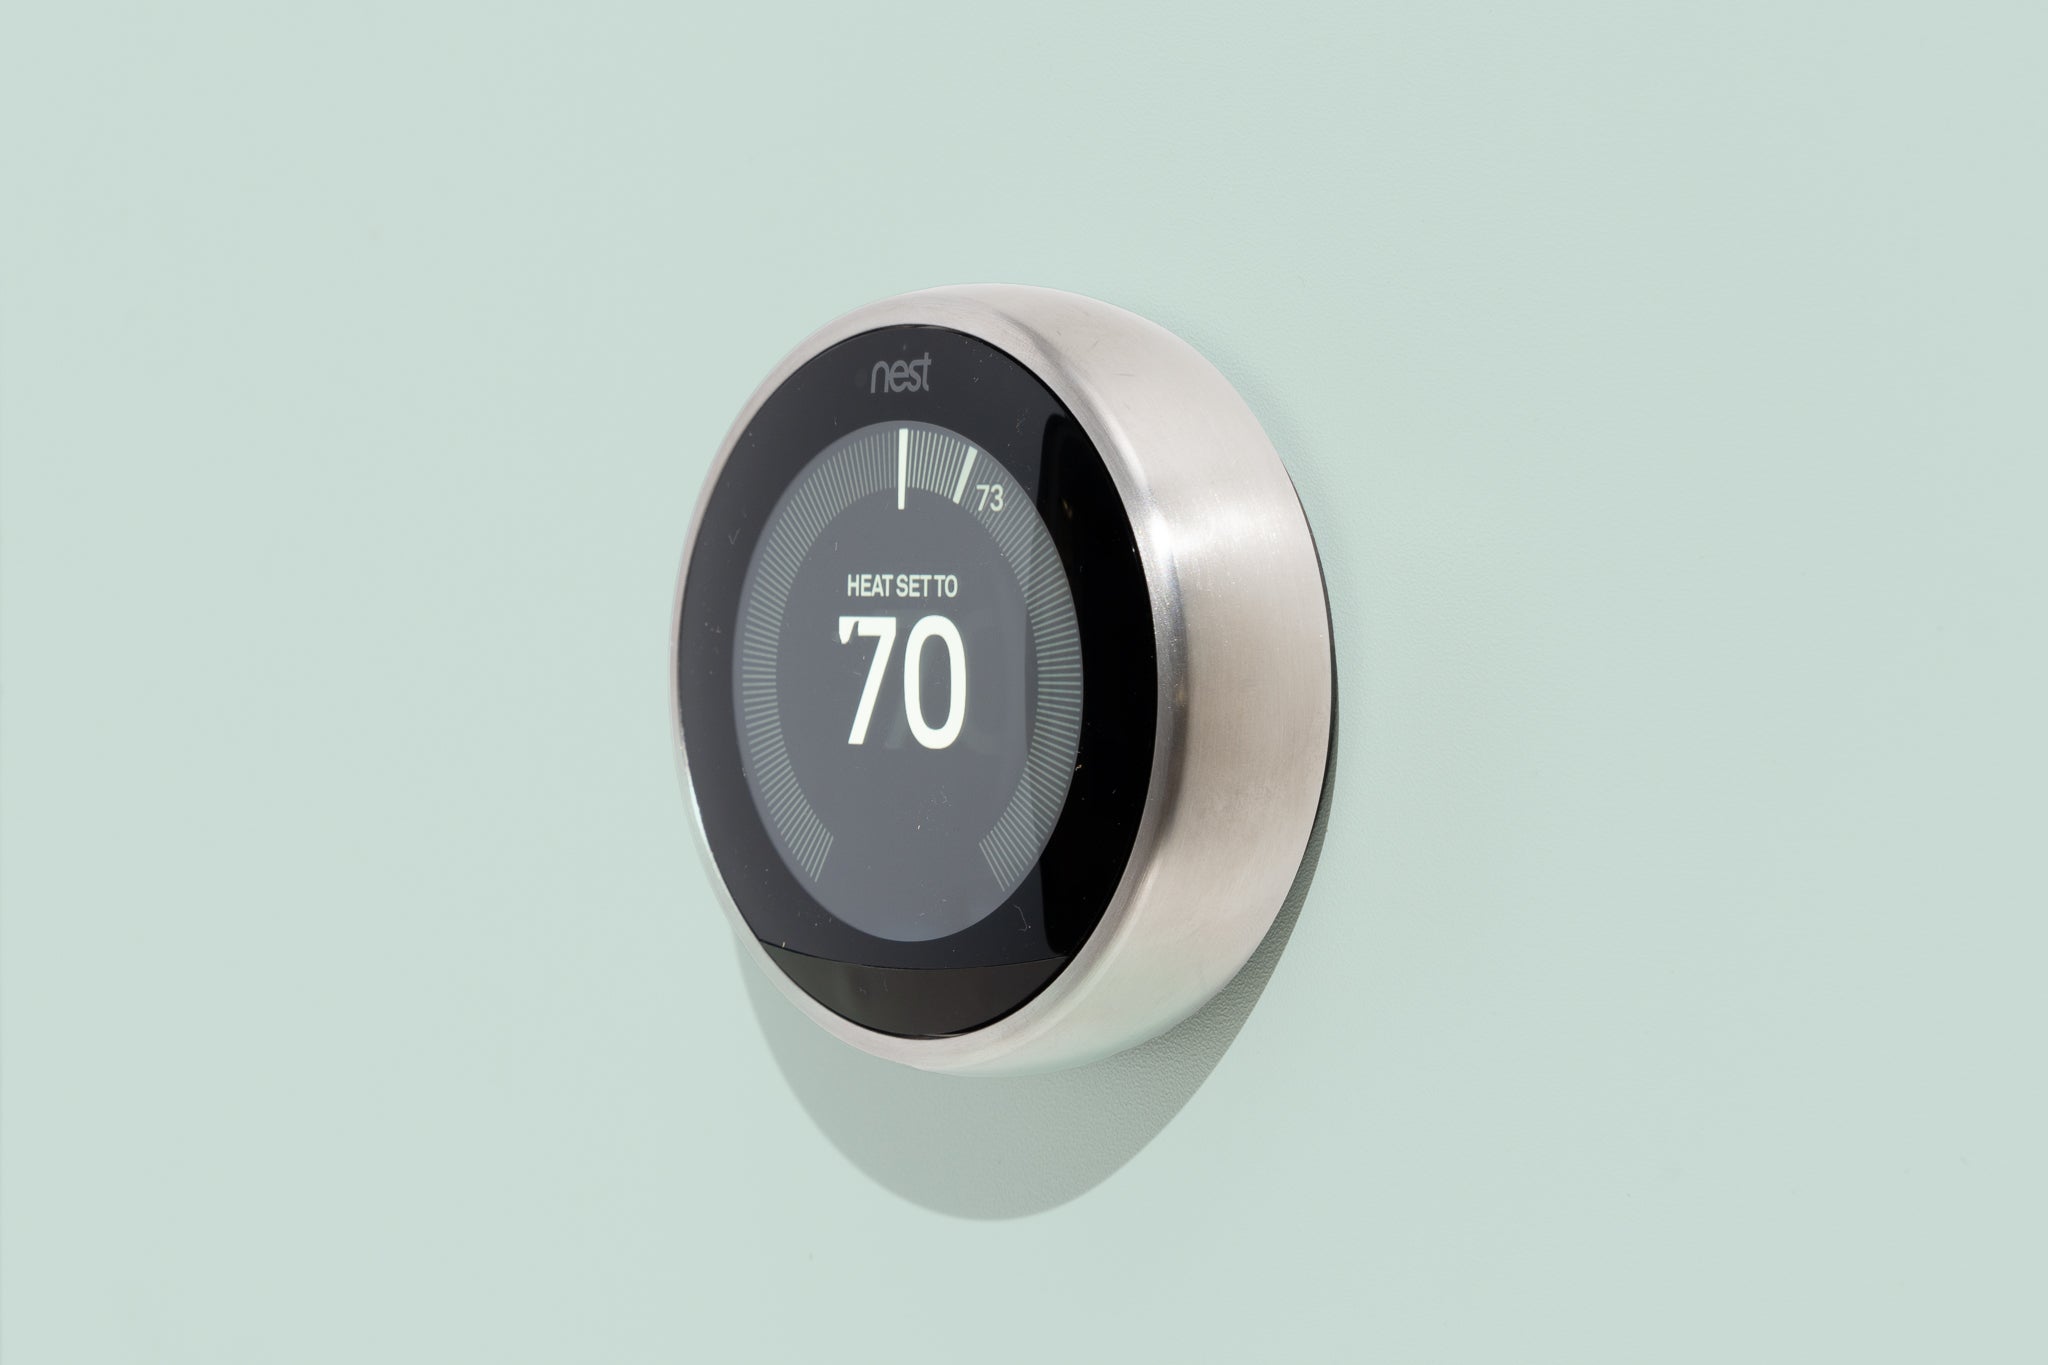
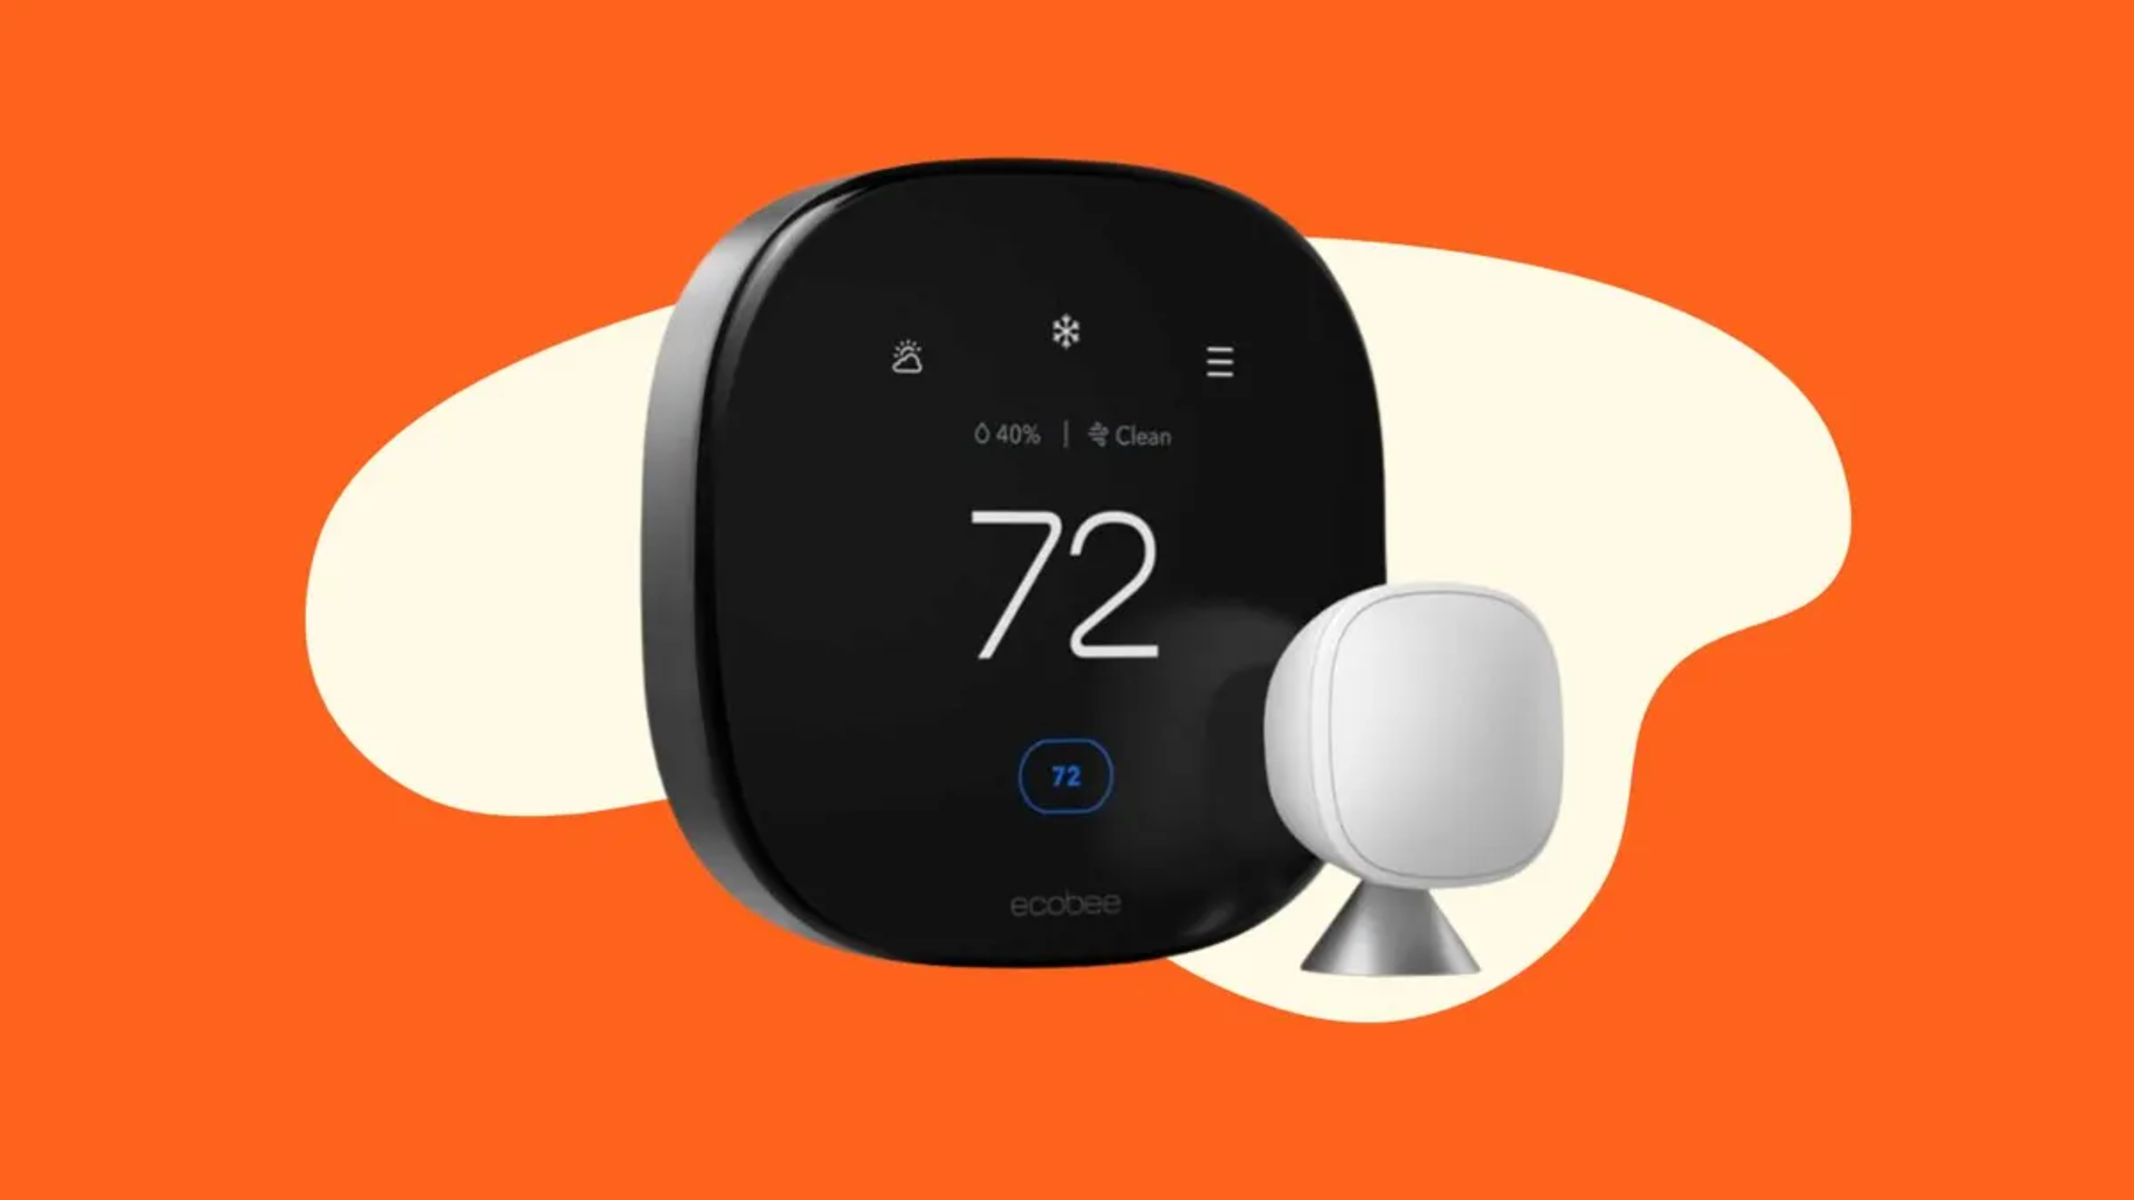
The Nest Thermostat is an innovative device that allows you to control and manage the temperature of your home from anywhere. It provides convenience, energy savings, and customizable comfort settings. However, in order to fully utilize the features of the Nest Thermostat, it is important to connect it to your Wi-Fi network. In this article, we will guide you through the step-by-step process of connecting your Nest Thermostat to a new Wi-Fi network.
Whether you have recently changed your Wi-Fi network or are setting up your Nest Thermostat for the first time, this guide will help you quickly and easily establish a connection. Connecting your Nest Thermostat to Wi-Fi is essential for accessing its advanced features, such as remote control through the Nest app and integration with other smart home devices.
It’s worth noting that the steps for connecting your Nest Thermostat to a new Wi-Fi network may vary slightly depending on the generation of the thermostat you have. However, the process generally remains the same across all models, and we will highlight any specific differences whenever necessary.
Before we dive into the step-by-step instructions, it’s important to ensure that you have a compatible Wi-Fi network. Make sure that your Wi-Fi network meets the requirements and that you have the necessary network credentials, such as the network name (SSID) and password.
Once you have confirmed your network compatibility and gathered the required information, let’s move on to the first step: connecting to your Nest Thermostat.
Step 1: Make sure you have a compatible Wi-Fi network
Before you begin the process of connecting your Nest Thermostat to a new Wi-Fi network, it is crucial to ensure that your network meets the necessary requirements. Here are a few key factors to consider:
- Compatibility: The Nest Thermostat is compatible with most standard Wi-Fi networks, including 802.11b/g/n. However, it does not work with enterprise or public Wi-Fi networks that require additional authentication.
- Network Signal Strength: Make sure that your Wi-Fi network signal is strong enough to reach your Nest Thermostat’s location. Poor signal strength can cause connectivity issues and hinder the performance of your thermostat.
- Frequency Band: The Nest Thermostat supports both 2.4GHz and 5GHz frequency bands. However, it is recommended to connect to the 2.4GHz band for better compatibility and stability.
- Network Stability: Ensure that your Wi-Fi network is stable and reliable, as a weak or intermittent connection can cause disruptions in controlling your Nest Thermostat.
- Network Credentials: Have your Wi-Fi network name (SSID) and password readily available. You will need these during the setup process to connect your Nest Thermostat to the network.
If your Wi-Fi network meets all of these criteria, you are ready to proceed with connecting your Nest Thermostat. If any of these requirements are not met, consider resolving the issues before proceeding. This will ensure a smooth and uninterrupted connection experience for your Nest Thermostat.
Once you have confirmed that you have a compatible Wi-Fi network, it’s time to move on to the next step: connecting your Nest Thermostat to the network. Let’s dive in!
Step 2: Connect to your Nest Thermostat
With a compatible Wi-Fi network at your disposal, you are now ready to connect your Nest Thermostat. Follow these steps to establish a secure connection:
- Ensure that your Nest Thermostat is powered on and displaying the home screen.
- Locate the Nest Thermostat’s display and press on it to bring up the main menu.
- From the main menu, navigate to the “Settings” option by scrolling and pressing on the display.
- Select “Network” from the list of options to access the Wi-Fi settings.
- In the Wi-Fi settings menu, choose the “Connect” option to begin the setup process.
- Your Nest Thermostat will begin searching for available Wi-Fi networks. Wait for a few seconds until the list of networks appears on the display.
- Select your desired Wi-Fi network from the list by scrolling and pressing on the display when it is highlighted.
- If your network is hidden, select the “Add hidden network” option, enter your network name (SSID), and choose the appropriate security type.
- Enter your Wi-Fi network password using the Nest Thermostat’s display and the virtual keyboard. Take caution while entering the password to ensure accuracy.
- After entering the password, select “Connect” to initiate the connection process.
Once you have completed this step, your Nest Thermostat will attempt to establish a connection to the selected Wi-Fi network. The display will show a progress bar indicating the connection process.
Note that the connection process may take a few moments, so be patient during this step. Avoid interrupting the process or turning off your Nest Thermostat as it may cause issues with the connection.
Once the connection is successfully established, you are now ready to further configure your Nest Thermostat’s settings. In the next step, we will guide you through accessing your Nest Thermostat settings.
Step 3: Access your Nest Thermostat settings
After successfully connecting your Nest Thermostat to your Wi-Fi network, it’s time to access the thermostat’s settings. Here’s how you can do it:
- On the home screen of your Nest Thermostat, press the display to activate the main menu.
- Scroll through the options and select “Settings” by pressing on the display.
- In the Settings menu, you will find a range of options to customize your Nest Thermostat’s behavior, schedules, and preferences.
- Use the scroll and press function on the display to navigate through the settings options and select the one you want to access.
- Common settings you might want to explore include “Home/Away Assist,” “Schedule,” “Auto-Schedule,” “Temperature,” “Display,” and “Energy History.”
- Each setting option provides a sub-menu with specific configuration choices and adjustments. Scroll through them and select the desired option.
- Adjust any settings according to your preferences, such as setting temperature thresholds, creating custom schedules, or enabling energy-saving features.
- Once you have made your desired changes, navigate back to the main menu by pressing the display until you reach the home screen.
It’s important to note that the available settings and options may vary depending on your specific Nest Thermostat model and firmware version. However, the general process of accessing and modifying settings remains the same across devices.
By accessing your Nest Thermostat settings, you can personalize and optimize its functionality to suit your lifestyle and energy-saving goals. Take some time to explore the different options and make adjustments according to your preferences.
In the next step, we will guide you on how to find and select your Wi-Fi network from the Nest Thermostat settings.
Step 4: Find and select the Wi-Fi network
With your Nest Thermostat connected to your Wi-Fi network and the settings accessed, the next step is to find and select your Wi-Fi network from the thermostat’s menu. Follow these steps to complete this process:
- On the home screen of your Nest Thermostat, press the display to activate the main menu.
- Scroll through the options and select “Settings” by pressing on the display.
- In the Settings menu, scroll down and select “Network” to access the Wi-Fi network settings.
- Within the Wi-Fi settings, you will see the “Wi-Fi Networks” option. Select it by pressing on the display.
- A list of available Wi-Fi networks will be displayed on the screen. Scroll through the list to find your desired network.
- The networks will be displayed with their respective names (SSIDs). Locate and select your Wi-Fi network by pressing on the display when it is highlighted.
If you have a hidden network, select the “Add hidden network” option at the bottom of the list. Enter your network name (SSID) and choose the appropriate security type.
It’s important to note that if you cannot locate your network in the list, make sure that it meets the compatibility requirements mentioned in the previous steps. Also, check for any network connectivity issues, such as a weak signal or network outage.
Once you have successfully selected your Wi-Fi network, you are now ready to enter your network password to establish the connection. In the next step, we will guide you through entering your Wi-Fi network password with your Nest Thermostat.
Step 5: Enter your Wi-Fi network password
After selecting your Wi-Fi network from the list on your Nest Thermostat, it’s time to enter your Wi-Fi network password to complete the connection process. Follow these steps to enter your password:
- Once you have selected your Wi-Fi network, you will be prompted to enter the network password.
- Using the Nest Thermostat’s display and the virtual keyboard, enter your Wi-Fi network password carefully.
- Ensure that you enter the password accurately, paying close attention to uppercase and lowercase letters as well as any special characters.
- If you make a mistake while entering the password, you can use the delete/backspace button on the virtual keyboard to correct it.
It’s important to note that the Nest Thermostat’s display may have limitations, such as limited characters per line or specific keyboard layouts. Take your time to enter the password correctly to avoid any connection issues.
Once you have entered the password, select “Connect” or a similar option to initiate the connection process. The Nest Thermostat will attempt to establish a secure connection with your Wi-Fi network using the provided password.
The connection process may take a few moments. During this time, ensure that your Nest Thermostat is in an area with a stable Wi-Fi signal and avoid interrupting the process or turning off the thermostat.
Once the connection is successfully established, your Nest Thermostat will display a confirmation message, indicating that it is connected to your Wi-Fi network. Congratulations! You have successfully entered your Wi-Fi network password and completed the connection process.
In the next step, we will guide you on how to wait for connection confirmation and test the connection to ensure everything is working smoothly.
Step 6: Wait for connection confirmation
After entering your Wi-Fi network password on your Nest Thermostat, it’s time to wait for connection confirmation. Follow these steps to ensure a successful connection:
- Once you have entered your Wi-Fi network password, the Nest Thermostat will start the connection process and attempt to establish a secure connection with your Wi-Fi network.
- During this process, it’s important to be patient and allow the Nest Thermostat a few moments to complete the connection.
- The Nest Thermostat’s display will show a progress bar or an indication of the connection process.
- Avoid interrupting the process by avoiding any unnecessary interactions with the thermostat or turning it off.
The time required for the connection may vary depending on your network and other factors. However, in most cases, it should only take a few moments to establish a connection.
If the connection process takes more time than expected or if the display shows an error message, double-check the Wi-Fi network credentials, including the network name (SSID) and password, to ensure accuracy.
Once the connection is successfully established, the Nest Thermostat’s display will show a confirmation message indicating a successful network connection. At this point, your Nest Thermostat is ready for use and can be controlled and monitored using the Nest app or other smart home integration devices.
In the next step, we will guide you through testing the connection to ensure that your Nest Thermostat is working perfectly with your Wi-Fi network.
Step 7: Test the connection
After the successful connection of your Nest Thermostat to your Wi-Fi network, the next step is to test the connection to ensure everything is working as expected. Follow these steps to perform a connection test:
- With your Nest Thermostat connected to the Wi-Fi network, verify that the thermostat’s display shows the correct time and temperature information.
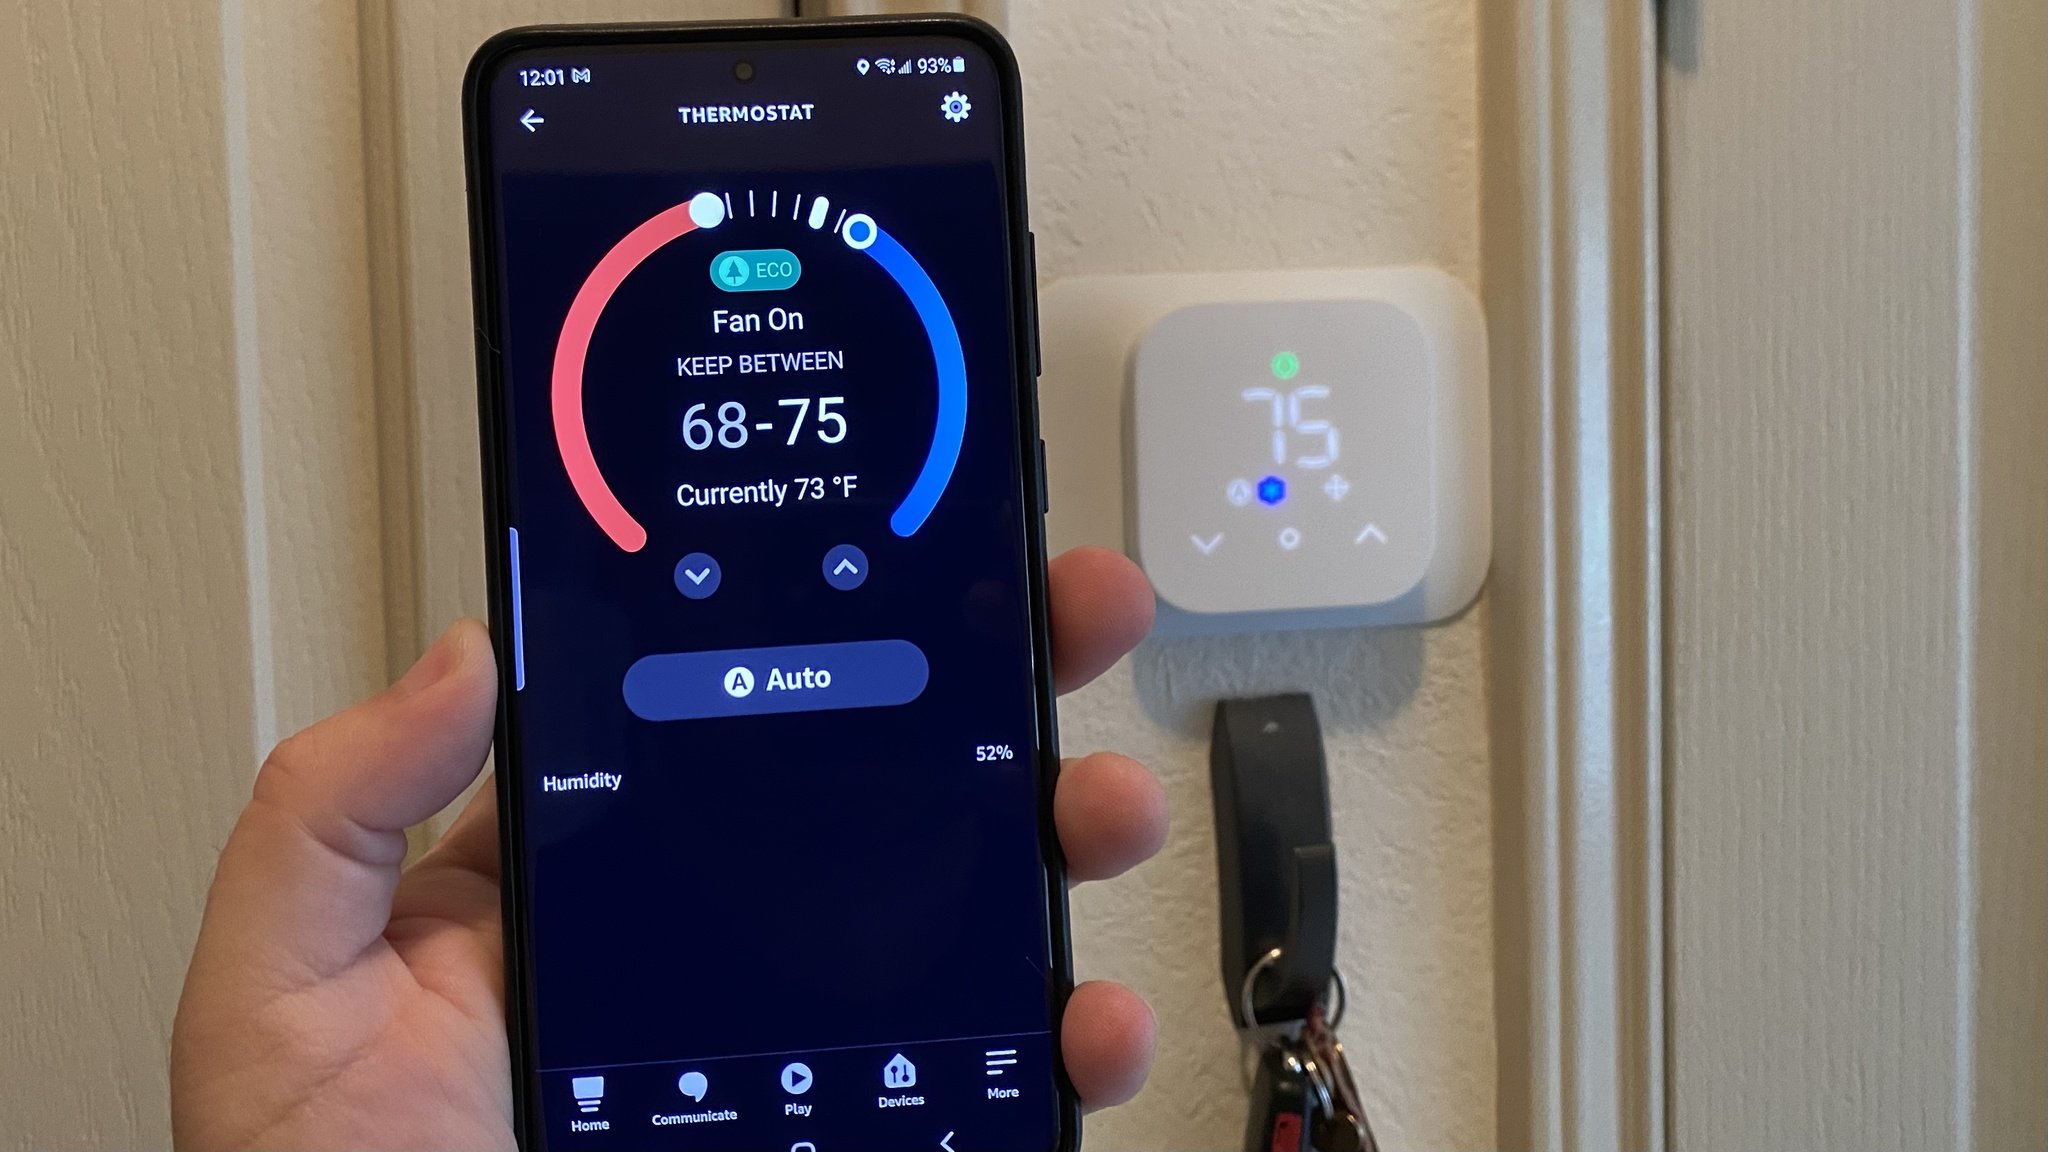
- Using the Nest app on your smartphone or tablet, or any other compatible smart home integration device, check if you can access and control your Nest Thermostat remotely.
- If you can access the thermostat controls and make adjustments through the app or smart home device, this indicates a successful connection.
- Monitor the temperature adjustments made through the app or smart home device and ensure that your Nest Thermostat responds accordingly.
- If the thermostat updates the temperature settings in real-time and follows the schedule or adjustments you make remotely, it confirms the successful connection.
During the testing phase, be mindful of any connectivity issues. Monitor the stability and reliability of the connection by ensuring consistent access to the Nest app and proper functioning of all connected devices.
If you encounter any connectivity issues or inconsistencies, try resetting your Wi-Fi router, restarting your Nest Thermostat, or rechecking the network settings on both your thermostat and wireless router.
By thoroughly testing the connection, you can ensure that your Nest Thermostat is effectively integrated into your Wi-Fi network, allowing you to control and monitor your home’s temperature conveniently and efficiently.
Now that you have successfully completed the connection test, you can enjoy the full functionalities of your Nest Thermostat, optimizing energy savings and experiencing personalized comfort.
Finally, remember to keep your Wi-Fi network secure by using a strong password and regularly updating your network’s security settings.
Conclusion
Connecting your Nest Thermostat to a new Wi-Fi network is a simple yet essential process that allows you to fully utilize the features and benefits of this innovative device. By following the step-by-step instructions outlined in this guide, you can easily establish a secure connection and enjoy the convenience of controlling your home’s temperature from anywhere.
Throughout the process, it is crucial to ensure that you have a compatible Wi-Fi network, a strong network signal, the necessary network credentials, and a stable internet connection. These factors play a significant role in establishing and maintaining a seamless connection between your Nest Thermostat and your Wi-Fi network.
From connecting your Nest Thermostat to accessing the settings, selecting the Wi-Fi network, and entering the network password, each step is crucial in the successful connection process. Additionally, waiting for connection confirmation and testing the connection ensures that everything is working smoothly and that remote control and monitoring are functioning correctly.
Remember to periodically test your connection and troubleshoot any connectivity issues that may arise. Keeping your Wi-Fi network secure and up to date is also essential for protecting your privacy and ensuring the proper functioning of your Nest Thermostat.
Now that your Nest Thermostat is connected to your Wi-Fi network and fully operational, you can enjoy the convenience, energy savings, and personalized comfort it offers. Whether you are controlling it manually or utilizing the Nest app or smart home integrations, your Nest Thermostat allows you to effortlessly maintain the ideal temperature in your home.
We hope that this guide has been helpful in guiding you through the process of connecting your Nest Thermostat to a new Wi-Fi network. Enjoy the benefits and convenience that come with having a connected thermostat!