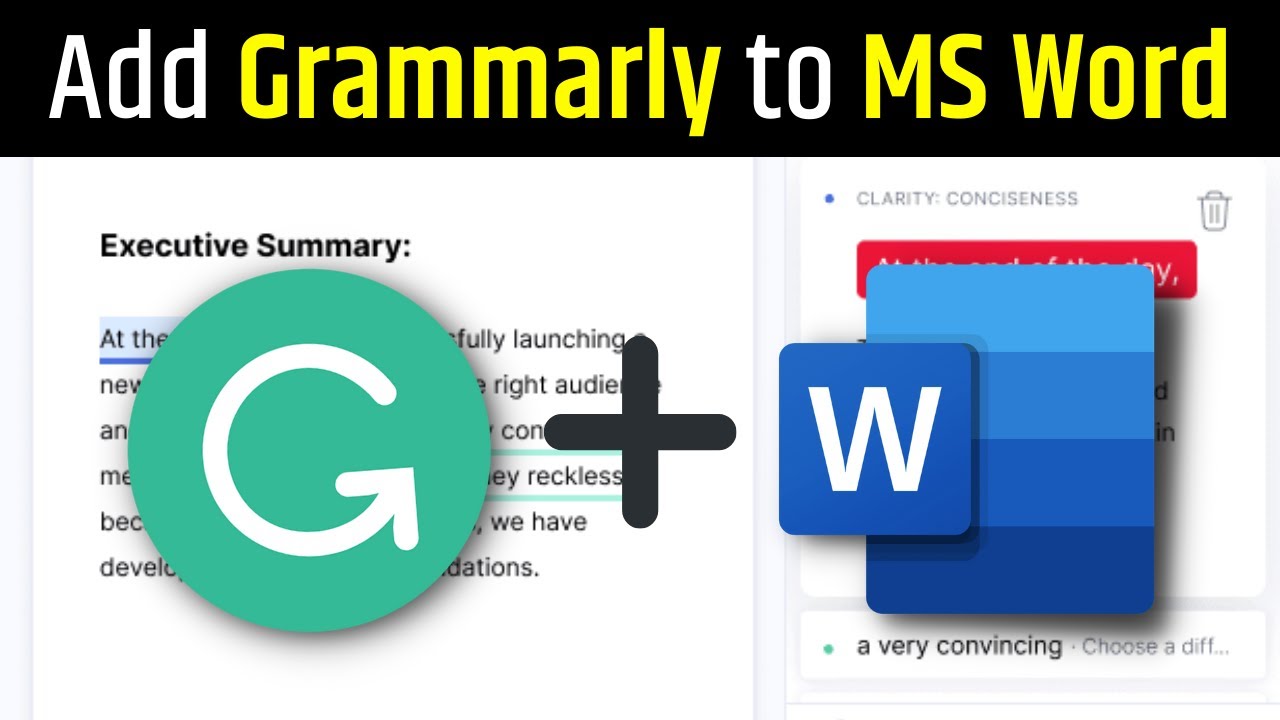
Introduction
Welcome to the world of seamless writing with Grammarly! If you’re looking to enhance your writing skills and improve the quality of your Word documents, then you’ve come to the right place. Grammarly is a powerful digital writing assistant that helps you avoid grammar, spelling, and punctuation mistakes, as well as provides valuable suggestions to enhance the overall clarity and coherence of your writing.
Whether you’re a student, professional, or simply someone who wants to communicate more effectively through writing, Grammarly is a must-have tool in your arsenal. In this article, we will guide you through the process of downloading Grammarly and integrating it into Microsoft Word, one of the most widely-used word processing programs.
By installing Grammarly on Word, you can take advantage of its comprehensive writing analysis and correction features without having to switch between different platforms. This seamless integration allows you to write with confidence and ensure your documents are error-free, saving you time and effort in the editing and proofreading process.
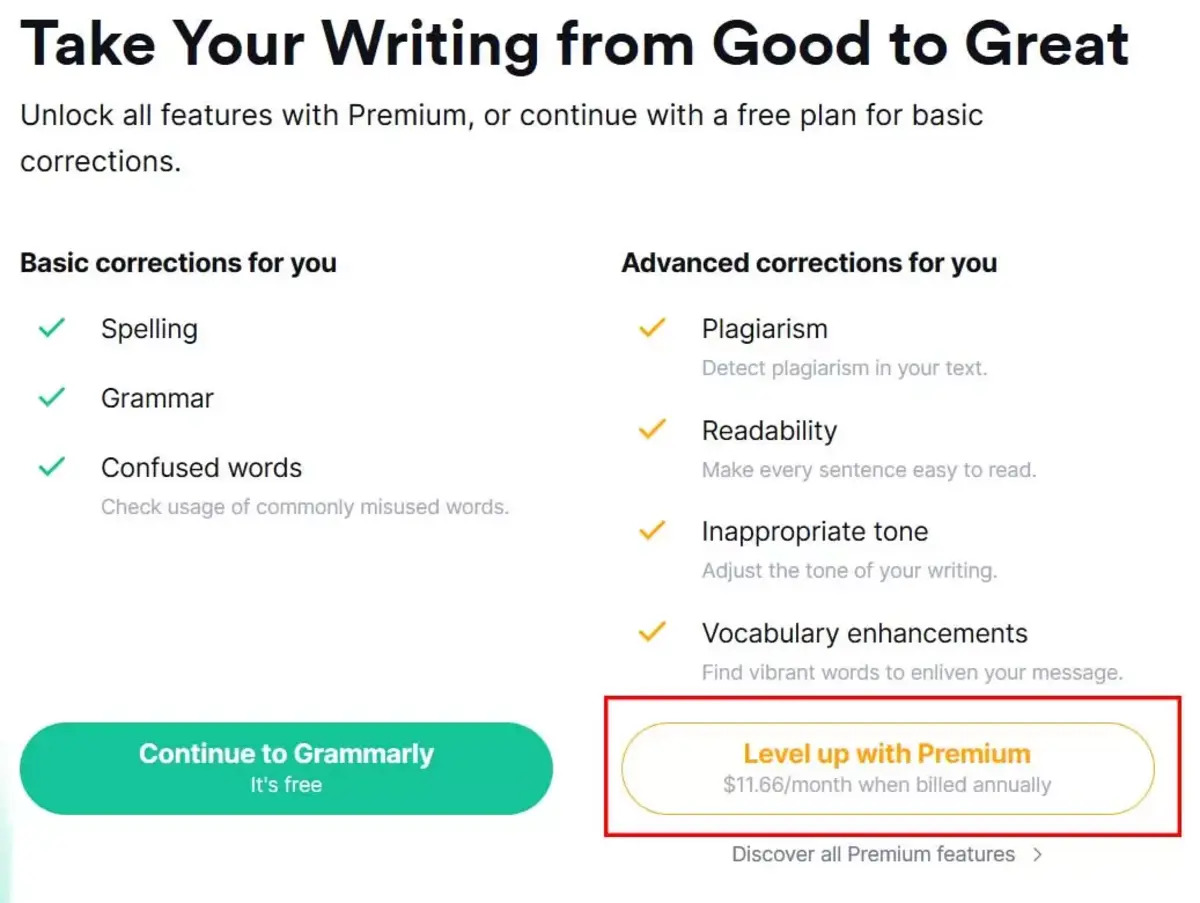
Before we dive into the step-by-step guide, it’s important to note that Grammarly offers both a free version and a premium version. The free version provides basic writing suggestions, while the premium version offers advanced features such as vocabulary enhancement, genre-specific writing style checks, and a plagiarism checker. With that in mind, let’s get started on the journey to downloading Grammarly and incorporating it into Word!
Step 1: Sign up for Grammarly
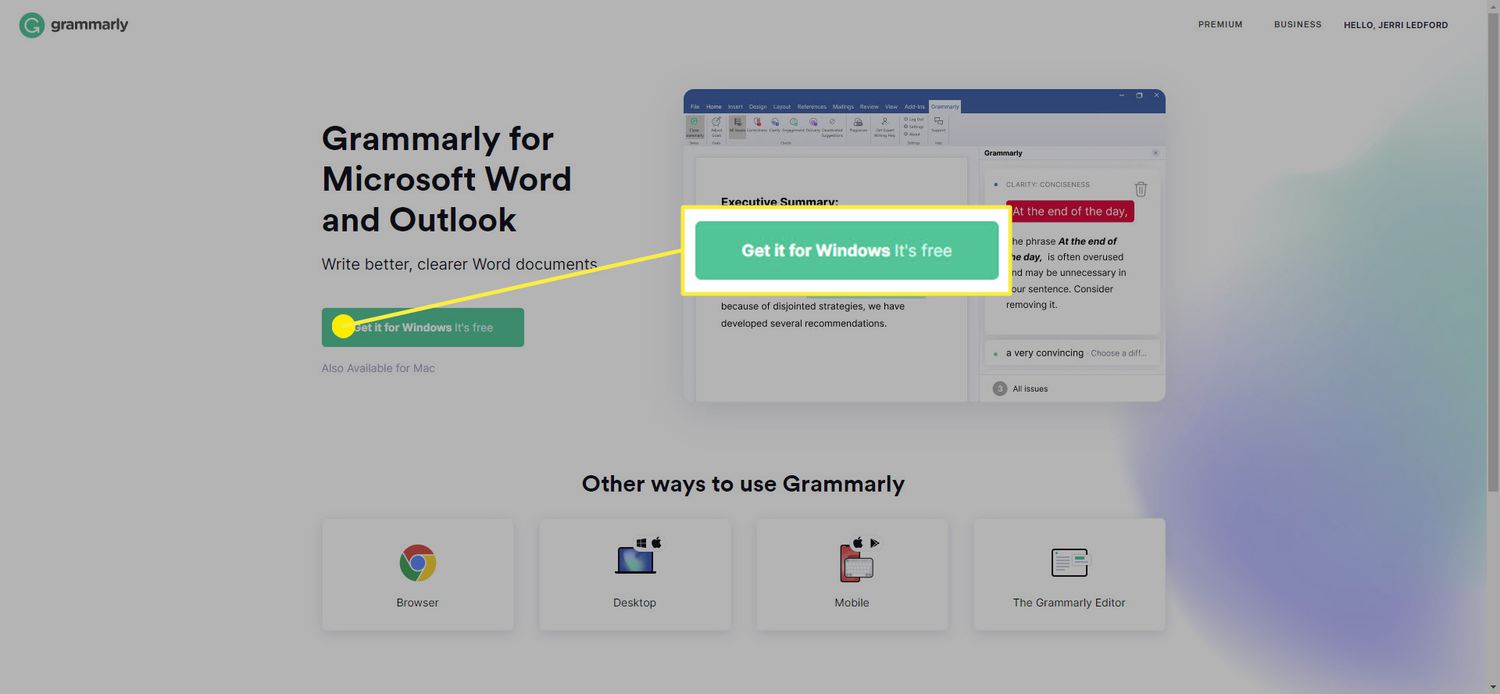
The first step to downloading Grammarly to Word is to sign up for an account. To do this, simply visit the Grammarly website and click on the “Sign Up” button. You will be prompted to enter your email address and create a password for your account. Alternatively, you can sign up using your Google or Facebook account for a quicker registration process.
Once you’ve signed up, you will have the option to choose between the free version or the premium version of Grammarly. While the free version provides valuable grammar and spelling corrections, the premium version offers more advanced features to elevate your writing to the next level.
If you opt for the premium version, you can choose a subscription plan that suits your needs, whether it’s a monthly, quarterly, or yearly plan. Grammarly occasionally offers discounts and promotions, so keep an eye out for any special offers that may be available.
After completing the sign-up process and selecting your preferred version of Grammarly, you’re ready to move on to the next step. It’s important to note that even if you choose the free version initially, you can always upgrade to premium later on to unlock the additional features.
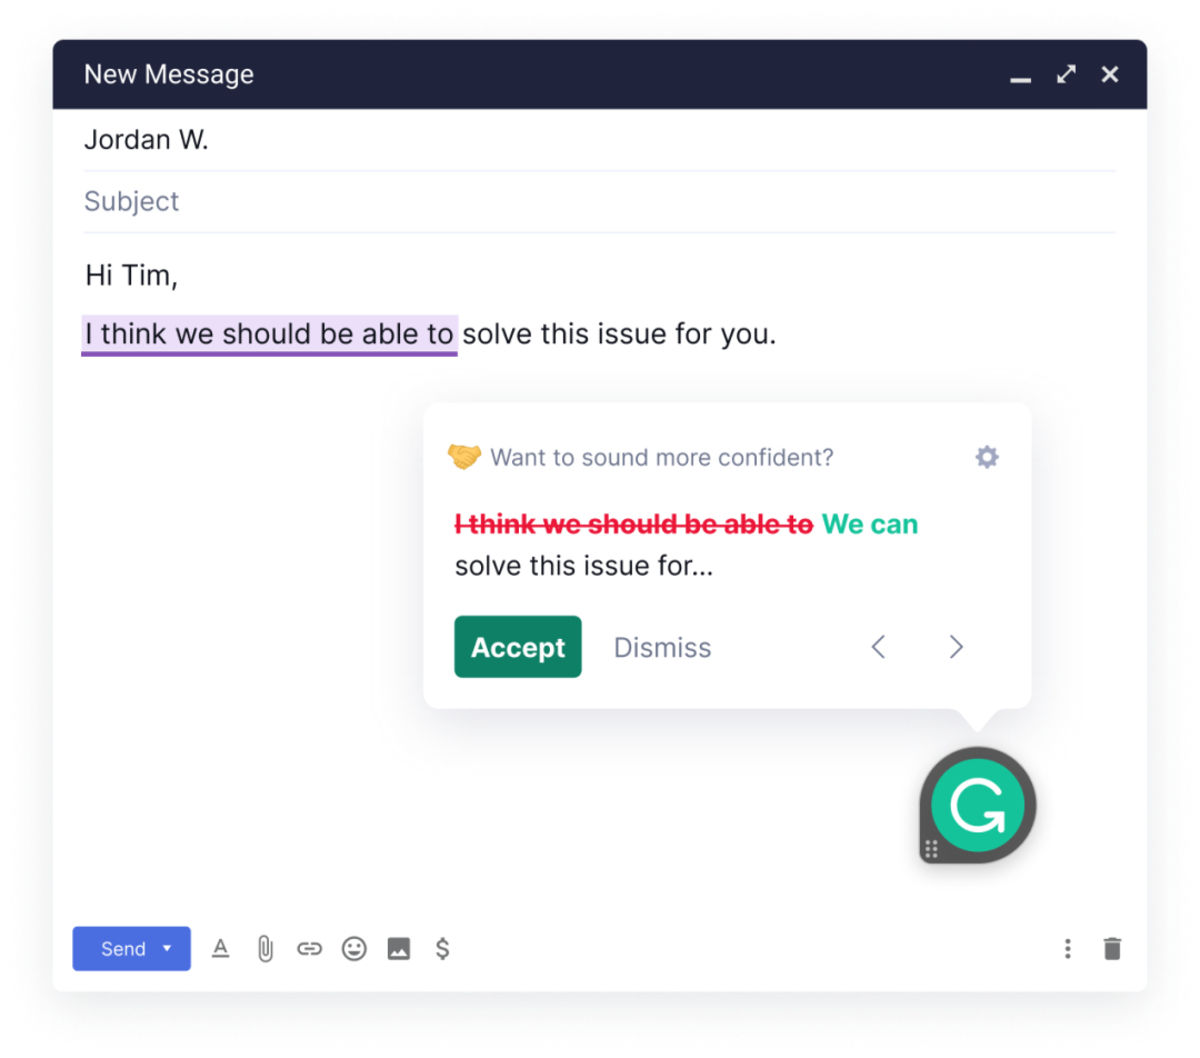
Signing up for Grammarly opens up a world of possibilities for improving your writing skills. Whether you’re a native English speaker or someone learning English as a second language, Grammarly provides personalized writing suggestions tailored to your specific needs. It not only points out errors but also explains the reasoning behind the corrections, helping you become a more proficient writer.
Now that you have successfully signed up for Grammarly, let’s move on to the next step and install the Grammarly extension for Chrome or Firefox.
Step 2: Install Grammarly extension for Chrome or Firefox
Installing the Grammarly extension for your preferred web browser, whether it’s Chrome or Firefox, is essential to seamlessly integrate Grammarly with Microsoft Word. The Grammarly extension will automatically detect and analyze your writing in real-time, providing instant suggestions and corrections as you type.
To install the Grammarly extension, follow these simple steps:
- Open the Chrome or Firefox web browser on your computer.
- Go to the official Grammarly website.
- Click on the “Apps” section, usually found at the top of the website.
- Select the “Browser” option from the drop-down menu.
- Choose either the Chrome or Firefox option, depending on your browser of choice.
- Click on the “Install” button next to the respective browser option.
- Follow the on-screen instructions to complete the installation process.
Once the installation is complete, you will notice the Grammarly icon in the top-right or top-left corner of your browser window. This indicates that the extension has been successfully installed. The Grammarly extension will automatically activate whenever you open a supported writing platform, including Microsoft Word.
Now that you have successfully installed the Grammarly extension, you are one step closer to integrating it with Word. In the following steps, we will guide you through the process of adding Grammarly to Word on both Windows and Mac operating systems.
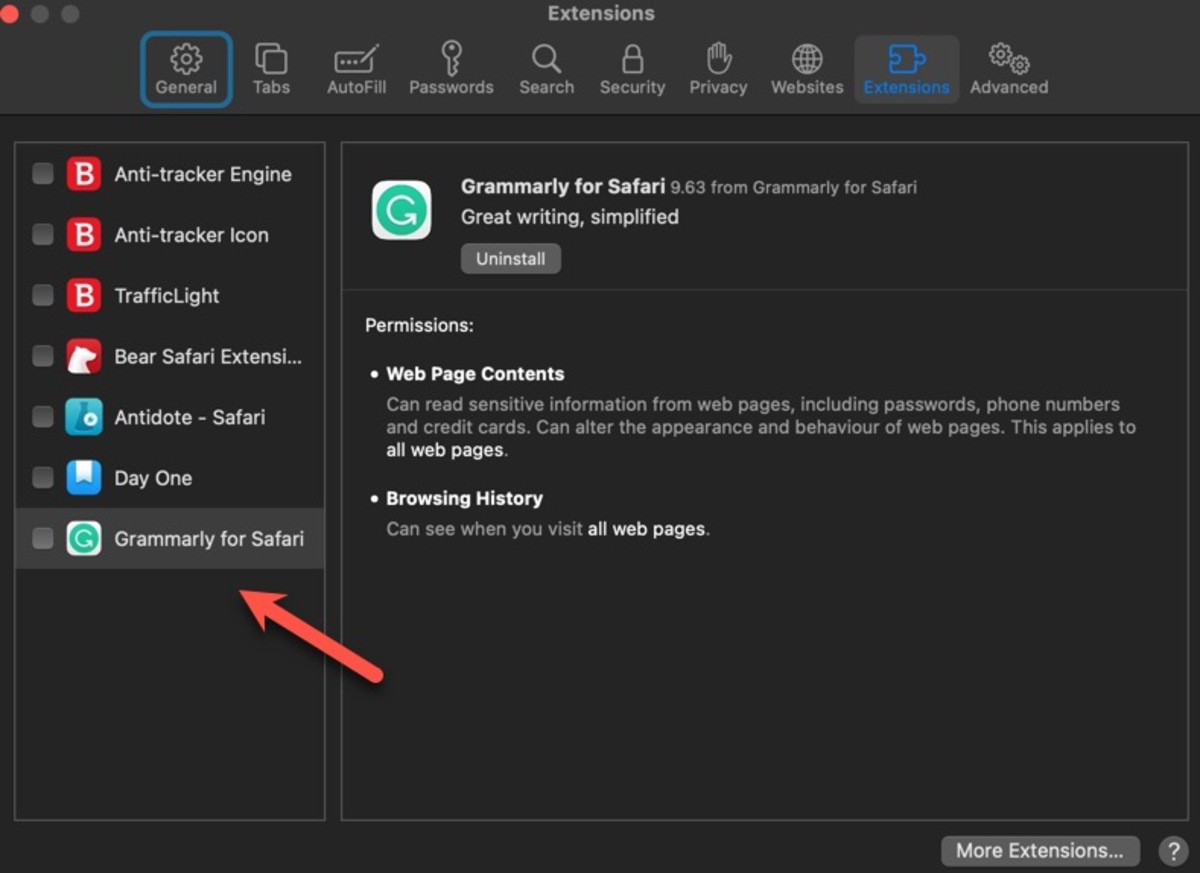
Note: The Grammarly extension is also compatible with other popular web browsers, such as Safari and Microsoft Edge. The installation process may vary slightly for each browser, but the general steps remain the same.
Step 3: Add Grammarly to Word on Windows
Adding Grammarly to Word on Windows is a straightforward process that ensures you can seamlessly access Grammarly’s powerful writing assistance directly within your Word documents. Here’s how you can do it:
- Open Microsoft Word on your Windows computer.
- Go to the “Insert” tab in the Word toolbar.
- Click on “Get Add-ins” in the “Add-ins” group.
- In the Add-ins pane that appears, search for “Grammarly” in the search bar.
- Click on the “Add” button next to the Grammarly add-in.
- Follow the on-screen instructions to complete the installation process.
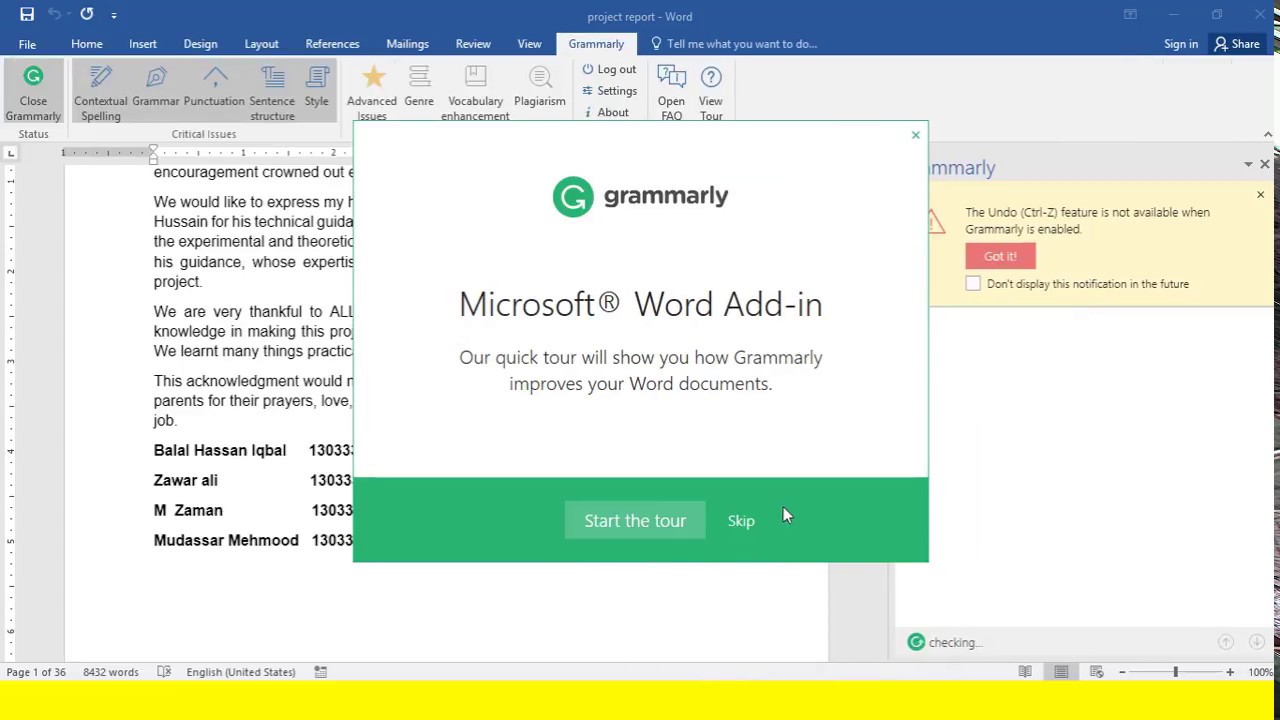
- Once installed, you will see the Grammarly icon in the Word toolbar.
With Grammarly successfully added to Word, you can now start composing error-free documents with confidence. As you type, Grammarly will automatically detect and highlight any potential grammar, spelling, or punctuation mistakes, along with providing suggestions for improvement.
In addition to the real-time corrections, Grammarly offers a comprehensive set of tools to enhance your writing. You can access Grammarly’s full range of features by clicking on the Grammarly icon in the Word toolbar. This allows you to review and apply the suggested corrections, as well as access advanced writing insights and performance statistics.
Remember to save your Word document regularly to ensure that your progress is preserved. Grammarly automatically syncs your writing across platforms, so you can seamlessly switch between devices without losing any changes.
Now that you have successfully added Grammarly to Word on Windows, let’s move on to the next step and explore how to add Grammarly to Word on Mac.
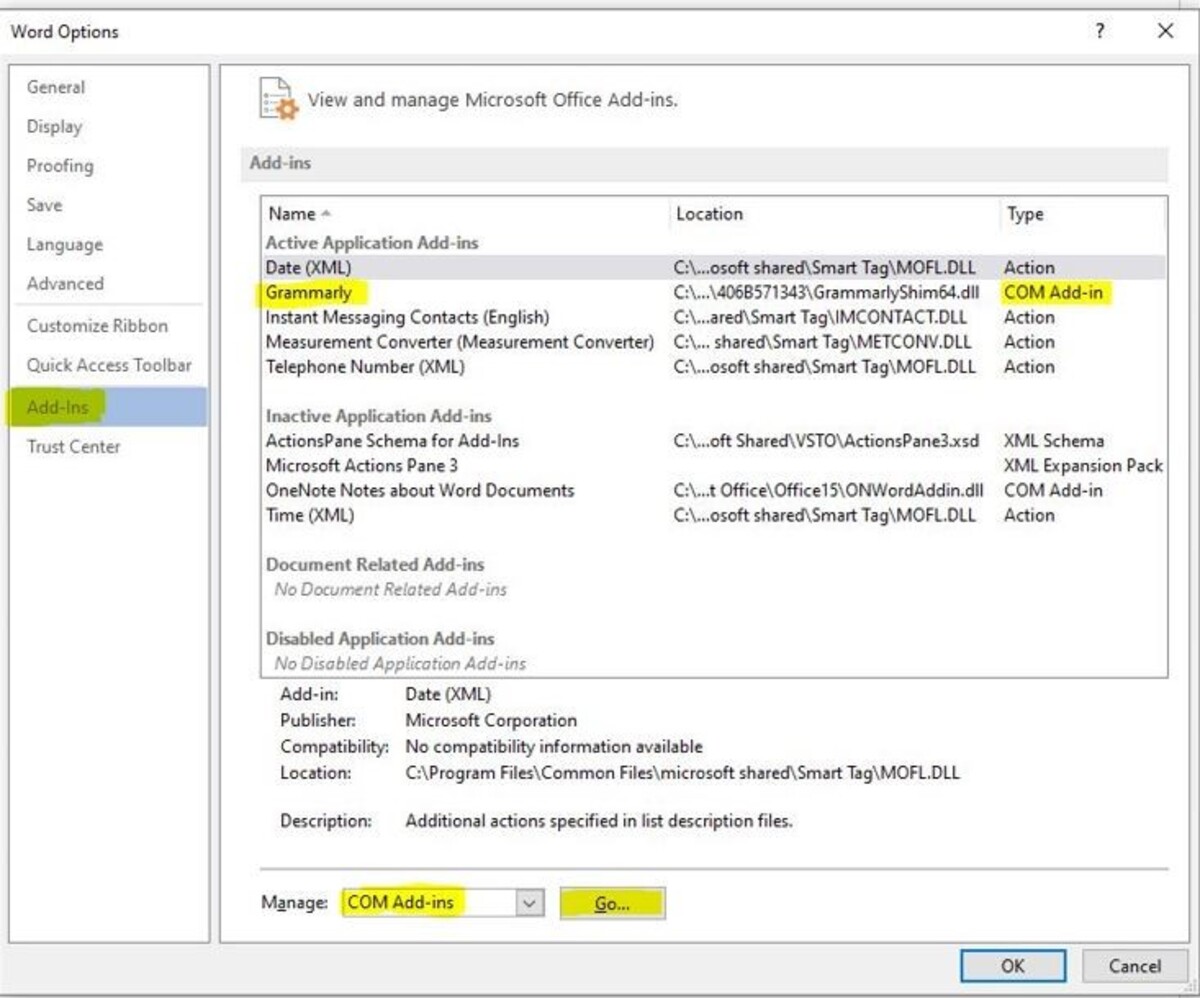
Step 4: Add Grammarly to Word on Mac
If you’re using a Mac, integrating Grammarly with Microsoft Word is just as easy and convenient. Follow these steps to add Grammarly to Word on your Mac:
- Open Microsoft Word on your Mac computer.
- Click on the “Word” tab in the top-left corner of the menu bar.
- Select “Preferences” from the dropdown menu.
- In the preferences menu, click on “Add-ins”.
- Click on “Store” to access the Microsoft Office add-in store.
- In the search bar, type “Grammarly” and press Enter.
- Click on “Add” next to the Grammarly add-in.
- Follow the on-screen instructions to complete the installation process.
Once the installation is complete, you will see the Grammarly icon in the Word toolbar. This indicates that Grammarly has been successfully added to Word on your Mac.
Similar to the process on Windows, Grammarly for Mac offers real-time writing suggestions and corrections while you work in Word. The Grammarly icon in the toolbar provides easy access to Grammarly’s features and functions, allowing you to fine-tune your writing to perfection.
Whether you’re writing an essay, crafting a professional document, or simply sending an email, Grammarly ensures that your content is error-free, well-structured, and polished. With its intelligent algorithms and powerful writing assistance, Grammarly is your trusted companion in creating impactful and mistake-free written works.
Now that you have successfully added Grammarly to Word on your Mac, you’re ready to open Word and start using Grammarly to enhance your writing.
In the next and final step, we’ll explore how to open Word and utilize Grammarly in your writing process.
Step 5: Open Word and start using Grammarly
Now that you have Grammarly installed and integrated with Microsoft Word, it’s time to open Word and start reaping the benefits of this powerful writing tool. Follow these simple steps to get started:
- Open Microsoft Word on your computer.
- Select a new or existing document that you want to work on.
- As you start typing, Grammarly will automatically begin checking your writing for grammar, spelling, and punctuation errors.
- If Grammarly detects any mistakes or areas for improvement, it will underline or highlight them in your document.
- Click on the underlined or highlighted text to see Grammarly’s suggested correction or enhancement.
- Review the suggestion and choose whether to accept or ignore it.
- You can also click on the Grammarly icon in the Word toolbar to access Grammarly’s full range of features and options.
- Explore the advanced writing insights, vocabulary enhancements, and genre-specific writing style checks provided by Grammarly.
- Make use of Grammarly’s suggestions to refine and polish your writing, ensuring it is clear, concise, and error-free.
By incorporating Grammarly into your writing process, you’ll be able to write with more confidence, knowing that your work is free from common writing mistakes. Grammarly’s suggestions and corrections not only improve the overall quality of your writing but also help you learn and grow as a writer.
Don’t forget to save your Word document regularly to ensure that your progress is saved. Grammarly automatically syncs your work, making it easily accessible across different devices.
So, open up Microsoft Word, start typing, and let Grammarly enhance your writing experience. Enjoy the benefits of error-free writing and the confidence that comes with producing polished, professional documents.
Congratulations! You have successfully downloaded Grammarly and integrated it with Microsoft Word. Now, you can write with the assurance that your writing is clear, effective, and error-free. Happy writing!
Conclusion
Congratulations on successfully downloading Grammarly and integrating it with Microsoft Word! By following the step-by-step guide in this article, you have unlocked a powerful tool that will greatly enhance your writing experience. Grammarly’s advanced writing analysis and correction features will help you communicate more effectively and confidently in your Word documents.
With Grammarly, you can eliminate grammar, spelling, and punctuation errors, ensuring your writing is polished and error-free. The real-time suggestions and explanations provided by Grammarly enable you to grow as a writer and improve your overall writing skills.
Remember, Grammarly offers both a free version and a premium version that unlocks additional features such as vocabulary enhancement, writing style checks, and plagiarism detection. Consider upgrading to the premium version to access these advanced features and take your writing to the next level.
Whether you’re a student, professional, or anyone who wants to communicate more effectively through writing, Grammarly is a valuable tool that will ensure your written work leaves a lasting impression. With its seamless integration into Microsoft Word, you can effortlessly create error-free, professional documents.
So, open up Word, start writing, and let Grammarly be your writing companion. Polish your documents, refine your writing skills, and feel confident knowing that your work is free from grammar mistakes and typos. Enjoy the benefits of enhanced writing, both academically and professionally!
Thank you for reading this article, and best of luck with your future writing endeavors!