Introduction
Welcome to our guide on how to connect a wireless router to your smart TV. With the rise in popularity of smart TVs, connecting them to a wireless network has become essential to access online streaming services, browse the internet, and enjoy various other features. By connecting your smart TV to a wireless router, you can unlock a whole new world of entertainment and convenience.
Before we dive into the steps, let’s understand the importance of wireless connectivity for smart TVs. By connecting your smart TV to a wireless network, you eliminate the need for cumbersome cables and wires, allowing you to place your TV anywhere in your home. This freedom of placement ensures that you can enjoy your favorite shows and movies from the comfort of your couch without worrying about cable limitations.
Moreover, connecting your smart TV to a wireless network opens up a wide range of streaming options. You can easily access popular streaming services like Netflix, Hulu, and Amazon Prime Video directly on your TV without the need for additional devices. Additionally, a wireless connection allows for seamless screen mirroring, enabling you to show photos, videos, and presentations from your smartphone or laptop on the big screen.
Now that we understand the advantages of connecting your smart TV to a wireless router, let’s proceed with our step-by-step guide. By following these instructions, you will have your smart TV connected to a wireless network in no time, ready to enjoy all the benefits it brings.
Step 1: Check the Compatibility of Your Smart TV with Wireless Routers
Before you start setting up your wireless router, it is crucial to ensure that your smart TV is compatible with a wireless connection. Most modern smart TVs come with built-in Wi-Fi capabilities, but it is always wise to double-check.
To check the compatibility of your smart TV, refer to the user manual or the manufacturer’s website for information on whether it supports wireless connectivity. Look for terms like “Wi-Fi enabled” or “wireless LAN” in the specifications. If your TV doesn’t have built-in wireless capabilities, you may need to purchase an external wireless adapter that is compatible with your specific TV model.
Additionally, check if your smart TV supports the Wi-Fi standards used by most wireless routers today. The commonly supported protocols are IEEE 802.11n and IEEE 802.11ac. These standards ensure a stable and fast connection for streaming high-definition content.
It is also essential to check the location of the Wi-Fi antenna on your smart TV. The placement of the antenna can affect the signal strength and the range of the wireless connection. Make sure the antenna is not blocked or obstructed by anything, such as walls or other electronic devices, as this can degrade the signal quality.
Once you have confirmed that your smart TV is compatible with wireless routers, you can proceed to the next steps to set up your wireless network.
Step 2: Choose the Appropriate Wireless Router for Your Smart TV
Choosing the right wireless router is crucial to ensure a seamless and reliable connection between your smart TV and the network. Here are a few factors to consider when selecting a wireless router:
- Speed and Range: Look for a router that supports high-speed connections, preferably with support for the latest Wi-Fi standards such as IEEE 802.11ac. Additionally, consider the range of the router, especially if your smart TV is located far from the router.
- Number of Antennas: Opt for a router with multiple external antennas as they can provide a stronger and more stable signal.
- Security Features: Ensure that the router offers robust security features like WPA2 encryption to protect your network from unauthorized access.
- Ethernet Ports: Check the number of Ethernet ports available on the router. These ports are useful if you want to connect other devices like gaming consoles or set-top boxes to your network via a wired connection.
- Price and Brand: Consider your budget and opt for a reputable brand that offers reliable products and good customer support.
It is also worth mentioning that if you already have a wireless router at home, you can skip this step and use the existing router for your smart TV as well. In this case, ensure that the router meets the necessary requirements mentioned above.
Once you have chosen the appropriate wireless router, you are ready to move on to the next step of setting up your smart TV with the router.
Step 3: Connect the Wireless Router to the Smart TV Using Ethernet Cable
To establish the initial connection between the wireless router and your smart TV, you will need an Ethernet cable. Follow these steps:
- Locate the Ethernet port on the back of your smart TV. It is usually labeled as “LAN,” “Ethernet,” or with an icon representing a square with two arrows.
- Connect one end of the Ethernet cable to the Ethernet port on the smart TV.
- Now, take the other end of the Ethernet cable and connect it to one of the Ethernet ports on the back of the wireless router.
- Ensure that the connection is secure by gently pushing the Ethernet cable into the ports until it clicks into place.
By connecting your smart TV and the wireless router with an Ethernet cable, you are establishing a direct physical connection. This connection will allow you to access the router’s settings page and configure the wireless settings for your smart TV.
Once the Ethernet cable is securely connected, proceed to the next step to access the router’s settings page.
Step 4: Access the Router’s Settings Page
In order to configure the wireless settings on the router, you’ll need to access the router’s settings page. Follow these steps to access the settings page:
- Open a web browser on any device that is connected to the same network as your router.
- In the address bar of the web browser, type in the IP address of your router. The IP address is usually provided in the router’s user manual or can be found on a label on the router itself. Common IP addresses include 192.168.1.1 or 192.168.0.1, but it may vary depending on the router manufacturer.
- Press Enter or click on the Go button to access the router’s settings page.
- Depending on the router brand and model, you may be prompted to enter a username and password to log in. If you haven’t changed the default login credentials, you can find them in the router’s user manual or on the manufacturer’s website.
- Once you have successfully logged in, you will be redirected to the router’s settings page where you can make changes to the wireless network settings.
It’s important to note that accessing the router’s settings page may vary depending on the router brand and model. Some routers may require additional steps or have a different user interface, so make sure to refer to the router’s user manual for specific instructions.
Now that you have accessed the router’s settings page, you are ready to move on to the next step and configure the wireless settings for your smart TV.
Step 5: Configure the Wireless Settings on the Router
Configuring the wireless settings on the router is an essential step to ensure that your smart TV can connect to the wireless network. Follow the instructions below to configure the wireless settings:
- On the router’s settings page, look for the wireless settings or Wi-Fi settings option. The location of this option may vary depending on the router brand and model.
- In the wireless settings, you will find options to set the network name or SSID (Service Set Identifier) and the network password or passphrase. Choose a unique and easily identifiable network name, and create a strong password to secure your wireless network.
- Ensure that the wireless network is using the appropriate security protocol, such as WPA2, to protect your network from unauthorized access.
- It is also recommended to enable network encryption to encrypt the data transmitted over the wireless network. Select the appropriate encryption type, such as AES (Advanced Encryption Standard).
- Once you have made the necessary changes, save the settings and wait for the router to apply the changes. This process may take a few seconds to a minute.
Remember to take note of the network name (SSID) and the password you have chosen, as you will need them later to connect your smart TV to the wireless network.
It is worth noting that some routers offer additional features like guest networks, parental controls, or Quality of Service (QoS) settings. You can explore these options to enhance the functionality and security of your wireless network.
With the wireless settings on the router configured, you can proceed to the next step and connect your smart TV to the wireless network.
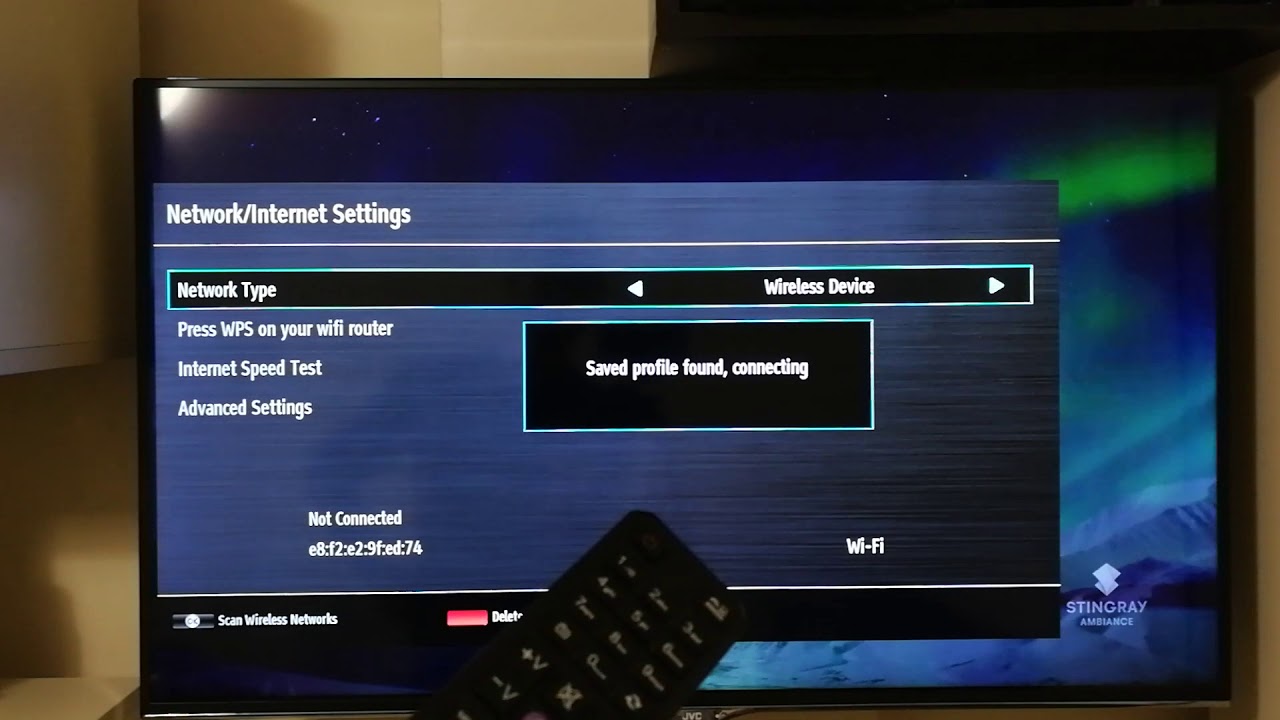
Step 6: Connect the Smart TV to the Wireless Network
Now that you have configured the wireless settings on the router, it’s time to connect your smart TV to the wireless network. Here’s how:
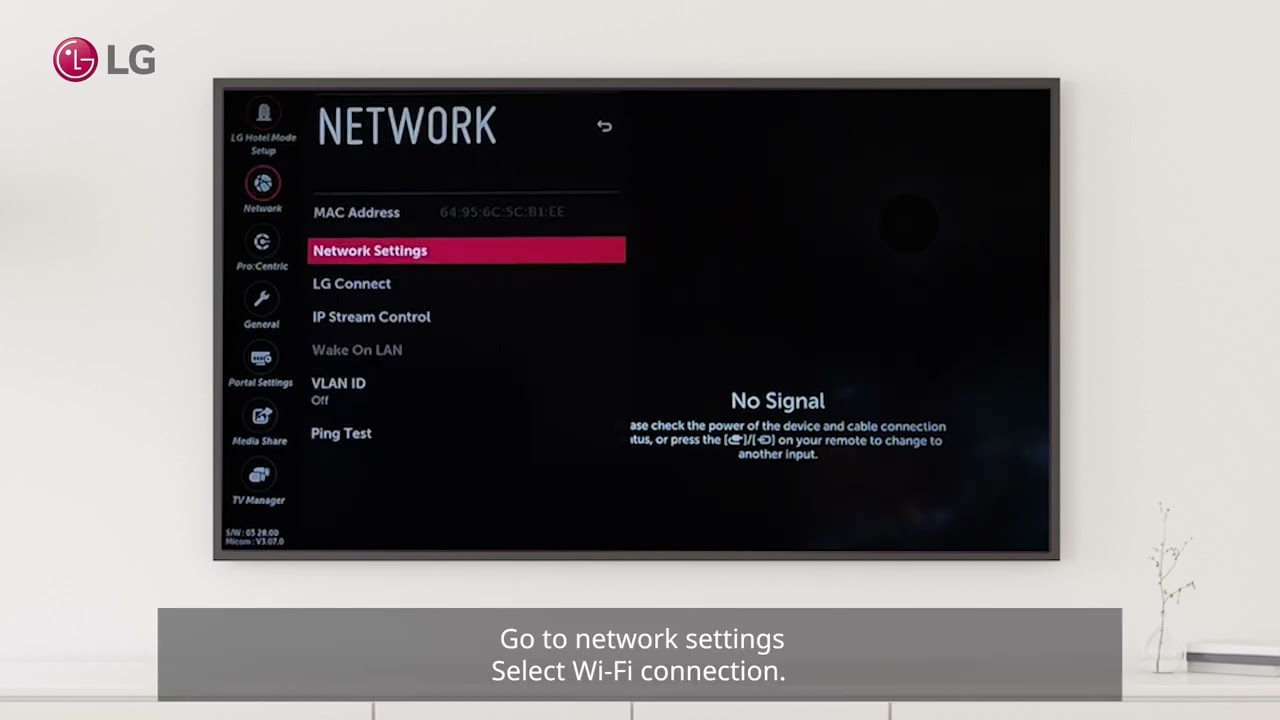
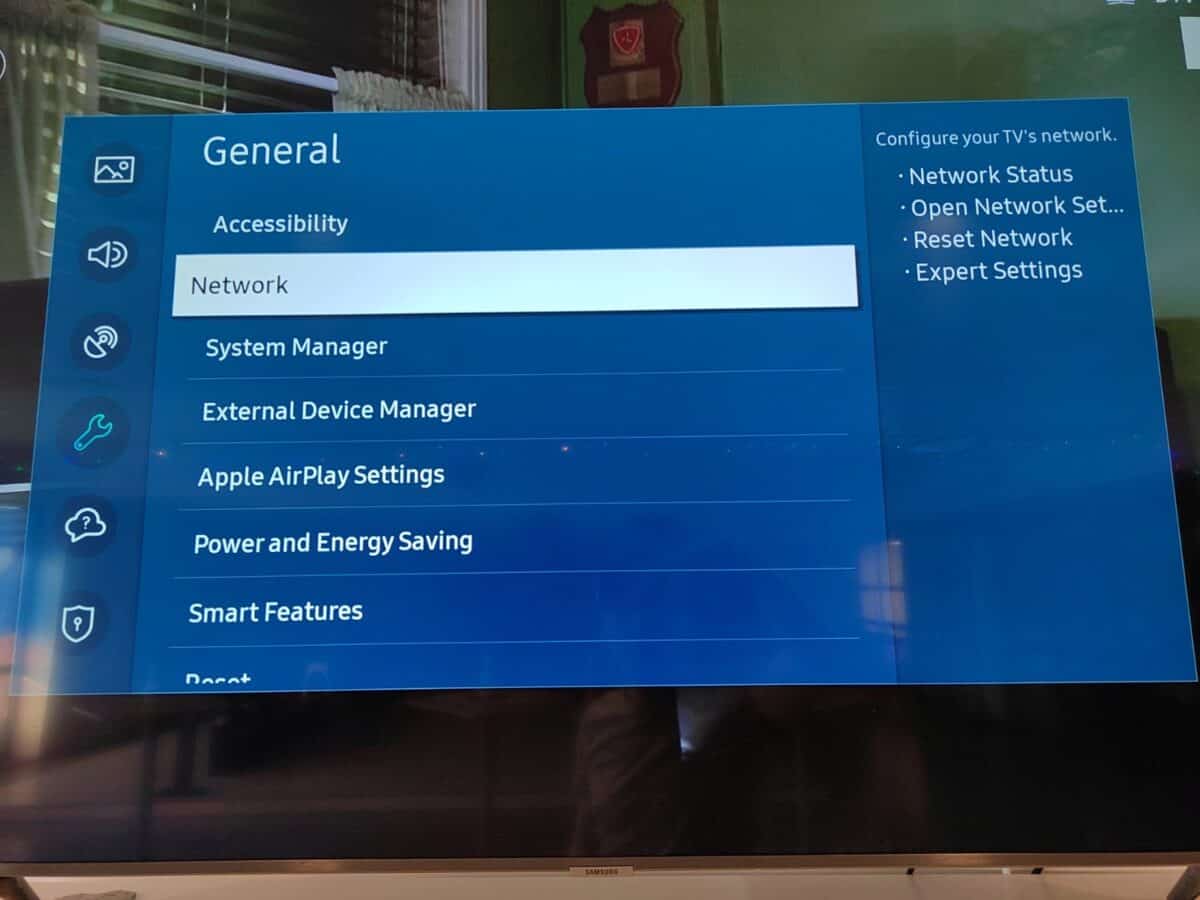
- On your smart TV, go to the settings or network settings menu. The exact location of these settings may vary depending on your TV’s brand and model.
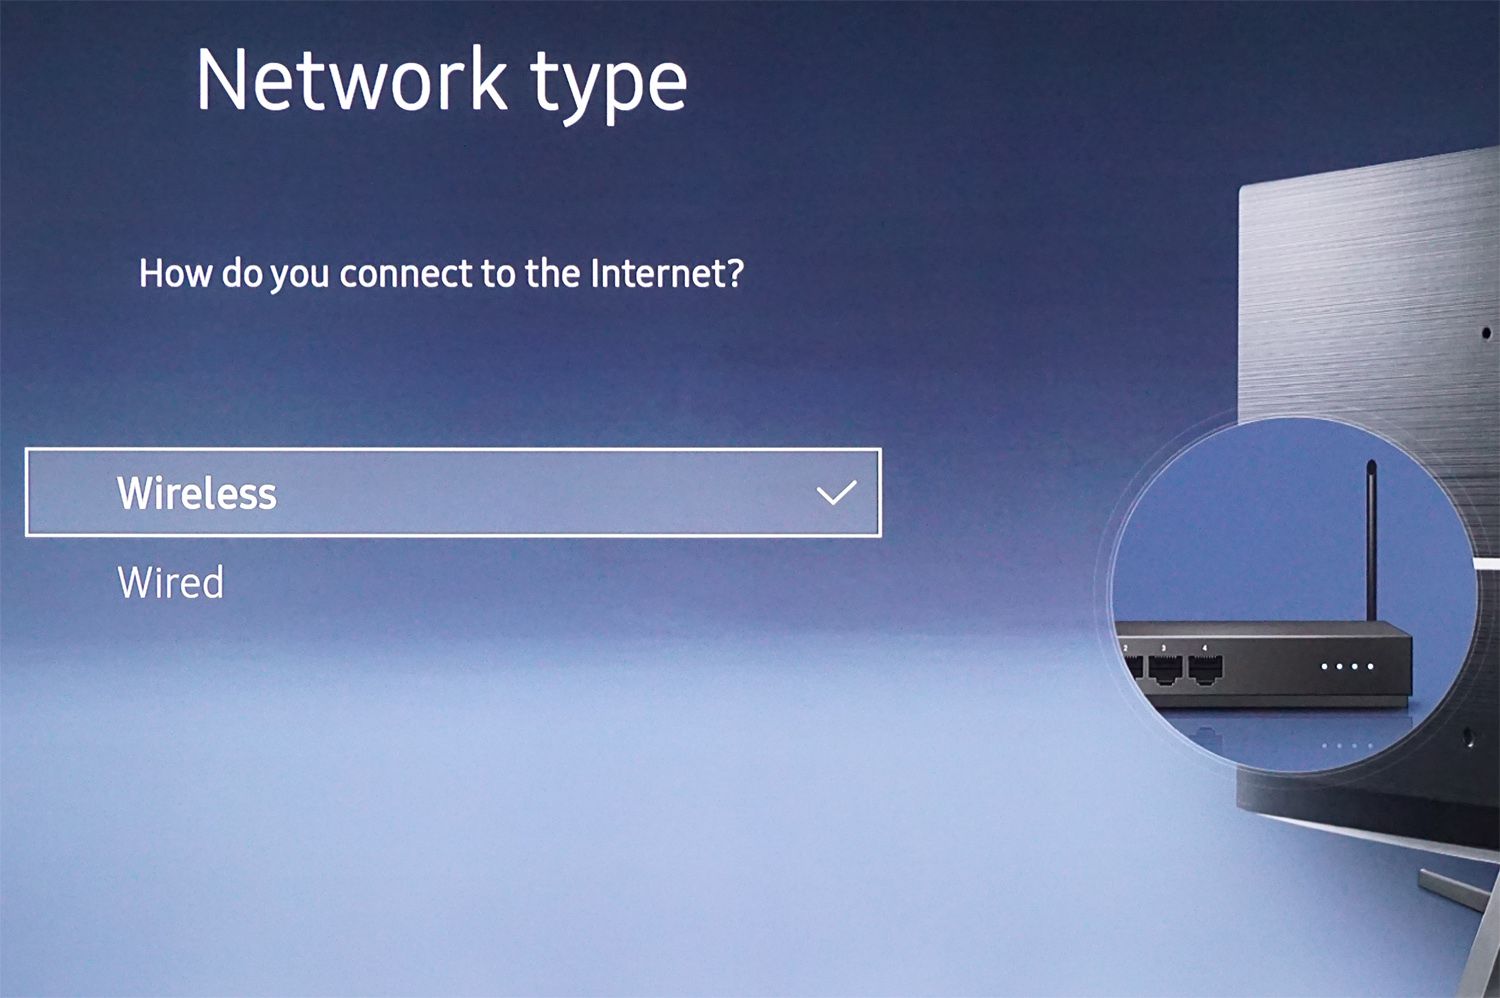
- In the network settings, look for the option to connect to a wireless network. It may be labeled as “Wi-Fi” or “Wireless Network.”
- Select the wireless network name (SSID) that you set up on the router in the previous step.
- If prompted, enter the network password or passphrase that you configured on the router. Make sure to enter it correctly as the password is case-sensitive.
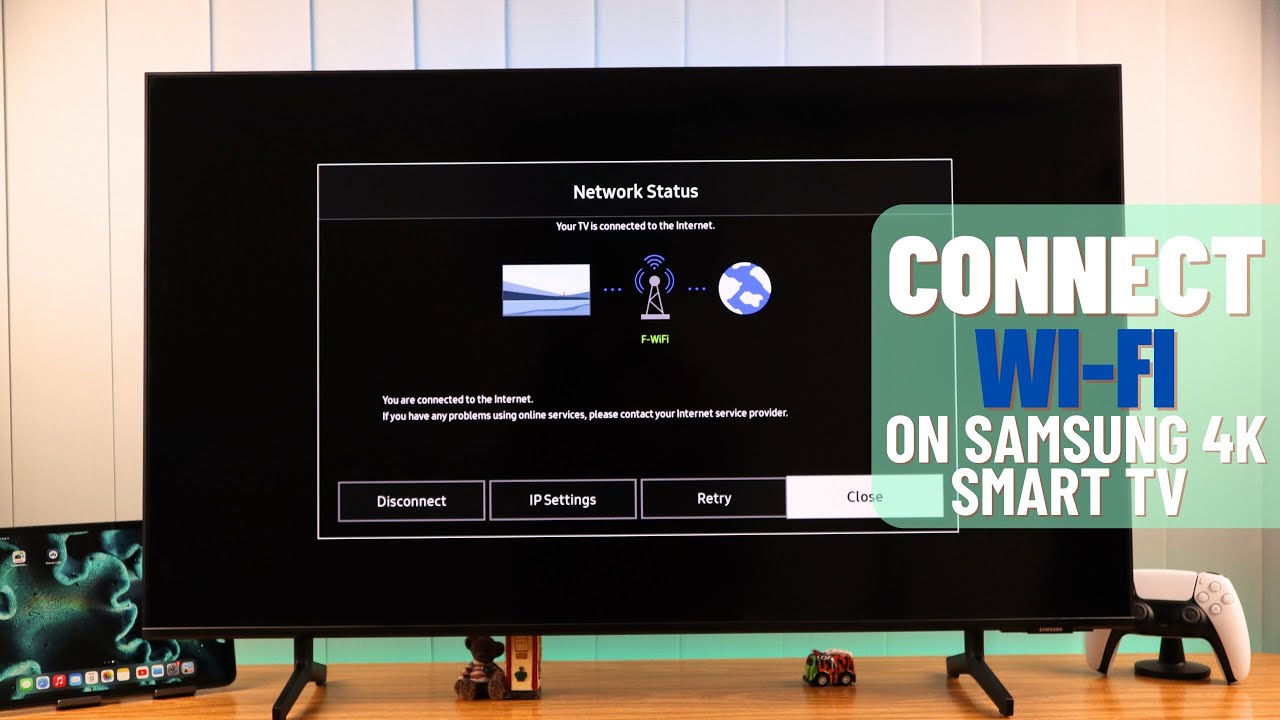
- After entering the password, your smart TV will attempt to establish a connection with the wireless network. It may take a few seconds for the connection to be established.
- Once the connection is successful, your smart TV will display a confirmation message or an icon indicating that it is connected to the wireless network.
Now your smart TV is successfully connected to the wireless network. Congratulations!
If you encounter any issues while connecting your smart TV to the wireless network, double-check the wireless settings on the router, including the network name (SSID) and password. Also, ensure that your TV is within range of the wireless router and there are no obstructions that might affect the signal strength.
Once your smart TV is connected to the wireless network, you can enjoy seamless streaming of your favorite movies, TV shows, and online content from various streaming platforms.
Step 7: Test the Connection and Troubleshoot if Necessary
After connecting your smart TV to the wireless network, it’s important to test the connection and ensure everything is working as expected. Here’s what you can do:
- Try accessing online streaming services, browse the internet, or use any smart TV features that require an internet connection. This will help verify if the wireless connection is stable and functioning properly.
- If you experience any issues, such as buffering, slow loading times, or intermittent connection, try the following troubleshooting steps:
- Restart your smart TV and the wireless router. This simple step can often resolve connectivity issues.
- Move the wireless router closer to your smart TV to improve the signal strength. Alternatively, if your router supports it, consider using Wi-Fi range extenders or mesh networking systems to extend the coverage.
- Check for any firmware updates for your smart TV and the wireless router. Updating to the latest firmware can bring performance improvements and fix any known issues.
- Verify that there are no other devices or appliances in your house that might cause interference with the Wi-Fi signal, such as cordless phones, microwave ovens, or baby monitors. Temporarily turn off or move these devices away from the router and smart TV to see if it improves the connection.
- Try changing the wireless channel on your router’s settings page to reduce interference from neighboring networks. Experiment with different channels to find the one that offers the best performance.
- If none of the above troubleshooting steps work, you may need to contact your internet service provider or the manufacturer’s support for further assistance.
By testing the connection and troubleshooting any issues, you can ensure a smooth and uninterrupted experience when using your smart TV with the wireless network.
Remember that a stable and reliable wireless connection is crucial for optimal performance, especially when streaming high-definition content or engaging in online activities on your smart TV.
Congratulations! You have successfully connected your smart TV to a wireless router, allowing you to enjoy all the great features and content it has to offer.
Conclusion
Connecting your smart TV to a wireless router opens up a world of entertainment and convenience. By following the step-by-step guide we provided, you can easily set up your smart TV to connect to a wireless network.
First, ensure that your smart TV is compatible with wireless routers and supports the necessary Wi-Fi standards. Then, choose an appropriate wireless router based on factors like speed, range, security features, and brand reputation.
Next, connect the wireless router to your smart TV using an Ethernet cable. This initial connection allows you to access the router’s settings page and configure the wireless settings.
Accessing the router’s settings page is crucial as it allows you to set up the network name (SSID), password, and other security settings. Choose a unique network name and a strong password to secure your wireless network.
Once the router’s settings are configured, you can proceed to connect your smart TV to the wireless network. Enter the network name (SSID) and password on your TV to establish the connection.
Finally, test the connection and troubleshoot any issues that may arise. Ensure a stable and reliable connection by optimizing the placement of the router, updating firmware, resolving interference issues, and seeking assistance if needed.
With your smart TV successfully connected to the wireless network, you can enjoy the convenience of streaming your favorite shows, accessing online content, and utilizing various smart TV features without the need for cumbersome cables.
Remember to periodically check for firmware updates for your smart TV and router to enhance performance and security.
Now that you have successfully connected your smart TV to a wireless router, sit back, relax, and enjoy endless entertainment right from the comfort of your living room.