Introduction
As technology continues to advance, more and more devices are becoming internet-enabled, including smart TVs. Connecting your Samsung Smart TV to the internet wirelessly allows you to access a wide range of online content, such as streaming services, social media platforms, and web browsing, all from the comfort of your living room.
In this article, we will guide you through the process of connecting your Samsung Smart TV to the internet wirelessly. We will cover the necessary steps, troubleshooting common connection issues, and provide helpful tips to ensure a smooth and seamless setup.
Before we begin, it is essential to ensure that your Samsung Smart TV has built-in Wi-Fi capabilities. Most newer models come with this feature, but it’s always a good idea to check the specifications of your specific TV model. Once you have confirmed that your TV supports wireless connectivity, you can proceed with the setup process.
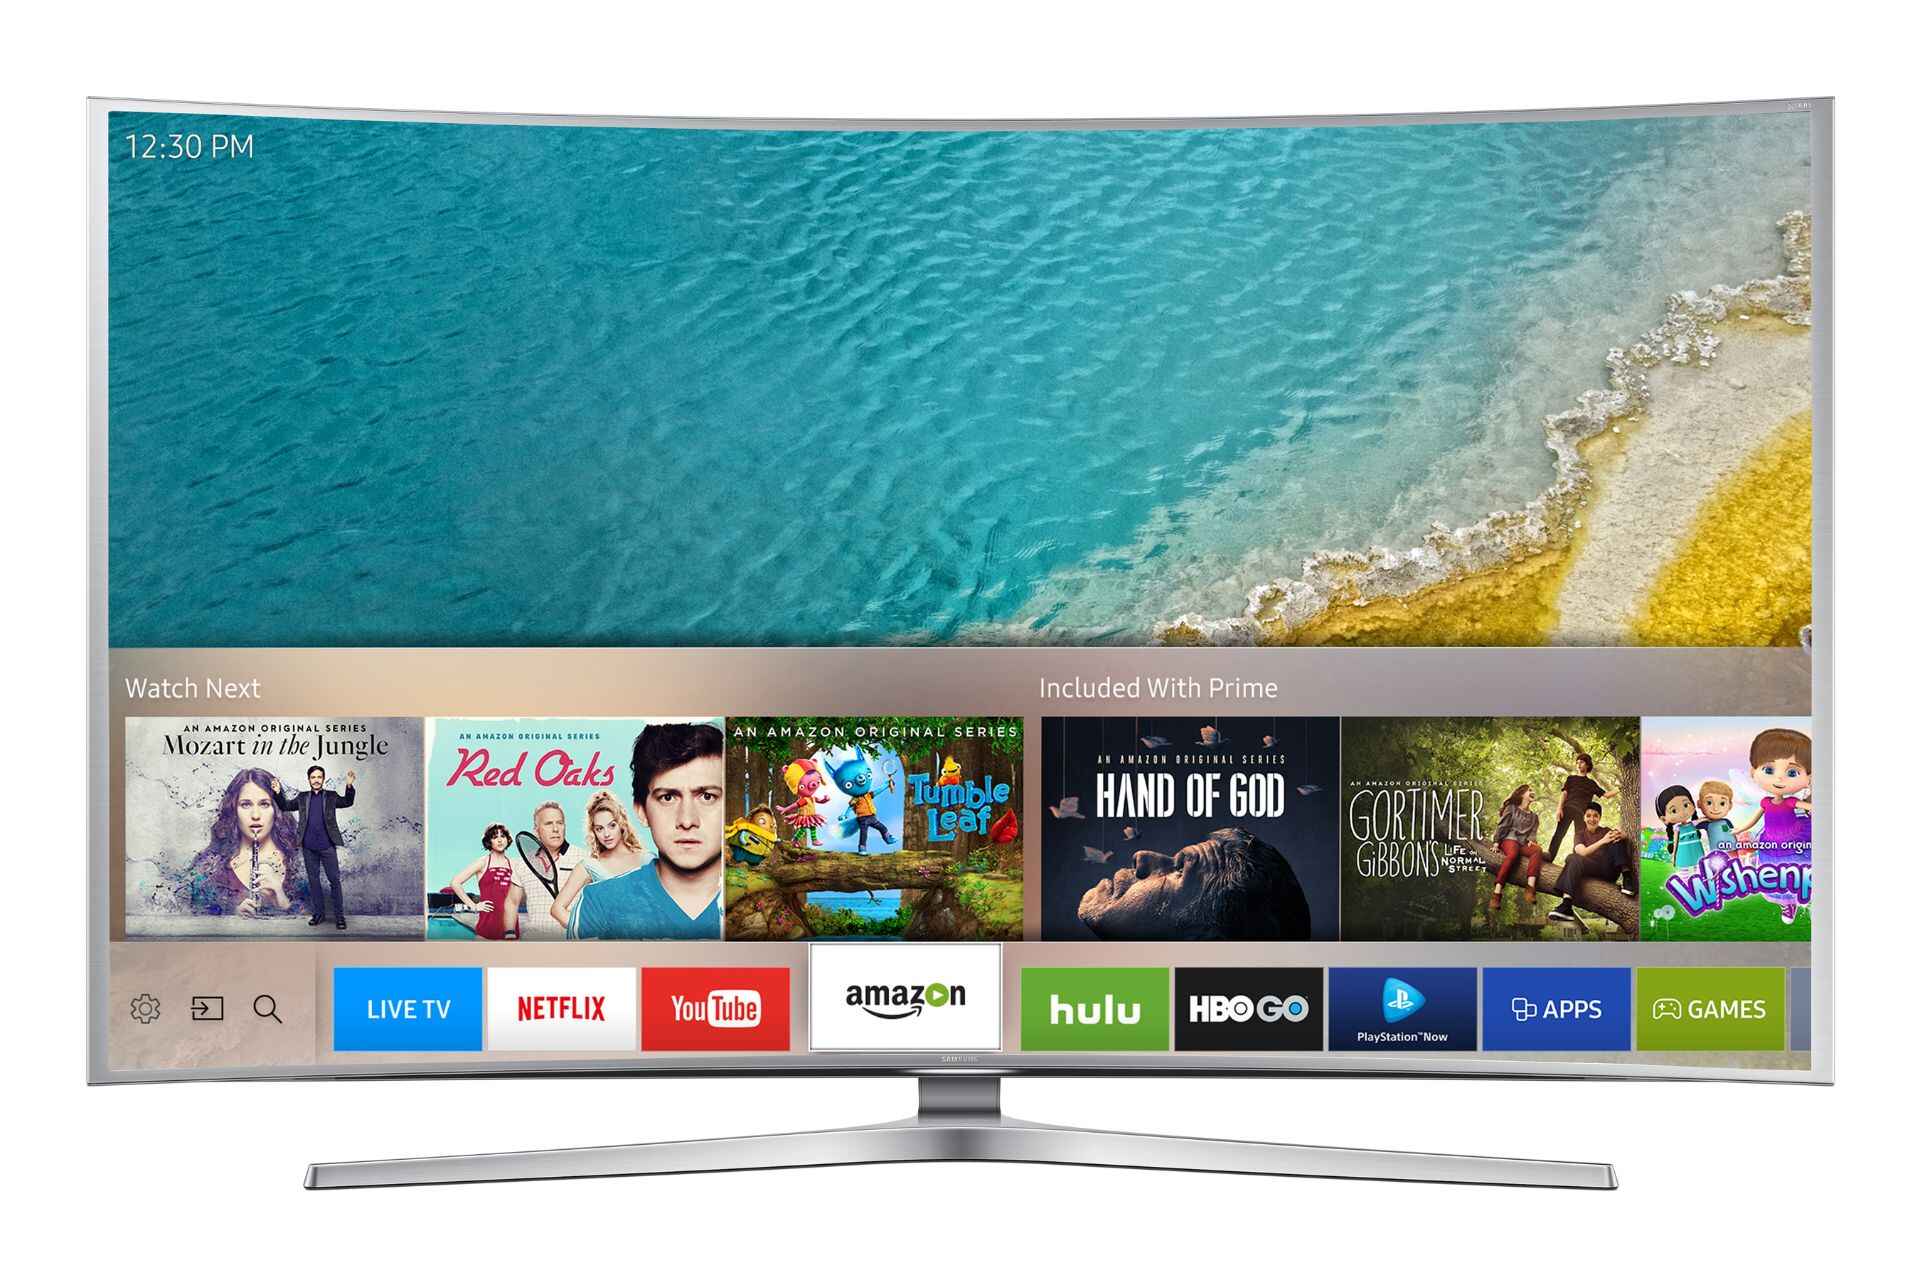
Connecting your Samsung Smart TV to the internet opens up a world of possibilities. You can stream your favorite movies and TV shows, access online music platforms, catch up on the latest news, and even browse the web using the TV’s built-in browser. Whether you want to stay entertained or stay connected, having your TV connected to the internet provides convenience and endless entertainment options.
Now that you understand the benefits and possibilities of connecting your Samsung Smart TV to the internet wirelessly let’s dive into the step-by-step process to get you up and running in no time.
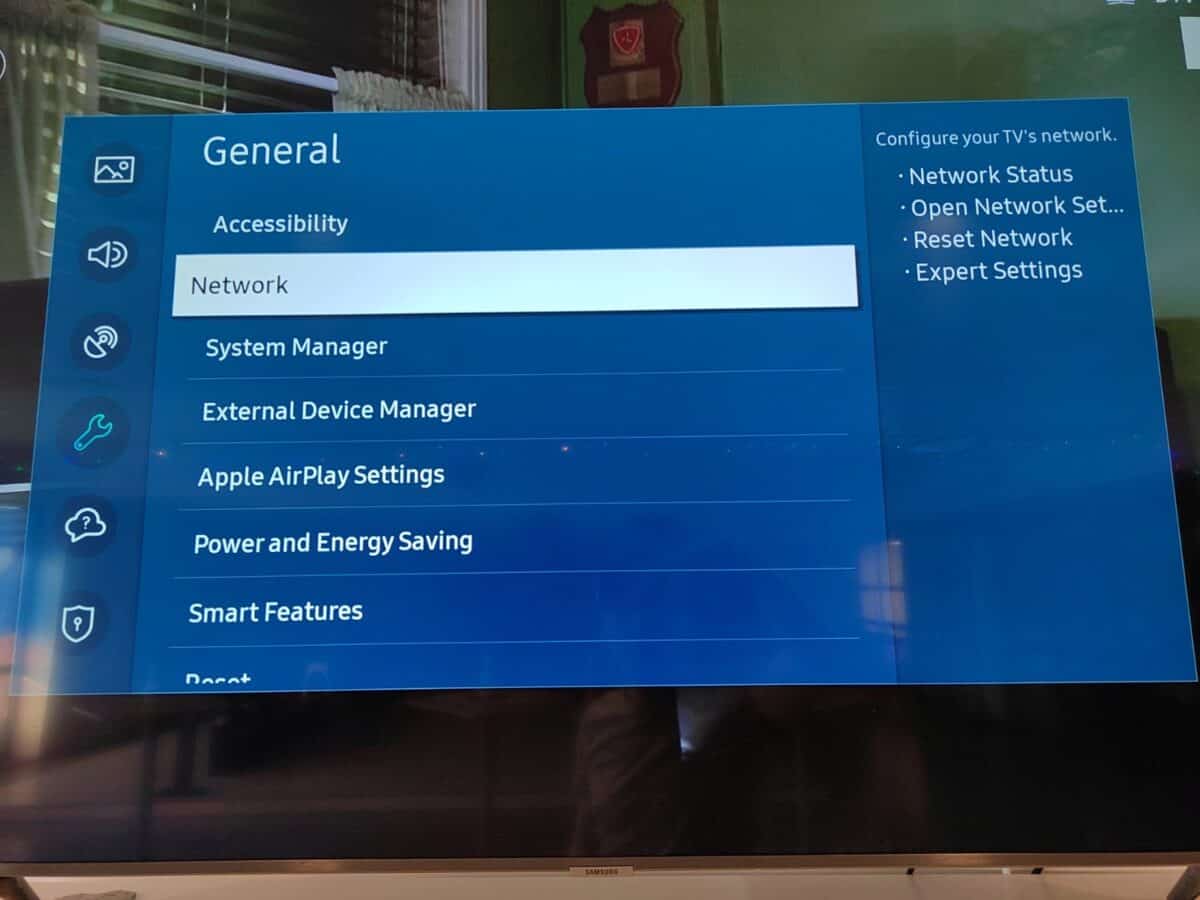
Step 1: Check your TV’s internet connection options
Before you start the process of connecting your Samsung Smart TV to the internet wirelessly, it’s essential to determine the available internet connection options on your TV. This step will ensure that you have the necessary equipment and resources before proceeding.
Here’s how you can check your TV’s internet connection options:
- On your Samsung Smart TV remote, press the “Menu” button.
- Navigate to the “Settings” or “Setup” option using the arrow keys on your remote.
- Look for the “Network” or “Network Setup” option and select it.
- Within the network settings, you should see the available internet connection options. These may include Wi-Fi, wired Ethernet, or both.
- If your TV supports both Wi-Fi and Ethernet, you can choose the connection type that best suits your needs. Wi-Fi provides the convenience of a wireless connection, while Ethernet offers a more stable and reliable connection.
- Make a note of the available Wi-Fi networks if you decide to connect wirelessly. You will need this information in the following steps.
It’s important to note that the user interface and navigation may vary depending on your specific TV model. Refer to your TV’s user manual or online documentation if you encounter any difficulties in locating the network settings.
Once you have identified the available internet connection options on your Samsung Smart TV, you are ready to move on to the next step: connecting the TV to your wireless network.
Step 2: Connect the TV to your wireless network
Now that you have determined the available internet connection options on your Samsung Smart TV, it’s time to connect your TV to your wireless network. Follow these steps to establish a Wi-Fi connection:
- Using your TV remote, navigate to the network settings menu as you did in Step 1.
- Locate the Wi-Fi option and select it.
- A list of available Wi-Fi networks will appear on the screen. Select your desired network from the list.
- If your network is password-protected, you will be prompted to enter the network password. Use the arrow keys on your remote to navigate the on-screen keyboard and enter the password.
- Once you have entered the password, select the “Connect” or “OK” button to establish the connection with your wireless network.
- Your Samsung Smart TV will attempt to connect to the network. Be patient as this process may take a few moments.
- Once the connection is established, you will see a confirmation message or an icon indicating a successful Wi-Fi connection.
If the connection fails, ensure that you have entered the correct network password. Also, double-check that your router is functioning correctly and that you are within range of the Wi-Fi signal.
Note that some Samsung Smart TVs may have additional settings, such as advanced network settings or Wi-Fi setup wizards, depending on the model. Consult your TV’s user manual for specific instructions on connecting to a wireless network.
With your Samsung Smart TV now connected to your wireless network, you can move on to the next step: entering your network password.
Step 3: Enter your network password
After successfully connecting your Samsung Smart TV to the Wi-Fi network, you will now need to enter your network password to ensure a secure connection. Follow these steps to enter your network password:
- Using your TV remote, navigate to the network settings menu.
- Select the Wi-Fi option.
- Select your network from the list of available Wi-Fi networks.
- If your network is password-protected, a prompt will appear asking you to enter the network password.
- Use the on-screen keyboard and the arrow keys on your remote to enter the network password character by character.
- Double-check each character to ensure accuracy.
- Once you have entered the network password, select “Connect” or “OK” to proceed.
Keep in mind that the network password is case-sensitive, so ensure that you enter it correctly. If you are unsure of the network password, you can find it on the back or bottom of your router or in the documentation provided by your internet service provider.
Once you have successfully entered the correct network password, your Samsung Smart TV will attempt to establish a secure connection to the Wi-Fi network.
If you encounter any issues during this process, make sure the Wi-Fi signal is strong and that you are within range of the router. You can also try resetting your router and restarting your TV to resolve any temporary connection glitches.
With the network password entered and the connection established, you are ready to move on to the next step: testing the connection to ensure it is functioning properly.
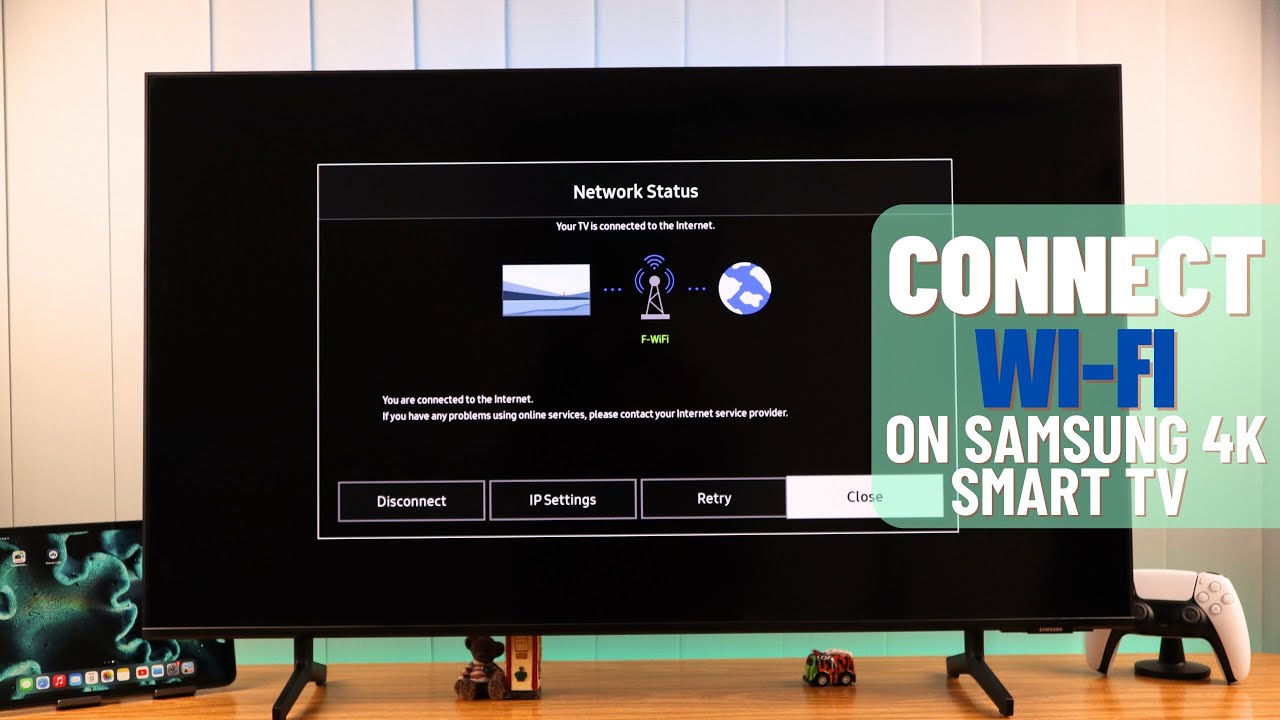
Step 4: Test the connection
Now that your Samsung Smart TV is connected to your wireless network and the network password has been entered, it’s time to test the connection to ensure everything is functioning as it should. Follow these steps to test the connection:
- Using your TV remote, navigate to the network settings menu.
- Select the Wi-Fi option.
- Choose the connected network from the list.
- Select the “Test Connection” or “Check Connection” option.
- Your Samsung Smart TV will now attempt to establish a connection to the internet.
- Wait for the test to complete. This may take a few moments.
- If the test is successful, you will see a message indicating a successful connection.
- If the test fails, double-check that your router is functioning correctly and that you are within range of the Wi-Fi signal. You can also try restarting your TV and router.
- If you continue to experience connection issues, you may need to consult your internet service provider or refer to your TV’s user manual for further troubleshooting steps.
Testing the connection ensures that your Samsung Smart TV can access the internet and stream content without any issues. It also helps identify any potential connectivity problems that need to be resolved.
Remember to periodically check your connection and perform this test to ensure the continued smooth operation of your Smart TV. This will help you stay up to date with software updates, security patches, and new features that may rely on an internet connection.
With the connection successfully tested, you can now enjoy the full range of features and online content available on your Samsung Smart TV.
Troubleshooting common connection issues
While connecting your Samsung Smart TV to the internet wirelessly is generally a straightforward process, you may encounter some common connection issues along the way. Here are a few troubleshooting tips to help you resolve these issues:
- Check your Wi-Fi signal: Ensure that your TV is within range of the Wi-Fi signal. Thick walls, distance from the router, or interference from other devices can weaken the signal. You may need to reposition your router or use a Wi-Fi extender to improve coverage.
- Restart your TV and router: Sometimes, simply restarting both your TV and router can resolve temporary connection glitches. Turn off both devices, wait for a few seconds, and then turn them back on.
- Ensure correct network credentials: Double-check that you have entered the correct network name (SSID) and password. Pay attention to capitalization, special characters, and any spaces. If you’re unsure, you can find the network details on your router or contact your internet service provider.
- Update firmware and software: Keep your Samsung Smart TV firmware and software up to date. Manufacturers often release updates that address connectivity issues and improve performance. Check for updates in your TV’s settings or consult the user manual for instructions.
- Reset network settings: If you’re still experiencing issues, you can try resetting the network settings on your TV. This will clear any saved network configurations, allowing you to start the connection process from scratch. Refer to your TV’s user manual for instructions on how to reset network settings.
- Connect using Ethernet: If Wi-Fi connectivity is consistently problematic, consider using a wired Ethernet connection. This can provide a more stable connection, especially for streaming high-definition content.
- Contact your internet service provider: If all else fails, it’s possible that there may be an issue with your internet service provider or your router. Contact your ISP’s customer support for further assistance and troubleshooting.
By following these troubleshooting tips, you can overcome common connection issues and ensure a reliable and hassle-free internet connection on your Samsung Smart TV.
If you continue to experience persistent connectivity problems, it may be necessary to seek professional assistance or contact Samsung support for further guidance.
Conclusion
Connecting your Samsung Smart TV to the internet wirelessly opens up a world of possibilities, allowing you to access a wide range of online content and enjoy a seamless entertainment experience. By following the step-by-step guide provided in this article, you can successfully connect your TV to your wireless network and start enjoying all the features and benefits it has to offer.
Remember to check your TV’s internet connection options, connect to your wireless network, enter the network password, and test the connection to ensure everything is working correctly. If you encounter any issues along the way, refer to the troubleshooting tips provided to help you resolve common connection issues.
Having your Samsung Smart TV connected to the internet provides you with endless entertainment options, from streaming movies and TV shows to accessing social media platforms and browsing the web. Stay up to date with software updates and enjoy new features that may rely on an internet connection by periodically testing your connection and ensuring its smooth operation.
With a stable and reliable internet connection, you can fully maximize the capabilities of your Samsung Smart TV and immerse yourself in the world of online entertainment from the comfort of your own home.