Introduction
Welcome to the comprehensive guide on how to connect a wireless router to DSL. In this digital age, having a reliable and secure wireless network is essential for staying connected and enjoying the benefits of online browsing, streaming, and gaming. By setting up a wireless router with your DSL connection, you can enjoy the convenience of connecting multiple devices without the hassle of cables.
DSL, short for Digital Subscriber Line, is a popular broadband internet connection type that uses existing telephone lines to provide high-speed internet access. It offers a reliable and stable connection, making it a preferred choice for many households and small businesses.
Connecting a wireless router to your DSL modem allows you to create a wireless network in your home or office, enabling multiple devices such as laptops, smartphones, tablets, and smart TVs to connect to the internet wirelessly.
This guide will walk you through the step-by-step process of setting up and configuring a wireless router with your DSL connection. We will also cover some common troubleshooting tips to help you overcome any issues that may arise during the setup process.
Before we dive into the technical details, it’s important to note that configuring a wireless router will require some basic knowledge of networking concepts. However, fear not – we will break down the process into simple, easy-to-follow steps to ensure that even beginners can successfully set up their wireless router with DSL.
So, if you’re ready to discover the freedom and flexibility of a wireless network, let’s get started with setting up your wireless router with DSL.
Understanding DSL and Wireless Routers
Before diving into the setup process, it’s important to have a solid understanding of DSL and wireless routers. This knowledge will help you make informed decisions and troubleshoot any issues that may arise.
DSL, or Digital Subscriber Line, is a type of broadband internet connection that uses existing telephone lines to transmit data. It provides a reliable and high-speed connection, making it a popular choice for residential and small business users.
DSL works by using different frequencies to separate voice and internet signals, allowing you to use your phone line for both phone calls and internet access simultaneously.
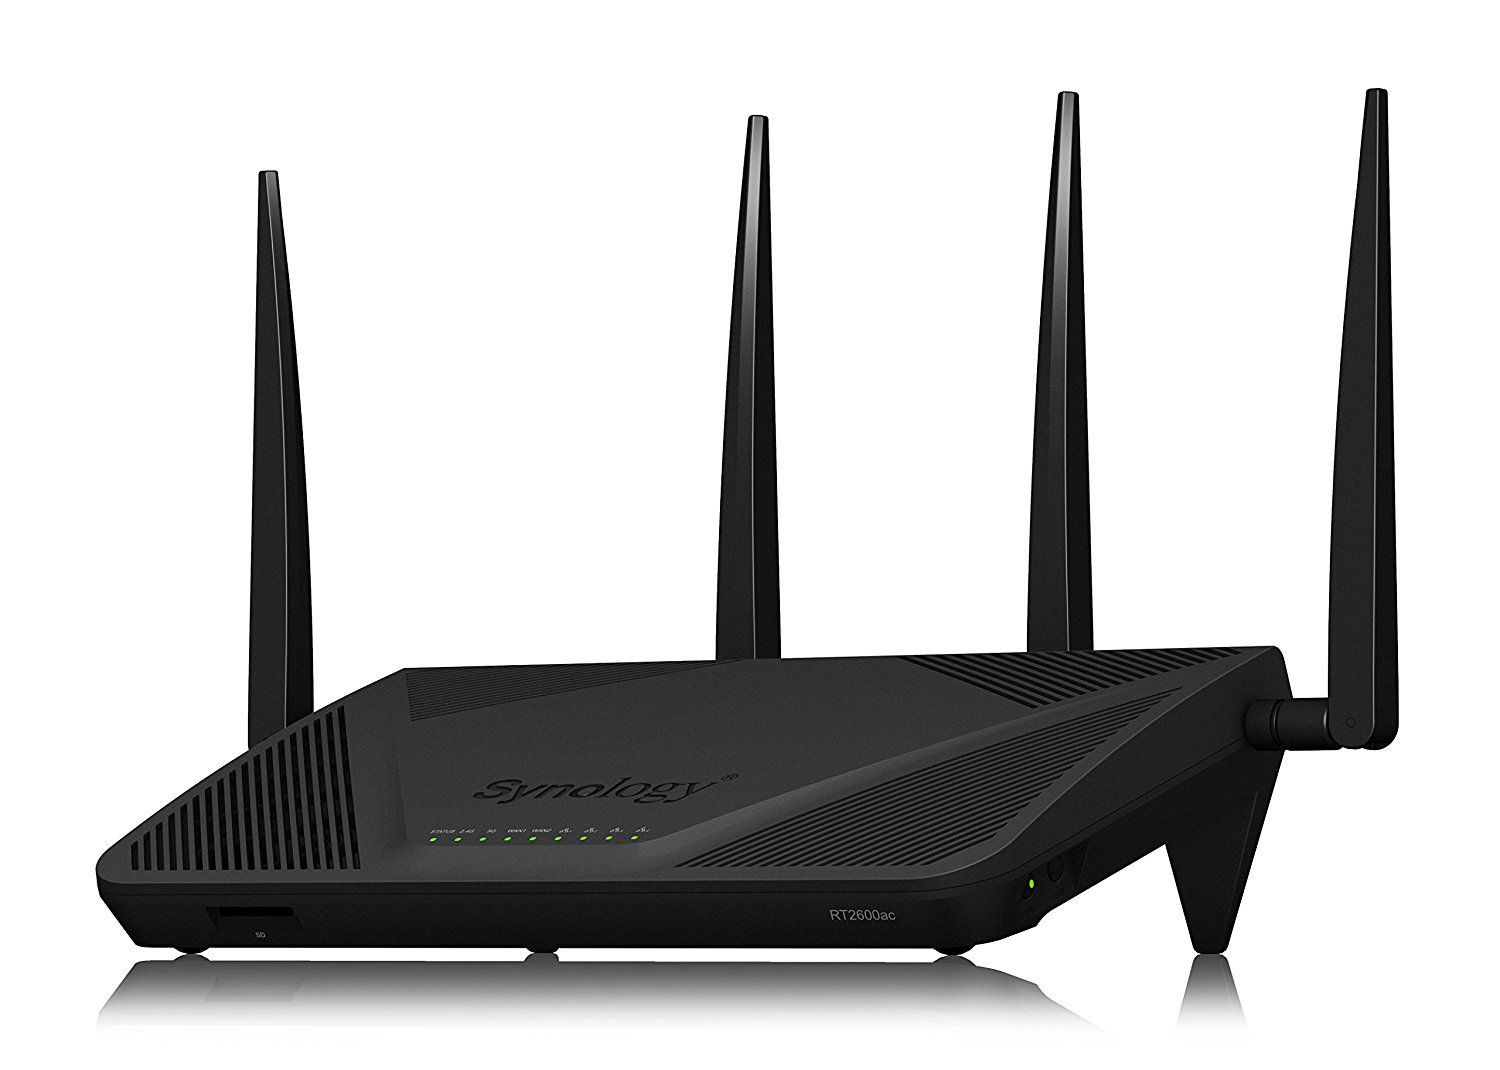
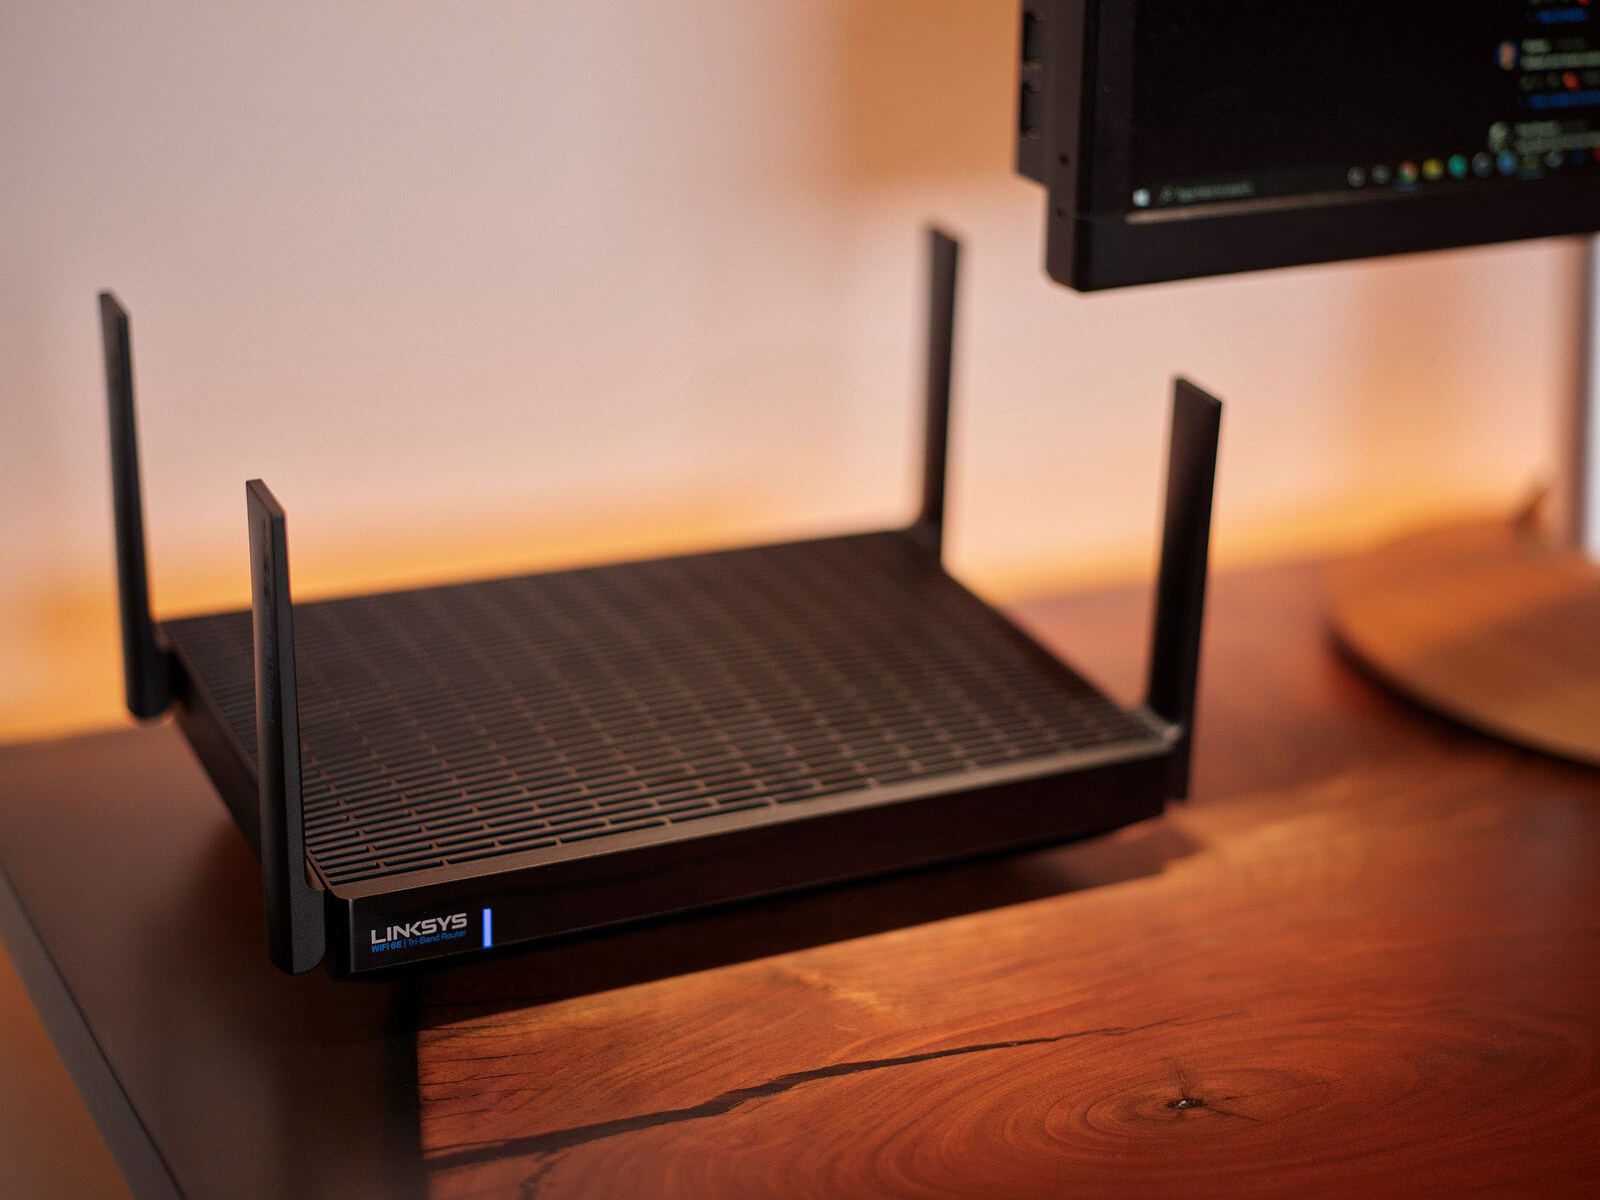
A wireless router, also known as a Wi-Fi router, is a device that allows multiple devices to connect to the internet wirelessly. It acts as a central hub, creating a local network to which devices can connect and share internet access.
Wireless routers use Wi-Fi technology to transmit data between the router and connected devices. Wi-Fi works on specific frequency bands, such as 2.4GHz and 5GHz, to provide wireless connectivity within a certain range.
When setting up a wireless router with DSL, the router will be connected to your DSL modem. The DSL modem acts as the interface between your telephone line and the internet service provider’s network, while the router allows devices to connect to the internet wirelessly.
It’s important to choose a wireless router that is compatible with your DSL connection. Look for routers that support ADSL or VDSL, depending on the type of DSL you have. Additionally, consider factors such as the router’s wireless standards (such as 802.11ac), number of available Ethernet ports, and security features when selecting a wireless router.
Understanding the basics of DSL and wireless routers will help you navigate the setup process with greater ease and confidence. In the next steps, we will walk you through the process of connecting your DSL modem to the wireless router and configuring the necessary settings for a seamless wireless connection.
Step 1: Gather the necessary equipment
Before you begin setting up your wireless router with DSL, it’s important to gather all the necessary equipment. Having everything ready will ensure a smooth and efficient setup process. Here’s what you’ll need:
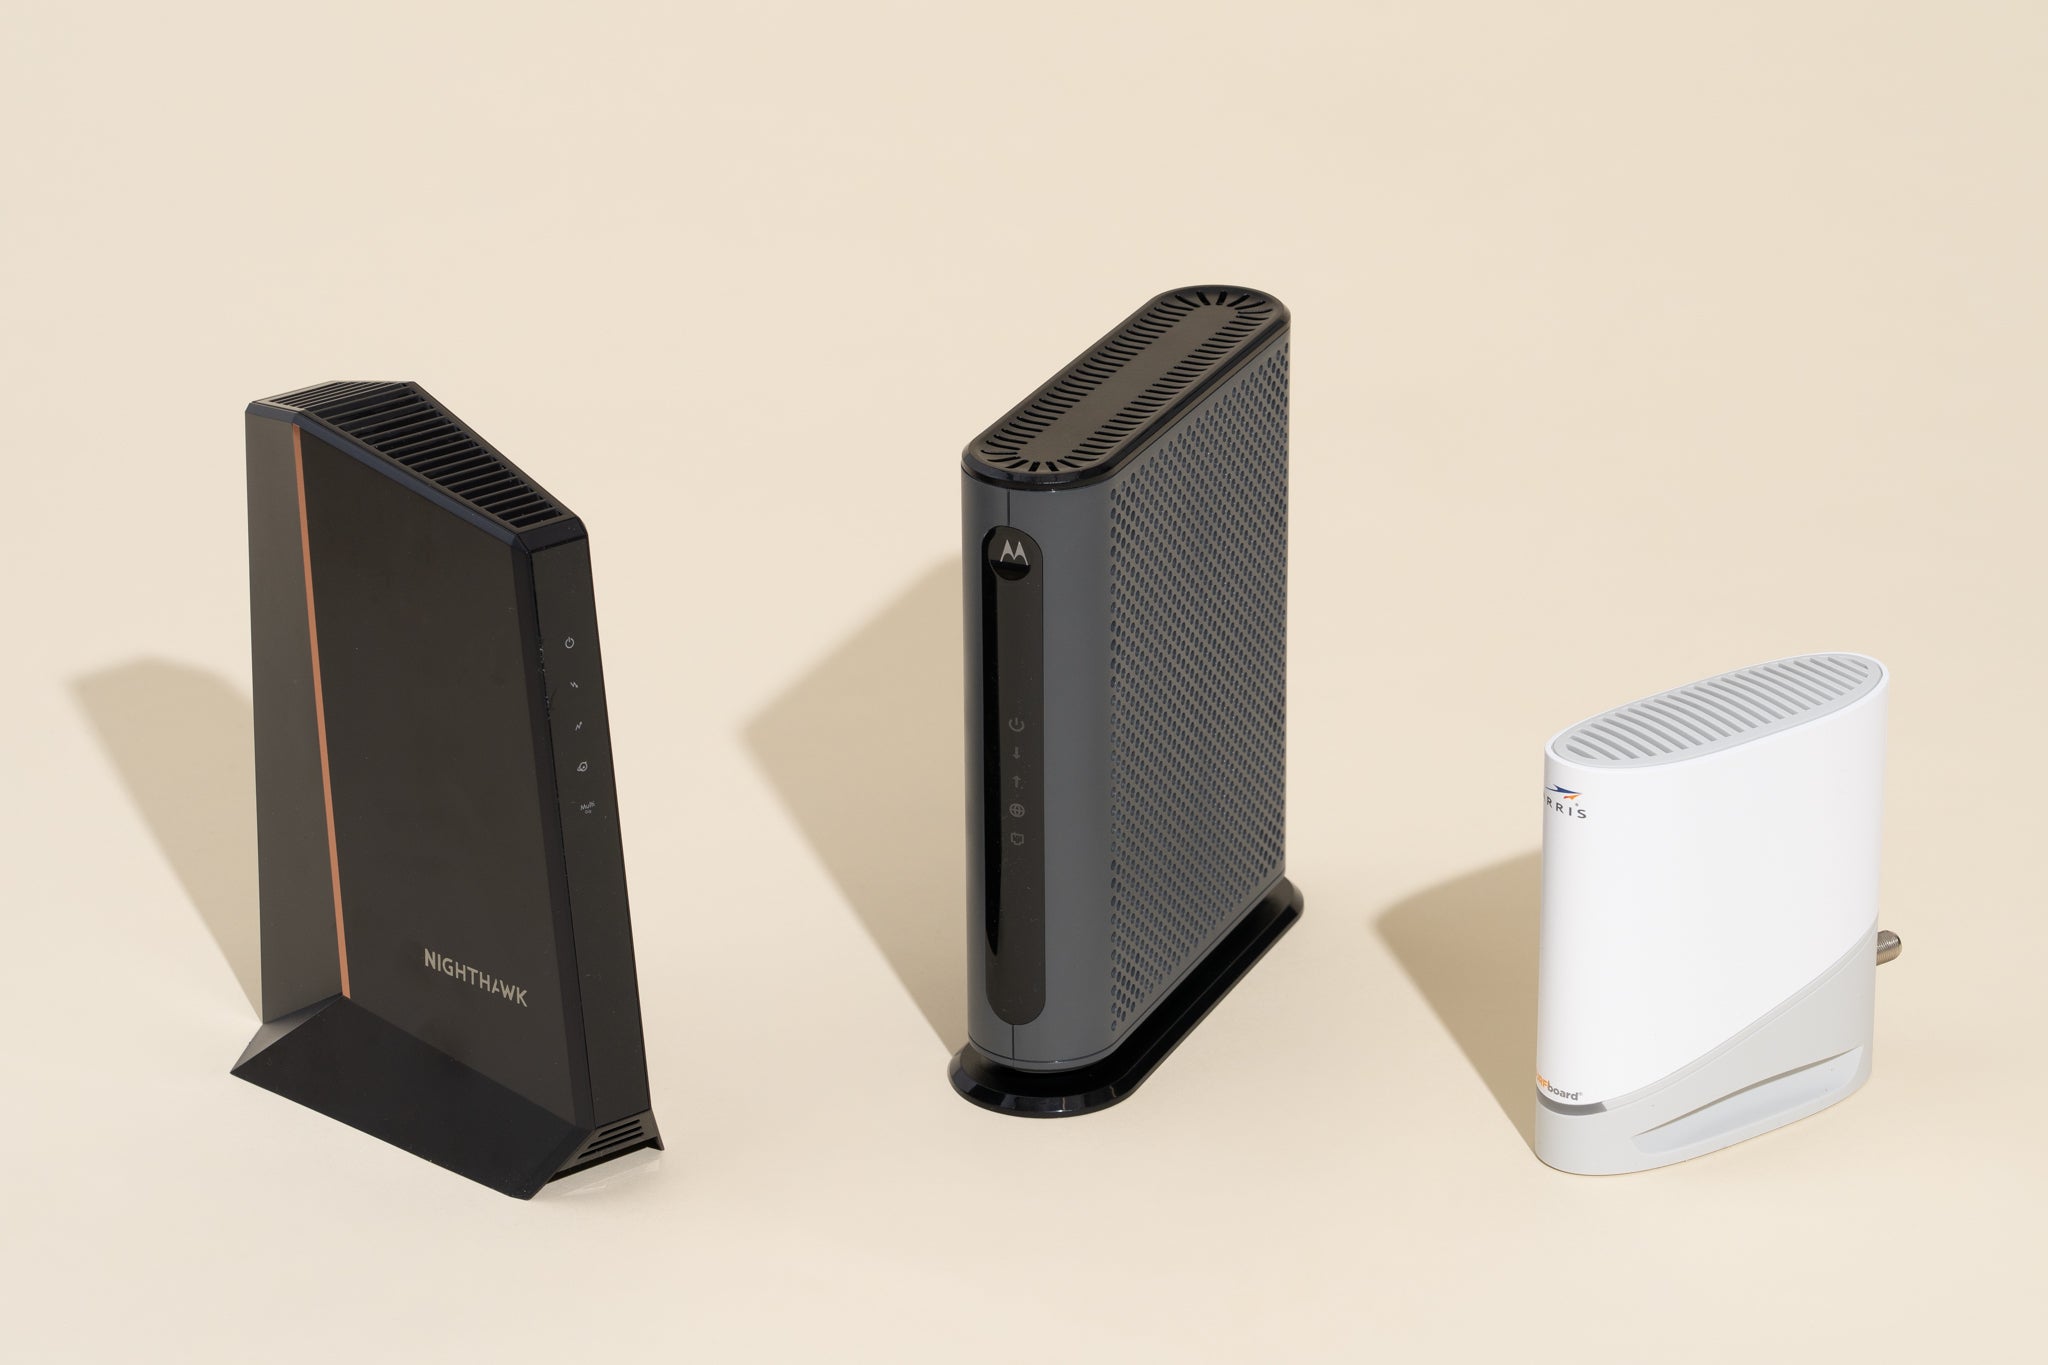
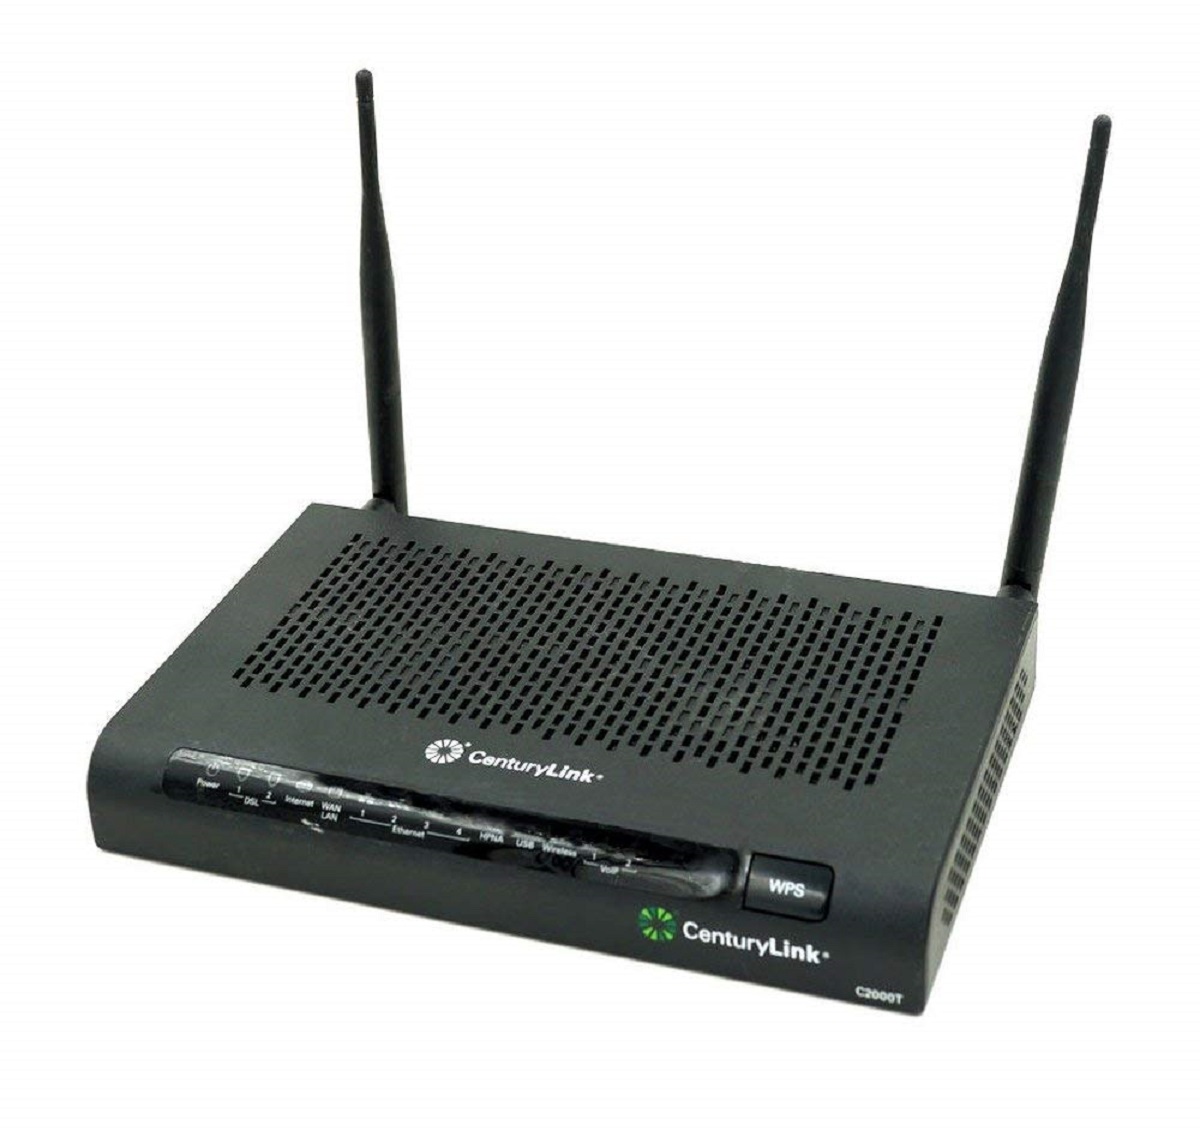
1. DSL modem: Make sure you have a compatible DSL modem that is provided by your internet service provider (ISP). The DSL modem will be responsible for establishing the connection between your telephone line and the internet.
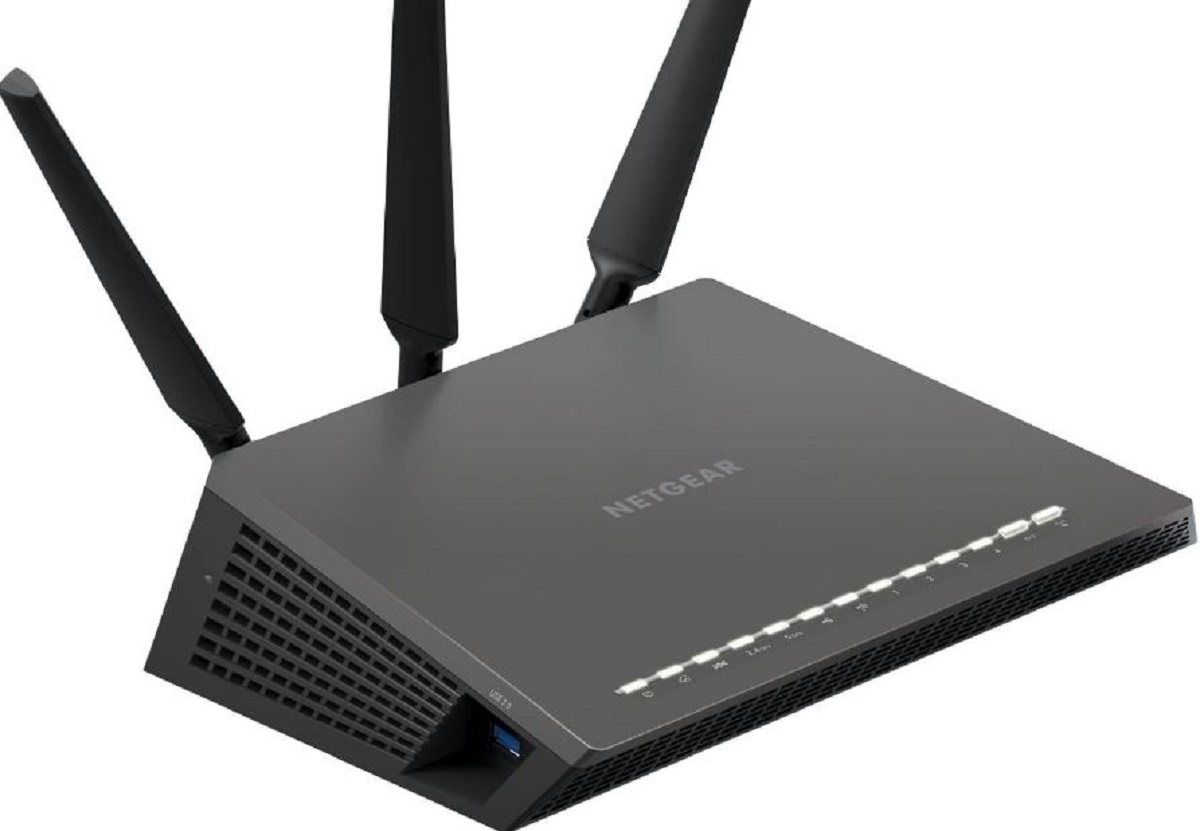
2. Wireless router: Choose a wireless router that is compatible with your DSL connection. Look for routers that support ADSL or VDSL, depending on the type of DSL you have. Ensure that the router has the necessary features and specifications to meet your specific needs.
3. Ethernet cables: You’ll need Ethernet cables to connect your DSL modem and wireless router. Ensure that you have enough cables of appropriate length for the setup.
4. Power cables: Make sure you have power cables for both the DSL modem and the wireless router. Check that the cables are in good condition and that you have access to power outlets near the setup location.
5. Device for configuration: Prepare a computer, laptop, tablet, or smartphone that you will use to configure the wireless router. Ensure that the device has the necessary network adapter (Wi-Fi or Ethernet) to connect to the router.
6. Optional: If you prefer a wired connection, you might also need additional Ethernet cables to connect your devices directly to the wireless router.
By gathering all the necessary equipment beforehand, you can avoid any delays or interruptions during the setup process. Take a moment to check that you have everything you need, and once you’re ready, move on to the next step: connecting your DSL modem to the wireless router.
Step 2: Connect your DSL modem
Once you have gathered all the necessary equipment, it’s time to connect your DSL modem to the wireless router. This step establishes the initial connection to your internet service provider’s network. Follow these steps:
1. Power off your DSL modem: Before making any connections, ensure that your DSL modem is powered off by disconnecting it from the power source. This is an important safety precaution.
2. Locate the DSL port on your wireless router: Look for a port labeled “DSL” or “WAN” on the rear panel of your wireless router. This is where you’ll connect the DSL modem.
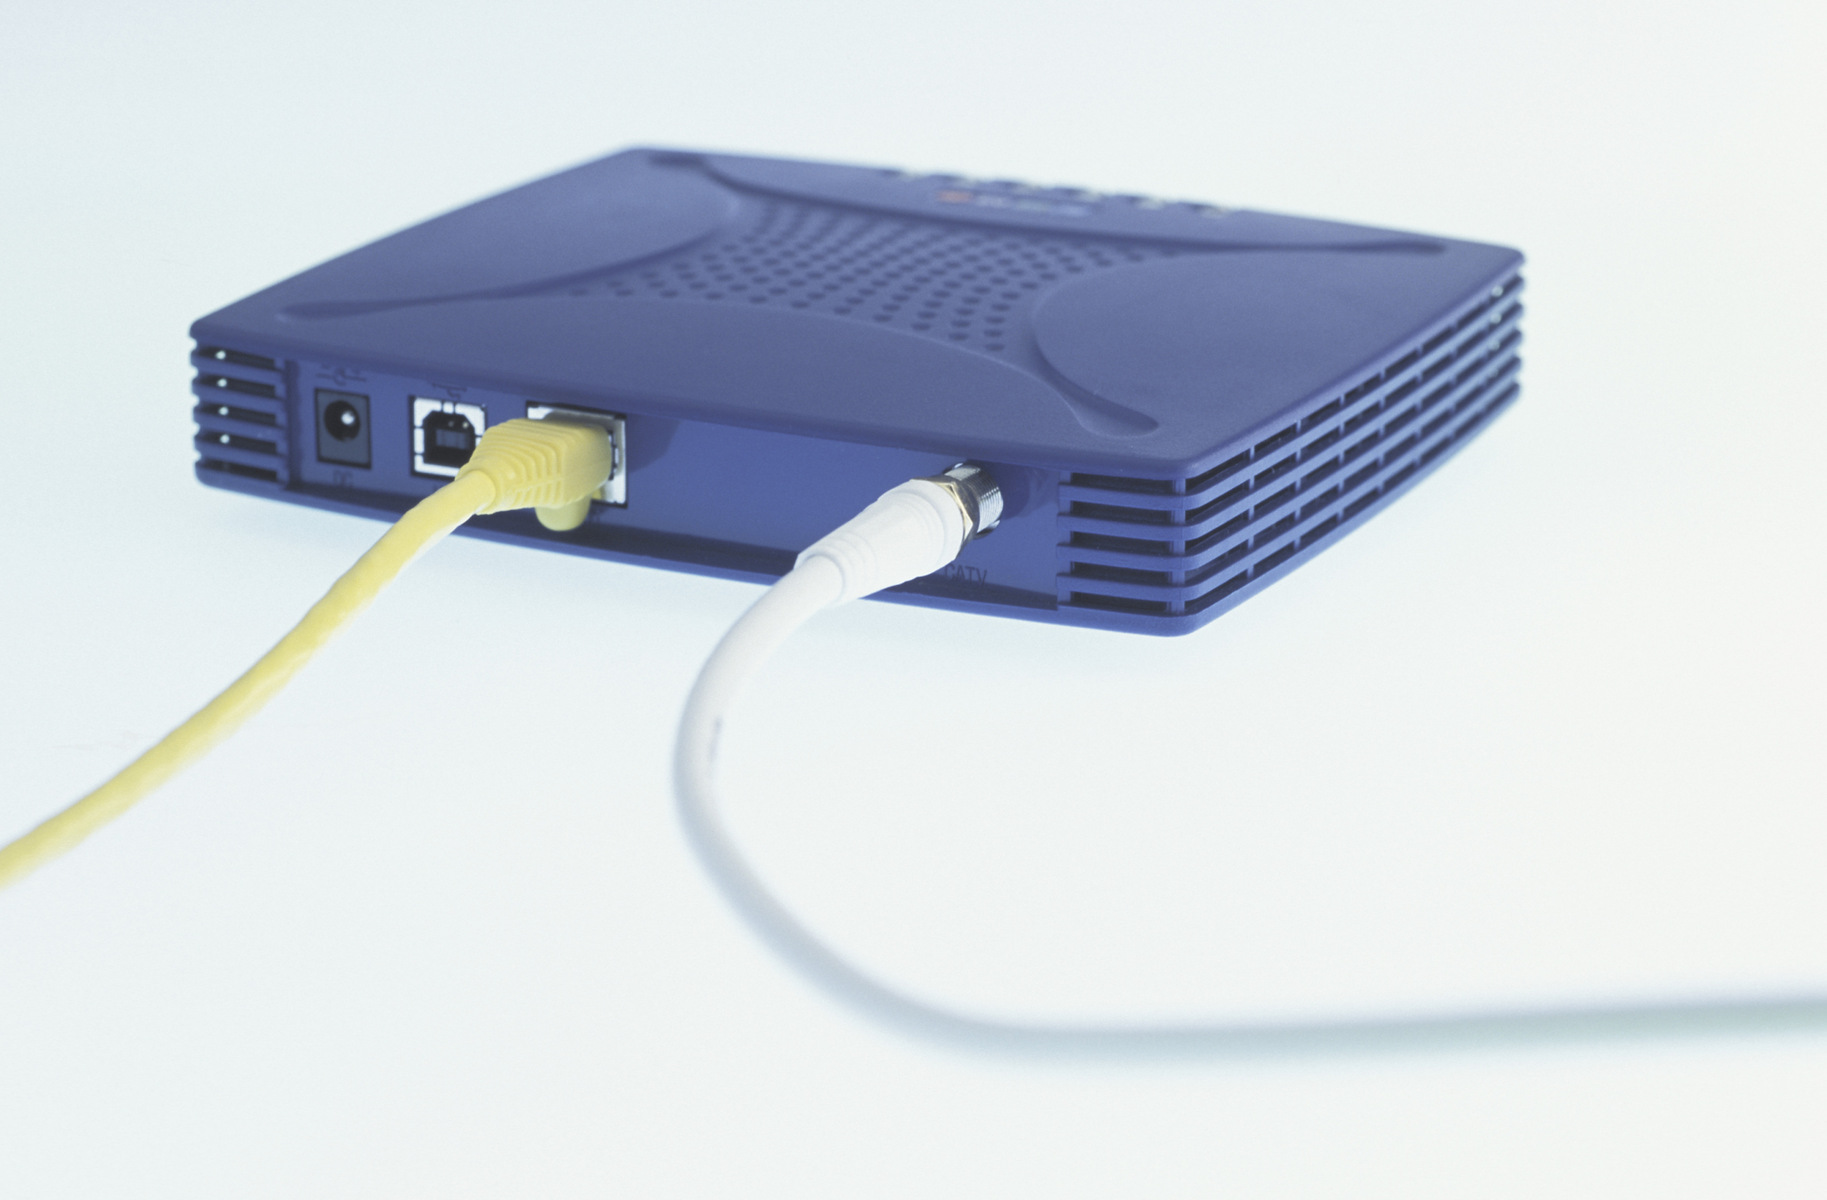
3. Connect one end of an Ethernet cable to the DSL port: Take an Ethernet cable and plug one end into the DSL port on your wireless router. Ensure that the connection is secure.
4. Connect the other end of the Ethernet cable to the DSL modem: Locate the Ethernet port on your DSL modem and plug the other end of the cable into it. Again, ensure a secure connection.
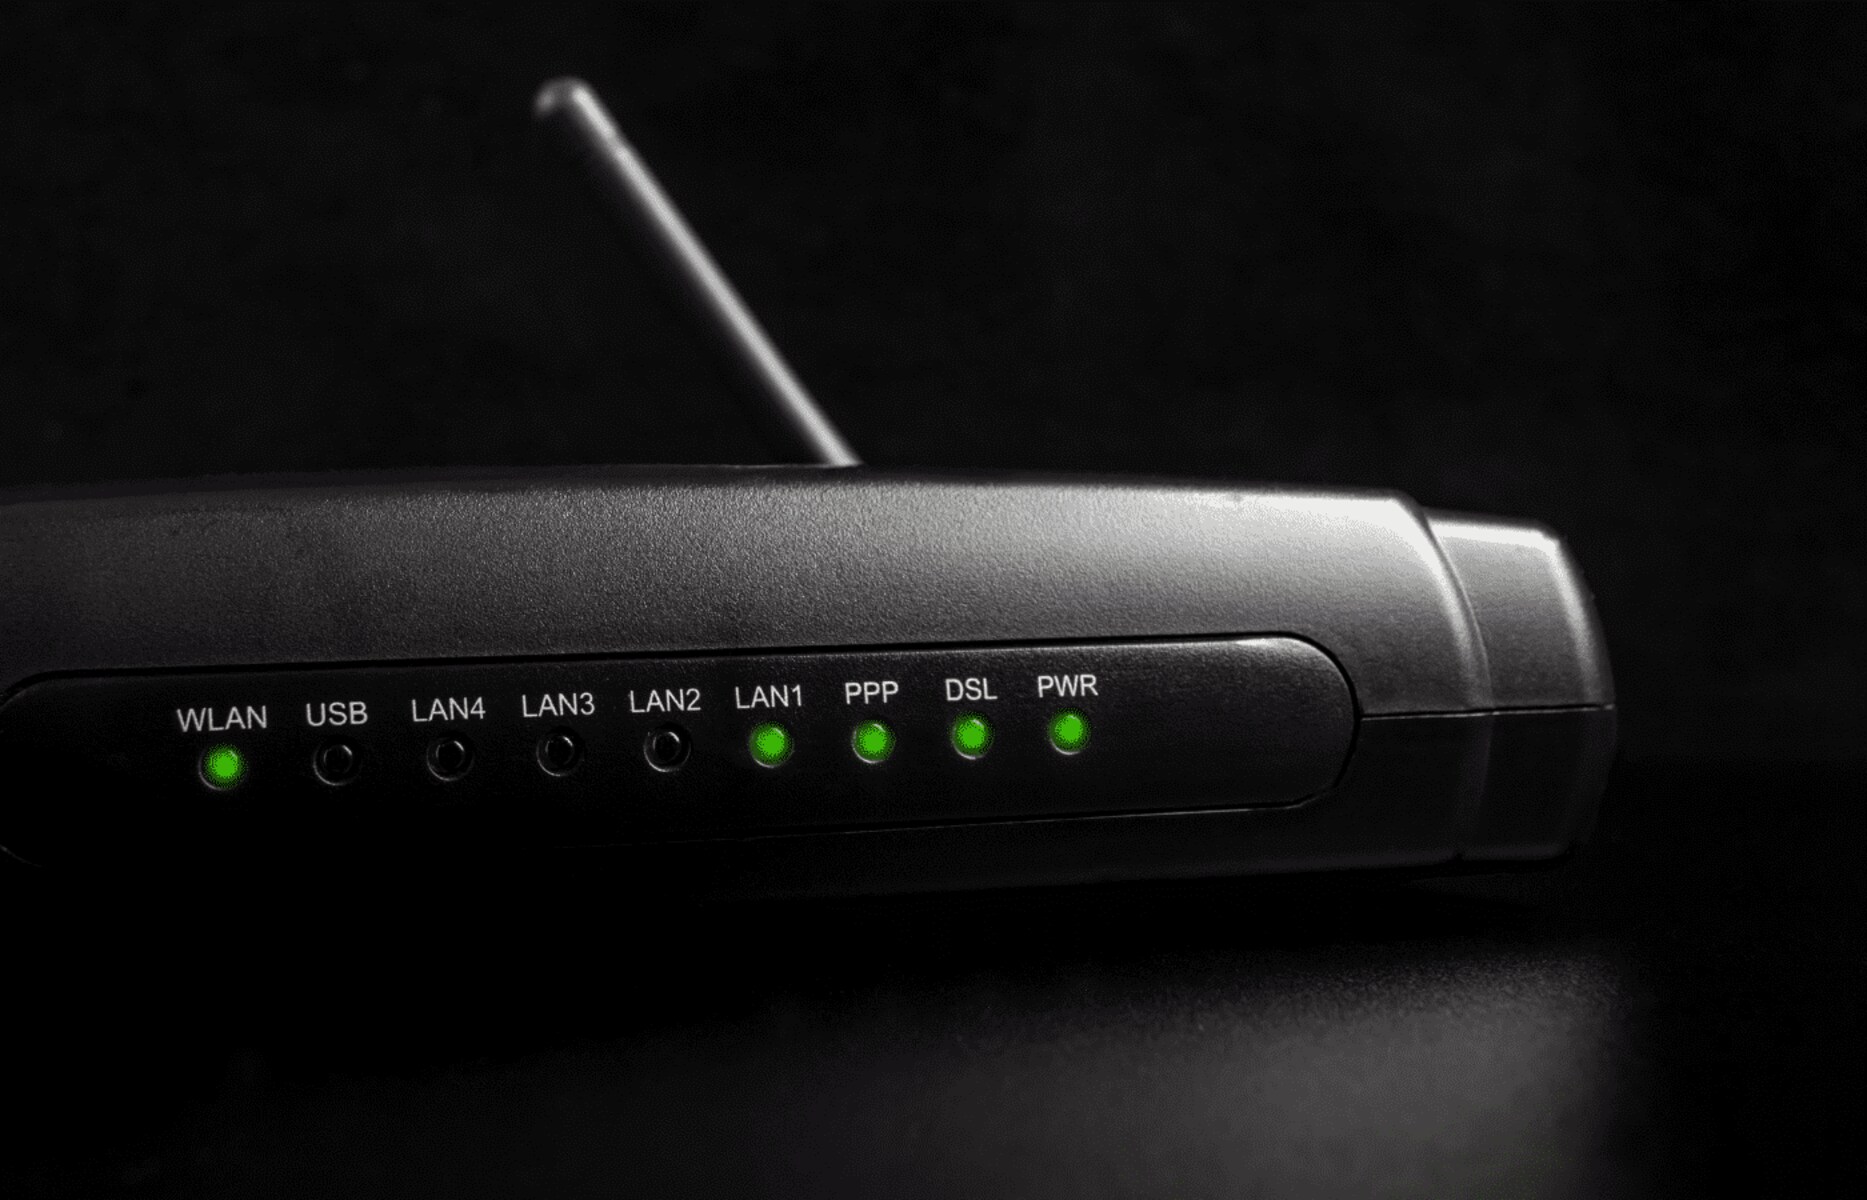
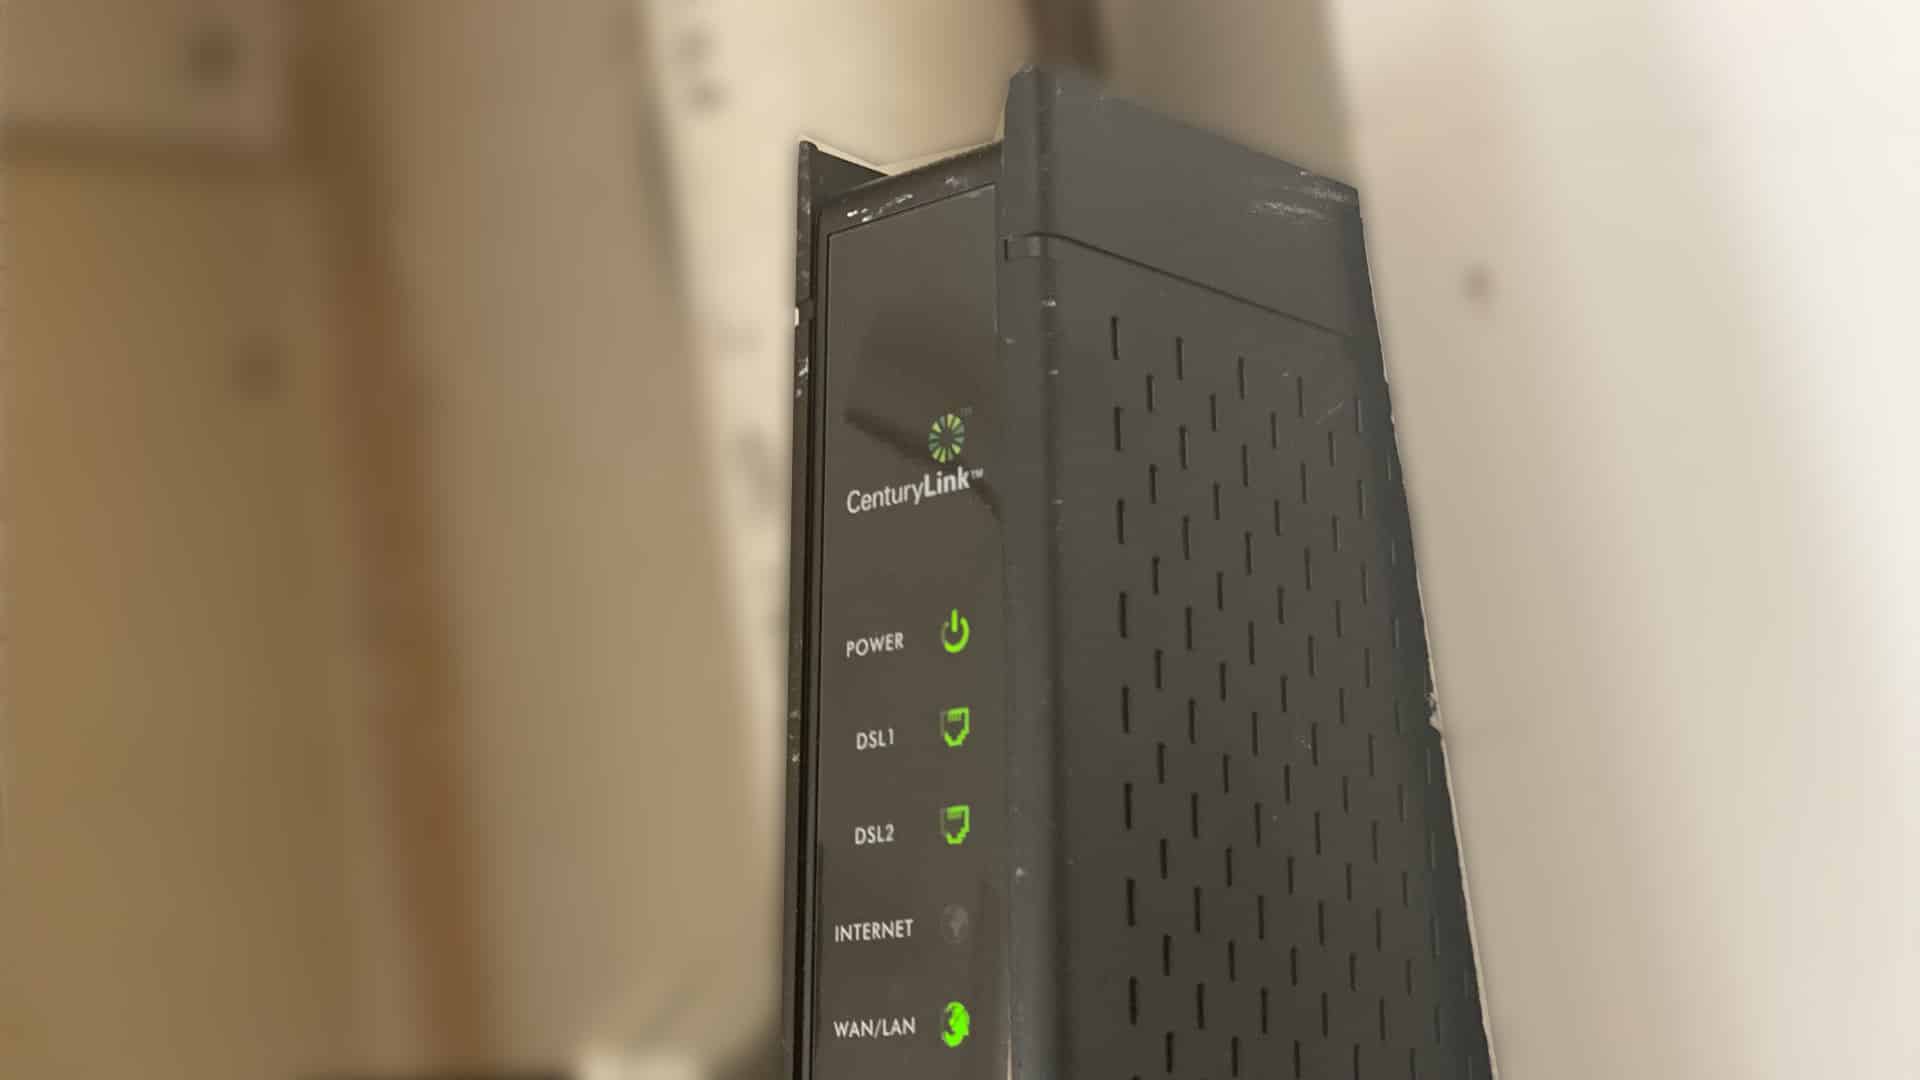
5. Power on your DSL modem: Plug the power cable back into your DSL modem and connect it to a power outlet. Allow the modem a few moments to boot up and establish a connection with your ISP’s network. You may see indicator lights on the modem indicating its status.
6. Check the connection status: Once the DSL modem is powered on and connected, check the connection status on both the DSL modem and the wireless router. Verify that the DSL connection is stable and that the router recognizes the modem’s connection.
By successfully connecting your DSL modem to the wireless router, you have established the initial link to your internet service provider’s network. The next step is to configure your wireless router so that it can provide wireless network access to your devices. This will be covered in the following step.
Step 3: Configure your wireless router
With your DSL modem successfully connected to the wireless router, it’s time to configure the router settings to establish a wireless network. Follow these steps to configure your wireless router:
1. Access the router’s configuration page: Open a web browser on your connected device and enter the router’s default IP address in the address bar. The IP address can usually be found on a sticker on the router or in the user manual. Press Enter to access the router’s configuration page.
2. Log in to the router’s admin interface: Enter the router’s username and password to access the admin interface. The default login credentials are often “admin” for both the username and password. If you have changed these credentials before, use the updated login information.
3. Locate the Setup or Internet Settings section: Once logged in, find the Setup or Internet Settings section in the router’s configuration interface. This section may have different names depending on the router brand and model.
4. Select the DSL connection type: In the setup section, choose the appropriate DSL connection type based on your ISP’s specifications. Common types include PPPoE, PPPoA, or IPoA.
5. Enter the DSL connection details: Depending on the connection type selected, you will need to enter the DSL username, password, and other required information provided by your ISP. Make sure to enter the correct details to establish a connection.
6. Configure wireless settings: In the configuration interface, navigate to the Wireless Settings section. Set a unique name for your wireless network (SSID) and select a strong passphrase to secure your network. Ensure that you choose the appropriate security mode, such as WPA2, for enhanced security.
7. Save the configuration changes: After configuring the necessary settings, save the changes in the router’s configuration interface. The router will apply the settings and restart to establish the wireless network.
Once the router has restarted, your wireless network should be up and running. You can now connect your devices to the wireless network to enjoy internet access without the need for any physical connections. The next step will guide you on how to connect your devices to the wireless network.
Step 4: Connect your devices to the wireless network
Now that you have successfully configured your wireless router, it’s time to connect your devices to the newly created wireless network. Follow these steps to connect your devices:
1. Enable Wi-Fi on your device: Make sure the Wi-Fi feature is turned on for the device you want to connect to the network. This can usually be done through the device’s settings menu.
2. Scan for available networks: On your device, scan for available Wi-Fi networks. You should see the name of your wireless network (SSID) in the list of available networks.
3. Select your wireless network: Select your wireless network from the list. If you have set a password during the router configuration, you will be prompted to enter the passphrase or network key. Enter the password to proceed.
4. Connect to the network: Once you have entered the correct password, your device will attempt to connect to the wireless network. Wait for a few seconds while the device establishes a connection.
5. Confirm the connection: Once connected, your device will display a confirmation message or a Wi-Fi icon indicating a successful connection to the wireless network. You should now have internet access on your device.
6. Repeat for other devices: Repeat the above steps for each device you want to connect to the wireless network. Ensure that you enter the correct password for each device during the connection process.
By following these steps, you can connect multiple devices, such as laptops, smartphones, tablets, and smart TVs, to your wireless network. Enjoy the freedom of wireless connectivity and explore the vast possibilities of the internet.
If you encounter any issues during the device connection process, double-check the entered password and ensure your devices are within range of the wireless router. Troubleshooting tips will be covered in the next section to help you overcome any common issues that may arise.
Troubleshooting common issues
Setting up a wireless router with DSL can sometimes come with a few challenges. Here are some common issues you may encounter during the setup process and how to troubleshoot them:
1. No internet connection: If you have connected your DSL modem and router correctly but still have no internet access, try power cycling both devices. Unplug the power cables from the modem and router, wait for a few seconds, then plug them back in. This can help refresh the connection.
2. Incorrect DSL settings: Double-check the DSL settings in your router’s configuration interface. Ensure that you have selected the correct connection type and entered the correct username and password provided by your ISP.
3. Weak wireless signal: If you notice that the wireless signal strength is weak, make sure that your devices are within range of the router. Consider repositioning the router to a more central location in your home or office to improve coverage. Avoid placing the router near walls, large furniture, or other electronic devices that may interfere with the signal.
4. Devices unable to connect: If your devices are unable to connect to the wireless network, ensure that you have entered the correct network name (SSID) and password. Double-check the settings on your devices, and try restarting them to refresh their network configurations.
5. Intermittent connection: If you experience intermittent disconnections or a weak and unstable connection, try changing the wireless channel of your router. In a crowded Wi-Fi environment, using a less congested channel can help improve performance. You can change the channel settings in your router’s configuration interface.
6. Resetting the router: If all else fails, you may need to perform a factory reset on your router. This will restore the router to its default settings. Keep in mind that performing a reset will erase any custom configurations you have made, so be prepared to reconfigure the router from scratch.
If you continue to experience issues despite troubleshooting, it may be worth seeking further assistance from your internet service provider or contacting the router manufacturer’s support team for additional guidance.
Remember, patience and persistence are key when troubleshooting network issues. With a little effort and troubleshooting, you can overcome common challenges and enjoy a stable and secure wireless network connection.
Conclusion
Congratulations! You have successfully learned how to connect a wireless router to DSL. By following the step-by-step guide and troubleshooting common issues, you have established a reliable and convenient wireless network for your devices.
Setting up a wireless router with DSL may seem daunting at first, but with the right equipment, knowledge, and patience, it can be accomplished by anyone. Remember to gather all the necessary equipment, connect your DSL modem to the wireless router, configure the router settings, and connect your devices to the wireless network.
Throughout the process, it’s important to understand the basics of DSL and wireless routers, as well as troubleshoot any issues that may arise. By doing so, you can ensure a smooth setup process and enjoy uninterrupted internet access.
Should you encounter any challenges along the way, don’t hesitate to refer back to this guide or seek additional assistance from your internet service provider or router manufacturer’s support team.
Now that you are equipped with the knowledge to connect a wireless router to DSL, you can enjoy the benefits of a wireless network, such as the convenience of connecting multiple devices without the need for physical cables. So go ahead, explore the possibilities of the internet, and embrace the freedom of wireless connectivity!