Introduction
Welcome to this step-by-step guide on how to connect your Linksys wireless router to your AT&T DSL modem. If you’re looking to set up a wireless network in your home or office, this article will provide you with the necessary instructions to achieve a successful connection.
With the increasing need for reliable and high-speed internet, having a wireless router allows you to conveniently connect multiple devices such as smartphones, laptops, and gaming consoles to your network without the hassle of cables. Linksys is a reputable brand known for its reliable and user-friendly wireless routers, and AT&T offers DSL internet connections that deliver fast and stable internet speeds.
By the end of this guide, you’ll be able to connect your Linksys wireless router to your AT&T DSL modem and configure its settings to create a secure and efficient Wi-Fi network for your devices.
Before we dive into the step-by-step instructions, it’s important to ensure you have all the necessary equipment on hand. This includes:
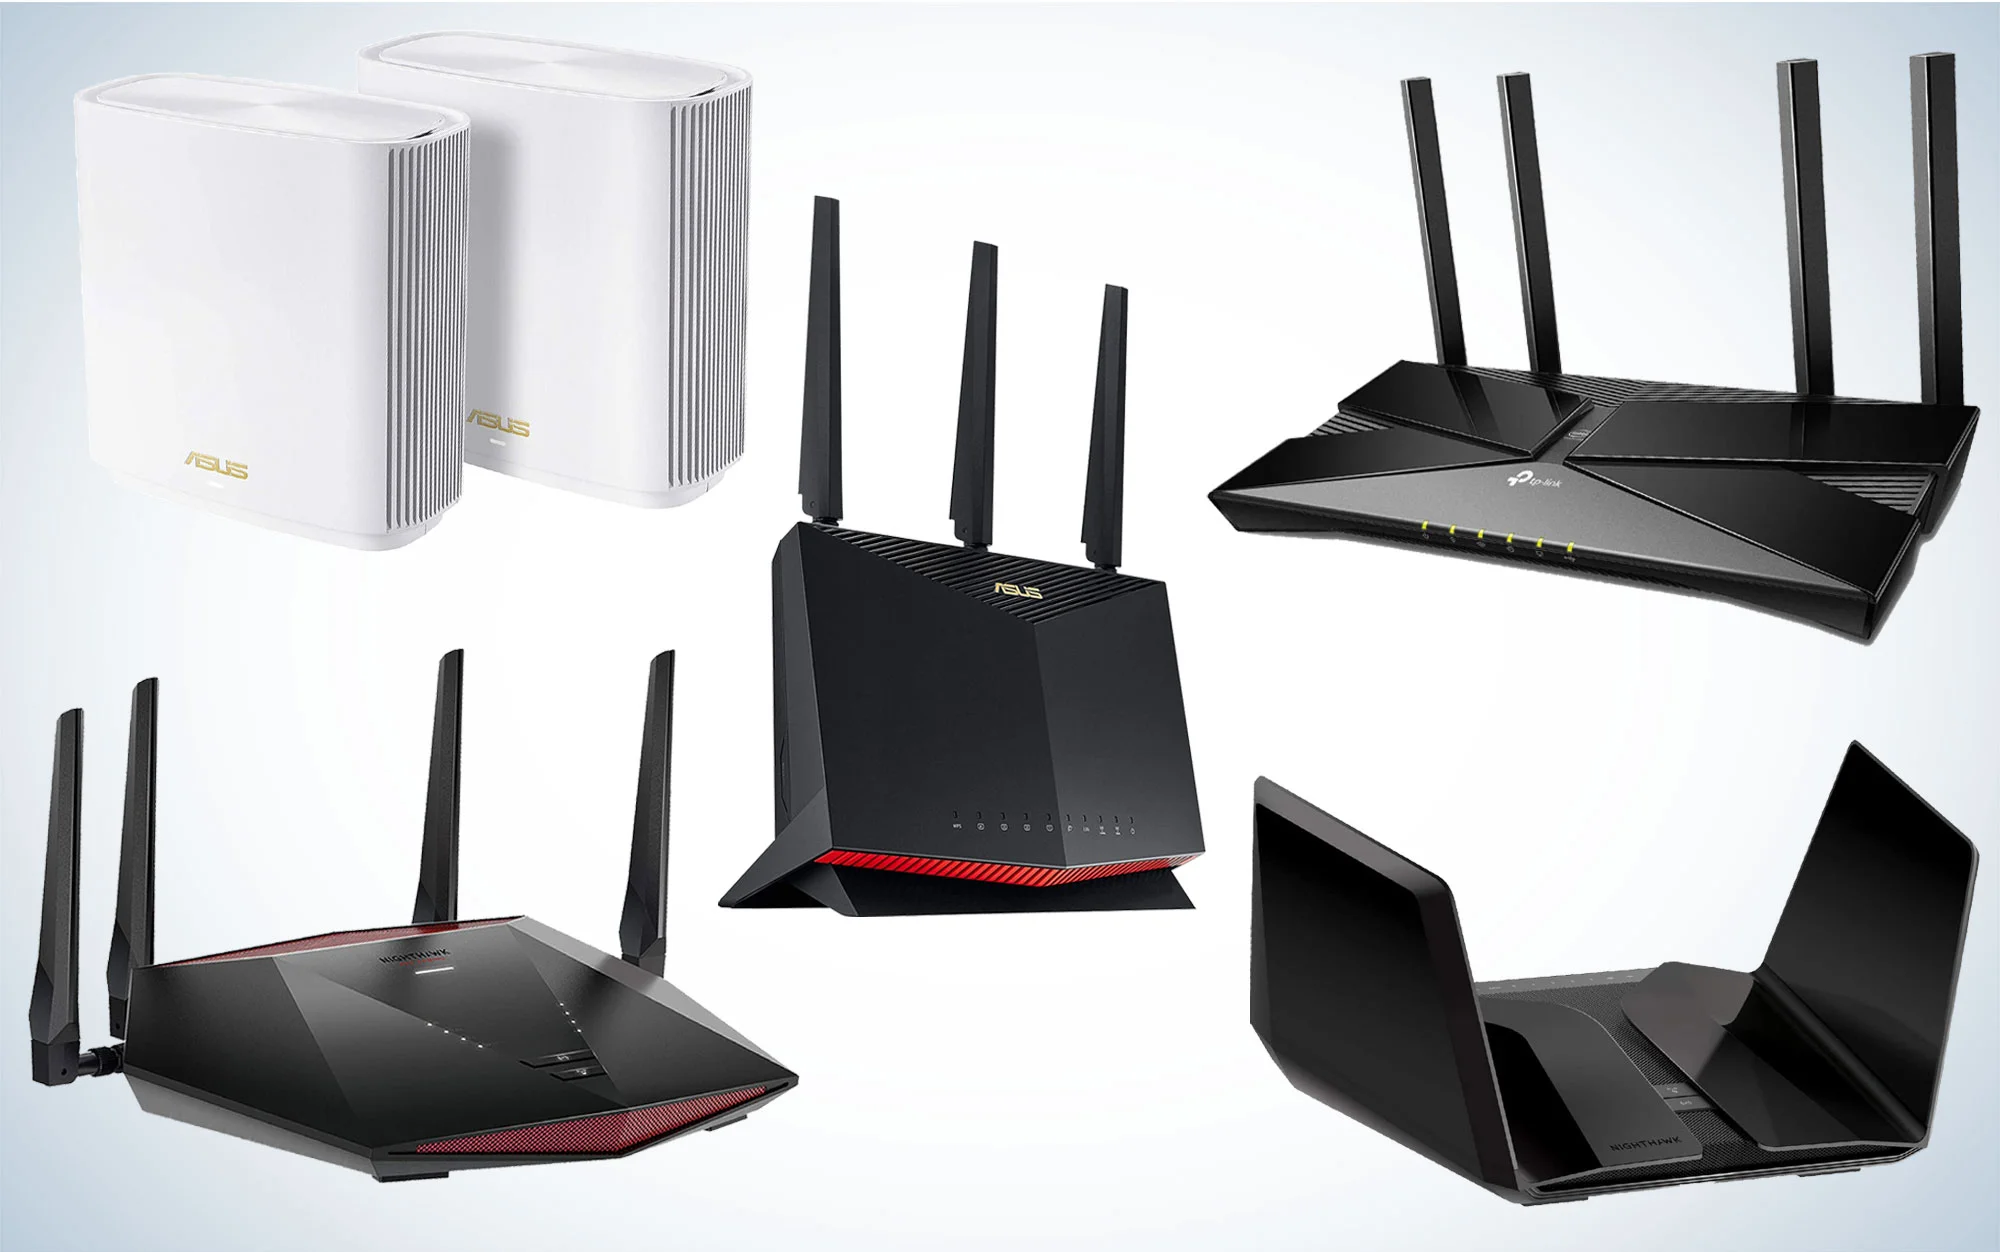
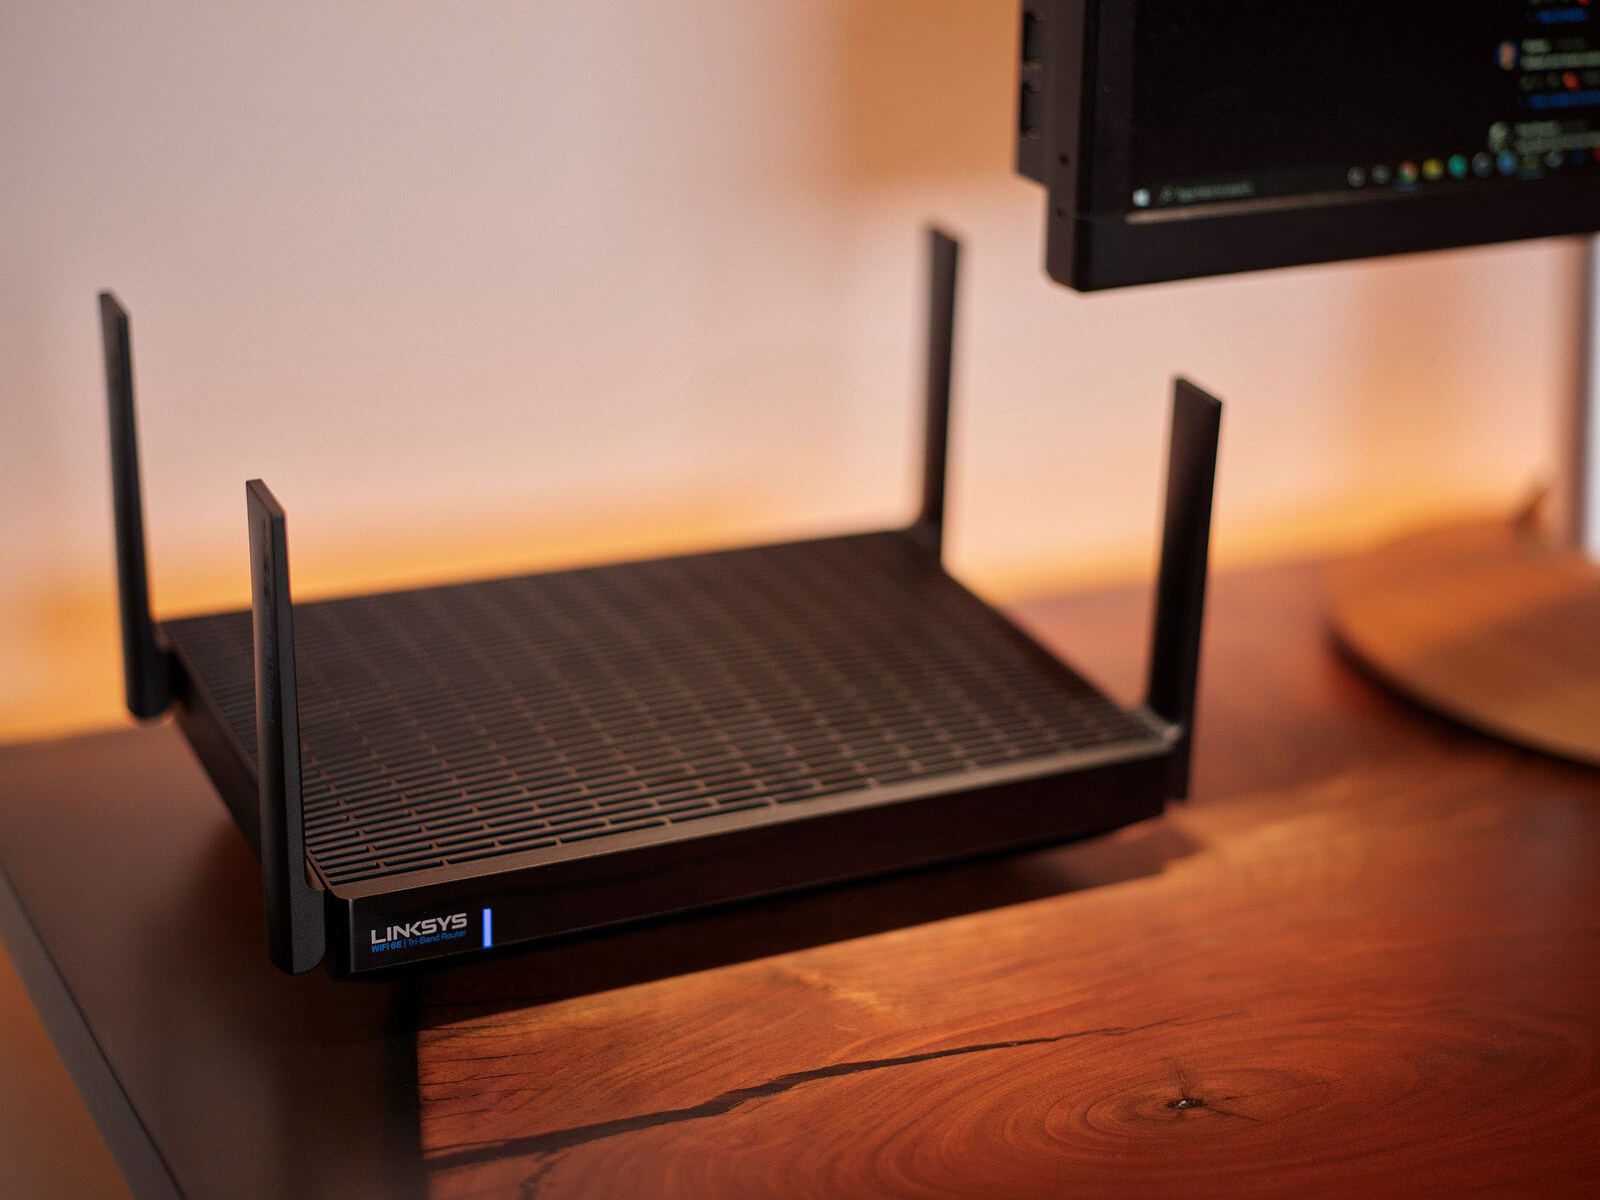
- Linksys wireless router
- AT&T DSL modem
- Ethernet cable
- Power cables for both the router and modem
Once you have gathered all the equipment, let’s move on to the next step: connecting the Linksys wireless router to the AT&T DSL modem. Follow the steps provided in the following sections, and you’ll have your wireless network up and running in no time!
Step 1: Gather all the required equipment
Before you begin setting up your Linksys wireless router with your AT&T DSL modem, it’s crucial to have all the necessary equipment readily available. Here’s a list of items you will need:
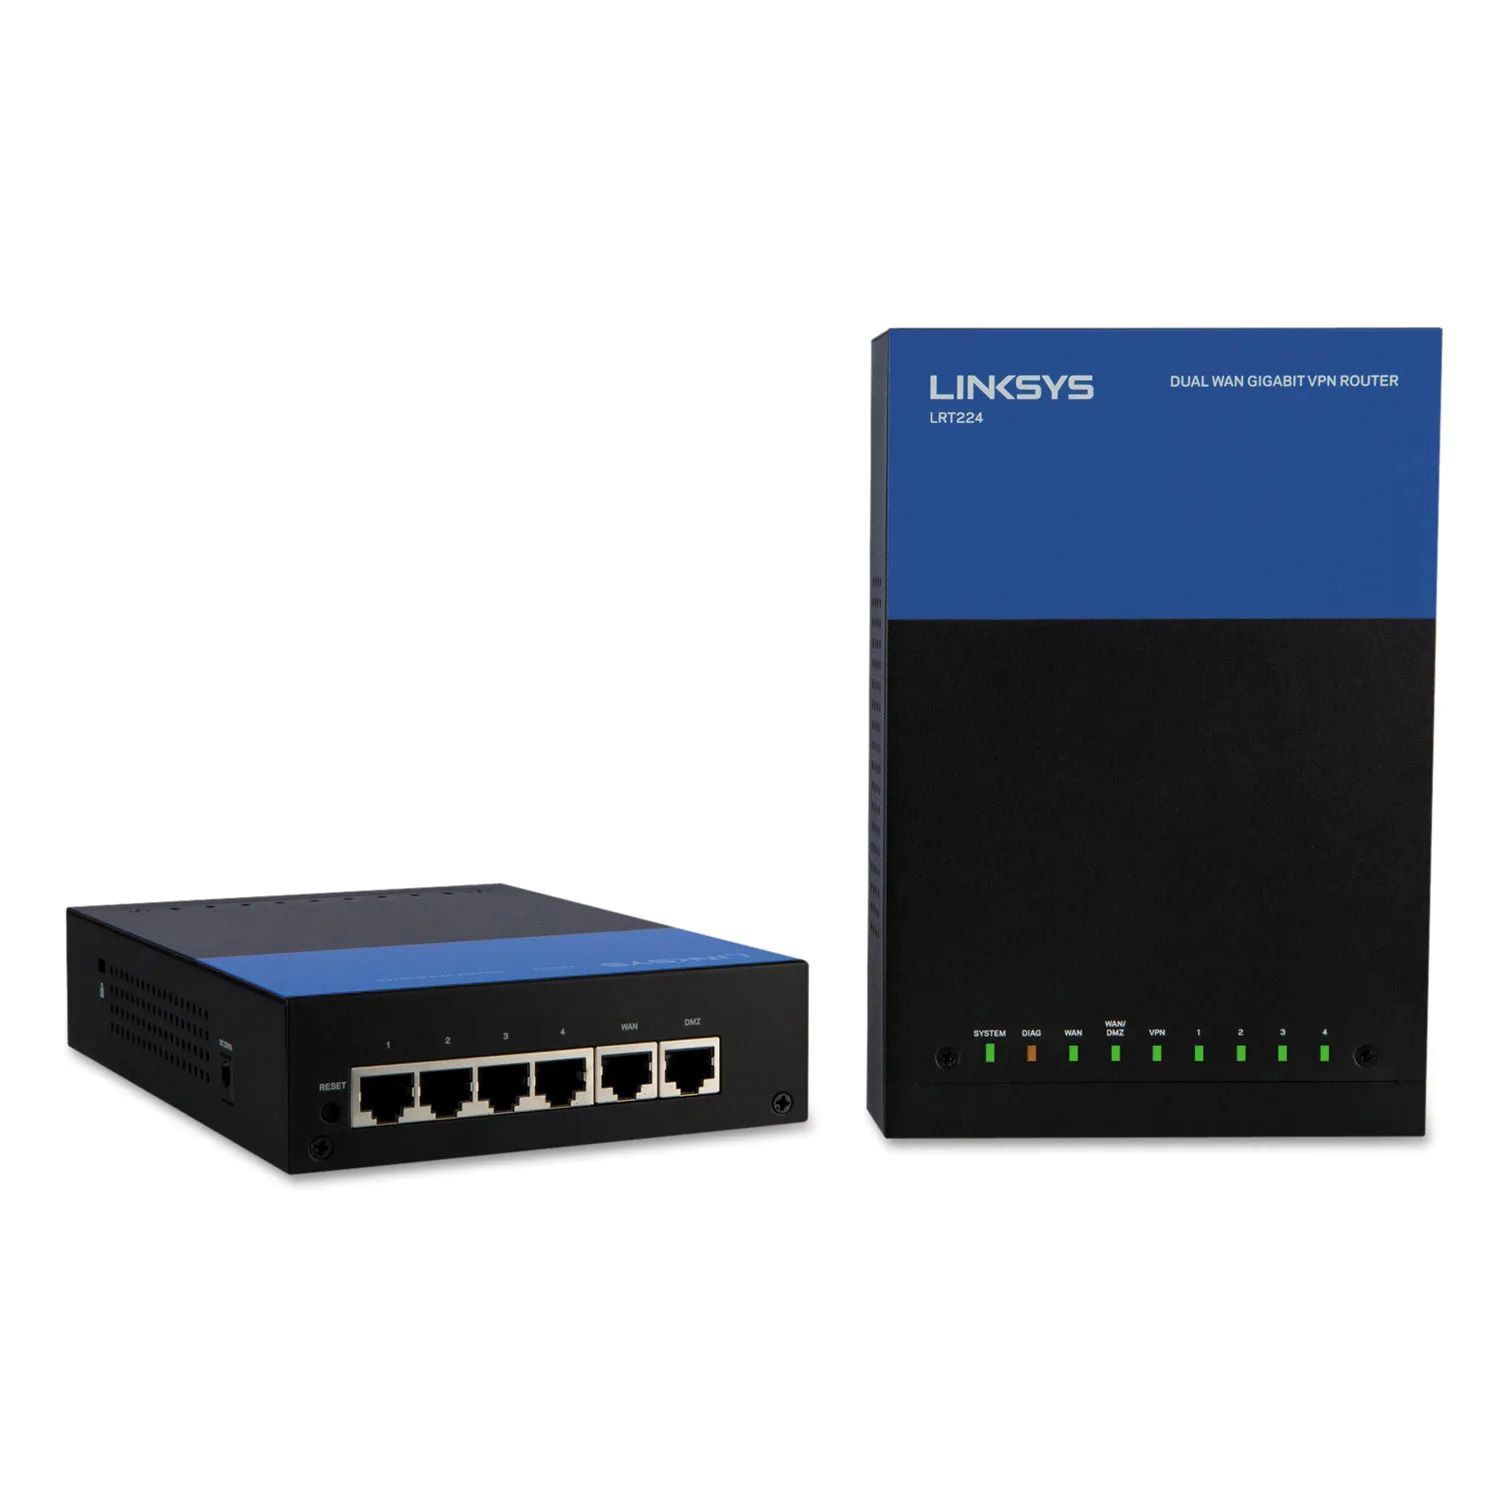
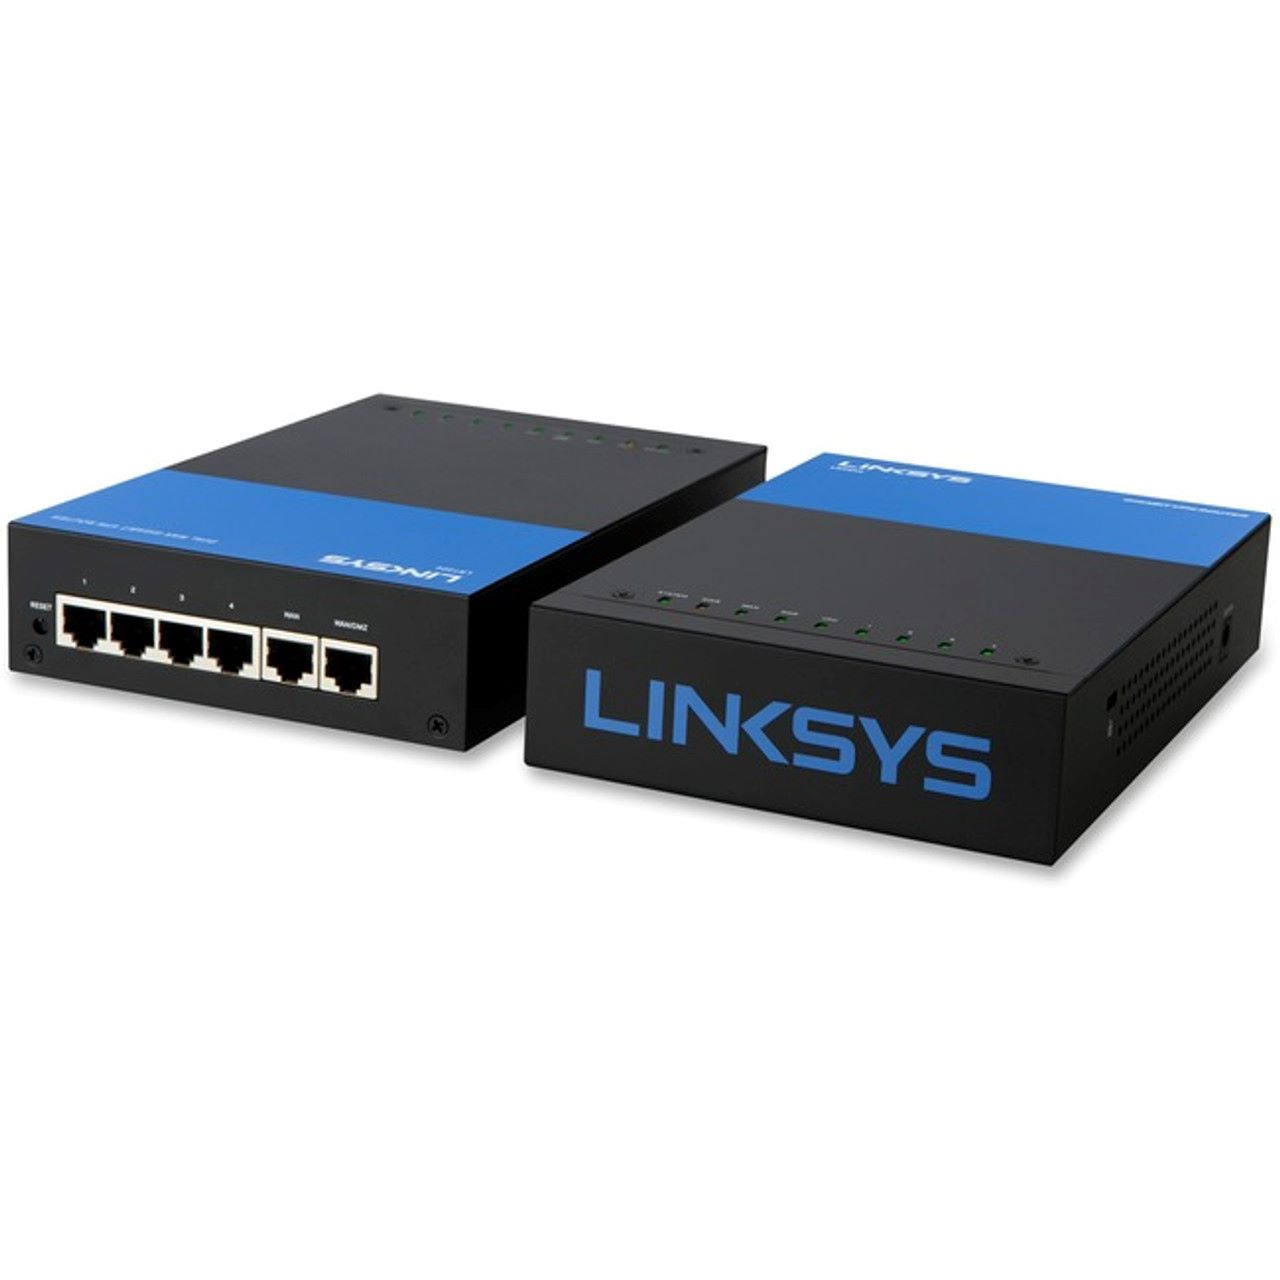
- Linksys wireless router: This is the main device that will create your Wi-Fi network. Ensure you have a compatible Linksys router that supports DSL internet connections.
- AT&T DSL modem: The modem provided by AT&T is essential for establishing the internet connection. Make sure the modem is in proper working condition.
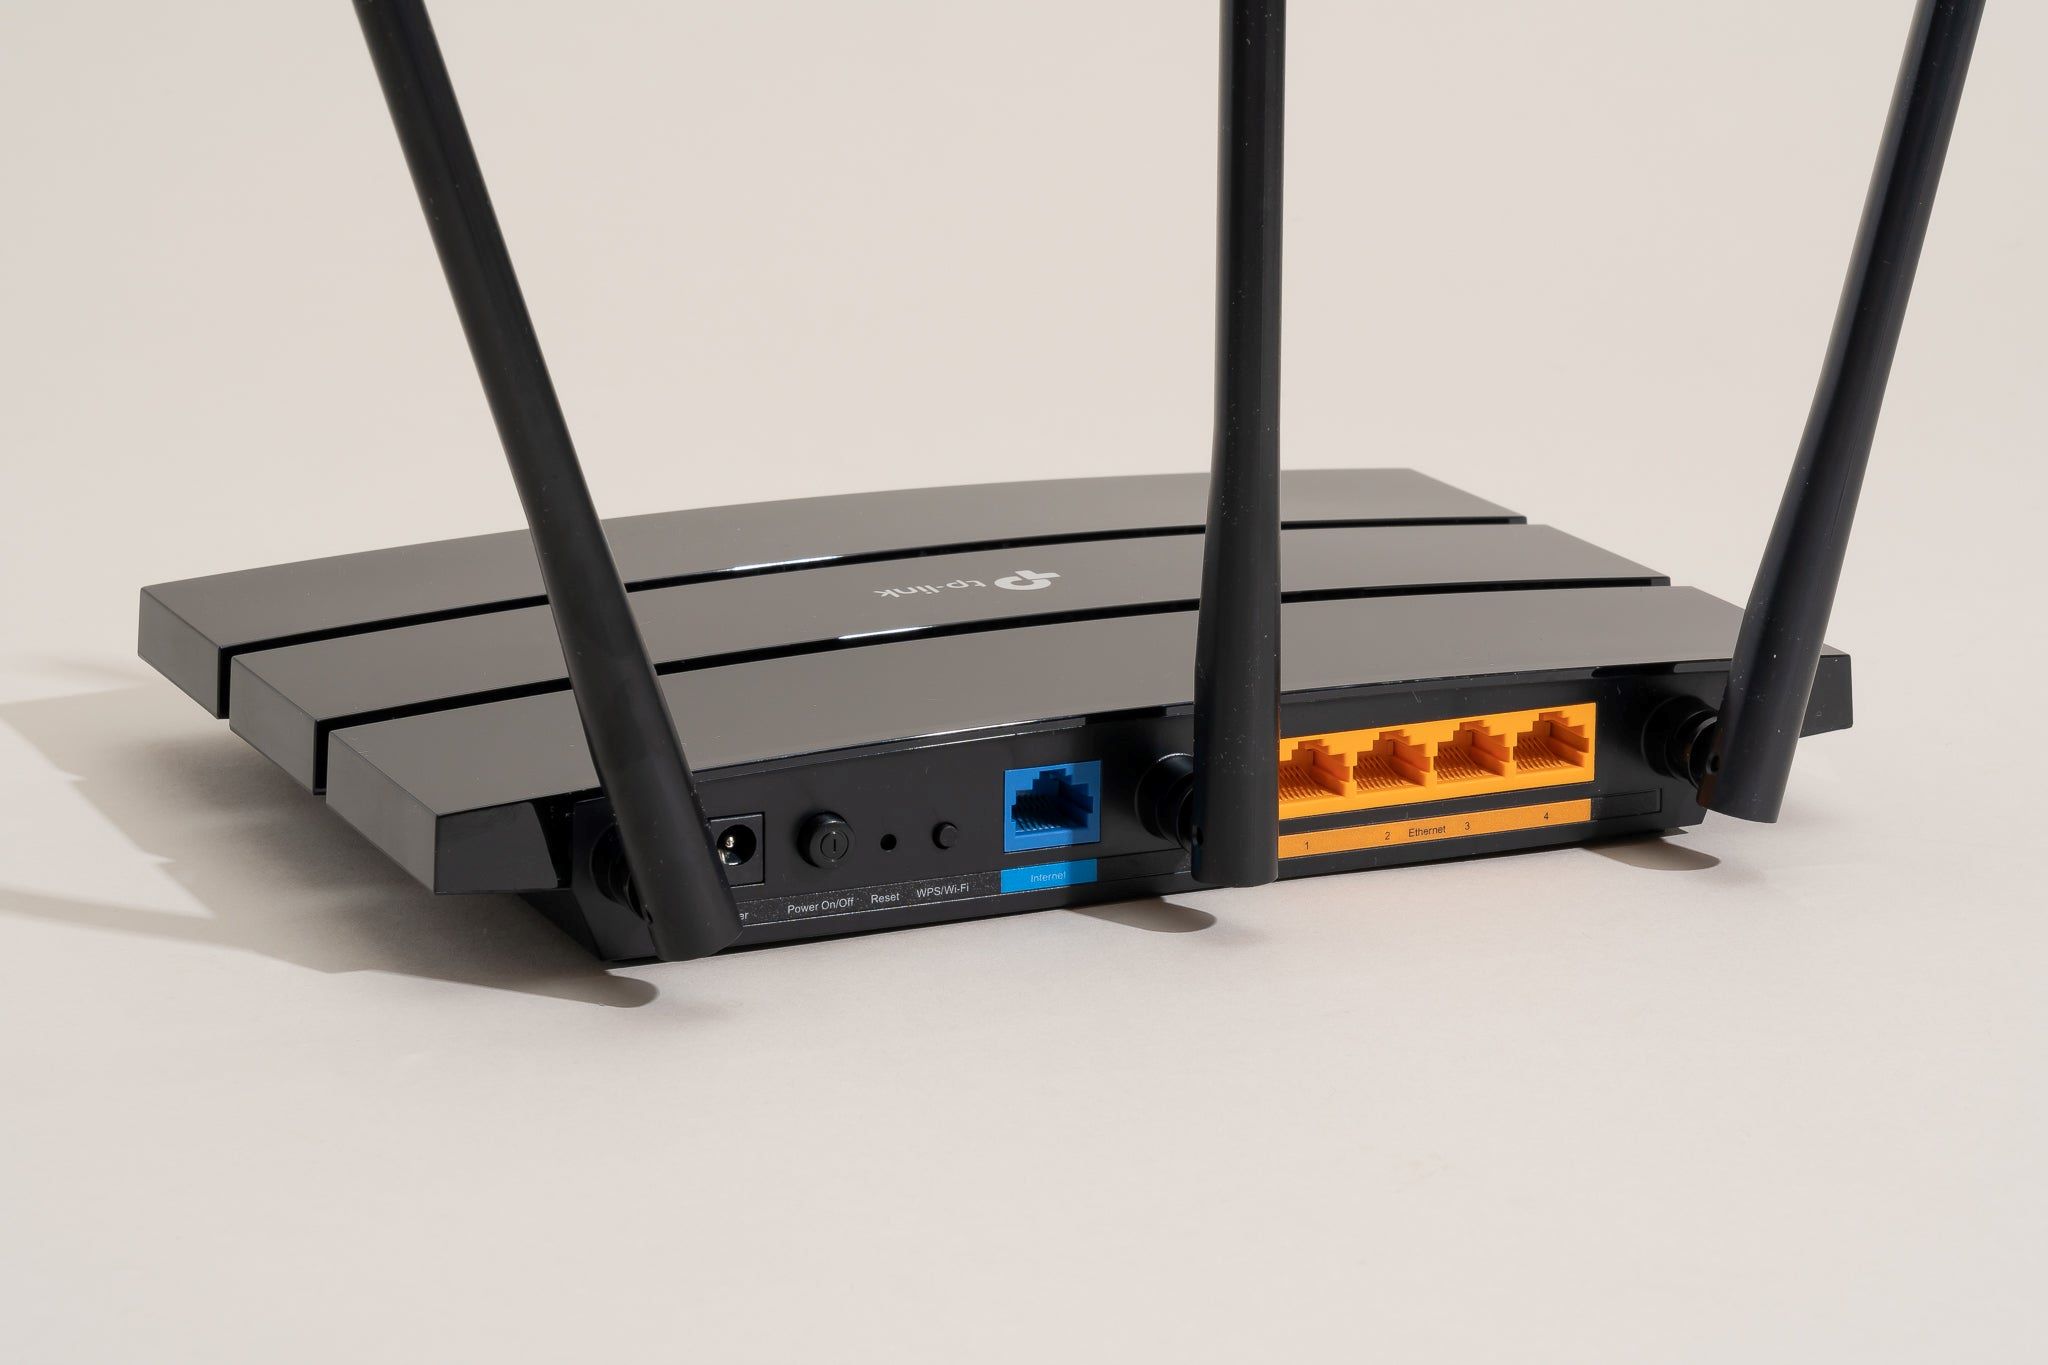
- Ethernet cable: You’ll need an Ethernet cable to establish a wired connection between the modem and the router. This cable will transmit the internet signal from the modem to the router.
- Power cables: Both the Linksys router and AT&T DSL modem require power to function. Ensure you have the appropriate power cables for each device.
It’s important to note that the specific model and brand of your Linksys router and AT&T DSL modem may vary. Refer to the user manuals or online documentation for your specific models for more detailed information.
Before proceeding to the next step, ensure that all the equipment is in good condition and properly connected. Having all the necessary equipment prepared will make the setup process smoother and more efficient.
Now that you have gathered all the required equipment, it’s time to connect your Linksys wireless router to your AT&T DSL modem. Continue to the following section for step-by-step instructions on establishing the initial connection.
Step 2: Connect the Linksys wireless router to the AT&T DSL modem
Now that you have all the necessary equipment prepared, it’s time to connect your Linksys wireless router to your AT&T DSL modem. Follow the steps below:
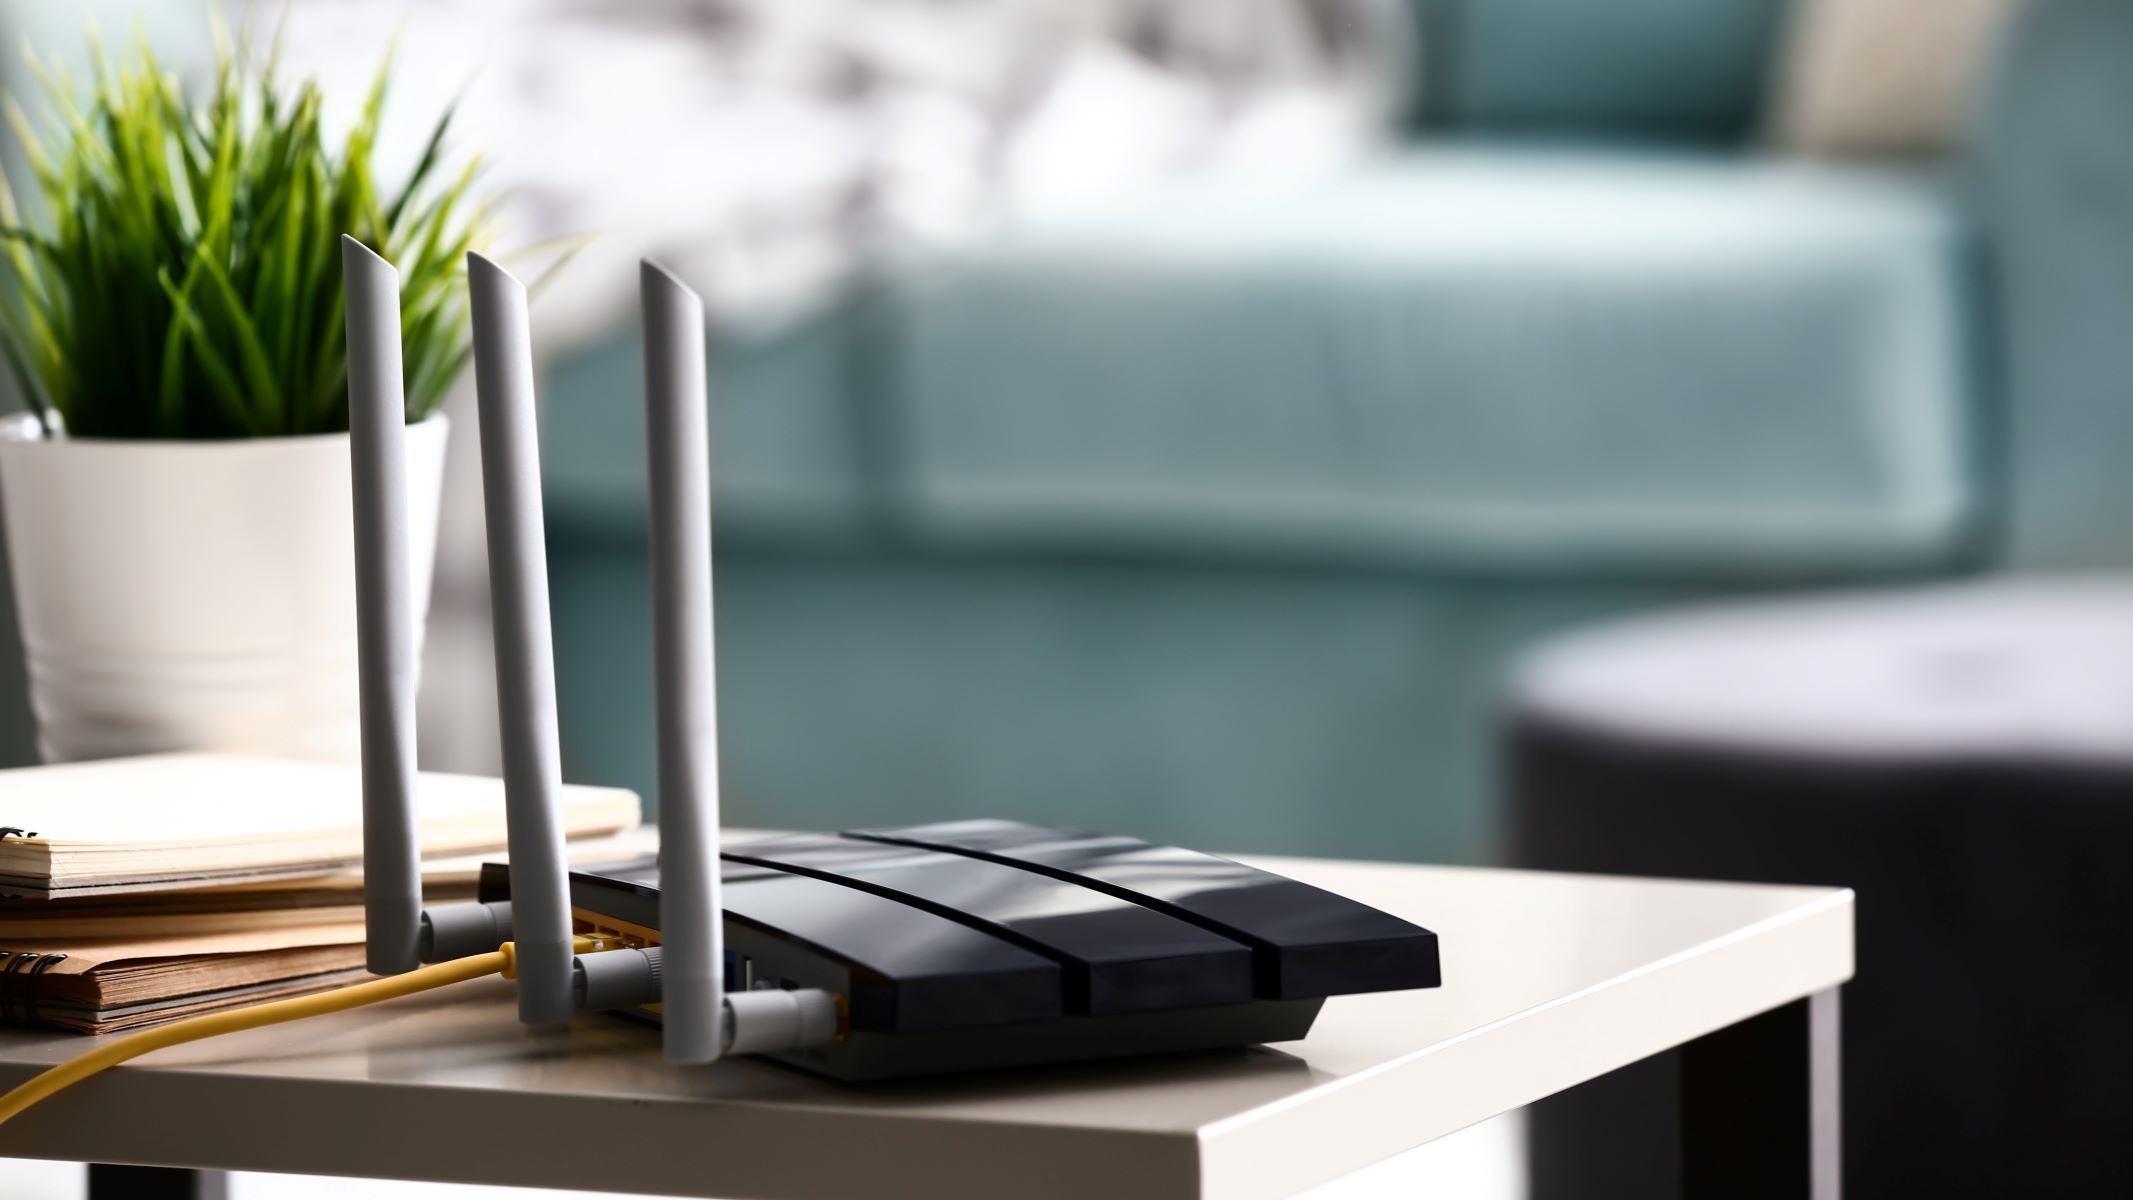
- Position your Linksys wireless router near your AT&T DSL modem. Make sure both devices are easily accessible and not obstructed by any objects.
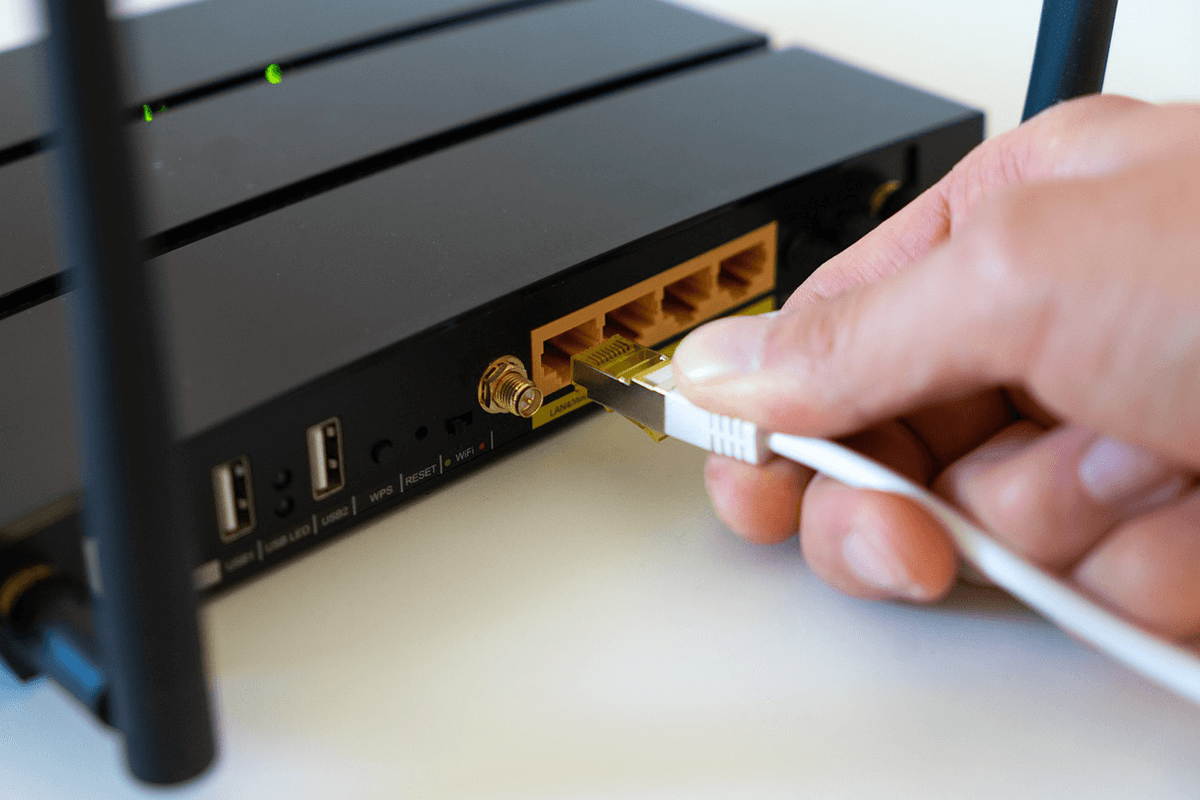
- Take one end of the Ethernet cable and connect it to the Ethernet port on the back of the AT&T DSL modem. Depending on your modem, the Ethernet port may be labeled as “Ethernet” or “LAN.”
- Insert the other end of the Ethernet cable into the Internet or WAN port on the back of your Linksys wireless router. This port is usually labeled as “Internet,” “WAN,” or may have a different color to distinguish it from other ports.
- Ensure that the connections are securely plugged in. Give the Ethernet cable a gentle tug to verify that it is firmly connected.
- Plug in the power cable for your AT&T DSL modem and wait for it to fully power on. This might take a few moments.
- Once the AT&T modem is powered on and connected, plug in the power cable for your Linksys wireless router and wait for it to fully boot up. The router’s lights should indicate that it’s ready for the next steps.
By following these steps, you have successfully connected your Linksys wireless router to your AT&T DSL modem. The next step is to access the Linksys router settings to configure the network and establish a secure Wi-Fi connection. We will cover this step in the following section.
Step 3: Access the Linksys router settings
Now that you have successfully connected your Linksys wireless router to your AT&T DSL modem, it’s time to access the router’s settings. This will allow you to configure your Wi-Fi network and set up important security measures. Follow the steps below to access the Linksys router settings:
- Ensure that your computer or device is connected to the Linksys wireless network. You can do this by connecting to the network using the Wi-Fi credentials provided with your router.
- Open a web browser on your connected device. It can be any browser of your choice such as Google Chrome, Mozilla Firefox, or Safari.
- In the browser’s address bar, enter the default IP address for Linksys routers. The most common default IP address is 192.168.1.1. If this doesn’t work, refer to your router’s documentation or check the router itself for the correct IP address.
- Press Enter or Return on your keyboard, and the Linksys router login page will appear.
- On the login page, enter the router’s default username and password. The default username is often set as “admin,” and the default password is usually “password.” If these credentials don’t work, consult your router’s documentation or search online for the default login details specific to your model.
- Once you have entered the correct username and password, click on the “Login” or “Submit” button to access the router’s settings page.
Congratulations! You have successfully accessed the Linksys router settings. In the next step, we’ll guide you through the process of configuring the router settings to customize your network and optimize its performance. Continue reading to learn more.
Step 4: Configure the router settings
Now that you have accessed the Linksys router settings, you can begin configuring it to customize your network and optimize its performance. Follow these steps to configure your router settings:
- On the router’s settings page, navigate to the “Wireless” or “Wireless Settings” section. This is where you can customize your Wi-Fi network’s name (SSID) and password.
- Change the “SSID” to a unique name that is easily recognizable and not commonly used by neighboring networks. This will make it easier for you to identify your Wi-Fi network when connecting your devices.
- Set a strong and secure password for your Wi-Fi network. A strong password typically consists of a combination of upper and lowercase letters, numbers, and special characters. Avoid using common words or easily guessable combinations.
- Save the changes made to the Wi-Fi network settings before proceeding.
- If you wish to further enhance the security of your network, consider enabling network encryption such as WPA2. This will protect your network and prevent unauthorized access.
- Explore other sections of the router settings to configure additional features such as parental controls, guest networks, or port forwarding, based on your specific needs.
- Once you have made the desired changes to the router settings, click on the “Apply” or “Save” button to save the configurations.
It’s important to note that each router model may have a slightly different user interface and options within the settings. Refer to your router’s documentation or online resources for specific instructions tailored to your router model.
By configuring your router settings, you have customized your network to your preferences and ensured its security. The next step is to connect your devices to the newly created Linksys wireless network. Continue reading to learn how to connect your devices.
Step 5: Connect your devices to the Linksys wireless network
Now that you have configured your Linksys router settings, it’s time to connect your devices to the newly created wireless network. Follow these steps to connect your devices:
- On your device, such as a smartphone, laptop, or tablet, open the Wi-Fi settings.
- Locate the list of available Wi-Fi networks and find the one with the SSID (network name) you specified during the router configuration.
- Select the desired Wi-Fi network from the list, and if prompted, enter the password you set for the network.
- Wait for your device to connect to the Linksys wireless network. Once connected, you will have access to the internet and be able to browse websites and use online services.
- Repeat these steps for each device you want to connect to the Linksys wireless network.
It’s important to note that some devices may prompt you to choose whether the network you’re connecting to is a public or private network. Select the option that suits your needs and preferences.
Once your devices are connected to the Linksys wireless network, you can enjoy the benefits of a fast and reliable internet connection throughout your home or office. You can also move freely within the range of the network without needing to use any cables.
If you encounter any issues during the device connection process, double-check that the Wi-Fi network name (SSID) and password are correctly entered. You may also try restarting your devices or contacting Linksys support for further assistance.
Congratulations! You have successfully connected your devices to the Linksys wireless network. Take some time to ensure that all your devices are functioning properly and accessing the internet. Should you need to make any further modifications to the network or router settings, refer to the Linksys router’s user manual or visit their support website for detailed instructions.
Conclusion
Setting up and connecting your Linksys wireless router to your AT&T DSL modem is a straightforward process that allows you to create a reliable and secure Wi-Fi network. By following the steps outlined in this guide, you have successfully completed the setup and can now enjoy the benefits of a wireless network in your home or office.
Remember, before starting the setup process, gather all the necessary equipment, including the Linksys router, AT&T DSL modem, Ethernet cable, and power cables. This ensures a smooth and efficient setup experience.
First, connect the Linksys router to the AT&T DSL modem using an Ethernet cable. Make sure the connections are securely plugged in and power on both devices.
Next, access the Linksys router settings by entering the default IP address in a web browser. Log in using the default username and password provided with the router, and customize your Wi-Fi network name (SSID), password, and other settings as desired. Remember to save the changes you make.
Finally, connect your devices to the newly created Linksys wireless network by selecting the network from the available Wi-Fi networks list and entering the password you set for the network. This will grant you access to the internet and enable you to browse websites and use online services without the need for any cables.
If you encounter any issues during the setup or device connection process, consult the router’s user manual or reach out to Linksys support for assistance.
Now that your Linksys wireless router is successfully connected to your AT&T DSL modem, you can enjoy a seamless internet experience with the convenience of a wireless network. Take some time to explore the router settings further and make any additional configurations that suit your needs.
Thank you for following this step-by-step guide. We hope it has provided you with the necessary information and instructions to successfully connect your Linksys wireless router to your AT&T DSL modem. Enjoy your new wireless network!