Introduction
Welcome to this guide on how to set up your AT&T wireless router. Whether you are a new customer or upgrading your existing router, this step-by-step tutorial will help you get your wireless network up and running in no time.
Having a reliable and secure wireless connection is essential for a seamless internet experience. AT&T offers a range of wireless routers that provide fast speeds, wide coverage, and enhanced security features. By following the instructions in this guide, you can easily set up your AT&T wireless router and enjoy a stable and efficient wireless network for all your devices.
Before we dive into the setup process, it’s important to note that you will need a few items on hand. Make sure you have your AT&T wireless router, power adapter, phone line, and Ethernet cable ready. Additionally, ensure that your internet service is activated and that you have the necessary login credentials for your AT&T account.
In this guide, we will walk you through the step-by-step process of unboxing your wireless router, connecting the power adapter, phone line, and Ethernet cable, configuring the router settings, setting up a secure password, connecting to the wireless network, and testing the connection. By following these steps, you will have your AT&T wireless router set up and ready to use.
So, let’s get started with the setup process to ensure you have a seamless and reliable wireless network at home or in your office. Follow along with each step, and if you have any questions, do not hesitate to refer to the AT&T support documentation or reach out to their customer support for assistance.
Now, let’s move on to the first step, which is unboxing the wireless router.
Step 1: Unbox the Wireless Router
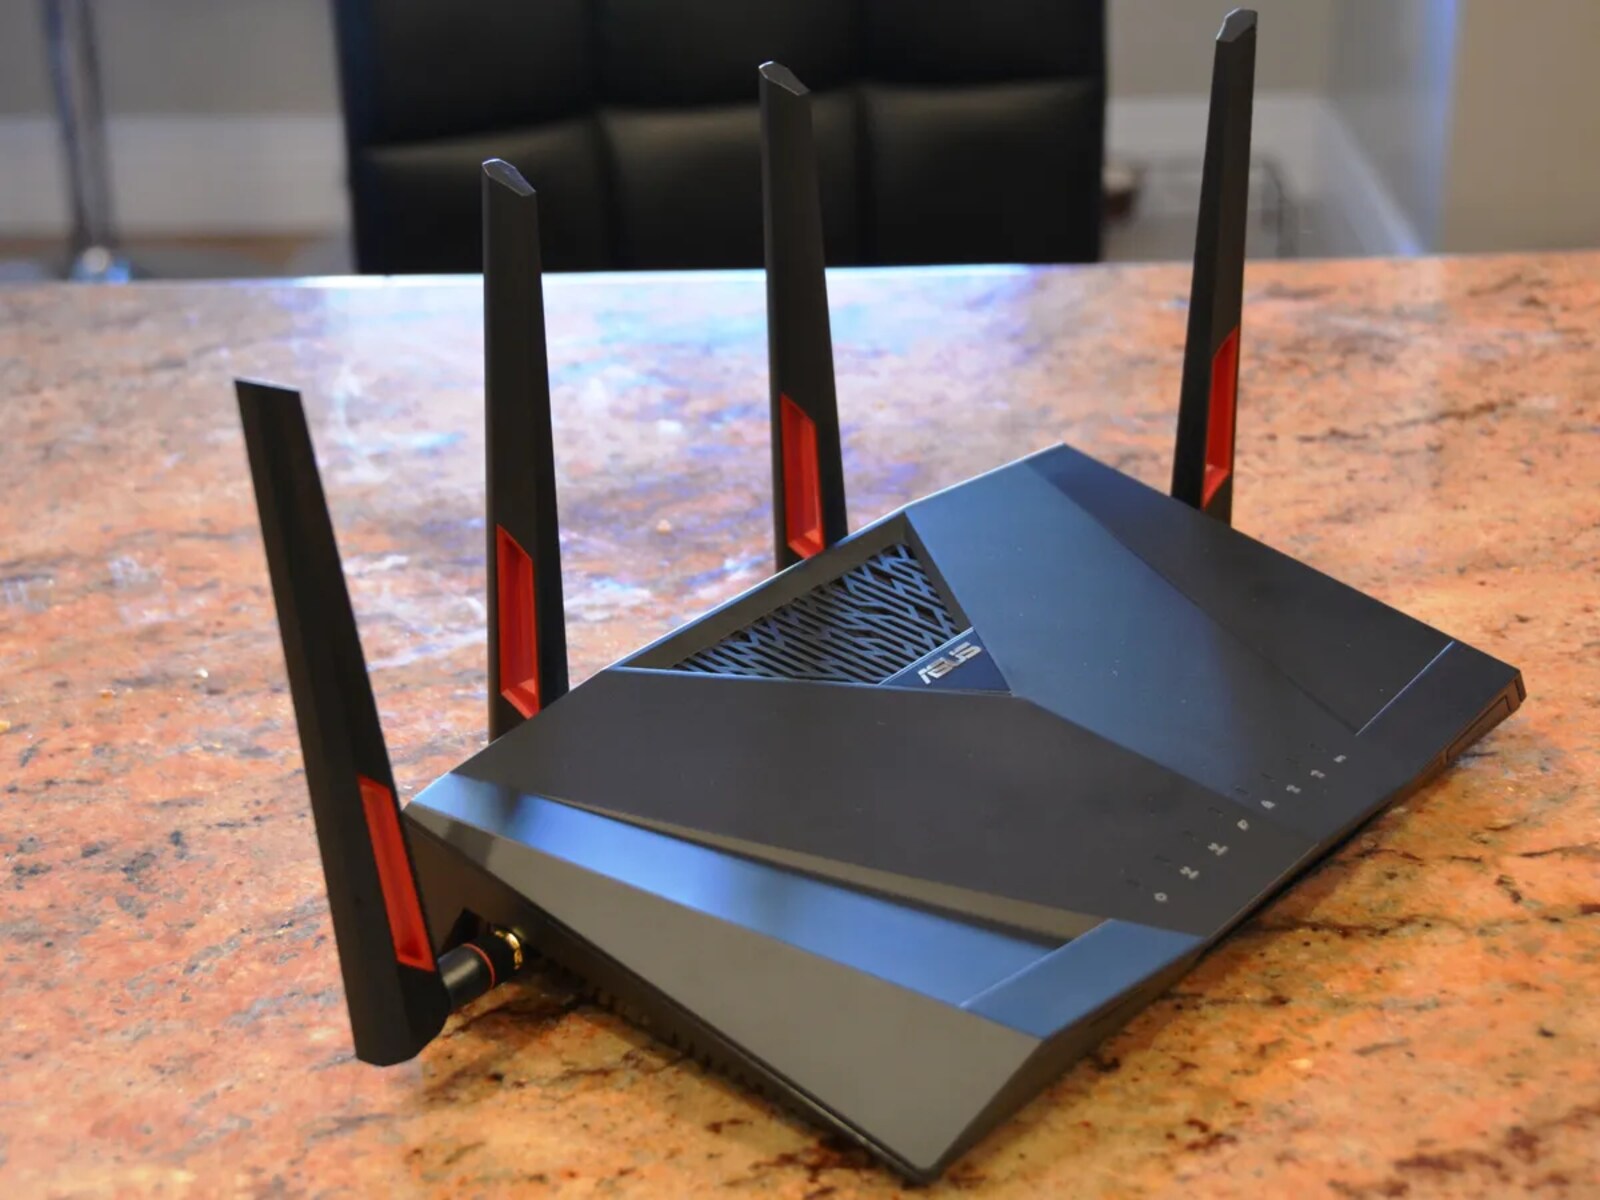
Before you start setting up your AT&T wireless router, the first step is to unbox it. Find a clean and open space where you can spread out the components and ensure you have all the necessary items.
When you open the box, you will typically find the following items:
- The wireless router
- The power adapter
- The phone line cable
- The Ethernet cable
- Any additional accessories or documentation
Once you have everything laid out, inspect the wireless router for any physical damage. Check that all the components are present and in good condition.
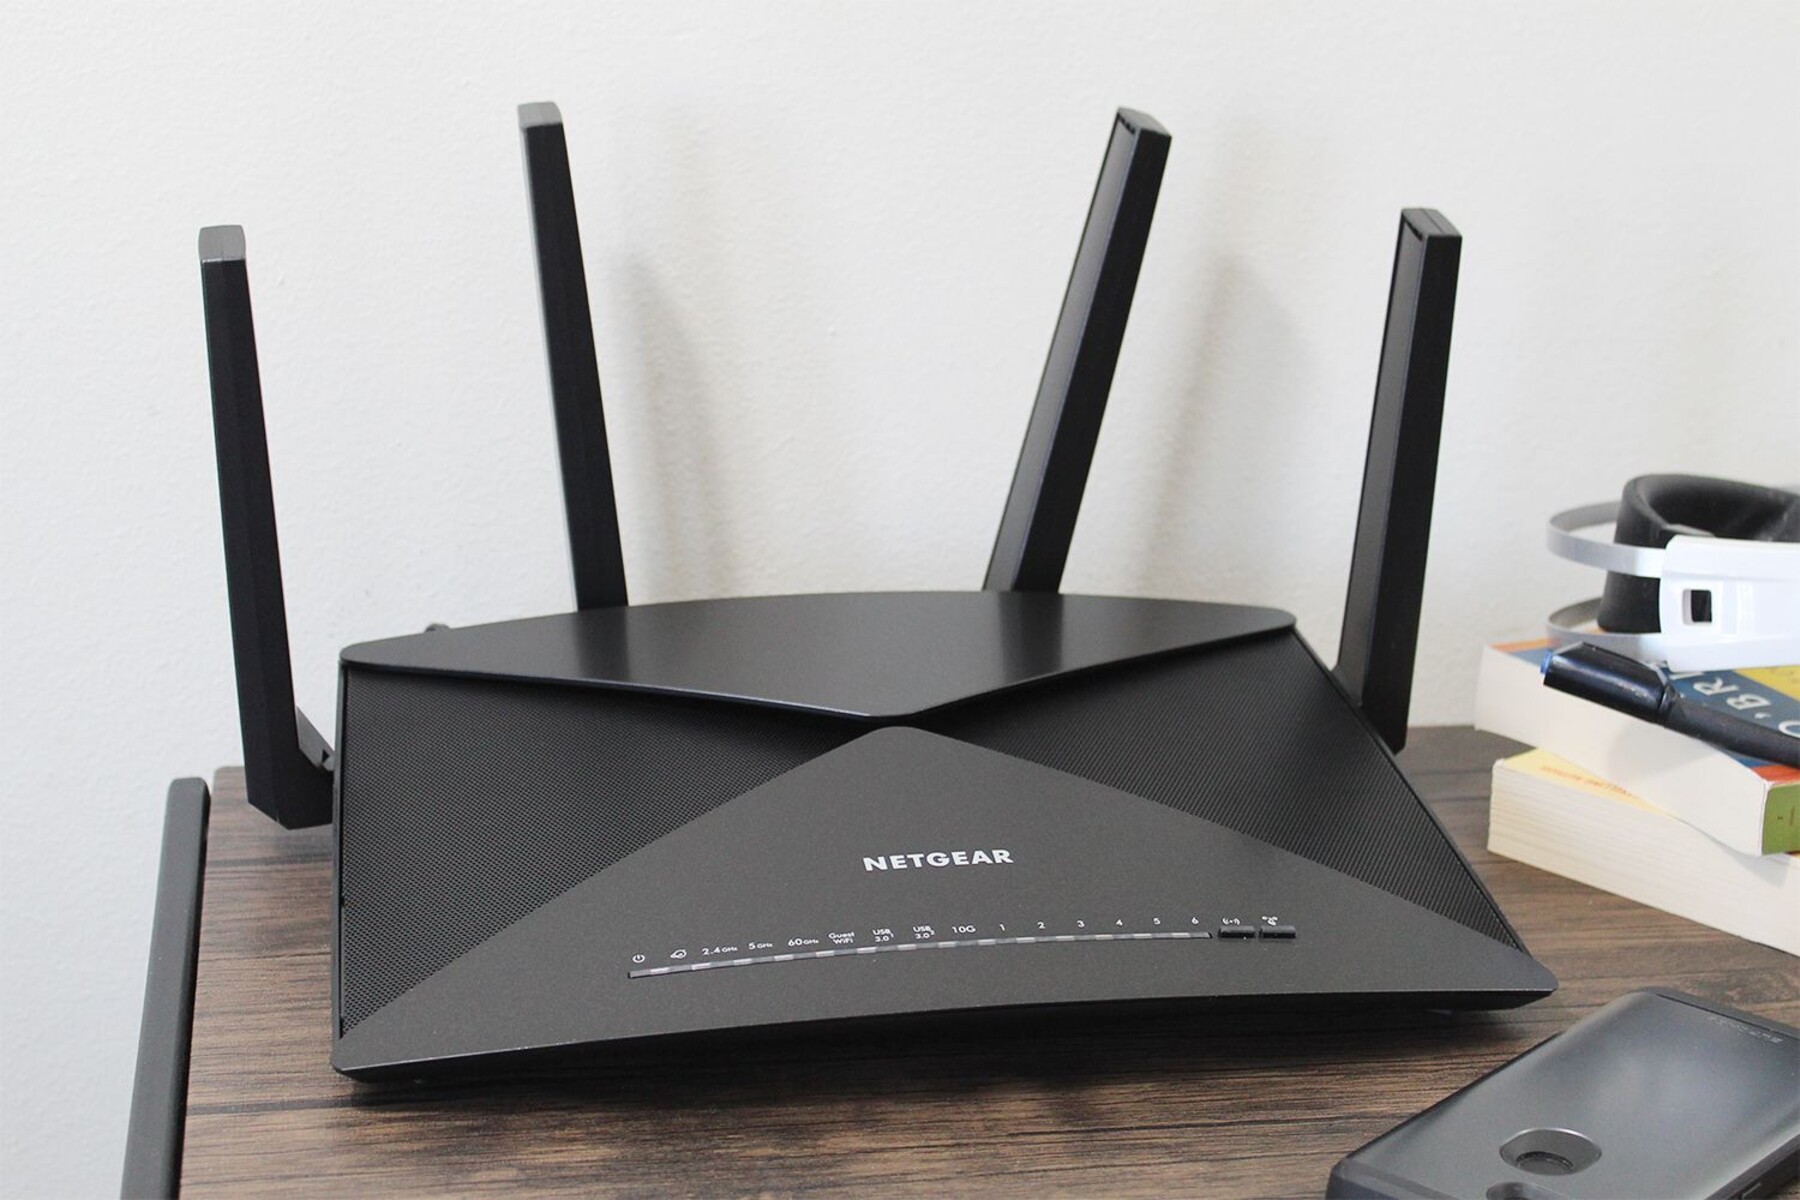
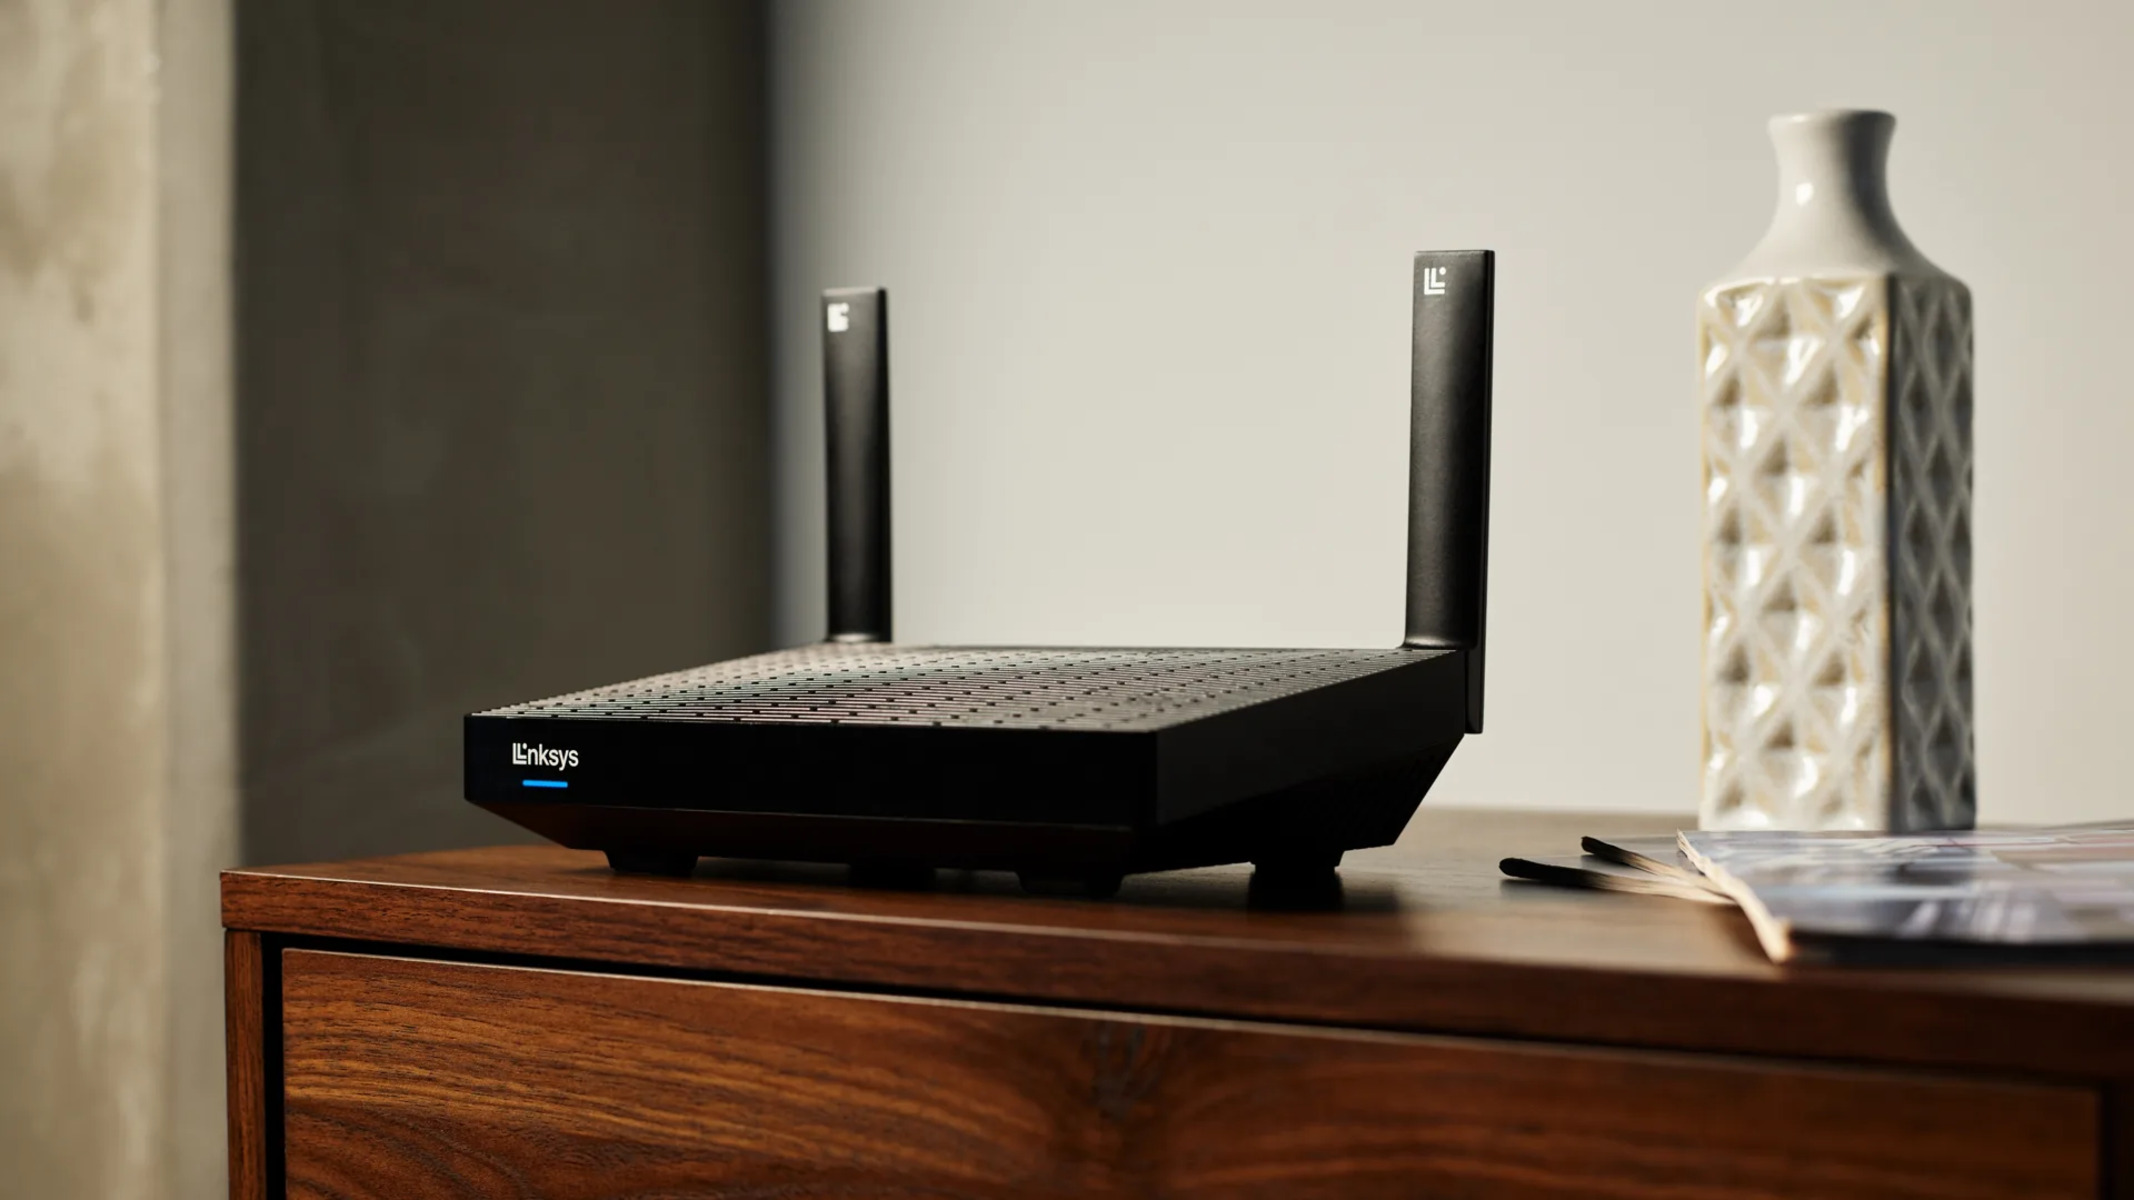
Next, locate an ideal spot to place your AT&T wireless router. It’s recommended to position it in a central location to maximize coverage throughout your home or office. Keep in mind that the router should be placed away from obstructions such as walls, furniture, and electronic devices that can interfere with the signal.
Now, carefully connect the wireless router to the power adapter. The power port is usually located on the back of the router. Ensure a secure connection between the power adapter and the router by plugging it in firmly.
With the power adapter connected, you can now plug the other end of the power adapter into a power outlet. Make sure the outlet is easily accessible and not controlled by a switch that can be accidentally turned off.
Your AT&T wireless router will now power on and go through an initialization process. It may take a few minutes for the router’s LED lights to stabilize and indicate a steady connection.
Congratulations! You have successfully unboxed your AT&T wireless router and powered it on. Proceed to the next step to connect the phone line and prepare for the configuration process.
Step 2: Connect the Power Adapter
Now that you have unboxed your AT&T wireless router, it’s time to connect the power adapter. This step is essential for providing the router with the necessary power to function properly.
Locate the power adapter that came with your router. It typically has one end that connects to the router itself and another end that plugs into a power outlet.
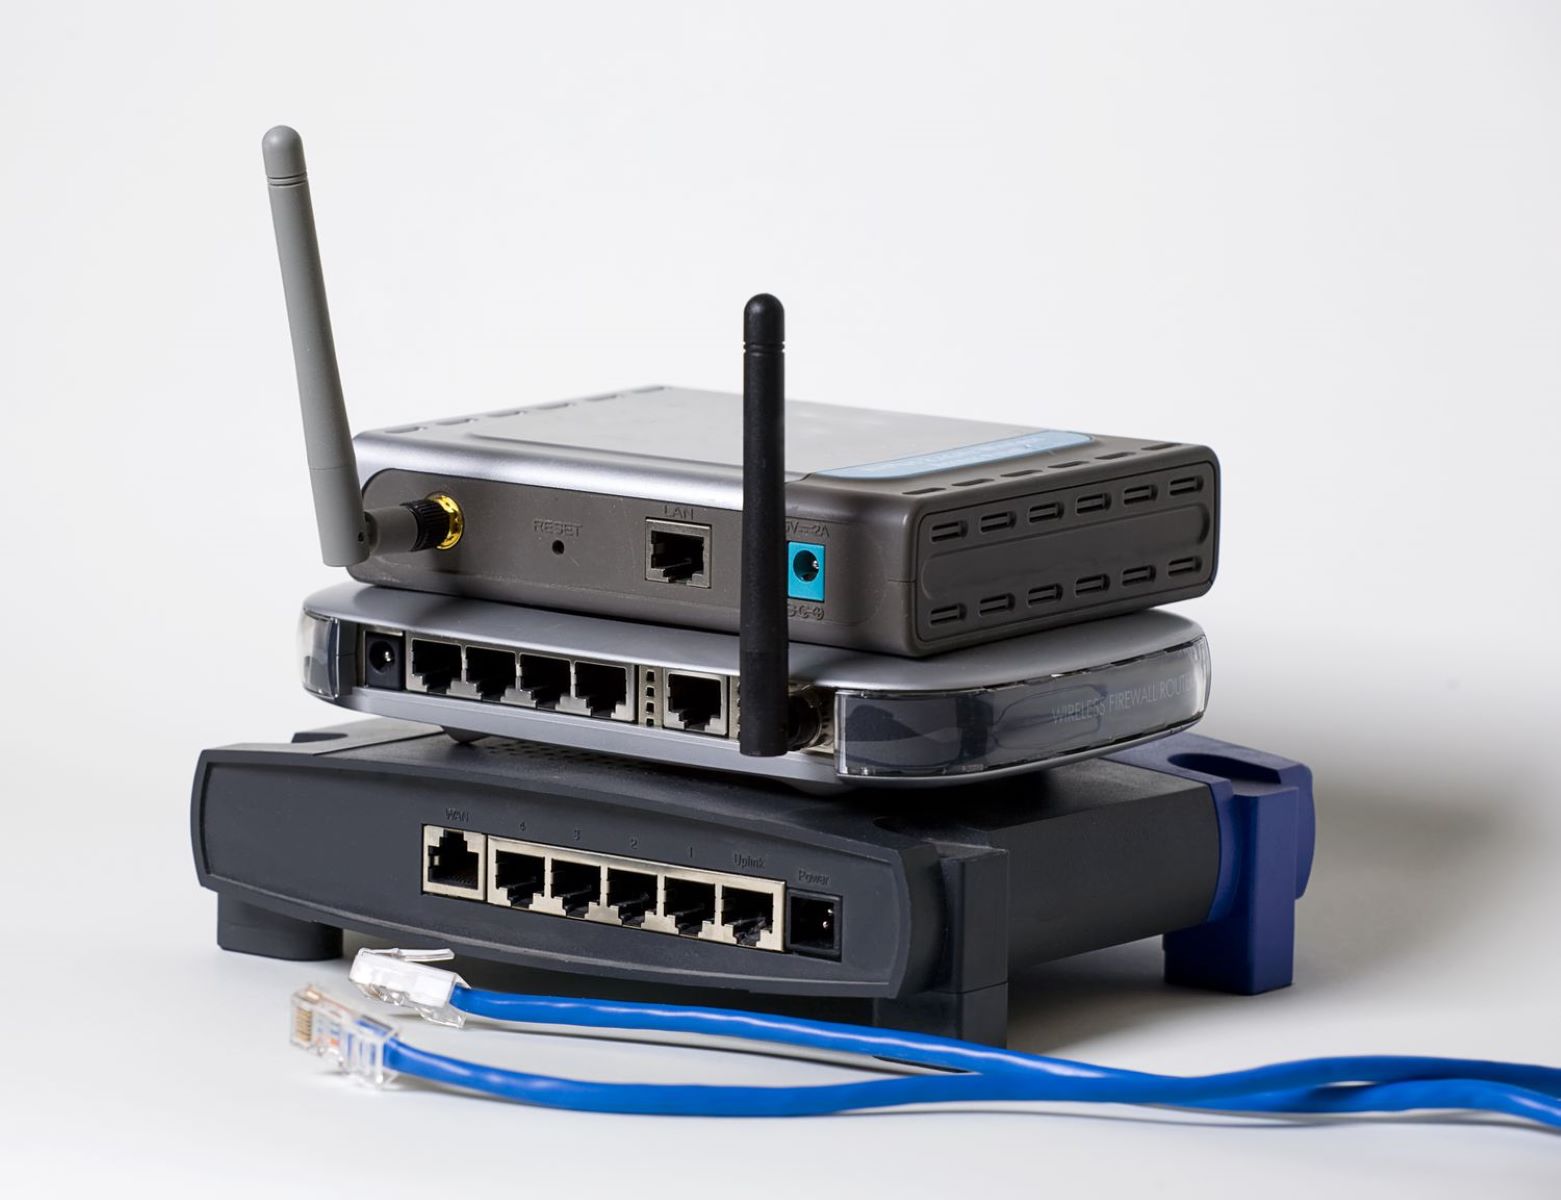
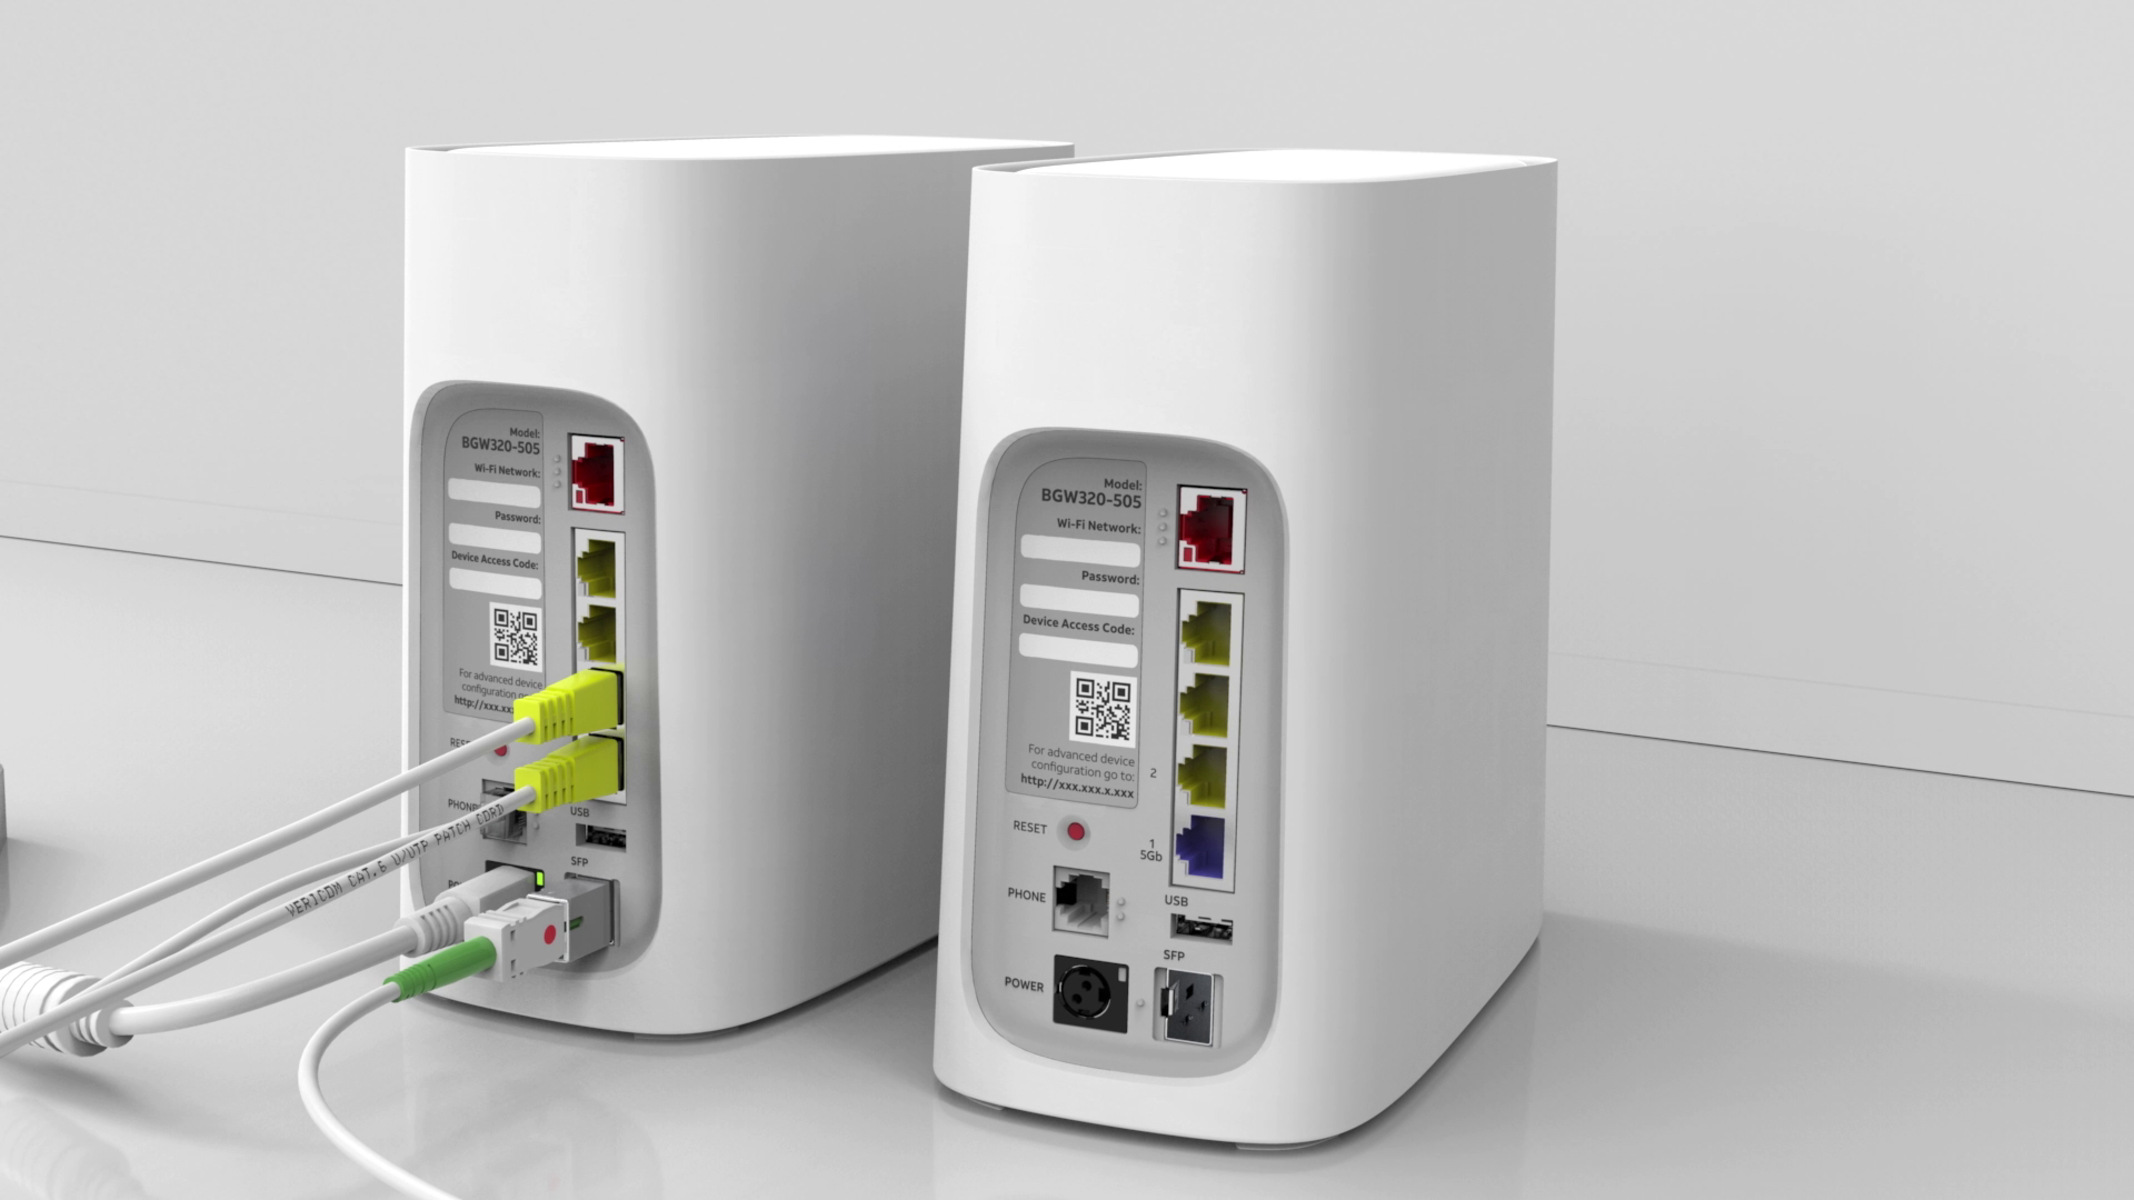
First, find the power port on the back of the router. It is usually labeled as “Power” or has a symbol indicating where the power adapter should be inserted.
Once you have located the power port, take the corresponding end of the power adapter and insert it firmly into the power port on the router. Ensure that it is securely connected to establish a stable power supply.
Now that the power adapter is connected to the router, take the other end of the adapter and plug it into a nearby power outlet. Make sure the outlet is easily accessible and provides a reliable power source.
After plugging in the power adapter, you will see the router’s LED lights start to illuminate. These lights indicate the status of the router and its connection. Wait for a moment until the lights stabilize and indicate a steady power supply.
It’s important to note that you should not use an extension cord or power strip for the router’s power supply. Directly plugging it into a power outlet will ensure a consistent and uninterrupted power source.
By connecting the power adapter, you have successfully powered on your AT&T wireless router. Congratulations! Proceed to the next step to connect the phone line and prepare for the configuration process.
Step 3: Connect the Phone Line
Once you have connected the power adapter to your AT&T wireless router, the next step is to connect the phone line. This step is crucial for establishing a connection to your internet service provider and enabling access to the internet.
Locate the phone line cable that came with your router. One end of the cable will have a small connector, while the other end will have a larger, standard phone line connector.
Take the end of the phone line cable with the small connector and insert it into the phone port located on the back of the router. The phone port is typically labeled as “Phone” or has a symbol indicating its purpose.
Ensure that the small connector is securely inserted into the phone port to establish a stable connection. It should fit snugly and not be loose or easily disconnected.
Now, take the other end of the phone line cable with the standard phone line connector and plug it into a phone jack or wall outlet. If there are multiple phone jacks in your location, choose the one closest to where your router is positioned.
The phone line connection is crucial as it enables your wireless router to establish a connection with your internet service provider. This connection is necessary for accessing the internet and streaming data to your connected devices.
Once you have connected the phone line, wait for a few moments to allow the router to establish a stable connection. The router’s LED lights may indicate the status of the phone line connection. Refer to the router’s documentation to understand the specific LED light indicators.
With the phone line connection established, you have successfully completed Step 3 of setting up your AT&T wireless router. Proceed to the next step to connect the Ethernet cable and prepare for the configuration process.
Step 4: Connect the Ethernet Cable
After connecting the power adapter and phone line for your AT&T wireless router, it’s time to connect the Ethernet cable. This step is essential for establishing a wired connection between your router and devices.
Locate the Ethernet cable that came with your router. It typically has a rectangular connector on each end.
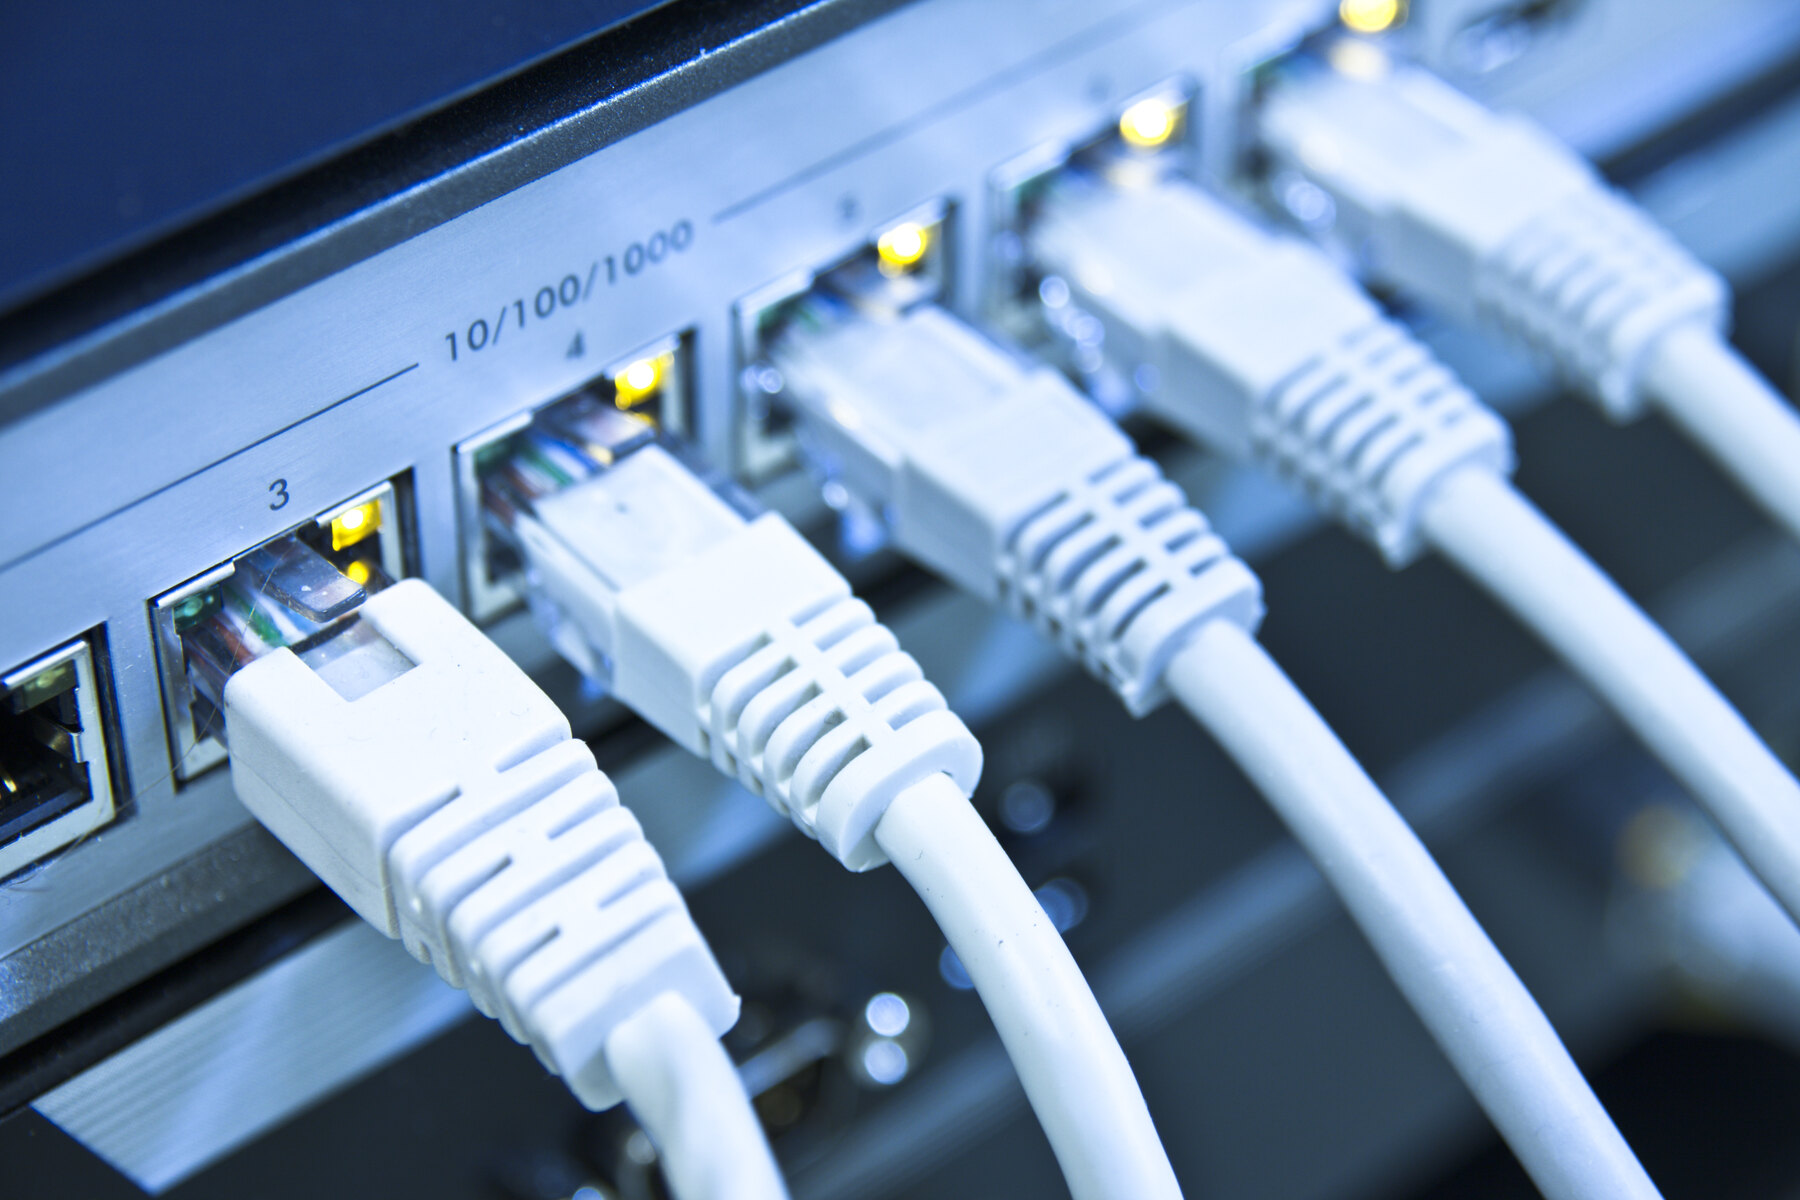
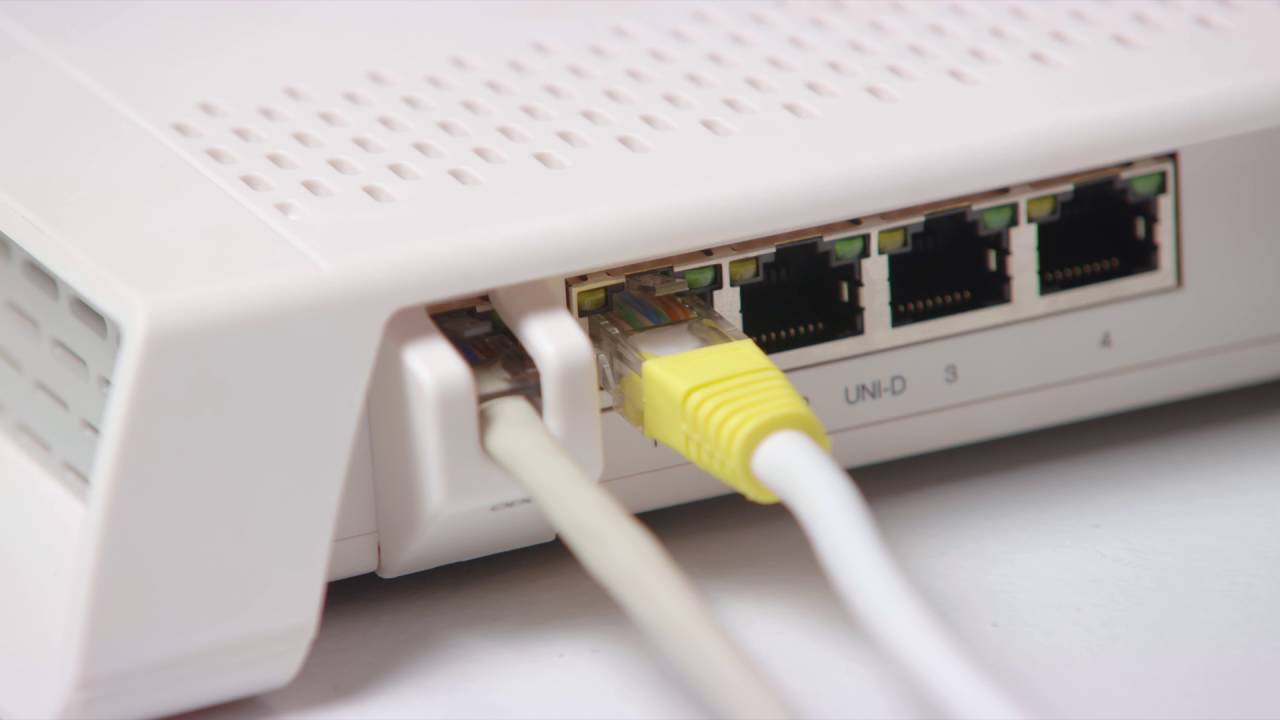
On the back of your router, you will find a series of Ethernet ports labeled as “LAN” or numbered. These ports allow you to connect your devices to the router using an Ethernet cable.
Take one end of the Ethernet cable and insert it into any available LAN Ethernet port on the router. Ensure that the connector is securely inserted and that it fits snugly into the port.
Now, take the other end of the Ethernet cable and connect it to the Ethernet port on your device. This could be your computer, laptop, gaming console, or any other device that you want to connect directly to the router.
Make sure that the Ethernet cable is firmly connected to both the router and the device to ensure a stable and reliable wired connection.
If you have multiple devices you want to connect via Ethernet, you can use additional Ethernet cables to connect them to the available LAN ports on the router.
By connecting the Ethernet cable, you have established a direct wired connection between your AT&T wireless router and your device(s). This wired connection can offer faster speeds and a more stable connection compared to wireless connectivity.
With the Ethernet cable connected, you are now ready to proceed to the next step: configuring the wireless router.
Step 5: Configure the Wireless Router
Now that you have successfully connected the power adapter, phone line, and Ethernet cable to your AT&T wireless router, it’s time to configure the router settings to create your wireless network.
To begin the configuration process, open a web browser on your connected device. In the address bar, type in the default IP address of your router, which is typically “192.168.1.1” or “192.168.0.1”. Press Enter to access the router’s configuration page.
On the configuration page, you will be prompted to enter the login credentials for your router. These credentials are usually printed on a sticker located on the router itself. Enter the username and password to access the router’s settings.
Once logged in, you will find a variety of settings and options to customize your wireless network. It is recommended to change the default network name (SSID) and password to enhance security. You can also configure other settings such as wireless channel, encryption type, and access control to optimize your network performance and protect your personal information.
While configuring the router settings, make sure to save your changes and write down any important information or passwords you set. This will ensure that you can easily access and manage your network settings in the future.
It is also a good idea to explore additional features and settings available on your AT&T wireless router, such as parental controls, guest network access, and firmware updates. These features can further enhance the functionality and security of your wireless network.
Once you have finished configuring the settings, click on the “Apply” or “Save” button to save your changes. The router will then apply the new settings and restart to finalize the configuration process.
Congratulations! You have successfully configured your AT&T wireless router. Your wireless network is now ready to be used by connecting your devices wirelessly.
Next, we will move on to Step 6, where we will set a secure password for your wireless network to prevent unauthorized access.
Step 6: Set a Secure Password
Setting a secure password is crucial to protect your AT&T wireless router and your network from unauthorized access. By setting a strong and unique password, you can ensure that only authorized users can connect to your wireless network.
To set a secure password, access the router’s configuration page through your web browser using the default IP address mentioned earlier.
Once logged in, navigate to the “Wireless” or “Wi-Fi” settings section. Look for the option to change the network password or pre-shared key (PSK). Select this option to proceed.
When creating a password, aim for a combination of upper and lowercase letters, numbers, and special characters. Avoid using easily guessable information such as your name, birthdate, or common words. The longer and more complex your password is, the more secure it will be.
Write down the password in a secure location, such as a password manager or a physical notebook, to avoid forgetting it. Additionally, consider changing the password periodically to further enhance security.
After setting your new password, click on the “Apply” or “Save” button to save the changes. The router will then update the settings and apply the new password to your wireless network.
By setting a secure password, you will protect your AT&T wireless router and your wireless network from unauthorized access. This will help safeguard your personal data and ensure a more secure and reliable internet experience for all your connected devices.
With a secure password in place, you are now ready to move on to the next step: connecting to the wireless network.
Step 7: Connect to the Wireless Network
Now that you have set a secure password for your AT&T wireless router, it’s time to connect your devices to the wireless network. By connecting wirelessly, you can enjoy the convenience and mobility of accessing the internet without the need for cables.
To connect to the wireless network, make sure the device you want to connect (such as a laptop, smartphone, or tablet) has its Wi-Fi turned on. You will then see a list of available wireless networks in your device’s network settings.
In the list of available networks, locate and select the network name (SSID) that matches the one you set during the router configuration process. Enter the secure password you set for the network when prompted.
After entering the password, wait for a moment as your device establishes a connection with the wireless network. The connection may take a few seconds to establish, so be patient.
Once the connection is established, you will see an indicator on your device showing that you are now connected to the wireless network. This indicator may be a Wi-Fi icon, signal bars, or a similar symbol, depending on your device.
Congratulations! You have successfully connected your device to the AT&T wireless network. You can now start enjoying all the benefits of a wireless internet connection, such as browsing the web, streaming content, and accessing online services.
If you have multiple devices that you want to connect to the wireless network, repeat the same steps on each device, selecting the correct network name and entering the secure password.
It’s important to note that some devices may offer the option to automatically connect to the network in the future. This option can be convenient if you frequently use the same devices on your wireless network.
With your devices connected to the wireless network, you are now ready for the final step: testing the wireless connection.
Step 8: Test the Wireless Connection
After connecting your devices to the AT&T wireless network, it’s important to test the wireless connection to ensure that everything is functioning properly. By testing the connection, you can verify that you have a stable and reliable internet connection on your devices.
Start by opening a web browser on one of your connected devices. Enter a website address or perform a search to check if you can successfully access the internet. If the website loads or the search results appear, it indicates that your wireless connection is working correctly.
If you encounter any issues, such as slow speeds or inability to access the internet, try the following troubleshooting steps:
- Reset your AT&T wireless router by unplugging the power adapter, waiting for a few seconds, and then plugging it back in.
- Restart your device(s) and reconnect to the wireless network.
- Ensure that you are within the range of the router and that there are no physical obstructions blocking the signal.
- Check the router’s LED lights for any indications of connectivity or configuration issues.
- If the problem persists, consult the AT&T support documentation or contact their customer support for further assistance.
If the wireless connection is stable and you can access the internet without any issues, congratulations! You have successfully tested the wireless connection on your AT&T network.
It’s important to periodically test your wireless connection, especially if you notice any changes in performance or connectivity. Regular testing will help you identify and address any potential issues to ensure a seamless internet experience.
By testing the wireless connection, you can confirm that your AT&T wireless router is functioning correctly and providing you with a reliable and fast internet connection for all your devices.
With the wireless connection tested and confirmed, you have completed the setup process for your AT&T wireless router. Enjoy your new wireless network and all the benefits it brings!
Conclusion
Congratulations! You have successfully set up your AT&T wireless router and created a secure and reliable wireless network. By following the step-by-step instructions in this guide, you have ensured that your devices can connect to the internet seamlessly and enjoy fast and stable connectivity.
During the setup process, you learned how to unbox the wireless router, connect the power adapter, phone line, and Ethernet cable, configure the router settings, set a secure password, connect to the wireless network, and finally, test the wireless connection. Each step was crucial in establishing a functional and secure wireless network in your home or office.
Remember, it’s important to periodically check and maintain your AT&T wireless router for optimum performance. This includes updating the router’s firmware, changing passwords periodically, and ensuring that your devices and router are protected against potential security threats.
If you encounter any issues or have further questions about your AT&T wireless router, refer to the documentation provided by AT&T or reach out to their customer support. They will be able to assist you with any technical difficulties or concerns you may have.
Enjoy the benefits of a reliable and secure wireless network. Whether you use it for work, entertainment, or staying connected with loved ones, your AT&T wireless router will provide you with a seamless and efficient internet experience.
Thank you for choosing AT&T for your wireless router needs. We hope this guide has been helpful, and we wish you all the best with your new wireless network!