Introduction
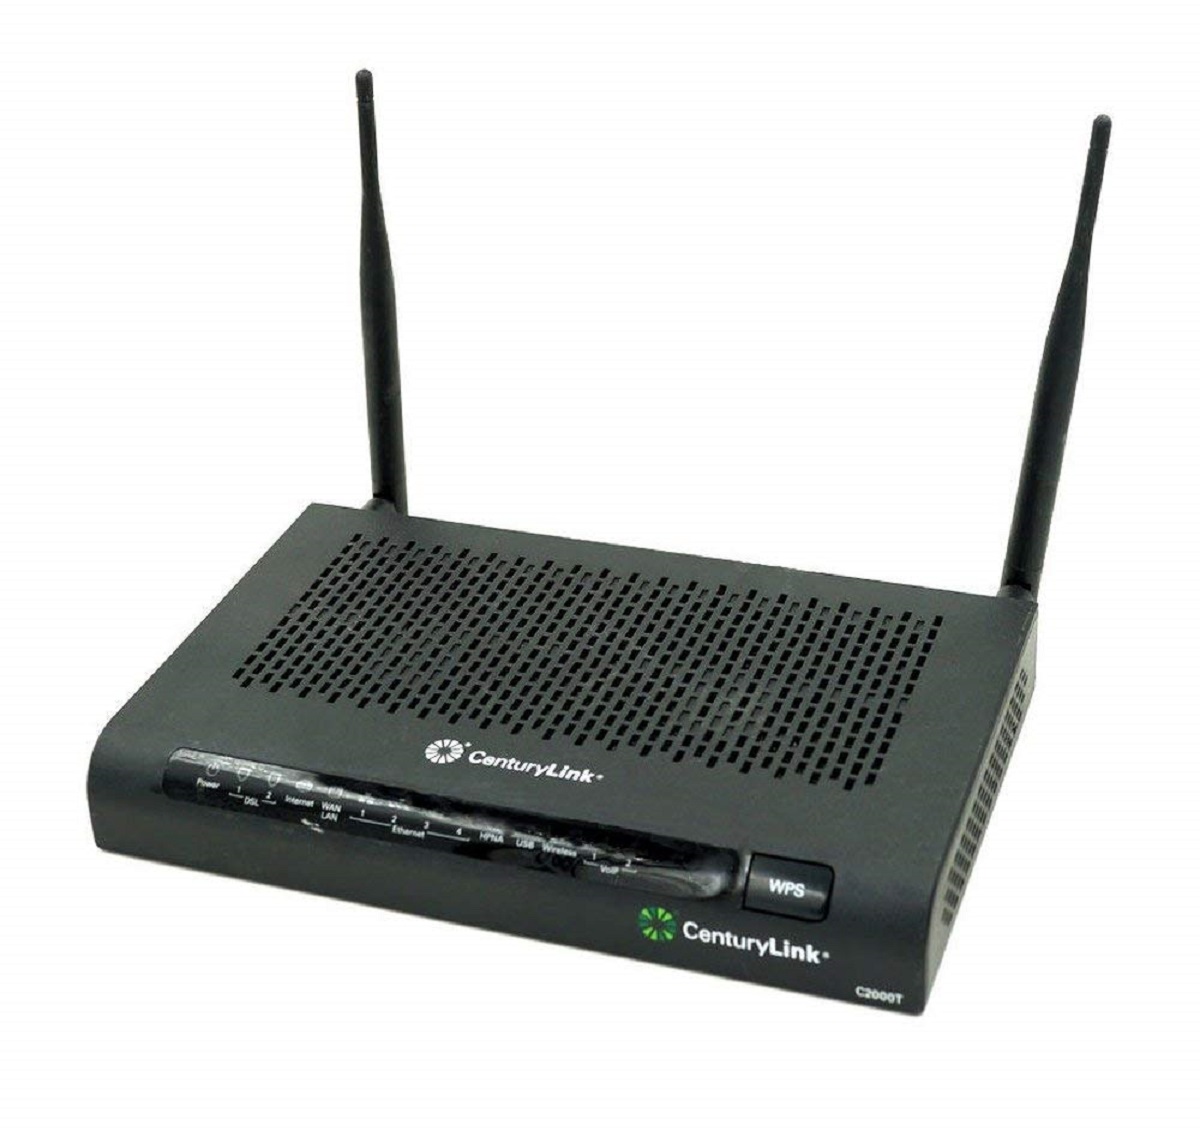
Welcome to the guide on how to change the password on your CenturyLink wireless router. Your wireless router is the hub of your home network, allowing you to connect your devices to the internet and enabling wireless communication within your home. It is essential to periodically update your wireless password to ensure the security of your network and prevent unauthorized access.
In this tutorial, you will learn the step-by-step process of changing the password on your CenturyLink wireless router. This process will help you strengthen the security of your network, ensuring that only authorized users can connect to your Wi-Fi.
Before we get started, it’s important to note that the steps may vary slightly depending on the model of your CenturyLink router. However, the overall process is generally the same, regardless of the specific model you have.
Additionally, it’s always a good idea to have your CenturyLink account credentials on hand, as you may need them to log into your router’s settings. If you’re unsure of your account information, you can contact CenturyLink support for assistance.
Now, let’s jump right into the step-by-step process of changing the password on your CenturyLink wireless router, so you can ensure the security of your network and have peace of mind.
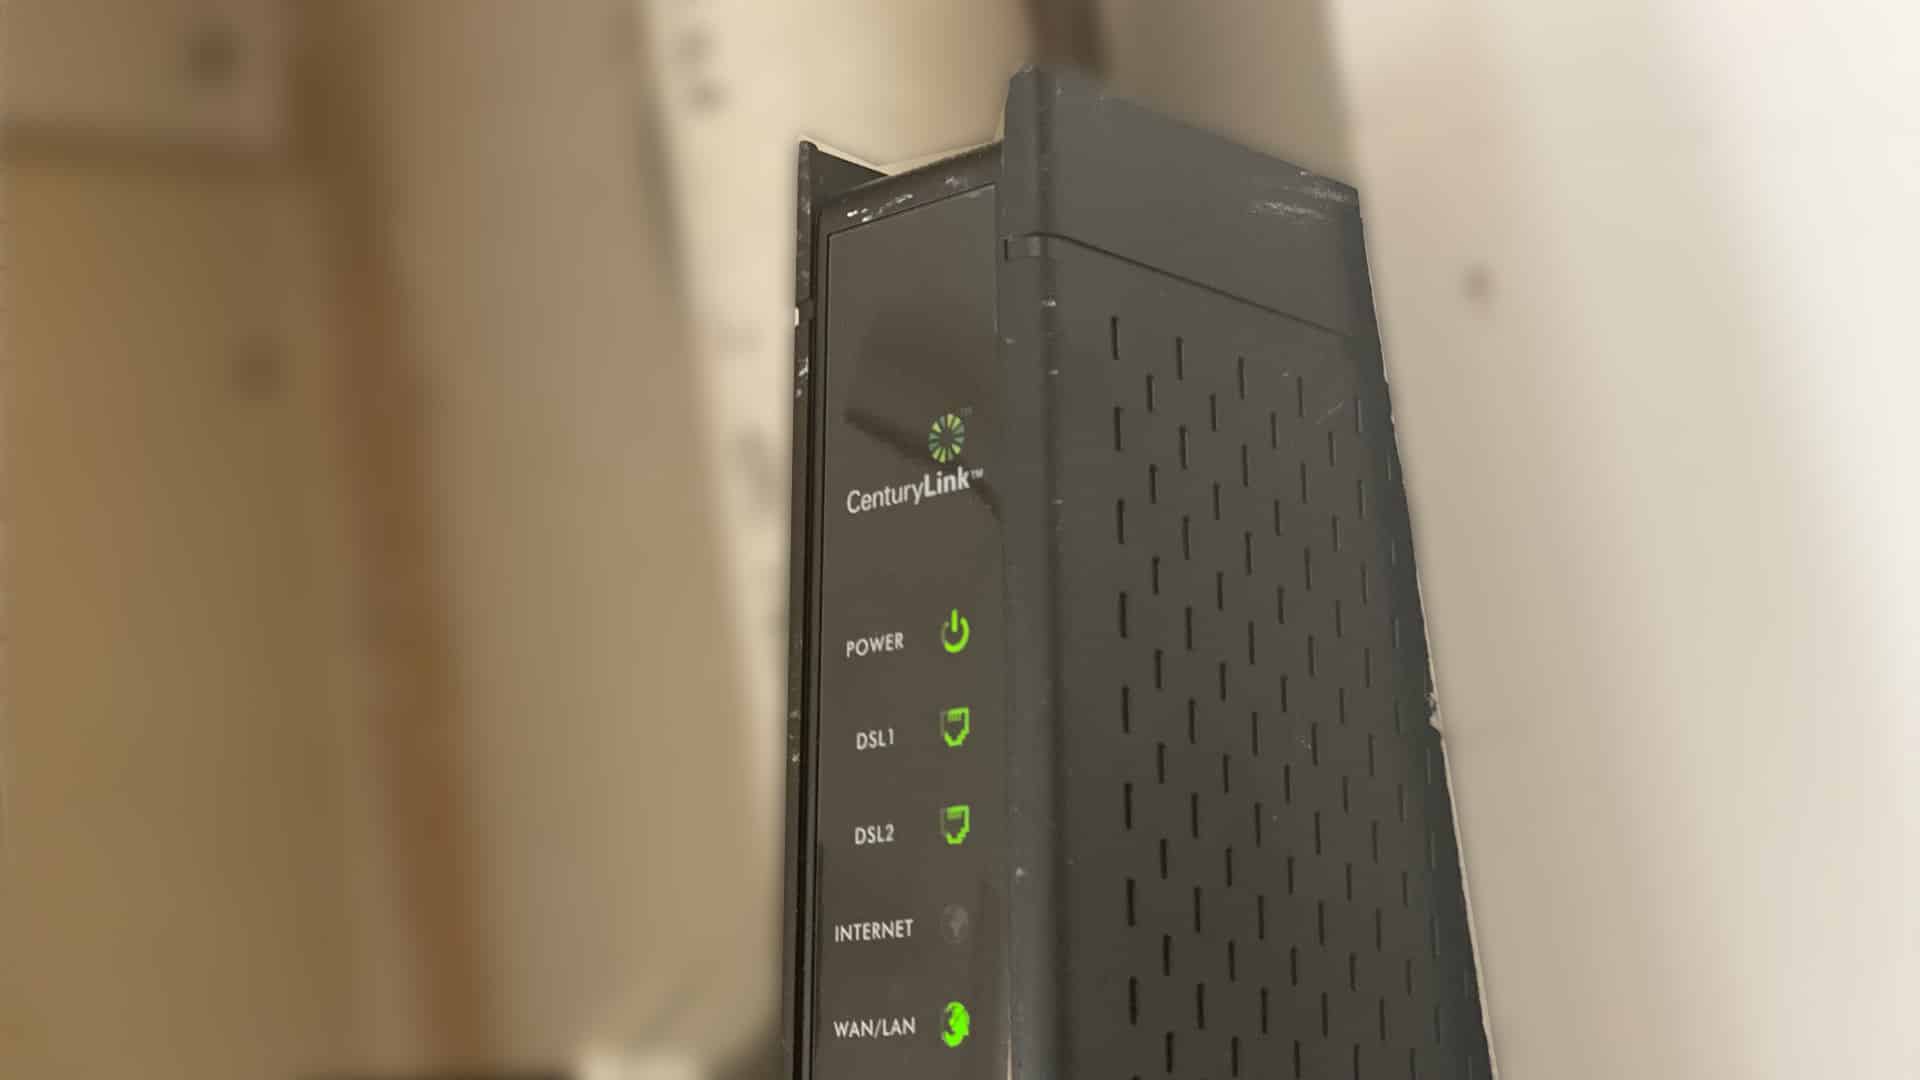
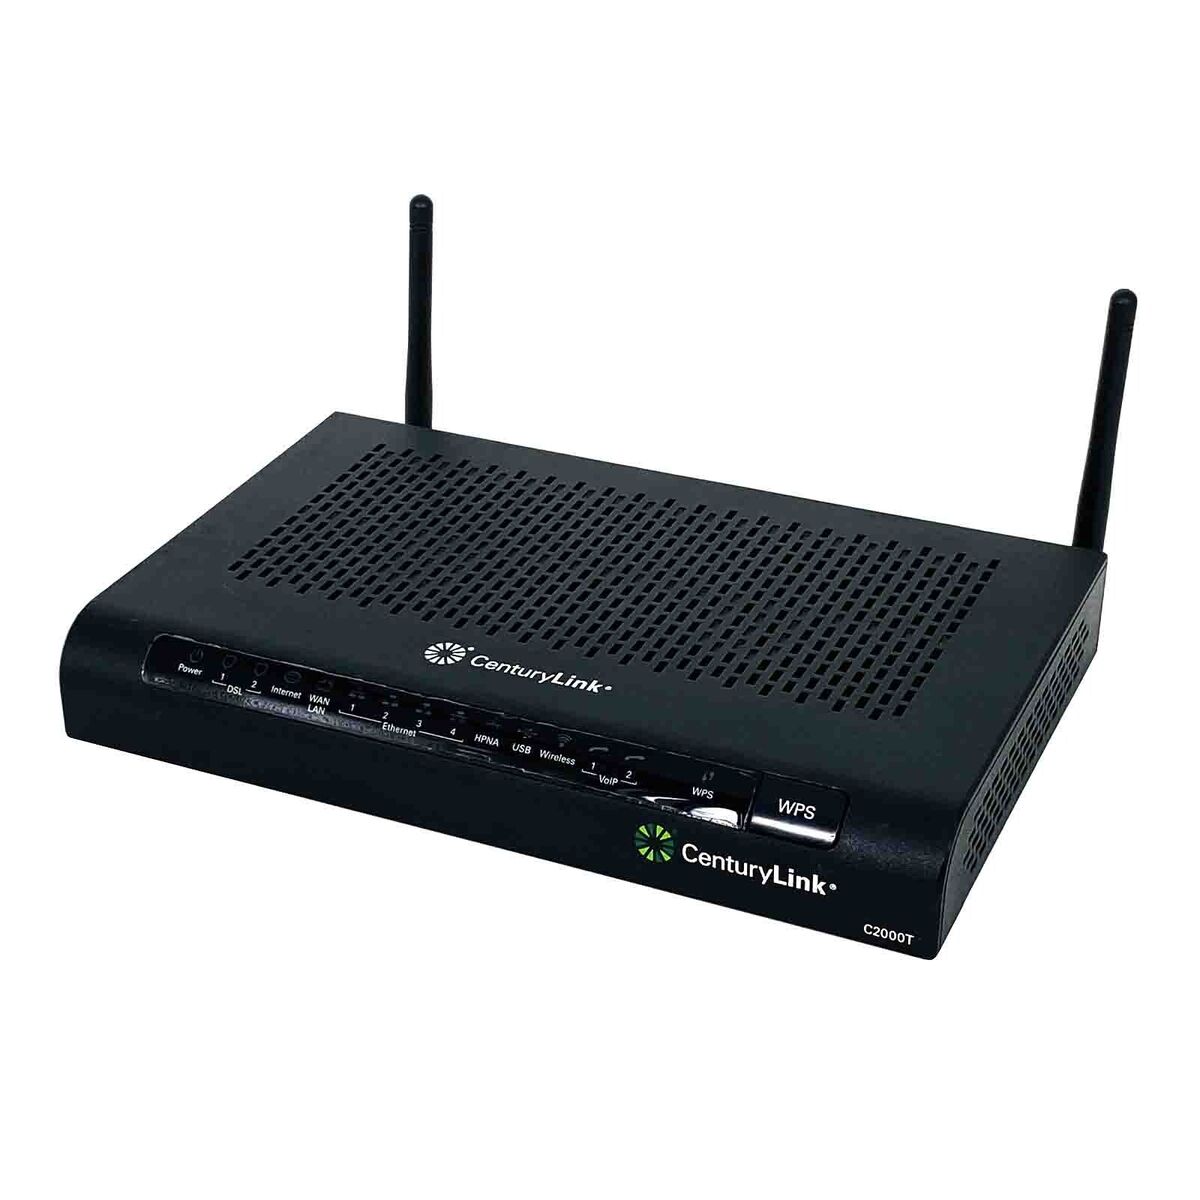
Step 1: Accessing Your CenturyLink Wireless Router
To change the password on your CenturyLink wireless router, you first need to access its settings. This can be done by following these simple steps:
- Make sure that your computer or device is connected to the CenturyLink router either via Wi-Fi or using an Ethernet cable.
- Open a web browser of your choice (such as Chrome, Firefox, or Safari) on the connected device.
- In the address bar of the browser, type in the default gateway IP address for CenturyLink routers, which is usually
192.168.0.1or192.168.1.1. Press Enter. - This will take you to the CenturyLink router login page, where you will be prompted to enter your login credentials.
- Enter the username and password for your CenturyLink router. If you are unsure of your login credentials, refer to the user manual or contact CenturyLink support for assistance.
- Click on the “Login” or “Sign In” button to proceed.
After successfully logging in, you will be granted access to the router’s settings and configurations. This is where you can make various changes to your router, including updating the wireless password for your network.
Now that you have successfully accessed your CenturyLink wireless router’s settings, let’s move on to the next step: logging into the router’s settings.
Step 2: Logging into Your Router’s Settings
Once you have accessed your CenturyLink wireless router, the next step is to log into its settings. Logging in will give you the ability to make changes and customize various aspects of your router. Here’s how you can do it:
- On the router settings page, look for the “Wireless Settings” or “Advanced Settings” tab. The exact location of this tab may vary depending on your router model.
- Click on the tab to expand it and reveal additional wireless settings options.
- Locate the “Security” or “Wireless Security” option within the expanded settings menu.
- Click on the “Security” or “Wireless Security” option to access the wireless security settings. This is where you can change the password for your CenturyLink wireless network.
- In some cases, you may be prompted to re-enter your router’s username and password to access the security settings. If prompted, enter your login credentials once again.
Once you have successfully logged into the router’s settings, you will be able to proceed with changing the wireless password for your CenturyLink network. This will help secure your network and prevent unauthorized access.
Now that you have logged into your router’s settings, let’s move on to the next step: navigating to the wireless security settings.
Step 3: Navigating to the Wireless Security Settings
After logging into your CenturyLink router’s settings, the next step is to navigate to the wireless security settings. This is where you can change your wireless password. Follow these steps to find the wireless security settings:
- Look for the “Wireless Settings” or “Advanced Settings” tab on the router settings page.
- Click on the tab to expand it and reveal additional options.
- Within the expanded settings menu, search for the “Security” or “Wireless Security” section.
- Click on the “Security” or “Wireless Security” option to access the wireless security settings.
Once you have arrived at the wireless security settings, you will see various options to customize the security features of your CenturyLink wireless network. This is where you will change the wireless password.
It’s important to note that the specific terminology and layout of the wireless security settings may vary depending on your router model. However, you should be able to identify the option to change the password within this section.
Now that you have successfully navigated to the wireless security settings, let’s move on to the next step: changing the wireless password.
Step 4: Changing the Wireless Password
Now that you have accessed the wireless security settings of your CenturyLink router, it’s time to change the wireless password. Follow these steps to update your Wi-Fi password:
- Locate the “Password” or “Passphrase” field within the wireless security settings. This is where you can enter your new password.
- Enter your desired password in the “Password” or “Passphrase” field. Make sure to choose a strong and unique password that is not easily guessable.
- Some routers may have specific requirements for the password, such as a minimum length or a combination of letters, numbers, and symbols. Ensure that your password meets these requirements.
- Take note of your new password or consider saving it in a secure location for future reference.
Changing your wireless password can help protect your network from unauthorized access and ensure the security of your internet connection.
Once you have entered the new password, you may also have the option to enable additional security features, such as WPA2 encryption or MAC address filtering. These features can further enhance the security of your network.
Now that you have successfully changed your wireless password, let’s move on to the next step: saving the new password and applying the changes.
Step 5: Saving the New Password and Applying Changes
After changing the wireless password on your CenturyLink router, it’s important to save the new password and apply the changes. This ensures that your new password is active and will be required for connecting to your Wi-Fi network. Follow these steps to save the new password and apply the changes:
- Look for a “Save” or “Apply Changes” button within the wireless security settings page.
- Click on the “Save” or “Apply Changes” button to save the new password and apply the changes to your CenturyLink router.
- Wait for a confirmation message or progress bar indicating that the changes have been successfully applied.
- Once the changes have been applied, your CenturyLink router will restart or update its settings. This may take a few moments.
It’s important to note that during this process, your connected devices may briefly disconnect from the Wi-Fi network. However, they should automatically reconnect using the new password once the router restarts.
After applying the changes and restarting your router, your new password will be active, and you will need to use it to connect any new devices or re-enter it on your existing devices to regain Wi-Fi access.
Congratulations! You have successfully saved the new password and applied the changes to your CenturyLink wireless router. Your Wi-Fi network is now secured with a fresh, strong password.
If desired, you can test the new password by connecting a device to the Wi-Fi network using the updated credentials.
Now that you have saved the new password and applied the changes, let’s move on to the optional step: restarting your router.
Step 6: Restarting Your Router (Optional)
Restarting your router after changing the wireless password is an optional step, but it can help ensure that the new settings take effect effectively. Here’s how you can restart your CenturyLink router:
- Locate the power button on your router. It is usually located on the back or side of the device.
- Press and hold the power button for a few seconds until the router turns off.
- Wait for about 10 seconds to ensure that the router has completely powered down.
- Press the power button again to turn the router back on.
- Wait for the router to fully restart and establish a stable connection, which may take a few minutes.
Restarting your router can help clear any temporary configurations or cache, ensuring that the new wireless password is implemented correctly.
Once your CenturyLink router has restarted, you can proceed to connect your devices to the Wi-Fi network using the newly updated password.
It’s important to note that restarting your router will temporarily interrupt your internet connection. However, this should only last for a few minutes while the router restarts and reconnects to the network.
Congratulations! You have successfully changed the password on your CenturyLink wireless router and, if desired, restarted the router to apply the new settings.
By regularly updating your wireless password and taking steps to secure your network, you can ensure the safety and privacy of your home Wi-Fi network.
Now that you have completed all the steps, you can enjoy a more secure and protected internet experience with your CenturyLink wireless router.
Conclusion
Changing the password on your CenturyLink wireless router is an essential step in maintaining the security of your home network. By regularly updating your password, you can prevent unauthorized access and ensure the privacy of your internet connection. In this guide, we have walked through the step-by-step process of changing your CenturyLink router’s password.
We started by accessing the router’s settings and logging in with our credentials. Then, we navigated to the wireless security settings, where we found the option to change the password. After entering a strong, unique password, we saved the changes and applied them to the router. Finally, we discussed the optional step of restarting the router to ensure that the new settings take effect.
Remember to choose a strong password that is not easily guessable and consider enabling additional security features, such as WPA2 encryption and MAC address filtering, to enhance the security of your network even further.
By following these steps, you can ensure that your CenturyLink wireless router is secure and that only authorized users can connect to your Wi-Fi network. Taking these precautions will give you peace of mind and protect you from potential security threats.
Thank you for reading this guide. We hope it has been helpful in assisting you with changing the password on your CenturyLink wireless router. If you have any further questions or need additional assistance, don’t hesitate to reach out to CenturyLink support. Stay safe and enjoy a secure internet connection!