Introduction
Welcome to the guide on how to connect a wireless router to a CenturyLink modem. If you’re looking to set up a wireless network in your home or office, connecting a router to your CenturyLink modem is a crucial step. By doing so, you can enjoy the convenience and flexibility of a wireless connection, allowing multiple devices to access the internet simultaneously without the need for cables.
Before we delve into the specific steps for connecting your wireless router to your CenturyLink modem, it’s important to understand the benefits of a wireless network. With a wireless network, you can connect your smartphones, laptops, tablets, and other devices to the internet, providing you with mobility and freedom to move around your space without being limited by wired connections.
Setting up a wireless router with your CenturyLink modem is not as complicated as it may seem. By following a few simple steps, you’ll be able to establish a secure and reliable wireless connection in no time. This guide will provide you with a step-by-step process to connect your wireless router to your CenturyLink modem, ensuring a seamless and hassle-free experience.
Throughout this guide, we’ll walk you through the necessary equipment you’ll need, how to properly connect the modem to the router, and how to configure your wireless network settings. Whether you’re a tech-savvy individual or a beginner, this guide is designed to assist you in successfully setting up your wireless network.
So, let’s dive into the world of wireless connectivity and learn how to connect your wireless router to your CenturyLink modem.
Step 1: Gather the necessary equipment
Before you begin connecting your wireless router to your CenturyLink modem, it’s important to gather all the necessary equipment to ensure a smooth setup process. Here’s a list of items that you’ll need:
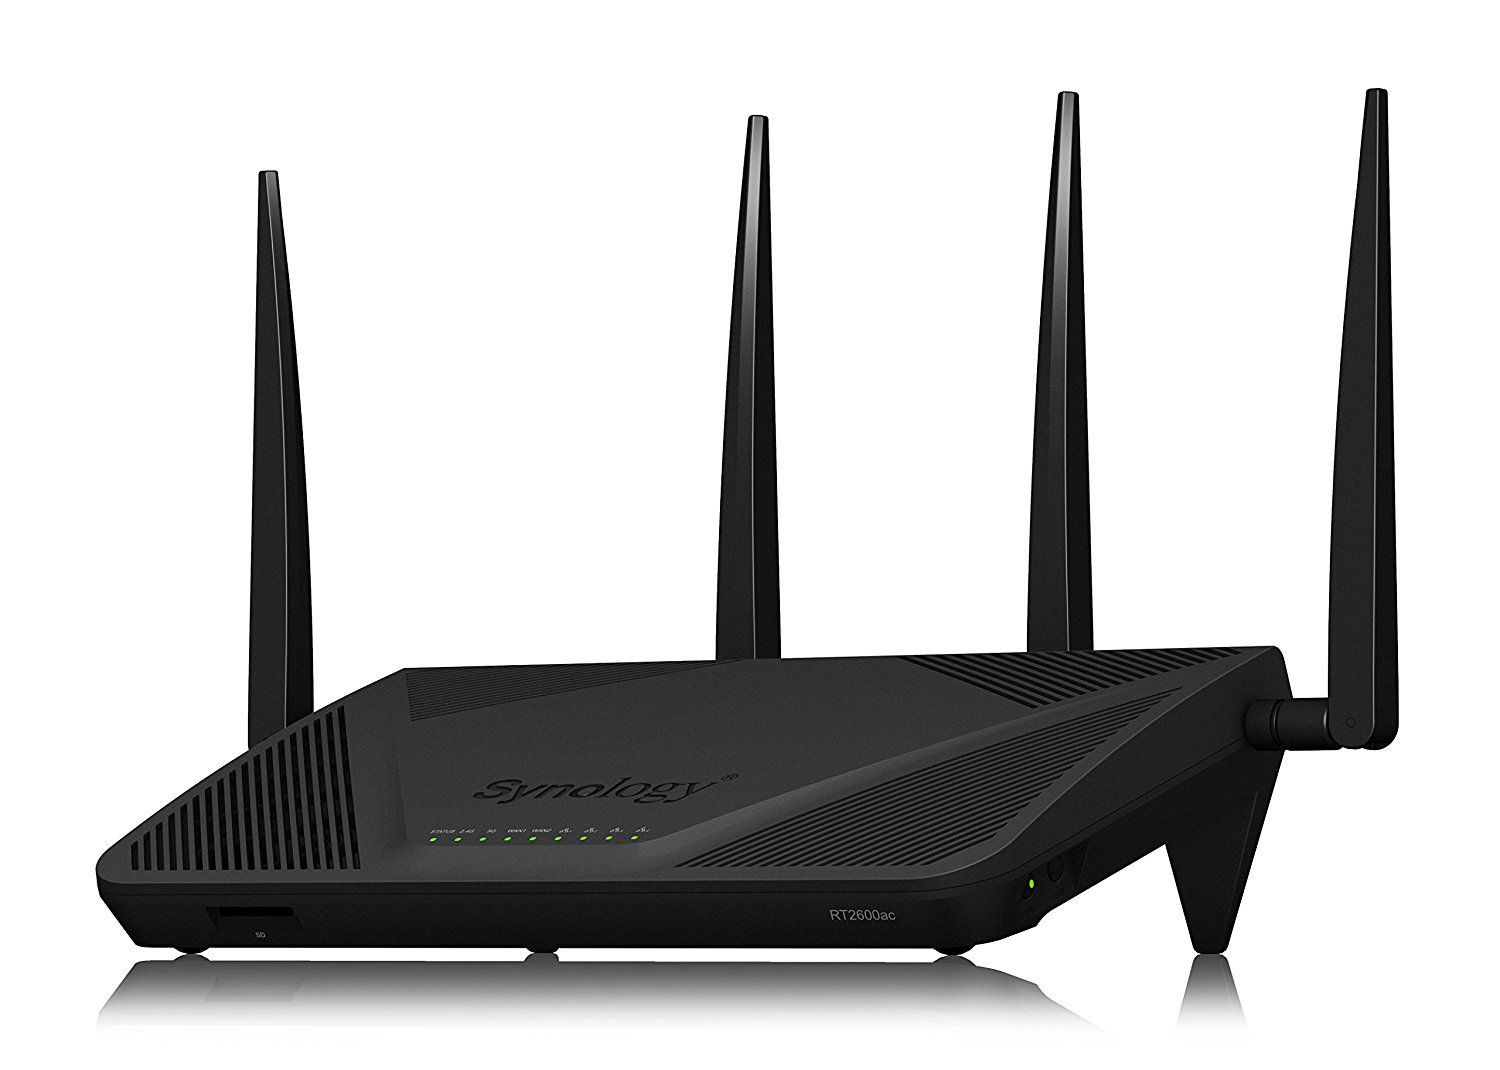
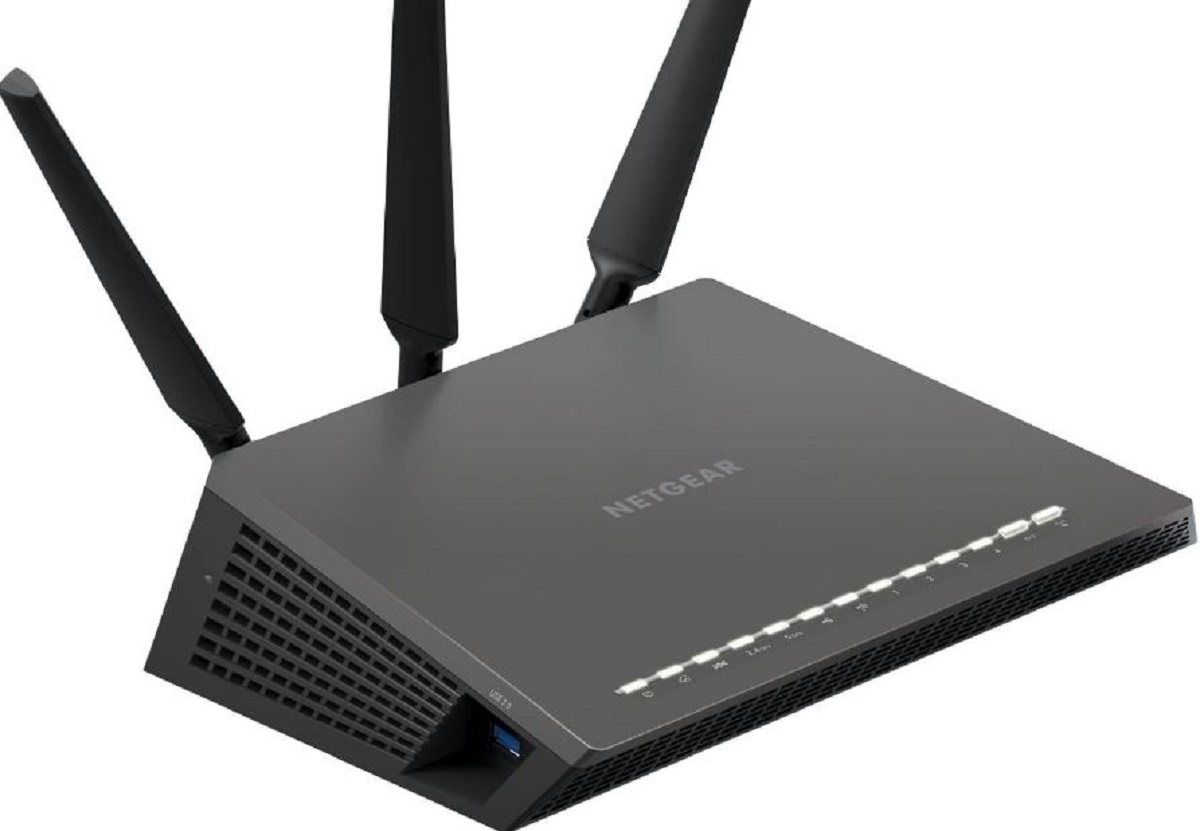
- Wireless router: Choose a wireless router that is compatible with your CenturyLink modem. It’s recommended to opt for a router that supports the latest Wi-Fi standards (e.g., 802.11n or 802.11ac) for faster and more reliable connections.
- Ethernet cable: Grab an Ethernet cable, also known as a network cable or CAT-5 cable, to establish a wired connection between your modem and router.
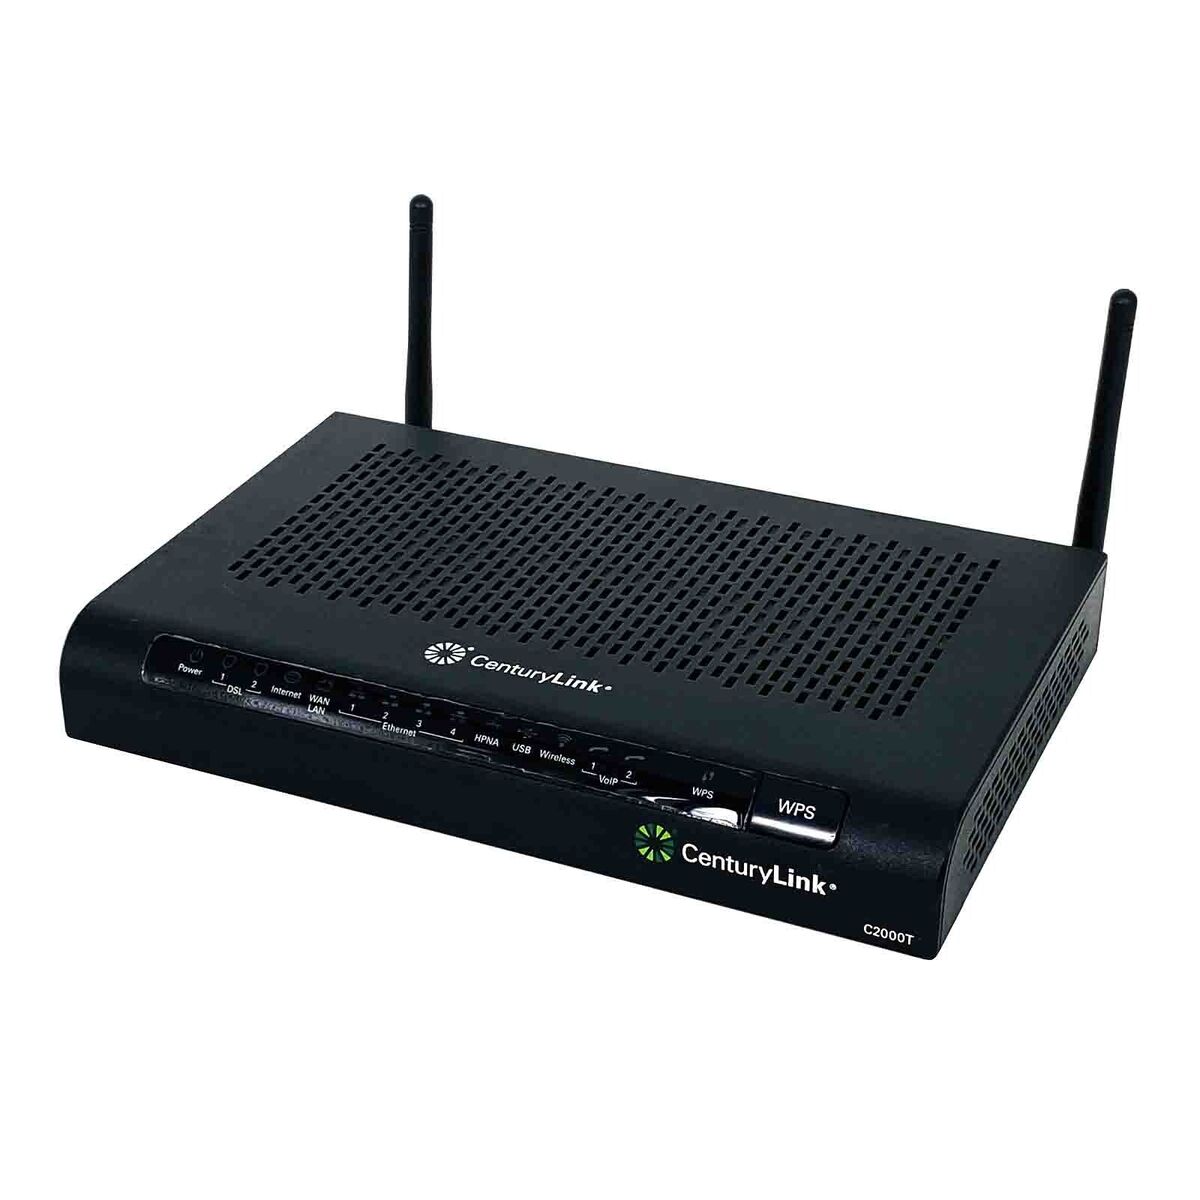
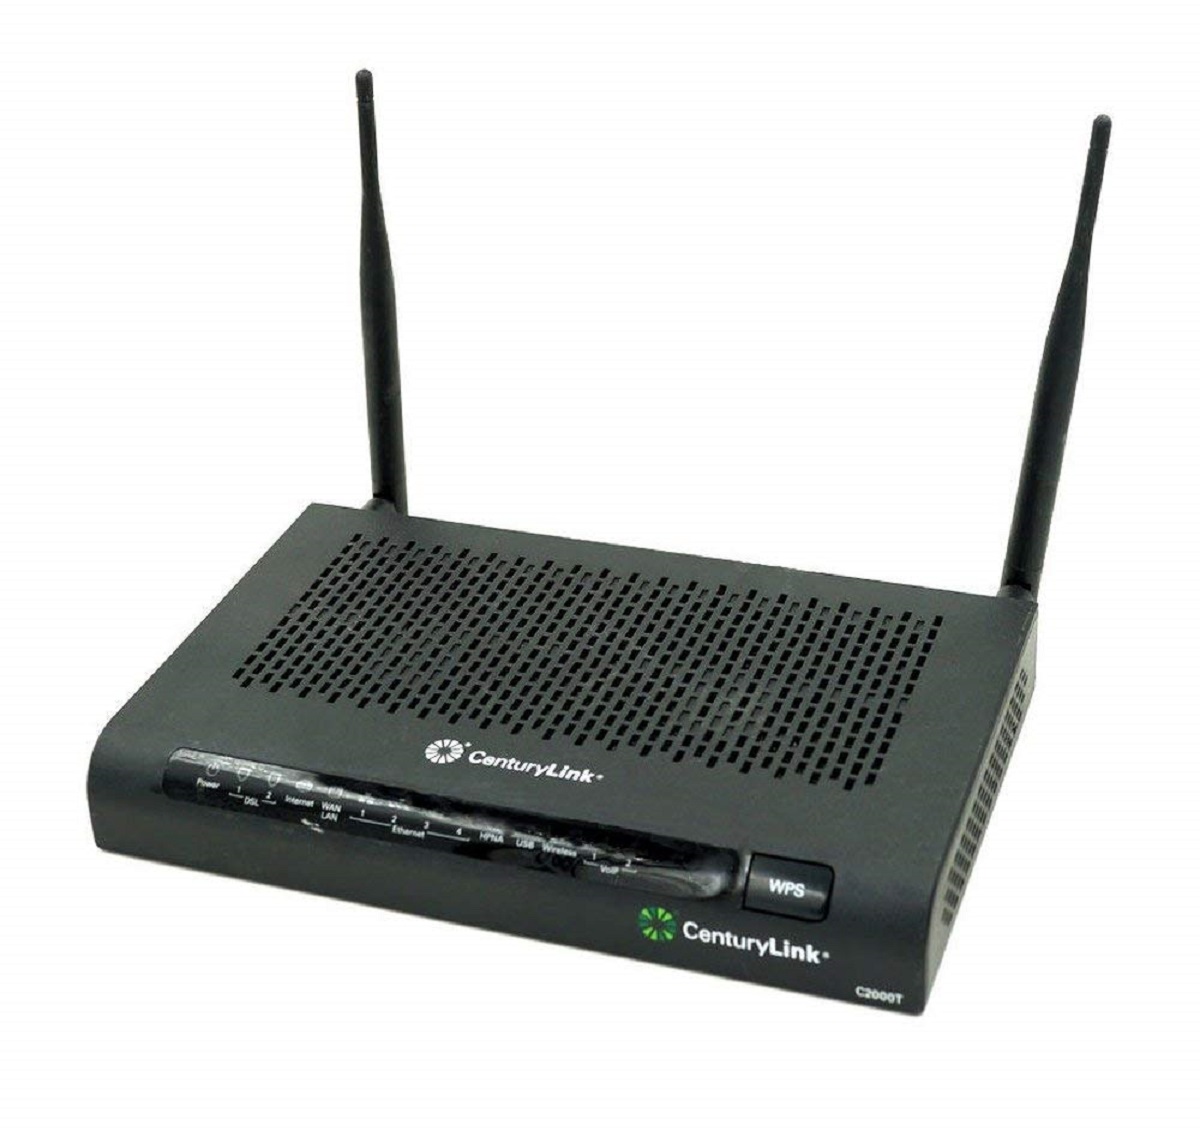
- CenturyLink modem: Ensure you have your CenturyLink modem at hand. This is the device that connects your home or office to the internet, and it will need to be properly connected to the wireless router.
- Power adapters: Both the modem and router will require power, so make sure you have the respective power adapters readily available.
- Computer or device: You’ll need a computer or device with Wi-Fi capabilities to configure the router settings. It’s recommended to have a laptop or smartphone handy for this step.
- Username and password: Keep your CenturyLink account username and password nearby, as you may need them during the setup process.
Once you’ve gathered all the necessary equipment, you’re ready to move on to the next step of connecting your wireless router to your CenturyLink modem. Make sure to double-check that you have everything on the list to avoid any delays or interruptions during the setup process.
Step 2: Power off the modem and router
Before making any connections, it’s important to ensure that both your CenturyLink modem and wireless router are powered off. This step is essential to avoid any electrical damage or interference during the setup process. Here’s how you can safely power off both devices:
- Locate the power adapter connected to your CenturyLink modem and unplug it from the power outlet. This will disconnect the modem from the power supply and turn it off. Wait for a few seconds to ensure that it has completely powered down.
- Next, find the power adapter connected to your wireless router and unplug it from the power outlet as well. This will ensure that the router is powered off and no longer receiving electricity.
By properly powering off both the modem and router, you’re taking the necessary precautionary steps to ensure a safe and effective setup process. It allows the devices to reset, clearing any existing configurations and preparing them for the connection process.
Once you have powered off both your CenturyLink modem and wireless router, you can proceed to the next step of connecting them together. This will establish the necessary physical connection between the modem and router, enabling them to work in tandem and provide you with a wireless network connection.
Step 3: Connect the modem to the router
Now that you have powered off both your CenturyLink modem and wireless router, it’s time to establish the physical connection between the two devices. Follow these steps to successfully connect your modem to your router:
- Locate the Ethernet cable (network cable) that you gathered during the equipment gathering step.
- Take one end of the Ethernet cable and insert it into the Ethernet port on the back of your CenturyLink modem. Ensure that it is securely connected.
- Take the other end of the Ethernet cable and insert it into the WAN (Wide Area Network) port on the back of your wireless router. This port is usually labeled with “WAN” or “Internet”. Confirm that the connection is tightly secured.
- Double-check all the connections to ensure that the Ethernet cable is properly inserted into both the modem and router. A loose or improperly connected cable can lead to connectivity issues.
By connecting the modem to the router using an Ethernet cable, you are establishing a direct physical link between the two devices. This connection allows the modem to receive data from your internet service provider (CenturyLink) and pass it on to the router, which will then distribute the internet connection wirelessly to your devices.
Once the modem and router are securely connected, you can proceed to the next step of powering on the devices and configuring your wireless network settings.
Step 4: Power on the modem and router
Now that your modem is connected to your router, it’s time to power on both devices. Follow these steps to ensure a successful power-on process:
- Firstly, locate the power adapter for your CenturyLink modem and plug it into a power outlet.
- Once the modem is connected to the power source, wait for a few moments to allow it to initialize. This process may take a couple of minutes.
- Next, find the power adapter for your wireless router and plug it into a separate power outlet.
- Wait for the router to power up and establish a connection with the modem. This may take a few minutes as well.
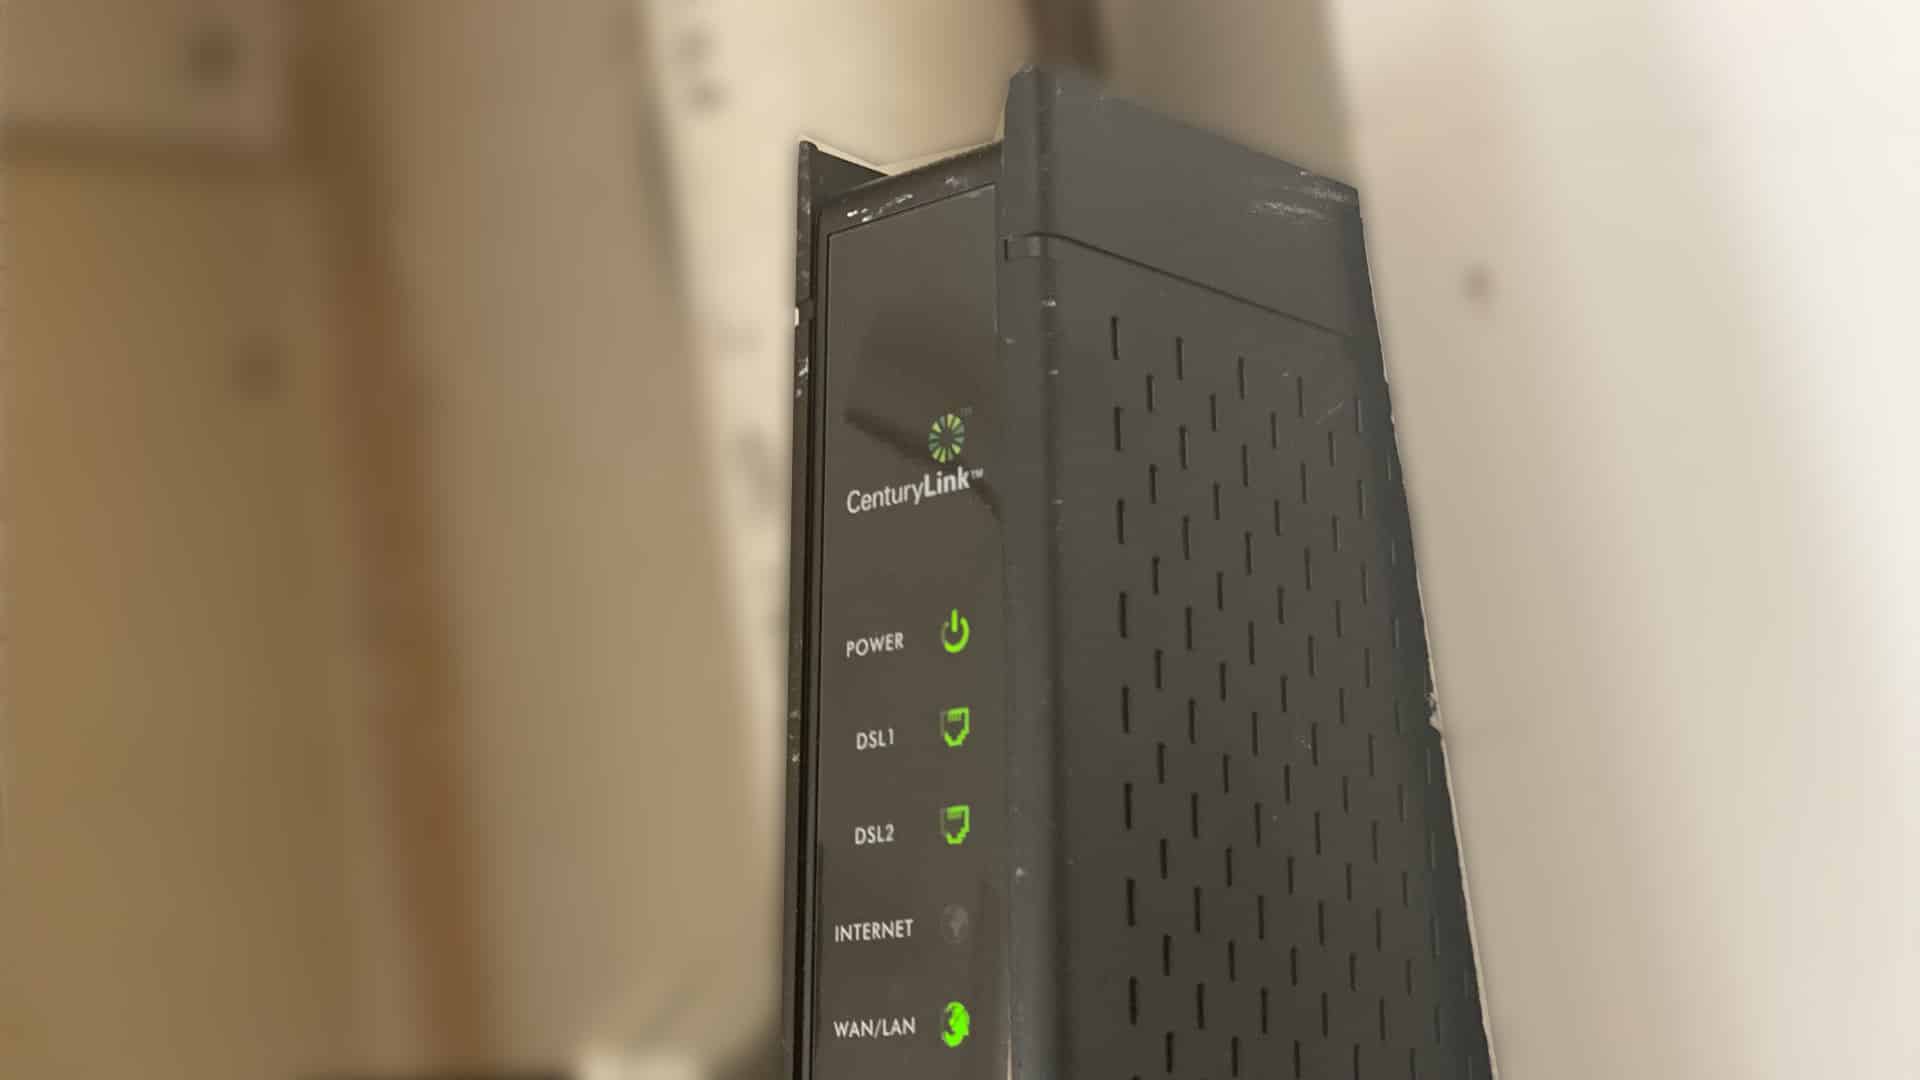
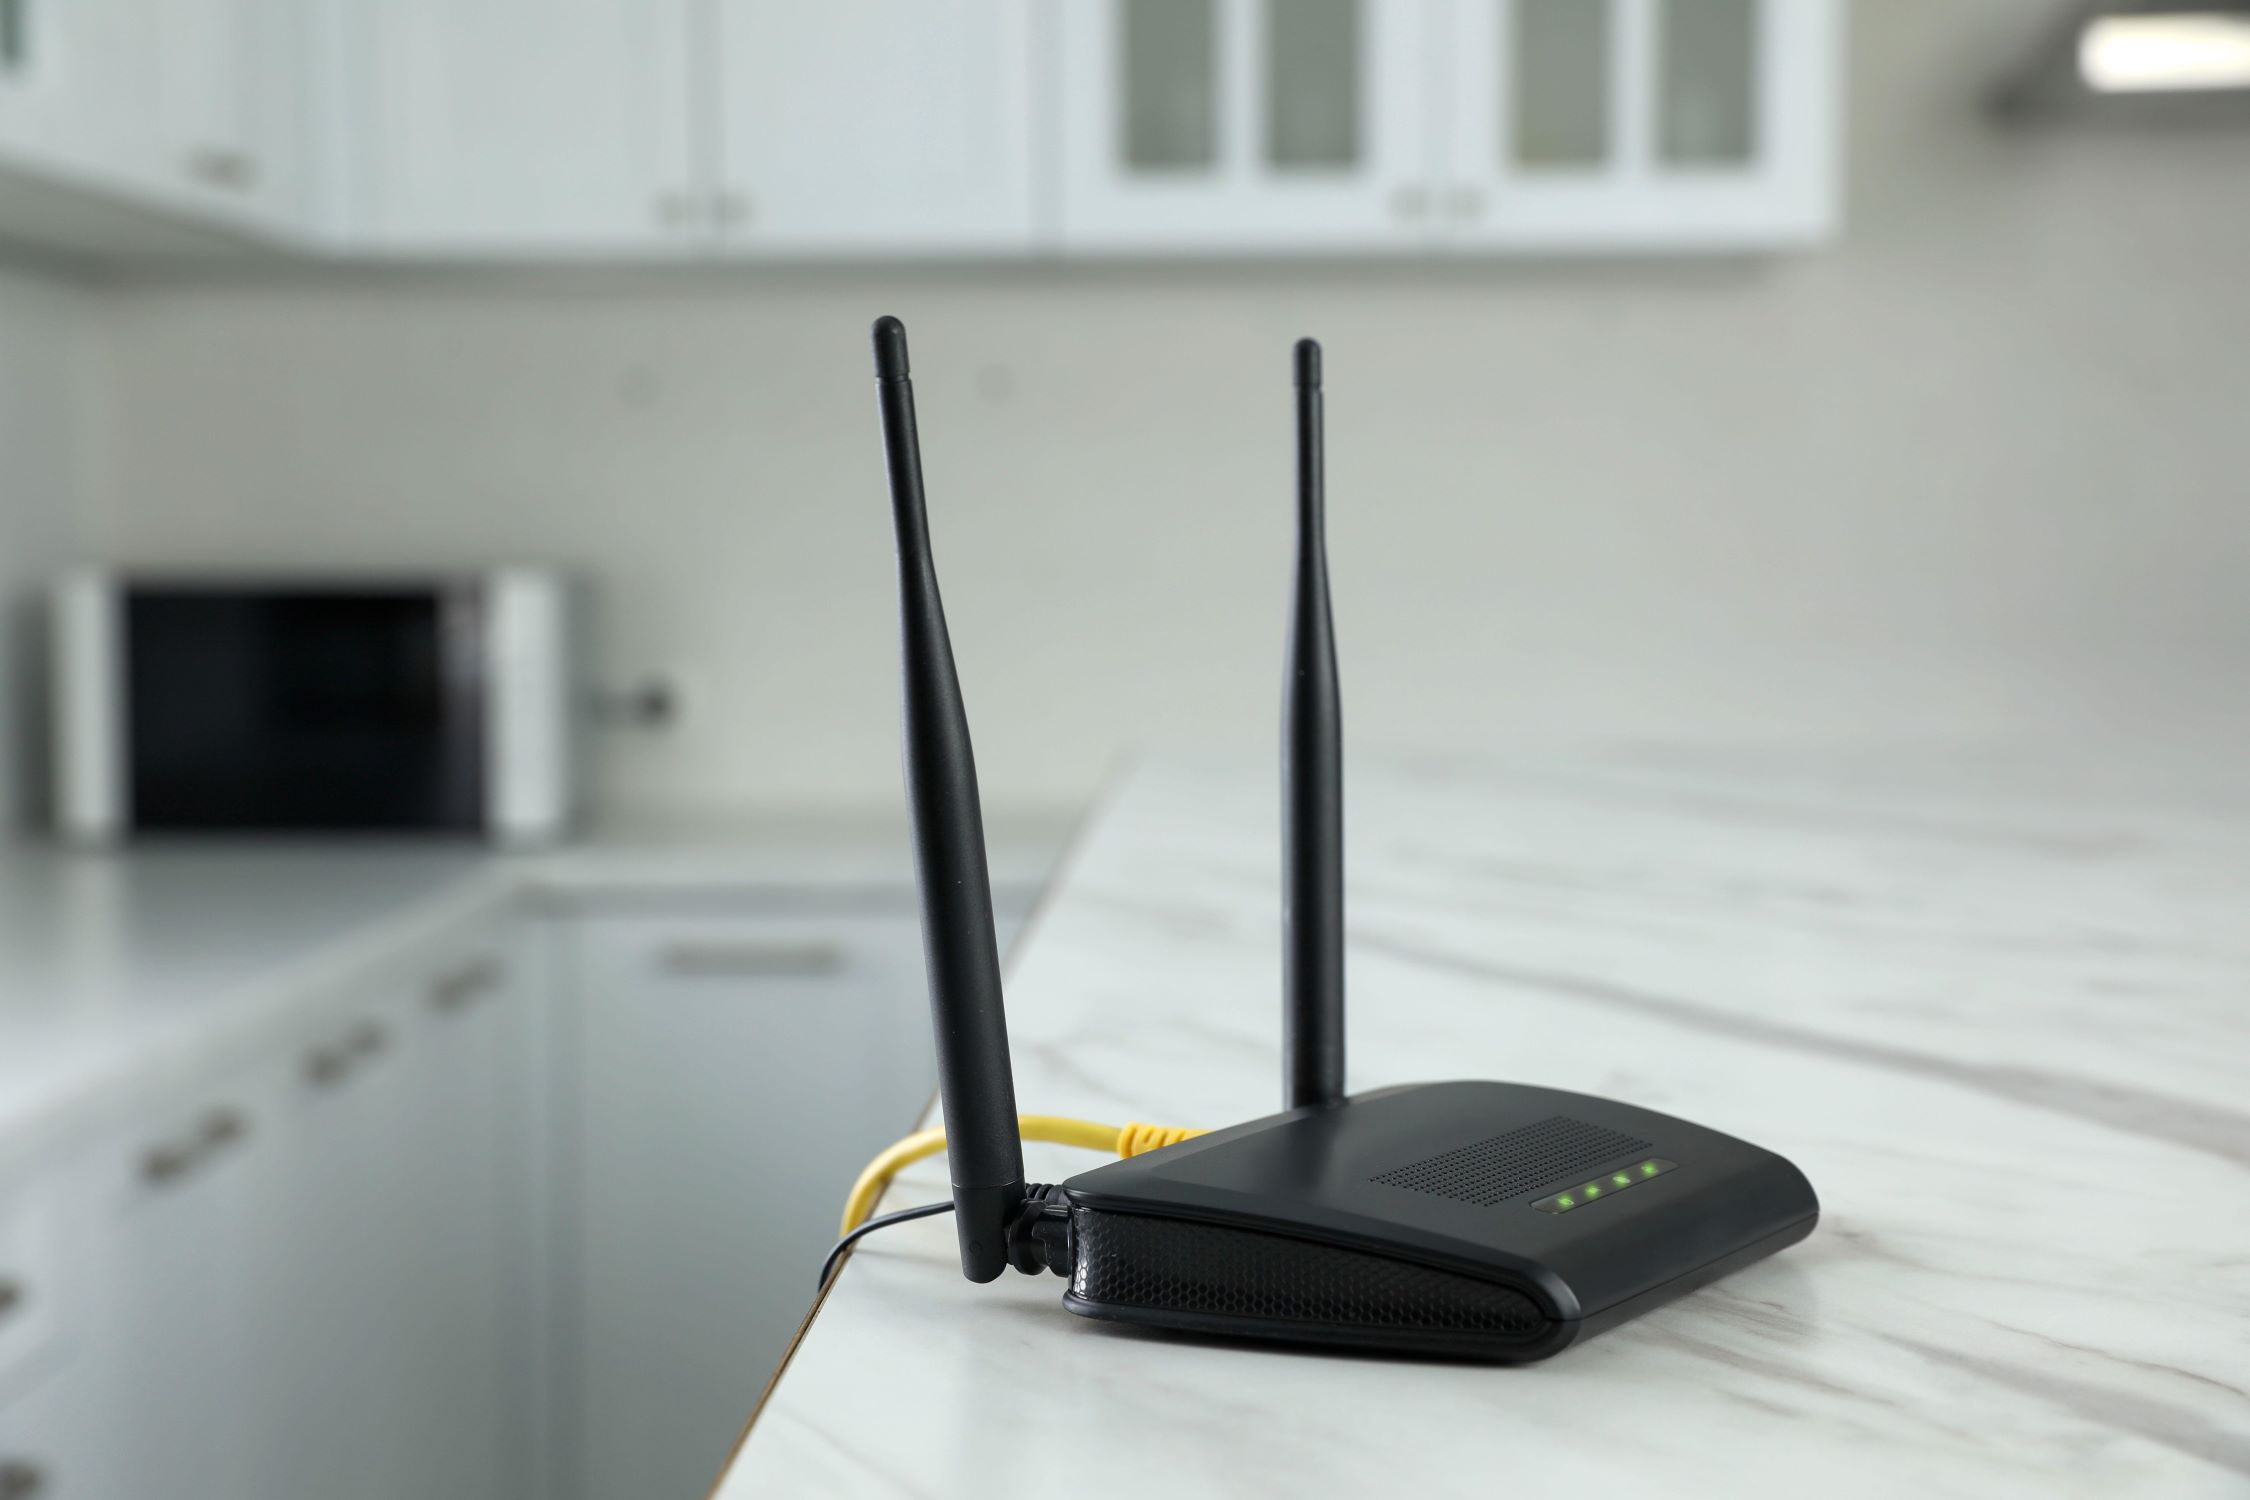
- Check the indicator lights on both the modem and router. The lights will indicate the status of your connection. Refer to the device’s user manual for specific information on what each light represents.
By powering on both your modem and router, you are allowing them to establish a connection and communicate with each other. The modem will receive the internet signal from your service provider (CenturyLink) and pass it on to the router. The router will then create a wireless network for your devices to connect to.
It’s essential to be patient during this step as the devices need time to initialize and establish a stable connection. Once all the necessary lights on both devices indicate a successful connection, you can proceed with the final step of configuring your wireless network settings.
Step 5: Configure the wireless network
Now that your modem and router are powered on and connected, it’s time to configure your wireless network settings. Follow these steps to set up your wireless network:
- Open a web browser on your computer or device that is connected to the newly established network.
- Type in the default IP address of your wireless router in the address bar. Common default IP addresses include “192.168.0.1” or “192.168.1.1”. Consult your router’s manual or documentation for the specific address.
- You will be prompted to enter a username and password to access the router’s settings. These credentials are typically found on a sticker on the router itself or in the user manual. Enter the correct login details to proceed.
- Once you have successfully logged in, navigate to the wireless settings or setup page of your router’s configuration interface.
- Here, you can customize your wireless network settings, such as the network name (SSID), security type, and password. Choose a unique and easily recognizable network name, select a strong security option (e.g., WPA2), and create a secure password that is difficult to guess.
- Once you have made your desired changes, save or apply the settings. Your wireless network will be reconfigured with the updated settings.
Configuring your wireless network settings allows you to personalize your network and ensure the security of your connection. By choosing a strong password and enabling proper security measures, you can protect your network from unauthorized access.
After configuring the wireless settings, you can start connecting your devices to the newly created network by selecting the network name (SSID) and entering the password you set during the configuration process.
It’s important to note that if you encounter any difficulties during the configuration process or need further assistance, you can consult the user manual or contact the manufacturer’s support team for detailed guidance.
Conclusion
Congratulations! You have successfully connected your wireless router to your CenturyLink modem and configured your wireless network. By following the step-by-step process outlined in this guide, you have now created a secure and reliable wireless network for your home or office.
Setting up a wireless network provides you with the flexibility and convenience of connecting multiple devices to the internet without the need for cables. This allows you to enjoy a seamless and connected experience, whether you’re browsing the web, streaming movies, or accessing online services.
Remember, it’s essential to gather the necessary equipment, power off the modem and router, connect the modem to the router using an Ethernet cable, power on both devices, and configure your wireless network settings to ensure a successful setup process.
If you encounter any difficulties during the setup or configuration process, don’t hesitate to consult the user manual or contact the manufacturer’s support team for further assistance. They will be happy to provide guidance and address any concerns you may have.
Now that you have your wireless network up and running, you can enjoy the freedom of a wireless connection and the convenience it brings to your daily activities. Whether it’s working from home, gaming, or simply staying connected with loved ones, your wireless network will be there to support you.
Thank you for choosing this guide to assist you in connecting your wireless router to your CenturyLink modem. We hope that this guide has been informative and helpful, and we wish you the best of luck with your wireless network setup!