Introduction
Welcome to the guide on how to bridge a modem and a wireless router. As our dependency on the internet increases, it is crucial to have a strong and reliable connection at home or in the office. By bridging a modem and a wireless router, you can combine the functionality of both devices to create a seamless and efficient network.
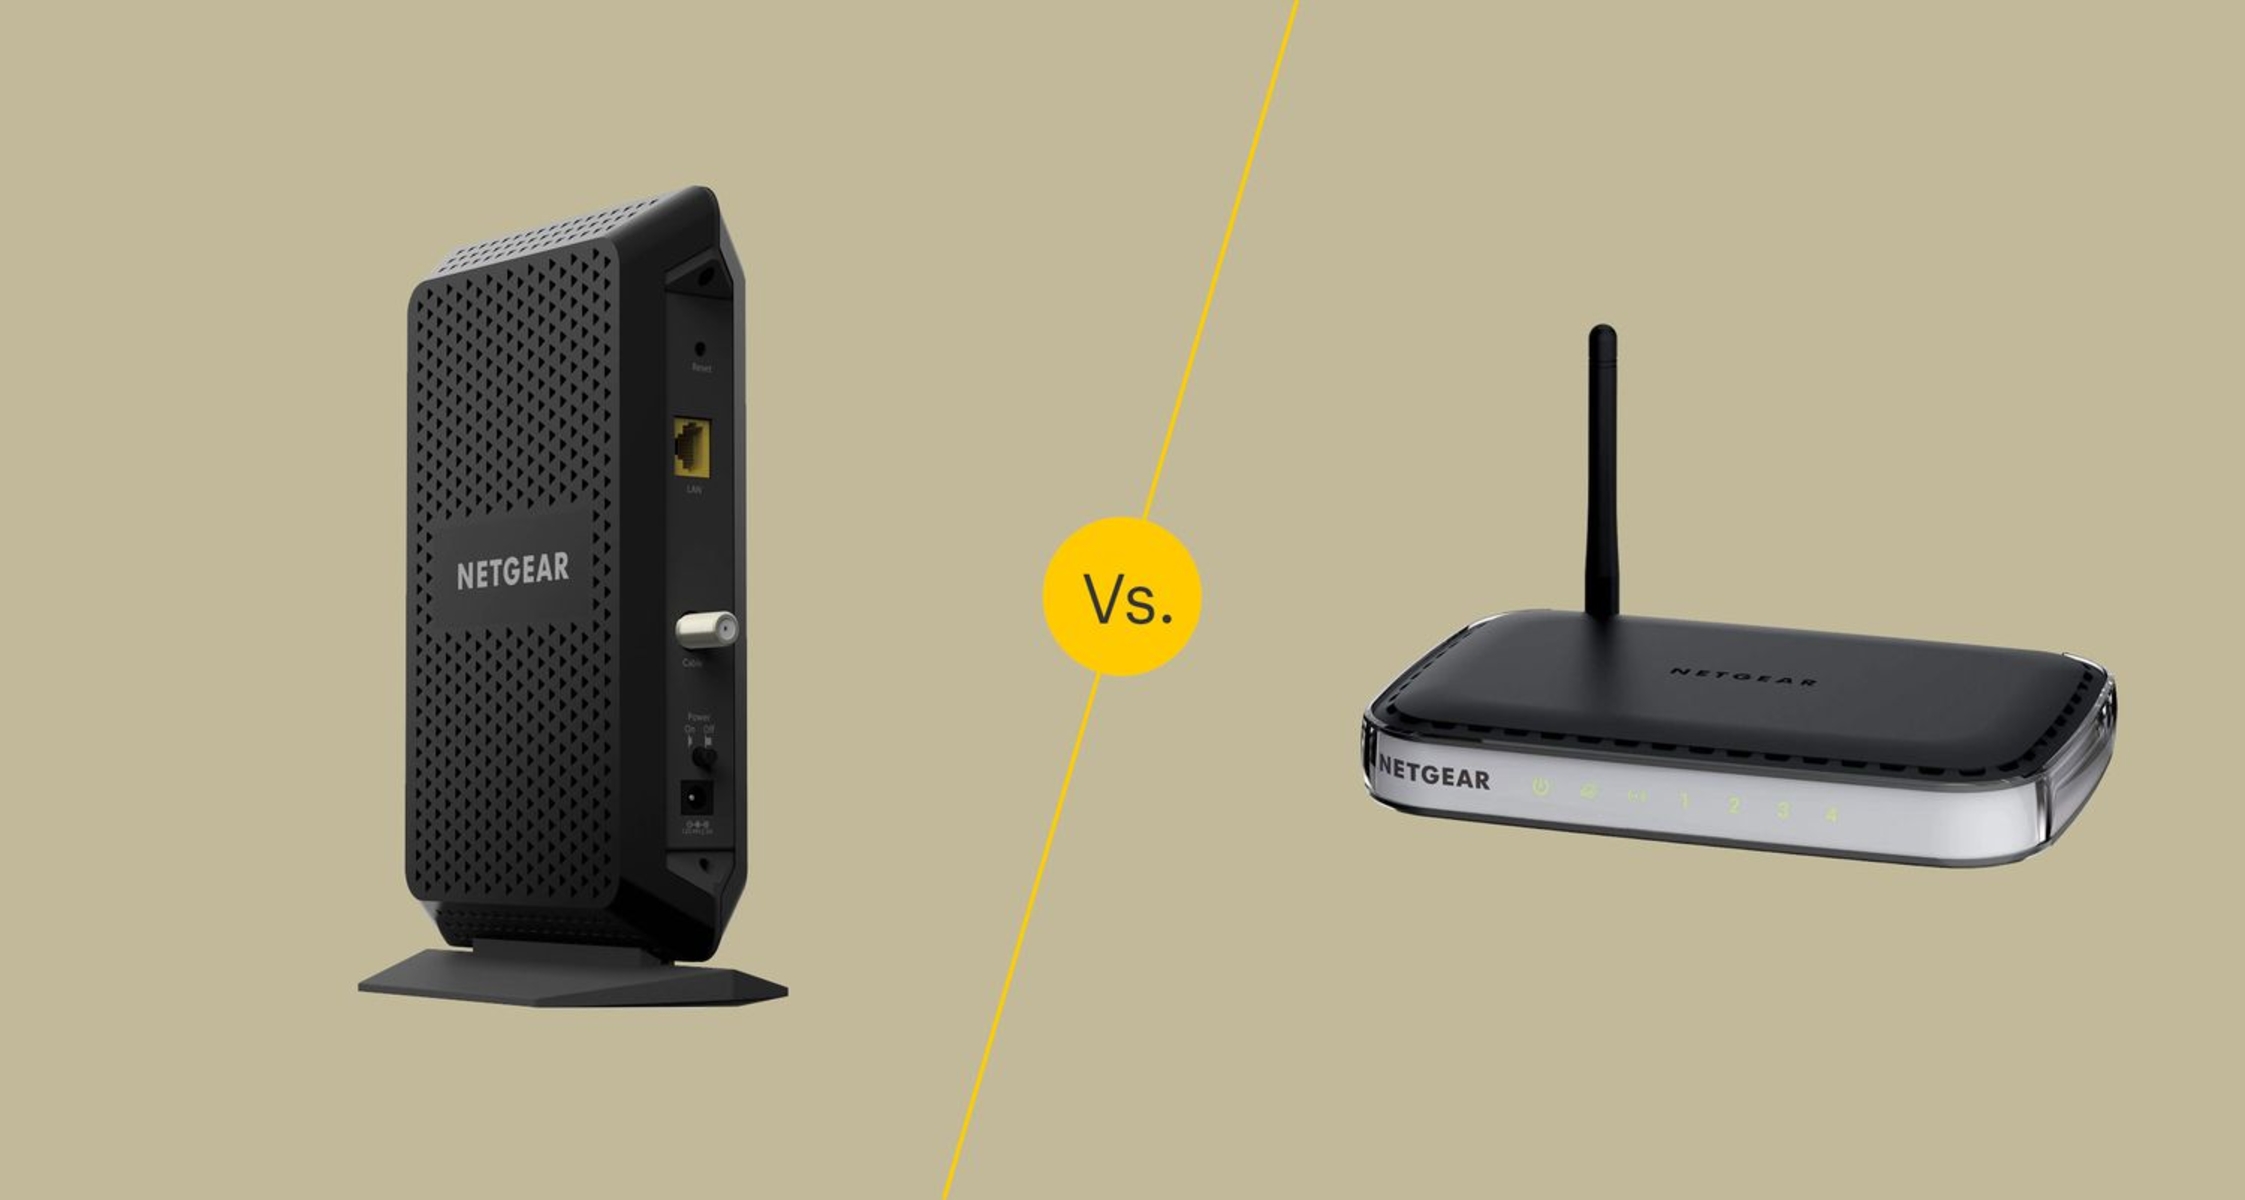
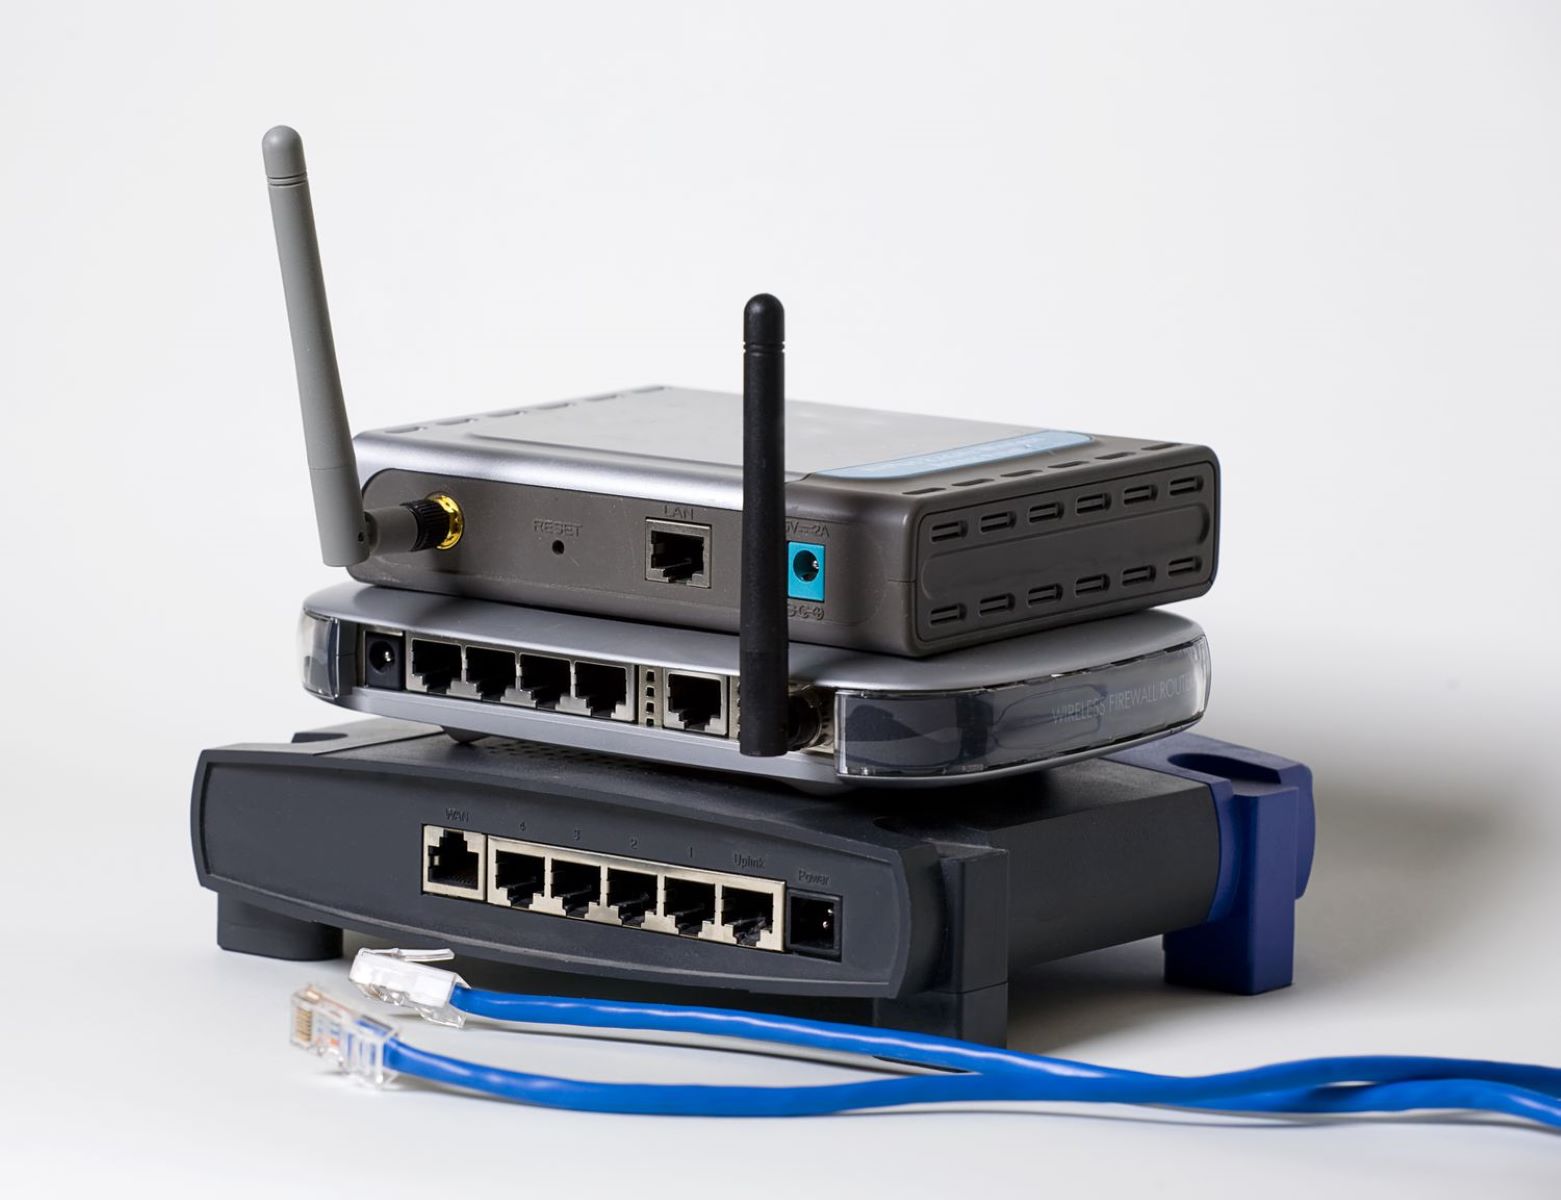
Before we delve into the step-by-step process, let’s first understand the difference between a modem and a wireless router. A modem is a device that connects your network to the internet, allowing you to access the online world. On the other hand, a wireless router is responsible for creating a wireless network and distributing the internet connection to multiple devices within its range.
By bridging the modem and the wireless router, you can utilize the modem’s internet connection and the router’s ability to distribute that connection wirelessly. This configuration becomes useful when you have a modem that does not have built-in Wi-Fi capabilities or when you prefer to use a separate wireless router for increased range and advanced features.
This guide will walk you through the step-by-step process of bridging a modem and a wireless router. By the end of this guide, you will have a functioning network that provides internet access to your devices wirelessly. So, let’s get started!
Step 1: Understand the difference between a modem and a wireless router
Before we begin bridging the modem and the wireless router, it is essential to have a clear understanding of the functions and capabilities of each device.
A modem, short for modulator-demodulator, is a device that connects your network to the internet. It serves as the gateway, translating the digital signals from your network into a format that can be transmitted over a physical connection, such as coaxial cables or telephone lines. In simpler terms, the modem establishes the link between your internet service provider (ISP) and your devices, allowing you to access the internet.
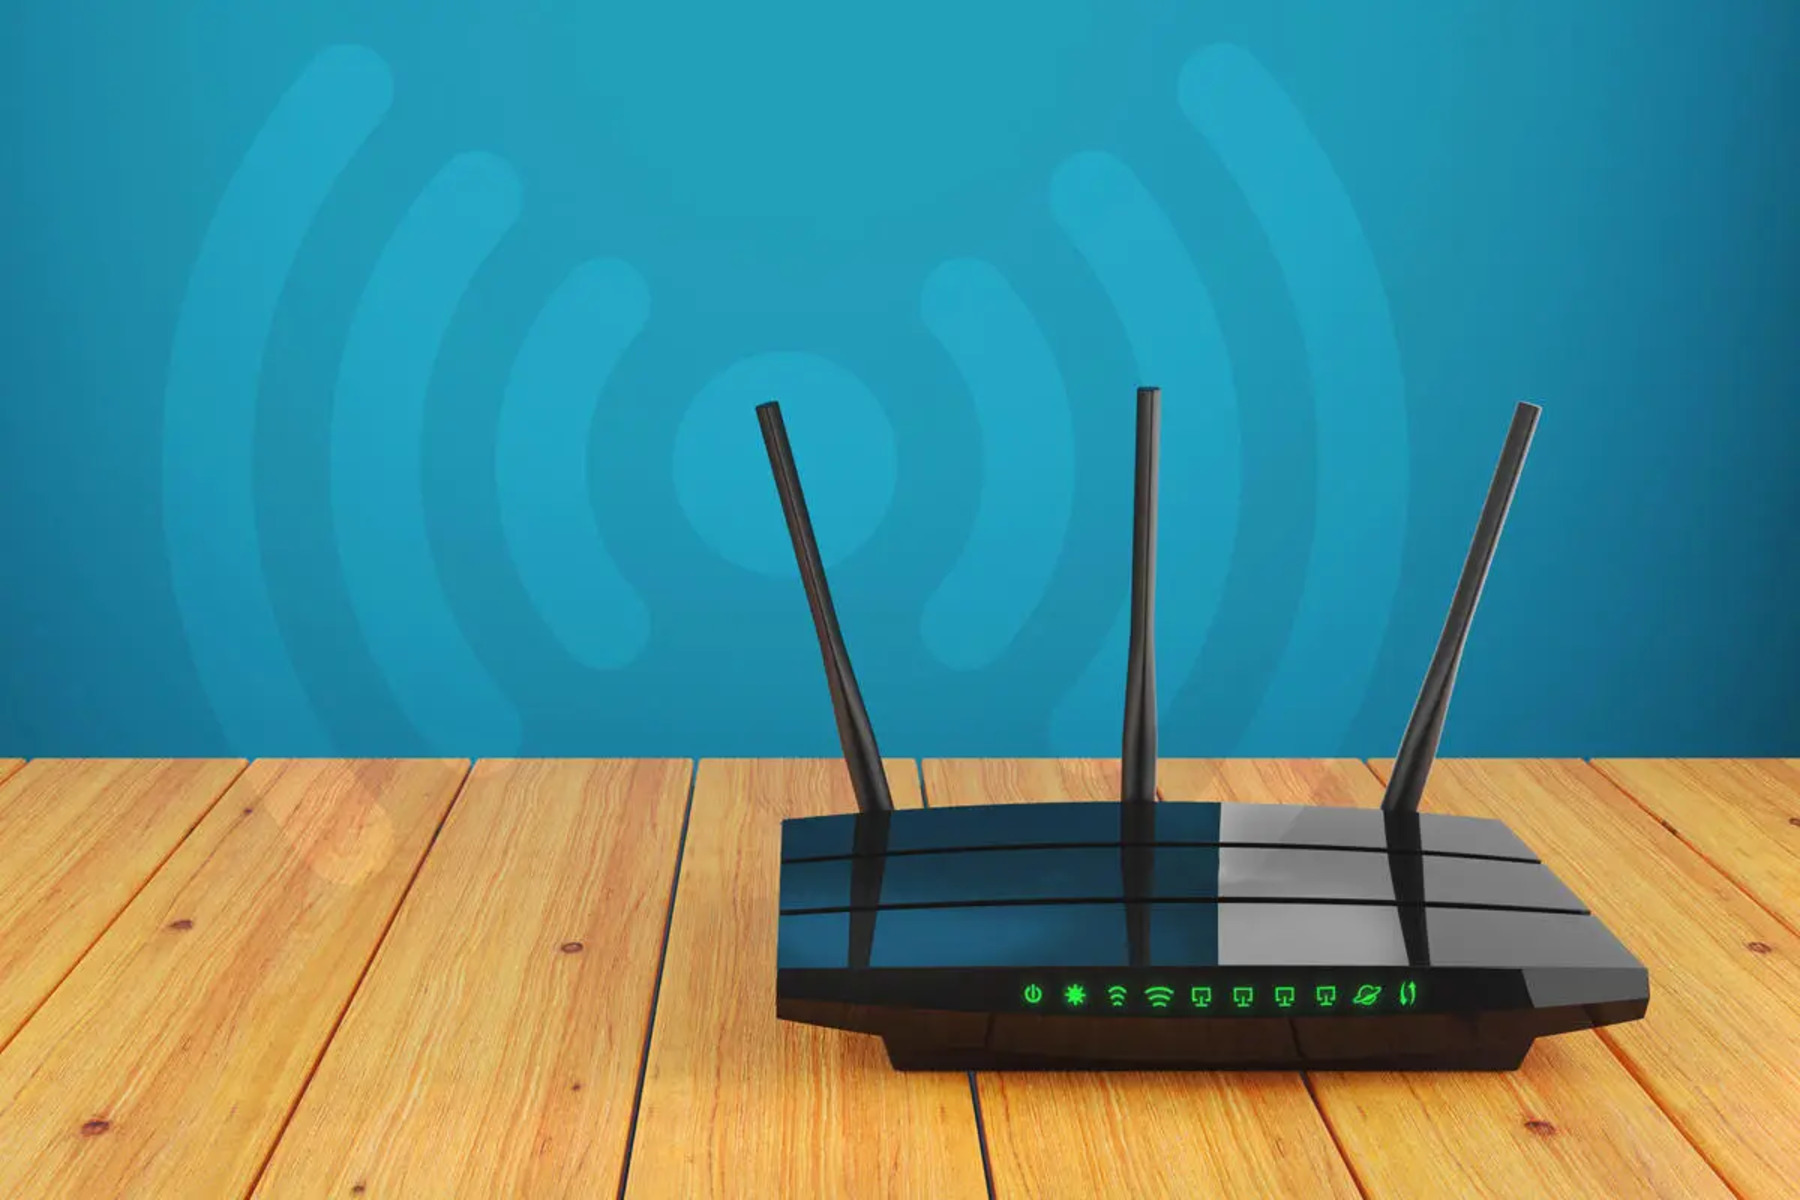
On the other hand, a wireless router is responsible for creating a wireless network within your home or office. It acts as a central hub, connecting your devices to the internet wirelessly. The router takes the internet signal from the modem and broadcasts it as a Wi-Fi network, enabling your devices to connect to the internet without the need for physical cables.
While the modem and the wireless router are two separate devices, they work together to provide you with internet connectivity. The modem brings the internet connection from your ISP, and the wireless router distributes that connection to your devices wirelessly.
It is important to note that some internet service providers offer modem-router combo devices, which combine the functionality of both devices into a single unit. In such cases, the bridging process may not be necessary, as the device already handles both functions seamlessly.
Understanding the difference between a modem and a wireless router is crucial when bridging the two devices. The modem provides the internet connection, while the wireless router ensures that the connection is distributed wirelessly to your devices. With this knowledge in mind, we can move on to the next step of connecting the modem to the wireless router.
Step 2: Connect your modem to the wireless router
Now that you have a clear understanding of the difference between a modem and a wireless router, let’s move on to the second step: connecting the modem to the wireless router.
Before starting the process, make sure both the modem and the wireless router are powered off. This prevents any potential conflicts or issues during the setup process.
Here are the steps to connect your modem to the wireless router:
- Locate the Ethernet port on the back of your modem. This port is typically labeled “Internet,” “WAN,” or “Ethernet.”
- Take an Ethernet cable (usually included with your router) and plug one end into the Ethernet port on the back of the modem.
- Next, locate the Ethernet port on the back of your wireless router. This port may be labeled “Internet,” “WAN,” or “Ethernet.”
- Take the other end of the Ethernet cable and plug it into the Ethernet port on the back of the wireless router.
- Ensure that the cable is securely inserted into both devices to establish a stable connection.
Once you have successfully connected the modem to the wireless router using the Ethernet cable, you can proceed to the next step of accessing the router’s settings page.
Keep in mind that the specific locations and labels of the Ethernet ports may vary depending on the make and model of your modem and wireless router. Consult the user manual or manufacturer’s website for more detailed instructions if needed.
By connecting your modem to the wireless router, you are establishing a physical connection that enables the router to receive the internet signal from the modem. In the next step, we will access the router’s settings page to configure the wireless network. So, let’s move on to step three!
Step 3: Access the router’s settings page
Now that you have successfully connected your modem to the wireless router, it’s time to access the router’s settings page. This is where you can configure various settings related to your wireless network.
To access the router’s settings page, follow the steps below:
- Make sure your computer or device is connected to the wireless router either through a wired Ethernet connection or via Wi-Fi.
- Open a web browser on your computer or device.
- In the address bar of the web browser, type in the default IP address of your router. The IP address is typically “192.168.1.1” or “192.168.0.1”, but it may vary depending on the router’s manufacturer. Check the router’s manual or look for the sticker on the router for the specific IP address.
- Press Enter on your keyboard, and the router’s login page should appear.
- Enter the username and password for your router. If you haven’t changed the default login credentials, you can find them in the router’s manual or on the sticker on the router itself. It is important to change the default login credentials for security purposes.
- Once you have successfully logged in, you will have access to the router’s settings page.
It is worth noting that the router’s settings page may have different layouts and options depending on the manufacturer and model of your router. However, common settings you may find include network name (SSID), wireless security settings, guest network setup, and parental control options.
Take your time to explore the different settings and customize them according to your preferences. In the next step, we will specifically focus on configuring the router’s wireless settings. So, let’s move on to step four!
Step 4: Configure the router’s wireless settings
Now that you have accessed the router’s settings page, it’s time to configure the wireless settings to create your desired wireless network.
Follow these steps to configure the router’s wireless settings:
- Locate the wireless settings or wireless setup section in the router’s settings page. This may be labeled as “Wireless,” “Wi-Fi,” or something similar.
- Choose a unique and recognizable network name (SSID) for your wireless network. This name will be visible to other devices when they search for available Wi-Fi networks.
- Select the appropriate wireless channel. It is recommended to choose a channel with the least interference from nearby Wi-Fi networks. You can use tools like Wi-Fi analyzers to determine the least congested channel.
- Choose a wireless security option. It is highly recommended to select the WPA2-PSK (Wi-Fi Protected Access 2 with Pre-Shared Key) security option, as it offers the highest level of encryption and security.
- Set a strong and unique password for your wireless network. A strong password should be a combination of uppercase and lowercase letters, numbers, and special characters.
- Save the changes and apply the new settings.
Configuring the wireless settings allows you to personalize your network and secure it from unauthorized access. Setting a strong password is particularly important to prevent unauthorized users from using your network and potentially compromising your data.
Once you have configured the wireless settings, your wireless network should be up and running. In the next step, we will discuss how to secure your wireless network to safeguard your data and privacy. So, let’s move on to step five!
Step 5: Secure your wireless network
Now that you have configured your wireless network, it is crucial to take steps to secure it and protect your data and privacy from potential threats.
Follow these essential tips to secure your wireless network:
- Change the default administrator password: It is important to change the default administrator password for your router to prevent unauthorized access to your router’s settings. Choose a strong password that is different from your Wi-Fi password.
- Enable network encryption: Ensure that you have enabled encryption on your wireless network. As mentioned earlier, WPA2-PSK (Wi-Fi Protected Access 2 with Pre-Shared Key) is the recommended option as it provides a high level of security. Avoid using WEP (Wired Equivalent Privacy) as it is outdated and easily hackable.
- Use a strong Wi-Fi password: Create a strong and unique password for your wireless network. Use a combination of uppercase and lowercase letters, numbers, and special characters. Avoid using easily guessable passwords like “password” or “123456”.
- Enable network name broadcasting (SSID): By default, most routers broadcast their network names (SSIDs). If you want to enhance security, you can choose to disable this feature. However, keep in mind that it may make connecting new devices to the network more challenging.
- Enable MAC address filtering: Many routers offer the option to restrict access to specific devices by adding their MAC addresses to a whitelist. This ensures that only approved devices can connect to your network.
- Regularly update your router’s firmware: Check for firmware updates for your router regularly and install them as soon as they are available. Firmware updates often include security patches and bug fixes that can protect your network from vulnerabilities.
By implementing these security measures, you can significantly reduce the risk of unauthorized access to your wireless network and protect your sensitive data.
In the next step, we will test the connection between the modem and the wireless router to ensure everything is working correctly. So, let’s move on to step six!
Step 6: Test the connection between the modem and the wireless router
After configuring and securing your wireless network, it is essential to test the connection between your modem and the wireless router to ensure that everything is working correctly.
Follow these steps to test the connection:
- Make sure both the modem and the wireless router are powered on.
- Connect a computer or device to the wireless network. You can do this by searching for available Wi-Fi networks on your device and selecting the network name (SSID) that you set up. Enter the Wi-Fi password when prompted.
- Open a web browser on the connected device and navigate to a website to test the internet connection. If the page loads successfully, it means that your modem and wireless router are properly connected, and the internet is accessible through your wireless network.
- Check the wireless signal strength on your device. Make sure you have a strong signal and are within the router’s coverage area. If you encounter any weak or dead spots, consider repositioning the router or adding Wi-Fi extenders to enhance coverage.
- Test the connection on multiple devices to ensure that all devices can connect to the network and access the internet.
If you encounter any issues during the testing process, double-check your settings and connections. Ensure that the modem and the wireless router are both configured correctly. If you continue to experience problems, consult the router’s manual or contact your internet service provider for further assistance.
Congratulations! If the connection test is successful, you have successfully bridged your modem and wireless router, creating a seamless and efficient network. Enjoy the benefits of a reliable and secure wireless connection for all your devices!
Conclusion
Congratulations on successfully bridging your modem and wireless router! By following the step-by-step guide outlined in this article, you have created a seamless and efficient network that provides a reliable and secure wireless connection for all your devices.
Understanding the difference between a modem and a wireless router is essential in setting up your network. A modem connects your network to the internet, while a wireless router creates a wireless network and distributes the internet connection to your devices. By bridging these two devices, you combine their functionalities to create a powerful network setup.
Throughout the process, you have learned how to connect your modem to the wireless router, access the router’s settings page, configure the wireless settings, secure your wireless network, and test the connection between the modem and the wireless router. These steps are crucial in establishing a secure network that protects your data and privacy.
Remember to periodically check for firmware updates for your router and implement security measures, such as changing default passwords and using strong Wi-Fi passwords, to keep your network secure.
If you encounter any issues or need further assistance, consult the router’s manual or reach out to your internet service provider for support. They can provide guidance and troubleshooting steps to help you overcome any challenges you may face.
Enjoy the benefits of your bridged modem and wireless router setup, and make the most of your reliable and fast wireless network connection. Stay connected and explore the vast possibilities of the internet!