To connect two routers and extend your Wi-Fi coverage, you'll use an Ethernet cable to link a secondary router to your main one, creating a more powerful and stable network than a simple Wi-Fi extender. This guide covers the two main methods, LAN-to-LAN and LAN-to-WAN, so you can choose the setup that best fits your needs for eliminating dead zones and improving performance.
How to connect two routers to extend your Wi-Fi: An introduction that corrects the 'daisy chain' misnomer
While often called "daisy chaining," connecting two wireless routers is more accurately described as cascading them. This guide focuses on the most reliable method: using an Ethernet cable to connect a second router to your primary router, which provides a stable wired backhaul. You'll learn two primary approaches: LAN-to-LAN, which creates a single, seamless network, and LAN-to-WAN, which establishes two separate networks. This setup is ideal for extending coverage to areas your main router can't reach, ensuring a strong signal for streaming, gaming, and all your connected devices.
Before you start: key things to know
Before you begin, gather a few essentials. You'll need the IP address and login credentials for your main router's admin panel, and you must be able to access the secondary router's settings as well. It's also crucial to understand the difference between a LAN port (which connects devices to your network) and a WAN/Internet port (which connects to an external network like your modem). Finally, ensure your secondary router is placed within reach of an Ethernet cable that can run from your primary router, as a wired connection is the most stable and fastest way to link them.
Method 1: LAN-to-LAN for a single, seamless network
This is the most common and recommended setup for most homes, as it creates one unified network. All your devices will see the same network name and can communicate with each other seamlessly, which is perfect for sharing files or printers.
- First, assign a static IP address to the secondary router that is on the same subnet as your primary router but outside its DHCP range. For example, if your primary router is at 192.168.1.1, you could set the secondary to 192.168.1.2. This prevents IP address conflicts and ensures smooth communication.
- Next, disable the secondary router's DHCP server. This is critical because the primary router will handle all IP address assignments, preventing conflicts and ensuring all devices are on the same network.
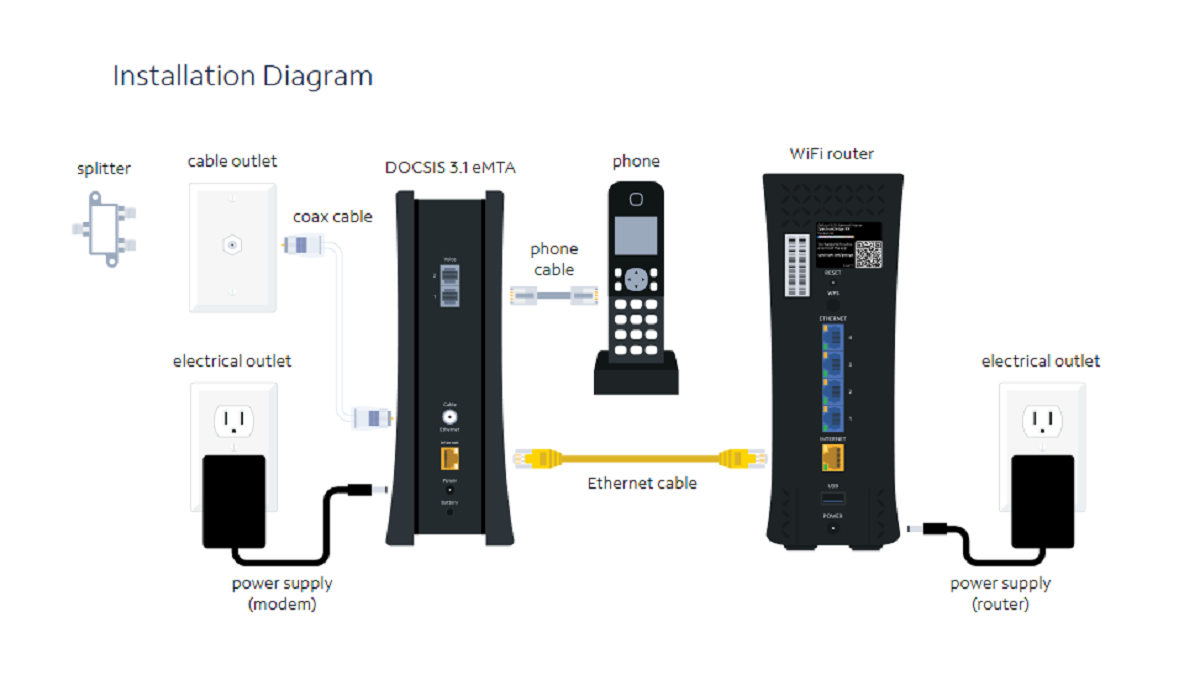
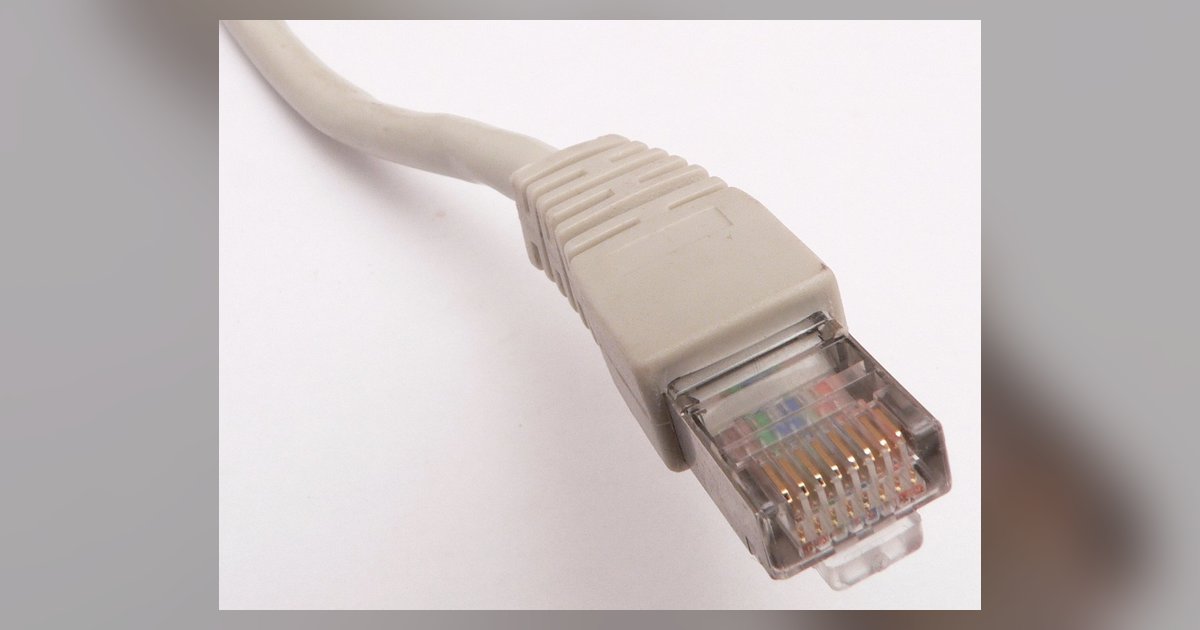
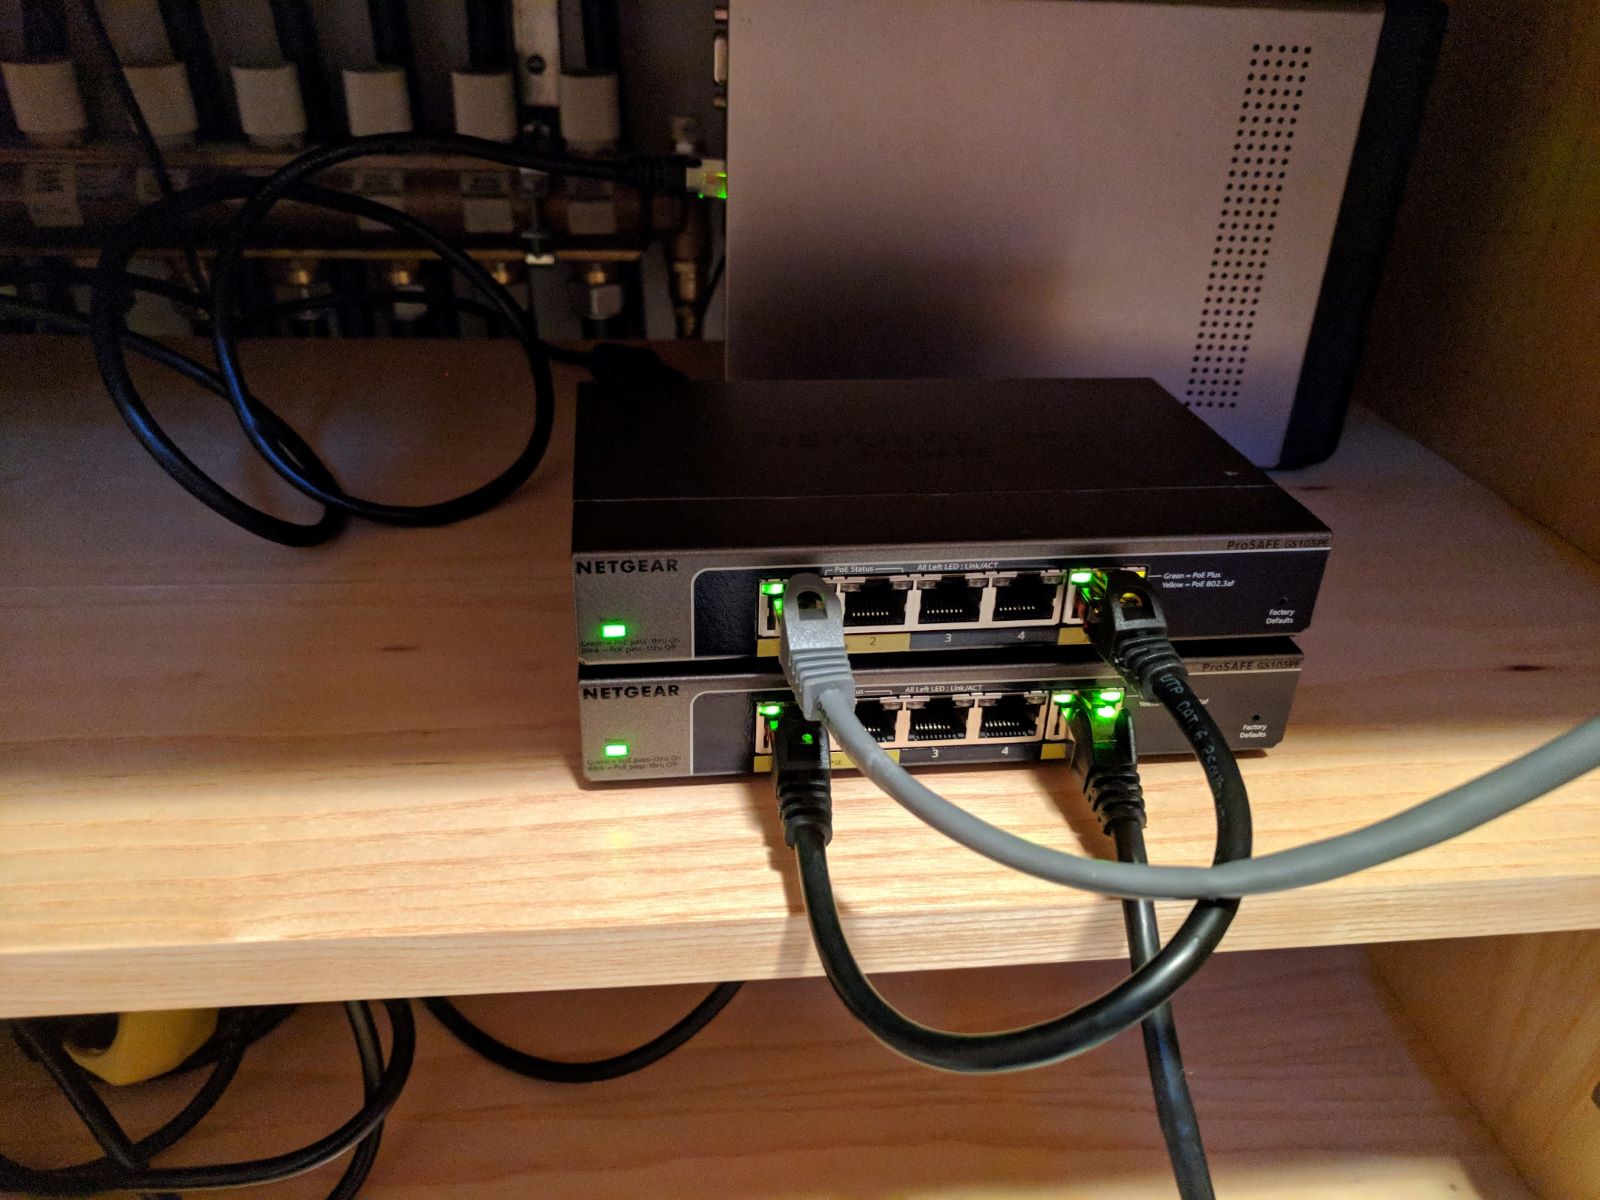
- Now, connect an Ethernet cable from any LAN port on the primary router to any LAN port on the secondary router. Make sure the secondary router's WAN/Internet port is left unused in this configuration.
- Finally, configure the secondary router's Wi-Fi with the same SSID (network name) and password as your primary router. To avoid interference and maximize performance, select a different, non-overlapping Wi-Fi channel (e.g., 1, 6, or 11 for the 2.4GHz band). This allows your devices to roam seamlessly between the two routers without dropping the connection.
Method 2: LAN-to-WAN for two separate networks
This method creates a separate sub-network for the secondary router, which can be useful for isolating certain devices or guests from your main network. It's a good choice if you want to keep network traffic separate or have a guest network on a different subnet.
- Set the secondary router's LAN IP address to a different subnet than your primary router. For instance, if your primary is 192.168.1.1, set the secondary to 192.168.2.1. This ensures they don't conflict and creates two distinct networks.
- Ensure the secondary router's DHCP server is enabled. Since it's creating its own network, it needs to assign IP addresses to devices connected to it.
- Connect an Ethernet cable from a LAN port on the primary router to the WAN/Internet port on the secondary router. This tells the secondary router to get its internet connection from the primary, creating a separate network behind it.
How to access your secondary router after setup
Once you've completed the configuration, you can still access the secondary router's settings. Simply open a web browser on a device connected to the secondary router (or even the primary network, depending on your setup) and enter the static IP address you assigned to it in the address bar. This will bring up its login page, allowing you to make future adjustments to its settings.
What about a wireless connection between routers?
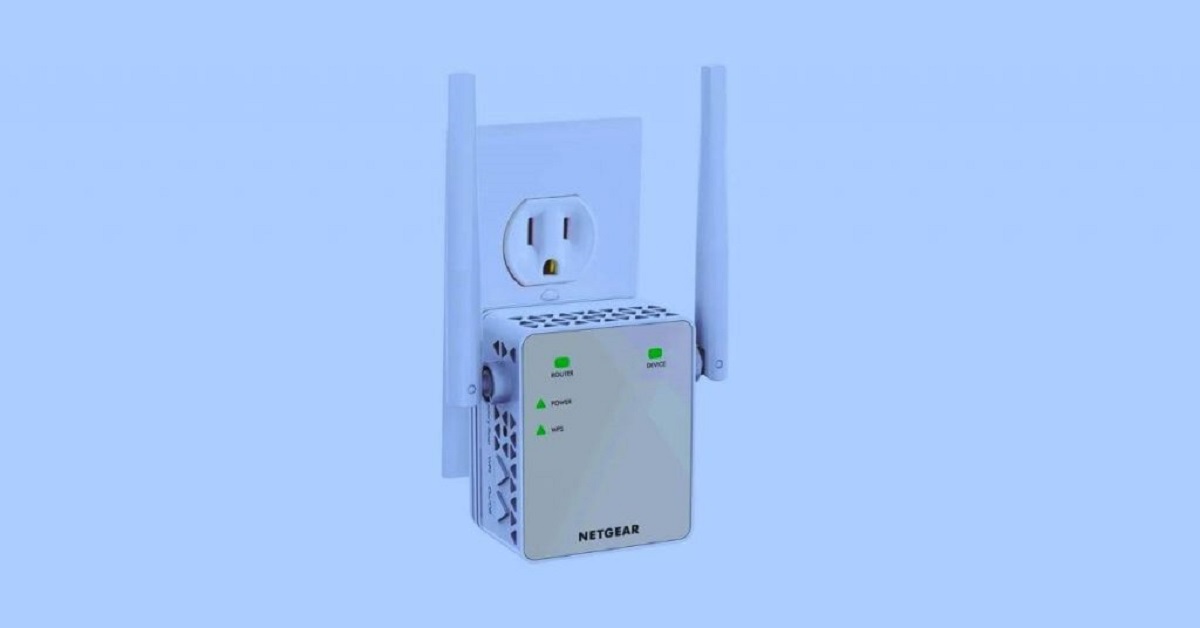
If running an Ethernet cable isn't feasible, some routers support WDS bridging or a dedicated "Wireless Repeater Mode" to connect wirelessly. While this eliminates the need for cables, it often requires both routers to support the same features and can result in slower speeds and higher latency compared to a wired connection, as the wireless signal is being rebroadcast, which can halve your bandwidth. This should be considered a fallback option when a wired connection is impossible.
Alternatives to connecting two routers
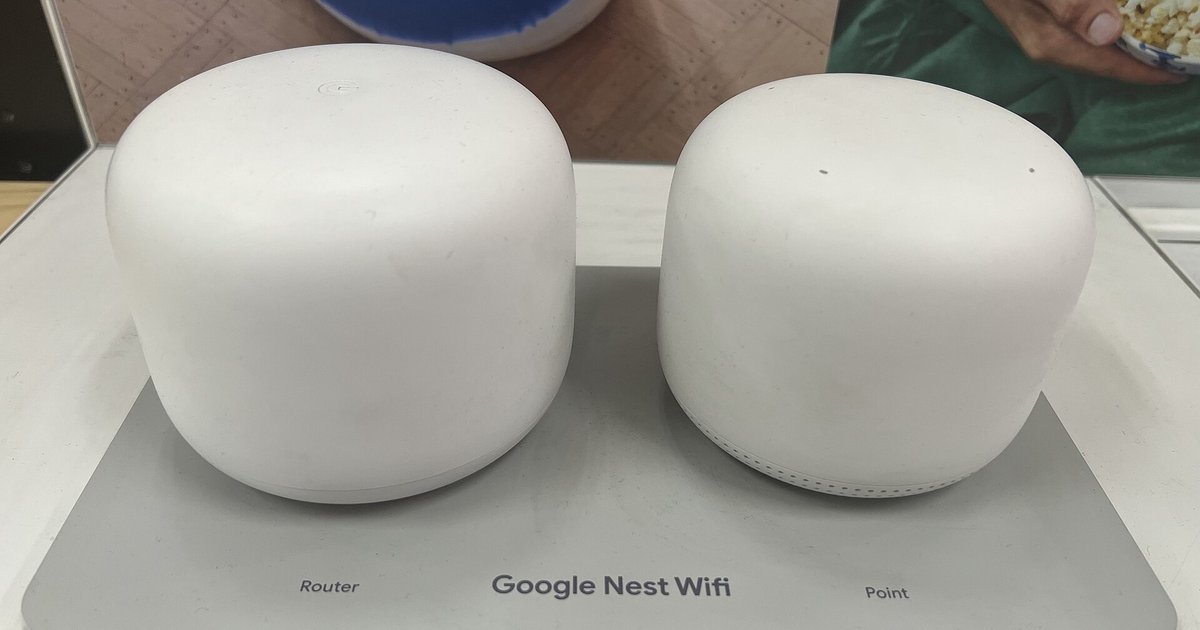
For many homes, a mesh Wi-Fi system or a dedicated wireless access point (WAP) might be a simpler and more efficient solution than connecting two routers. Mesh systems are designed for seamless whole-home coverage and are typically easier to set up and manage, while a WAP can be connected directly to your main router via Ethernet to provide a strong, dedicated wireless signal in a specific area. Explore these options if you find router configuration complex or if you want a more streamlined solution for your home network.
\nRelated reading: What Routers Does Spectrum Use, How To Install A TP-Link Wireless Router, and Can I Keep My Old Wi-Fi Name And Password On A New Nest Wifi.