Introduction
Connecting two routers wirelessly can be a useful solution in situations where you need to extend your network coverage or create separate network segments. This can be particularly beneficial in large homes, office buildings, or areas with weak Wi-Fi signals. By connecting your routers wirelessly, you can effectively expand your network without the need for additional wiring or Ethernet cables.
In this guide, we will walk you through the steps to connect two routers wirelessly. We will cover the necessary hardware, configuration settings, and troubleshooting tips to help you create a seamless and reliable wireless network.
Before we dive into the technical aspects, it’s important to ensure that you have a basic understanding of networking concepts. Knowing the difference between a main router and an access point, as well as understanding how IP addresses and subnet masks work, will greatly assist you in setting up the wireless connection.
It’s worth noting that while connecting two routers wirelessly is a convenient solution, it may not be suitable for every situation. Factors such as the distance between the routers, the Wi-Fi signal strength, and the number of devices connected to the network can impact the performance of the wireless connection.
Now, let’s begin the process of connecting two routers wirelessly and extend the reach of your network.
Step 1: Understand the basics of connecting two routers wirelessly
Before you start connecting two routers wirelessly, it’s crucial to have a solid understanding of the basics involved. In this step, we will cover the key concepts that you need to know.
The first thing to understand is the difference between a main router and an access point. The main router is typically connected to the internet and serves as the primary source of the network signal. It manages the DHCP (Dynamic Host Configuration Protocol) server, assigns IP addresses, and controls the flow of data between devices. An access point, on the other hand, acts as a bridge between the main router and wireless devices, enabling them to connect to the network wirelessly.
Next, you need to be familiar with IP addresses and subnet masks. An IP address is a unique numerical identifier assigned to each device on a network. It allows devices to communicate with each other. Subnet masks, on the other hand, help determine the network and host portions of an IP address.
In order to connect two routers wirelessly, they need to be compatible with wireless bridging or repeater functions. These features allow one router to connect to another wirelessly and extend the coverage of the network. It’s essential to check the specifications and user manual of your routers to ensure they support these functions.
Additionally, it’s worth considering the placement of the routers. A good positioning ensures optimal wireless signal strength and coverage. Avoid placing the routers near thick walls or objects that can obstruct the signal. Experiment with different locations to achieve the best wireless coverage.
Finally, it’s crucial to secure your wireless network to prevent unauthorized access. Enable encryption such as WPA2, choose a strong password, and disable remote administration to enhance the security of your network.
Once you have a solid understanding of these concepts, you are ready to proceed with the process of connecting two routers wirelessly. In the next steps, we will cover the necessary hardware, configuration settings, and troubleshooting tips to ensure a successful wireless connection.
Step 2: Check router compatibility and necessary hardware
Before proceeding any further, it’s important to ensure that your routers are compatible with wireless bridging or repeating functions. These features allow one router to connect to another wirelessly and extend the network coverage. Check the specifications and user manual of your routers to verify if they support these functions.
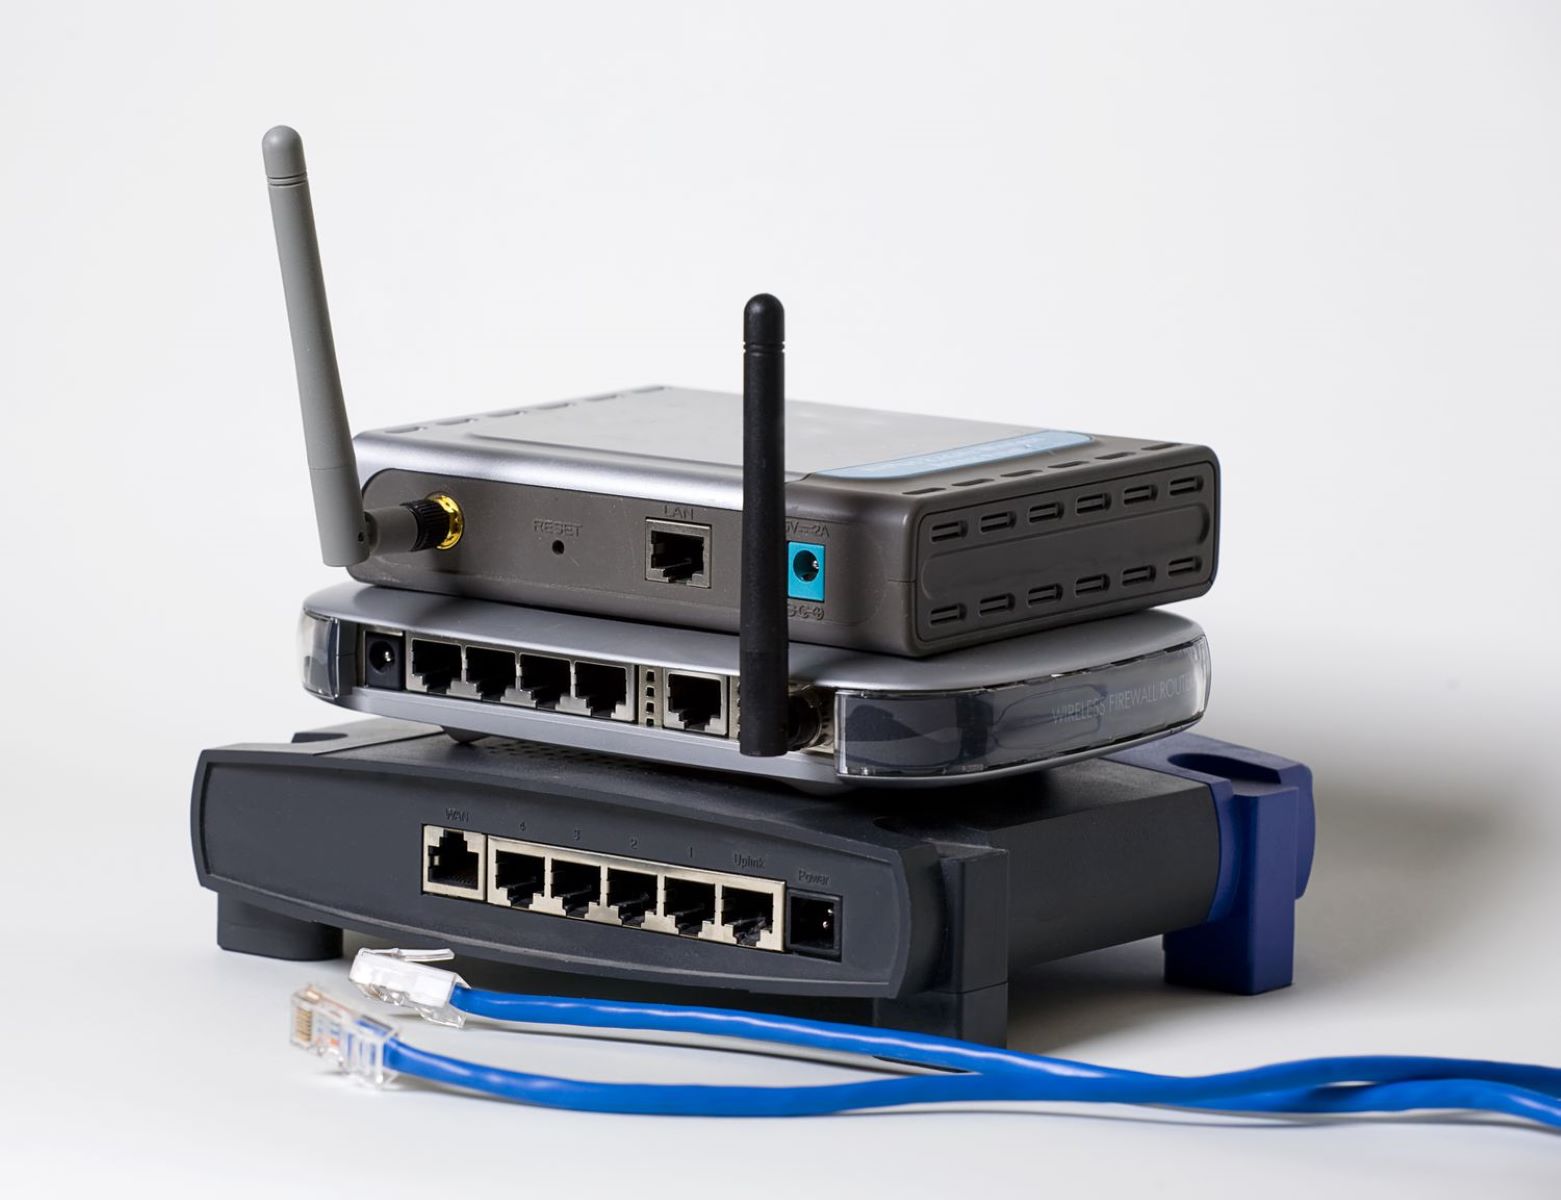
Once you have confirmed compatibility, gather the necessary hardware for connecting the routers wirelessly. Here’s a list of the essential items you’ll need:
- Primary router: This is the main router that is connected to the internet and serves as the primary source of the network signal.
- Secondary router: This router will act as an access point and connect to the main router wirelessly.
- Ethernet cables: You will need at least one Ethernet cable to establish a wired connection between the main router and secondary router during the initial setup.
- Computer: You will need a computer to access the router’s configuration settings and make the necessary changes.
Before connecting the routers, make sure to update their firmware to the latest version. Manufacturers often release firmware updates to improve performance, security, and compatibility. Check the manufacturer’s website for firmware updates specific to your router model and follow the instructions provided to install them.
In addition, it’s essential to have a clear understanding of the network layout and requirements. Determine where you want to extend the wireless network coverage and plan the placement of the secondary router accordingly. It’s recommended to position the routers in such a way that they provide optimal signal strength and coverage throughout the desired area.
With the necessary hardware and a clear plan in place, you are ready to proceed to the next step: configuring the main router. This step involves accessing the router’s configuration settings through a web browser and making the necessary changes to enable wireless bridging or repeating functions. We will cover this process in detail in the following step.
Step 3: Configure the main router
Configuring the main router is a crucial step in connecting two routers wirelessly. This involves accessing the router’s configuration settings and making the necessary changes to enable wireless bridging or repeating functions. Follow these steps to configure the main router:
- Connect your computer to the main router using an Ethernet cable. Make sure the computer is connected to the router’s LAN (Local Area Network) port.
- Open a web browser on your computer and enter the default IP address of the router in the address bar. This is usually “192.168.1.1” or “192.168.0.1”. Consult the router’s user manual or check the manufacturer’s website for the specific IP address.
- You will be prompted to enter a username and password to access the router’s configuration settings. If you haven’t changed these credentials, use the default username and password provided by the manufacturer. If you have changed them, enter the updated credentials.
- Once you are logged into the router’s configuration interface, navigate to the wireless settings section. Look for options related to wireless bridging or repeating. The terminology may vary depending on the router model.
- Enable the wireless bridging or repeating function and save the changes. This will allow the main router to connect to the secondary router wirelessly.
- Configure the wireless network settings of the main router, including the network name (SSID) and wireless security settings. Use a unique network name to differentiate it from the secondary router’s network.
- Once all the necessary changes are made, save the settings and disconnect the Ethernet cable from your computer.
With the main router configured, it is now ready to connect to the secondary router wirelessly. In the next step, we will cover the process of connecting the second router and configuring it as an access point to extend the wireless network coverage.
Step 4: Connect the second router to the main router wirelessly
Now that the main router is properly configured, it’s time to connect the second router to it wirelessly. This step involves establishing a wireless connection between the main router and the secondary router. Follow these steps to connect the second router:
- Place the secondary router in a location where you want to extend the wireless network coverage. Make sure it is within range of the main router’s Wi-Fi signal.
- Connect the power source to the secondary router and turn it on.
- Access the secondary router’s configuration settings by following the same steps as in Step 3. Use an Ethernet cable to connect your computer to the secondary router’s LAN port.
- Navigate to the wireless settings section of the secondary router’s configuration interface.
- Look for an option that allows you to connect the router to an existing network or enable it as an access point. This option may be referred to as “Wireless Repeating,” “Wireless Bridge,” or “Access Point Mode.” Enable this feature.
- Search for the main router’s network name (SSID) and select it from the available Wi-Fi networks.
- Enter the main router’s Wi-Fi password when prompted. This is the same password used to connect to the main router’s network wirelessly.
- Save the changes and disconnect the Ethernet cable from your computer.
At this point, the second router should be connected to the main router wirelessly. The secondary router will now act as an access point, extending the network coverage of the main router. It will broadcast its own Wi-Fi network with the same network name and password as the main router.
Next, we need to configure the secondary router as an access point to ensure seamless connectivity between devices. We will cover this process in the next step.
Step 5: Configure the second router as an access point
Now that the second router is connected to the main router wirelessly, it’s time to configure it as an access point. This step ensures that devices can seamlessly connect to the extended network and maintain a stable connection. Follow these steps to configure the second router as an access point:
- Access the configuration settings of the secondary router by entering its IP address in a web browser. Consult the user manual or manufacturer’s website for the specific IP address.
- Log in to the router’s configuration interface using the username and password set during the initial setup.
- Navigate to the wireless settings section and locate the network settings or access point mode.
- Disable the DHCP server on the secondary router. This prevents conflicts with the main router’s DHCP server and ensures that devices connected to the network receive IP addresses from the main router.
- Set the network name (SSID) and wireless security settings to match those of the main router. This ensures a seamless transition between the main router and the access point.
- Save the changes and restart the secondary router.
Once the second router is configured as an access point, it will function as an extension of the main router’s network. Devices connected to the secondary router will be able to access the internet and communicate with devices connected to the main router, as if they were all on the same network.
It’s important to note that the IP addresses assigned to devices connected to the secondary router will be obtained from the main router’s DHCP server. This means that all devices, including those connected to the main router and the access point, will be on the same subnet.
Now that both routers are properly configured, it’s time to test the wireless network connection and ensure that everything is functioning as expected. We will cover this in the next step.
Step 6: Test the wireless network connection
After configuring the routers and setting up the wireless network, it’s important to test the connection to ensure that everything is working properly. Follow these steps to test the wireless network connection:
- Ensure that devices are within range of the routers and connect to the appropriate network.
- Verify that devices connected to the main router can access the internet and communicate with each other.
- Connect devices to the secondary router (access point) and ensure they can also access the internet and communicate with devices connected to the main router.
- Check the signal strength of the Wi-Fi network from different areas of the network coverage. Ensure that the signal remains strong and stable throughout the desired areas.
- Test the network performance by transferring files between devices connected to different routers. Monitor the speed and stability of the file transfer to ensure optimal network performance.
- If you experience any issues or inconsistencies during the testing phase, try power cycling both routers by turning them off, waiting for a few seconds, and turning them back on. This can help resolve minor connectivity issues.
By conducting these tests, you can verify that the wireless network connection is functioning properly and providing seamless connectivity across both routers. If you encounter any issues, refer to the troubleshooting section in the next step for potential solutions.
Once you have successfully tested the wireless network connection and are satisfied with the performance, you can consider the setup complete. However, it’s important to monitor the network and make necessary adjustments as needed to maintain optimal performance and coverage.
In the next step, we will provide some troubleshooting tips to help you resolve common issues that may arise when connecting two routers wirelessly.
Step 7: Troubleshooting common issues
Even with careful configuration and testing, it’s possible to encounter some common issues when connecting two routers wirelessly. Here are some troubleshooting tips to help you resolve these issues:
- Weak signal or coverage: If you experience weak Wi-Fi signal or limited coverage, try repositioning the routers to different locations. Ensure that there are no physical obstructions, such as walls or large objects, blocking the signal. Additionally, consider upgrading to a router with stronger signal capabilities or adding wireless signal boosters or range extenders to improve coverage.
- Inconsistent connection: If the connection is frequently dropping or unstable, ensure that both routers are running the latest firmware. Firmware updates often include bug fixes and performance improvements. Additionally, check for interference from other nearby devices, such as cordless phones or microwaves, and switch to a less crowded Wi-Fi channel to improve stability.
- Network conflicts: If devices connected to the secondary router are unable to access the internet or communicate with devices connected to the main router, make sure that the secondary router’s DHCP server is disabled. This prevents conflicts with the main router’s DHCP server and ensures that devices obtain IP addresses from the correct source.
- Incorrect configuration settings: Double-check the configuration settings of both routers, paying close attention to the wireless bridging or access point mode. Ensure that the network name (SSID), wireless security settings, and IP addresses are correctly configured and consistent across both routers.
- Resetting the routers: If all else fails, you may need to reset the routers to their factory default settings and start the configuration process from scratch. Refer to the router’s user manual or manufacturer’s website for instructions on how to perform a factory reset.
By troubleshooting these common issues, you can address any obstacles that may be affecting the wireless connection between the routers. Remember to be patient and thorough in your troubleshooting efforts, as resolving these issues may require multiple attempts and adjustments.
With troubleshooting complete, you should now have successfully connected two routers wirelessly and extended the network coverage. Enjoy the benefits of an expanded network and improved wireless connectivity throughout your space!
Conclusion
Connecting two routers wirelessly can be a smart and effective solution to extend your network coverage or create separate network segments. By following the steps outlined in this guide, you can successfully connect two routers wirelessly and enjoy the benefits of an extended network across your home or office.
Starting with a solid understanding of the basics of connecting two routers wirelessly, you then checked the compatibility of your routers and gathered the necessary hardware. You proceeded to configure the main router, establish a wireless connection between the main router and secondary router, and configured the secondary router as an access point.
Afterward, you tested the wireless network connection to ensure proper functionality, and troubleshooted common issues that may arise during the process. By troubleshooting, you were able to address weak signal or coverage, inconsistent connections, network conflicts, and incorrect settings.
Remember, patience and diligence are key when connecting two routers wirelessly. It may take some time and troubleshooting to achieve the desired network coverage and stability. By following the steps in this guide and applying the troubleshooting tips, you can overcome any obstacles and enjoy a seamless and reliable wireless network connection.
Always keep in mind that every network environment is unique, and you may encounter specific challenges or configurations that require additional research or expert assistance. However, with the knowledge gained from this guide, you are well equipped to tackle most situations and enjoy the benefits of an extended wireless network.
So go ahead, connect those routers, extend your network, and enjoy the convenience of a reliable and expanded wireless connection!