Introduction
Are you tired of experiencing weak Wi-Fi signal in certain areas of your home or office? If so, you might consider connecting two routers to extend the range of your wireless network. By doing this, you can amplify your existing Wi-Fi signal and ensure reliable coverage in every corner of your space.
But how exactly do you connect two routers to extend the range? Don’t worry, it’s not as complicated as it may sound. In this guide, we will walk you through the process step-by-step, making it easy for you to enhance your wireless network coverage.
Before we dive into the technical details, it’s important to note that there are a few prerequisites for extending your Wi-Fi range with two routers. Firstly, you will need two compatible routers – ideally from the same brand and with similar specifications. Additionally, you should have a basic understanding of computer networking concepts and be familiar with accessing your router’s settings via a web browser.
Connecting two routers to extend the range essentially involves setting up one router as the primary router, which is connected to the modem, and the second router as a secondary router, placed in a strategic location to amplify the Wi-Fi signal. The secondary router will act as a repeater or an access point, depending on your desired configuration.
In the following sections, we will explain the necessary steps to connect and configure the second router, including setting the DHCP settings, assigning IP addresses, and configuring wireless settings. We’ll also provide you with troubleshooting tips to help you address any challenges that may arise along the way.
So, if you’re ready to eliminate those Wi-Fi dead zones and enjoy seamless connectivity throughout your space, let’s get started with the process of connecting two routers to extend your Wi-Fi range.
Understanding the Basics
Before we begin connecting two routers to extend the range, it’s essential to familiarize ourselves with some fundamental concepts. This knowledge will help us better understand the process and make informed decisions when configuring the setup.
Firstly, let’s differentiate between the primary router and the secondary router. The primary router is the main router connected to your modem and is responsible for establishing the internet connection. It acts as the central hub for your network. The secondary router, on the other hand, is the router that will be used to extend the Wi-Fi range. It will either function as a repeater, which receives the signal from the primary router and rebroadcasts it, or as an access point, which connects directly to the primary router using an Ethernet cable.
Choosing the mode of operation for the secondary router largely depends on your specific needs and the capabilities of your routers. A repeater setup is more convenient but may sacrifice some speed, while an access point setup requires running an Ethernet cable between the two routers but can provide a more reliable and faster connection.
Next, let’s discuss the different types of Wi-Fi signal bands: 2.4 GHz and 5 GHz. The 2.4 GHz band has a longer range but can be more crowded and susceptible to interference from other devices like microwaves and cordless phones. The 5 GHz band offers faster speeds but has a shorter range. When setting up the secondary router, it’s important to consider which band to use based on your specific needs and the layout of your space.
It’s also worth mentioning the importance of securing your Wi-Fi network. Ensuring that your network is protected with a strong password is essential to prevent unauthorized access and protect your personal information. When configuring the secondary router, make sure to select an appropriate security protocol such as WPA2-PSK (Wi-Fi Protected Access II with Pre-Shared Key) to maintain a secure connection.
Now that we’ve covered the basics, we can proceed to the next step of connecting the second router. It’s important to note that the specific steps may vary depending on the make and model of your routers, so it’s always recommended to consult the user manuals or online documentation for detailed instructions.
Connecting the Second Router
Now that we have a solid understanding of the basics, let’s dive into the process of connecting the second router to extend your Wi-Fi range. Follow these steps to get started:
- Ensure that both routers are powered off and disconnected from any power source.
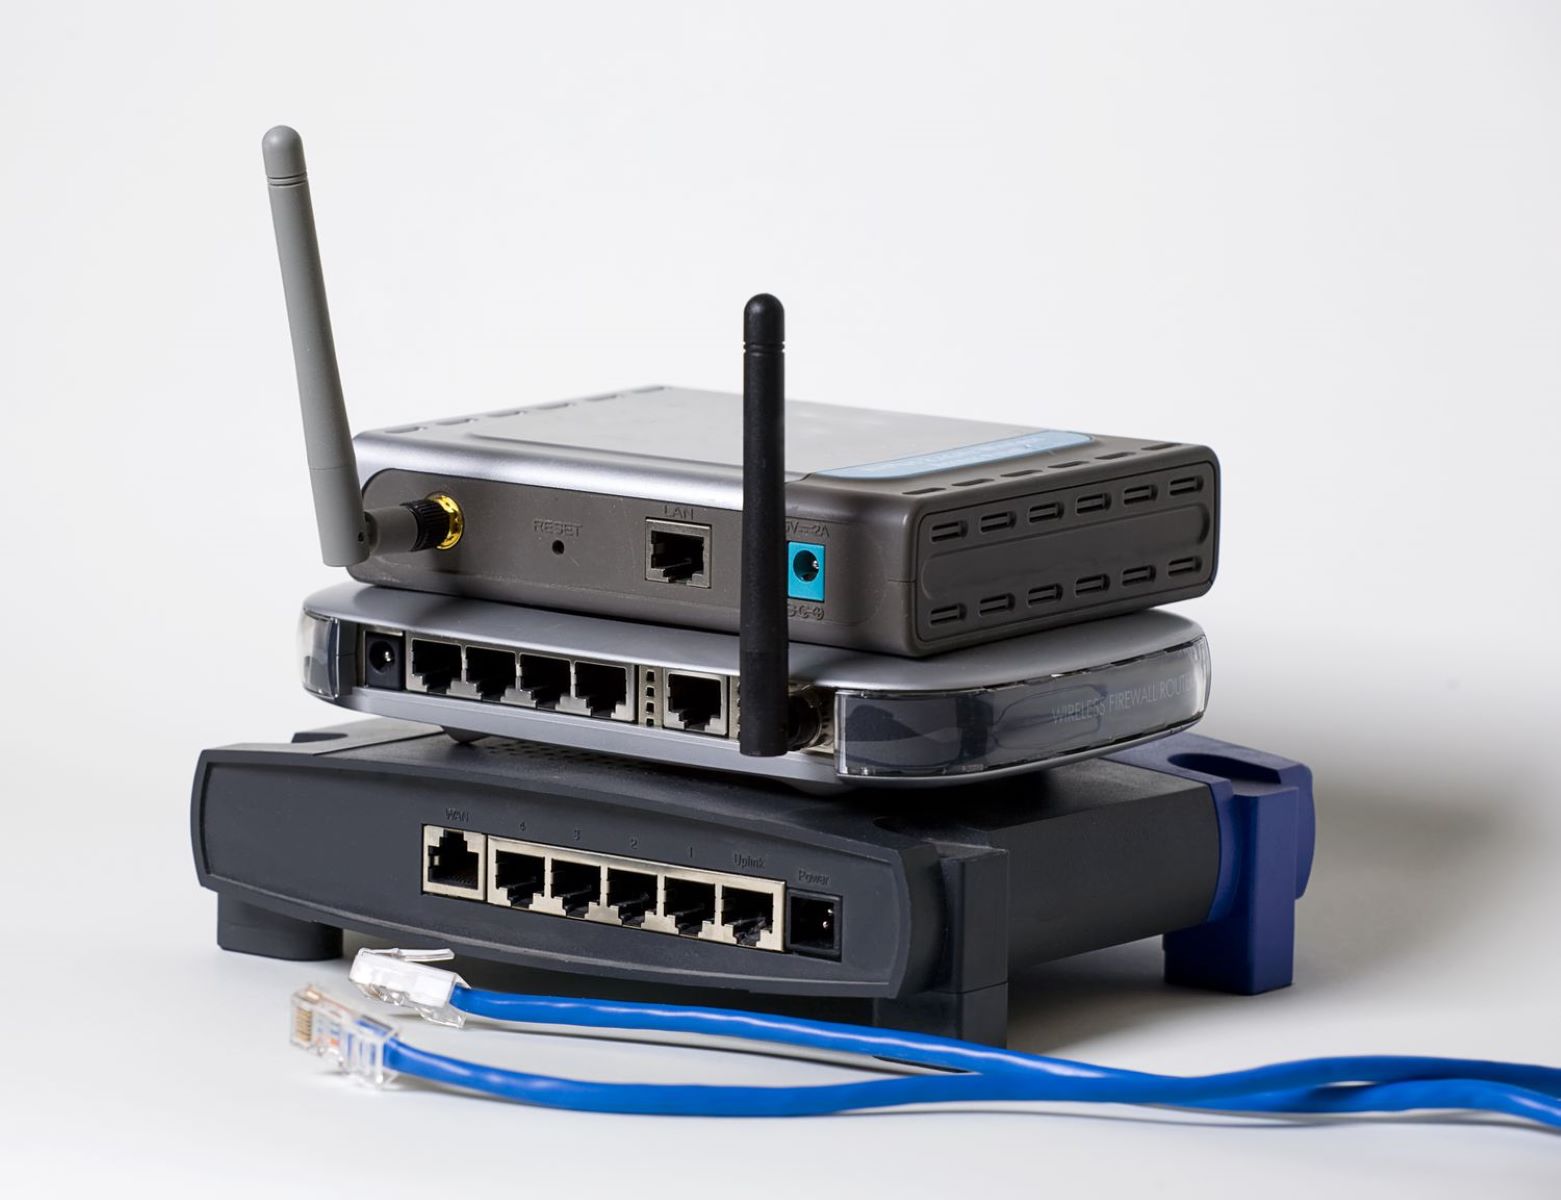
- Using an Ethernet cable, connect one end to a LAN (Local Area Network) port on the primary router and the other end to the WAN (Wide Area Network) or Internet port on the secondary router. This will establish a physical connection between the two routers.
- Power on both routers and wait for them to fully boot up. This may take a few minutes.
- Access the configuration settings of the secondary router. This can usually be done by opening a web browser and entering the default IP address of the router (e.g., 192.168.1.1) in the address bar. Refer to the router’s user manual or documentation for the specific IP address.
- Enter the login credentials to access the router’s settings. By default, the username and password are often set to “admin”. However, it’s recommended to change the password for security purposes.
- Once logged in, navigate to the wireless settings section of the router’s configuration interface.
- Choose a unique SSID (Service Set Identifier) for the secondary router’s Wi-Fi network. This will distinguish it from the primary network and allow devices to connect to the appropriate network when within range.
- Set the security settings for the secondary router. Select the appropriate security protocol, such as WPA2-PSK, and choose a strong password to protect your network.
- Save the settings and wait for the router to apply the changes. This may require a momentary reboot of the router.
With these steps completed, you have successfully connected the second router to extend your Wi-Fi range. The secondary router is now ready to be configured further to optimize your network coverage. In the next section, we will explore the essential configurations you need to make to ensure a seamless extended network.
Configuring the Second Router
Now that your second router is connected, it’s time to configure its settings to maximize its effectiveness in extending your Wi-Fi range. Follow these steps to properly configure the second router:
- Access the configuration settings of the secondary router by opening a web browser and entering the IP address of the router, which is usually something like 192.168.1.1 or 192.168.0.1. Consult the router’s manual or documentation if you’re unsure of the specific IP address.
- Log in to the router’s settings interface using the administrator username and password. If you haven’t changed the credentials, the default ones are often “admin” for both the username and password.
- Navigate to the wireless settings section of the router’s configuration interface.
- Ensure the wireless mode is set to either “Repeater” or “Access Point” mode, depending on your preferred setup. Repeater mode will rebroadcast the Wi-Fi signal from the primary router, while Access Point mode uses an Ethernet connection to extend the network. Choose the mode that suits your specific needs.
- If using Repeater mode, select the option to scan for available networks and choose the primary router’s network SSID from the list.
- Enter the necessary security settings for the secondary router’s network, ensuring they match the settings of the primary router. This includes the security protocol (e.g., WPA2-PSK) and the password.
- Save the settings and wait for the router to apply the changes. This may require a brief restart of the router.
At this point, the second router is properly configured to extend your Wi-Fi range. It will now act as a repeater or access point, depending on the mode you selected. Devices within range of the second router should now be able to connect to the extended network seamlessly. However, some additional configurations can further optimize your network coverage. Let’s explore these essential configurations in the next sections.
Setting the DHCP Settings
As we continue to configure the second router, one important aspect to address is the Dynamic Host Configuration Protocol (DHCP) settings. DHCP is responsible for assigning IP addresses to devices connected to a network. By properly configuring the DHCP settings on the second router, you can ensure that devices connecting to the extended network receive the appropriate IP addresses.
Follow these steps to set the DHCP settings on the second router:
- Access the configuration settings of the secondary router by entering its IP address in a web browser.
- Login to the router’s settings interface using the administrator username and password.
- Navigate to the DHCP settings section of the router’s configuration interface.
- Select the option to disable the DHCP server on the second router. This prevents conflicts with the primary router’s DHCP server and ensures that IP addresses are assigned correctly.
- Save the settings and wait for the router to apply the changes. It may require a brief restart.
By disabling the DHCP server on the second router, you allow the primary router to handle IP address assignment for devices connected to the extended network. This ensures proper communication and avoids IP address conflicts.
Once you have completed the DHCP settings configuration, you can move on to the next step of assigning IP addresses to devices connected to the extended network. This step helps ensure smooth communication and connectivity. We will explore it in the next section.
Assigning IP Addresses
After configuring the DHCP settings on the second router, the next important step is to properly assign IP addresses to devices connected to the extended network. This ensures that each device has a unique identifier and can communicate effectively on the network.
Follow these steps to assign IP addresses to devices on the extended network:
- Access the configuration settings of the primary router, which is the main router connected to the modem.
- Login to the router’s settings interface using the administrator username and password.
- Navigate to the DHCP settings section of the router’s configuration interface.
- Check the range of IP addresses that the primary router’s DHCP server is configured to assign. Typically, this range is defined within a certain subnet, such as 192.168.1.100 to 192.168.1.200.
- Take note of the starting and ending IP addresses within the range.
- Access the configuration settings of the secondary router, the router connected to extend the Wi-Fi range.
- Login to the router’s settings interface using the administrator username and password.
- Navigate to the LAN (Local Area Network) settings section of the router’s configuration interface.
- Choose a static IP address for the secondary router within the range of the primary router’s DHCP pool. Ensure that the chosen IP address is not already in use by another device on the network.
- Save the settings and wait for the router to apply the changes.
By assigning a static IP address to the secondary router within the range of the primary router’s DHCP pool, you ensure that the two routers can communicate effectively. The secondary router will now have a unique identifier within the network that devices can connect to for extended Wi-Fi coverage.
With the IP addresses assigned, the extended network is now ready for devices to connect and enjoy the improved Wi-Fi range. The next section will delve into configuring the wireless settings on the secondary router for optimal performance and coverage.
Configuring Wireless Settings
Configuring the wireless settings on the secondary router is a crucial step in ensuring optimal performance and coverage for the extended network. By properly configuring these settings, you can enhance the Wi-Fi signal and provide a seamless connection experience for devices connected to the extended network.
Follow these steps to configure the wireless settings on the secondary router:
- Access the configuration settings of the secondary router by entering its IP address in a web browser.
- Login to the router’s settings interface using the administrator username and password.
- Navigate to the wireless settings section of the router’s configuration interface.
- Choose the appropriate wireless mode for your network. If the primary router is set to broadcast on both the 2.4 GHz and 5 GHz bands, you can use the same configuration on the secondary router. However, if the primary router is broadcasting on only one band, configure the secondary router to match that band.
- Select a unique SSID (Service Set Identifier) for the secondary router’s Wi-Fi network. This will differentiate it from the primary network and allow devices to connect to the appropriate network within range.
- Set the security settings for the secondary router’s network, ensuring they match the settings of the primary router. Choose a strong password and select an appropriate security protocol, such as WPA2-PSK, to protect your network.
- Configure any additional advanced wireless settings based on your specific requirements. These may include options such as MAC filtering, channel selection, or wireless signal strength adjustment.
- Save the settings and wait for the router to apply the changes. It may require a brief restart.
By configuring the wireless settings on the secondary router, you ensure that it is broadcasting its own Wi-Fi network with the necessary security measures. Devices within range of the secondary router can now connect to its network and enjoy extended Wi-Fi coverage.
With the wireless settings properly configured, you are almost there! In the final steps, we will address some last considerations and offer troubleshooting tips to address any potential issues that may arise during the setup process.
Final Steps and Troubleshooting
As you reach the final steps of setting up your two routers to extend your Wi-Fi range, there are a few additional considerations and troubleshooting tips to ensure a smooth and successful setup.
Here are some final steps and troubleshooting tips:
- Position the secondary router strategically: Place the secondary router in a central location, away from obstructions, to ensure optimal Wi-Fi coverage. Avoid placing it near walls, furniture, or other devices that could interfere with the signal.
- Test the extended network: Once both routers are set up and configured, test the extended network by connecting a device to the secondary router’s Wi-Fi network. Check the signal strength and ensure that the device can access the internet without interruptions.
- Restart the routers: If you encounter any issues with connectivity or speed, try restarting both the primary and secondary routers. Sometimes, a simple reboot can resolve minor glitches or conflicts.
- Check for firmware updates: Regularly check for firmware updates for both routers. Manufacturers often release updates to improve performance, security, and stability. Visit the manufacturer’s website or reference the router’s user manual to find instructions on updating the firmware.
- Ensure proper placement of antennas: If the secondary router has antennas, make sure they are positioned correctly for optimal signal transmission. Experiment with adjusting the angle and direction of the antennas to find the best signal coverage.
- Identify potential sources of interference: Take note of potential sources of interference, such as other electronic devices or neighboring Wi-Fi networks. Adjust the channel settings on both routers to reduce interference and improve Wi-Fi performance.
- Seek expert support: If you encounter persistent issues or need further assistance, don’t hesitate to seek help from the manufacturer’s support team or consult with a networking professional.
By following these final steps and troubleshooting tips, you can address any potential challenges and fine-tune your two-router setup for optimal performance. Enjoy the extended Wi-Fi range and reliable coverage throughout your home or office!