Introduction
Welcome to the world of wireless networking! With the increasing number of devices that require a stable internet connection, it’s not uncommon to find yourself in a situation where a single wireless router just isn’t enough to cover your entire home or office. Fortunately, there is a solution to extend your network coverage: connecting two wireless routers to one modem.
In this guide, we will walk you through the process of setting up and configuring two wireless routers on one modem. By doing so, you can create a seamless and reliable network that covers a larger area, ensuring strong and stable connectivity throughout your space.
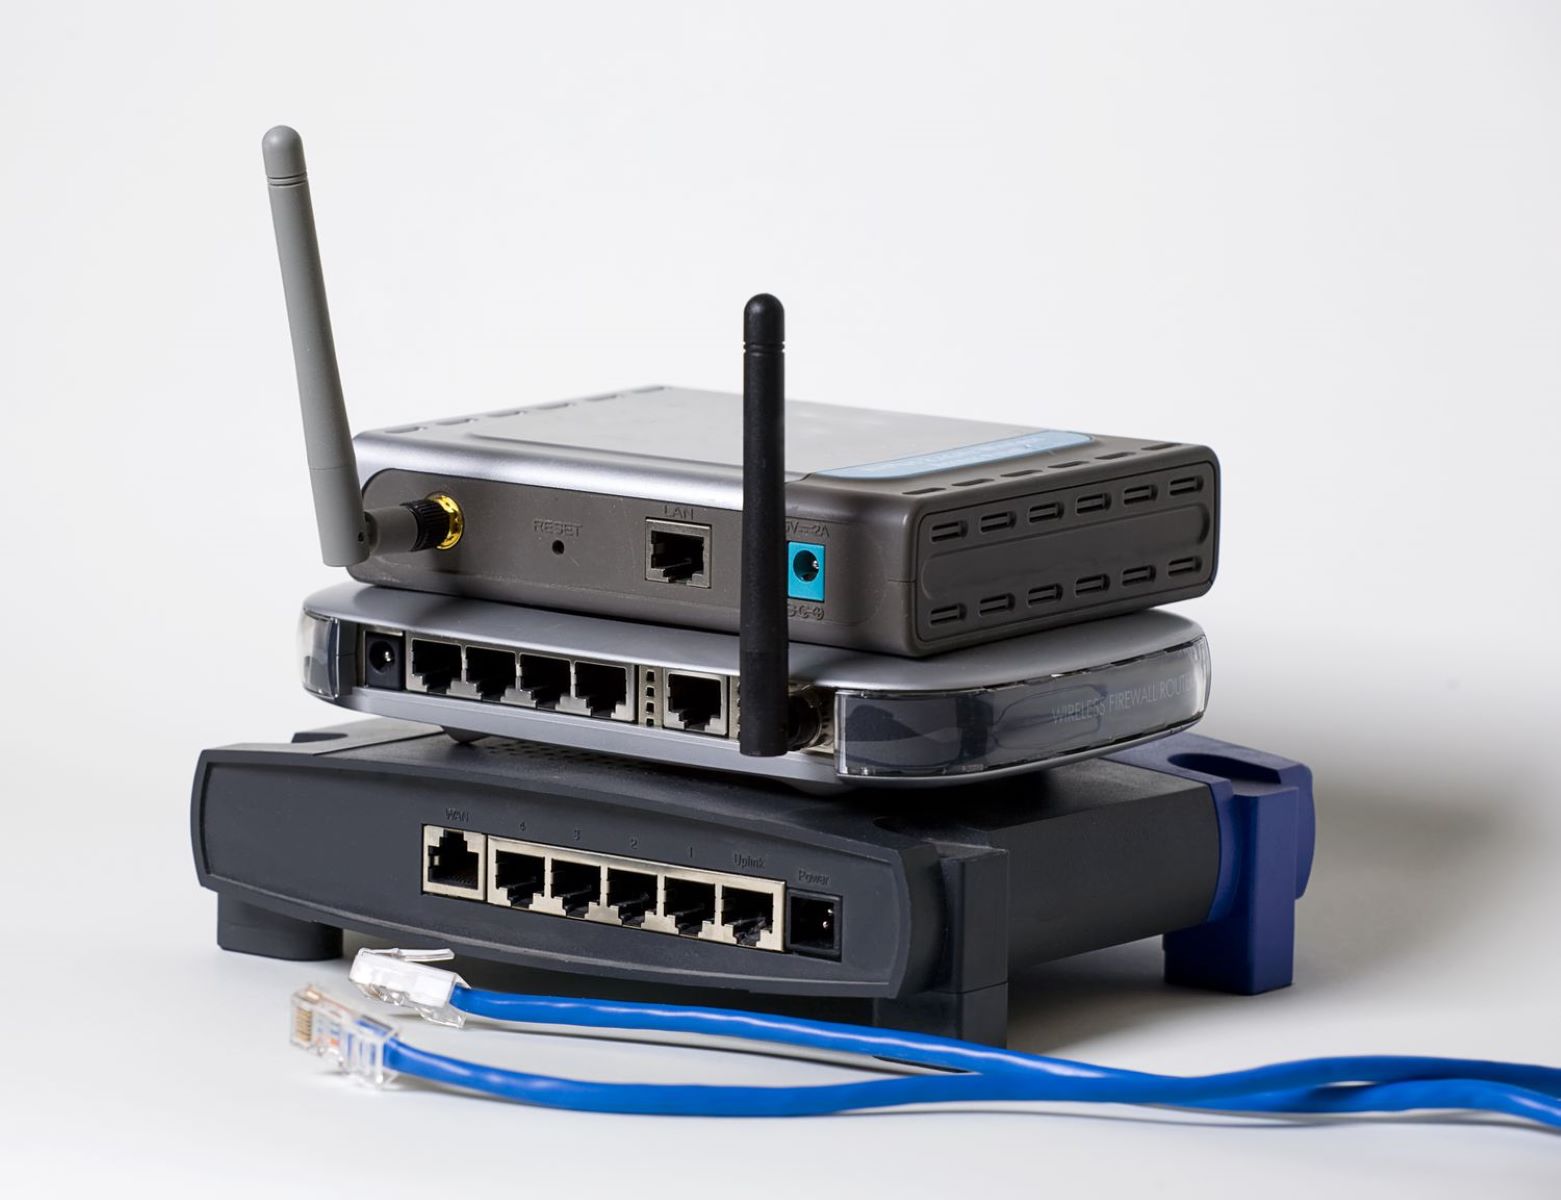
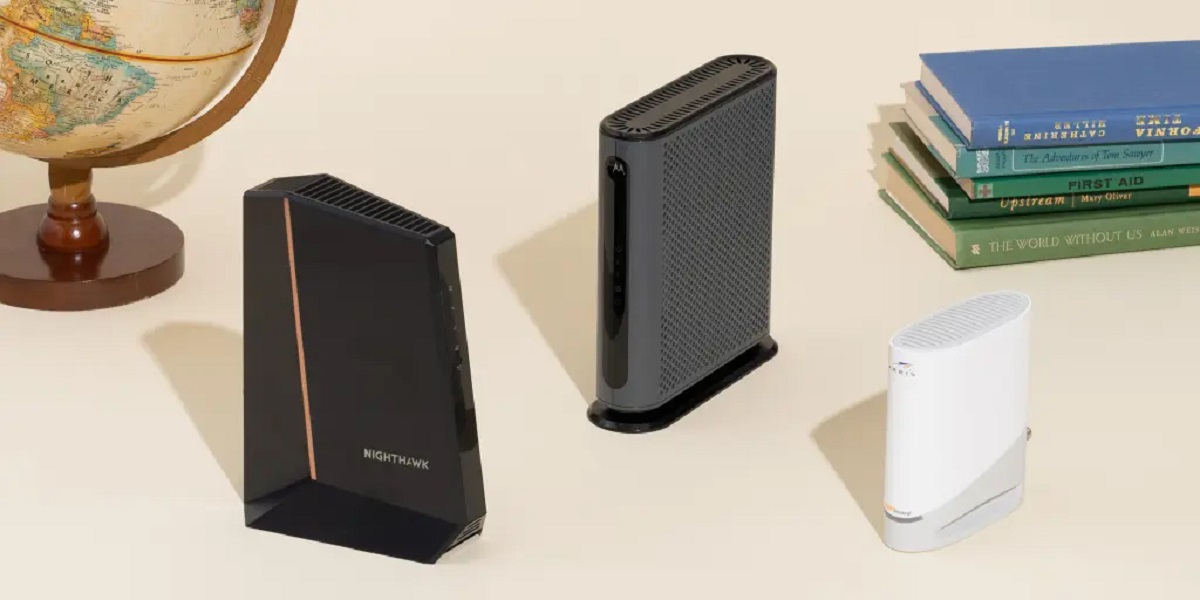
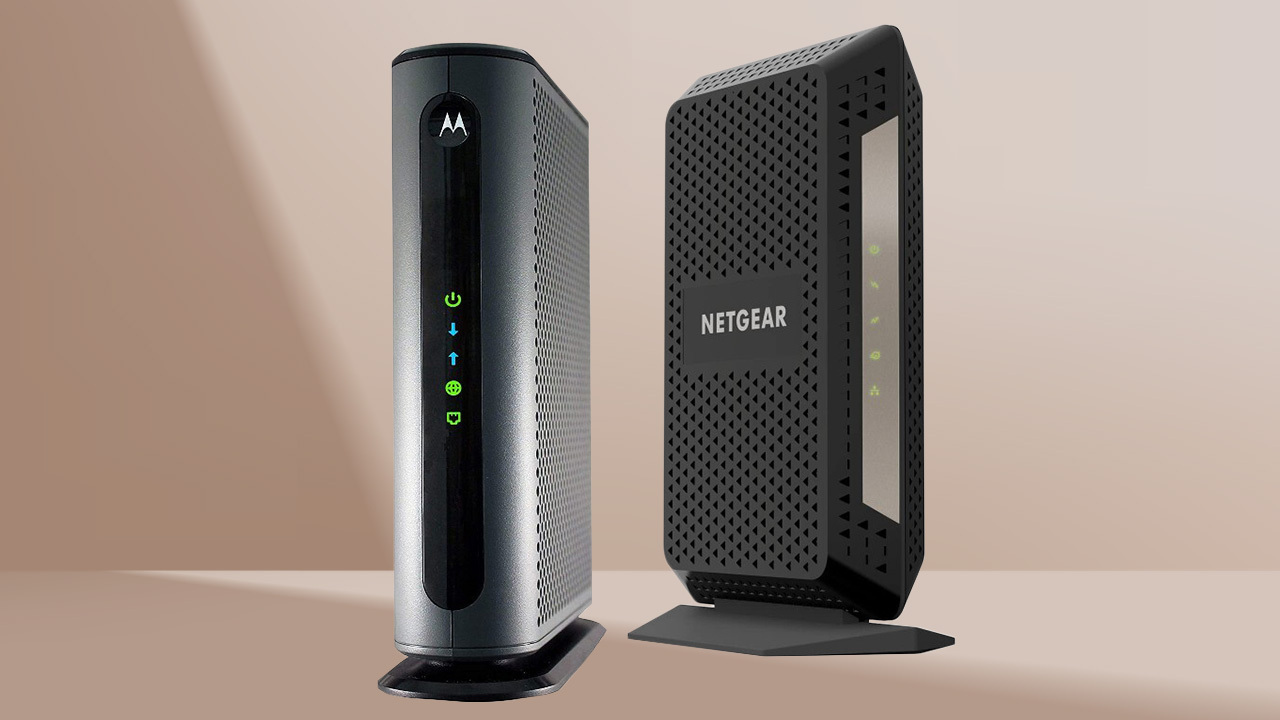
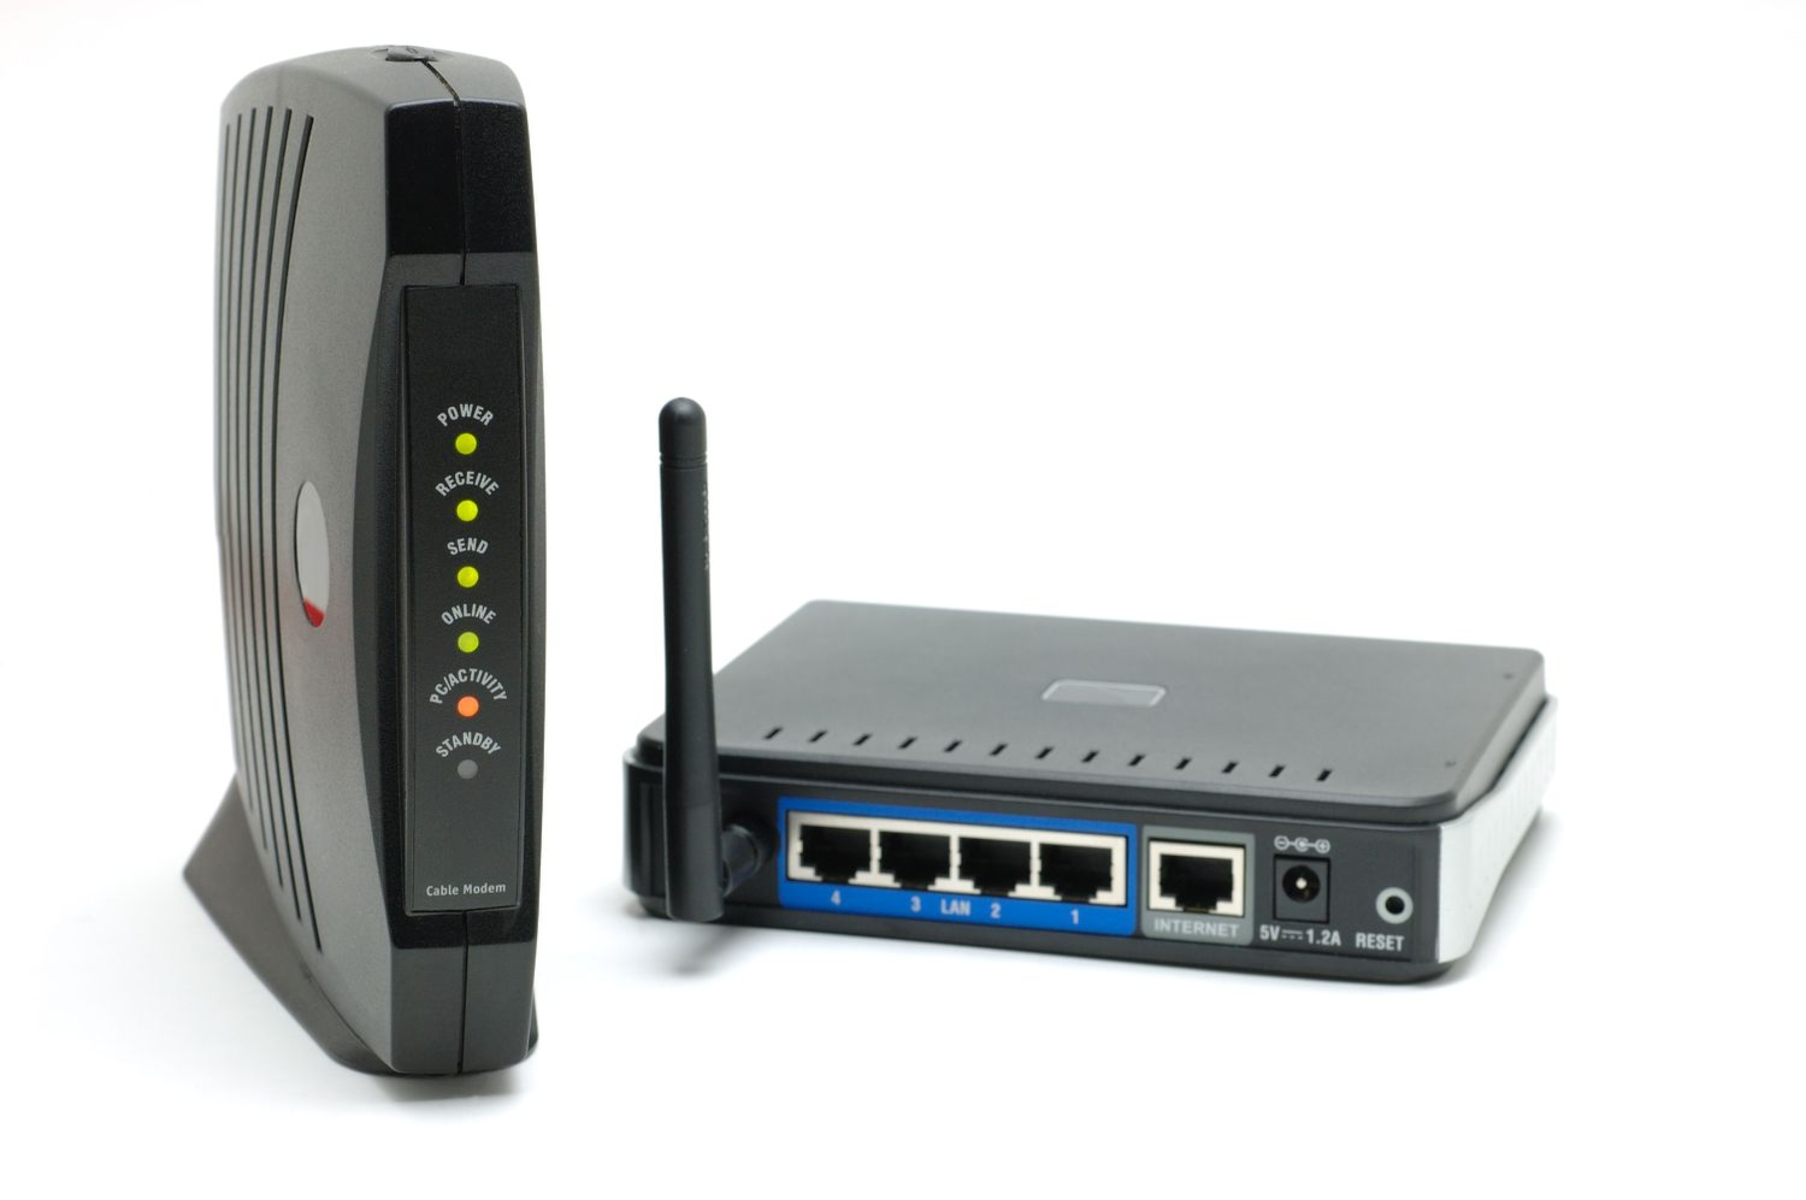
Before we dive into the technical details, let’s familiarize ourselves with the key components involved: wireless routers and modems. A wireless router is a device that allows you to connect to the internet wirelessly, acting as a central hub for your network. On the other hand, a modem is responsible for establishing the internet connection and transmitting data to and from your service provider.
By connecting two wireless routers to one modem, you essentially create two access points within your network, extending the coverage area and allowing multiple devices to connect simultaneously. This means you can have a router on each floor of your home or in different areas of your office, ensuring excellent signal strength throughout.
Understanding Wireless Routers and Modems
Before we dive into the technical aspects of setting up two wireless routers on one modem, let’s gain a deeper understanding of how these devices work and their roles in creating a network.
A wireless router serves as the centerpiece of your network by providing a wireless internet connection to your devices. It connects to your modem, which in turn connects to the internet service provider’s network. The router acts as a gateway, allowing devices such as laptops, smartphones, and smart home devices to access the internet wirelessly.
On the other hand, a modem’s primary function is to receive signals from your ISP (Internet Service Provider) and convert them into a format that your router can understand. It essentially translates the incoming signals into data packets that can be transmitted over your network.
Wireless routers come equipped with built-in Wi-Fi capabilities, allowing devices within the network to connect wirelessly. They also have Ethernet ports that enable the connection of wired devices, such as desktop computers or gaming consoles. The router’s firmware and settings enable you to set up security features, prioritize devices, and control various network settings.
When it comes to connecting two wireless routers to one modem, you essentially expand your network coverage by creating additional access points. This can be particularly useful if you have a large home or office space with dead zones where the Wi-Fi signal is weak or nonexistent.
By strategically placing the additional routers in different areas, you can enhance the signal strength and ensure a reliable connection throughout your space. This not only improves internet speeds but also eliminates buffering issues and provides better overall performance for your connected devices.
It’s important to note that for this setup, both routers must support the same wireless standards, such as 802.11n or 802.11ac, to ensure compatibility and seamless connectivity between them.
Now that we have a fundamental understanding of wireless routers and modems, let’s move on to the step-by-step process of setting up two wireless routers on one modem.
Setting up the First Wireless Router
Now that we understand the basics, let’s begin the process of setting up the first wireless router. Follow these steps to get started:
- Start by disconnecting your modem from the power source and turn off your computer or any devices connected to the modem.
- Take an Ethernet cable and connect one end to the Ethernet port on the modem.
- Connect the other end of the Ethernet cable to the WAN (Wide Area Network) port on the back of the first wireless router. The WAN port is usually labeled and can be distinguished from the LAN (Local Area Network) ports.
- Plug in the first router and turn it on. Wait for a few moments for the router to initialize and establish a connection with the modem.
- To access the router’s settings, open a web browser on your computer and enter the router’s IP address into the address bar. The IP address can usually be found in the router’s manual or on the manufacturer’s website. Common router IP addresses include 192.168.0.1 or 192.168.1.1.
- Once you’ve entered the router’s IP address, you will be prompted to enter a username and password. This information can also be found in the router’s manual or on the manufacturer’s website. If you haven’t changed the default credentials, try using “admin” for both the username and password.
- Once you’ve successfully logged in, you will have access to the router’s settings interface.
At this point, you can customize various settings according to your preferences, such as setting up a Wi-Fi network name (SSID) and password, configuring security options, and adjusting network settings. You can also explore advanced settings to optimize performance and prioritize certain devices in your network.
Remember to save your changes after modifying any settings on the router. Once you’re satisfied with the configuration of the first router, you can move on to setting up the second wireless router.
Making Necessary Configurations on the First Router
Now that we have successfully set up the first wireless router, it’s time to make some necessary configurations to ensure optimal performance and compatibility with the second router. Follow these steps:
- In the router’s settings interface, locate the “LAN” or “DHCP” settings. Here, you need to change the IP address of the router to avoid conflicts with the second router. Assign a new IP address that is within the same IP range as the modem. For example, if the modem’s IP address is 192.168.1.1, you can set the first router’s IP address to something like 192.168.1.2.
- Disable the DHCP server on the first router. This ensures that the second router, which will act as an access point, can assign IP addresses to devices connected to it.
- Next, navigate to the wireless settings in the router’s interface. Set the Wi-Fi network name (SSID) and password that you want for the first router. Make sure to choose a strong password to secure your network from unauthorized access.
- If your router offers different wireless bands, such as 2.4GHz and 5GHz, you can configure them according to your needs. The 2.4GHz band typically provides better coverage but slower speeds, while the 5GHz band offers faster speeds but shorter range.
- Save the settings on the first router and disconnect it from the power source.
With these configurations completed, the first router is now ready to be connected to the second router, extending your network coverage and allowing for seamless connectivity throughout your space. In the next section, we will walk you through the process of setting up the second wireless router.
Setting up the Second Wireless Router
Now that we have made the necessary configurations on the first router, it’s time to set up the second wireless router to extend the network coverage. Follow these steps:
- Start by connecting the second router to your computer using an Ethernet cable. Make sure the computer is powered on.
- Connect the other end of the Ethernet cable to one of the LAN ports on the back of the second router. Avoid using the WAN port on the second router, as it will not be utilized in this setup.
- Plug in the second router and turn it on. Wait for a few moments for the router to initialize.
- Open a web browser on your computer and enter the second router’s IP address into the address bar. This IP address can usually be found in the router’s manual or on the manufacturer’s website.
- Enter the username and password for the second router’s settings interface. If you haven’t changed the default credentials, try using “admin” for both the username and password.
- In the router’s settings interface, navigate to the wireless settings and set the Wi-Fi network name (SSID) and password for the second router. It is recommended to use the same network name and password as the first router to create continuity and a seamless transition between the two routers.
- Disable the DHCP server on the second router to avoid conflicts with the first router. This will allow the first router to handle the assignment of IP addresses to devices connected to the second router.
- Save the settings on the second router and disconnect it from the computer.
With these configurations completed, the second router is now set up to function as an access point, extending the network coverage provided by the first router. The two routers are now linked, creating a unified network that covers a larger area.
It’s important to note that you should place the second router in an optimal location to maximize coverage and minimize any dead zones. Consider placing it in a central area where the Wi-Fi signal from the first router is still strong.
In the next section, we will cover the process of configuring the second router to ensure seamless connectivity and proper network extension.
Configuring the Second Router to Extend the Network
Now that we have set up the second router as an access point, it’s time to configure it to extend the network coverage and ensure seamless connectivity. Follow these steps:
- Connect the second router to a power source and wait for it to initialize.
- Ensure that both the first and second routers are turned on and functioning properly.
- Using a device that is connected to the network of the first router, open a web browser and enter the IP address of the first router into the address bar.
- Log into the settings interface of the first router using the username and password.
- Navigate to the wireless settings and locate the option for “Wireless Bridging” or “Wireless Repeater.” Enable this feature.
- Now, search for the second router’s wireless network from the available networks listed in the settings interface of the first router. Select the second router’s network and enter the password if prompted.
- Once the first router successfully connects to the second router’s network, the two routers are now wirelessly linked, and the network coverage has been extended.
- If desired, repeat steps 4 to 7 for each additional router you want to connect to the network to further extend the coverage.
- Remember to save any changes made in the settings interface of the first router.
With the second router now configured and connected to the first router’s network, you can enjoy a seamless and extended network coverage throughout your space. Devices that connect to the second router will have internet access and be part of the same network as those connected to the first router.
It’s important to note that in this setup, the second router acts as an access point, extending the coverage of the first router’s network. This means that devices connected to the second router will have the same network name (SSID) and password as those connected to the first router. It creates a unified network experience for all connected devices.
In the next section, we will provide some troubleshooting tips to help you resolve common issues that may arise during the setup process.
Troubleshooting Tips
Setting up and configuring two wireless routers on one modem can sometimes come with its own set of challenges. If you encounter any issues during the process, here are some troubleshooting tips to help you resolve common problems:
- Ensure that all the cables are securely connected. Double-check the Ethernet connections between the modem, routers, and devices, and make sure they are properly plugged in.
- Restart the devices. Power cycling the modem and routers can often resolve connection issues. Turn off all devices, including the modem, routers, and connected devices. Wait for a few seconds, then turn them back on, starting with the modem and followed by the routers.
- Check the IP addresses. Make sure that the IP addresses assigned to the routers are within the same IP range as the modem. Avoid using conflicting IP addresses to prevent connectivity issues.
- Update the firmware. Check if there are any firmware updates available for your routers. Updating the firmware can improve performance and address compatibility issues.
- Reset to factory settings. If you are still experiencing difficulties, try resetting the routers to their factory settings. This will revert the routers back to their default configurations, allowing you to start the setup process afresh.
- Confirm wireless compatibility. Ensure that both routers support the same wireless standards, such as 802.11n or 802.11ac. Incompatible wireless standards can cause connectivity problems between the routers.
- Adjust router placement. Experiment with the placement of the routers to optimize coverage and signal strength. Avoid placing the routers near obstructions or in areas with interference, such as microwaves or cordless phones.
- Secure your network. Enable encryption and set strong passwords for your network to prevent unauthorized access. This will protect your network from potential security risks.
If you continue to experience issues despite trying these troubleshooting tips, it may be helpful to consult the documentation provided by the router manufacturers or seek assistance from their customer support.
By following these troubleshooting tips, you can overcome common challenges and ensure that your two wireless routers are properly set up and working efficiently to extend your network coverage.
Conclusion
Congratulations! You have successfully learned how to connect two wireless routers to one modem, effectively extending your network coverage and providing a seamless and reliable internet connection throughout your home or office. By following the step-by-step instructions and making the necessary configurations, you have created a unified network that eliminates dead zones and improves performance.
Understanding the role of wireless routers and modems, setting up the first wireless router, making necessary configurations on the first router, setting up the second wireless router, configuring it to extend the network coverage, and troubleshooting common issues have been covered in this guide.
Remember to ensure that both routers are within the same IP range, disable the DHCP server on the secondary routers, and configure them as access points to avoid conflicts and optimize connectivity. Additionally, adjusting placement, securing your network with strong passwords, and updating firmware can further enhance the performance and security of your network.
If you encounter any difficulties along the way, don’t hesitate to refer to the documentation provided by your router manufacturers or seek assistance from their customer support.
Now, you can enjoy seamless connectivity, strong signal strength, and improved internet speeds throughout your space. Whether you are streaming movies, working from home, or playing online games, the extended network coverage will ensure a smooth and reliable internet experience for all your connected devices.
Thank you for following this guide, and may you enjoy the benefits of an extended network coverage with your two wireless routers!


