Introduction
In today’s interconnected world, having a strong and reliable internet connection is essential. Whether you’re running a business or simply relying on the internet for everyday tasks, a router plays a crucial role in ensuring seamless connectivity. However, in certain situations, you may find the need to bridge routers to optimize your network performance and extend coverage.
But what exactly does it mean to bridge routers? Why would anyone want to do it? And how can you accomplish this effectively? In this article, we will explore the concept of bridging routers and provide you with a step-by-step guide on how to bridge routers efficiently.
A router is a device that connects multiple devices to a single network and enables them to communicate with each other and the internet. It acts as a central hub, directing network traffic and ensuring that data packets reach their intended destinations. Routers come with various features and settings that can be customized to meet specific requirements.
The need to bridge routers typically arises when you have a larger area to cover, such as a multi-story house or an office space. One router may have limited range and may not be sufficient to provide a strong and stable connection throughout the entire area. By bridging routers, you can expand your network coverage and eliminate dead zones, allowing devices in different locations to seamlessly connect and communicate with each other.
Bridging routers essentially creates a network infrastructure where multiple routers work together to transmit and receive data. Rather than relying on a single router to handle all the network traffic, bridging distributes the workload among multiple routers, resulting in improved performance and better coverage.
Now that we understand the purpose and benefits of bridging routers, let’s delve into the details of how to bridge routers effectively.
What is a Router?
A router is a crucial piece of networking hardware that serves as a central hub connecting multiple devices to a local network and enabling communication between them. It plays a significant role in directing network traffic, ensuring that data packets are delivered efficiently to their intended destinations.
At its core, a router acts as a gateway between different networks, such as a local network and the internet. It receives data packets from connected devices and determines the most efficient path for the packets to reach their specified destinations, whether it’s another device on the same network or a server on the internet. The router uses routing tables and protocols to make these decisions and directs the data accordingly.
In addition to routing, routers also provide other essential functions, such as Network Address Translation (NAT) and firewall protection. With NAT, a router assigns unique IP addresses to devices within the local network, allowing them to communicate with devices outside the network using a shared public IP address. This helps to conserve limited IPv4 addresses and provides an additional layer of security. Firewalls, on the other hand, help monitor and control incoming and outgoing network traffic, protecting the network from unauthorized access and potential threats.
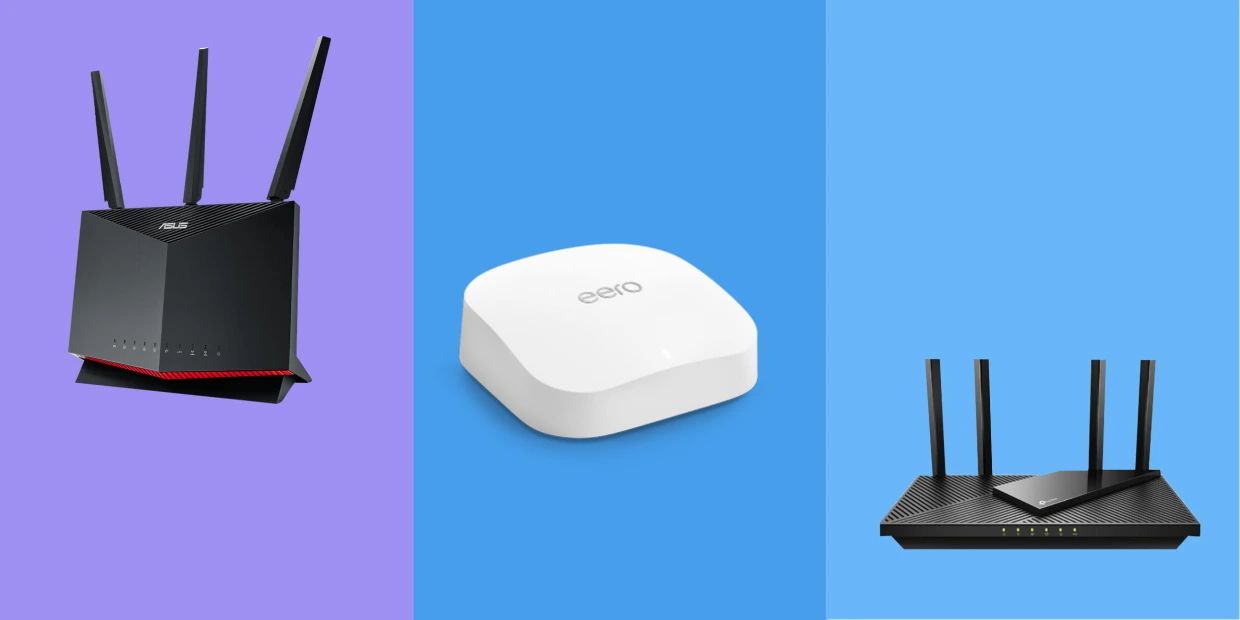
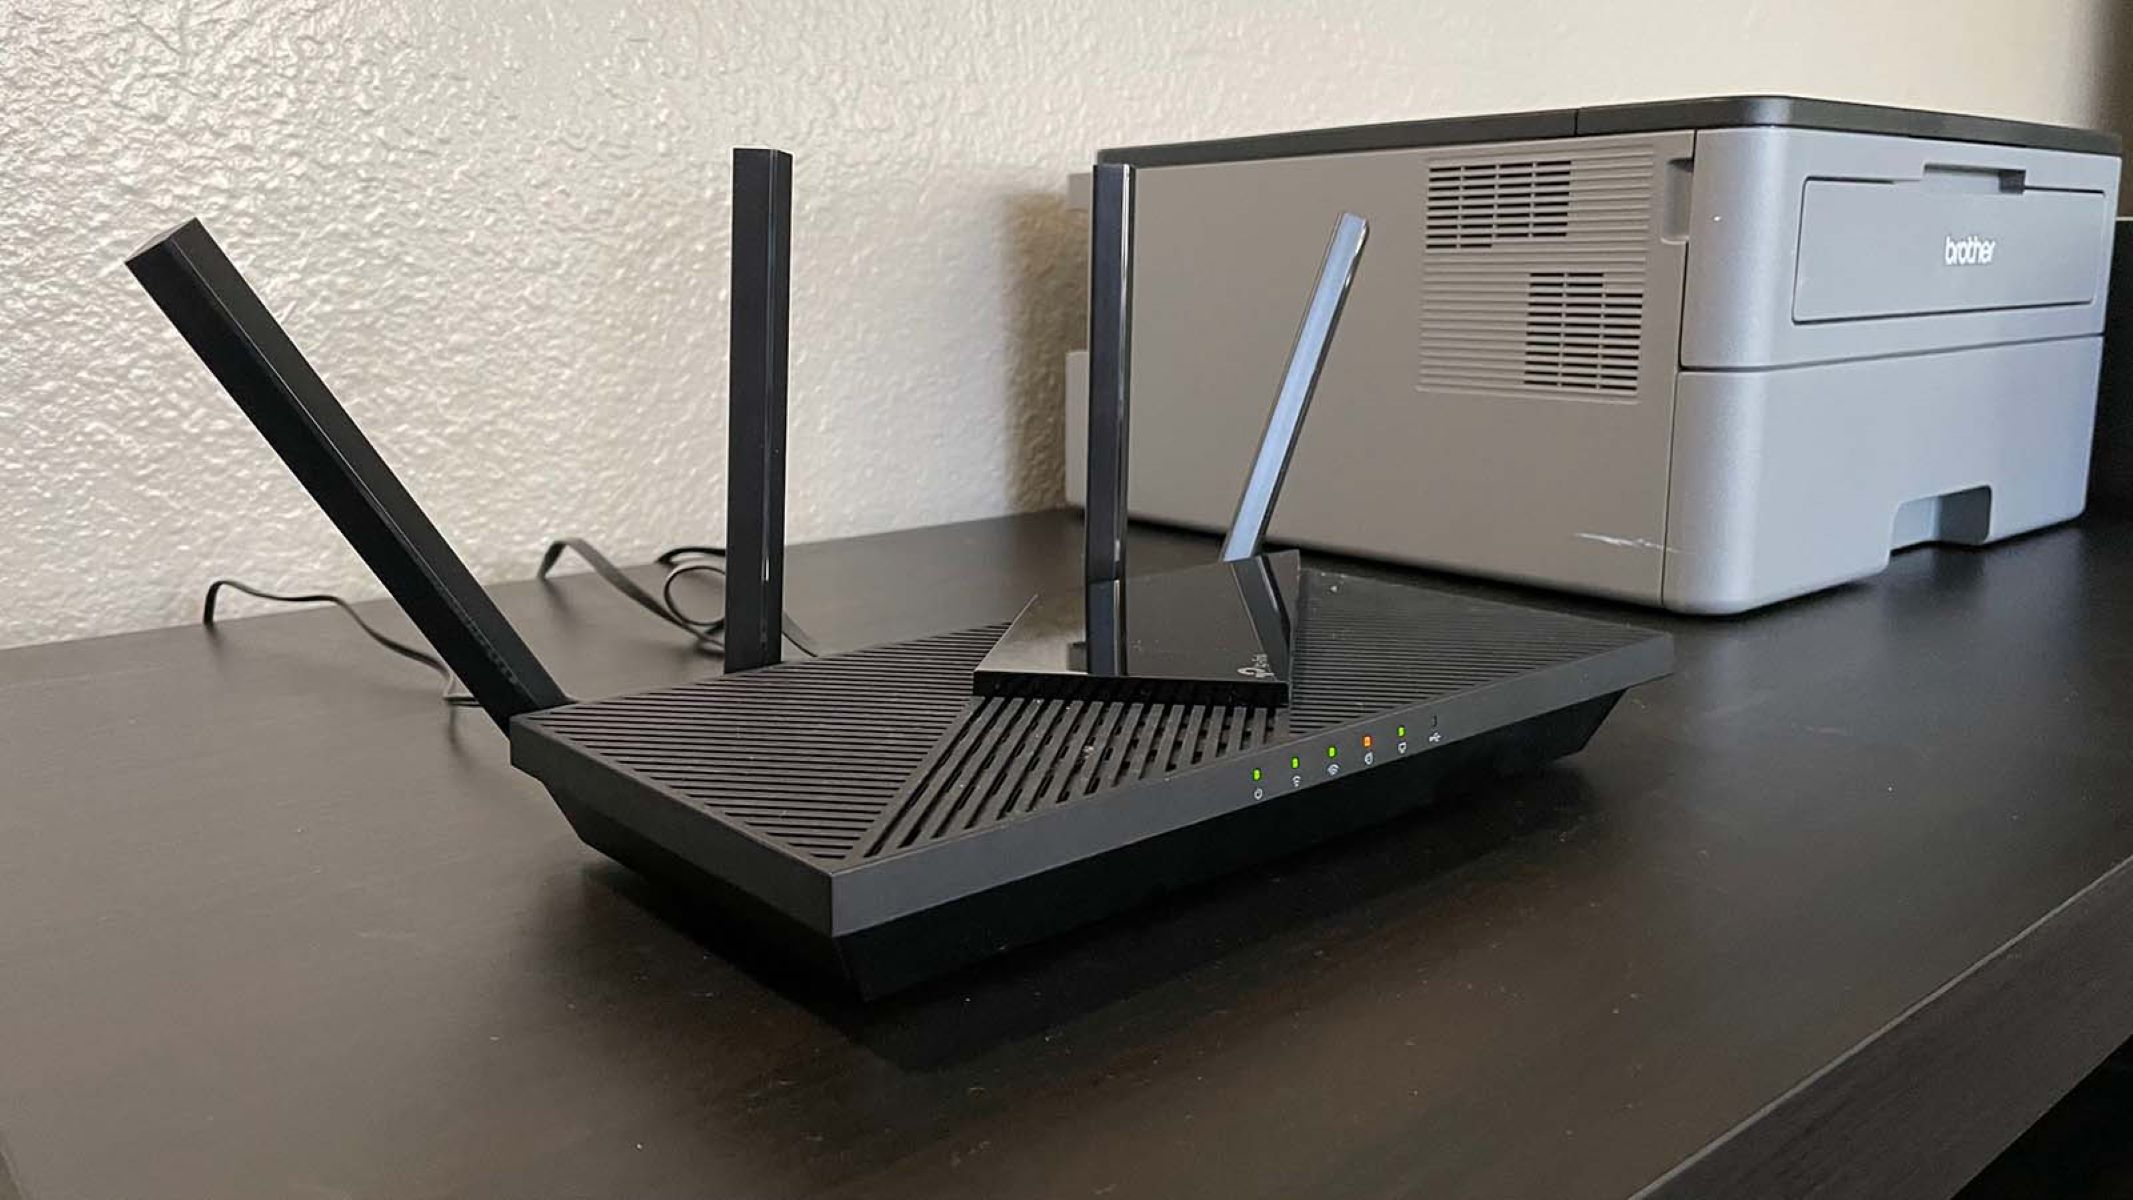
Routers come in various types and configurations, ranging from basic home routers to enterprise-grade routers designed for large-scale networks. Some routers offer additional features like Wi-Fi connectivity, allowing wireless devices to connect to the network without the need for physical cables.
When setting up a network, the router acts as a central point where all devices connect. Each connected device, whether it’s a computer, smartphone, gaming console, or smart home device, receives a unique IP address from the router, enabling them to communicate with each other and access the internet. The router manages the flow of data packets between devices, ensuring smooth and uninterrupted communication.
In summary, a router is an essential networking device that connects multiple devices to a network, routes data packets, and provides additional features such as NAT and firewall protection. Its role as a central hub allows devices to communicate with each other and access the internet efficiently, making it a key component for establishing and maintaining a robust network.
Why Would You Want to Bridge Routers?
There are several reasons why you might want to bridge routers to enhance your network performance and coverage. Let’s explore some common scenarios where bridging routers can be beneficial:
- Expanding Coverage: One of the main reasons for bridging routers is to extend network coverage. A single router may not reach every corner of a large home or office space, resulting in weak signals or dead zones. By bridging routers, you can create a network that spans a wider area and ensures a strong and stable connection throughout.
- Eliminating Dead Zones: Dead zones are areas within the network coverage where the Wi-Fi signal is weak or non-existent. These can be frustrating, especially if you rely on the internet for work or entertainment. By strategically placing additional routers in different locations and bridging them, you can fill these dead zones and provide seamless connectivity in every part of the space.
- Improving Network Performance: When multiple devices connect to a single router, bandwidth can become a bottleneck, resulting in slower internet speeds and decreased performance. Bridging routers helps distribute the network load across multiple routers, improving overall performance and ensuring that each device receives adequate bandwidth for smooth and uninterrupted connectivity.
- Enhancing Device Mobility: In some cases, you may have devices that need to move around within the network area, such as laptops or smartphones. By bridging routers, you can provide seamless roaming capabilities, allowing devices to connect to the nearest router automatically without experiencing any interruption in the network connection.
Furthermore, bridging routers can be useful when you have different network requirements for specific areas. For example, you may want to separate your home network from a guest network or create a dedicated network for smart home devices. By bridging routers, you can segment your network and manage each segment separately, ensuring better security and control.
In summary, bridging routers can help expand network coverage, eliminate dead zones, improve network performance, and enhance device mobility. It provides a flexible and scalable solution for optimizing your network infrastructure and ensuring a seamless and reliable internet connection throughout your space.
Understanding Bridge Mode
In networking, bridge mode refers to a configuration in which a router acts as a bridge or switch, enabling the seamless integration of multiple routers into a single network. When a router is set to bridge mode, it essentially turns off its routing functionality and works purely as a network bridge, allowing traffic to flow freely between connected routers and devices.
Bridge mode is often used when you want to expand network coverage by adding additional routers. Instead of treating each router as a separate network with its own subnet, bridge mode merges all the routers into a single network. This allows devices to communicate with each other seamlessly, regardless of which router they are connected to.
In bridge mode, the primary router acts as the gateway to the internet and handles all the necessary routing functions. The secondary routers, also known as bridge routers, are connected to the primary router and serve as extensions of the network. They receive traffic from connected devices and forward it to the primary router, which then routes the data to its intended destination.
One important aspect of bridge mode is that all devices connected to the network will have the same IP address range and subnet. This means that devices connected to any router in the network can communicate with each other without any issues. It also eliminates the need for complex routing configurations and allows for a simpler and more seamless network setup.
Bridge mode is often used in scenarios where you want to extend network coverage in a large area, such as a multi-story house, office building, or campus. By strategically placing bridge routers, you can ensure that the Wi-Fi signal reaches every corner of the space, eliminating dead zones and providing a reliable connection for all connected devices.
It’s important to note that bridge mode requires proper configuration to work effectively. Each router in the network should be configured correctly, with the primary router acting as the main gateway and the bridge routers connected to it as secondary access points. It’s also crucial to ensure that all routers are on the same network channel and have unique SSIDs to avoid interference.
In summary, bridge mode allows multiple routers to function as a single network, expanding coverage and providing seamless connectivity for all devices. It simplifies the network setup and eliminates the need for complex routing configurations. With bridge mode, you can extend your network reach and ensure a reliable internet connection throughout your space.
Step-by-Step Guide to Bridging Routers
If you want to bridge routers to expand your network coverage and optimize your network performance, here is a step-by-step guide to help you through the process:
- Ensure Router Compatibility: Before attempting to bridge routers, it’s crucial to ensure that the routers you plan to use are compatible with bridge mode. Check the manufacturer’s documentation or website to confirm if your router supports bridge mode.
- Identify Primary and Secondary Routers: Determine which router will serve as the primary router, acting as the gateway to the internet, and which routers will serve as bridge routers, extending the network coverage. This will help you organize the setup process effectively.
- Access Router Settings: Connect your computer to the primary router using an Ethernet cable or Wi-Fi. Open a web browser and enter the router’s IP address into the address bar to access the router’s settings page. If you don’t know the IP address, consult the router’s manual or check the manufacturer’s website for instructions.
- Configure the Primary Router: Once you access the router’s settings page, navigate to the wireless settings or network settings section. Locate the bridge mode or access point mode option and enable it. Save the settings and allow the router to reboot if necessary.
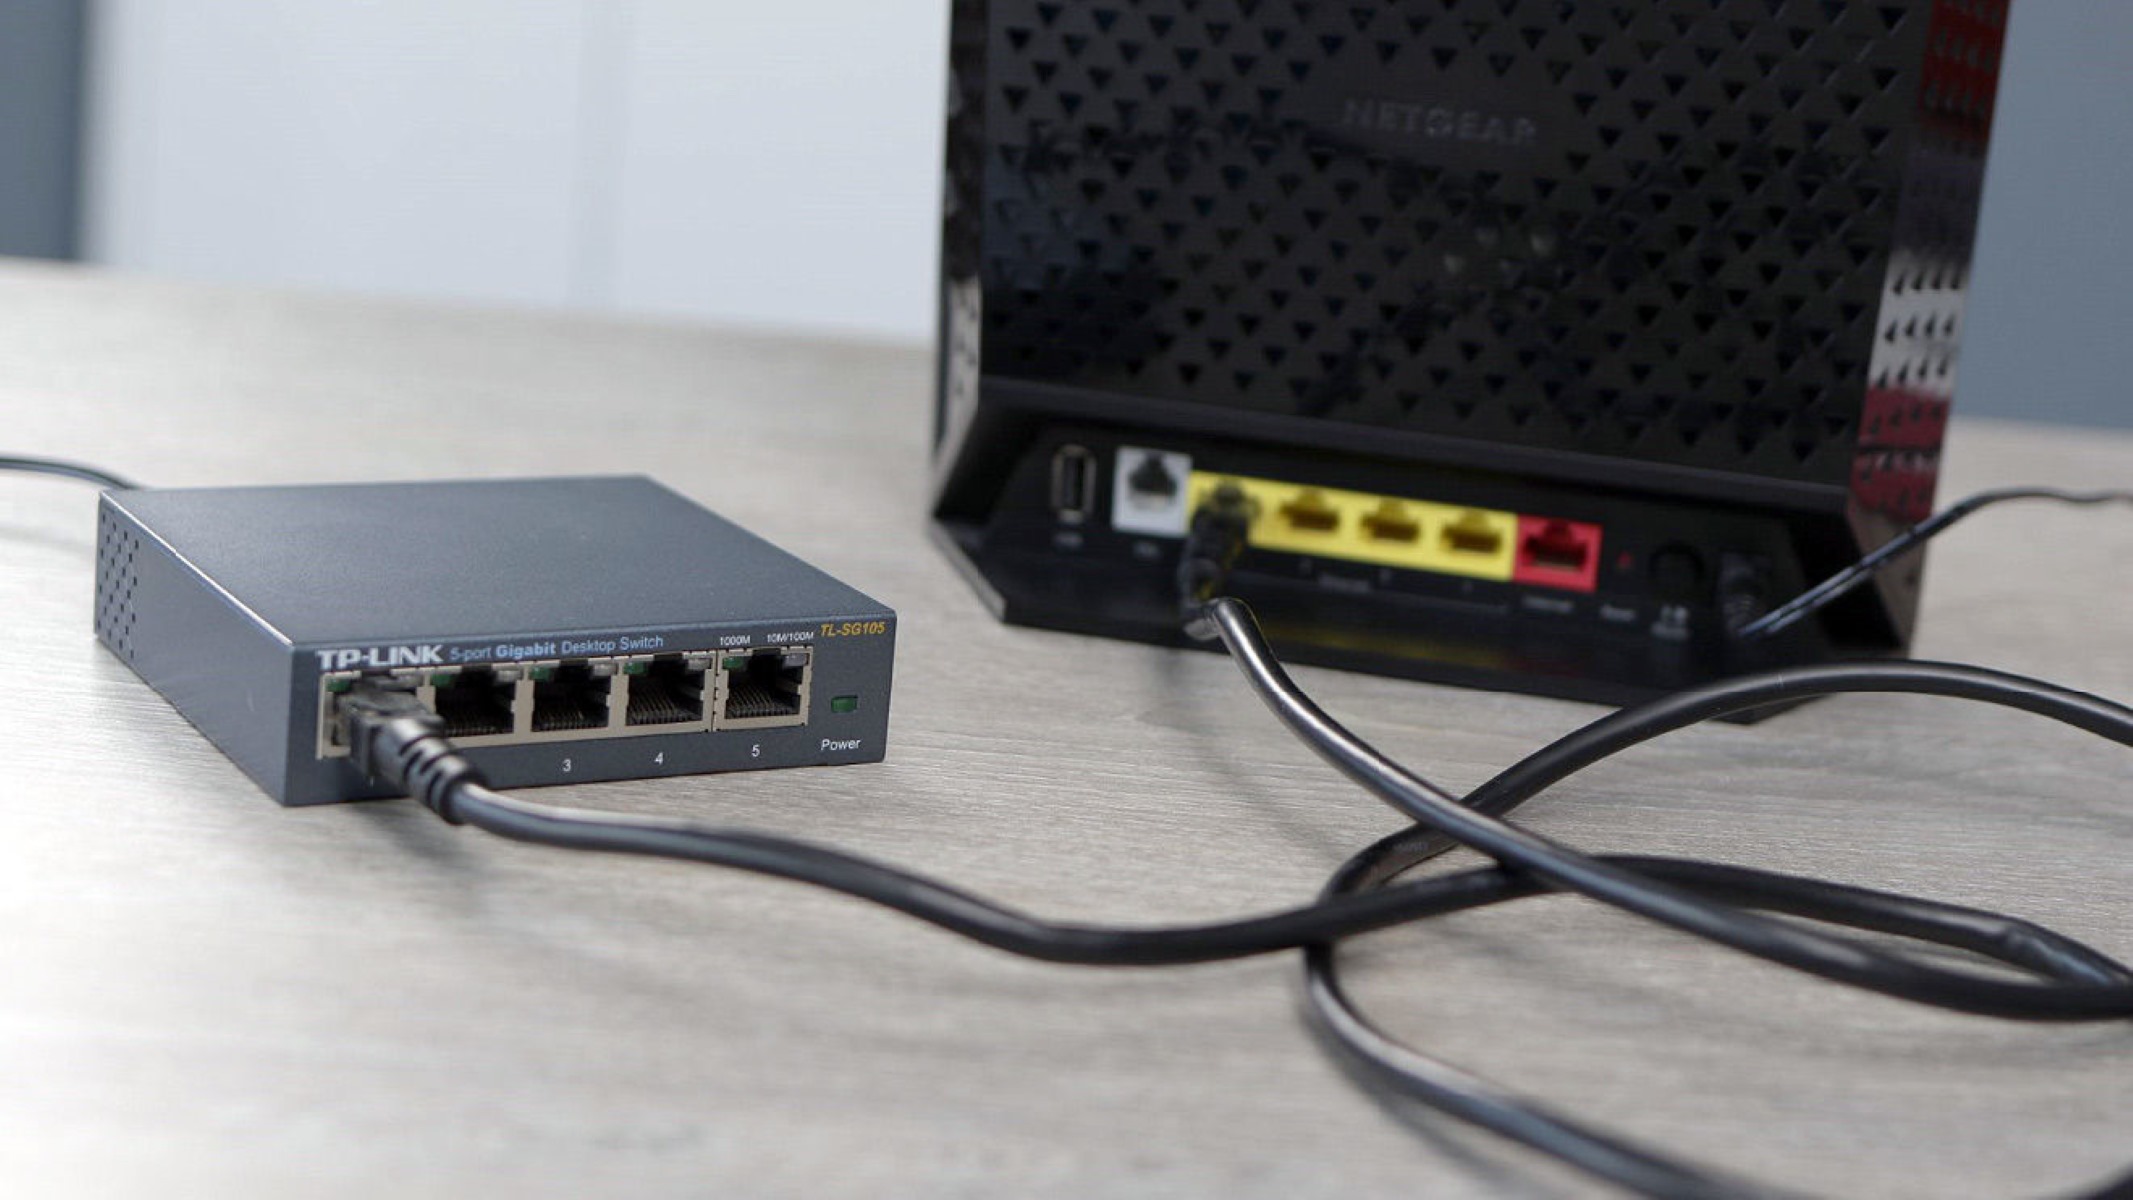
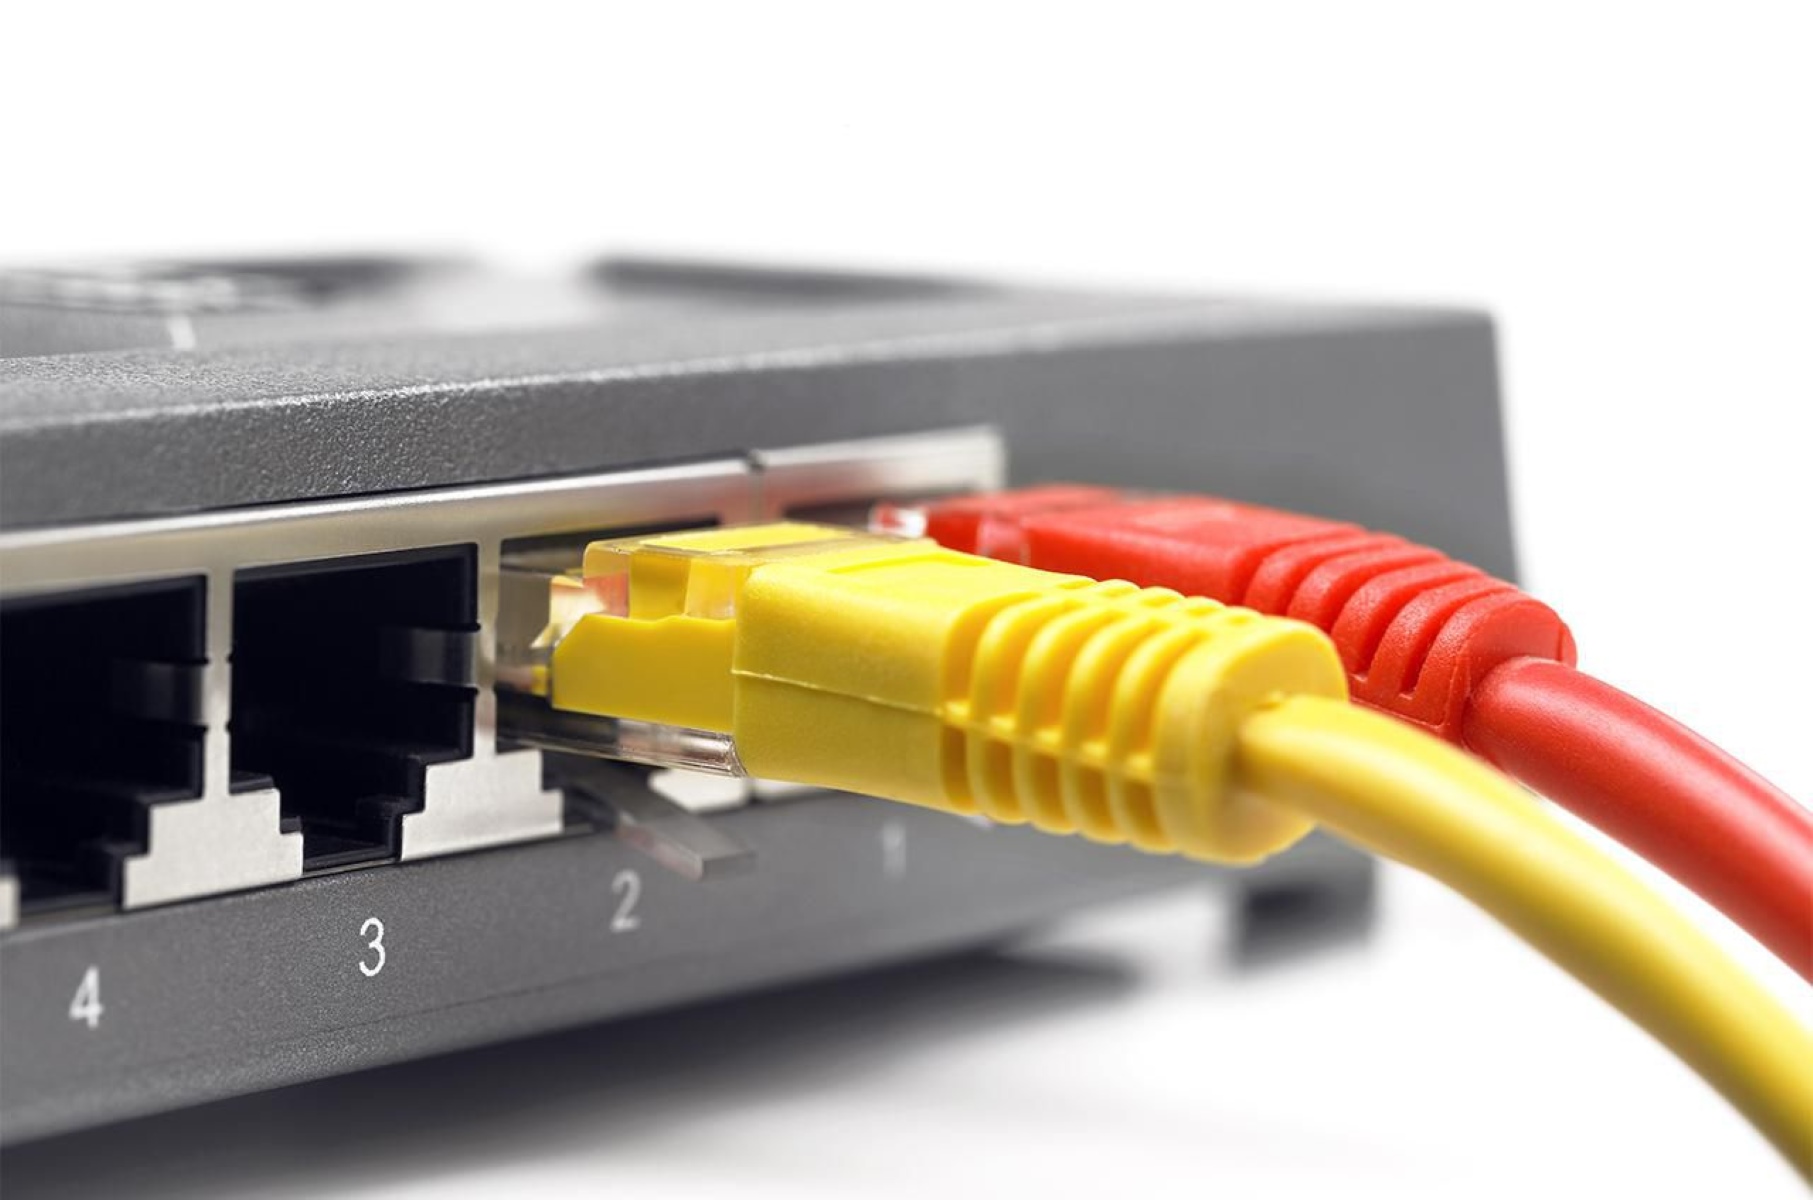
- Connect the Secondary Router: Physically connect the secondary router to the primary router using an Ethernet cable. Ensure that the connection is made from one of the LAN ports on the primary router to the LAN port on the secondary router.
- Access Secondary Router’s Settings: Open a new web browser window and enter the IP address of the secondary router (usually found on the router itself or in the manual) to access its settings page.
- Disable DHCP on the Secondary Router: DHCP (Dynamic Host Configuration Protocol) is responsible for assigning IP addresses to devices on the network. In bridge mode, the primary router handles the DHCP assignments. Find the DHCP settings in the secondary router’s settings page and disable the DHCP server.
- Configure Wireless Settings: In the secondary router’s settings, configure the wireless settings to match those of the primary router. This includes setting the SSID (network name) and security settings (such as WPA2-PSK), ensuring they are the same as the primary router’s wireless settings.
- Save and Reboot: Save the settings on the secondary router and allow it to reboot. It may take a few minutes for the changes to take effect.
- Test the Network: Once the routers have rebooted and the changes have been applied, test the network by connecting devices to the Wi-Fi network of any of the routers. Check for a stable connection and ensure that devices can communicate with each other across the network.
Following these steps should help you bridge your routers effectively, expanding your network coverage and improving connectivity throughout your space.
Configuring the Primary Router
The primary router plays a crucial role in bridging routers and acts as the gateway to the internet. To configure the primary router, follow these steps:
- Access the Router’s Settings: Connect your computer to the primary router using an Ethernet cable or via Wi-Fi. Open a web browser and enter the router’s IP address into the address bar to access the router’s settings page. If you’re unsure of the IP address, consult the router’s manual or check the manufacturer’s website for instructions.
- Enable Bridge Mode: Once you access the router’s settings page, navigate to the wireless settings or network settings section. Look for the bridge mode or access point mode option and enable it. This setting disables the router’s routing functions and turns it into a bridge or access point for the network.
- Configure Wireless Settings: In the wireless settings section, set up the wireless network name (SSID) and security settings. Choose a unique SSID that you can easily identify and ensure that the security settings, such as WPA2-PSK, match your desired level of encryption. Note down this information as you will need it when configuring the secondary routers.
- Save and Reboot: Save the settings on the primary router and allow it to reboot. This may take a few minutes for the changes to take effect.
- Record Primary Router’s IP Address: After the primary router has rebooted, locate its IP address in the settings or network information section. Note this IP address down as you will need it to access the secondary routers’ settings later.
Configuring the primary router correctly is essential for maintaining a stable network connectivity and ensuring smooth communication between the routers.
Configuring the Secondary Router
After configuring the primary router, it’s time to set up and configure the secondary routers to create a bridge network. Follow these steps to configure the secondary routers:
- Physically Connect the Secondary Router: Connect the secondary router to the primary router using an Ethernet cable. Be sure to connect the cable from one of the LAN ports on the primary router to a LAN port on the secondary router. Avoid connecting the cable to the WAN or Internet port of the secondary router.
- Access the Secondary Router’s Settings: Open a web browser and enter the IP address of the secondary router into the address bar. This IP address can usually be found on the router or in its manual. By accessing the secondary router’s settings page, you can make the necessary configuration changes.
- Disable DHCP on the Secondary Router: In the settings page of the secondary router, locate the DHCP (Dynamic Host Configuration Protocol) settings. Disable the DHCP server on the secondary router, as the primary router handles DHCP assignments in the bridge network. This ensures that all devices on the network receive IP addresses and other necessary network configurations from the primary router.
- Configure Wireless Settings: In the secondary router’s settings, configure the wireless settings to match those of the primary router. This includes setting the wireless network name (SSID) and security settings. Ensure that the SSID and security settings are identical to those configured on the primary router. This allows devices to seamlessly connect to any router within the bridge network.
- Save and Reboot: After making the necessary changes to the settings of the secondary router, save the settings and allow the router to reboot. It may take a few minutes for the changes to take effect and for the secondary router to join the bridge network.
- Test the Network: Once the secondary router has rebooted and joined the bridge network, test the network by connecting devices to the Wi-Fi network of any of the routers. Check for a stable connection and ensure that devices can communicate with each other across the network. Additionally, move devices around the space to ensure seamless roaming as they connect to the closest available router within the bridge network.
By correctly configuring the secondary routers, you can effectively extend network coverage and create a bridge network that provides seamless connectivity throughout your space.
Troubleshooting Bridge Mode Issues
While bridging routers can greatly enhance network coverage and performance, you may encounter certain issues during the setup or operation of the bridge network. Here are a few common problems and troubleshooting steps to help you resolve them:
- No Internet Connection: If you’re not able to access the internet after setting up the bridge network, check the connection between the primary router and the modem. Make sure the modem is connected to the WAN or Internet port of the primary router. Additionally, confirm that the primary router is properly configured for bridge mode and that the secondary routers are connected to it correctly.
- Failed Connection to Secondary Router: If you’re having trouble accessing the settings of the secondary router, verify that you are using the correct IP address to access the router’s interface. You can usually find this information on the router itself or in the router’s manual. If you still can’t connect, try resetting the secondary router to its factory settings and reconfiguring it from scratch.
- Unstable Connections: If you experience frequent dropouts or unstable connections within the bridge network, check for interference from other devices or neighboring networks. Change the wireless channel on all routers to minimize interference. Additionally, ensure that the routers are placed in strategic locations to provide optimal signal strength and coverage throughout the space.
- Incorrect Wireless Network Settings: If devices are unable to connect to the bridge network or experience authentication issues, double-check that the wireless network settings, such as the SSID and security settings, match across all routers. Also, ensure that the correct password is entered when connecting to the network.
- Roaming Problems: If devices have trouble seamlessly transitioning between routers as they move within the network area, check that the SSID and security settings are identical across all routers. Verify that the signal strength is strong in all areas to facilitate smooth roaming. Adjusting the transmit power or adding additional access points may also improve roaming performance.
If troubleshooting these issues doesn’t resolve the problems, consider updating the firmware of the routers to the latest version or contacting the router manufacturer’s support for further assistance. It’s important to have a stable and reliable bridge network to enjoy seamless connectivity throughout your space.
Conclusion
Bridge mode is a valuable solution for expanding network coverage, eliminating dead zones, and improving network performance. By bridging routers, you can create a seamless and reliable network that spans a larger area, allowing devices to connect and communicate seamlessly.
In this article, we explored what a router is and the reasons why bridging routers can be beneficial. We also provided a step-by-step guide on how to bridge routers effectively, from configuring the primary router to setting up and configuring the secondary routers. Additionally, we discussed common troubleshooting steps to address any issues that may arise during the bridge network setup or operation.
When bridging routers, it’s important to ensure compatibility between the routers, correctly configure the primary and secondary routers, and troubleshoot any issues that may arise. By following these steps and addressing any problems that arise, you can create a bridge network that provides seamless connectivity, expanded coverage, and improved network performance.
Remember that each network setup may vary, and it’s always a good practice to consult the manufacturer’s documentation or seek professional assistance if needed. By taking the time to properly bridge routers, you can optimize your network and enjoy a strong and reliable internet connection throughout your space.