Introduction
In today’s digital age, connecting multiple computers in a network has become a necessity. Whether you need to share files, printers, or internet access, having a reliable and efficient network setup is essential. One of the most convenient methods to connect two computers is by using a wireless router.
A wireless router acts as a central hub for your network, allowing multiple devices to connect wirelessly. This eliminates the need for physical cables and provides flexibility in terms of device placement. Setting up a wireless network is relatively simple and can be done with just a few steps. In this article, we will guide you through the process of connecting two computers using a wireless router.
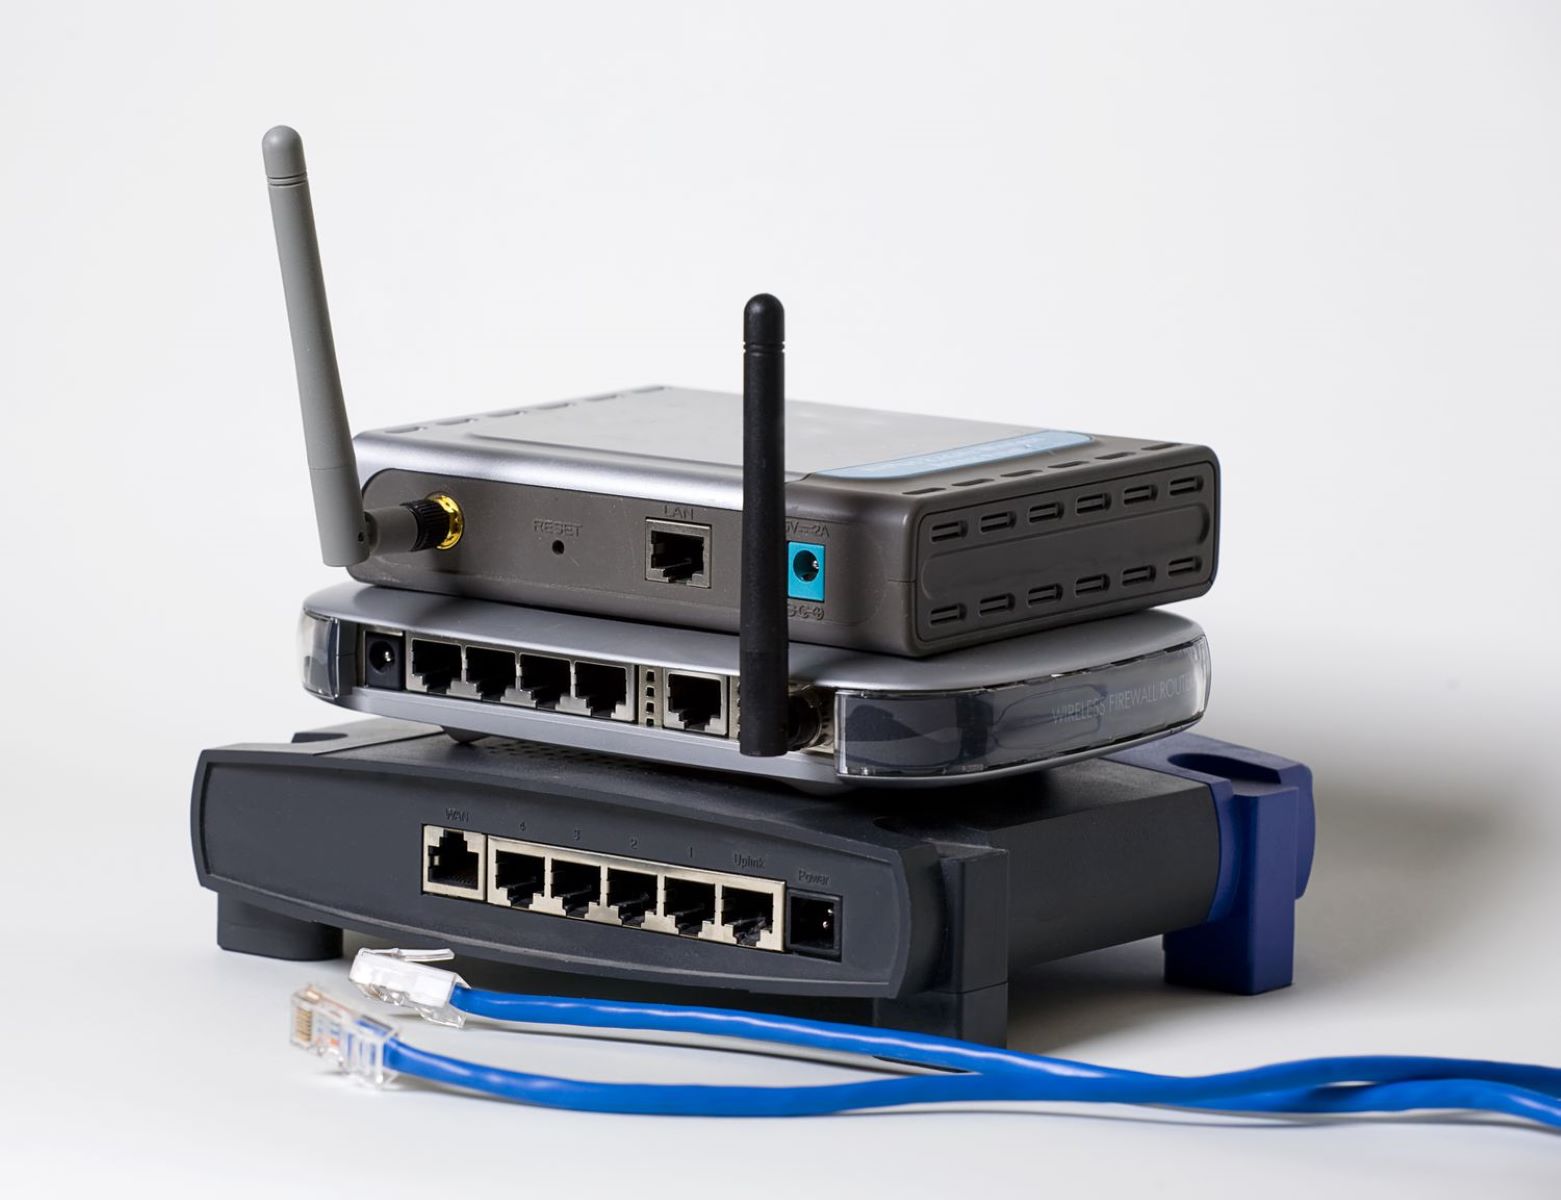
Before we dive into the steps, there are a few prerequisites that you need to consider. Firstly, you will need a wireless router that supports the desired wireless technology (e.g., Wi-Fi 5 or Wi-Fi 6). Additionally, both computers should be equipped with wireless network adapters, either built-in or external, to establish a wireless connection. Lastly, ensure that you have a good understanding of basic computer operations and are familiar with accessing router settings.
With these prerequisites in place, we can now move on to the step-by-step process of setting up and connecting two computers using a wireless router. By the end of this guide, you will have a fully functional wireless network that enables seamless communication and file sharing between the connected computers.
Prerequisites
Before you begin connecting two computers using a wireless router, there are a few essential prerequisites that you need to fulfill. These prerequisites ensure that you have the necessary hardware and knowledge to successfully establish a wireless network connection.
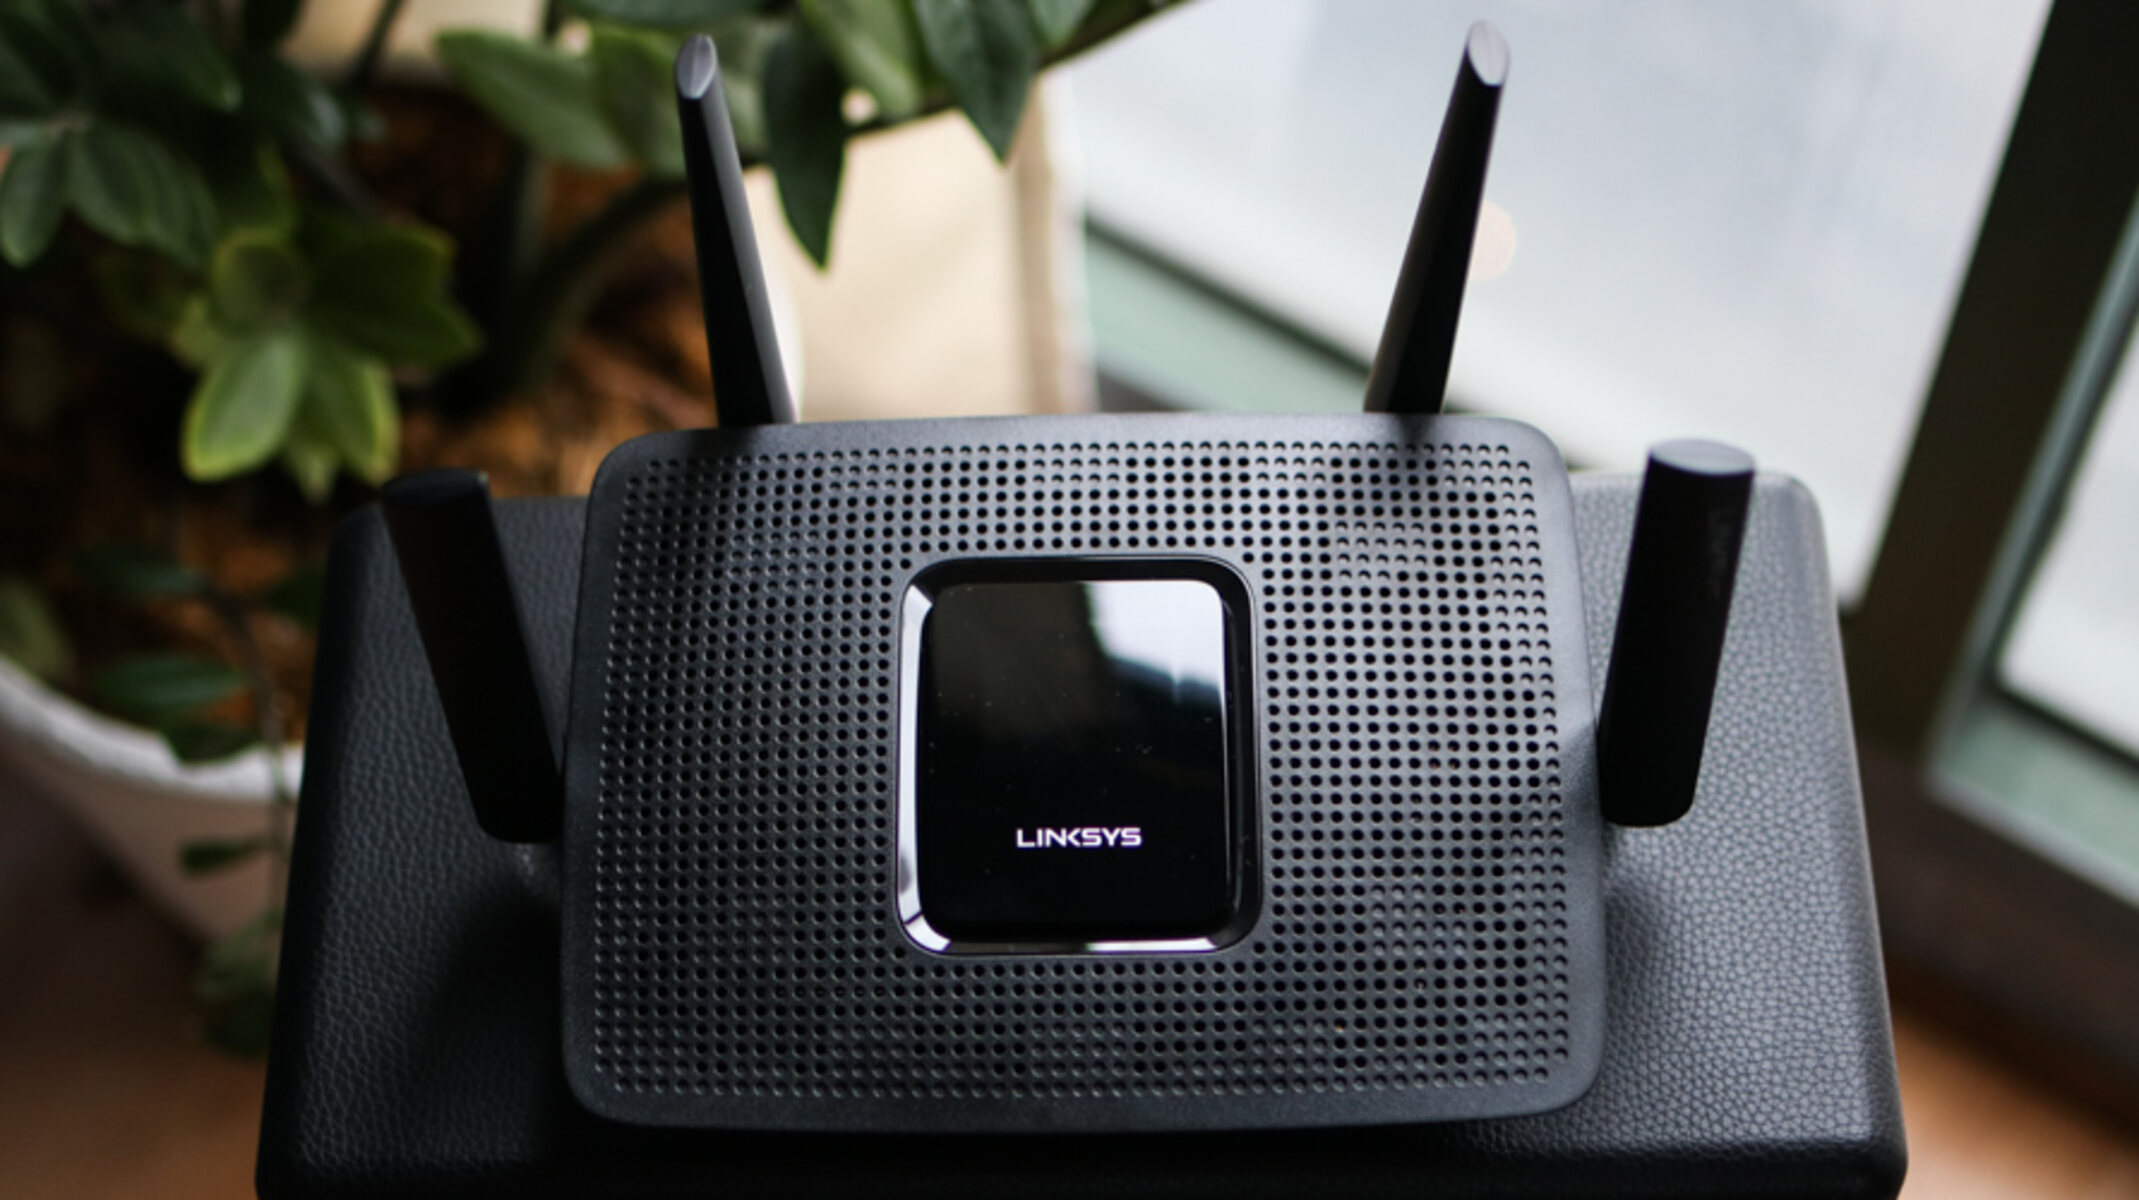
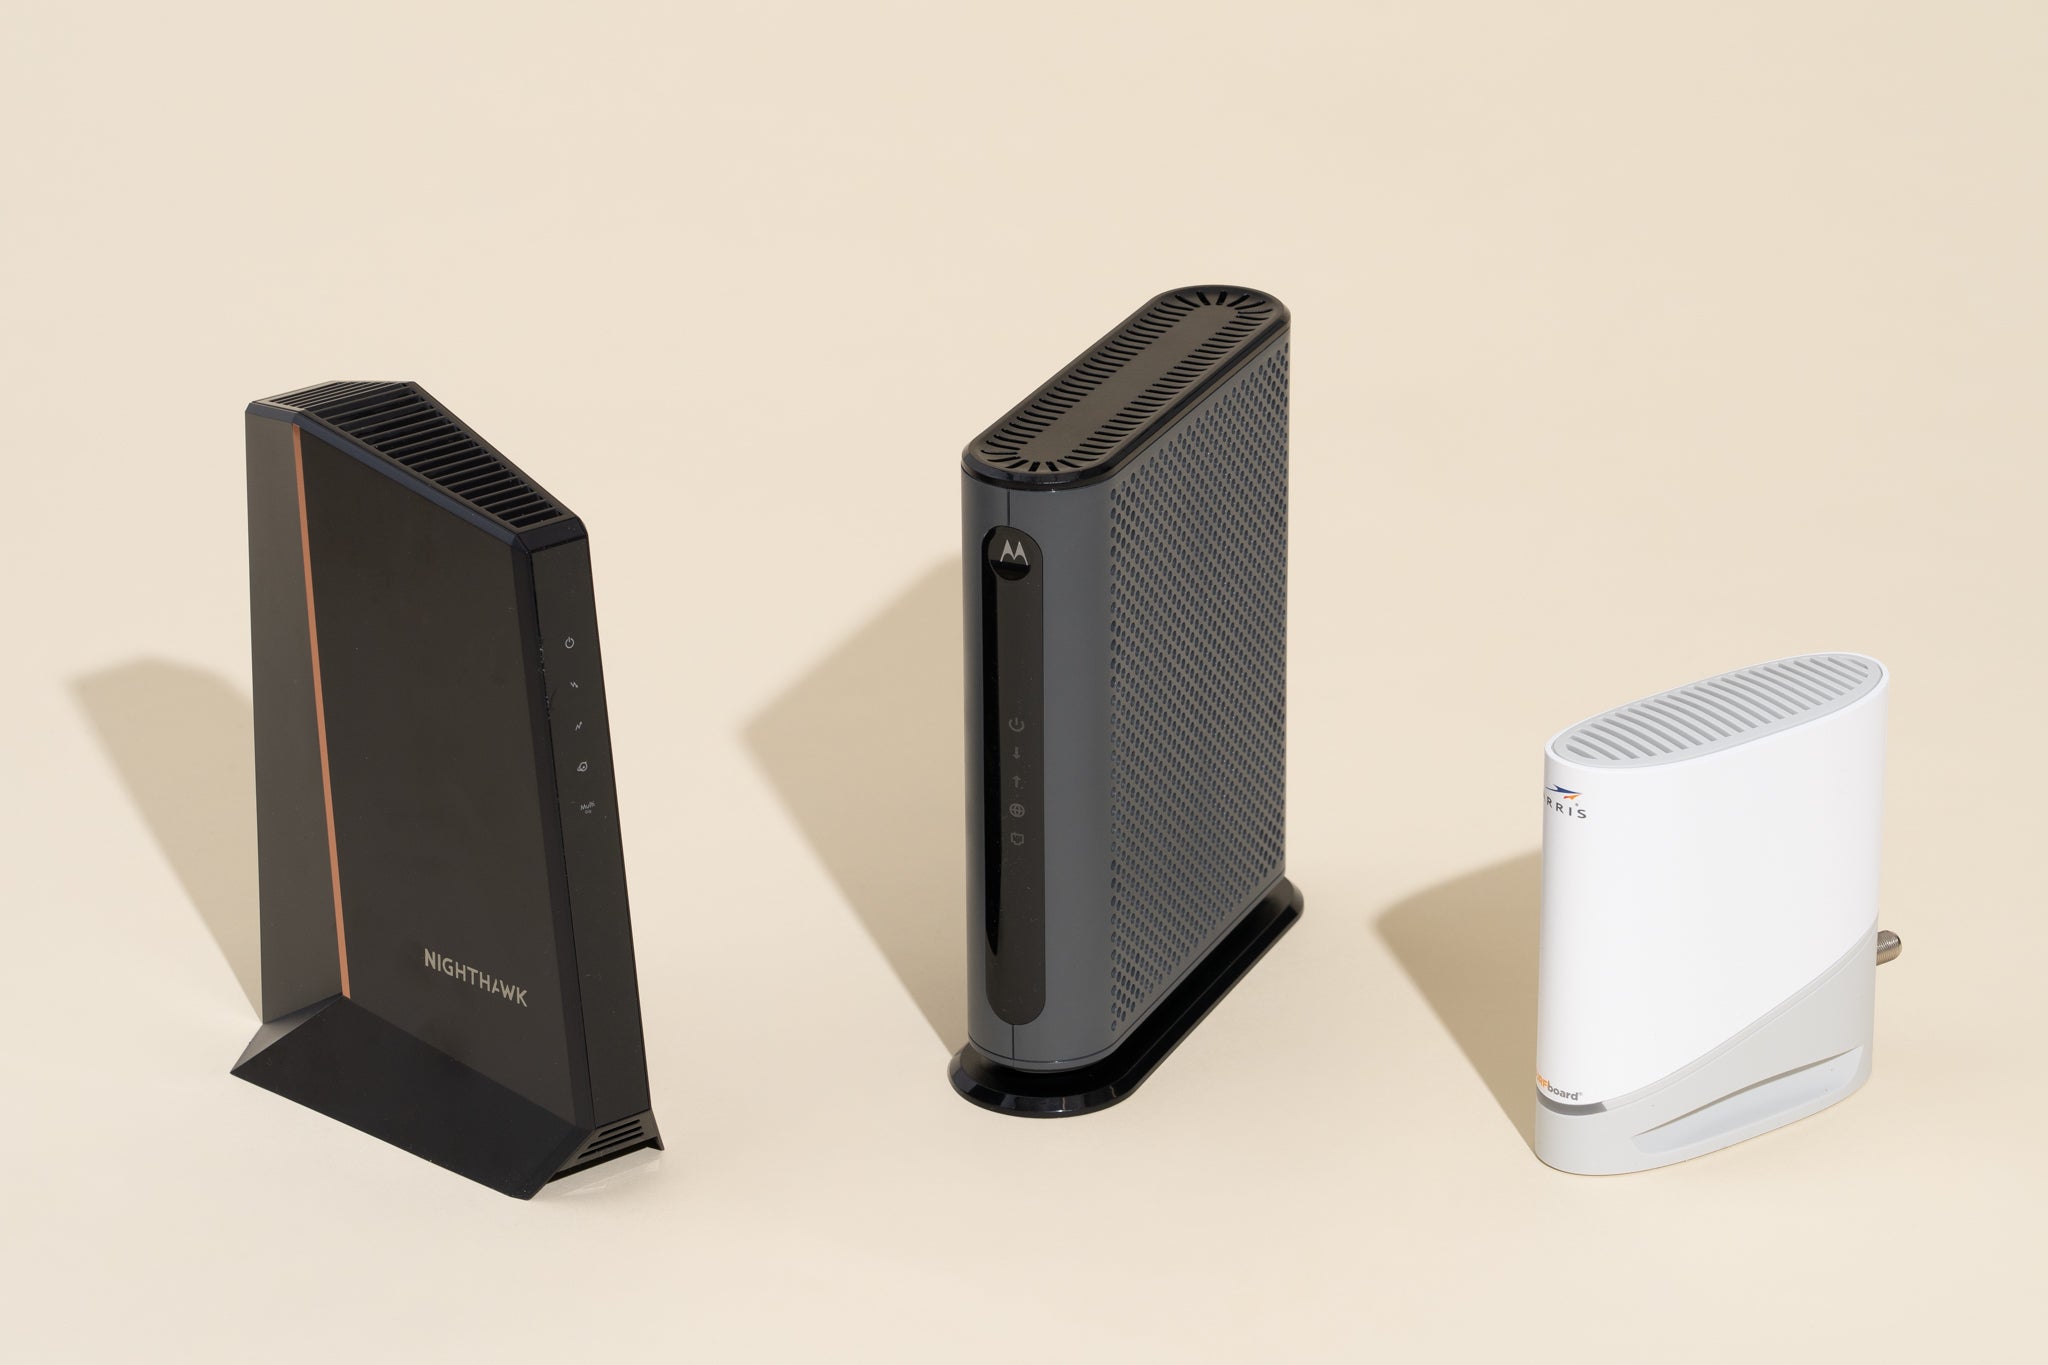
First and foremost, you will need a wireless router that supports the wireless technology you intend to use. There are various generations of Wi-Fi, with the latest being Wi-Fi 6. Make sure your router is compatible with the appropriate standard to guarantee optimal performance and compatibility with modern devices.
Next, both computers you want to connect must have wireless network adapters. These adapters enable the computers to communicate wirelessly with the router. Most modern laptops and desktops come with built-in Wi-Fi capabilities. However, if your computer does not have a built-in adapter, you can purchase a USB Wi-Fi adapter that plugs into a USB port.
Furthermore, to access and configure the wireless router settings, you will need a device, such as a laptop or smartphone, that can connect to the router via Ethernet or Wi-Fi. This device will be used for the initial setup and configuration process.
Additionally, it is crucial to have a basic understanding of computer operations and familiarity with accessing router settings. This knowledge will come in handy when navigating through the router’s web-based interface to configure network settings and ensure a smooth setup.
Lastly, ensure that you have a stable and reliable internet connection. This will ensure a seamless online experience and enable both computers to access the internet through the wireless network you are creating.
By fulfilling these prerequisites, you will have everything you need to proceed with the process of connecting two computers using a wireless router. With the right equipment and knowledge in place, you can look forward to creating a reliable and efficient wireless network for your computer setup.
Step 1: Setting up the Wireless Router
The first step in connecting two computers using a wireless router is setting up the router itself. Follow these instructions to ensure a successful setup:
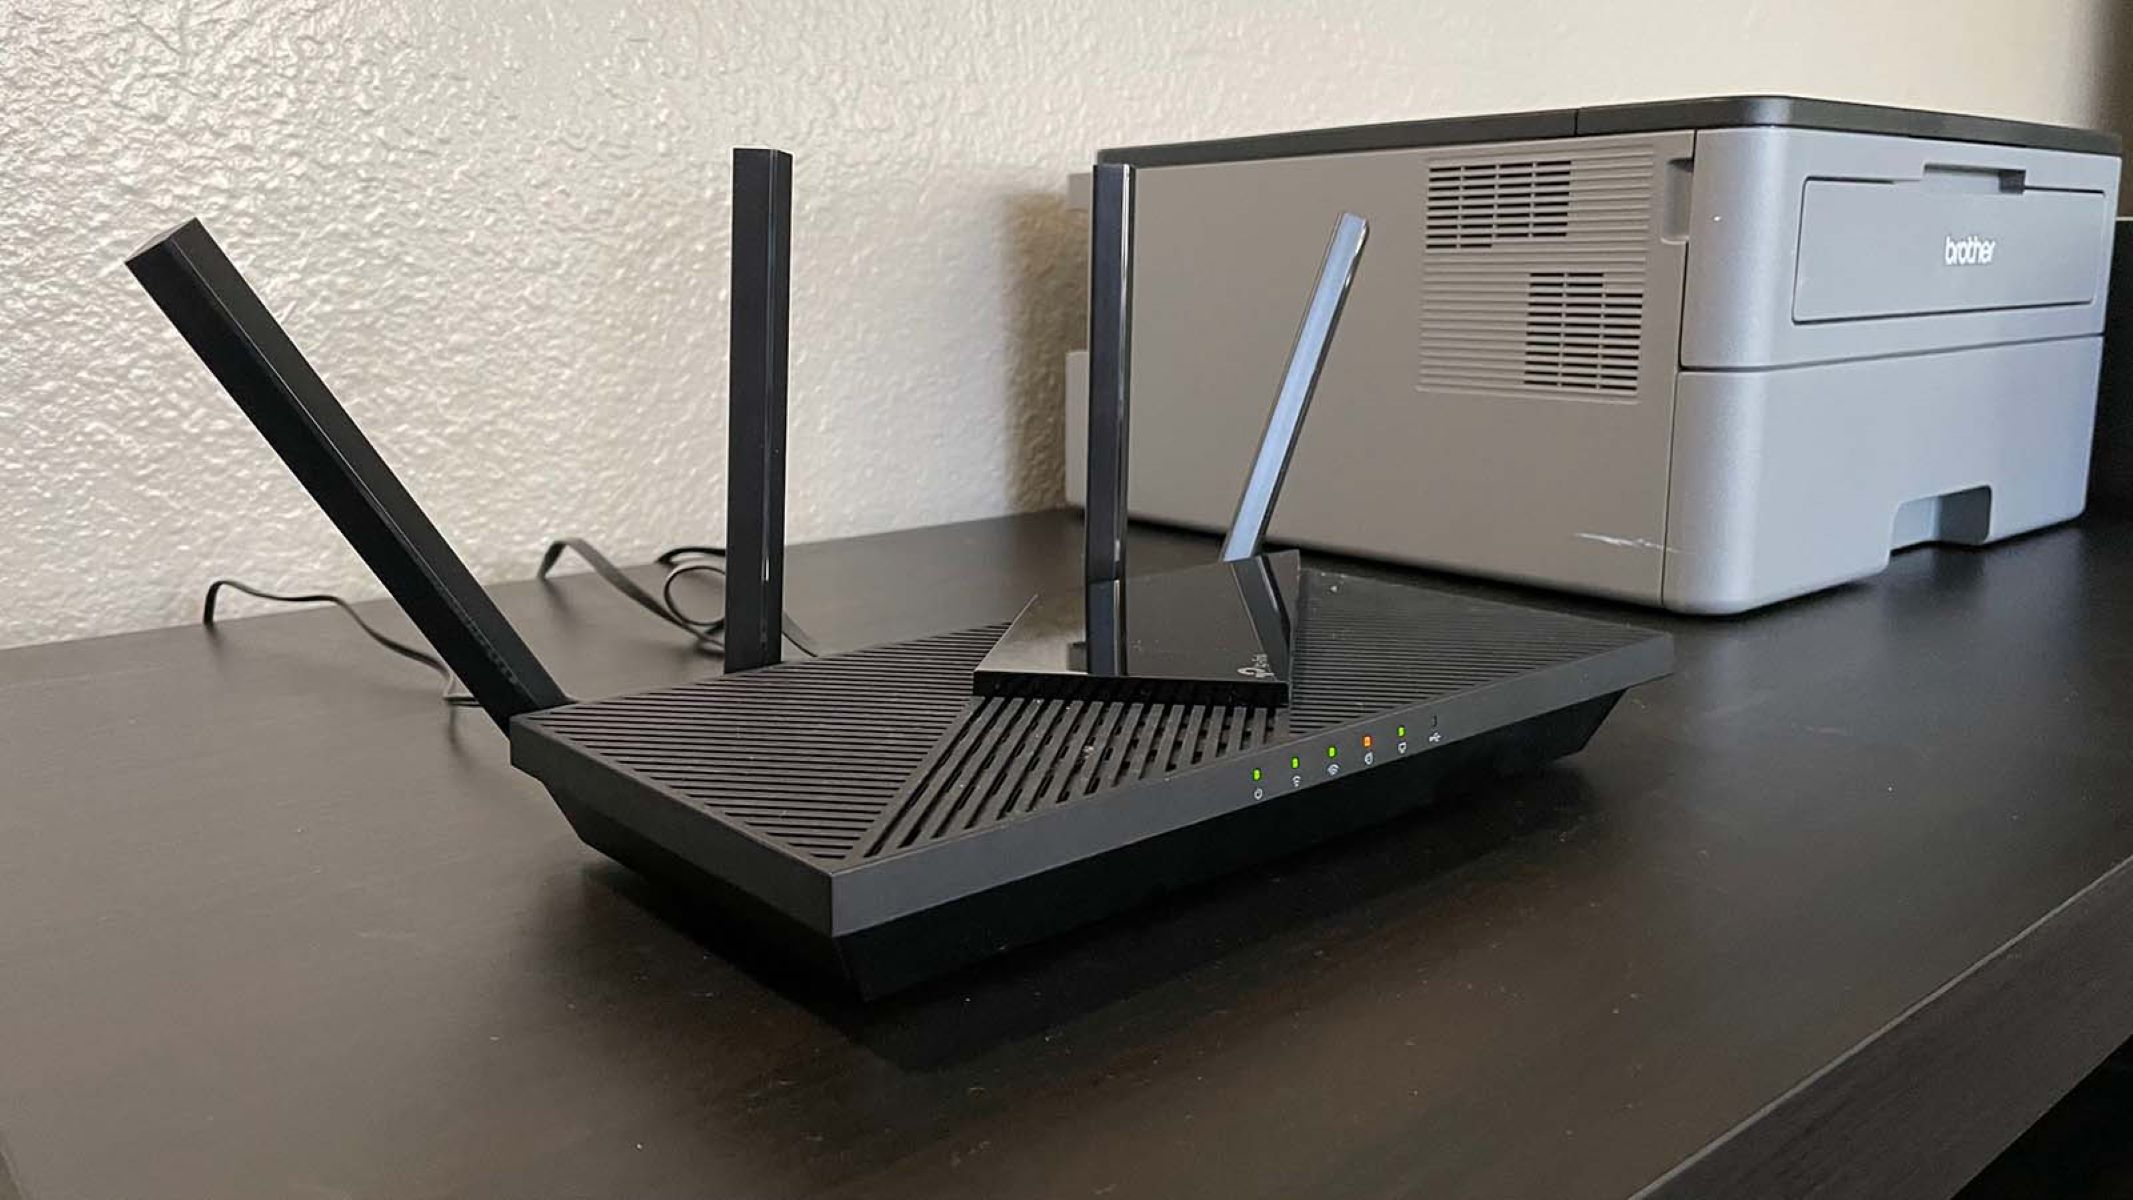
- Start by positioning the wireless router in a central location within your home or office. This will ensure that the wireless signal reaches both computers effectively. Keep the router away from obstructions such as walls or metal objects that can interfere with the signal.
- Connect the router to a power source and turn it on. Allow the router a few moments to boot up.
- Next, connect one end of an Ethernet cable to the router’s LAN (Local Area Network) port and the other end to your computer’s Ethernet port. This connection will allow you to access the router’s administrative interface.
- Open a web browser on your computer and enter the router’s default IP address into the address bar. This address is typically listed on the router itself or provided in the router’s documentation. Press Enter to access the router’s login page.
- Enter the admin credentials to log in to the router’s administrative interface. If you haven’t changed the default credentials, they can usually be found in the router’s documentation.
- Once logged in, you will be prompted to change the default password for security purposes. Follow the on-screen instructions to set a strong and unique password.
- Proceed to configure the basic network settings of the router. This includes setting the SSID (Service Set Identifier), which is the name of your Wi-Fi network. Choose a unique and easily identifiable name.
- Set a strong Wi-Fi password to secure your network. Choose a combination of letters, numbers, and special characters. Avoid using common passwords or personal information that can be easily guessed.
- Save the settings and disconnect the Ethernet cable from your computer.
By following these steps, you will have successfully set up your wireless router. The next step is to configure the network settings to ensure seamless connectivity between the computers.
Step 2: Configuring Network Settings
Once you have set up your wireless router, the next step is to configure the network settings. This will enable the computers to connect to the router wirelessly. Follow these instructions to configure the network settings:
- Ensure that your computer is connected to the wireless network created by the router. You can do this by locating the Wi-Fi icon in the taskbar or system tray and selecting the network name (SSID) you previously set up.
- Once connected, open a web browser and enter the default IP address of your router in the address bar. This will take you to the router’s login page.
- Sign in to the router’s administrative interface using the admin credentials you previously set up. If you can’t remember the credentials, refer to the router’s documentation or reset the router to its factory settings.
- Navigate to the wireless settings or wireless setup section of the router’s interface. Here, you can fine-tune the network settings to suit your preferences.
- Ensure that the wireless mode is set to the appropriate standard, such as Wi-Fi 5 (802.11ac) or Wi-Fi 6 (802.11ax). This ensures maximum compatibility and performance with your devices.
- Configure the wireless security settings by selecting the encryption type and entering a strong password. WPA2-PSK (Wi-Fi Protected Access 2 – Pre-Shared Key) with AES (Advanced Encryption Standard) is the recommended option for security.
- Save the settings and allow the router to restart if necessary. This will apply the changes and make the network settings active.
- Disconnect the Ethernet cable from your computer and ensure that your computer is now connected to the wireless network.
By following these steps, you have successfully configured the network settings of your wireless router. The next steps involve connecting the computers to the wireless network and testing the connection.
Step 3: Connecting the first Computer to the Wireless Network
With the wireless router set up and the network settings configured, it’s time to connect the first computer to the wireless network. Follow these steps to establish a wireless connection:
- Ensure that the first computer has a wireless network adapter installed and that it is turned on.
- On the first computer, locate the Wi-Fi icon in the taskbar or system tray. Click on it to display the available wireless networks.
- Select the network name (SSID) of your wireless network from the list. If you have set a password during the network configuration, you will be prompted to enter it. Enter the password correctly to establish the connection.
- Wait for the computer to connect to the wireless network. Once connected, you should see the Wi-Fi icon display a successful connection status.
- Ensure that the computer has obtained an IP address from the router. You can check this by opening the network settings on the computer and verifying that an IP address is assigned in the correct range.
- Test the connection by opening a web browser and navigating to a website. If the website loads successfully, it means the connection is working correctly.
Congratulations! The first computer is now successfully connected to the wireless network. Repeat the above steps for any other computers you wish to connect to the network. In the next step, we will cover connecting the second computer to the wireless network.
Step 4: Connecting the second Computer to the Wireless Network
Now that the first computer is connected to the wireless network, let’s proceed with connecting the second computer. Follow these steps to establish a wireless connection:
- Ensure that the second computer also has a wireless network adapter installed and turned on.
- On the second computer, locate the Wi-Fi icon in the taskbar or system tray and click on it to display the available wireless networks.
- Select the network name (SSID) of your wireless network from the list. If you have set a password during the network configuration, enter it correctly to establish the connection.
- Wait for the second computer to connect to the wireless network. The Wi-Fi icon will display a successful connection status once connected.
- Verify that the second computer has obtained an IP address from the router. You can check this by opening the network settings and ensuring that an IP address is assigned within the correct range.
- Test the connection by launching a web browser and visiting a website. If the website loads successfully, it indicates that the wireless connection on the second computer is working properly.
Congratulations! The second computer is now connected to the wireless network. You have successfully established a wireless connection between two computers using a wireless router. Both computers should now be able to communicate with each other and access resources on the network.
Repeat these steps if you have additional computers you want to connect to the network. Keep in mind that the maximum number of devices that can connect to a wireless router simultaneously may vary based on the router’s specifications.
In the next step, we will cover testing the connection to ensure everything is functioning as expected.
Step 5: Testing the Connection
After connecting both computers to the wireless network, it’s important to test the connection to ensure everything is functioning correctly. Follow these steps to test the connection:
- Ensure that both computers are connected to the wireless network and have obtained valid IP addresses from the router.
- On each computer, open a web browser and visit a website. Confirm that you can browse the internet on both computers.
- Try accessing shared resources between the computers, such as files or printers. This will verify if the computers can communicate with each other over the network.
- If you are unable to access shared resources, check the network settings on both computers and ensure they are on the same subnet.
- Test the network speed and stability by performing a speed test. There are many online speed test tools available that can measure the download and upload speeds of your network connection.
- If you face any issues during the testing phase, double-check the network settings on both the router and the computers. Ensure that the wireless signal is strong and there are no environmental factors causing interference.
- Consider updating the firmware of your wireless router to the latest version. Firmware updates often include bug fixes and performance enhancements that can improve the overall network experience.
By going through these testing steps, you can ensure that the wireless connection between the computers is stable and reliable. If any issues arise, troubleshoot the network settings or consult the router’s documentation for further assistance.
With a successful connection test, you can confidently use the wireless network to share files, collaborate on projects, and access the internet efficiently between the connected computers.
Conclusion
Connecting two computers using a wireless router opens up a world of possibilities for seamless communication, file sharing, and internet access. By following the steps outlined in this guide, you can easily establish a wireless network between the computers in your home or office.
In the first step, you learned how to set up the wireless router, positioning it centrally and configuring the necessary settings. The second step covered configuring the network settings, ensuring compatibility and security for your wireless network.
The third step involved connecting the first computer to the wireless network, followed by connecting the second computer in the fourth step. Both computers must have wireless network adapters and be within range of the wireless router.
Finally, you learned how to test the connection between the computers, making sure they can access the internet, share files, and maintain a stable network connection.
Remember that troubleshooting may be required if any issues arise during the setup or testing process. Checking the network settings, signal strength, and updating the router’s firmware can help resolve these issues.
By successfully connecting two computers using a wireless router, you have established a reliable and convenient network that simplifies communication and enhances productivity. Enjoy the benefits of a wireless network and explore the endless possibilities it offers for collaboration and resource sharing.