Introduction
Welcome to the comprehensive guide on how to set up your Dlink wireless router. Setting up a wireless router is a crucial step in establishing a reliable and secure internet connection in your home or office. With a Dlink wireless router, you can enjoy seamless connectivity, fast internet speeds, and the ability to connect multiple devices to the network.
This step-by-step guide will walk you through the process of setting up your Dlink wireless router, from unboxing the device to connecting it to your computer and configuring the internet connection. Whether you are a beginner or have some experience with networking, this guide will provide you with all the necessary information to get your Dlink wireless router up and running in no time.
Before we dive into the setup process, it’s important to note that each Dlink router model might have slightly different setup procedures. Therefore, we will provide general instructions that should apply to most Dlink wireless routers. It’s also recommended to consult the user manual that comes with your specific router model for any specific instructions or additional features.
By the end of this guide, you will be able to successfully set up your Dlink wireless router and secure your wireless network, ensuring a smooth and uninterrupted internet experience for all your connected devices. So, let’s get started with the first step: unboxing and connecting the router.
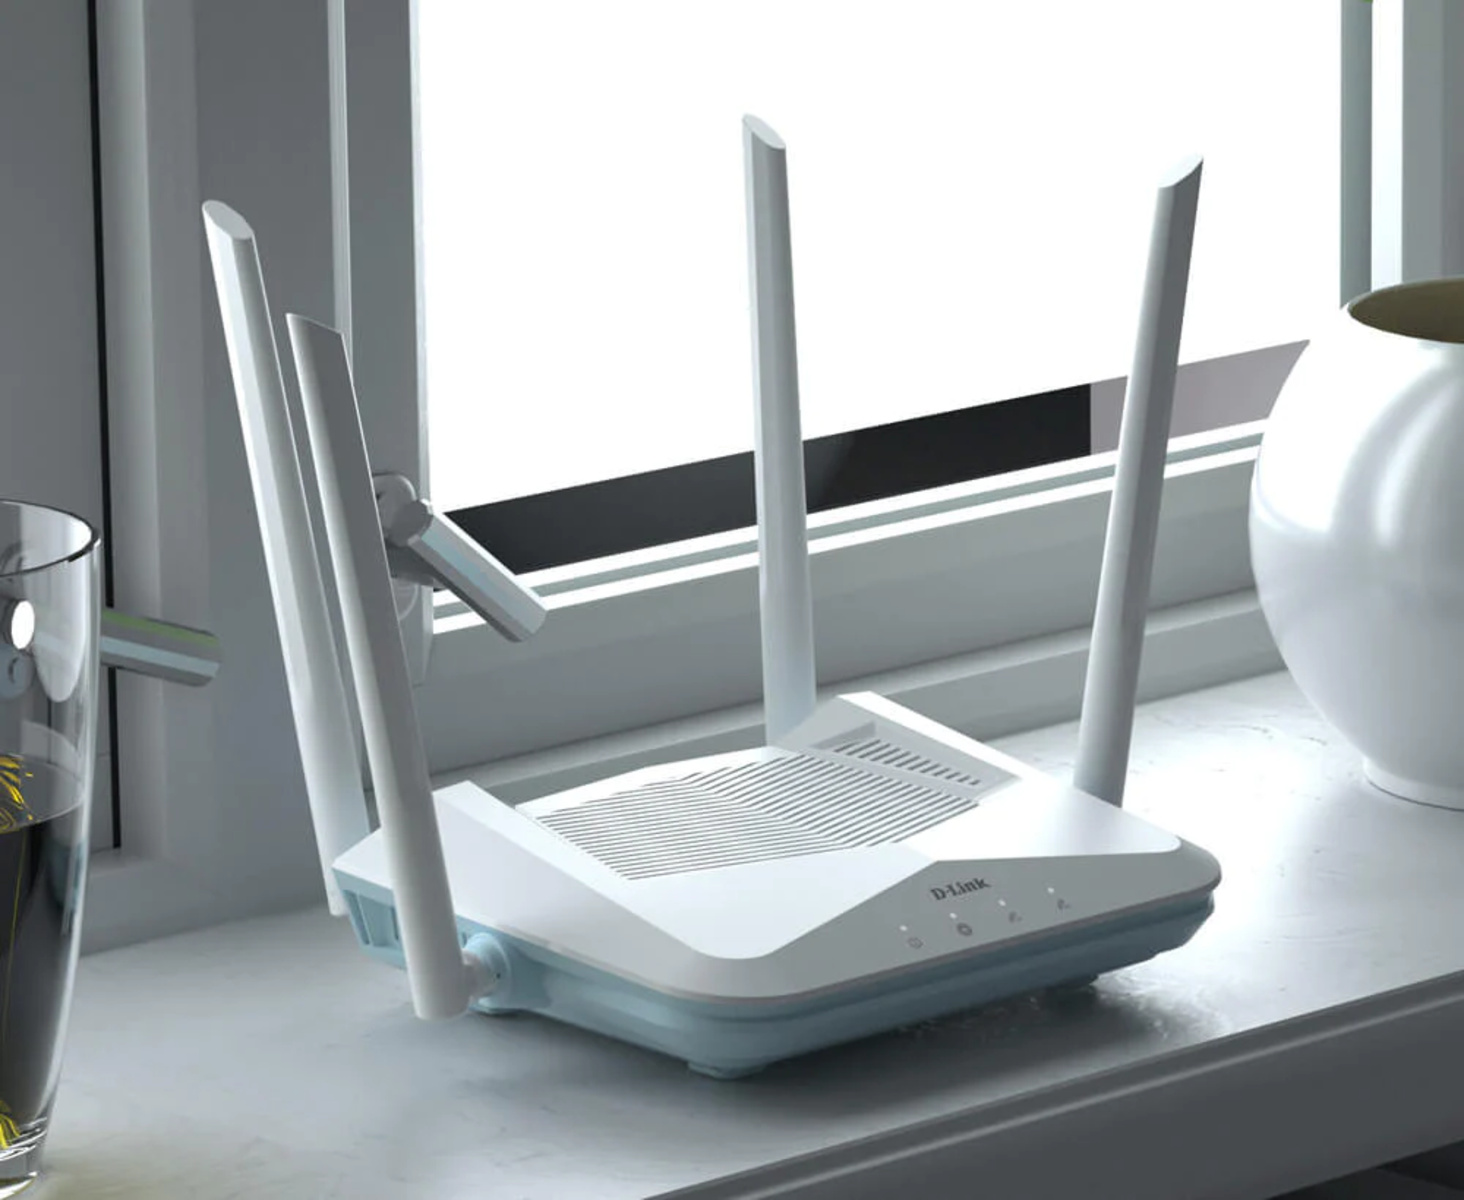
Step 1: Unbox and Connect the Router
Once you have obtained your Dlink wireless router, the first step is to unbox it and connect it to the power source. Follow these simple steps to get started:
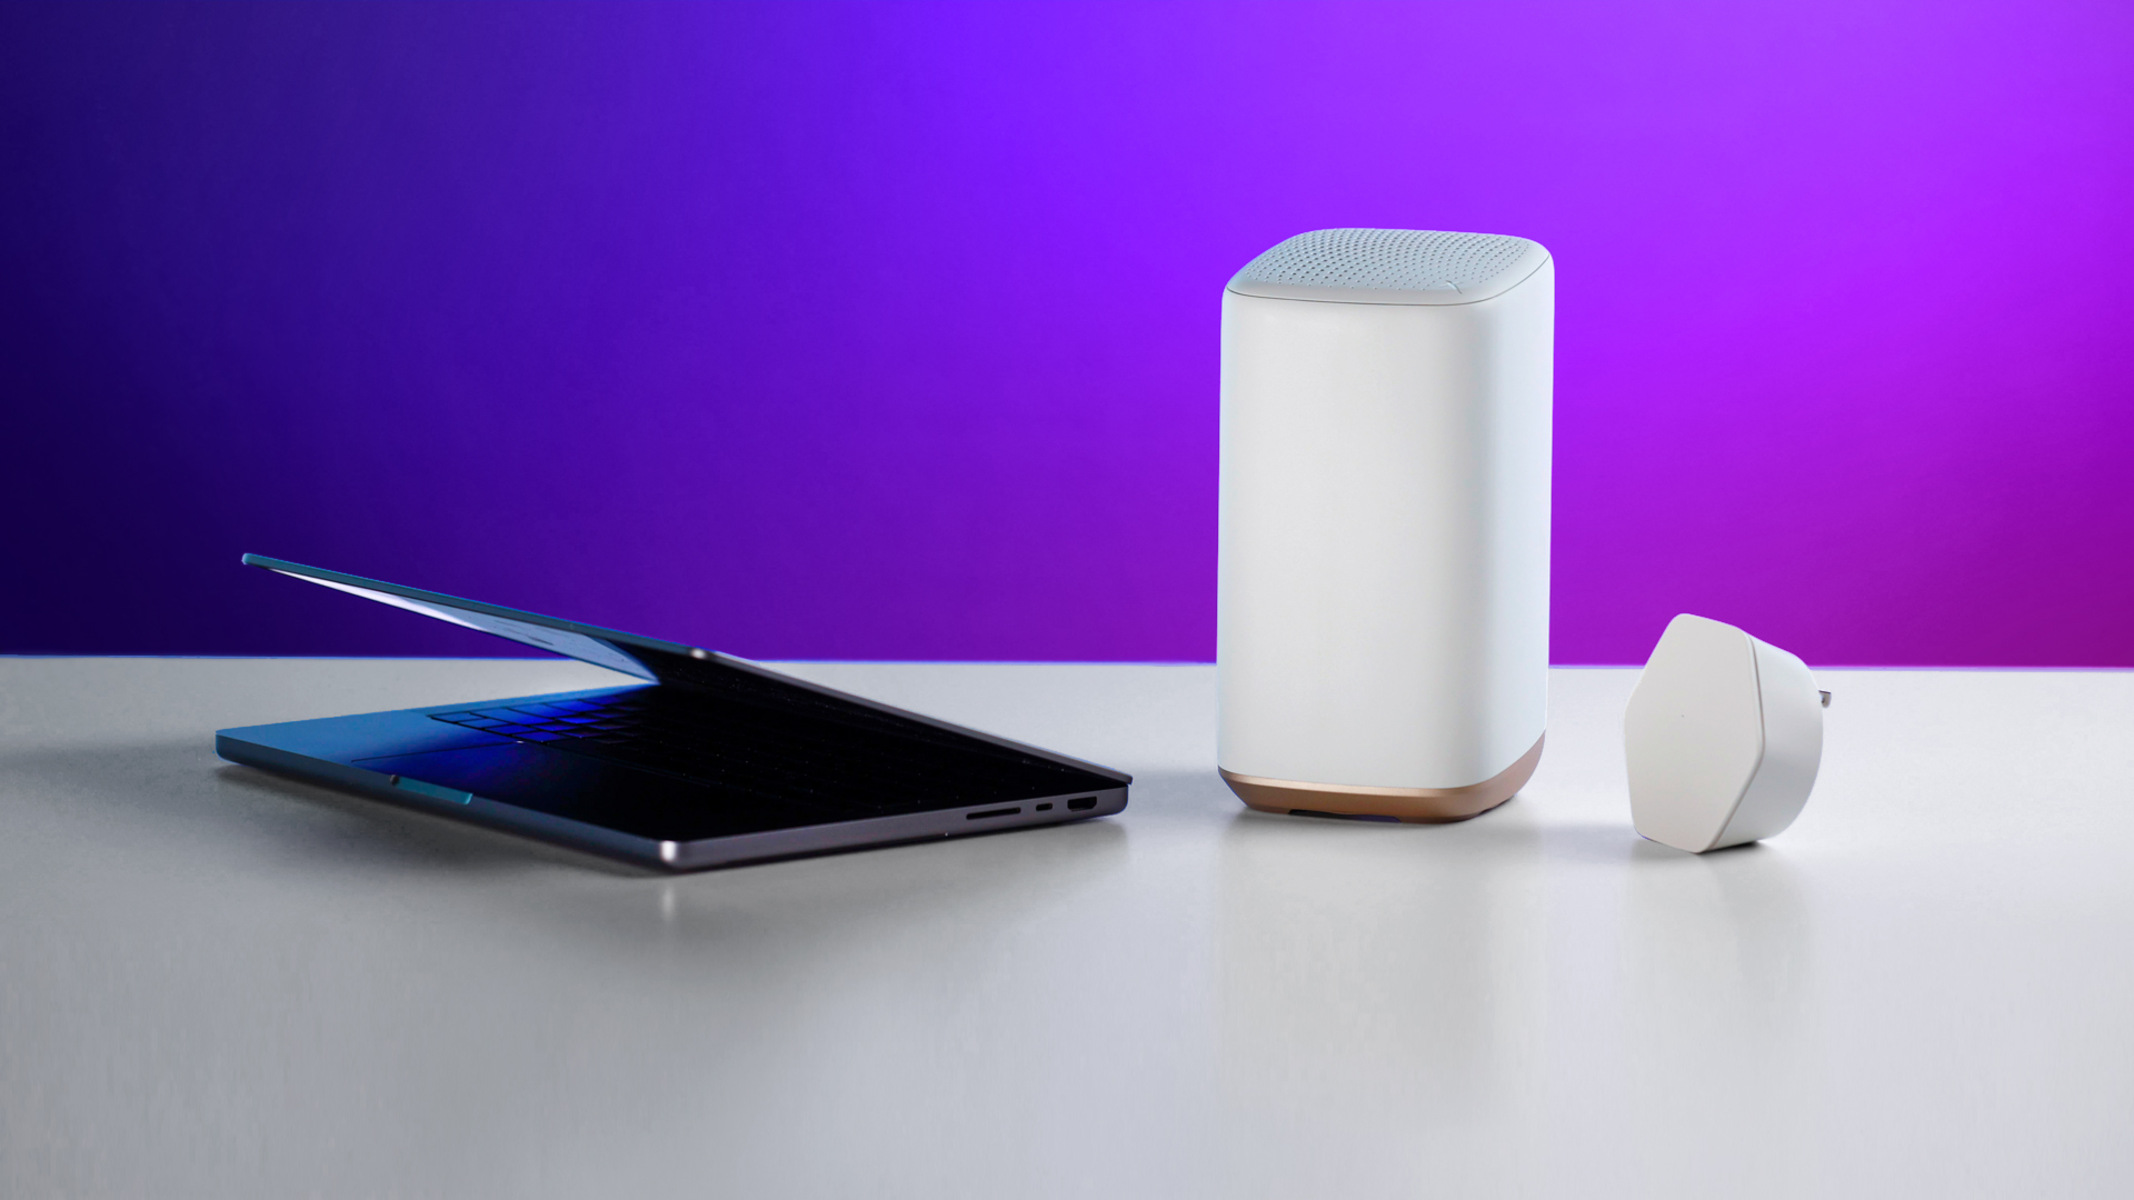
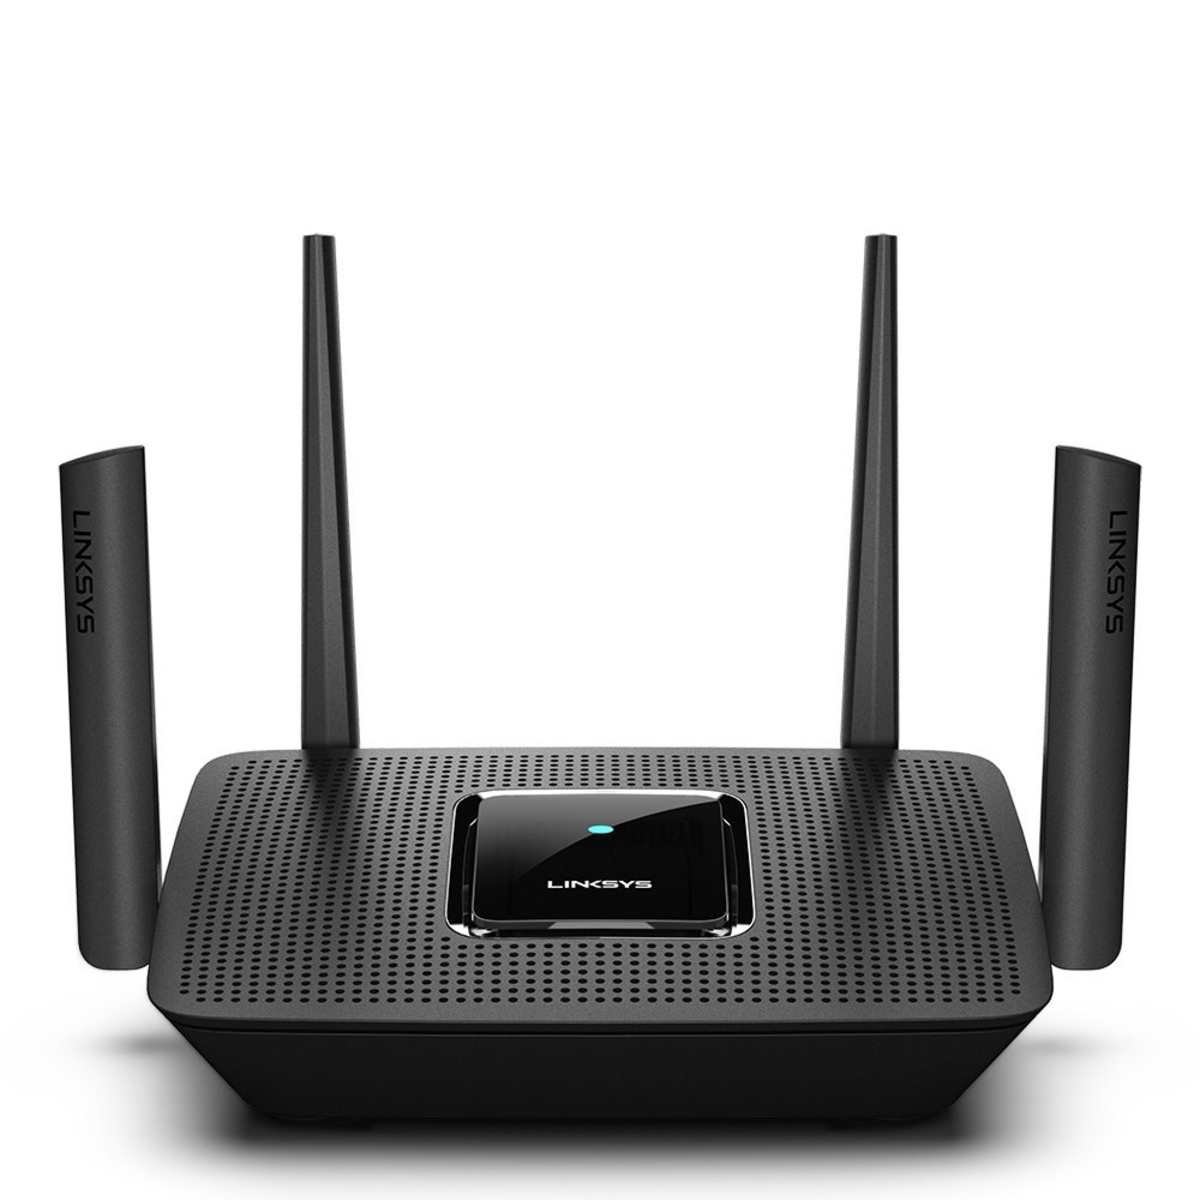
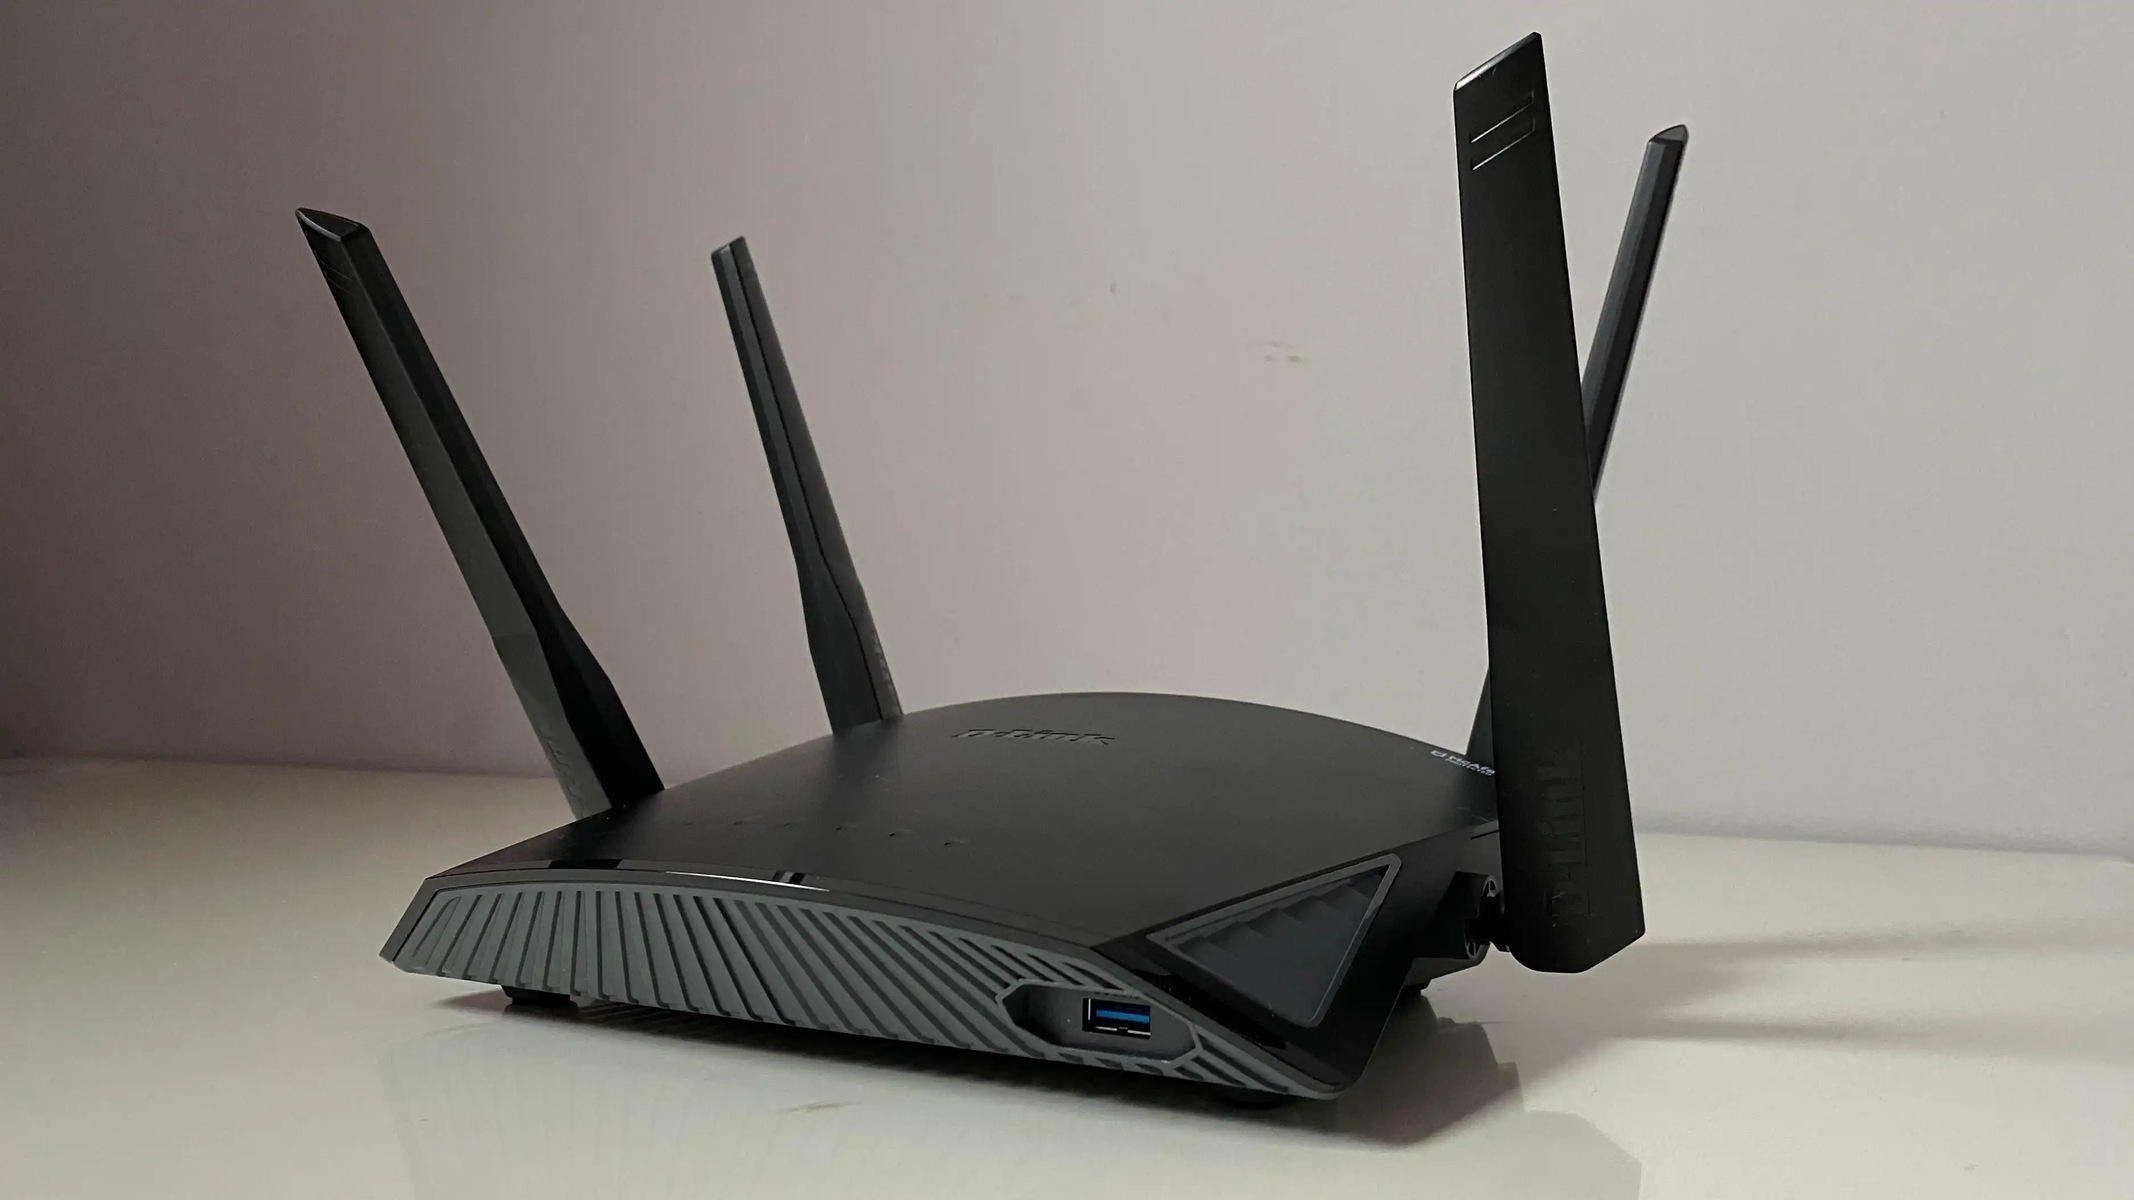
- Remove the Dlink wireless router from its packaging and ensure that all the necessary components are included. These components typically include the router itself, power adapter, Ethernet cable, and any other accompanying accessories.
- Find a suitable location for your router. It is recommended to place the router in a central location within your home or office, away from obstructions such as walls or furniture, to ensure better Wi-Fi coverage.
- Connect one end of the provided Ethernet cable to the LAN port on your Dlink router. The LAN ports are usually labeled with numbers, and you can use any available port.
- Connect the other end of the Ethernet cable to the Ethernet port on your computer. If you are using a desktop computer, the Ethernet port is typically located at the back of the computer tower. If you are using a laptop, the Ethernet port is usually found on the side or back of the device.
- Plug the power adapter into the router’s power input port. Then, connect the other end of the power adapter to an electrical outlet.
- Power on the Dlink wireless router by flipping the power switch located on the router or by pressing the power button, depending on the model.
- Wait for the router’s power LED indicator to turn solid or start blinking, indicating that the device is powered on and ready for configuration.
By successfully completing these steps, you have unboxed your Dlink wireless router and connected it to the power source. In the next steps, we will guide you on how to access the router’s web-based setup page and configure the internet connection. Stay tuned!
Step 2: Power On the Router
Now that you have connected your Dlink wireless router to the power source, it’s time to power on the device. Follow these steps to ensure a successful power-on process:
- Locate the power switch or power button on your Dlink router. The location of the power switch/button may vary depending on the model.
- Flip the power switch to the “On” position or press the power button to turn on the router.
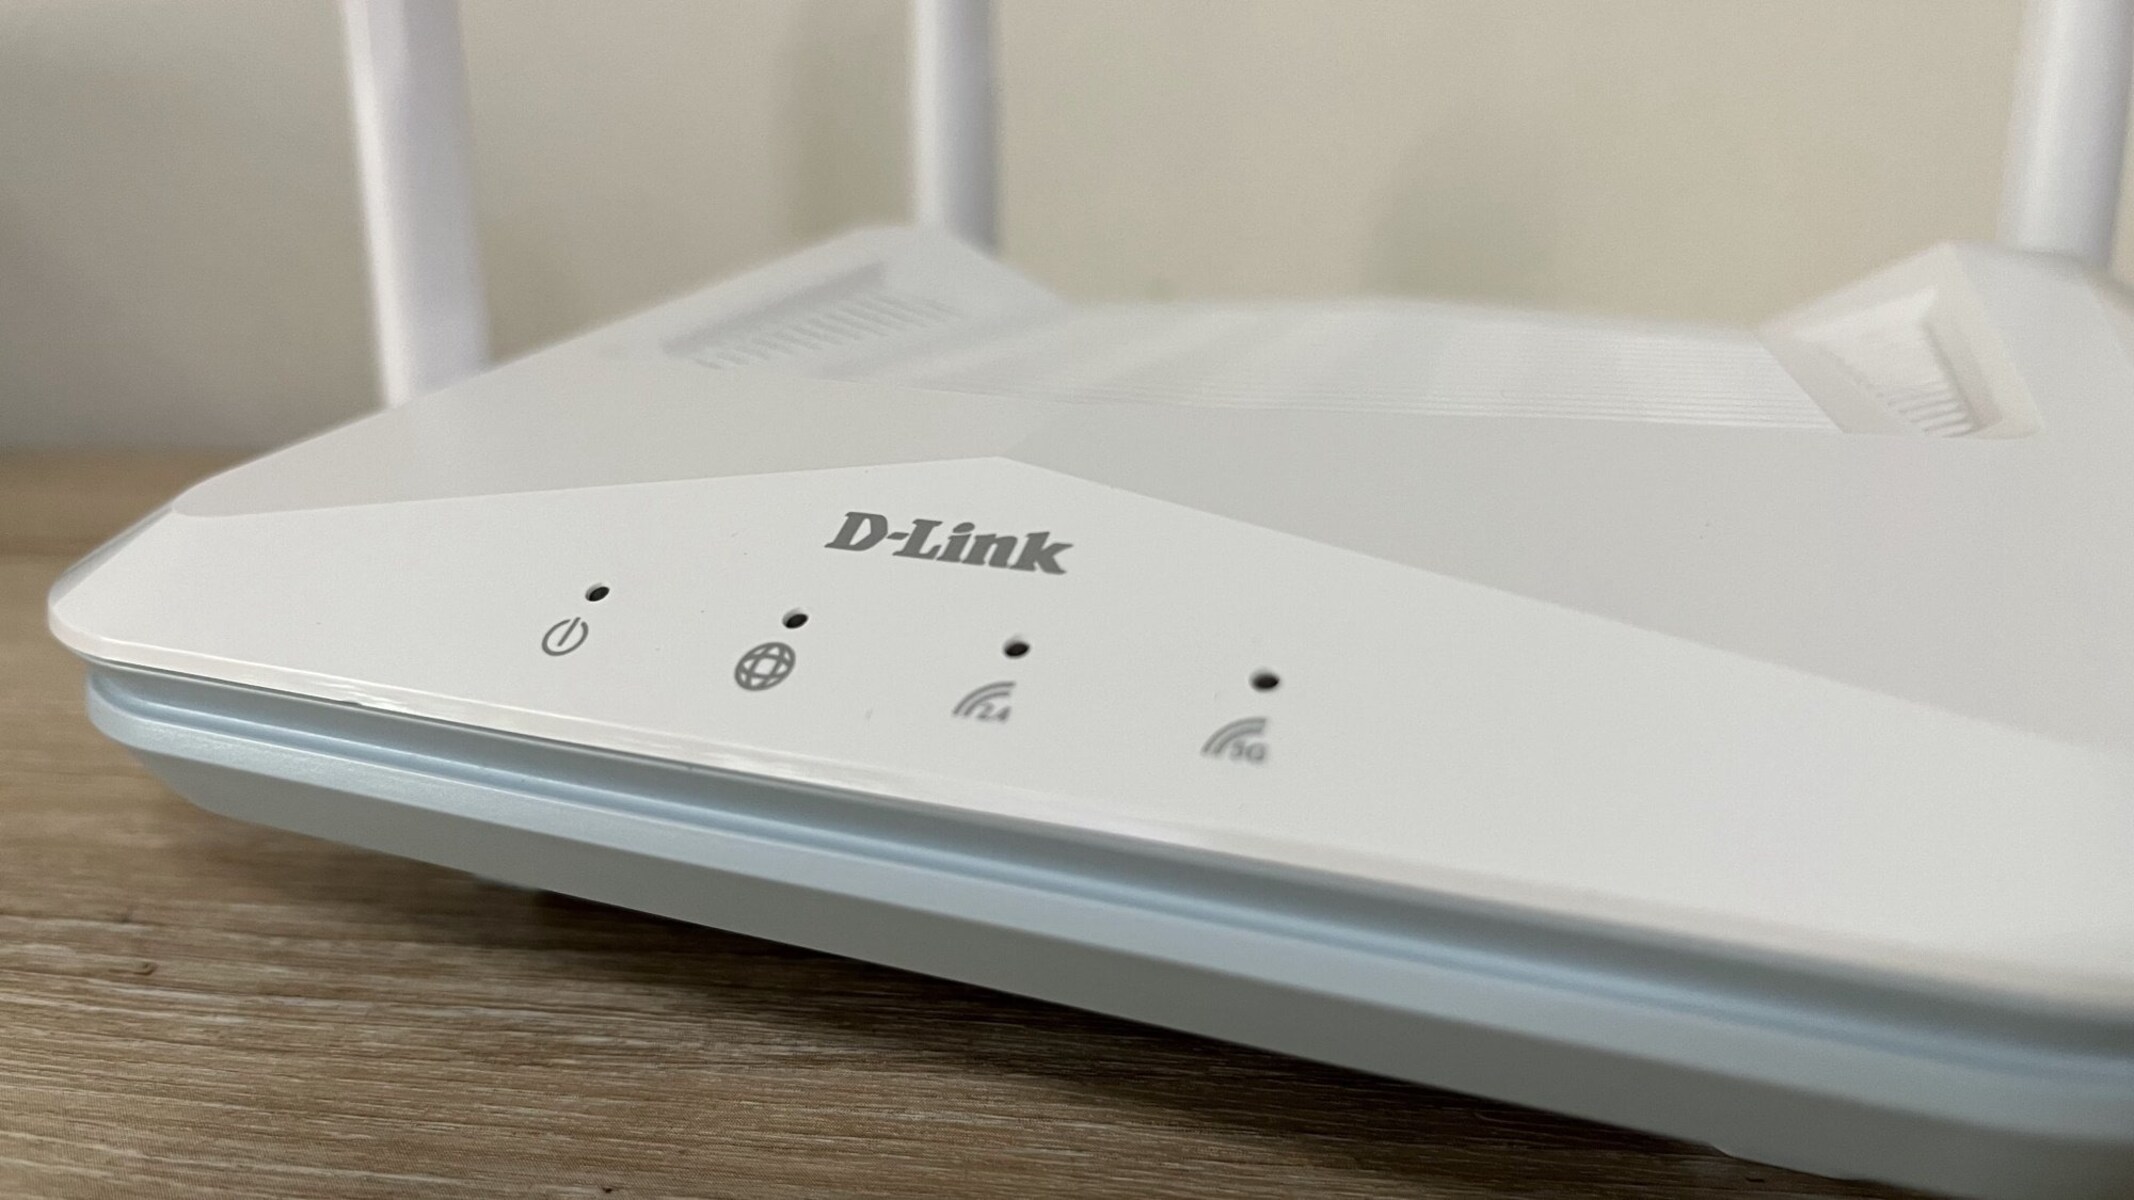
- Wait for the router’s power LED indicator to illuminate. This light indicates that the router is receiving power and is ready for further configuration.
- Observe the LED lights on the front panel of the router. These lights may vary depending on the model and indicate different information such as power status, internet connectivity, and wireless activity.
- Allow a few moments for the router to initialize and establish a stable network connection.
- Ensure that the power LED indicator remains solid or blinks at a consistent rate. If the light is blinking irregularly or not turning on at all, check the power connection and make sure the router is receiving power.
Powering on your Dlink wireless router is a crucial step in the setup process. It allows the router to establish a connection to your internet service provider (ISP) and start transmitting signals for wireless connectivity.
Once the router is powered on and has established a stable network connection, you can proceed to the next step, which involves connecting the router to your computer. This step is essential for accessing the router’s web-based setup page and configuring the internet connection. Stay with us as we guide you through the setup process!
Step 3: Connect the Router to a Computer
In this step, we will guide you on how to connect your Dlink wireless router to your computer. This connection is necessary to access the router’s web-based setup page and configure the internet connection. Follow these steps to establish the connection:
- Locate the Ethernet cable that came with your Dlink router.
- Connect one end of the Ethernet cable to any available LAN port on the back of the router. The LAN ports are typically labeled with numbers, and you can use any available port.
- Connect the other end of the Ethernet cable to the Ethernet port on your computer. If you are using a desktop computer, the Ethernet port is usually located at the back of the computer tower. For laptop users, the Ethernet port can be found on the side or back of the device.
- Ensure that the Ethernet cable is securely connected to both the router and the computer. A loose connection may result in network issues.
By successfully connecting your Dlink wireless router to your computer, you create a direct connection between the two devices. This connection allows you to access the router’s web-based setup page, where you can configure various settings, including the internet connection, wireless network settings, and security options.
Keep in mind that the connection between your computer and the router should be established using an Ethernet cable for the initial setup process. Once the configuration is complete, you can switch to a wireless connection if desired.
With the router and computer connected, you are now ready to access the router’s web-based setup page in the next step. Stay tuned as we guide you through the process of accessing and configuring the router’s settings to establish an internet connection.
Step 4: Access the Router’s Web-based Setup Page
In order to configure your Dlink wireless router, you need to access its web-based setup page. This page allows you to customize various settings and options according to your preferences. Follow these steps to access the router’s web-based setup page:
- Open a web browser on your computer. You can use any web browser of your choice, such as Google Chrome, Mozilla Firefox, or Microsoft Edge.
- In the address bar of the web browser, type the default IP address of your Dlink router. The default IP address is usually “192.168.0.1” or “192.168.1.1”.
- Press Enter or click on the browser’s Go button to navigate to the IP address.
- A login page will appear, prompting you to enter the router’s username and password. If this is your first time accessing the setup page, use the default login credentials provided in the router’s documentation or on the manufacturer’s website. It is highly recommended to change the default username and password for security purposes.
- Once you have successfully entered the login credentials, click on the Login or Submit button to access the router’s web-based setup page.
After accessing the router’s web-based setup page, you will have access to a user-friendly interface where you can configure various settings. These settings include the internet connection type, network name (SSID), password, security options, and more. It is important to follow the instructions provided by your internet service provider (ISP) or refer to the router’s documentation to ensure the correct configuration of these settings.
Keep in mind that accessing the web-based setup page may vary slightly depending on the model of your Dlink wireless router. Some routers may require additional steps or different IP addresses to access the setup page. It is recommended to consult the router’s user manual or the manufacturer’s website for specific instructions related to your router model.
Now that you have accessed the router’s web-based setup page, you are ready to move on to the next step of configuring the internet connection. Stay tuned as we guide you through the process of establishing a reliable internet connection with your Dlink wireless router.
Step 5: Configure the Internet Connection
Configuring the internet connection is a crucial step in setting up your Dlink wireless router. This step allows your router to connect to the internet and provide access to the network for your connected devices. Follow these steps to configure the internet connection:
- On the web-based setup page of your Dlink router, navigate to the “Internet” or “WAN” settings section.
- Select the type of internet connection you have from the available options. Common types include Dynamic IP (DHCP), PPPoE, or Static IP.
- If you have a Dynamic IP or DHCP connection, select this option and ensure that the “Obtain an IP address automatically” or similar option is enabled.
- If you have a PPPoE connection, you will need to enter your PPPoE username and password, which are provided by your internet service provider (ISP).
- If you have a Static IP connection, enter the IP address, subnet mask, default gateway, and DNS server addresses provided by your ISP.
- Once you have entered the required information, click on the Save or Apply button to save the changes and apply the new internet connection settings.
- Wait for the changes to take effect. The router may reboot or restart the internet connection during this process.
- After the router has finished configuring the internet connection, you can perform a quick test to ensure that your internet is working correctly. Open a web browser and try accessing a website to check if you have internet connectivity.
By configuring the internet connection on your Dlink wireless router, you ensure that it is properly connected to your internet service provider and can provide internet access to your devices. It is essential to enter the correct information based on your specific internet connection type to establish a reliable and stable connection.
If you encounter any issues during the configuration process or have trouble connecting to the internet, double-check the entered information, restart your router and modem, and verify that your ISP’s network is functioning correctly. In case of persistent issues, it is advisable to contact your internet service provider for further assistance and troubleshooting.
With the successful configuration of the internet connection, you are now ready to proceed to the next step of setting up your Dlink wireless router: configuring the wireless network settings. Stay tuned for the next step!
Step 6: Set Wireless Network Settings
Setting up the wireless network is an important step in configuring your Dlink wireless router. This step allows you to customize the wireless network settings, including the network name (SSID), security options, and password. Follow these steps to set up your wireless network:
- On the web-based setup page of your Dlink router, navigate to the “Wireless” or “Wi-Fi” settings section.
- Locate the field labeled “Network Name (SSID)” and enter a desired name for your wireless network. This name will be visible to devices when they search for available Wi-Fi networks.
- Choose a security mode for your wireless network. It is highly recommended to select the WPA2-PSK (AES) or WPA3-PSK (if available) security mode for optimal security.
- Enter a strong and secure password for your wireless network. A strong password should consist of a combination of lowercase and uppercase letters, numbers, and special characters. Make sure to keep your password in a safe place.
- Configure any additional wireless network settings according to your preferences. This may include adjusting the channel, bandwidth, or enabling features such as guest networks or parental controls.
- Click on the Save or Apply button to save the wireless network settings.
- Allow a few moments for the router to apply the new settings. During this time, the router may restart the wireless network.
By setting up the wireless network on your Dlink router, you create a secure and personalized network for your devices to connect to. This allows you to enjoy wireless connectivity without unauthorized access.
Remember to keep your wireless network password secure and periodically change it for added protection. Additionally, it is recommended to enable network encryption, such as WPA2-PSK, to encrypt the data transmitted over the Wi-Fi connection.
Once the wireless network settings have been configured and saved, you can now connect your devices, such as smartphones, laptops, and tablets, to the newly created wireless network. The devices will require the network name (SSID) and the password that you have set up.
With the wireless network settings properly configured, you can now enjoy the benefits of a secure and convenient wireless connection in your home or office. In the next step, we will cover how to secure your wireless network to further protect your connection. Stay tuned!
Step 7: Secure Your Wireless Network
Securing your wireless network is vital to protect your data and prevent unauthorized access to your network. By implementing security measures, you can ensure that only authorized users can connect to your wireless network. Follow these steps to secure your Dlink wireless network:
- Access the web-based setup page of your Dlink router using a web browser on your computer.
- Navigate to the “Wireless” or “Wi-Fi” settings section.
- Ensure that you have already set a strong password for your wireless network.
- Enable wireless network encryption. Select WPA2-PSK (AES) or WPA3-PSK (if available) as the encryption method. This encrypts the data transmitted over your network, making it more secure.
- Change the default network name (SSID) to a unique name of your choice. This helps prevent unauthorized users from easily identifying and connecting to your network.
- Disable the SSID broadcast. This hides your network from being visible in the list of available Wi-Fi networks. Users will need to manually enter the network name for connection.
- Enable MAC address filtering, if available. This allows you to specify which devices can connect to your network based on their unique MAC addresses. Only devices with approved MAC addresses will be able to connect.
- Regularly update your router’s firmware. Check the Dlink website for firmware updates and install them as needed. Firmware updates often include security enhancements to protect against newly discovered vulnerabilities.
- Periodically change your wireless network password. It is recommended to change the password every few months or if you suspect unauthorized access.
- Ensure that remote administration is disabled. This prevents management of the router’s settings from outside of your local network.
By following these steps, you can significantly enhance the security of your Dlink wireless network. Implementing encryption, changing the network name, and enabling additional security features can help safeguard your data and protect your network from unauthorized intrusions.
Remember to keep your wireless password and router login credentials confidential. Avoid sharing these details with unauthorized individuals and use strong, unique passwords to prevent any potential security breaches.
With your wireless network now securely configured, you can enjoy peace of mind while using your Dlink wireless router. In the next step, we will guide you on how to connect your devices to the secure wireless network. Stay tuned!
Step 8: Connect Devices to the Wireless Network
Now that you have set up and secured your Dlink wireless network, it’s time to connect your devices to the network. Follow these steps to connect your devices to the wireless network:
- Ensure that the device you want to connect (such as a smartphone, laptop, or tablet) has Wi-Fi capabilities.
- On the device, locate the Wi-Fi settings or wireless network settings.
- Scan for available Wi-Fi networks. You should see your Dlink wireless network listed.
- Select your wireless network from the list of available networks.
- Enter the password that you have set for your wireless network.
- Click on the Connect or Join button to establish a connection to the wireless network.
- Wait for the device to connect to the network. Once connected, you should see a Wi-Fi symbol or indicator on the device’s screen.
Repeat these steps for each device you want to connect to your Dlink wireless network. You can connect multiple devices, such as smartphones, laptops, tablets, smart TVs, and gaming consoles, to enjoy wireless internet access simultaneously.
Once your devices are connected to the wireless network, they can access the internet and communicate with other devices on the network. Remember to enter the correct password when connecting each device, and ensure that the devices are within range of the router for optimal connectivity.
If you continue to experience connectivity issues with any device, try restarting the device and ensuring that the Wi-Fi settings are correctly configured. Additionally, double-check the password you entered to ensure it matches the one set for your wireless network.
By successfully connecting your devices to the secure wireless network, you can now enjoy the convenience and freedom of wireless internet access throughout your home or office.
In the final step, we will provide some troubleshooting tips to help you overcome common issues and ensure a smooth wireless network experience. Let’s dive in!
Step 9: Troubleshooting Tips
While setting up and configuring your Dlink wireless router, you may encounter some common issues or face connectivity challenges. Here are some troubleshooting tips to help you resolve these problems:
- Check the physical connections: Ensure that all cables are securely connected to the router and your devices. A loose or disconnected cable can cause network connectivity problems.
- Restart the router and devices: Sometimes, a simple restart can resolve temporary glitches. Power off your router and devices, wait for a few seconds, and then power them on again.
- Move closer to the router: If experiencing weak or intermittent Wi-Fi signal, move closer to the router to improve the connection. Obstructions like walls and furniture can weaken the signal strength.
- Update firmware: Check for firmware updates on the Dlink website and install any available updates. Firmware updates often include bug fixes and enhancements that can improve performance and stability.
- Change Wi-Fi channel: If you notice interference or congestion from other wireless networks, try changing the Wi-Fi channel on your router’s settings. This can help improve signal quality and reduce interference.
- Reset to factory settings: If you are still experiencing issues, you can try resetting your router to its factory default settings. Refer to the router’s user manual for instructions on how to perform a reset.
- Disable firewall or security software: Temporarily disable any firewall or security software on your computer that may be blocking the router’s connection or affecting network performance.
- Contact your ISP: If you are unable to establish an internet connection, reach out to your internet service provider (ISP) to ensure that there are no service outages or issues with your account.
- Seek help from Dlink support: If the troubleshooting steps above do not resolve your issues, visit the Dlink support website or contact their customer support for further assistance.
Remember that troubleshooting steps may vary depending on your specific Dlink wireless router model and the issues you are facing. It’s always a good idea to consult the router’s user manual or the Dlink support resources for specific troubleshooting guidance.
By following these troubleshooting tips, you can overcome common issues and enjoy a reliable and stable wireless network connection with your Dlink router.
With that, you have completed the setup and troubleshooting guide for your Dlink wireless router. We hope this guide has been valuable in helping you set up a secure and efficient wireless network. Enjoy seamless internet connectivity and the convenience of wireless browsing across your devices!
Conclusion
Congratulations! You have successfully completed the setup of your Dlink wireless router and configured a secure wireless network. By following the step-by-step guide provided, you are now equipped with the knowledge to optimize your internet connection and enjoy wireless connectivity across your devices.
Throughout this guide, you learned how to unbox and connect the router, power it on, establish a connection to your computer, access the router’s web-based setup page, configure the internet connection, set up the wireless network, and secure it to prevent unauthorized access.
Remember to regularly update your router’s firmware, change your wireless network password, and keep your router in a central location for optimal Wi-Fi coverage. These practices will help ensure the continued smooth operation of your wireless network.
If you encounter any issues during the setup process or while using your Dlink wireless router, refer to the troubleshooting tips provided in this guide. Additionally, you can consult the Dlink support resources or contact their customer support for further assistance.
With your Dlink wireless router up and running, you can now enjoy the convenience and flexibility of wireless internet. Connect your devices, browse the web, stream videos, and stay connected with ease.
Thank you for choosing Dlink for your wireless networking needs. We hope this guide has been helpful in setting up your router and ensuring a secure and reliable wireless network connection. Enjoy your enhanced internet experience!