Introduction
Welcome to our guide on how to use a Belkin wireless router! In today’s digital age, a reliable and secure internet connection is essential for both work and leisure activities. Belkin is a reputable brand known for producing high-quality routers that provide fast and stable wireless connectivity. Whether you’re setting up a new Belkin router or need assistance with an existing one, this step-by-step guide will walk you through the process.
Having a wireless router allows you to connect multiple devices to the internet without the need for messy cables. You can access the internet from your computer, laptop, smartphone, or tablet, and enjoy seamless browsing, streaming, and online gaming experiences.
Belkin routers are designed to be user-friendly, making it relatively easy for even non-technical individuals to set them up. By following our instructions, you’ll be able to configure your Belkin router in no time.
In this guide, we’ll cover all the steps required to set up and use your Belkin wireless router effectively. We’ll walk you through unpacking and connecting the router, accessing the router settings, configuring your wireless network, setting a password and security options, and connecting your devices to the network. We’ll also provide troubleshooting tips to help you overcome any potential issues along the way.
Before we dive into the setup process, it’s important to note that each Belkin router model might have slight differences in terms of the steps involved. We recommend consulting your router’s user manual or visiting Belkin’s official website for specific instructions tailored to your router model. With that said, let’s get started on setting up your Belkin wireless router and unlocking the full potential of your internet connection!
Step 1: Unpack and Connect the Router
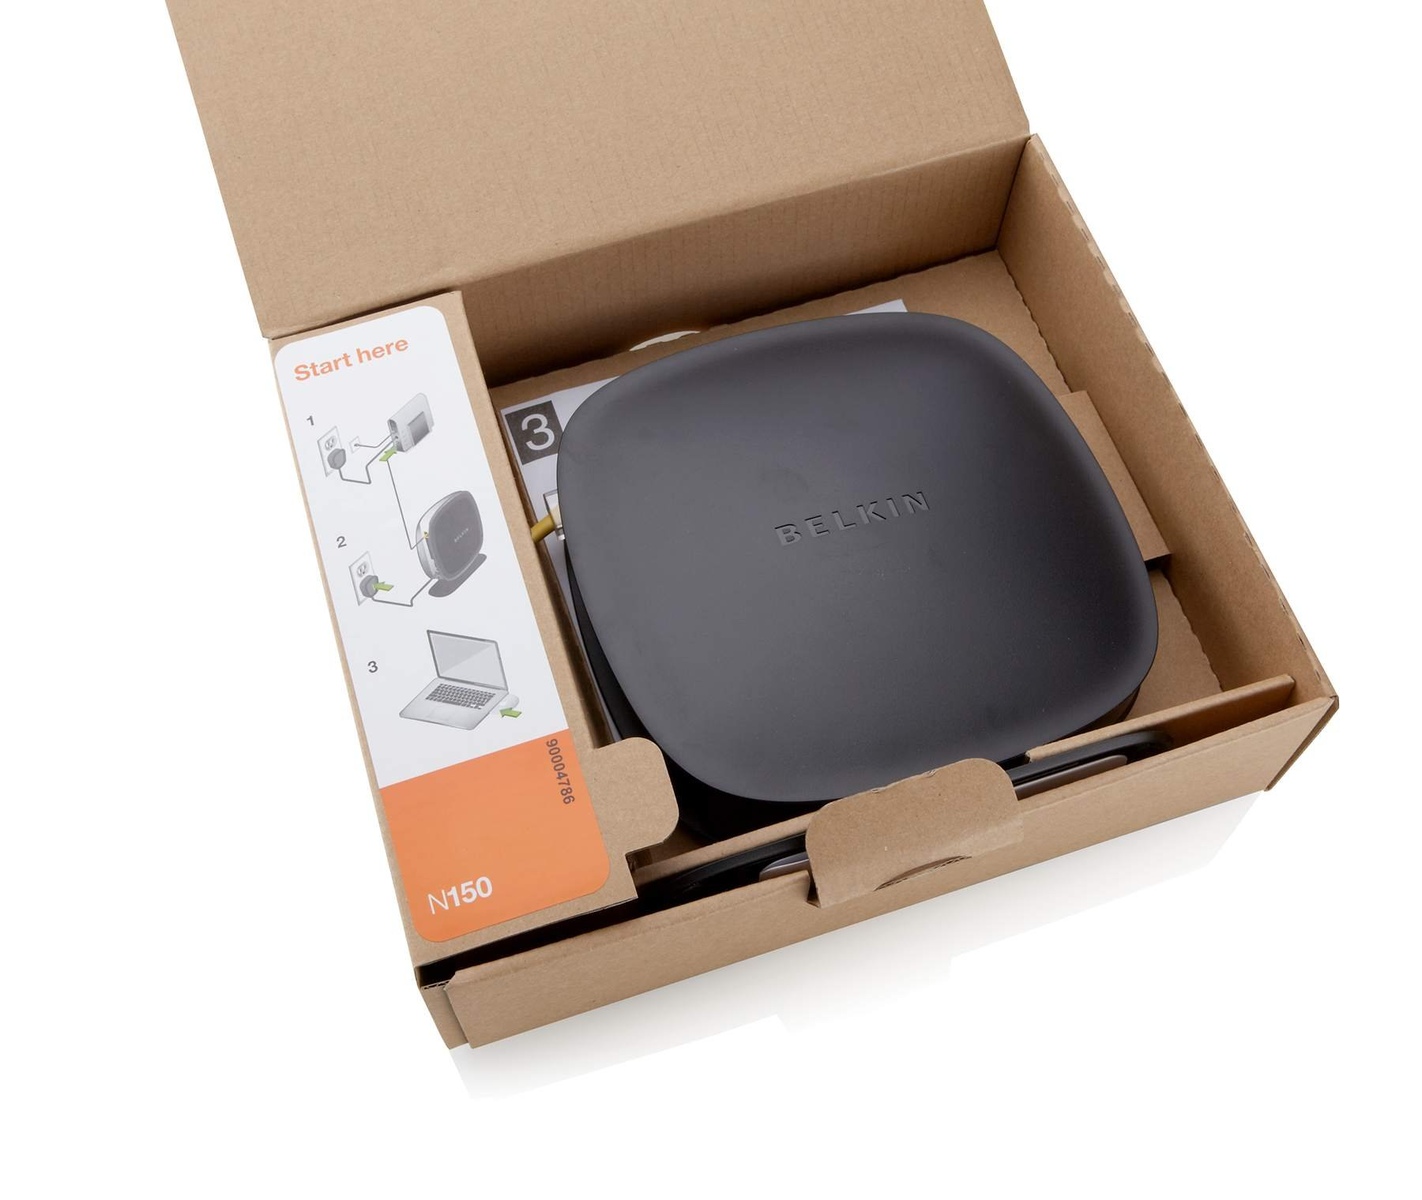
The first step in setting up your Belkin wireless router is to unpack it and connect it to your modem. Follow these simple steps:
- Open the package containing your Belkin wireless router and remove all the contents. You should find the router itself, a power adapter, an Ethernet cable, and a quick setup guide.
- Locate the modem that is connected to your internet service provider (ISP). Ensure that the modem is powered on and functioning properly.
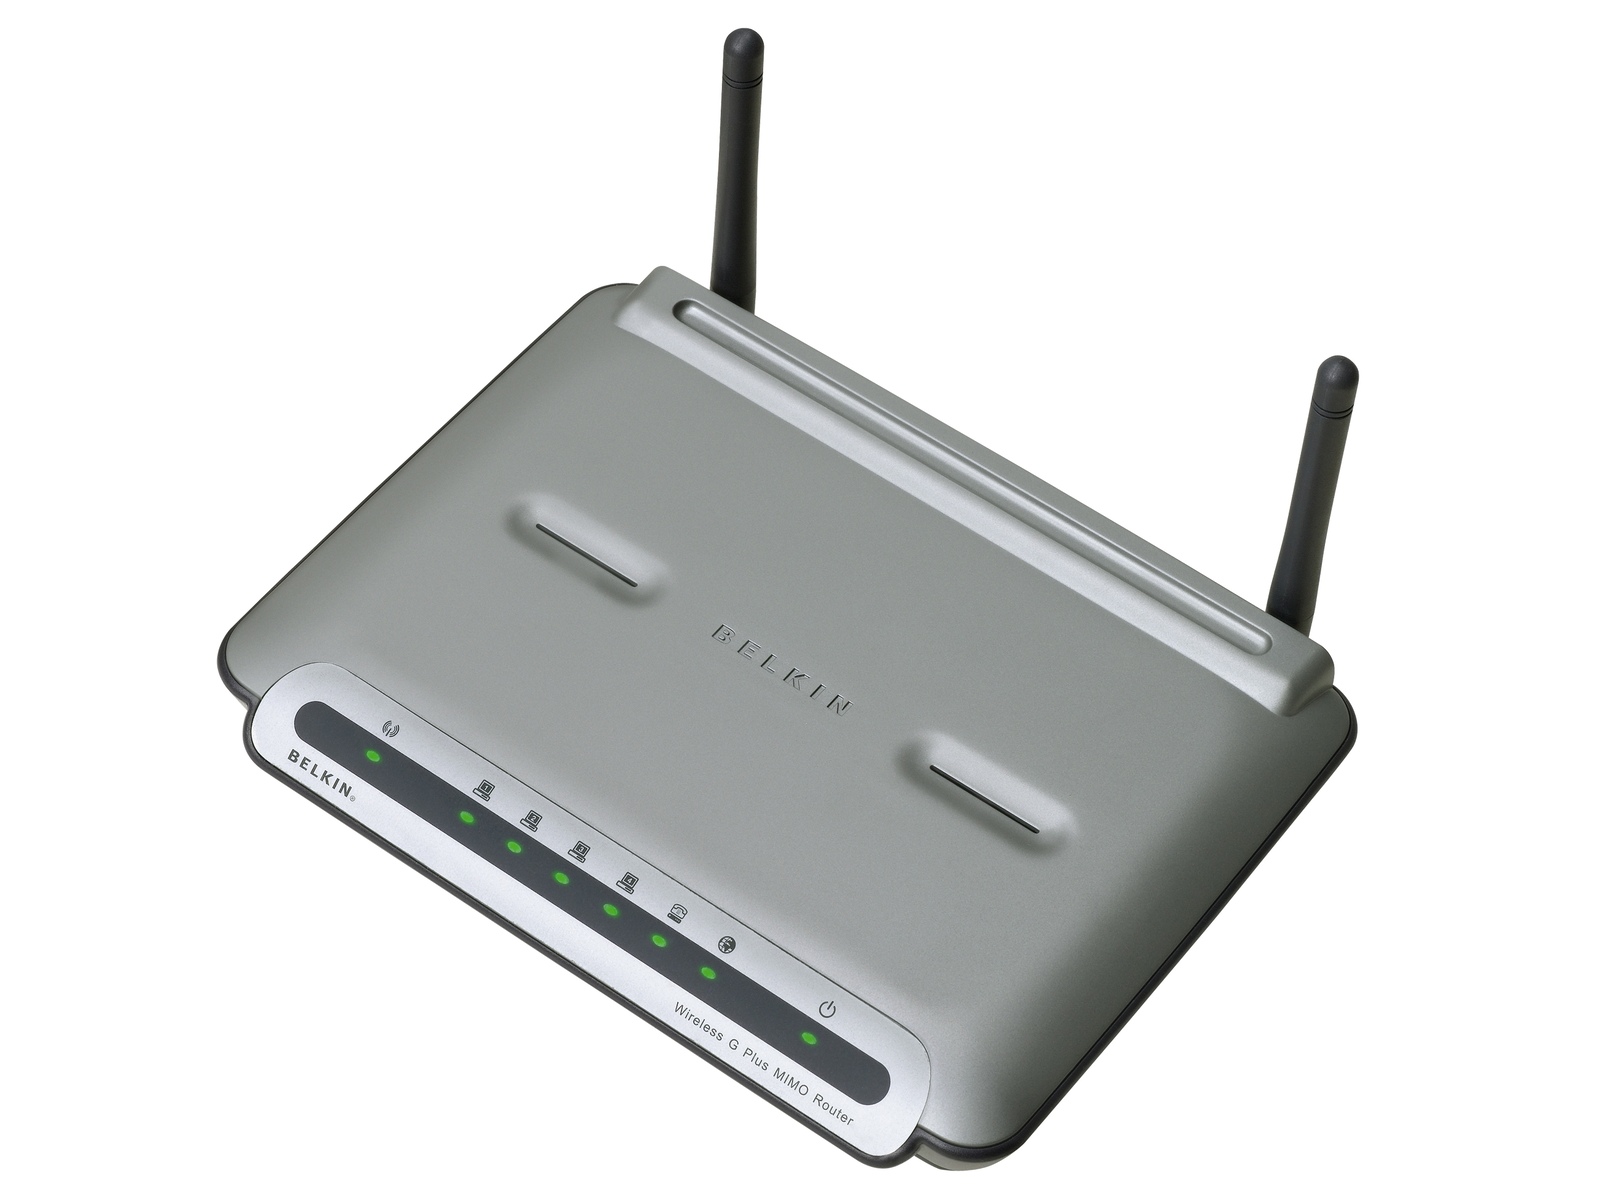
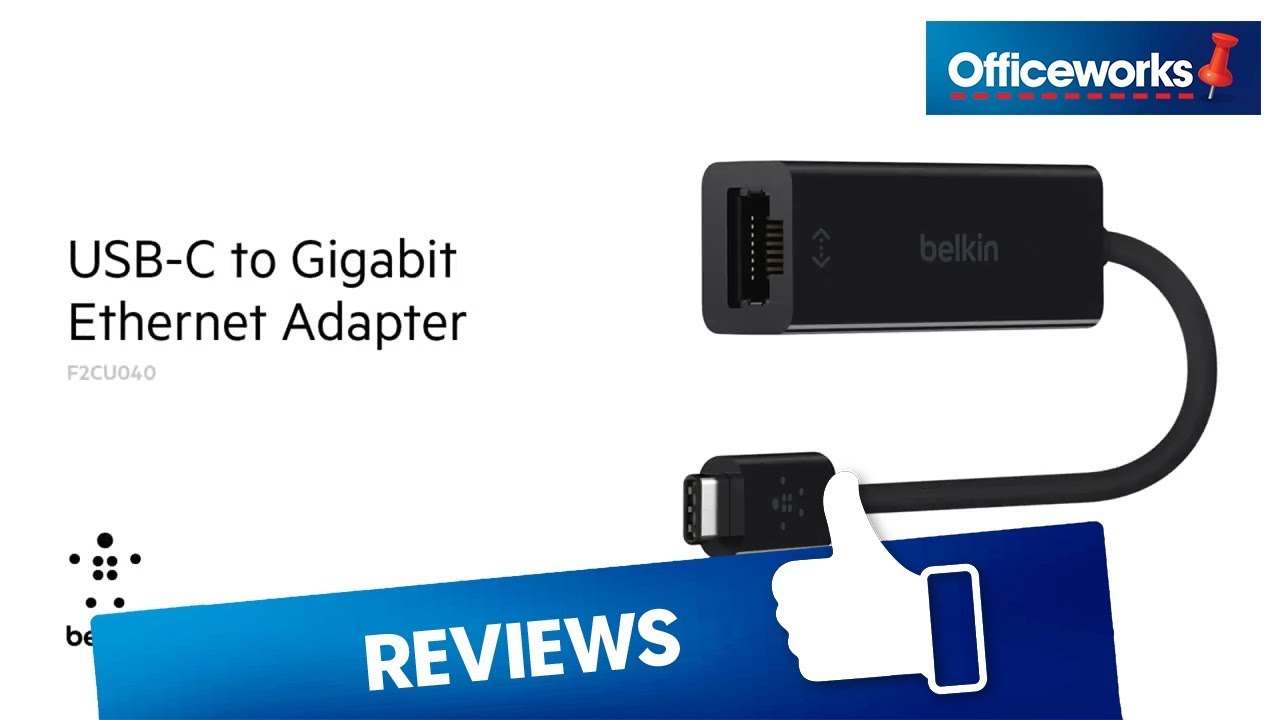
- Connect one end of the Ethernet cable to the modem’s Ethernet port and the other end to the WAN (Wide Area Network) port on the Belkin router. The WAN port is usually labeled and may be a different color than the other ports on the router.
- Now, connect the power adapter to the Belkin router and plug it into a power outlet. The router should power on and start initializing.
- Wait for a few minutes for the router to finish initializing. During this time, the lights on the router will indicate its status. Consult the router’s user manual or the quick setup guide for more information on the specific light indicators.
- Once the router has finished initializing, you can proceed to the next step of accessing the router settings.
It’s worth mentioning that different Belkin router models may have variations in their physical design and port placements. So, make sure to refer to the specific instructions provided with your router for any specific requirements or differences.
By correctly connecting your Belkin router to the modem, you’re now ready to move on to the next step and configure your wireless network.
Step 2: Access Router Settings
Once you have successfully connected your Belkin wireless router to the modem, the next step is to access the router settings. To do this, follow these steps:
- Open a web browser on your computer or laptop that is connected to the Belkin router’s network.
- In the address bar of the web browser, enter the default IP address of the router. For most Belkin routers, the default IP address is either 192.168.2.1 or 192.168.1.1. Press Enter.
- A login page will appear. If you haven’t changed the default username and password, enter the default credentials. The default username is usually admin, and the default password is either blank or password. It’s recommended to change the password for security purposes.
- After logging in, you will have access to the Belkin router’s settings interface, also known as the admin dashboard.
- Take a moment to familiarize yourself with the various sections and settings available in the admin dashboard. Here, you can configure different aspects of your router, such as wireless settings, security options, port forwarding, and more.
It’s important to note that if you have previously changed the default IP address, username, or password of your Belkin router, you will need to enter the updated information to access the router settings. If you’re unsure, refer to the router’s user manual or the quick setup guide for the correct login information.
Once you have successfully logged into the router’s admin dashboard, you’re now ready to move on to the next step of configuring your wireless network settings. This will allow you to set up a secure and personalized Wi-Fi network for your connected devices.
Step 3: Configure Wireless Network
Configuring your wireless network is a crucial step in setting up your Belkin wireless router. Follow these steps to create a secure and personalized Wi-Fi network:
- In the router’s admin dashboard, navigate to the wireless settings section. This section may be labeled as “Wireless,” “Wi-Fi,” or something similar.
- Locate the “SSID” field. SSID stands for Service Set Identifier, which is the name of your wireless network. Enter a unique name for your network that is easily identifiable and memorable.
- Choose the security mode for your wireless network. We recommend selecting WPA2, as it is currently the most secure option. WPA2 ensures that your Wi-Fi network is encrypted and protected from unauthorized access.
- Set a strong password for your wireless network. The password should be a combination of letters (both uppercase and lowercase), numbers, and special characters. Avoid using common or easily guessable passwords.
- Save the changes to apply the new wireless network settings.
Once you have configured your wireless network settings, your Belkin wireless router will broadcast the Wi-Fi signal with the chosen SSID. Now, you can connect your devices to the network using the provided password.
Additionally, you may also have the option to configure advanced wireless settings such as channel selection, transmit power, and wireless mode. These settings can be adjusted to optimize the performance and range of your wireless network. However, it’s recommended to stick with the default settings unless you have specific requirements or technical knowledge.
It’s important to remember your Wi-Fi network’s SSID and password, as you will need them when connecting new devices or accessing network settings in the future.
With your wireless network now configured, you can move on to the next step and enhance the security of your Belkin wireless router.
Step 4: Set Password and Security Options
Securing your Belkin wireless router is vital to protect your network from unauthorized access and potential security threats. Follow these steps to set a strong password and additional security options:
- In the router’s admin dashboard, navigate to the security settings section. This section may be labeled as “Security,” “Firewall,” or something similar.
- Change the default login password for your router. This is the password that is used to access the admin dashboard. Choose a new password that is unique, strong, and different from the password you set for your wireless network.
- Enable the firewall feature, if available. The firewall helps protect your network by filtering incoming and outgoing network traffic and blocking potentially harmful connections.
- If your Belkin router supports guest network functionality, consider enabling it. A guest network allows visitors to connect to the internet without accessing your main network, improving the overall security of your private network.
- Enable MAC address filtering, if desired. MAC address filtering allows you to control which devices can connect to your network by specifying the media access control (MAC) addresses of the devices that are allowed or denied access.
- Save the changes to apply the new password and security settings.
By setting a strong password for both the router’s admin dashboard and your wireless network, enabling additional security features like the firewall and guest network, and utilizing MAC address filtering, you can significantly enhance the overall security of your Belkin wireless router.
It’s worth mentioning that each Belkin router model may have different security options available. Consult your router’s user manual or the manufacturer’s website for specific instructions tailored to your router model.
With your password and security options set, you can now connect your devices securely to your Belkin wireless network.
Step 5: Connect Devices to the Network
Now that you have successfully configured and secured your Belkin wireless network, it’s time to connect your devices and start enjoying the benefits of a wireless internet connection. Follow these steps to connect your devices to the network:
- Turn on the device you want to connect to your Belkin wireless network, such as a laptop, smartphone, or tablet.
- Locate the Wi-Fi settings on your device. This is usually found in the settings menu, often under “Network,” “Wireless,” or “Wi-Fi.”
- In the list of available Wi-Fi networks, locate and select your Belkin network. The network name (SSID) that you specified during the configuration process should be displayed.
- When prompted, enter the password you set for your Belkin wireless network. Make sure to enter it correctly, as passwords are case-sensitive.
- Wait for your device to establish a connection with the Belkin network. Once connected, you will see the Wi-Fi icon or indicator on your device’s screen.
- Repeat the above steps for each device you want to connect to your Belkin wireless network.
It’s important to note that if you have enabled MAC address filtering in the previous step, you may need to add the MAC addresses of your devices to the router’s allowed list for them to successfully connect. Refer to your router’s user manual or the admin dashboard for instructions on how to add MAC addresses to the filter list.
Once your devices are connected to your Belkin wireless network, you can enjoy wireless internet access and take advantage of all the online activities and services available to you.
To ensure a smooth and uninterrupted connection, it’s recommended to place your devices within a reasonable range of the Belkin router and avoid physical obstructions that may weaken the signal. Additionally, periodically check for firmware updates for your Belkin router, as these updates often include performance improvements and security patches.
With your devices connected, you’re now ready to enjoy the benefits of your Belkin wireless network and explore the online world with ease!
Step 6: Troubleshooting Tips
Even with a well-configured Belkin wireless router, you may encounter occasional issues that can disrupt your internet connection. Here are some troubleshooting tips to help you resolve common problems:
- If you’re experiencing a slow internet connection, try restarting both your modem and Belkin router. Power off both devices, wait for a few seconds, and then power them back on. Allow them to fully initialize before checking your internet connection again.
- If certain devices are unable to connect to your Belkin network, verify that the devices’ Wi-Fi settings are correctly entered. Ensure that the correct network name (SSID) and password are being used.
- Check the placement of your Belkin router. It’s best to position the router in a central location, away from physical obstructions such as walls or metal objects that can interfere with the wireless signal. Avoid placing the router close to household appliances or other electronic devices that may cause interference.
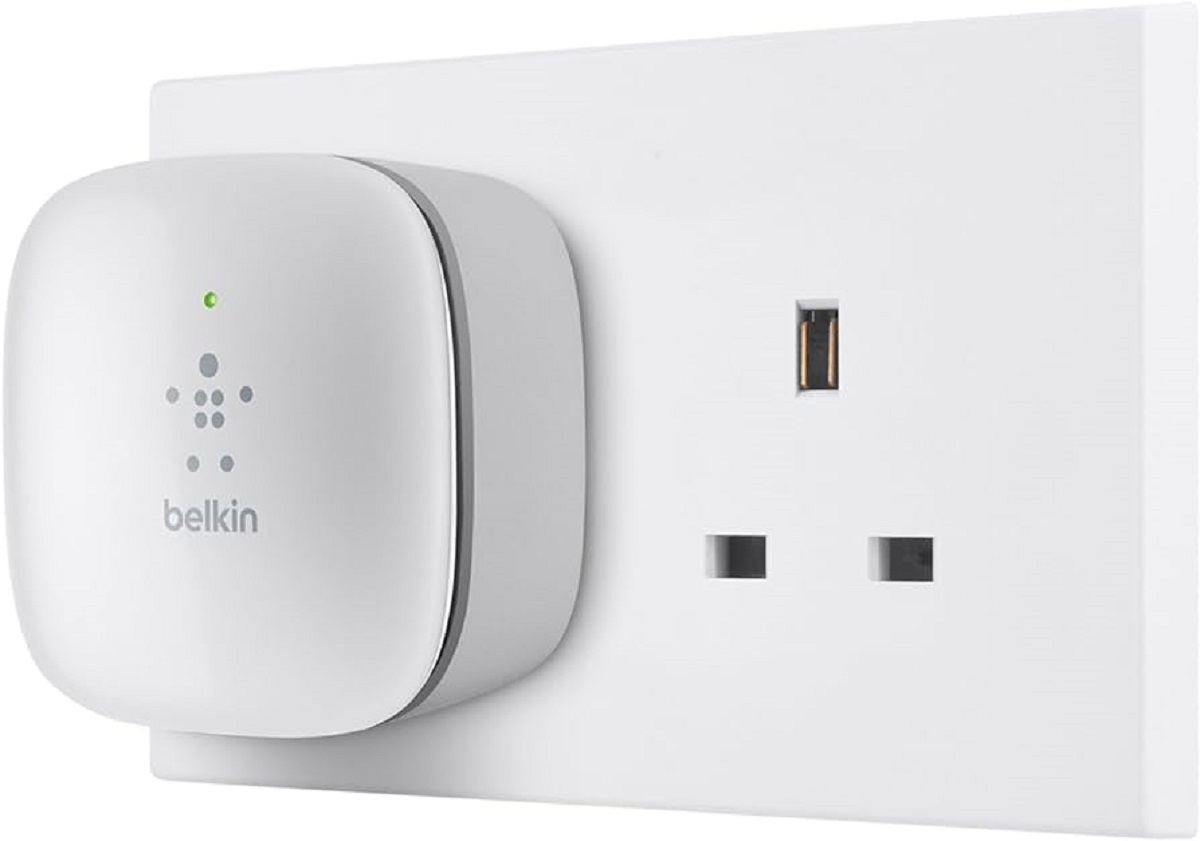
- If the wireless signal strength is weak in certain areas of your home or office, consider using Wi-Fi range extenders or positioning your router antennas for optimal coverage.
- If you’re experiencing frequent disconnections or unstable Wi-Fi performance, try updating the firmware of your Belkin router. Firmware updates often include bug fixes and performance improvements that can resolve such issues. Check the Belkin website for the latest firmware version for your router model.
- If your Belkin router is not responding or you’re unable to access the admin dashboard, you can perform a hard reset. Locate the reset button on the router (usually on the back) and press and hold it for about 10 seconds. This will restore the router to its factory default settings. Note that this will erase any custom settings you’ve made.
If you’ve tried these troubleshooting tips and are still unable to resolve the issue, it’s recommended to consult the Belkin support website, contact their customer support, or seek assistance from a qualified technician.
Remember, troubleshooting can vary depending on your specific router model and the nature of the problem you’re experiencing. Always refer to your router’s user manual or the official Belkin website for model-specific troubleshooting tips and instructions.
By employing these troubleshooting tips, you can overcome common issues and ensure a smooth and reliable internet experience with your Belkin wireless router.
Conclusion
Congratulations! You have successfully learned how to set up and use your Belkin wireless router. By following the steps outlined in this guide, you have unpacked and connected your router, accessed the router settings, configured your wireless network, set a strong password and security options, connected your devices to the network, and learned troubleshooting tips to overcome common issues.
A properly configured Belkin wireless router provides you with a reliable and secure internet connection, allowing you to connect multiple devices and enjoy seamless browsing, streaming, and online gaming experiences.
Remember to regularly check for firmware updates for your router to ensure optimal performance and security. It’s also essential to keep your network password strong and secure, as well as enable additional security options like the firewall and guest network.
If you encounter any difficulties or have specific questions about your Belkin router, consult the router’s user manual or visit the official Belkin website for detailed instructions and support.
We hope this guide has been helpful in assisting you with the setup and usage of your Belkin wireless router. Enjoy the benefits of your fast and stable internet connection, and happy browsing!