Introduction
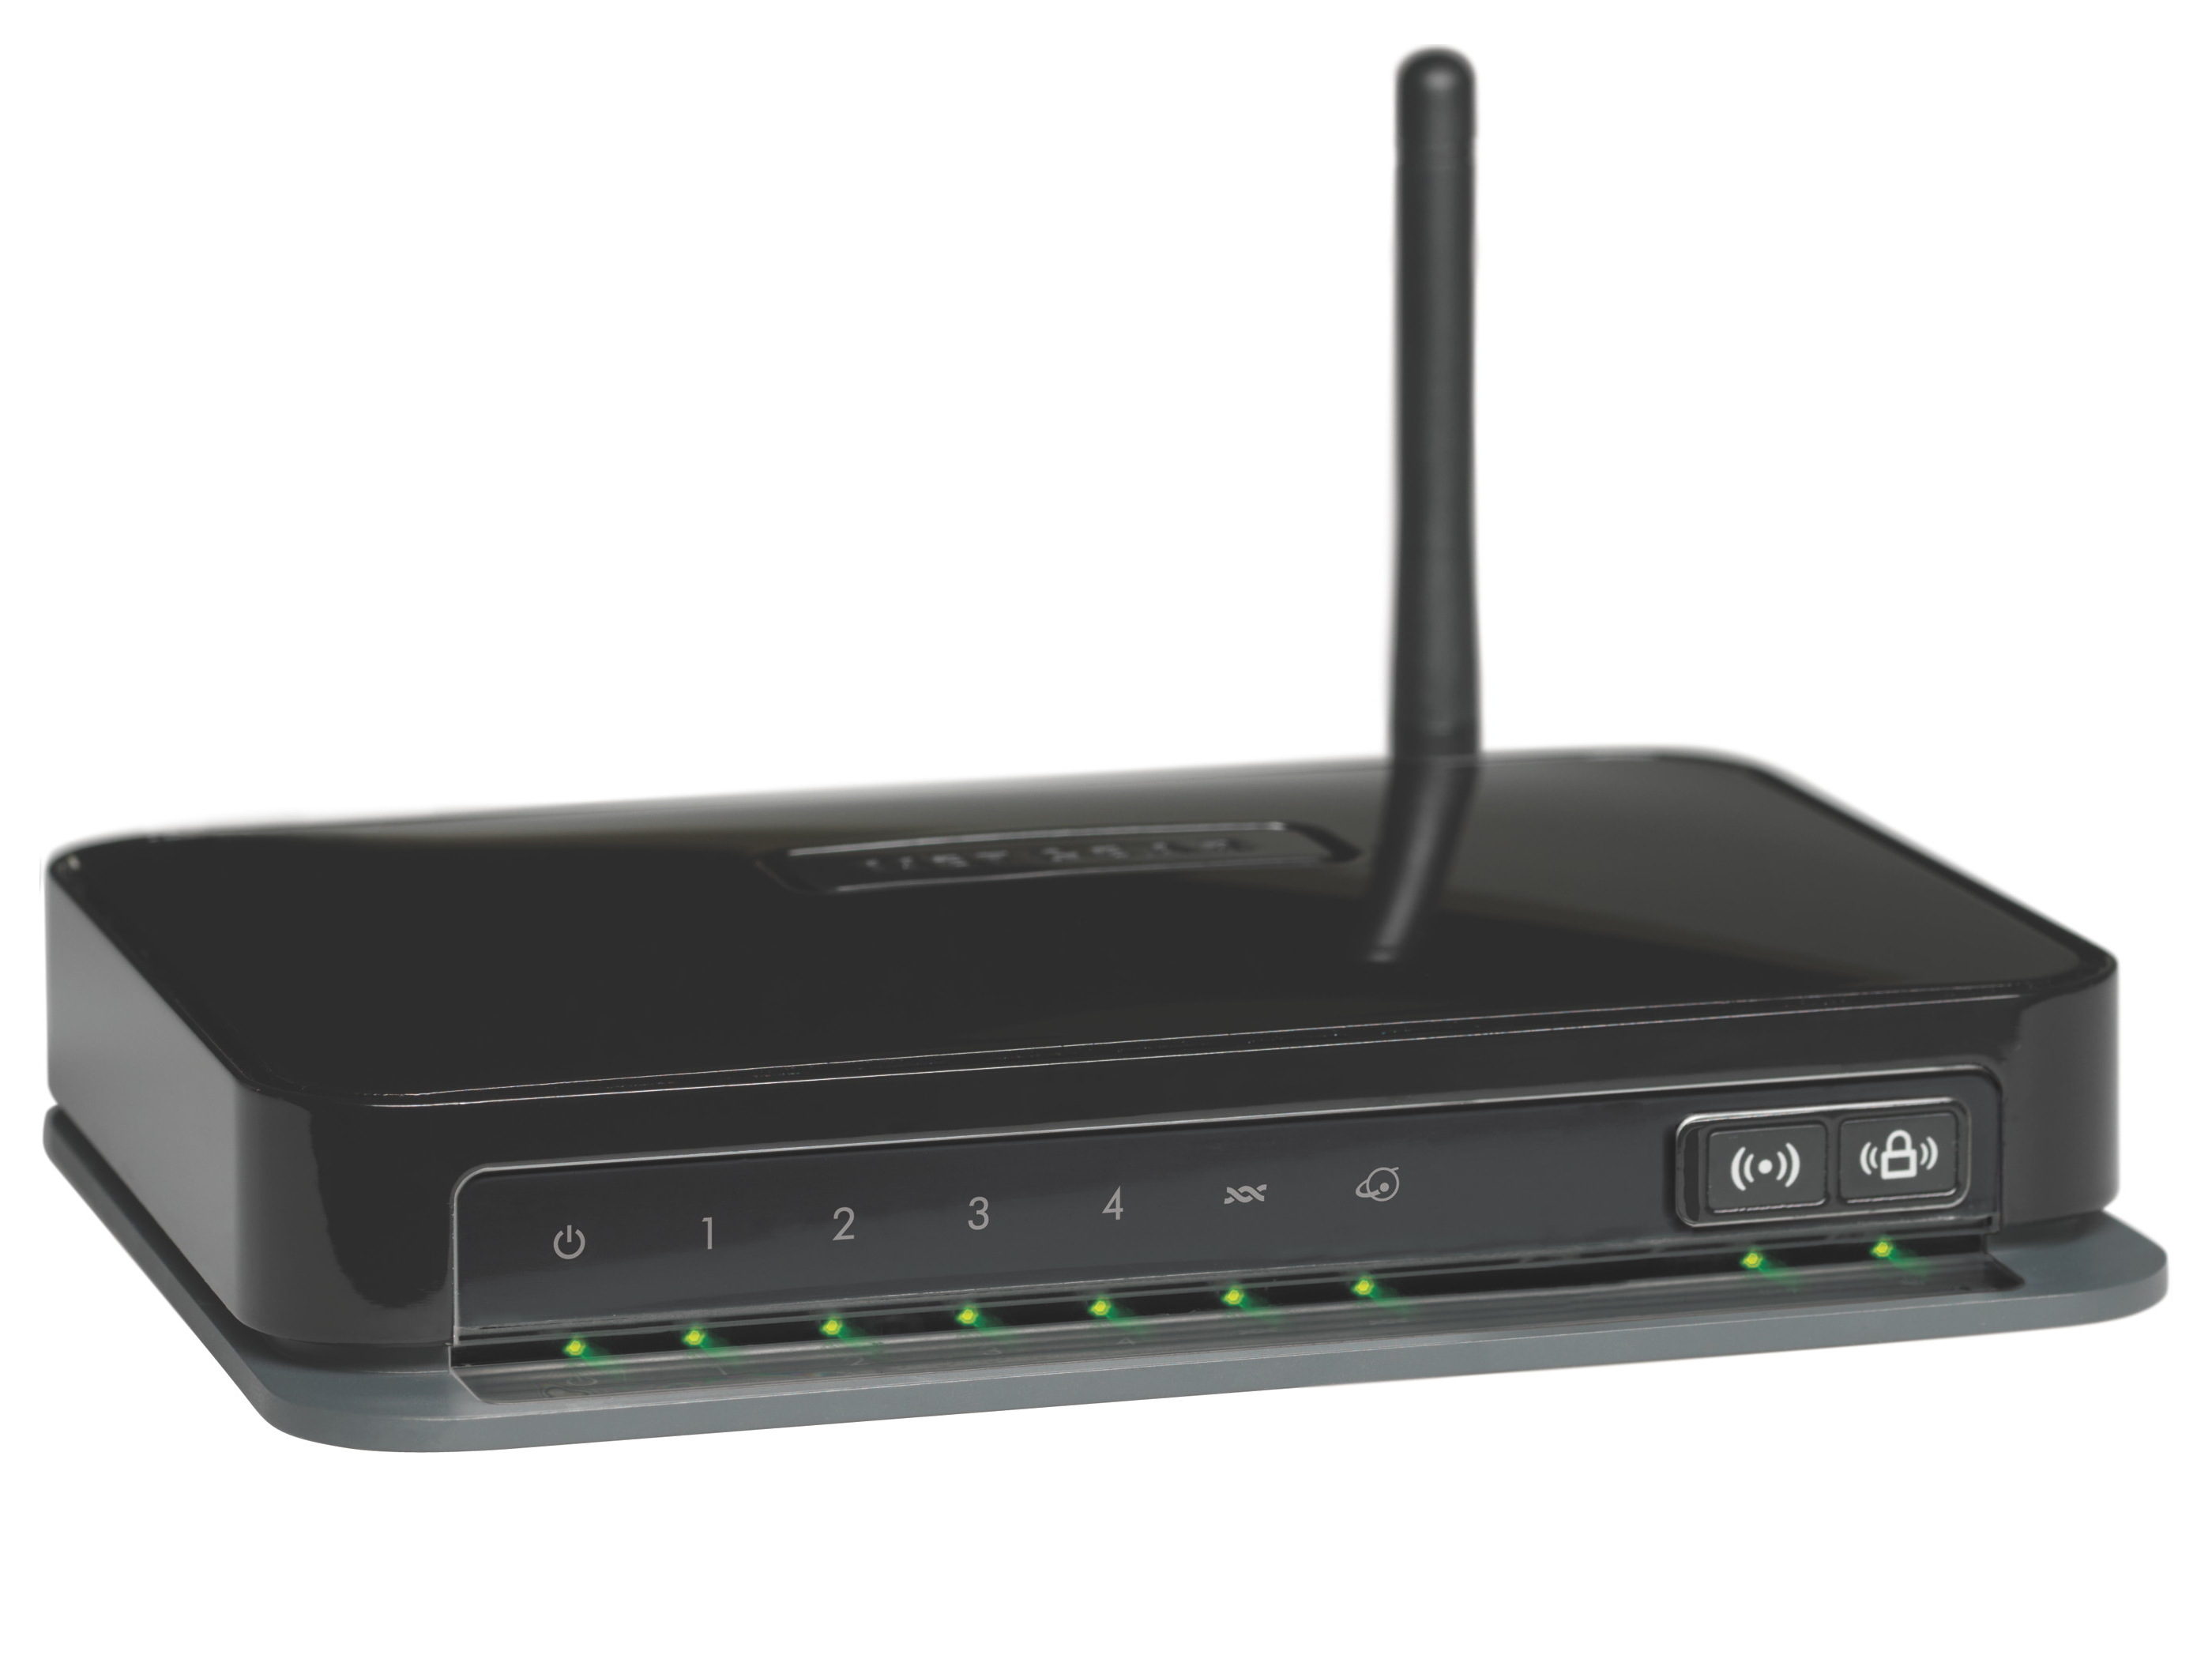
Welcome to the world of wireless connectivity! In this tutorial, we will walk you through the process of configuring your Belkin Wireless Router Basic N150. With the increasing number of devices in the household that rely on a stable internet connection, having a reliable and secure wireless router is essential. Belkin routers are known for their user-friendly interface and robust performance, making them a popular choice among home users.
Setting up your Belkin Wireless Router is a straightforward process that can be accomplished by following a few simple steps. Whether you are a beginner or a tech-savvy individual, this guide will take you through the entire process, from unboxing the router to connecting your devices to the wireless network.
Before we dive into the details, it’s important to note that this tutorial is specifically for the Belkin Wireless Router Basic N150 model. If you have a different model, the steps may vary slightly, but the overall process should be similar.
Now, let’s get started and unlock the full potential of your Belkin Wireless Router!
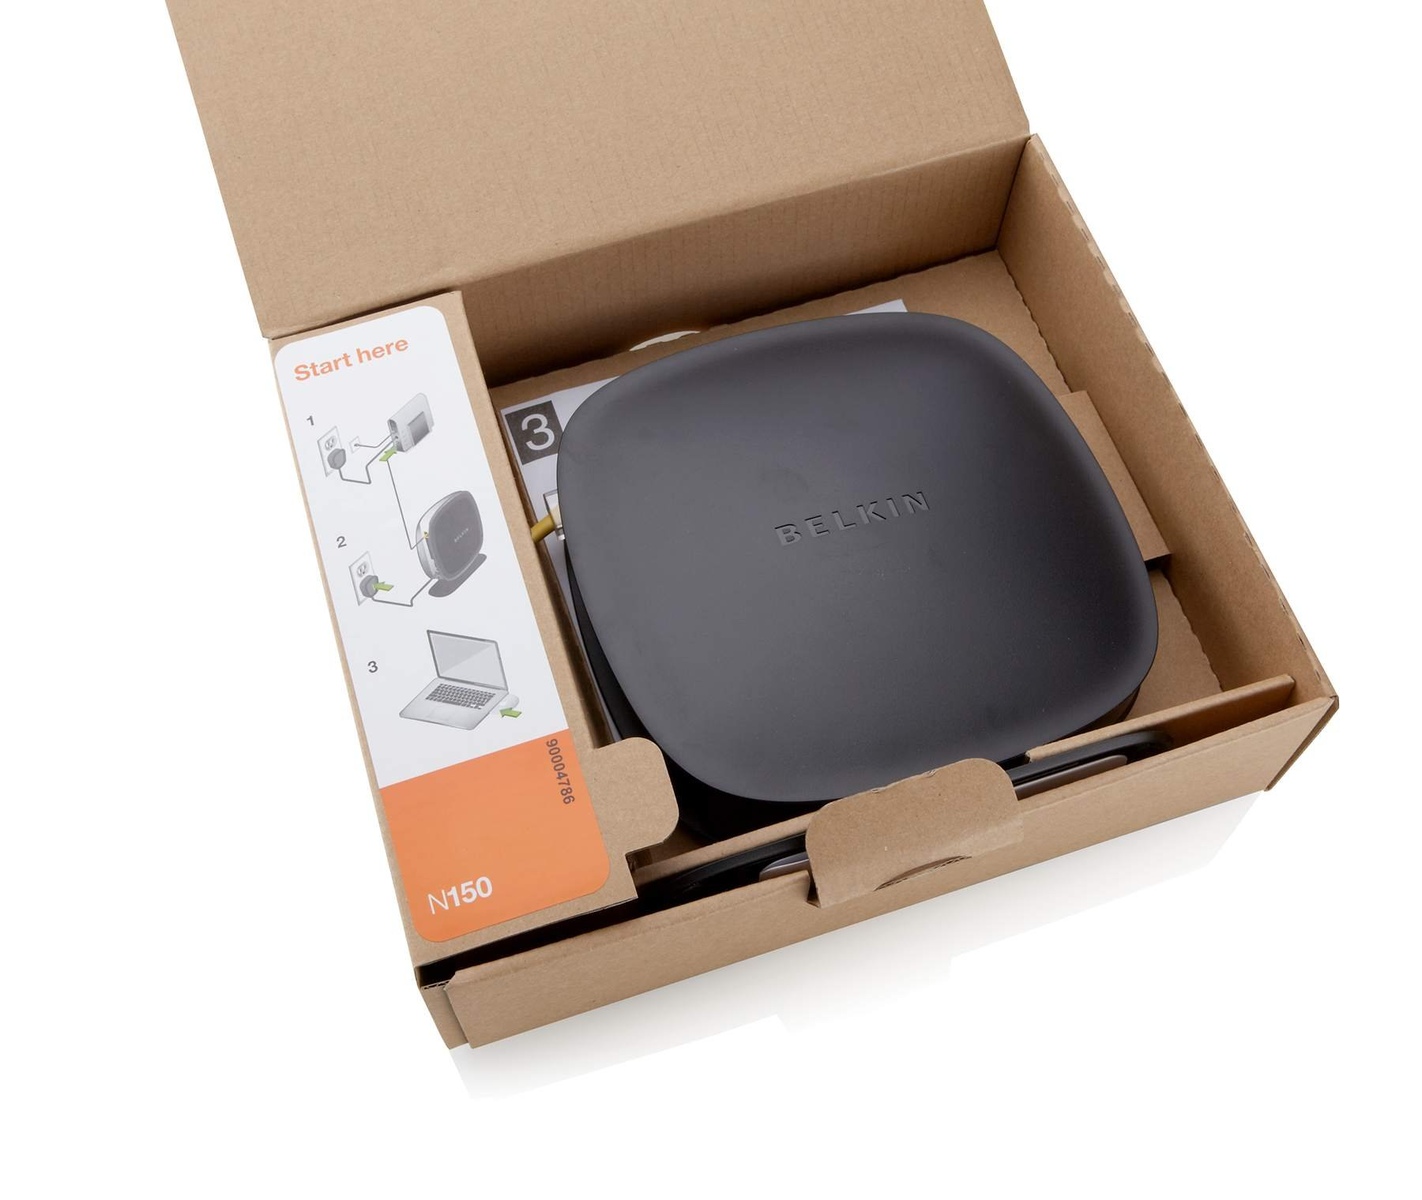
Step 1: Unboxing and Connecting the Belkin Wireless Router
Before we can begin configuring the Belkin Wireless Router, we need to unbox it and make the necessary physical connections. Follow these steps to get started:
- Unbox the router: Carefully open the box and remove all the contents. Make sure you have the router, power adapter, Ethernet cable, and any other accessories that come with it.
- Select an ideal location: Choose a central location for the router that is away from obstructions such as walls or large furniture. This will help ensure a strong and reliable Wi-Fi signal throughout your home.
- Power up the router: Connect the power adapter to the router and plug it into a power outlet. Wait for a few moments until the power LED on the router lights up, indicating that it’s powered on.
- Connect to your modem: Take one end of the Ethernet cable and plug it into the Ethernet port on the back of your modem. Then, connect the other end of the cable to the WAN or Internet port on the Belkin router. This will establish the connection between the router and your modem.
- Connect your computer to the router: Use another Ethernet cable to connect your computer to one of the LAN ports on the Belkin router. These ports are typically labeled LAN or numbered. This ensures that your computer is directly connected to the router during the configuration process.
Once you have completed these steps, you are now ready to access the web interface of the Belkin Wireless Router and start configuring its settings. In the next section, we will discuss how to access the router’s web interface and proceed with the configuration process.
Step 2: Accessing the Belkin Router’s Web Interface
In order to configure your Belkin Wireless Router, you need to access its web interface. This is where you can make changes to the router’s settings and customize it according to your preferences. Follow these steps to access the web interface:
- Ensure that your computer is connected to the Belkin router through an Ethernet cable. This direct connection will allow you to access the router’s web interface.
- Open a web browser on your computer. You can use popular browsers such as Google Chrome, Mozilla Firefox, or Microsoft Edge.
- In the address bar of the web browser, type the default IP address of the Belkin router. Usually, this is set to “192.168.2.1” or “192.168.1.1”. Press Enter to proceed.
- A login page will appear, prompting you to enter the router’s username and password. By default, the username is usually “admin” and the password field can be left blank. However, it’s always a good idea to check the router’s manual or consult the documentation provided by Belkin to verify the correct login credentials.
- Once you have entered the correct username and password, click on the “Login” or “Submit” button to access the router’s web interface.
After successfully logging in, you will be directed to the router’s dashboard, where you can start configuring various settings. It is important to note that accessing the web interface may vary slightly depending on the model and firmware version of your Belkin router. If you encounter any difficulties or if the default login credentials do not work, it is recommended to consult the router’s manual or refer to Belkin’s support documentation for further assistance.
In the next section, we will delve into the process of configuring the basic settings of the Belkin Wireless Router to ensure optimal performance and security.
Step 3: Configuring the Basic Settings of the Belkin Router
Now that you have accessed the web interface of your Belkin Router, it’s time to configure the basic settings. These settings include network name (SSID), password, and other essential options. Follow these steps to configure the basic settings:
- On the router’s web interface, navigate to the “Wireless” or “Wireless settings” section. Here, you will find the options to configure the wireless network settings.
- Change the network name (SSID) to a unique and easily identifiable name. This is the name that will appear when you search for available Wi-Fi networks on your devices.
- Select a suitable security mode to protect your wireless network. It is highly recommended to choose WPA2-PSK (AES) as it provides the highest level of security. This ensures that unauthorized users cannot access your network without the password.
- Create a strong and secure password for your network. Use a combination of uppercase and lowercase letters, numbers, and special characters. Avoid using easily guessable passwords to ensure the security of your network.
- Save the changes you made to the wireless settings. The router will apply the new settings, and your wireless network will be operational with the updated configuration.
In addition to the wireless settings, you can also configure other basic options such as the time zone, language, parental controls, and more. These settings can usually be found in the appropriate sections within the router’s web interface. It is recommended to explore and adjust these settings according to your preferences and requirements.
By configuring the basic settings of your Belkin Router, you have taken important steps towards ensuring a secure and efficient wireless network. In the next section, we will discuss how to set up the wireless network on the Belkin Router, allowing your devices to connect and access the internet seamlessly.
Step 4: Setting up the Wireless Network on the Belkin Router
In this step, we will guide you through the process of setting up the wireless network on your Belkin Router. By following these steps, you can create a secure and reliable wireless network for your devices to connect to:
- Access the router’s web interface by entering the default IP address in your web browser.
- Navigate to the “Wireless” or “Wireless settings” section of the web interface.
- Enable the wireless network by selecting the option to “Enable” or turn on the wireless feature.
- Choose the preferred wireless channel. It is recommended to choose a less congested channel to minimize interference from other nearby wireless networks.
- Set the radio mode to match the capabilities of your devices. If you have older devices that only support 2.4 GHz, select the option for “2.4 GHz only.” For devices that support both 2.4 GHz and 5 GHz, choose “2.4 GHz and 5 GHz.”
- Save the changes to apply the wireless network settings.
After saving the changes, your Belkin Router will broadcast the wireless network, allowing your devices to detect and connect to it. To connect to the wireless network, search for available Wi-Fi networks on your device, and select the network name (SSID) that you configured in the previous step. Enter the password you created, and your device will establish a secure connection to the Belkin Router’s wireless network.
You can repeat this process to set up additional wireless networks with different names and security settings, if needed. This is particularly useful if you want to create a separate guest network or if you have different devices that require specific configurations.
Now that your wireless network is up and running, we will focus on creating a strong password for your Belkin Router in the next step. This will further enhance the security of your network and protect it from unauthorized access.
Step 5: Creating a Strong Password for Your Belkin Router
Creating a strong and secure password for your Belkin Router is crucial to protect your network and prevent unauthorized access. Follow these steps to create a strong password:
- Access the router’s web interface by entering the default IP address in your web browser.
- Navigate to the “Security” or “Admin” section of the web interface. Look for the option to change the router’s password.
- Enter the current password, if prompted. This step ensures that only authorized users can modify the router’s settings.
- Choose a unique and complex password. It is recommended to use a combination of uppercase and lowercase letters, numbers, and special characters. Avoid using easily guessable passwords such as birthdays or simple words.
- Make sure your password is at least 8 characters in length. The longer the password, the more secure it is.
- Remember to write down your password in a secure place or use a reputable password manager to store it securely.
- Save the changes to apply the new password.
By creating a strong password, you significantly reduce the risk of unauthorized access to your Belkin Router and your wireless network. It is important to periodically update your password to maintain a high level of security.
In addition to creating a strong password, there are other security measures you can implement to further enhance the protection of your network. These include enabling WPA2-PSK encryption, disabling remote management, and enabling guest networks with separate passwords.
Now that your Belkin Router is secured with a strong password, we will move on to the next step, which involves connecting your devices to the wireless network we have set up.
Step 6: Connecting Devices to the Belkin Router’s Wireless Network
Now that you have set up your Belkin Router’s wireless network, it’s time to connect your devices so they can access the internet wirelessly. Follow these steps to connect your devices:
- Ensure that your device’s Wi-Fi is turned on. This can usually be done through the device’s settings or by toggling the Wi-Fi switch.
- Scan for available Wi-Fi networks on your device. The network name (SSID) of your Belkin Router should appear in the list of available networks.
- Select your Belkin Router’s network name (SSID) from the list. If you have set up multiple networks, choose the appropriate network you want your device to connect to.
- Enter the password you configured for your Belkin Router’s wireless network. Make sure to type the password correctly, as it is case-sensitive.
- Click or tap on the “Connect” or “Join” button to establish a connection between your device and the Belkin Router’s wireless network.
- Wait for your device to connect to the network. Once connected, you will see a confirmation message or an icon indicating the successful connection.
Repeat these steps for each device you want to connect to your Belkin Router’s wireless network. This can include smartphones, tablets, laptops, smart TVs, and any other Wi-Fi enabled devices.
It is worth noting that some devices may have additional authentication steps, such as entering a username, domain, or EAP-TLS settings. Consult the device’s documentation or refer to the manufacturer’s support resources for specific instructions on connecting to a wireless network.
With your devices now successfully connected to your Belkin Router’s wireless network, you can enjoy seamless internet access throughout your home or office.
In the next step, we will address common issues and provide troubleshooting tips for your Belkin Router.
Step 7: Troubleshooting Common Issues with Belkin Router
While setting up and using your Belkin Router, you may encounter some common issues that can be easily resolved. Here are a few troubleshooting tips to help you address these issues:
- No internet connection: If you are unable to connect to the internet through your Belkin Router, first check if your modem is properly connected and functioning. Restart both your modem and router, and wait for them to fully boot up. If the issue persists, try resetting your router to factory settings and reconfiguring it.
- Slow internet speed: If you are experiencing slow internet speeds, ensure that you are using the latest firmware version for your Belkin Router. You can check for firmware updates on the Belkin website and follow their instructions to upgrade your router’s firmware. Additionally, check for any possible interference from other nearby electronic devices and try changing the wireless channel for better performance.
- Intermittent wireless connection: If your wireless connection keeps dropping or disconnecting frequently, try relocating your router to a more centralized location. Also, check if there are any physical obstacles that may be interfering with the signal, such as walls or large objects. If the issue continues, consider upgrading your router’s antennas or adjusting its settings for better signal strength.
- Cannot access the web interface: If you are unable to access the web interface of your Belkin Router, ensure that you are typing the correct IP address in your web browser. Double-check the router’s manual or documentation for the correct address. If you still cannot access the interface, try using a different web browser or clearing your browser’s cache and cookies.
- Wireless network not visible: If your Belkin Router’s wireless network is not appearing in the list of available networks, make sure the wireless feature is enabled on the router’s web interface. Check if the SSID is correctly set, and ensure that your device is within range of the router’s signal.
If you encounter any other issues with your Belkin Router, it is recommended to consult the router’s manual or contact Belkin’s customer support for assistance. They can provide specific troubleshooting steps and further guidance based on your router’s model and firmware version.
By following these troubleshooting tips, you can address common issues and ensure that your Belkin Router operates smoothly, providing you with a reliable and seamless internet experience.
Conclusion
Congratulations! You have successfully configured your Belkin Wireless Router Basic N150. By following the step-by-step instructions in this guide, you have set up a secure and efficient wireless network that allows your devices to connect and access the internet seamlessly.
Throughout this tutorial, we covered the essential steps, from unboxing and connecting the router to accessing the web interface, configuring basic settings, setting up the wireless network, creating a strong password, connecting devices, and troubleshooting common issues.
Remember, it’s crucial to periodically check for firmware updates for your router to ensure optimal performance and security. Stay informed about the latest updates and security measures recommended by Belkin to keep your network up to date.
If you encounter any issues or have further questions, don’t hesitate to consult the router’s manual or reach out to Belkin’s customer support for assistance. They are there to help and provide specific guidance based on your router’s model and firmware version.
Enjoy the benefits of your newly configured Belkin router, including fast and reliable wireless connectivity for all your devices. Whether you’re streaming, gaming, or simply browsing the web, your Belkin router will provide a stable and secure internet connection throughout your home or office.
Thank you for choosing Belkin, and happy surfing!