Introduction
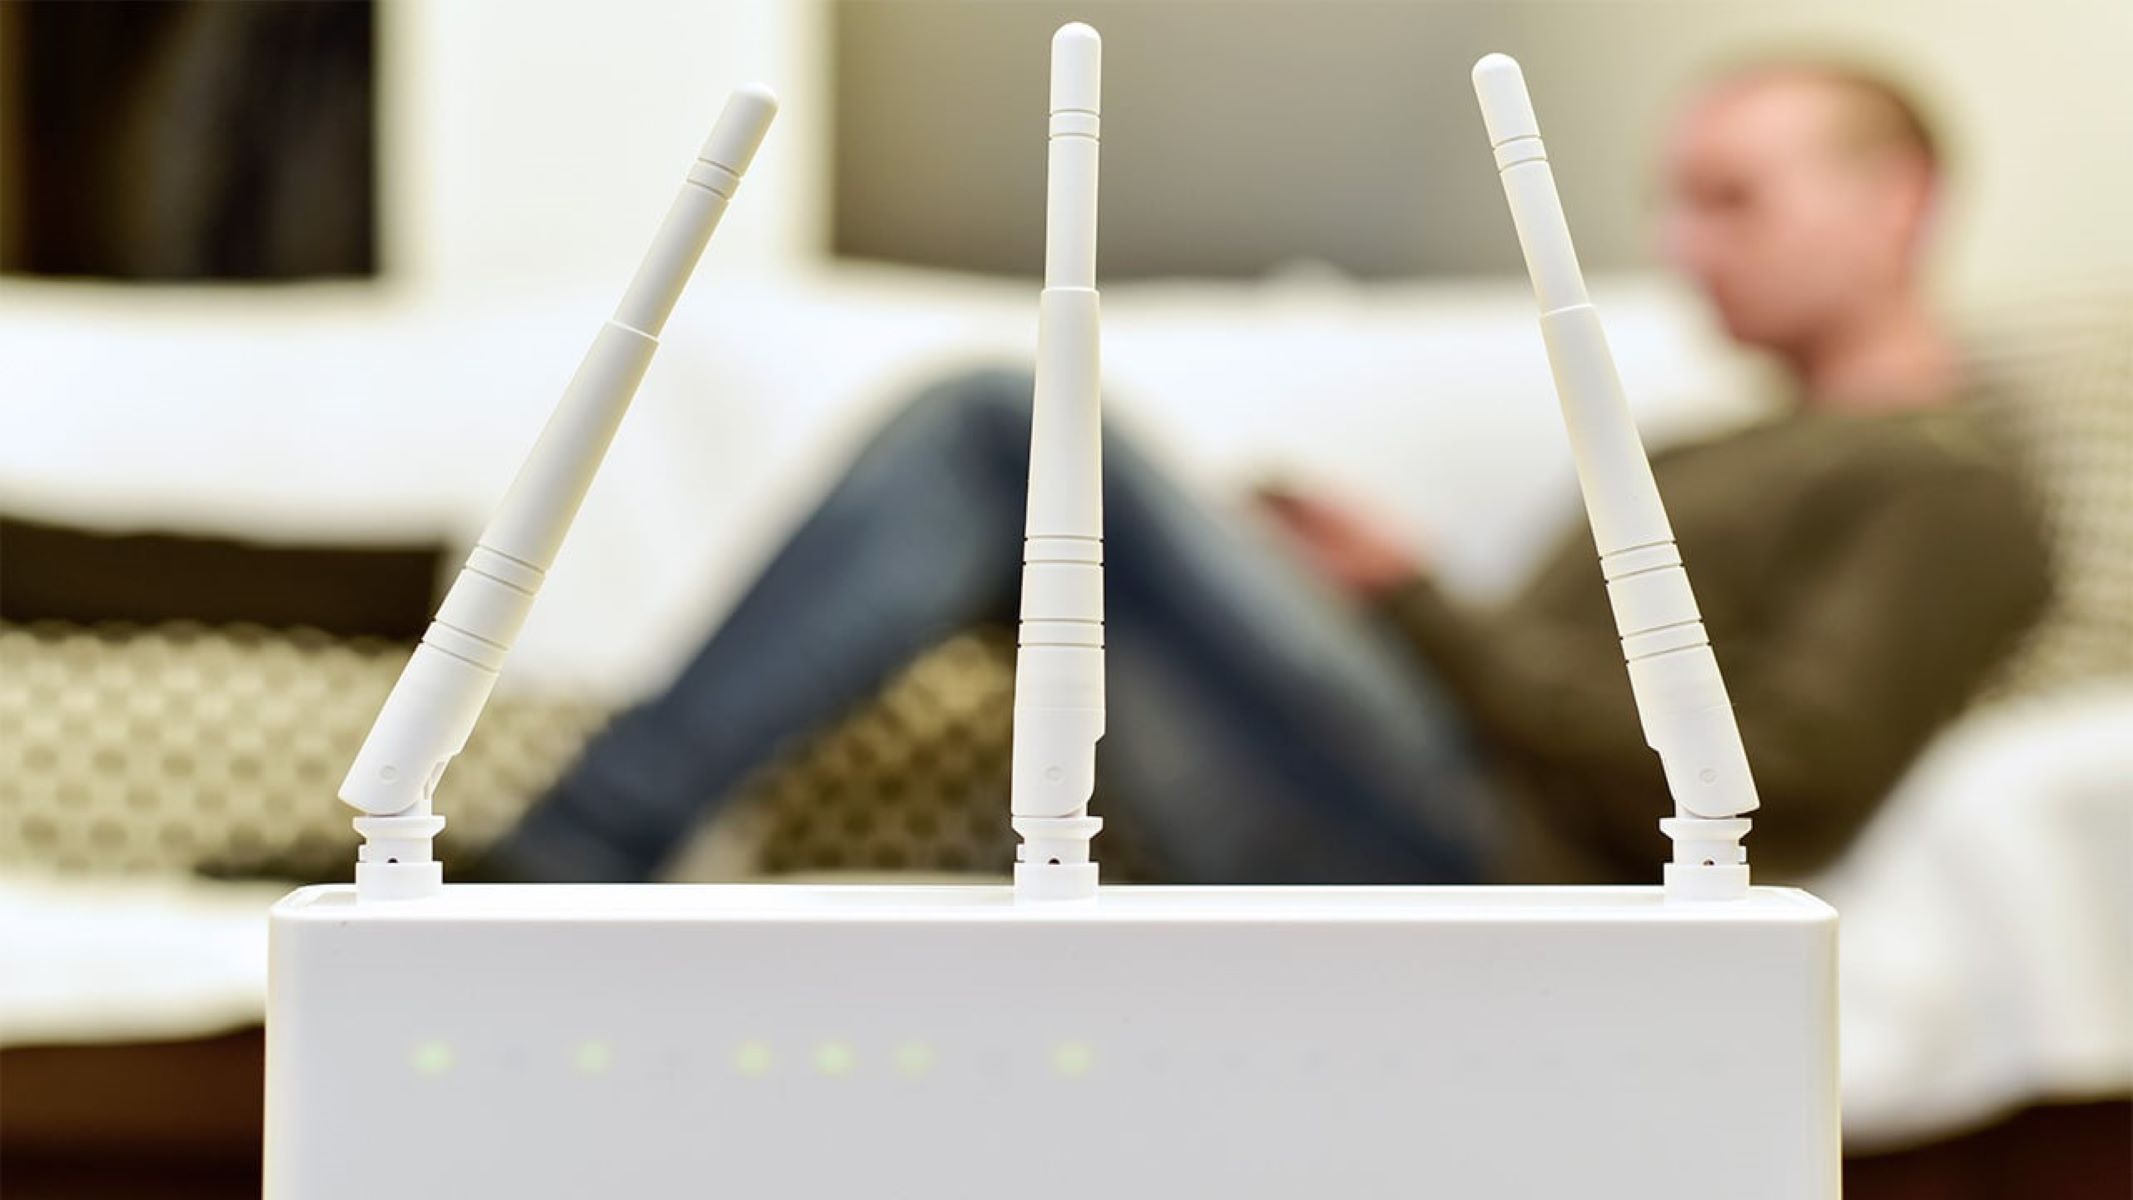
Welcome to the exciting world of wireless networking! As more and more devices connect to the internet, the need to open ports on a wireless router becomes increasingly essential. Whether you’re a tech enthusiast, online gamer, or running a home office, understanding how to open ports on your wireless router is a valuable skill.
When it comes to networking, ports play a crucial role in allowing data to flow between devices and networks. In simple terms, a port is like a door that allows information to enter or exit a device. Each device and application uses specific ports to communicate with others, enabling smooth data transfer and seamless connectivity.
But why would you need to open ports on your wireless router? The most common reason is to enable access to specific applications or services from the internet. For example, if you’re hosting a multiplayer game on your home network, opening certain ports will allow other players to connect directly to your game server. Similarly, if you’re running a web server or remote desktop application, opening ports ensures that external users can access these services.
In this step-by-step guide, we will walk you through the process of opening ports on a wireless router. Whether you’re using a popular router brand or a lesser-known model, the general steps remain the same. By following these instructions, you’ll be able to easily configure port forwarding and optimize your networking setup.
Before diving into the technical details, it’s important to note that opening ports on a router requires some basic understanding of networking concepts and access to the router’s web interface. While the exact steps may vary depending on your router’s make and model, this guide will provide you with the fundamental knowledge to get started.
Stay tuned as we explore the ins and outs of port forwarding, security considerations, and troubleshooting common issues. Let’s embark on this journey to unlock the full potential of your wireless router!
Understanding Ports on a Wireless Router
When it comes to networking, ports are essential components that allow devices to send and receive data. In the context of a wireless router, ports act as virtual channels through which information flows to and from connected devices. Each port is assigned a unique number, known as a port number, to facilitate accurate communication.
Wireless routers, like other types of routers, typically have multiple ports. The most common types of ports found on a wireless router include Ethernet ports, USB ports, and WAN (Wide Area Network) ports. Ethernet ports are used to connect devices via Ethernet cables, while USB ports allow the connection of external devices such as printers or storage drives. WAN ports, on the other hand, establish the router’s connection to the internet.
However, in the context of opening ports on a wireless router, we primarily focus on a specific type of port called “forwarded ports” or “virtual ports.” These ports are a subset of the router’s available ports and are used to route incoming internet traffic to specific devices or applications on your local network.
Forwarded ports work hand in hand with the concept of port forwarding. Port forwarding is a method that allows external internet users to access specific devices or services within your private network. By opening specific ports on your wireless router and directing incoming traffic to the appropriate devices, you enable seamless communication between the internet and your internal network.
For example, imagine you’re hosting a web server on your local network. To make your website accessible to internet users, you would need to open port 80 (the default port for HTTP traffic) and forward it to your web server’s local IP address. With port forwarding properly configured, external users can now access your website by entering your router’s public IP address in their web browser.
It’s important to note that forwarded ports operate based on the TCP/IP protocol, which is the standard language used by devices to communicate over networks. TCP/IP divides data into packets and assigns port numbers to ensure that the correct information reaches the intended destination. By forwarding specific ports, you enable devices on your local network to receive and respond to incoming packets on those designated ports.
Understanding the intricacies of ports on a wireless router is crucial for effectively configuring port forwarding and optimizing network performance. In the following sections, we will guide you through the step-by-step process of opening and forwarding ports on your wireless router, empowering you to take full control of your network’s connectivity.
Why Open Ports on a Wireless Router?
Opening ports on a wireless router serves several purposes and can provide numerous benefits to network users. Whether you’re a casual internet user or a tech-savvy enthusiast, understanding why you might need to open ports can help improve your overall networking experience.
One of the main reasons for opening ports on a wireless router is to enable access to specific applications or services from the internet. Many applications, such as online gaming, video conferencing, remote desktop access, and file sharing, rely on specific ports to function properly. By opening these ports on your router, you ensure that the necessary data can flow smoothly between the internet and the devices on your local network, enhancing the performance and functionality of these applications.
Another key benefit of opening ports is the ability to create a more inclusive and interactive online experience. For example, if you’re hosting a multiplayer game on your local network, opening the required ports allows external players to connect directly to your game server. This eliminates the need for complex workarounds or taxing the game’s servers, providing a faster, more seamless gaming experience for all participants.
Furthermore, opening ports can be crucial for those running personal servers or hosting websites from their own network. By opening the necessary ports and configuring port forwarding, you can make your server or website accessible to the outside world. This allows you to showcase your projects, share files, or even run a small business from the comfort of your own home.
In addition to improving accessibility and functionality, opening ports on a wireless router can also enhance network performance and reduce restrictions imposed by internet service providers (ISPs). Some ISPs employ stringent network restrictions that limit certain types of traffic or devices. By opening ports on your router, you can bypass these restrictions and regain control over your network, enabling a broader range of applications and services.
However, it’s important to exercise caution when opening ports on a wireless router. Opening ports can expose your devices to potential security risks, allowing unauthorized access to your network or devices if not properly configured. It’s crucial to follow best practices for network security, such as using strong passwords, enabling firewall protections, and keeping your router’s firmware up to date.
In the next section, we will provide a step-by-step guide on how to open ports on a wireless router, ensuring that you do so securely and efficiently. By following these instructions, you can unlock the full potential of your network and enjoy a seamless, connected experience.
Step-by-Step Guide to Open Ports on a Wireless Router
Opening ports on a wireless router may sound like a complex task, but with the right guidance, it can be a straightforward process. In this step-by-step guide, we will walk you through the necessary steps to open ports on your wireless router and configure port forwarding.
1. Accessing the Router’s Web Interface
To begin, you need to access your router’s web interface. Most routers can be accessed by typing the default gateway IP address (such as 192.168.1.1 or 192.168.0.1) into your web browser’s address bar. Alternatively, consult your router’s manual or manufacturer’s website for the precise instructions.
2. Finding the Firewall or Port Forwarding Section
Once you’ve accessed the router’s web interface, navigate to the relevant section for configuring port forwarding. This may be labeled as “Port Forwarding,” “Virtual Servers,” or “Firewall.” Look for options that allow you to add, edit, or manage port forwarding rules.
3. Configuring Port Forwarding
Within the port forwarding section, you will need to create a new port forwarding rule. This typically involves entering the following information:
- Service/Name: Assign a descriptive name to the port forwarding rule.
- Internal IP Address: Enter the local IP address of the device you wish to forward the port to. You may need to assign a static IP address to the device beforehand.
- Protocol: Select the appropriate protocol for the service, usually TCP, UDP, or both.
- External Port Range: Enter the range or specific port number(s) you want to open. For example, if you want to open port 80, enter 80. If you want to open a range, such as ports 80 to 85, enter 80-85.
- Internal Port Range: Enter the corresponding internal port range or specific port number(s). This is usually the same as the external port range.
4. Testing the Opened Ports
Once you have entered all the necessary information, save the port forwarding rule and restart your router if required. To ensure successful configuration, you can use online port checker tools to test if the ports are open and accessible from the internet. These tools will scan the specified ports and indicate if they are properly forwarded and reachable.
It’s worth noting that the exact steps and options for port forwarding may vary depending on your router’s make and model. Consult the router’s manual or online documentation for specific instructions that correspond to your device.
With the ports successfully opened and configured on your wireless router, you can now enjoy the benefits of improved connectivity, enhanced functionality, and seamless access to your preferred applications and services.
Accessing the Router’s Web Interface
Before you can begin configuring port forwarding on your wireless router, you need to access its web interface. This interface provides you with a user-friendly graphical interface to manage the router’s settings, including port forwarding options. Here’s how you can access the web interface:
Step 1: Determine the Default Gateway IP Address
The default gateway IP address is the address used to access your router’s management interface. It typically consists of a series of numbers separated by periods, such as 192.168.1.1 or 192.168.0.1. You can find the default gateway IP address by following these steps:
- On a Windows computer, open the Command Prompt by pressing the Windows key + R, typing “cmd,” and pressing Enter. In the Command Prompt window, type “ipconfig” and press Enter. Look for the “Default Gateway” entry, which displays the IP address of your router.
- On a Mac, open the Terminal by going to Applications > Utilities > Terminal. In the terminal window, type “netstat -nr | grep default” and press Enter. The default gateway IP address will be displayed next to “default” in the resulting output.
- If you’re using a mobile device, the process may vary. Check your device’s user manual or consult the manufacturer’s website for specific instructions.
Step 2: Access the Web Interface
Once you have the default gateway IP address, follow these steps to access the router’s web interface:
- Open a web browser on a device connected to the same network as your wireless router.
- Type the default gateway IP address into the browser’s address bar and press Enter.
- You should be presented with a login page for your router’s web interface. Enter the username and password for your router. Note that this may be different from the credentials used to connect to your wireless network.
- Upon successful login, you will gain access to the router’s web interface, where you can modify various settings, including port forwarding.
If you encounter any issues accessing the web interface, ensure that you’re using the correct default gateway IP address and that your device is connected to the router’s network. You may also need to consult your router’s manual or the manufacturer’s website for specific access instructions.
Once you have successfully accessed the router’s web interface, you can proceed to the next step of configuring port forwarding. In the following sections, we will explore the necessary steps to find the firewall or port forwarding section and configure port forwarding to open the desired ports on your wireless router.
Finding the Firewall or Port Forwarding Section
After accessing your router’s web interface, the next step in configuring port forwarding is locating the firewall or port forwarding section. This section may be labeled differently, depending on the router’s make and model, but it generally contains the settings related to port forwarding. Here’s how you can find it:
Step 1: Explore the Navigation Menu
Once you’re logged into the router’s web interface, take a look at the navigation menu or sidebar. This menu usually displays various categories or sections related to different router settings. Look for headings like “Advanced Settings,” “Security,” “Firewall,” or “Port Forwarding.”
Step 2: Look for Port Forwarding Options
Under the relevant section, you should find options or subheadings related to port forwarding or virtual servers. Some common labels to look for include “Port Forwarding,” “Virtual Servers,” or “NAT (Network Address Translation) Settings.” These options indicate that you’re on the right track to configuring port forwarding.
Step 3: Check Additional Submenus
In some cases, the firewall or port forwarding settings might be organized into further submenus. These submenus help categorize different types of port forwarding or provide more advanced options. Look for labels such as “Basic,” “Advanced,” or “Custom” within the main firewall or port forwarding section.
Step 4: Consult the Router’s Manual or Online Documentation
If you’re having trouble locating the firewall or port forwarding section, consult your router’s manual or visit the manufacturer’s website for specific instructions. The user manual or online documentation will provide detailed guidance on where to find the necessary settings within the router’s web interface for your specific router model.
Keep in mind that the location and labels of the firewall or port forwarding section might vary depending on the router’s firmware version or the manufacturer’s interface design. It’s essential to explore the options available within the web interface and carefully read the descriptions or tooltips to ensure you’re in the correct section.
Once you have successfully located the firewall or port forwarding section, you’re ready to move on to the next step of configuring port forwarding. In the upcoming section, we will guide you through the process of setting up port forwarding and provide detailed instructions on entering the necessary information for each rule.
Configuring Port Forwarding
Now that you’ve found the firewall or port forwarding section in your router’s web interface, it’s time to configure the port forwarding settings. This process involves entering specific information for each port forwarding rule to ensure that the incoming traffic is correctly redirected to the desired device on your network. Follow these steps to configure port forwarding:
Step 1: Fill in the Service/Name Field
Begin by entering a descriptive name for the port forwarding rule. This will help you identify the rule later on if you need to make any changes or manage multiple forwarding rules.
Step 2: Specify the Internal IP Address
Next, enter the internal IP address of the device to which you want to forward the port. This address represents the local IP assigned to the device on your network. It’s important to ensure that the device for which you’re configuring port forwarding has a static IP address. Otherwise, the internal IP may change, causing the port forwarding rule to become ineffective. Consult your router’s documentation for instructions on assigning a static IP address to devices on your network.
Step 3: Select the Protocol
Choose the appropriate protocol for the service you’re forwarding the port for. Most commonly, you will have the option to select TCP, UDP, or both. TCP is commonly used for applications that require reliable and ordered delivery of data, such as web browsing or email. UDP, on the other hand, is favored for real-time communication or streaming services, such as online gaming or VoIP (Voice over Internet Protocol) applications.
Step 4: Set the External and Internal Port Ranges
In this step, you need to specify the range or specific port numbers to open for your service. Enter the external port range, which represents the ports that will be accessible from the internet. For example, if you want to open port 80 for a web server, enter “80” as the external port. If you’re opening a range of ports, such as ports 5000 to 5010, enter “5000-5010.”
Next, enter the corresponding internal port range, which represents the ports on the device to which the traffic will be forwarded. In most cases, the internal port will be the same as the external port. Therefore, if you’re opening port 80 externally, enter “80” as the internal port as well.
Step 5: Save the Port Forwarding Rule
After entering all the necessary information, save the port forwarding rule. The specific procedure may vary depending on your router’s web interface design, but you will typically find a “Save” or “Apply” button at the bottom or top-right corner of the configuration page. Click this button to save the changes you made to the port forwarding settings.
Once you’ve saved the port forwarding rule, your router will begin redirecting incoming traffic on the specified ports to the designated device on your network. It’s a good idea to restart your router after making these changes to ensure that the configuration is applied correctly.
Repeat these steps for each port forwarding rule you want to set up. Remember to save your changes after configuring each rule.
With port forwarding properly configured, the specified ports will be open and accessible from the internet, allowing external users to connect to the desired services or devices on your network. Next, we will cover the importance of considering security risks and other important factors when opening ports on a wireless router.
Testing the Opened Ports
After configuring port forwarding on your wireless router, it’s crucial to test the opened ports to ensure they are accessible and functioning as intended. By testing the ports, you can verify that the incoming traffic is properly redirected to the designated devices on your network. Here’s how you can test the opened ports:
Step 1: Determine the IP Address
Start by identifying the public IP address of your router. You can find the public IP address by conducting a simple internet search for “What is my IP address?” The search results will display your public IP address.
Step 2: Select a Port Checker Tool
Various online tools are available to check the status and accessibility of specific ports. Choose a reliable port checker tool such as “Open Port Check Tool” or “Canyouseeme.org.” These tools allow you to enter the port number you want to test and check if it is open and reachable from the internet.
Step 3: Perform the Port Check
Once you’ve selected a port checker tool, follow these steps to perform the port check:
- Open the port checker tool in your web browser.
- Enter the port number you want to test in the designated field.
- Click the “Check” or “Test” button to initiate the port check.
- The tool will perform a scan and indicate whether the specified port is open or closed. If the port is open, it means that the incoming traffic can reach your designated device on the network.
Step 4: Troubleshooting
If the port checker tool indicates that the port is closed or unreachable, you may need to troubleshoot the issue. Check the following potential causes:
- Ensure that you’ve correctly entered the external and internal port numbers in the port forwarding rule.
- Verify that the device you want to forward the port to has the correct static local IP address assigned in the router’s settings.
- Check that the router’s firewall settings or any other security measures are not blocking the incoming traffic on the specified port.
- If the port remains closed, consult your router’s manual or the manufacturer’s website for troubleshooting steps specific to your router model.
By testing the opened ports, you can verify that the port forwarding configuration is effective and that the desired services or devices on your network can be accessed from the internet. Regular port checks can also help ensure that your ports are still open and accessible over time.
Once you have confirmed that the ports are open through successful port testing, you can enjoy the benefits of enhanced connectivity and improved accessibility to the services you’ve configured through port forwarding.
Important Considerations when Opening Ports
While opening ports on a wireless router can greatly enhance the functionality and accessibility of your network, it’s essential to consider certain factors to ensure a secure and efficient setup. Here are some important considerations to keep in mind:
1. Security Risks and Precautions
Opening ports can expose your internal network and devices to potential security risks. It’s crucial to be aware of the risks associated with opening ports and take appropriate precautions to safeguard your network. These precautions include:
- Enable Firewall Protection: Ensure that your router’s firewall is enabled to help filter and block unauthorized traffic.
- Use Strong Passwords: Set strong, unique passwords for your router’s administration interface and Wi-Fi network to prevent unauthorized access.
- Keep Firmware Updated: Regularly check for firmware updates provided by your router’s manufacturer and install them to address any security vulnerabilities.
- Disable Unused Ports: If you’re not using certain ports or services, consider disabling them to reduce potential exposure to attacks.
2. Selecting the Correct Protocol
When configuring port forwarding, it’s important to select the appropriate protocol for the services or applications you’re forwarding. Understand the difference between TCP and UDP and choose the protocol that aligns with the requirements of the specific service. Selecting the wrong protocol can lead to connectivity issues or limited functionality.
3. Assigning Static IP Address to the Device
To ensure that port forwarding remains effective over time, assign a static IP address to the device you’re forwarding ports to. This prevents the IP address from changing, as dynamic IP addresses can be reassigned by the router’s DHCP (Dynamic Host Configuration Protocol) server. Consult your router’s settings or manual to assign a static IP address to the device.
By considering these important factors, you can mitigate security risks, ensure proper protocol selection, and maintain the stability and effectiveness of your port forwarding setup. Following these considerations will help you maximize the benefits of port forwarding while maintaining a secure and efficient network.
Security Risks and Precautions
Opening ports on a wireless router can offer numerous benefits for improved connectivity and accessibility, but it also exposes your network and devices to potential security risks. It’s essential to understand these risks and take appropriate precautions to ensure the safety and integrity of your network. Here are important security considerations to keep in mind:
1. Enable Firewall Protection
A firewall acts as a barrier between your internal network and the external internet, helping to filter and block unauthorized or potentially malicious traffic. It’s crucial to ensure that your router’s firewall is enabled and configured correctly. This is typically done through the router’s web interface or administration settings. Consult your router’s manual or online documentation for specific instructions on enabling and configuring the firewall.
2. Use Strong Passwords
One of the most fundamental yet often overlooked aspects of network security is the use of strong passwords. Set strong and unique passwords for both your router’s administration interface and your Wi-Fi network. A strong password should be a mix of letters (both uppercase and lowercase), numbers, and special characters. Avoid using easily guessable information, such as your name, birthdate, or common words. Regularly change your passwords and avoid reusing them across different accounts or devices.
3. Keep Firmware Updated
Vulnerabilities in router firmware can be exploited by hackers to gain unauthorized access to your network. It’s crucial to regularly check for firmware updates provided by your router’s manufacturer and install them as soon as they are available. Firmware updates often include security patches and bug fixes that can protect your router from known vulnerabilities. Check the manufacturer’s website or your router’s administration interface for instructions on how to update the firmware.
4. Disable Unused Ports
Unused ports on your wireless router can present potential entry points for unauthorized access. It’s a good practice to disable any ports or services that you do not use. By turning off unused ports, you reduce the potential exposure to attacks and minimize the attack surface of your network. Check your router’s administration settings or configuration options for the ability to disable specific ports or services.
By implementing these security precautions, you significantly improve the overall security of your network when opening ports on your wireless router. Always be mindful of the potential risks and regularly review and update your router’s security settings to stay ahead of emerging threats. By taking these measures, you can enjoy the benefits of open ports while ensuring the maximum security of your network.
Selecting the Correct Protocol
When configuring port forwarding on your wireless router, it’s crucial to select the correct protocol for the services or applications you’re forwarding. Understanding the difference between TCP (Transmission Control Protocol) and UDP (User Datagram Protocol) is essential to ensure proper functioning and compatibility with the specific service. Here’s what you need to know:
TCP (Transmission Control Protocol)
TCP is a reliable and connection-oriented protocol that ensures data is transmitted in a sequential and error-free manner. It establishes a connection between the sending and receiving devices and guarantees that the data packets arrive in the correct order. TCP is commonly used by applications that require reliability, such as web browsing, email, file transfers, and remote access. When forwarding a port for these types of services, select TCP as the protocol in the port forwarding settings.
UDP (User Datagram Protocol)
UDP is a faster and connectionless protocol that does not provide the same level of reliability and error checking as TCP. It is often used for real-time applications that require low latency, such as online gaming, video streaming, voice over IP (VoIP), and DNS (Domain Name System) lookups. UDP is preferred for these types of services because it offers faster data transmission without the delays caused by the acknowledgment process of TCP. When configuring port forwarding for real-time applications, select UDP as the protocol.
Both TCP and UDP
In some cases, certain services or applications require both TCP and UDP protocols to function correctly. This is typically the case for services that have different functions or data streams that rely on both reliable and rapid delivery. If you’re forwarding a port for a service that utilizes both TCP and UDP, select “Both” or “TCP/UDP” in the port forwarding settings. This ensures that both protocols are allowed to pass through the forwarded port.
Before selecting the protocol for port forwarding, it’s important to understand the requirements of the service or application you’re using. Consult the documentation or support resources for the service to determine the recommended protocol. Selecting the wrong protocol can lead to connectivity issues or limited functionality, as the service relies on specific protocols for its operation.
By selecting the correct protocol for port forwarding, you ensure that the forwarded service or application can function optimally, achieving the desired performance and reliability. Take the time to research and configure the appropriate protocol settings when setting up port forwarding on your wireless router.
Assigning a Static IP Address to the Device
When configuring port forwarding on your wireless router, it’s essential to assign a static IP address to the device you’re forwarding ports to. This ensures that the port forwarding rule remains effective over time, as dynamic IP addresses assigned by the router’s DHCP server can change. Here’s why assigning a static IP address is important and how you can do it:
Why Assign a Static IP Address?
A static IP address is a fixed IP address that you manually assign to a device on your network. Unlike dynamic IP addresses, which can change each time a device reconnects to the network, a static IP remains constant. Assigning a static IP to a device is crucial for reliable port forwarding because port forwarding rules are associated with specific IP addresses. If the IP address of the device changes, the port forwarding rule may become ineffective as the forwarding rule would route traffic to the wrong device.
How to Assign a Static IP Address
The process of assigning a static IP address may vary slightly depending on your router’s make, model, and firmware version. Here’s a general guide:
Step 1: Identify the MAC Address
Each device connected to your network has a unique identifier known as the MAC (Media Access Control) address. Start by locating the MAC address of the device you want to assign a static IP address to. You can usually find the MAC address in the settings of the device or by following specific instructions provided by the device manufacturer.
Step 2: Access the Router’s Web Interface
Open a web browser and enter your router’s IP address in the address bar. This IP address is typically the default gateway address of your network. Enter your router’s username and password to access the web interface.
Step 3: Navigate to the DHCP Settings
Look for the DHCP (Dynamic Host Configuration Protocol) settings within the router’s web interface. This section allows you to manage IP assignments for devices on your network.
Step 4: Reserve an IP Address
Within the DHCP settings, locate the option to reserve IP addresses or set static IP addresses. This typically involves associating the MAC address of the device with a specific IP address. Enter the MAC address and the desired static IP address in the relevant fields and save the changes.
Step 5: Restart the Device
After reserving the IP address, restart the device to apply the changes. The device will now use the static IP address you assigned, ensuring that the port forwarding rule remains effective even if the device reconnects to the network.
Remember, the steps outlined above are general guidelines, and the specific process may differ depending on your router’s manufacturer and firmware version. Consult your router’s manual or online documentation for detailed instructions on assigning a static IP address.
By assigning a static IP address to the device you’re forwarding ports to, you ensure that port forwarding remains reliable and effective over time. This guarantees that incoming traffic is always directed to the correct device on your network, maintaining seamless connectivity for the services and applications utilizing port forwarding.
Troubleshooting Common Issues
While configuring port forwarding on your wireless router, you may encounter certain issues that can prevent the proper functioning of the forwarded ports. It’s important to understand and troubleshoot these common issues to ensure seamless connectivity and optimal performance. Here are some common issues and troubleshooting steps to consider:
1. Incorrect Port Forwarding Settings
Mistakes in configuring the port forwarding settings can result in ports being inaccessible or not functioning as intended. To troubleshoot this issue, double-check the following settings:
- Ensure that the correct port numbers have been entered for both the external and internal ports.
- Verify that the correct protocol (TCP, UDP, or both) has been selected.
- Check that the internal IP address of the device is accurate and matches the device you want to forward the port to.
2. Router Firewall Blocking Incoming Traffic
If the router’s firewall is blocking incoming traffic on the forwarded ports, the ports will not be accessible from the internet. To troubleshoot this issue, follow these steps:
- Access your router’s web interface and navigate to the firewall settings.
- Ensure that the firewall rules allow incoming traffic on the specified ports.
- If necessary, add explicit firewall rules to allow inbound traffic on the forwarded ports.
3. Conflicting Port Forwarding Rules
If you have multiple port forwarding rules configured that overlap or conflict, it can cause issues with accessing the ports. Troubleshoot this issue by reviewing your port forwarding rules and ensuring they are set up correctly without any conflicts. Remove any duplicate or conflicting rules and reconfigure them if necessary.
4. ISP or Router Restrictions
Your internet service provider (ISP) or router may impose restrictions that could interfere with port forwarding. Check if your ISP blocks certain ports or has specific rules regarding port forwarding. Additionally, some routers have built-in features or security settings that need to be adjusted to allow port forwarding. Consult your ISP’s documentation or contact their support for further assistance.
5. Network Configuration Conflicts
In some cases, network configuration conflicts may arise that can cause issues with port forwarding. To troubleshoot this issue:
- Ensure that there are no IP address conflicts on your network. Each device should have a unique IP address.
- Check that the device you want to forward the port to has a stable and active network connection.
- If you have a separate modem and router setup, ensure that the modem is properly bridged to avoid conflicts with port forwarding.
If you have exhausted these troubleshooting steps and are still experiencing issues with your port forwarding setup, consider reaching out to your router’s manufacturer support or online forums for further assistance. They may be able to provide specific guidance based on your router model and configuration.
By effectively troubleshooting common issues during port forwarding configuration, you can ensure that the forwarded ports are accessible and functioning as intended, enabling seamless connectivity and optimized performance for your network services and applications.
Conclusion
Congratulations! You’ve successfully navigated the process of opening ports on your wireless router. By understanding the importance of ports and how to configure port forwarding, you have unlocked the full potential of your network. Opening ports allows you to enjoy improved accessibility and connectivity to your desired services and applications.
Throughout this guide, we explored the fundamental concepts of ports and their significance in wireless networking. We discussed the reasons why opening ports on a wireless router is essential and provided you with a step-by-step guide on how to configure port forwarding. From accessing the router’s web interface to testing the opened ports, you gained valuable insights into the process.
In addition, we highlighted important considerations such as security risks and precautions when opening ports. By enabling firewall protection, using strong passwords, keeping firmware updated, and disabling unused ports, you can enhance the security of your network and minimize potential threats.
We also emphasized the importance of selecting the correct protocol for port forwarding and assigning a static IP address to the devices you’re forwarding ports to. These steps ensure optimal performance and maintain the reliability of your port forwarding setup.
Moreover, we provided troubleshooting tips for common issues that may arise during the port forwarding process. From incorrect settings to firewall restrictions and network conflicts, we equipped you with the knowledge to troubleshoot and resolve any potential challenges.
As you continue to explore and expand your networking skills, it’s important to stay updated with the latest security practices and router firmware updates. Regularly reviewing and adjusting your port forwarding configuration can help you maintain a secure and efficient network environment.
Remember, every router model and setup may have slight differences in its interface and configuration options. It’s always advisable to refer to the manufacturer’s documentation and seek support from their resources if needed.
By successfully opening and configuring ports on your wireless router, you have empowered yourself to optimize your network’s performance, enjoy seamless connectivity, and make the most of the services and applications that rely on port forwarding. Keep exploring and experimenting with your network setup to truly unlock the full potential of your wireless router!