Introduction
Welcome to the world of Ethernet cables! In today’s interconnected digital age, Ethernet cables play a crucial role in providing high-speed wired internet connectivity. Whether you’re setting up a home network or working in an office environment, understanding where and how to plug in Ethernet cables is essential.
Ethernet cables, also known as network cables or LAN cables, are the foundation of a wired network infrastructure. These cables are designed to transmit data between devices with a wired connection, such as computers, routers, modems, switches, and network interface cards (NICs).
In this article, we will explore the various types of Ethernet cables available and discuss where you can plug them in to establish a reliable and efficient network connection. From routers and modems to switches and wall sockets, we will cover it all.
So, if you’re ready to dive into the world of Ethernet cables and unravel the mysteries of plugging them in, let’s get started!
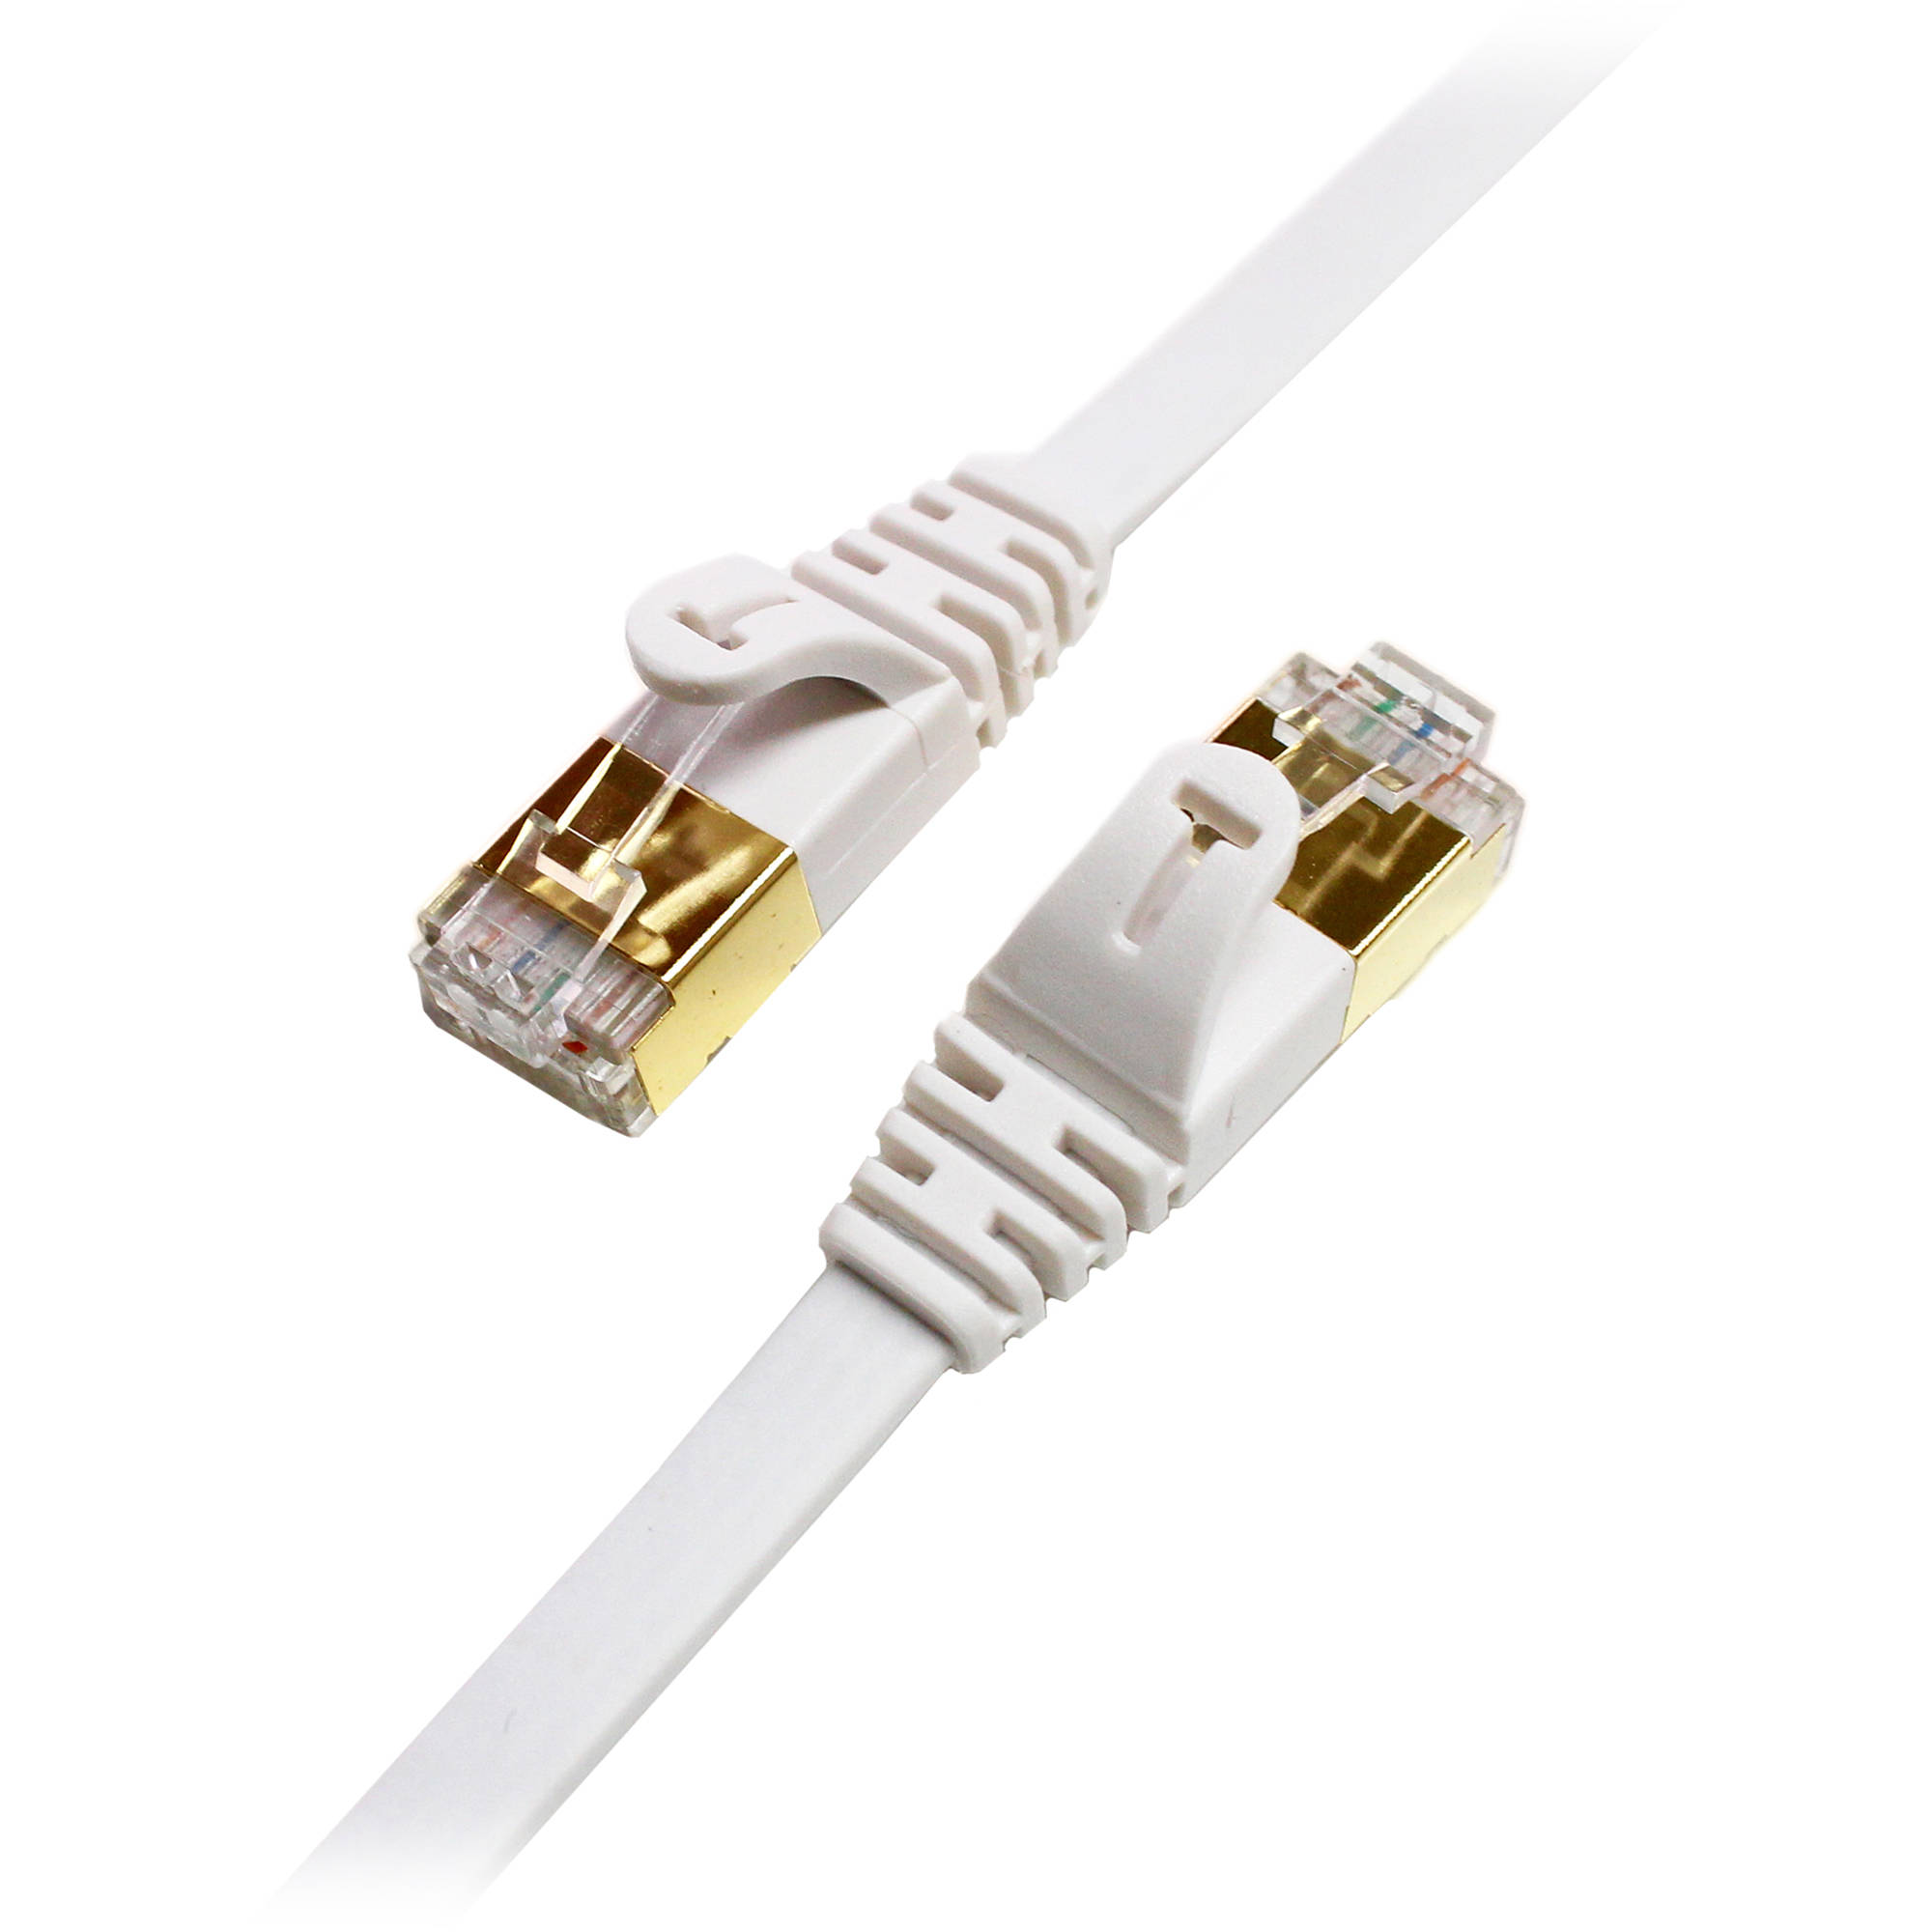
Types of Ethernet Cables
Ethernet cables come in different types, each designed for specific network requirements and speeds. The most commonly used Ethernet cables are:
- Cat5e: This is the most basic type of Ethernet cable, capable of delivering speeds up to 1 Gigabit per second (Gbps). It is suitable for most home and small office networks.
- Cat6: Cat6 cables are an improvement over Cat5e, providing higher data transfer speeds and better performance. They can handle speeds up to 10 Gbps and are commonly used in larger networks or for bandwidth-intensive tasks.
- Cat6a: Cat6a cables are similar to Cat6, but with improved shielding and performance. They can handle higher frequencies and provide better resistance to external interference. Cat6a is often used in professional environments or in situations where demanding applications require ultra-fast speeds.
- Cat7: Cat7 cables offer even higher speeds and better shielding than Cat6a. They can support speeds up to 10 Gbps or higher over longer distances. Cat7 cables are commonly used in data centers or for specialized applications where extremely high speed and minimal interference are crucial.
When choosing an Ethernet cable, it’s important to consider the specific needs of your network and the devices you’re connecting. Remember, the cable’s performance is limited by the lowest category component in your network, so using higher-category cables will not provide any additional benefits if your devices can’t support those speeds.
Where Can Ethernet Cables be Plugged Into?
Ethernet cables can be plugged into various devices to establish a wired network connection. Let’s explore the common devices where Ethernet cables can be plugged into:
- Routers: One of the most common places to plug in an Ethernet cable is a router. Routers act as the central hub of a network, connecting multiple devices and allowing them to communicate with each other and access the internet. Most routers have multiple Ethernet ports, making it easy to connect devices directly using Ethernet cables.
- Modems: For internet connections provided by ISPs (Internet Service Providers), an Ethernet cable can be plugged into a modem. The modem receives the internet signal from the ISP and converts it into a form that can be used by your devices. By connecting your modem to a router or directly to a computer, you can access the internet using an Ethernet cable.
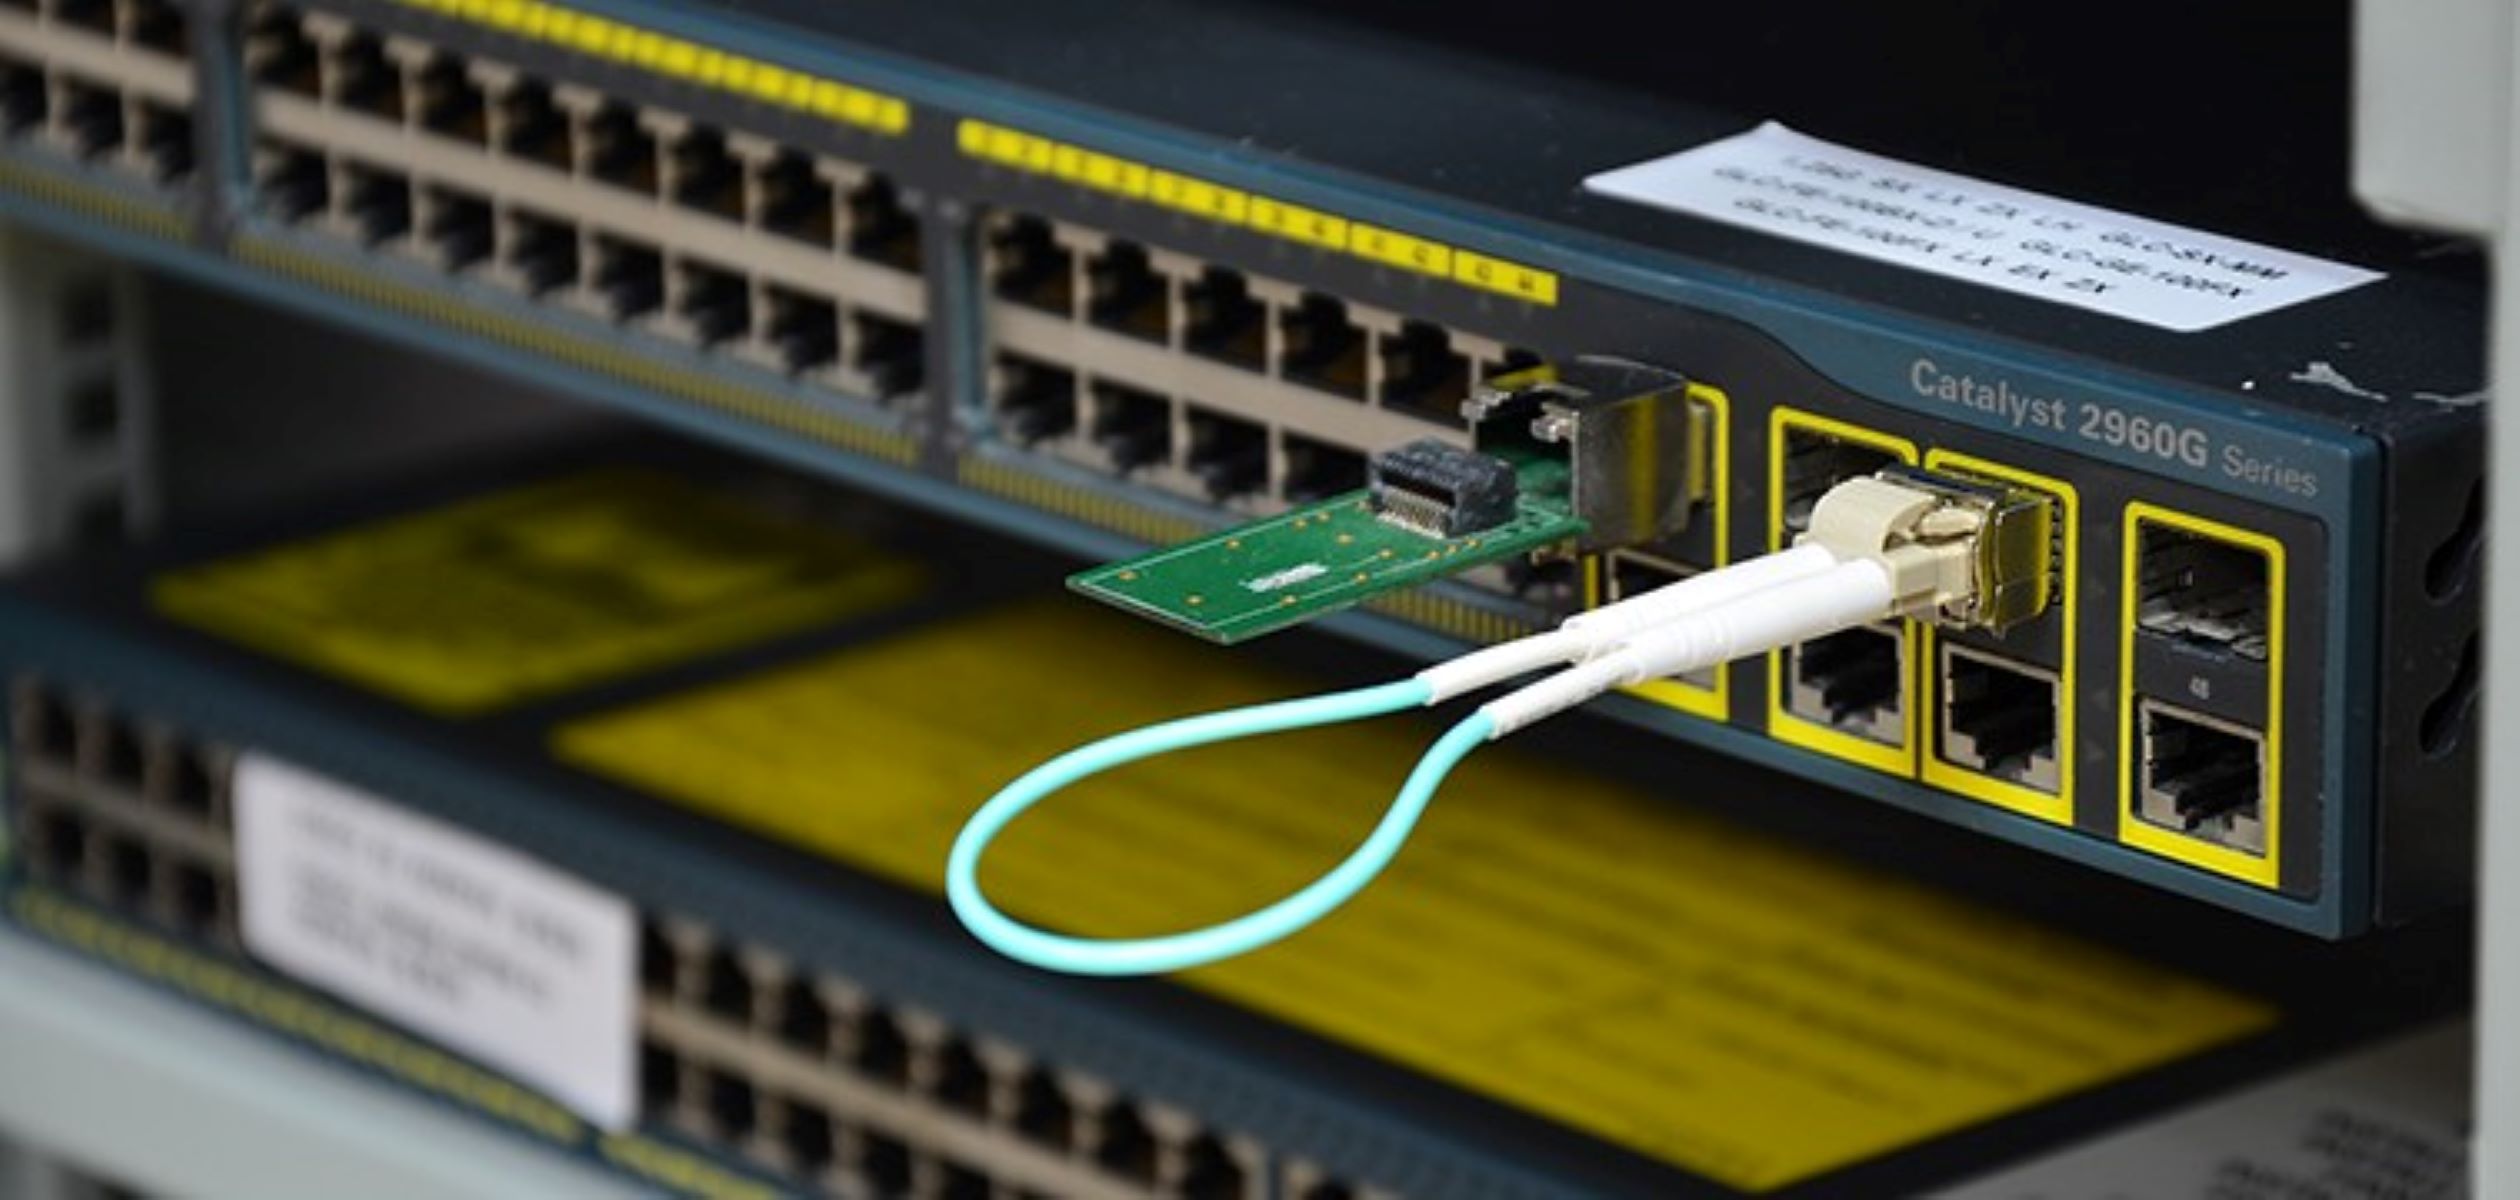
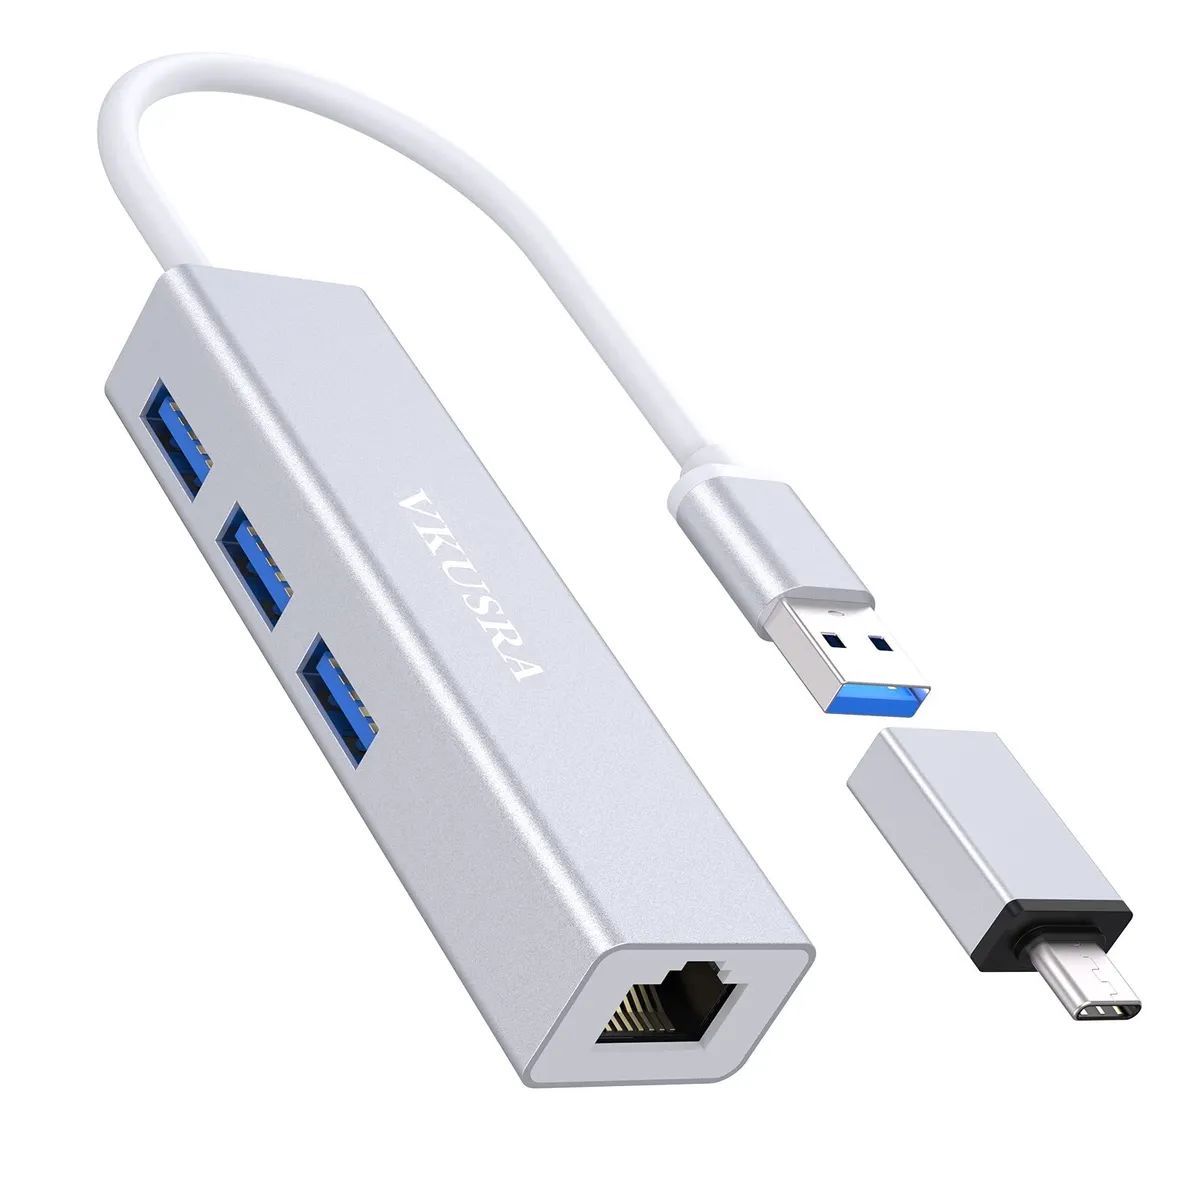
- Switches: Switches are devices that allow you to expand the number of Ethernet ports available in your network. They work by connecting multiple devices together, enabling them to communicate and share data. Ethernet cables can be plugged into a switch to connect devices, such as computers, printers, and gaming consoles.
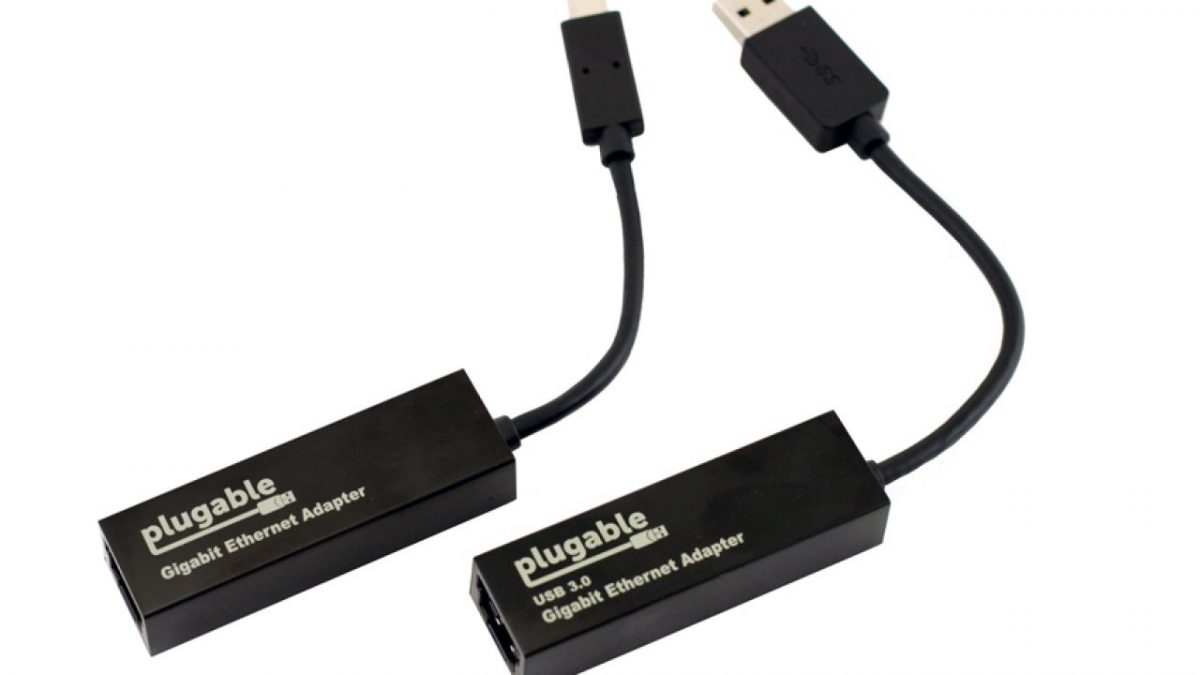
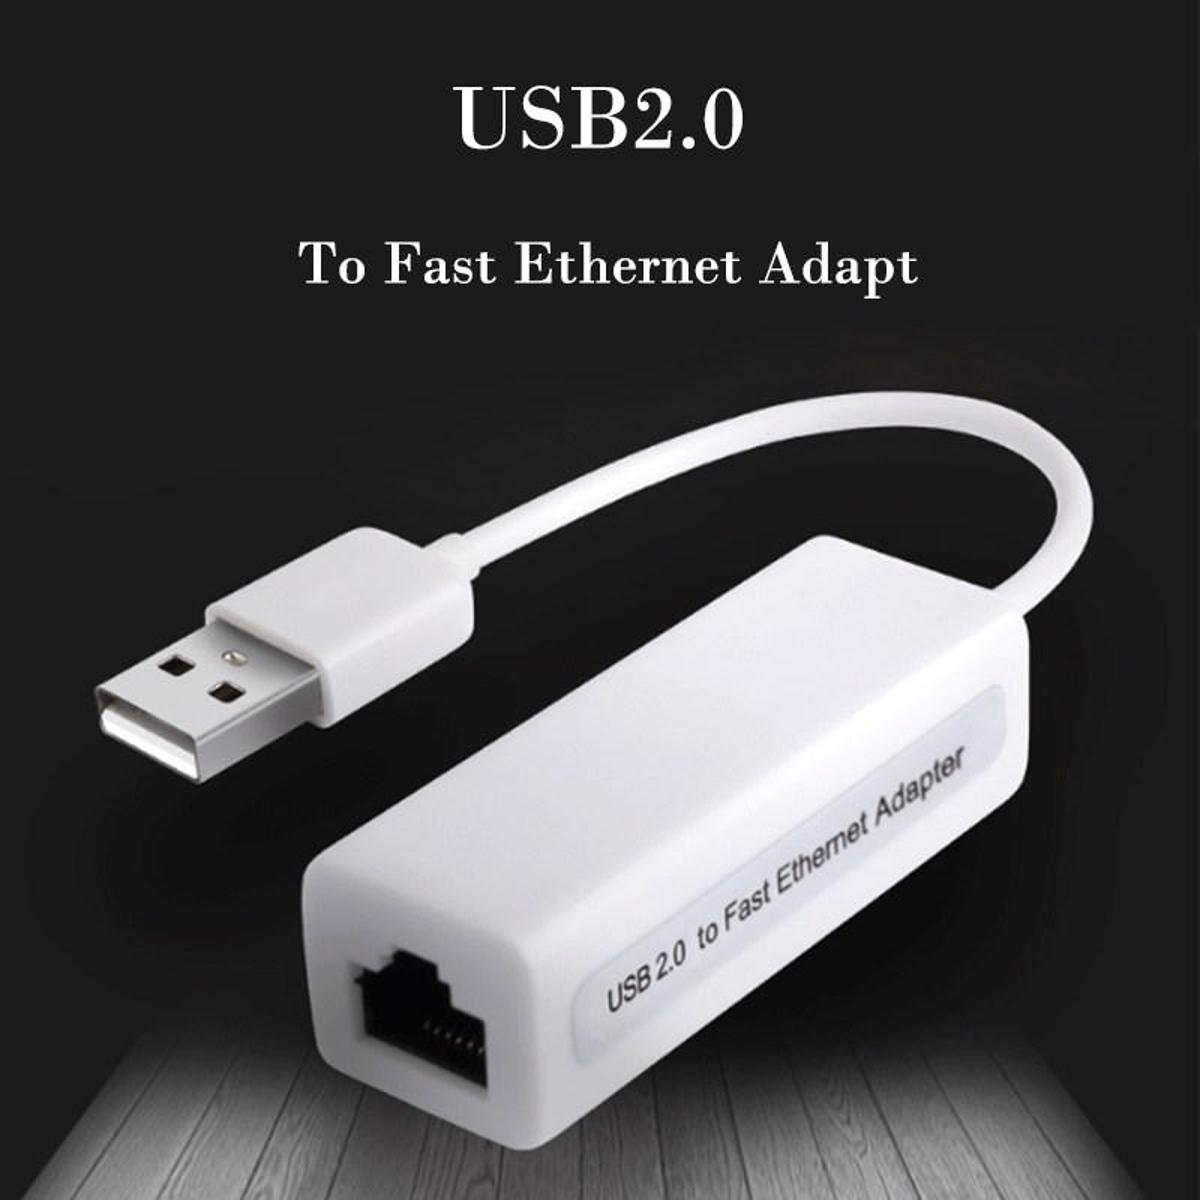
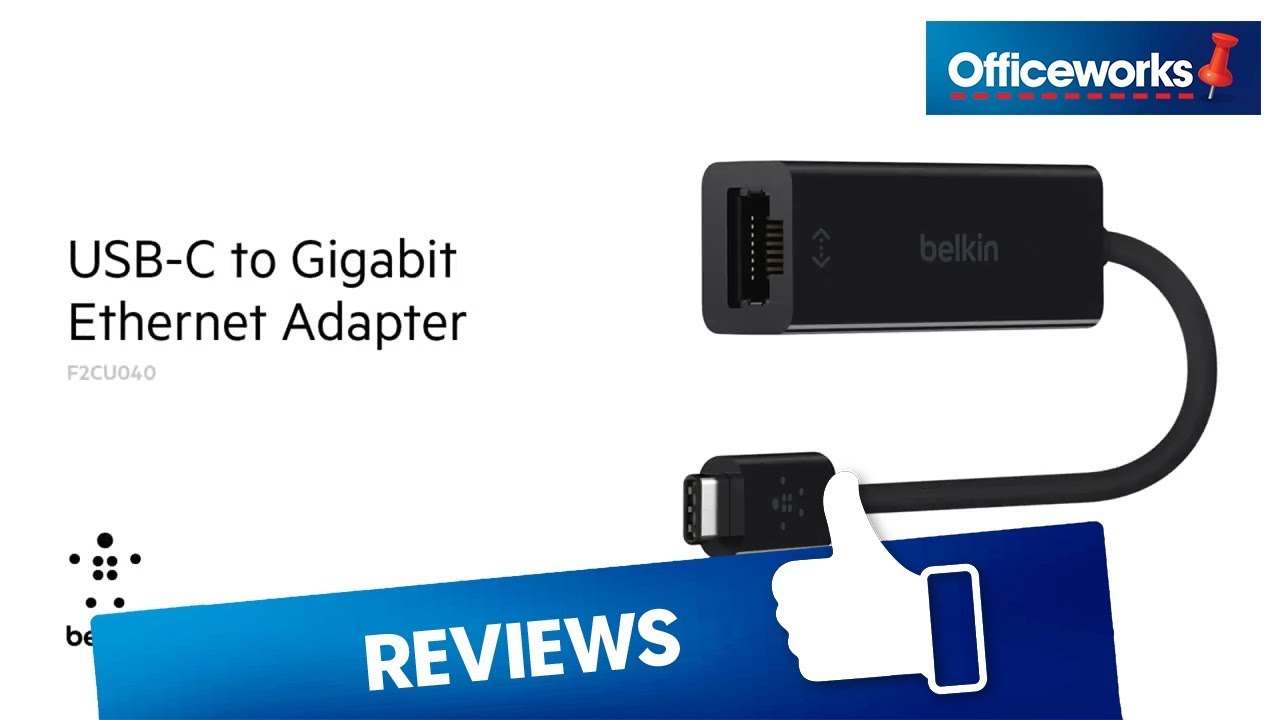
- Network Interface Card (NIC): A Network Interface Card (NIC) is a hardware component installed in a computer or other devices to enable them to connect to a network. Ethernet cables can be plugged into the Ethernet port on the NIC, allowing the device to communicate with other devices in the network.
- Wall Sockets: In some cases, Ethernet cables can be directly plugged into wall sockets specially designed for networking purposes. These wall sockets, often referred to as wall jacks, are connected to the underlying network infrastructure and provide a convenient way to connect devices using Ethernet cables.
It’s important to note that the specific location where you plug in an Ethernet cable will depend on your network setup, the devices you’re connecting, and the desired network configuration. By understanding the various options available, you can make informed decisions when setting up and expanding your wired network.
Plugging Ethernet Cables into a Router
Plugging an Ethernet cable into a router is a straightforward process that allows you to connect devices to your network and enable internet access. Here’s a step-by-step guide on how to do it:
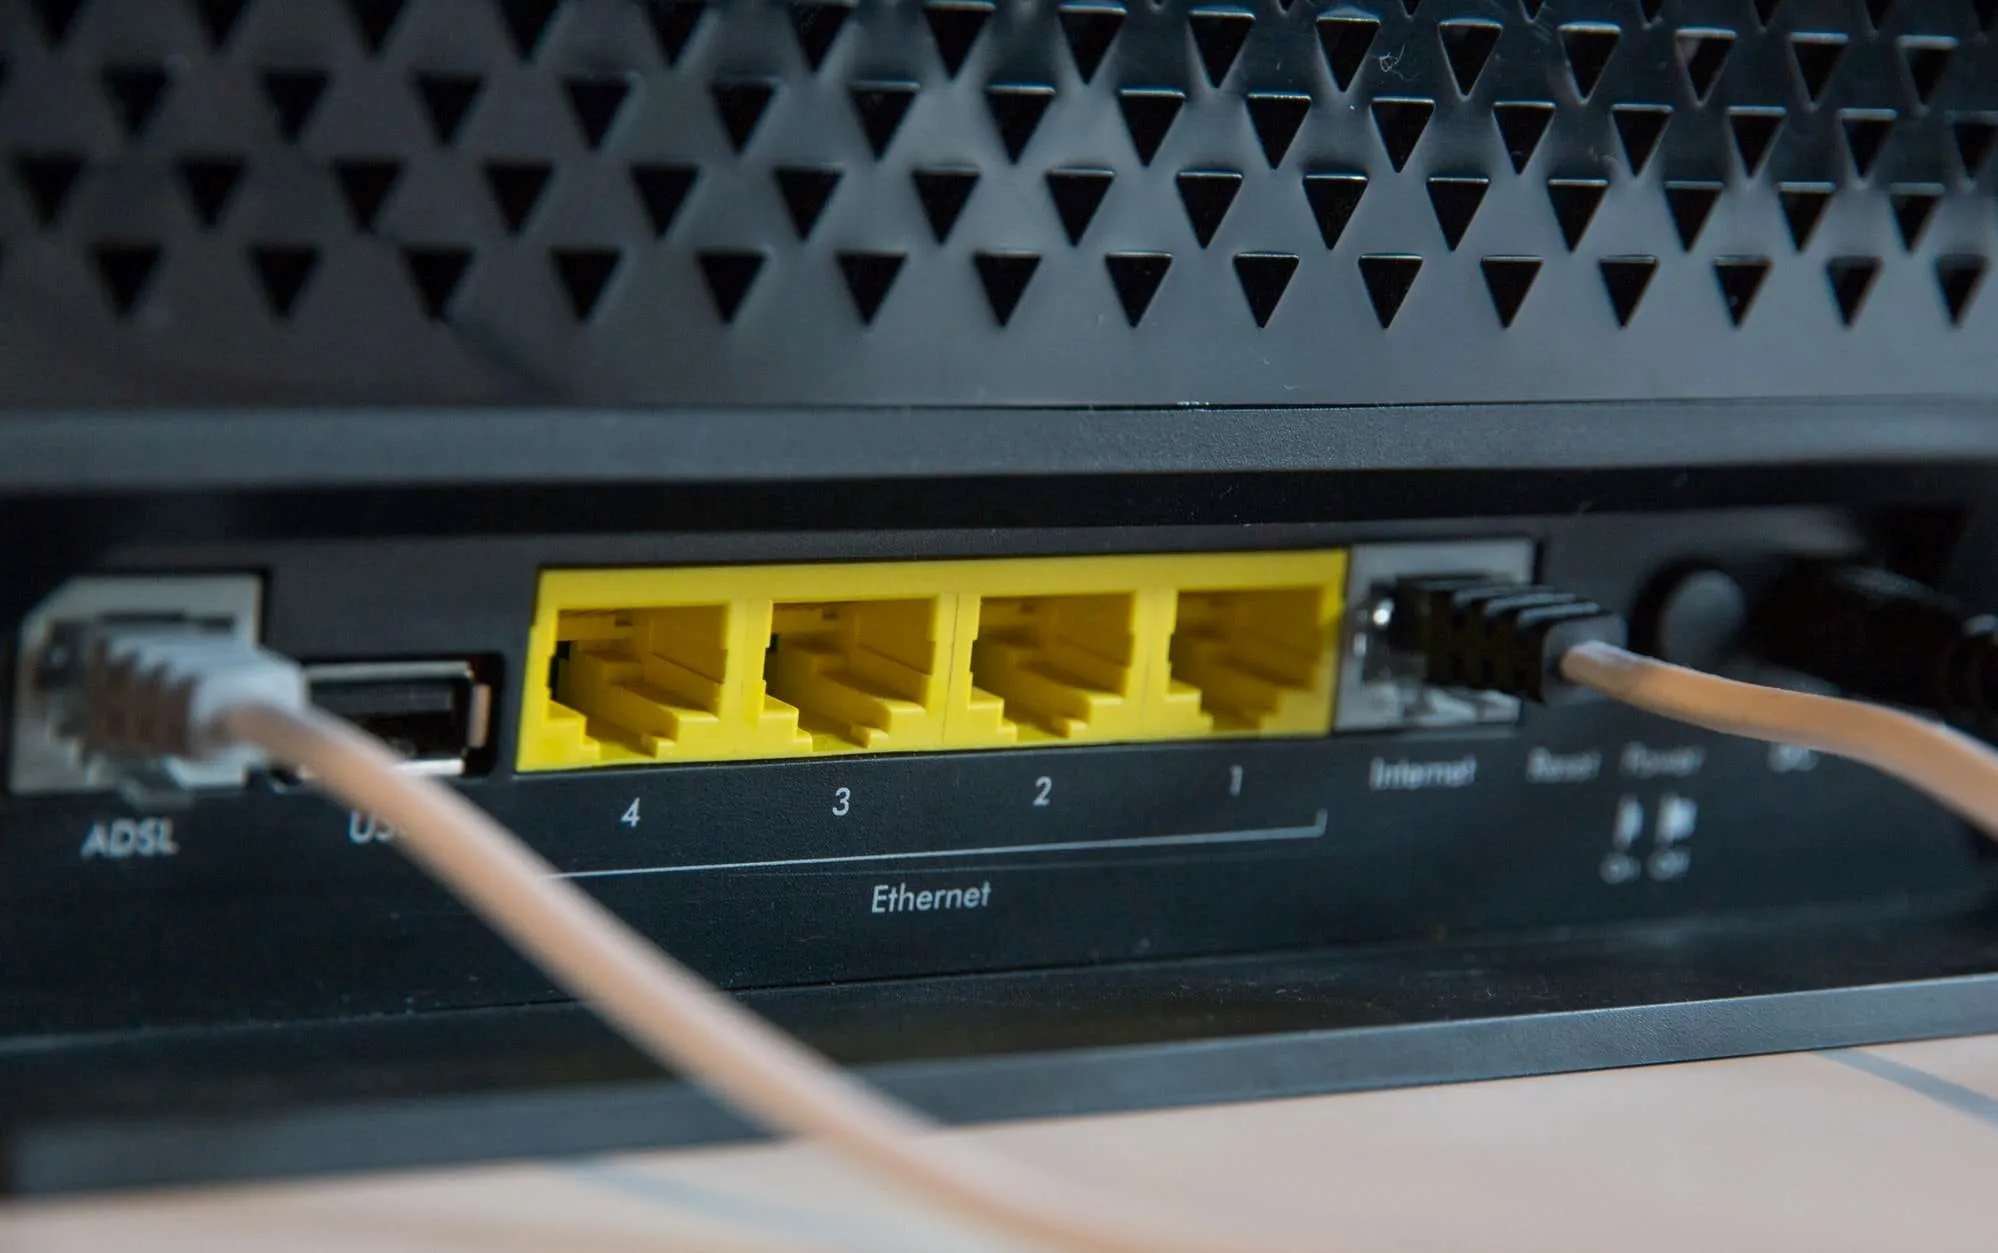
- Locate the Ethernet ports on your router. Most routers have multiple ports labeled LAN or Ethernet.
- Identify the device you want to connect to the router using an Ethernet cable. This could be a computer, gaming console, or any other device with an Ethernet port.
- Take one end of the Ethernet cable and insert it into the Ethernet port on the device.
- Take the other end of the Ethernet cable and plug it into one of the available Ethernet ports on the router. The ports are usually located on the back of the router, but the exact placement may vary depending on the model.
- Make sure the connection is secure by gently tugging on the cable. It should be firmly in place without any loose connections.
- Repeat the process for any additional devices you want to connect to the router using Ethernet cables.
- Once all the cables are securely connected, power on the router and the connected devices.
- Your devices should now be connected to the network and have internet access. You can verify the connection by checking the network settings on your device or opening a web browser to confirm internet connectivity.
Plugging Ethernet cables into a router allows for a reliable and stable wired network connection. It’s an ideal option for devices that require consistent internet speeds or when a wireless connection is not available or unreliable.
Note that while routers usually have multiple Ethernet ports, ensure that you do not exceed the recommended number of devices for optimal network performance. If you need to connect more devices than the available ports, consider using a switch to expand the number of connections.
Plugging Ethernet Cables into a Modem
When connecting to the internet through an Internet Service Provider (ISP), you may need to plug Ethernet cables into a modem to establish a wired connection between your devices and the internet. Here’s how you can do it:
- Locate the Ethernet port on your modem. It is typically labeled as “LAN” or “Ethernet”.
- Take one end of the Ethernet cable and insert it into the Ethernet port on your modem.
- Take the other end of the Ethernet cable and plug it into the Ethernet port on your device, such as a computer or a router.
- Ensure the connections are secure by gently tugging on the cables. They should be firmly in place without any loose connections.
- Power on your modem and the connected device.
- Your device should now be connected to the modem and have access to the internet via the Ethernet cable.
When plugging Ethernet cables into a modem, it’s important to remember that a modem is responsible for receiving the internet signal from your ISP and converting it into a form that can be used by your devices. If you have multiple devices that need internet access, you may need to connect the modem to a router using an Ethernet cable. The router can then distribute the internet connection to multiple devices within your network.
If you’re using a combination modem-router device provided by your ISP, you can connect your device directly to the modem-router using an Ethernet cable to access the internet.
By plugging Ethernet cables into a modem, you can enjoy a reliable and high-speed wired internet connection for tasks that require stable and consistent connectivity, such as online gaming, video streaming, or large file downloads.
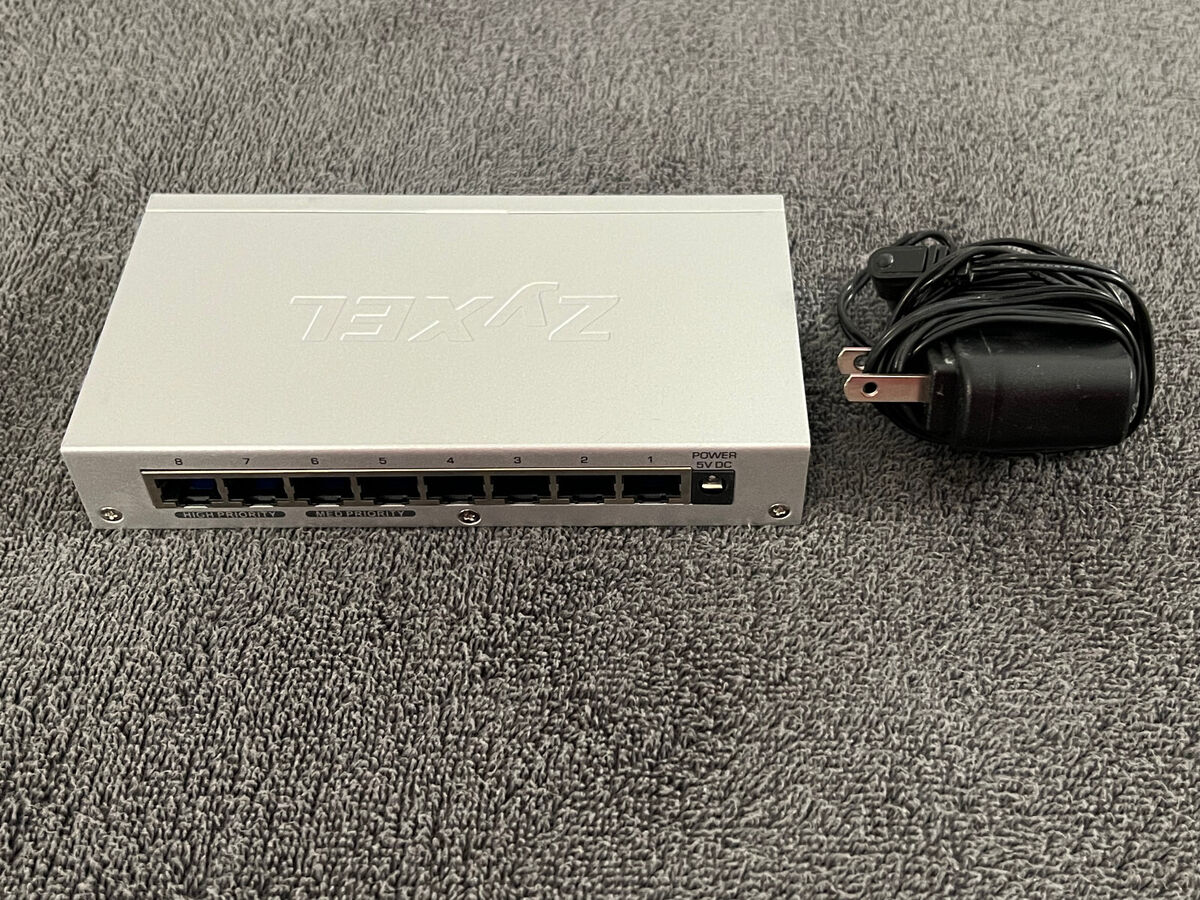
Plugging Ethernet Cables into a Switch
A switch is a networking device that allows you to expand the number of Ethernet ports available in your network. It enables multiple devices to connect and communicate with each other. Here’s a step-by-step guide on how to plug Ethernet cables into a switch:
- Locate the Ethernet ports on the switch. The number of ports can vary depending on the switch, but they are usually labeled.
- Identify the devices you want to connect to the switch using Ethernet cables. These could be computers, printers, gaming consoles, or any other devices with Ethernet ports.
- Take one end of an Ethernet cable and insert it into the Ethernet port on the device.
- Take the other end of the Ethernet cable and plug it into an available Ethernet port on the switch.
- Repeat the process for each device you want to connect to the switch.
- Once all the cables are securely connected, power on the switch and the connected devices.
- Allow some time for the devices to establish a network connection.
- Your devices should now be connected to the switch and can communicate with each other over the network using the Ethernet cables.
Plugging Ethernet cables into a switch provides a flexible and scalable solution for network connectivity. It allows you to add and remove devices from your network as needed without the need to directly connect them to a router or modem. Additionally, a switch can help improve network performance by reducing network congestion and enabling faster, more efficient communication between devices.
Remember, when choosing a switch, consider factors such as the number of ports needed, the desired speed and performance, and any additional features required for your network setup. This will ensure that your switch meets the specific needs of your network.
Plugging Ethernet Cables into a Network Interface Card (NIC)
A Network Interface Card (NIC) is a hardware component installed in a computer or other devices that enables them to connect to a network. To establish a wired network connection using Ethernet cables, you will need to plug the cables into the Ethernet port on the NIC. Here’s how you can do it:
- Locate the Ethernet port on your device. It is usually labeled as “LAN” or “Ethernet”.
- Take one end of the Ethernet cable and insert it into the Ethernet port on your device, where the NIC is installed.
- Take the other end of the Ethernet cable and plug it into an available Ethernet port on your router, switch, or wall socket.
- Ensure that the connections are secure by gently tugging on the cables. They should be firmly in place without any loose connections.
- Power on your device and wait for it to establish a network connection.
- Your device should now be connected to the network and have access to resources and the internet through the Ethernet cable.
Plugging Ethernet cables into a Network Interface Card provides a reliable and high-performance wired network connection. This is especially useful for tasks that require stable and consistent connectivity, such as large file transfers, video streaming, and online gaming.
It’s worth noting that many contemporary devices such as laptops, desktop computers, gaming consoles, and smart TVs come with built-in Ethernet ports and NICs. Simply locate the Ethernet port on your device and follow the steps above to establish a wired network connection.
By utilizing the Ethernet port on your NIC, you can ensure a strong and uninterrupted network connection, free from the potential limitations of wireless connectivity.
Plugging Ethernet Cables into a Wall Socket
In some cases, Ethernet cables can be directly plugged into wall sockets specially designed for networking purposes. These wall sockets, often referred to as wall jacks, are connected to the underlying network infrastructure and provide a convenient way to connect devices using Ethernet cables. Here’s how you can plug Ethernet cables into a wall socket:
- Identify the wall socket or wall jack designated for Ethernet connections. It is typically labeled as “Ethernet”, “LAN”, or with the international symbol for Ethernet (a group of connected squares).
- Take one end of the Ethernet cable and insert it into the Ethernet port on the wall socket.
- Take the other end of the Ethernet cable and plug it into the Ethernet port on your device, such as a computer, gaming console, or smart TV.
- Ensure that the connections are secure by gently tugging on the cables. They should be firmly in place without any loose connections.
- Power on your device and wait for it to establish a network connection.
- Your device should now be connected to the network and have access to resources and the internet through the Ethernet cable plugged into the wall socket.
Plugging Ethernet cables into a wall socket is a convenient solution, especially if you have a structured cabling system in your home or office. It allows you to have Ethernet connectivity in multiple locations throughout the space, without the need for additional hardware like routers or switches.
If you have multiple wall sockets in different rooms, you can use Ethernet cables to connect devices in those rooms directly to the network, providing a stable and reliable wired connection. This is particularly useful for devices that require high-speed and uninterrupted connectivity, such as home offices or media centers.
It’s important to note that the availability and functionality of wall sockets for Ethernet connections may vary depending on your network setup and the infrastructure in place. Consult with a network professional or refer to the documentation provided with your wall sockets for specific instructions and guidelines.
Common Troubleshooting Tips for Ethernet Cable Connections
While Ethernet cable connections are generally reliable, there may be instances where you encounter issues with the connection. Here are some common troubleshooting tips to help you resolve Ethernet cable connectivity problems:
- Check cable connections: Ensure that the Ethernet cables are securely plugged into their respective ports on the devices, routers, switches, or wall sockets. Loose connections can cause connectivity problems.
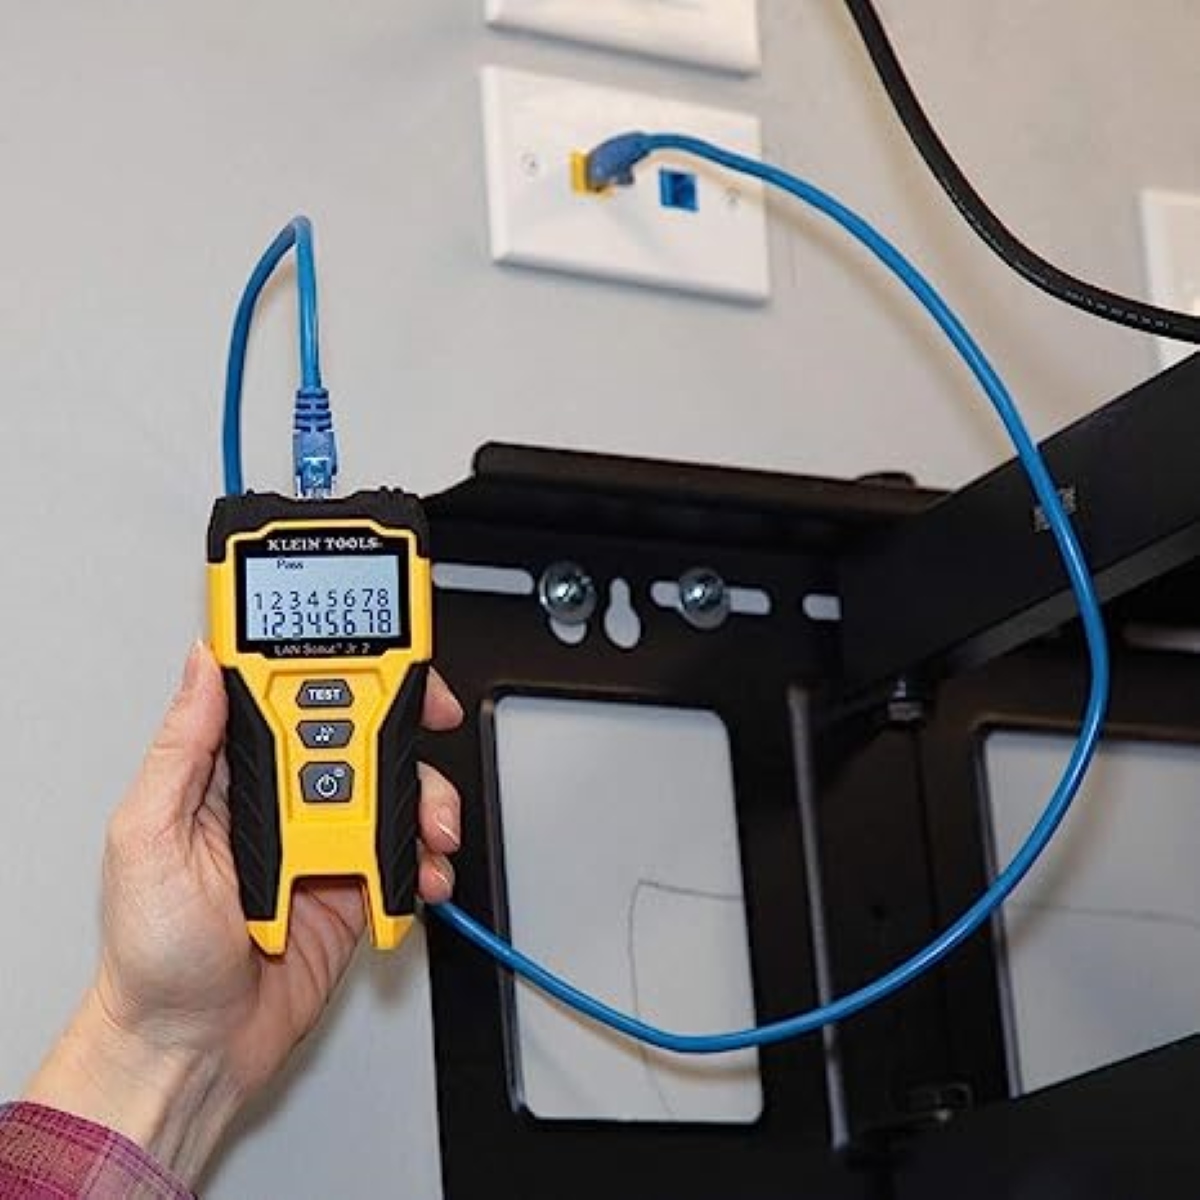
- Verify cable integrity: Inspect the Ethernet cables for any signs of damage, such as frayed wires, bent connectors, or visibly broken cables. Faulty cables can result in intermittent or no connectivity.
- Restart the devices: Power off the devices, including the router, modem, switches, and computers connected via Ethernet cables. Wait for a few minutes, then power them back on. This can help resolve temporary network issues.
- Check network settings: Verify that the network settings on your devices are configured correctly. Make sure that the devices are obtaining IP addresses through DHCP or have the correct static IP settings if required.
- Test with different cables and ports: If you suspect a faulty cable or port, try using a different Ethernet cable or switch to a different Ethernet port on the device or router to see if the issue persists.
- Restart the router and modem: If the problem seems to be specific to internet connectivity, try restarting your router and modem. This can help resolve any temporary issues with the network connection.
- Update network drivers: Ensure that the drivers for your network interface cards (NICs) are up to date. Outdated or incompatible drivers can cause connection problems.
- Disable third-party firewalls or security software: Sometimes, certain firewalls or security software may interfere with Ethernet connections. Temporarily disable them to see if it resolves the issue.
- Reset network settings: If all else fails, you can try resetting the network settings on your devices. This may include resetting TCP/IP settings, DNS settings, or network configurations back to their default values.
By following these troubleshooting tips, you can resolve common Ethernet cable connectivity issues and ensure a stable and reliable wired network connection. If the problem persists, it may be necessary to seek further assistance from your internet service provider or consult with a professional network technician.
Conclusion
Ethernet cables are the backbone of wired network connections, providing reliable and high-speed connectivity for various devices. Understanding where and how to plug in Ethernet cables is essential for setting up and expanding your network infrastructure.
In this article, we explored the different types of Ethernet cables available, ranging from Cat5e to Cat7, each offering varying speeds and performance capabilities. We also discussed the various devices where Ethernet cables can be plugged in, including routers, modems, switches, NICs, and wall sockets.
When plugging Ethernet cables into these devices, it’s important to ensure secure connections, verify cable integrity, and check network settings to troubleshoot any connectivity issues. Restarting devices, testing different cables and ports, updating network drivers, and resetting network settings are common troubleshooting steps that can help resolve problems.
By utilizing Ethernet cables, you can enjoy stable and fast network connections, making them ideal for bandwidth-intensive tasks like online gaming, streaming, and large file transfers. While wireless networks provide convenience, Ethernet cables continue to offer advantages such as lower latency, greater reliability, and higher speeds.
Whether you’re setting up a home network or working in an office environment, knowing how to effectively use Ethernet cables ensures a robust and efficient network infrastructure that meets your connectivity needs. So, grab an Ethernet cable, plug it in, and enjoy a seamless wired network connection!