Introduction
Welcome to the era of smart homes, where technology seamlessly integrates into our everyday lives to enhance comfort, convenience, and security. With the rapid advancements in home automation, it has become easier than ever to transform your house into a smart home. But where do you begin? One crucial aspect of setting up a smart home is wiring. In this article, we will guide you through the process of wiring for a smart home.
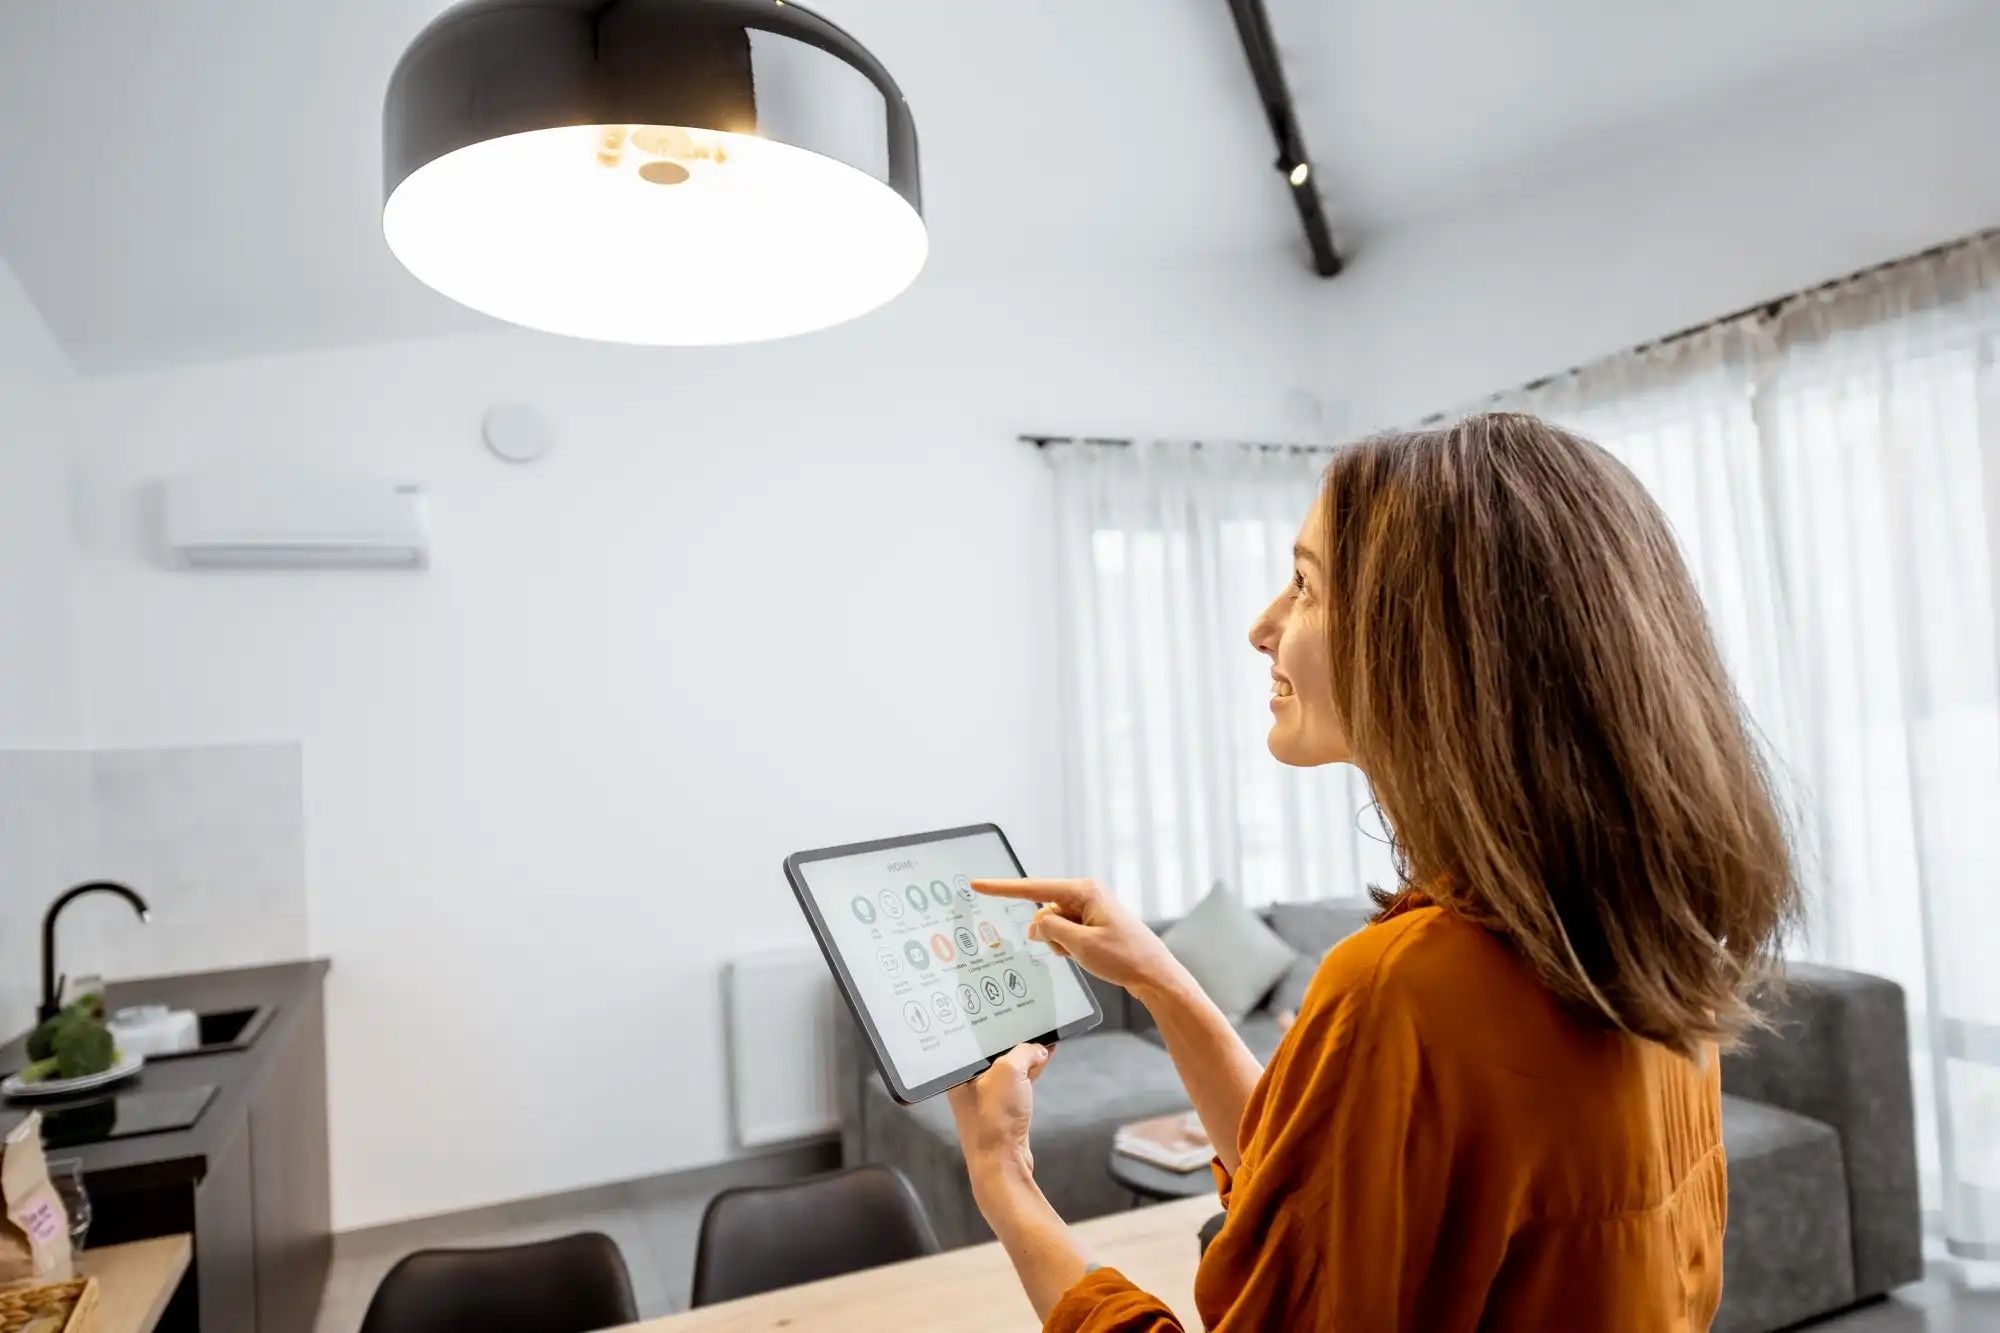
Smart homes are houses equipped with a range of interconnected devices and systems, controlled remotely through smartphones, tablets, or voice assistants. From automated lighting and climate control to security systems and entertainment centers, smart homes offer unparalleled convenience and efficiency. The key to unlocking these benefits lies in the proper wiring of your home.
Planning and executing the wiring for a smart home may seem like a daunting task, but with a little knowledge and the right tools, it can be relatively straightforward. By ensuring that your home is wired for optimal connectivity, you will have a solid foundation to seamlessly integrate all your smart devices and systems.
In this article, we will walk you through the basics of electrical wiring and the safety precautions to take when handling this task yourself. We will also delve into the various tools and materials you will need for a successful wiring project. Furthermore, we will explore different wiring layouts for specific smart home features, including internet and Wi-Fi connectivity, smart lighting systems, home security systems, audio and video distribution, as well as home automation and control systems.
Whether you are building a new home or planning to upgrade your existing one, this comprehensive guide will assist you in wiring your smart home. So, let’s dive in and discover everything you need to know to wire your home for a smarter future.
What is a Smart Home?
A smart home is an innovative concept that brings together technology and connectivity to create a more efficient and comfortable living environment. It is a network of devices, systems, and appliances that can be controlled and monitored remotely, often through a central hub or mobile application.
In a smart home, various devices and systems are interconnected, allowing for automation and communication between them. These devices can include lighting systems, thermostats, security cameras, appliances, entertainment systems, and more. By integrating these devices into a unified network, users can control and manage them from anywhere, using their smartphones, tablets, or voice assistants.
One of the key features of a smart home is its ability to provide increased convenience and efficiency. For example, imagine being able to control the lights in your home with a simple voice command or adjusting the temperature while you’re away from home. With a smart home, these tasks become effortless and can be done remotely, saving you time and energy.
Smart homes also offer enhanced security and safety. With the integration of smart security systems, homeowners can monitor their property and receive notifications of any suspicious activity. They can also control door locks remotely, granting access to trusted individuals while keeping intruders out.
Energy efficiency is another significant advantage of a smart home. By automating lighting and HVAC systems, homeowners can optimize energy usage and reduce wastage. For example, lights can be programmed to turn off automatically when no one is present in a room, and thermostats can adjust temperatures to conserve energy based on occupancy.
Additionally, a smart home provides entertainment and multimedia solutions. With a centralized control system, homeowners can easily distribute audio and video content throughout the house, creating a seamless and immersive experience.
Overall, a smart home revolutionizes the way we live, making our homes more connected, efficient, and secure. With the right wiring and proper integration of smart devices, homeowners can enjoy the benefits of a truly smart and futuristic living space.
Benefits of a Smart Home
Investing in a smart home offers a multitude of benefits that enhance comfort, convenience, and security. With the integration of smart devices and systems, homeowners can experience a more efficient and connected living environment. Let’s explore some of the compelling advantages of a smart home.
- Convenience: One of the most significant benefits of a smart home is the unparalleled convenience it provides. By integrating various devices and systems into a unified network, homeowners can control and manage them remotely. Whether it’s adjusting the thermostat, turning off lights, or even answering the doorbell from anywhere, smart home automation makes daily tasks effortless.
- Energy Efficiency: Smart homes are designed with energy conservation in mind. With automated lighting systems and smart thermostats, homeowners can optimize energy usage and reduce wastage. Lights can be programmed to turn off automatically when a room is unoccupied, and temperature settings can be adjusted based on occupancy and time of day. This not only saves energy but also reduces utility bills.
- Security: Smart home security systems provide a heightened level of protection for your property and loved ones. With features like video doorbells, surveillance cameras, and smart locks, homeowners can monitor their home and receive real-time notifications of any suspicious activity. Remote access allows for easy control and management, ensuring peace of mind even when away from home.
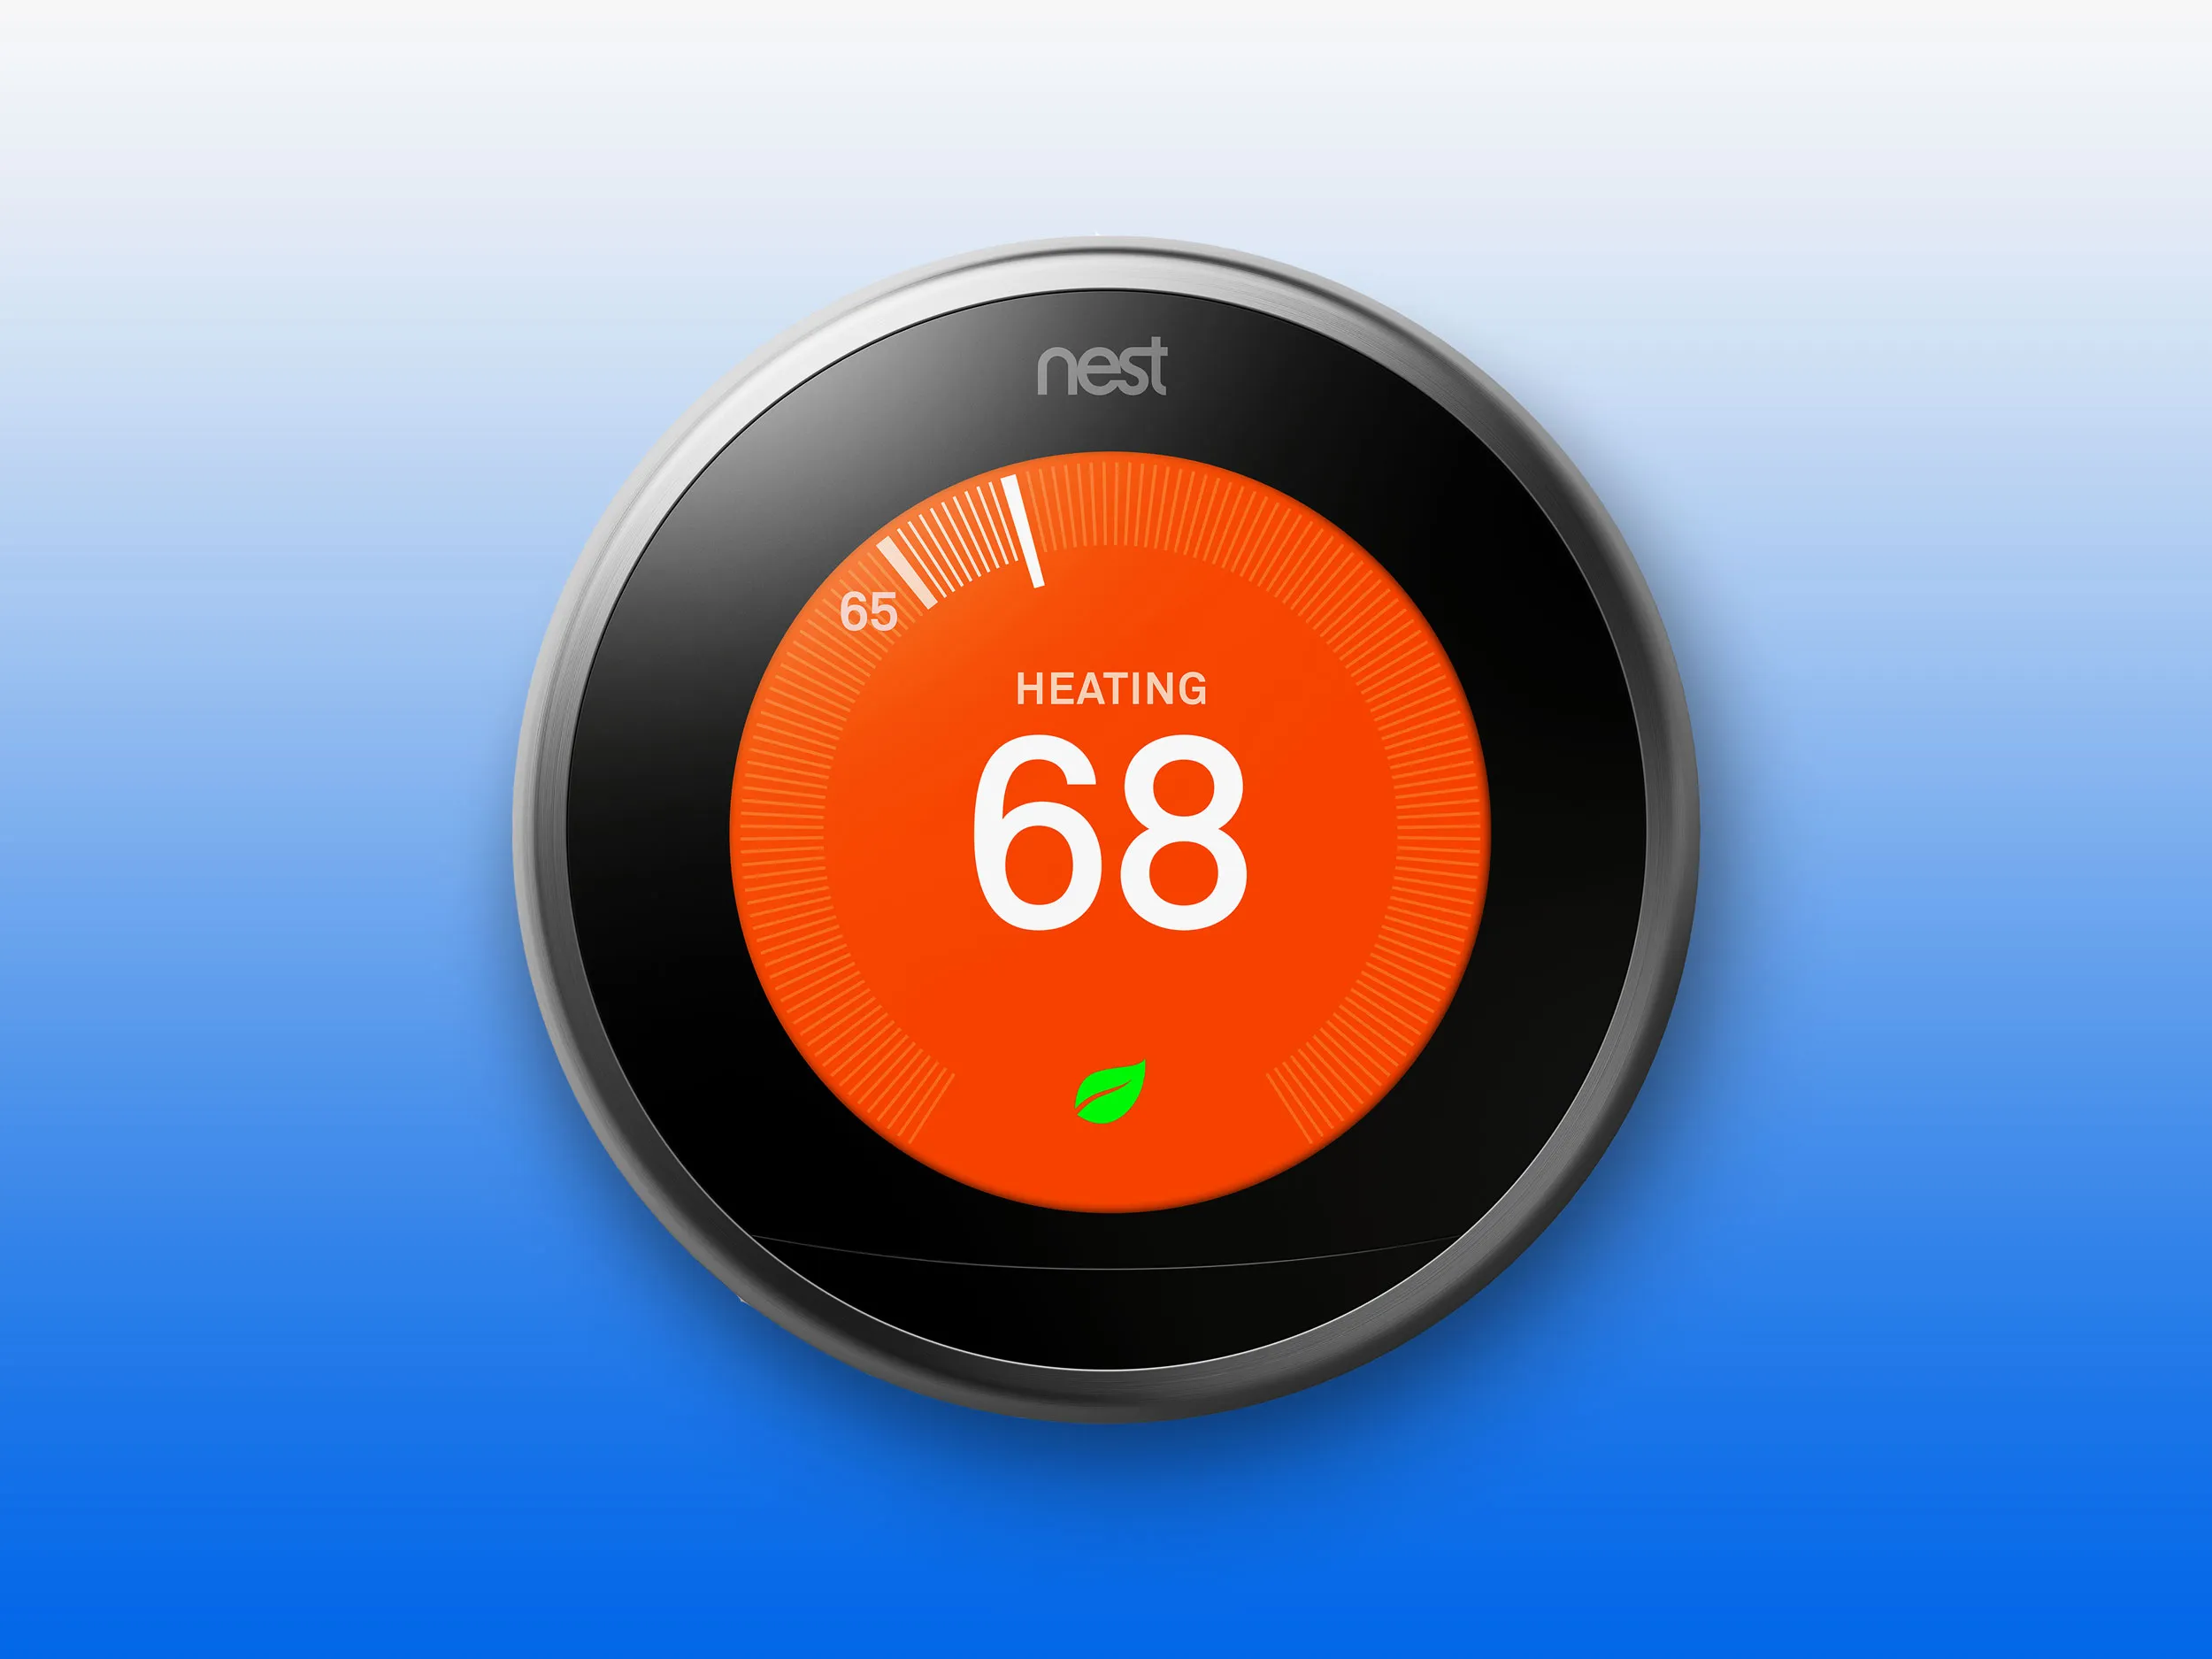
- Comfort: A smart home offers a new level of personalized comfort. With automated climate control systems, homeowners can set their preferred temperature settings for different times of the day. Smart lighting systems can create ambiance and adjust lighting levels based on occupancy and natural light. Imagine coming home to a perfectly lit and comfortable environment.
- Entertainment: Transform your home into a hub of entertainment with a smart home setup. With integrated audio and video distribution, you can easily stream your favorite content throughout the house. Whether it’s watching a movie in the living room, listening to music in the kitchen, or having synchronized audio in multiple rooms, a smart home brings entertainment to a whole new level.
These are just a few of the many benefits that a smart home can offer. With the ability to control and manage various devices and systems remotely, homeowners can enjoy a more convenient, energy-efficient, secure, and comfortable living environment. Whether it’s for saving time, reducing energy consumption, or enhancing security, a smart home is the future of modern living.
Planning for Smart Home Wiring
Proper planning is crucial when it comes to wiring your home for a smart home setup. Careful consideration at the planning stage ensures that your home is wired to accommodate the various devices and systems you intend to incorporate seamlessly. Here are some essential factors to consider when planning for smart home wiring:
- Identify your needs: Start by determining the specific smart home features you want to incorporate. This could include smart lighting, security systems, audio and video distribution, home automation, and more. Having a clear understanding of your needs will help you create a wiring plan that caters to those requirements.
- Layout and structure of your home: Consider the layout and structure of your home when planning the wiring. Determine the areas where you will have smart devices installed and how they will be interconnected. This will help you decide on the best locations for wiring access points, such as electrical outlets and Ethernet ports.
- Power requirements: Different smart devices have varying power requirements. Make sure to consider the power needs of the devices you plan to install and ensure that your wiring plan includes the necessary outlets or power sources at strategic locations.
- Network connectivity: A robust network is essential for a smart home. Plan for the installation of Ethernet cables to provide reliable wired connections for devices that require them, such as smart TVs, gaming consoles, and security cameras. Additionally, ensure adequate Wi-Fi coverage in your home to support wireless devices.
- Future scalability: Anticipate future expansions and updates to your smart home setup. Leave room for additional wiring or capacity in your plan, allowing for easy integration of new devices or systems as technology advances and your needs evolve.
- Professional consultation: If you’re unsure about the technicalities of smart home wiring, consider consulting a professional. An experienced electrician or smart home installer can provide valuable insights and recommendations based on your specific needs and the layout of your home.
By carefully planning your smart home wiring, you can ensure a smooth and efficient installation process. Taking the time to consider your needs, the layout of your home, power requirements, network connectivity, and future scalability will help you create a solid foundation for your smart home setup.
Understanding the Basics of Electrical Wiring
Before embarking on the process of wiring your home for a smart home setup, it’s essential to have a basic understanding of electrical wiring. While you may choose to hire a professional electrician for the job, having knowledge of the fundamentals can help you communicate your requirements effectively and ensure a safe and efficient installation. Here are some key concepts to grasp:
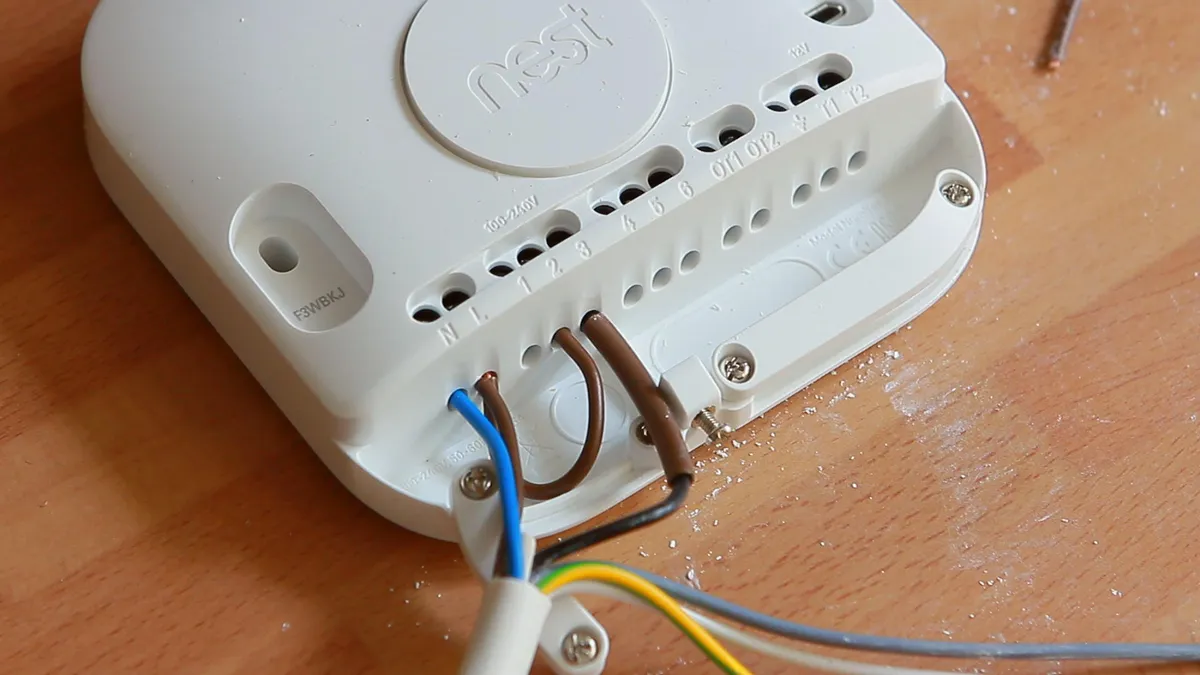
- Circuit Breakers and Electrical Panels: A circuit breaker is a safety device that protects your home from electrical overload. It automatically cuts off power to a circuit when the current exceeds its rated capacity, preventing damage to the wiring and appliances. Understanding the location and operation of the electrical panel in your home is crucial, as this is where you can control and distribute power to different circuits.
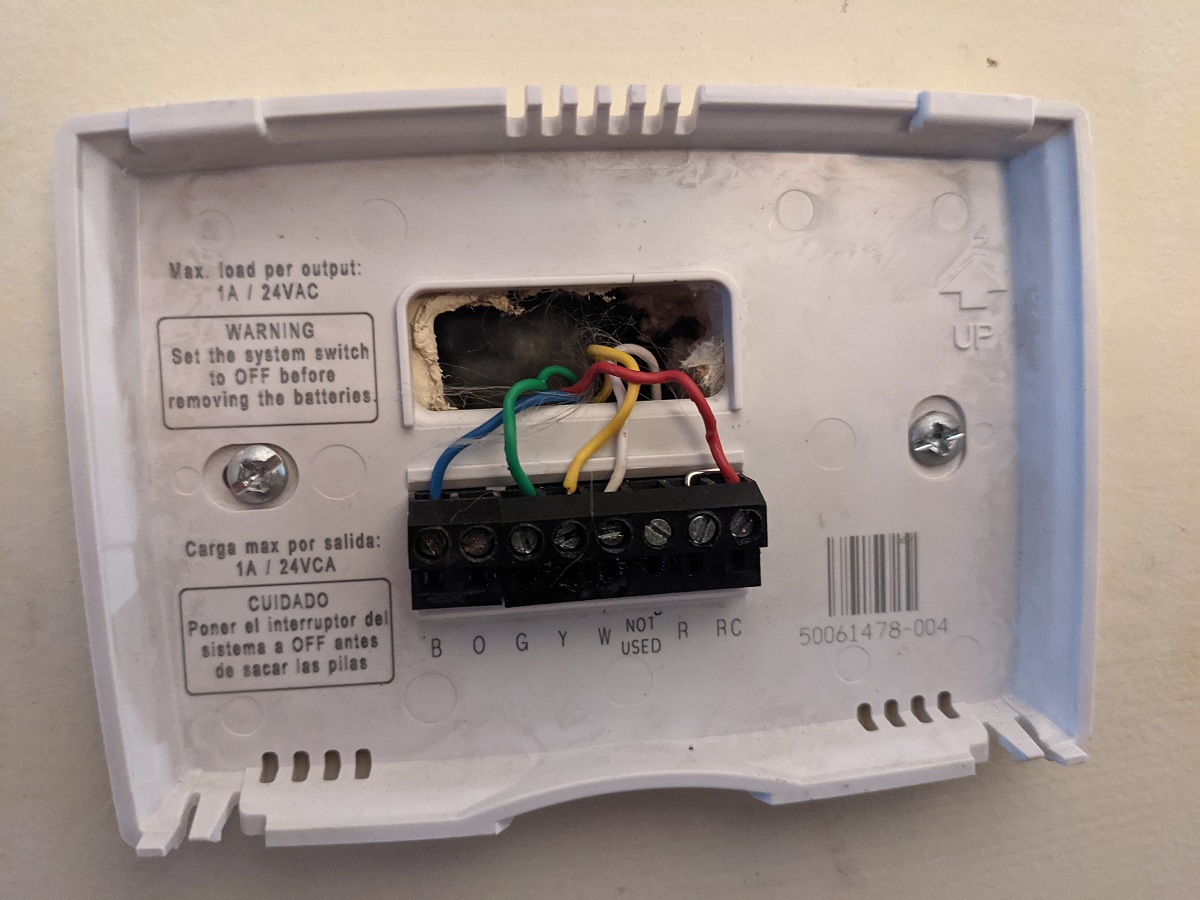
- Wiring Basics: Electrical wiring consists of conductive materials, such as copper or aluminum, that transfer electrical power from the source to devices and appliances. The three main types of wires used in residential wiring are live (sometimes referred to as “hot”), neutral, and ground. Live wires carry current from the electrical panel to the device, neutral wires provide a return path for current, and ground wires provide safety by redirecting electrical faults to the ground.
- Switches and Outlets: Switches control the flow of electrical current to devices and lighting fixtures. They can be single-pole switches for controlling a single device or three-way switches for controlling devices from multiple locations. Outlets, also known as receptacles, provide power to devices when they are plugged in. Understanding the wiring of switches and outlets is essential when planning the placement and integration of smart devices.
- Romex Cables: Romex cables, often used in residential wiring, consist of multiple wires bundled together in a single sheath. They are commonly used for general power and lighting circuits. Each wire within the cable has a specific function, such as a live wire, neutral wire, or ground wire. Familiarizing yourself with Romex cable configurations will help you understand how different devices and systems can be connected.
- Color Coding: Electrical wiring utilizes color coding to identify different wire functions. Live wires are typically black or red, neutral wires are white or gray, and ground wires are green or bare copper. Understanding these color codes will ensure safe and proper electrical connections.
- Safety Precautions: Safety should always be a top priority when working with electricity. Make sure to turn off the power at the electrical panel before working on any electrical wiring. Use insulated tools, wear protective gear, and follow all relevant safety guidelines to reduce the risk of electric shock or injury.
While this brief overview provides a general understanding of electrical wiring, it is important to note that wiring requirements may vary depending on local building codes and regulations. If you are unsure or uncomfortable with any aspect of electrical wiring, consult a qualified electrician to ensure a safe and compliant installation.
Safety Precautions for DIY Wiring
When undertaking DIY wiring for your smart home, it is crucial to prioritize safety to protect yourself, your property, and others. Working with electricity can be hazardous if proper precautions are not followed. Here are some essential safety measures to keep in mind during the wiring process:
- Turn off the power: Before starting any electrical work, always turn off the power to the circuits you will be working on. Switch off the corresponding circuit breakers in the electrical panel to ensure there is no live electricity flowing through the wires you will be handling.
- Use proper tools and equipment: Ensure that you have the necessary tools and equipment for the job. Use insulated tools specifically designed for electrical work. This includes screwdrivers, pliers, wire strippers, and voltage testers. Using the right tools not only makes the job easier but also reduces the risk of accidents.
- Wear personal protective equipment (PPE): Protect yourself by wearing appropriate PPE, such as safety glasses, insulated gloves, and non-conductive footwear. These safety gears provide an additional layer of protection against potential electrical hazards.
- Follow wiring codes and regulations: Familiarize yourself with local wiring codes and regulations to ensure compliance. These codes exist to maintain the safety and integrity of electrical systems. Understanding and adhering to these regulations will help prevent electrical faults and ensure the overall safety of your smart home wiring.
- Avoid overloading circuits: Each electrical circuit has a maximum load capacity it can safely handle. Overloading a circuit can cause overheating and potentially lead to electrical fires. Make sure to distribute power usage across circuits to prevent overloads. If you need additional outlets, consider hiring a professional electrician to install them on new circuits.
- Properly secure and protect wiring: Ensure that all wiring is properly secured, either by using appropriate wiring clips or by running wires through conduit where necessary. Avoid running wiring in areas prone to moisture or excessive heat, as this can damage the insulation and increase the risk of electrical shorts or fires.
- Test connections before energizing: Before powering up the circuits, double-check all wire connections to ensure they are secure and properly terminated. Use a voltage tester to verify that the wires are not live before handling them. This will further minimize the risk of electric shock.
- Consult a professional electrician when in doubt: If you are uncertain about any aspect of the wiring process, or if the job requires extensive knowledge and expertise, it is best to seek the assistance of a professional electrician. They have the necessary skills and experience to ensure that the wiring is done correctly and safely.
Remember that electrical work can be dangerous, and taking shortcuts or ignoring safety precautions can have serious consequences. By following these safety measures and practicing caution throughout the DIY wiring process, you can ensure a safe and successful installation of your smart home wiring.
Tools and Materials Needed
When undertaking the wiring for your smart home, you will need a variety of tools and materials to ensure a successful installation. Having the right tools and materials on hand will make the process more efficient and help you achieve professional-looking results. Here are some essential tools and materials you will need for your smart home wiring project:
- Wire Strippers: Wire strippers are essential for removing the plastic insulation from the ends of wires. They allow for clean and precise wire stripping, ensuring reliable electrical connections.
- Screwdrivers: A variety of screwdrivers, including flathead and Phillips, will be needed for connecting wires to devices, outlets, and switches. It’s a good idea to have different sizes on hand to accommodate various screw types.
- Pliers: Pliers are useful for gripping, bending, and twisting wires during the wiring process. Needle-nose pliers, in particular, are versatile and handy for intricate tasks.
- Electrical Tape: Electrical tape is used to insulate and protect wire connections. It helps to secure wires together and adds an extra layer of protection against electrical shocks.
- Voltage Tester: A voltage tester is essential for checking if a wire is live or not. It helps ensure your safety by identifying if there is still electrical current flowing through a wire before handling it.
- Fish Tape or Conduit: Fish tape or conduit is used to run wires through walls, floors, or ceilings. It makes it easier to navigate the wiring through tight spaces and protects the wires from damage.
- Ethernet Cables: For wired internet connections, you will need Ethernet cables. Choose cables of an appropriate length for the desired wiring routes in your home.
- Electrical Outlets and Switches: Depending on your smart home setup, you may need to install additional electrical outlets and switches. Make sure to select high-quality, compatible outlets and switches for a secure and functional wiring installation.
- Wall Plates and Covers: Wall plates and covers are used to provide a clean and finished look to electrical outlets and switches. They come in various styles and finishes to match the aesthetics of your home.
- Cable Clips and Fasteners: Cable clips and fasteners help secure wires along walls, baseboards, or ceilings. They prevent wires from hanging loosely and improve the overall organization and neatness of your wiring.
- Wire Nuts and Connectors: Wire nuts and connectors are used to secure wire connections together. They ensure a reliable and safe electrical connection by joining wires securely.
These are the basic tools and materials you will need for your smart home wiring project. It’s important to have high-quality tools and materials to ensure a safe and reliable installation. Remember to read and follow the manufacturer’s instructions and safety guidelines for all tools and materials used during the wiring process.
Choosing the Right Wiring Layout for Your Smart Home
When it comes to wiring your smart home, choosing the right layout is crucial for optimal functionality and convenience. The wiring layout determines how devices and systems are interconnected, ensuring seamless communication and integration. Here are some factors to consider when selecting the right wiring layout for your smart home:
- Centralized vs. Decentralized: Decide whether you want a centralized or decentralized wiring layout. In a centralized layout, all smart devices and systems are connected to a central hub or control panel. This allows for unified control and easier management. In a decentralized layout, devices are connected individually without a central hub. This offers flexibility and scalability but may require more extensive wiring.
- Wired vs. Wireless: Determine whether you prefer a wired or wireless setup for your smart devices. Wired connections, such as Ethernet cables, provide reliable and consistent connectivity but may require more extensive wiring. Wireless connections, on the other hand, offer flexibility and ease of installation but can be subject to interference and signal degradation.
- Device Locations: Consider the locations of your smart devices and how they will be integrated into your wiring layout. Determine where you will need power outlets, Ethernet ports, and other connection points to ensure convenient placement and efficient wiring.
- Device Compatibility: Ensure that your chosen wiring layout is compatible with the smart devices and systems you plan to install. Some devices may require specific wiring configurations or connection types. Consider this compatibility when designing your wiring layout to avoid compatibility issues later on.
- Future Expansion: Anticipate future expansions and upgrades to your smart home system. Leave room for additional wiring and capacity in your layout to accommodate new devices or systems as technology advances. This will make future integrations easier and prevent the need for major reconfiguration.
- Network and Internet Connectivity: Pay attention to network and internet connectivity in your wiring layout. Ensure that the placement of Ethernet cables and access points provides sufficient coverage for smart devices that require wired connections. Also, plan for wireless access points to ensure a strong and reliable Wi-Fi signal throughout your home.
- Simplicity vs. Complexity: Consider the level of complexity you are comfortable with in your wiring layout. A more complex layout may offer advanced features and capabilities but may also require more intricate wiring and configuration. A simpler layout, on the other hand, may be easier to implement but may have fewer customization options.
Choosing the right wiring layout for your smart home is essential for a smooth and functional installation. Take into account factors such as centralized or decentralized layout, wired or wireless connections, device locations, compatibility, future expansion, network connectivity, and the desired level of complexity. By considering these factors, you can design a wiring layout that meets your specific needs and preferences while ensuring a well-connected and efficient smart home system.
Installing Ethernet Cables
When setting up a smart home, installing Ethernet cables can be a game-changer for reliable and high-speed internet connectivity. Ethernet cables offer faster and more stable connections compared to Wi-Fi, making them ideal for devices that require uninterrupted internet access, such as smart hubs, gaming consoles, and streaming devices. Here are the steps to properly install Ethernet cables:
- Plan the Routing: Determine the locations where you want to install Ethernet cables. Consider the devices that will be connected and plan the most efficient routes for the cables. This may involve running cables through walls, ceilings, or floors. Avoid running them parallel to electrical wires to minimize interference.
- Prepare the Wiring Path: If you need to run cables through walls, use a fish tape or conduit to create a pathway for the cables. Ensure that you are familiar with local building codes and regulations regarding running cables through walls.
- Cut and Strip the Cable: Measure the required length of the Ethernet cable and cut it accordingly. Use a cable cutter or sharp scissors to cut the cable cleanly. Next, use a wire stripper to remove approximately 1 inch of the outer insulation, revealing the four twisted pairs of wires inside.
- Terminate the Cable: Terminate the cable by attaching an RJ-45 connector to each end. Carefully align the wires according to the T-568B wiring standard, ensuring that each wire fits into the appropriate slot in the connector. Use a crimping tool to secure the connector onto the cable, making sure it is firmly attached.
- Test the Connection: Once the connectors are attached, use a cable tester to verify that the Ethernet cable is properly wired and capable of transmitting data. This will help identify any wiring errors or faulty connections that need to be corrected before installation.
- Connect the Cable: Run the Ethernet cable along the planned route, avoiding sharp bends or kinks that could damage the cable. Use cable clips or adhesive hooks to secure the cable to walls or baseboards. Ensure that the cable is not stretched too tightly, as this can cause signal loss.
- Connect to Devices: Connect one end of the Ethernet cable to the Ethernet port on your modem, router, or network switch. At the other end, connect it to the Ethernet port on the device you wish to connect to the network.
- Test the Connection Again: After connecting the cable, test the connection once more to ensure that the Ethernet cable is providing a reliable and stable internet connection. This will confirm that the installation was successful.
Installing Ethernet cables in your smart home provides robust and reliable internet connectivity for your devices. By following these steps, you can ensure a proper and efficient installation that will enhance the performance of your smart home network.
Wiring for Internet and Wi-Fi Connectivity
In a smart home, proper wiring for internet and Wi-Fi connectivity is essential to ensure reliable and high-speed internet access throughout the entire house. Whether you prefer wired connections for maximum stability or want to optimize wireless coverage, strategic wiring can enhance your smart home experience. Here are some considerations for wiring internet and Wi-Fi connectivity:
Wired Internet Connectivity:
- Centralized Network Hub: Consider installing a centralized network hub where all wired connections can converge. This hub can be located in a central area of the house, such as a basement or utility room, allowing for easy access and management of network equipment.
- Run Ethernet Cables: Run Ethernet cables from the central hub to various locations where you will have devices requiring wired connections. Carefully plan the routing of the cables to minimize interference and ensure optimal network performance.
- Connect Devices: Connect devices, such as smart hubs, media servers, gaming consoles, and desktop PCs, to the Ethernet ports located throughout your home. This will provide a reliable and fast network connection, minimizing latency and improving overall performance.
- Consider PoE: If you have devices like security cameras or access points that require both power and network connectivity, consider using Power over Ethernet (PoE) technology. PoE allows you to power these devices over the Ethernet cable itself, eliminating the need for separate power cables and providing a simplified and streamlined setup.
Wireless Wi-Fi Connectivity:
- Strategic Router Placement: Position your wireless router in a central location within your home to ensure maximum coverage. Avoid placing it in areas with significant obstructions, such as behind furniture or inside cabinets, as this can hinder signal distribution.
- Use Wi-Fi Extenders or Mesh Networks: If your home is large or has areas with weak Wi-Fi signals, consider using Wi-Fi extenders or a mesh Wi-Fi network. These devices can expand and amplify the Wi-Fi coverage, ensuring a strong signal throughout the entire house.
- Optimize Channel Selection: Interference from neighboring Wi-Fi networks can impact the performance of your wireless network. Optimize your router’s channel selection to minimize interference and improve signal quality. Most routers have an automatic channel selection feature that can help with this.
- Secure Your Wi-Fi Network: Protect your Wi-Fi network by using a strong password and enabling advanced security features like WPA2 encryption. This will prevent unauthorized access and ensure a secure network environment.
- Consider Guest Networks: If you frequently have guests in your home, consider setting up a separate guest network to provide internet access while keeping your main network secure. This will protect your personal devices and data while still allowing visitors to connect to the internet.
By carefully wiring for internet and Wi-Fi connectivity, you can ensure a robust and reliable network in your smart home. Whether through wired connections for stable performance or wireless setups for flexibility, implementing the right wiring strategies will enable seamless internet access for all your smart devices.
Wiring for Smart Lighting Systems
Wiring for smart lighting systems is a fundamental aspect of creating an efficient and versatile lighting setup in your smart home. Smart lighting allows you to control and automate your lights, creating personalized lighting scenes and enhancing energy efficiency. Here are some considerations for wiring your smart lighting system:
- Choose the Right Light Bulbs: Ensure that your smart lighting system is compatible with the type of light bulbs you plan to use. Smart lights are available in various forms, such as LED bulbs, smart switches, or smart light strips. Select lights that suit your preferences and the specific areas where they will be installed.
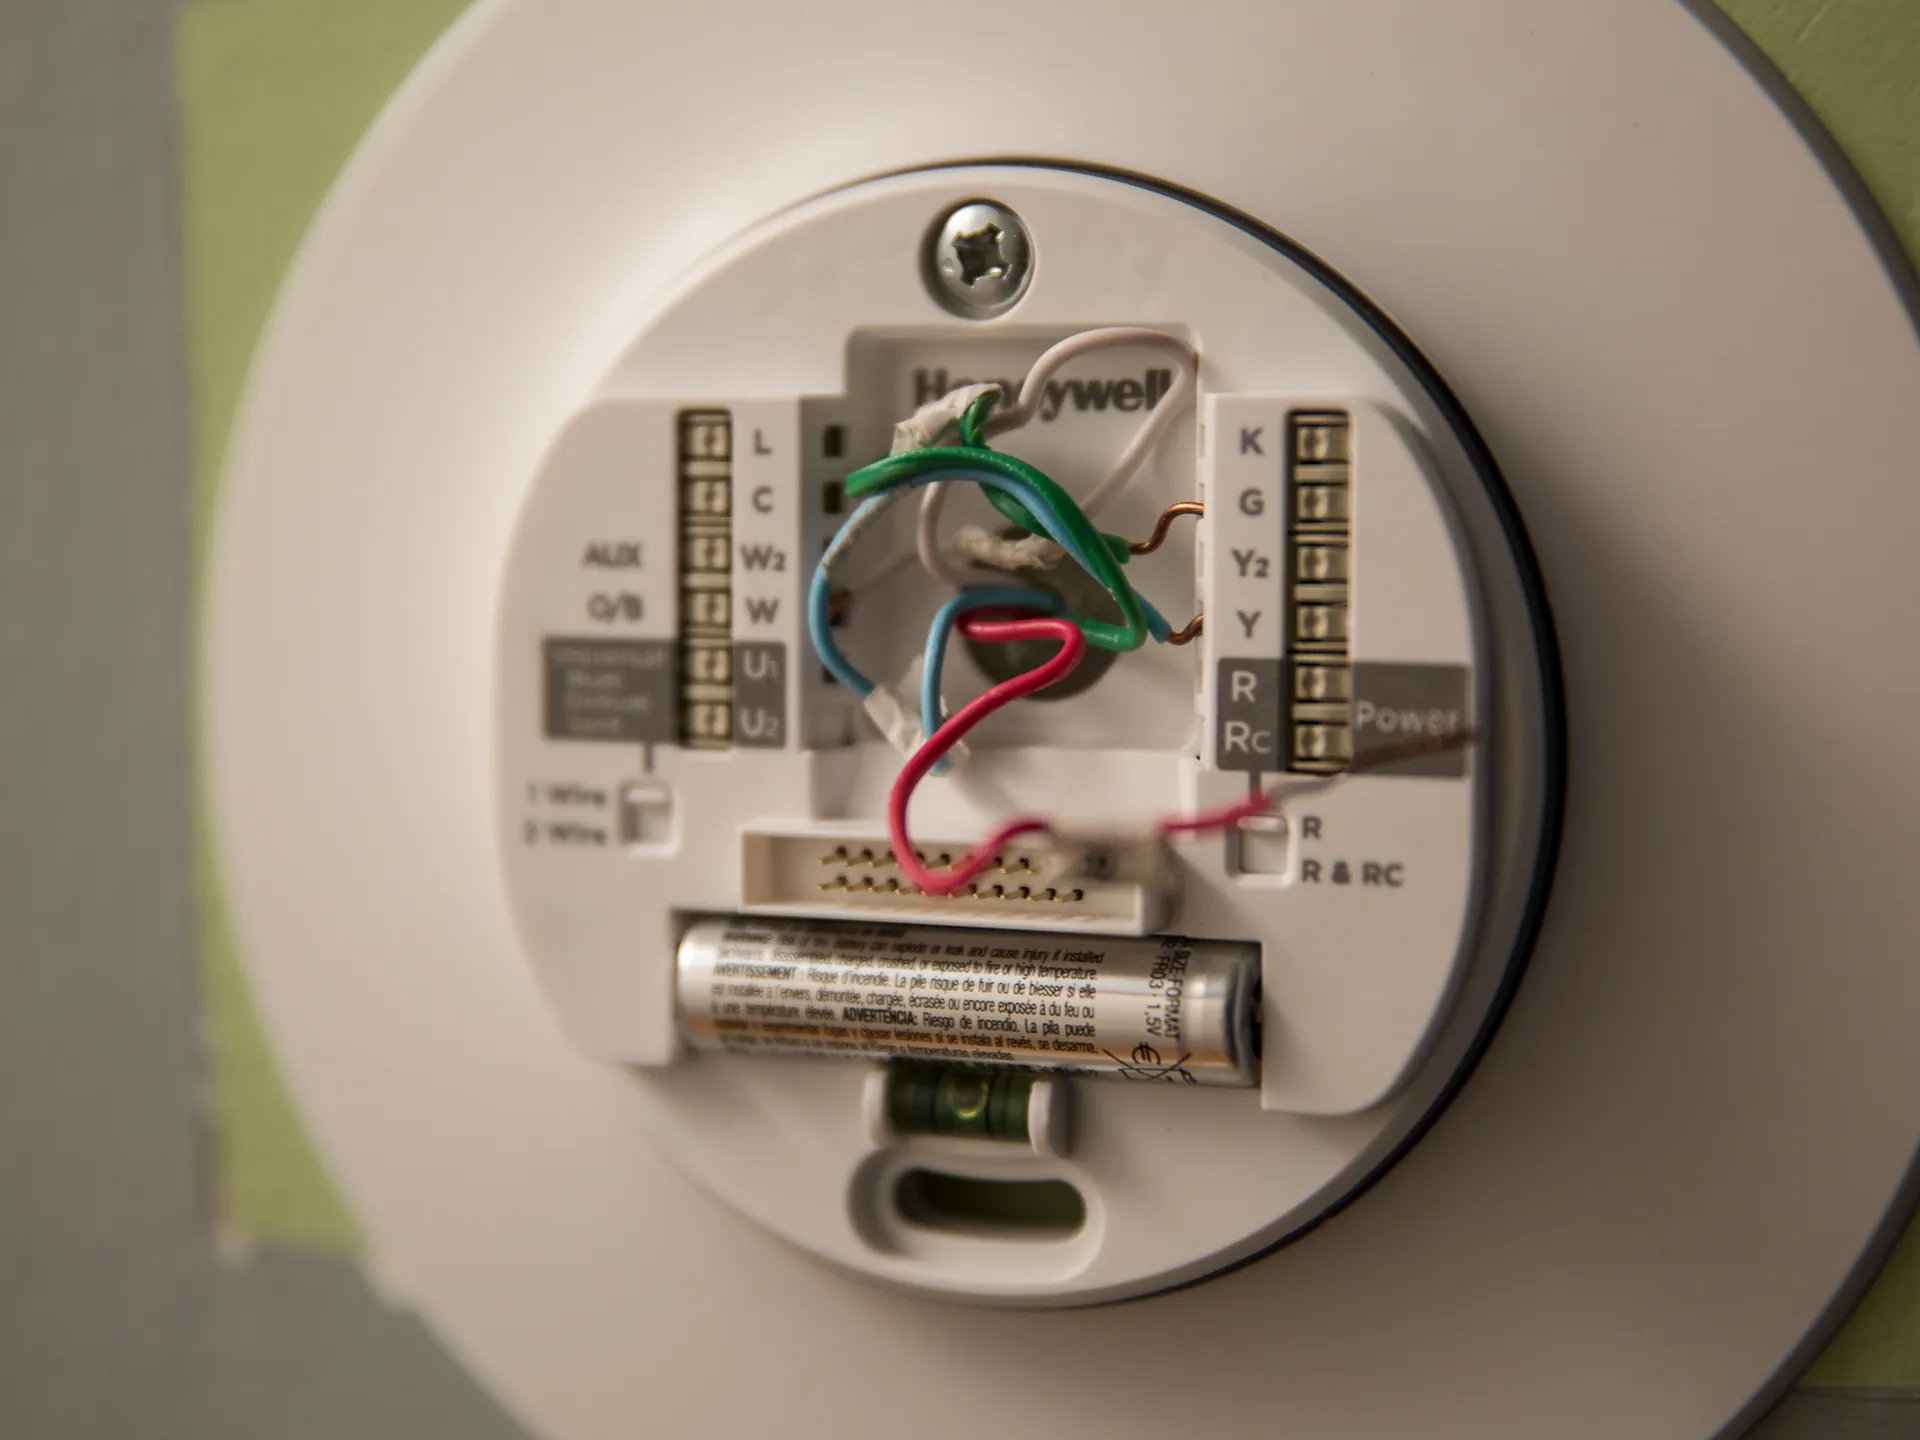
- Decide on Wired or Wireless Controls: Determine whether you prefer wired or wireless controls for your smart lighting system. With wired controls, you will need to run low-voltage control wiring from the central control panel to each light fixture. Wireless controls offer more flexibility, allowing for easier installation and reconfiguration.
- Plan for Switch Locations: Consider the locations where you want to place smart switches or dimmers. If you opt for wired controls, plan the wiring routes accordingly. Ensure that there is proper access to power sources and wire connections.
- Use Smart Lighting Hubs: Smart lighting hubs act as central control points, allowing you to connect and control multiple smart lights simultaneously. These hubs typically communicate wirelessly with the lights, simplifying the wiring setup and providing a centralized control system.
- Install Dimmer Switches: If you want to have dimmable lights, make sure to install compatible dimmer switches. Certain smart lighting systems require specific dimmers to ensure smooth dimming functionality.
- Consider 3-Way Switches: For areas where you want control from multiple locations, such as staircases or large rooms, consider using 3-way switches. These switches allow you to control the same set of lights from two or more locations without the need for multiple physical switches.
- Connect Smart Lighting to Smart Home Automation: Integrate your smart lighting system with your overall smart home automation setup. This allows you to create custom schedules, scenes, and automation rules that enhance convenience, energy efficiency, and security.
- Follow Wiring Diagrams: Refer to wiring diagrams provided by the manufacturer to ensure correct wiring connections. These diagrams illustrate the proper wiring configuration for each component of the smart lighting system, ensuring safe and reliable operation.
- Consider Professional Installation: If you are unfamiliar with electrical work or if your smart lighting system requires complex wiring, it is advisable to hire a professional electrician. They can ensure that the wiring is done correctly and in compliance with local electrical codes.
Wiring your smart lighting system properly is crucial for seamless and efficient control of your lights. By considering the compatibility of light bulbs, choosing wired or wireless controls, planning switch locations, utilizing smart lighting hubs, installing dimmer switches, and following wiring diagrams, you can create a well-integrated and personalized lighting setup in your smart home.
Wiring for Home Security Systems
Proper wiring is essential for the effective installation and functioning of your home security system. Whether you are installing a basic alarm system or a more advanced surveillance system, following a structured wiring plan ensures a reliable and secure setup. Here are some key points to consider when wiring your home security system:
- Plan Camera Locations: Determine the areas where you want to install security cameras for optimal coverage. Plan the wiring routes for power and data cables to connect the cameras to the central recording or monitoring system.
- Consider Hardwired or Wireless Cameras: Decide whether you want to use hardwired or wireless cameras. Hardwired cameras require running cables, such as coaxial cables or Ethernet cables, from the cameras to the recording or monitoring system. Wireless cameras, on the other hand, utilize Wi-Fi or other wireless technologies for connectivity but still require power cables.
- Install Motion Sensors and Door/Window Contacts: Plan the locations for motion sensors and door/window contacts, which detect and trigger alerts for unauthorized access. These devices usually connect to a central control panel or hub using low-voltage wiring or wireless connections.
- Select an Alarm Control Panel: Choose a central alarm control panel that will manage your security system. Ensure that the control panel is compatible with your chosen sensors, cameras, and other security system components. Plan the wiring connections between the control panel and the various security devices.
- Consider Backup Power: Include a backup power supply for your security system to ensure operation during power outages. This typically involves installing a backup battery or a generator to maintain power to critical components, such as cameras, sensors, and the control panel.
- Connect to Monitoring Services: If you want professional monitoring for your security system, ensure that it is properly connected to a monitoring service. This typically involves running a phone line or connecting via an internet connection for communication between your security system and the monitoring center.
- Follow Wiring Guidelines: Adhere to manufacturer’s guidelines and industry best practices when wiring your security system. Use appropriate cables, connectors, and conduit as necessary. Ensure that all wiring connections are properly secured and insulated to maintain the integrity and reliability of the system.
- Consider Professional Installation: For complex security systems or if you are not familiar with electrical work, hiring a professional to install and wire your home security system is recommended. They will have the expertise to properly plan, install, and configure the system for maximum security and functionality.
Wiring your home security system correctly is crucial for reliable operation and effective surveillance of your property. By considering camera locations, the use of hardwired or wireless cameras, installation of motion sensors and door/window contacts, selection of an alarm control panel, backup power options, connection to monitoring services, following wiring guidelines, and considering professional installation when necessary, you can create a comprehensive and secure home security system.
Wiring for Audio and Video Distribution
Planning and wiring for audio and video distribution in your smart home is essential to create a seamless and immersive entertainment experience. Whether you want to distribute audio and video throughout your entire home or specific areas, proper wiring ensures optimal performance. Here are some key considerations for wiring audio and video distribution:
- Centralized Distribution Hub: Determine a central location where you will house the audio and video distribution equipment. This hub will serve as the central point for connecting and distributing audio and video signals throughout your home.
- Choose the Right Cables: Select the appropriate cables for audio and video distribution based on the desired quality and distance of the signals. For high-definition video, HDMI cables are commonly used, while Cat6 Ethernet cables or optical cables are suitable for distributing audio.
- Plan Speaker and Display Locations: Determine where you want speakers and displays to be installed throughout your home. Plan the wiring routes from each location back to the centralized hub, ensuring that you have the necessary connectivity for audio and video distribution.
- Use a Multi-Zone Amplifier: To distribute audio to different zones in your home, consider using a multi-zone amplifier. This device allows you to route audio from various sources to different speakers in different zones, providing independent control and flexibility.
- Consider Video Matrix Switches: If you want to distribute video to multiple displays simultaneously, consider using a video matrix switch. This device allows you to connect multiple video sources and distribute them to multiple displays in different rooms or zones, giving you control over where your videos are displayed.
- Audio and Video Control: Decide on the control options for your audio and video distribution system. You can use a central control panel, dedicated remotes, or smartphone apps to manage and control the audio and video sources, zones, and settings.
- Conceal Wiring: Whenever possible, hide the wiring for a cleaner and more professional installation. Conceal wires behind walls, use wire conduits, or place them in baseboards to minimize the visibility of the wiring.
- Consider Professional Installation: If you are not familiar with audio and video wiring or if you have a complex distribution setup, consider hiring a professional installer. They can help plan and execute the wiring for audio and video distribution, ensuring optimal performance and a clean installation.
By carefully planning and wiring your audio and video distribution system, you can enjoy a seamless and immersive entertainment experience in your smart home. Considering the centralized distribution hub, choosing the right cables, planning speaker and display locations, using multi-zone amplifiers and video matrix switches, selecting control options, concealing wiring whenever possible, and seeking professional installation when needed will help you achieve a well-integrated and enjoyable audio and video distribution setup.
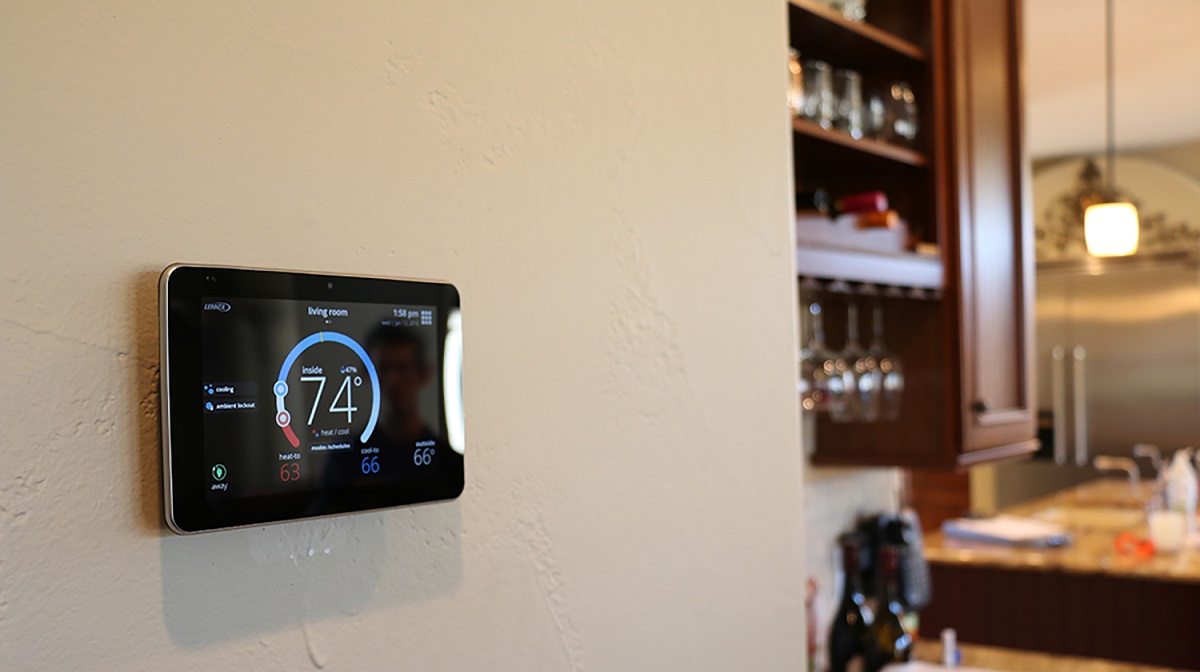
Wiring for Home Automation and Control Systems
Proper wiring is crucial for the seamless operation of your home automation and control systems. Wiring allows for the integration and communication of various devices, enabling centralized control and automation of your smart home. Here are some key considerations for wiring your home automation and control systems:
- Centralized Control Panel: Determine a central location where you will install the control panel for your home automation system. This panel will serve as the command center, allowing you to monitor and control various devices and systems throughout your home.
- Connectivity: Ensure that your wiring supports the required connectivity for your home automation system. This may include Ethernet cables, wireless connectivity, or a combination of both. Consider the range and reach of your wireless signals and plan the placement of access points or repeaters accordingly.
- Power Requirements: Some home automation devices may require dedicated power sources. Ensure that you have appropriate outlets or power wiring available to power these devices. Consider the power load of your devices and plan the electrical circuits accordingly.
- Integration with Existing Systems: If you are incorporating your home automation system with existing systems, such as security or lighting, plan the wiring connections to ensure compatibility and proper functionality. Consult the manufacturer’s guidelines and wiring diagrams for seamless integration.
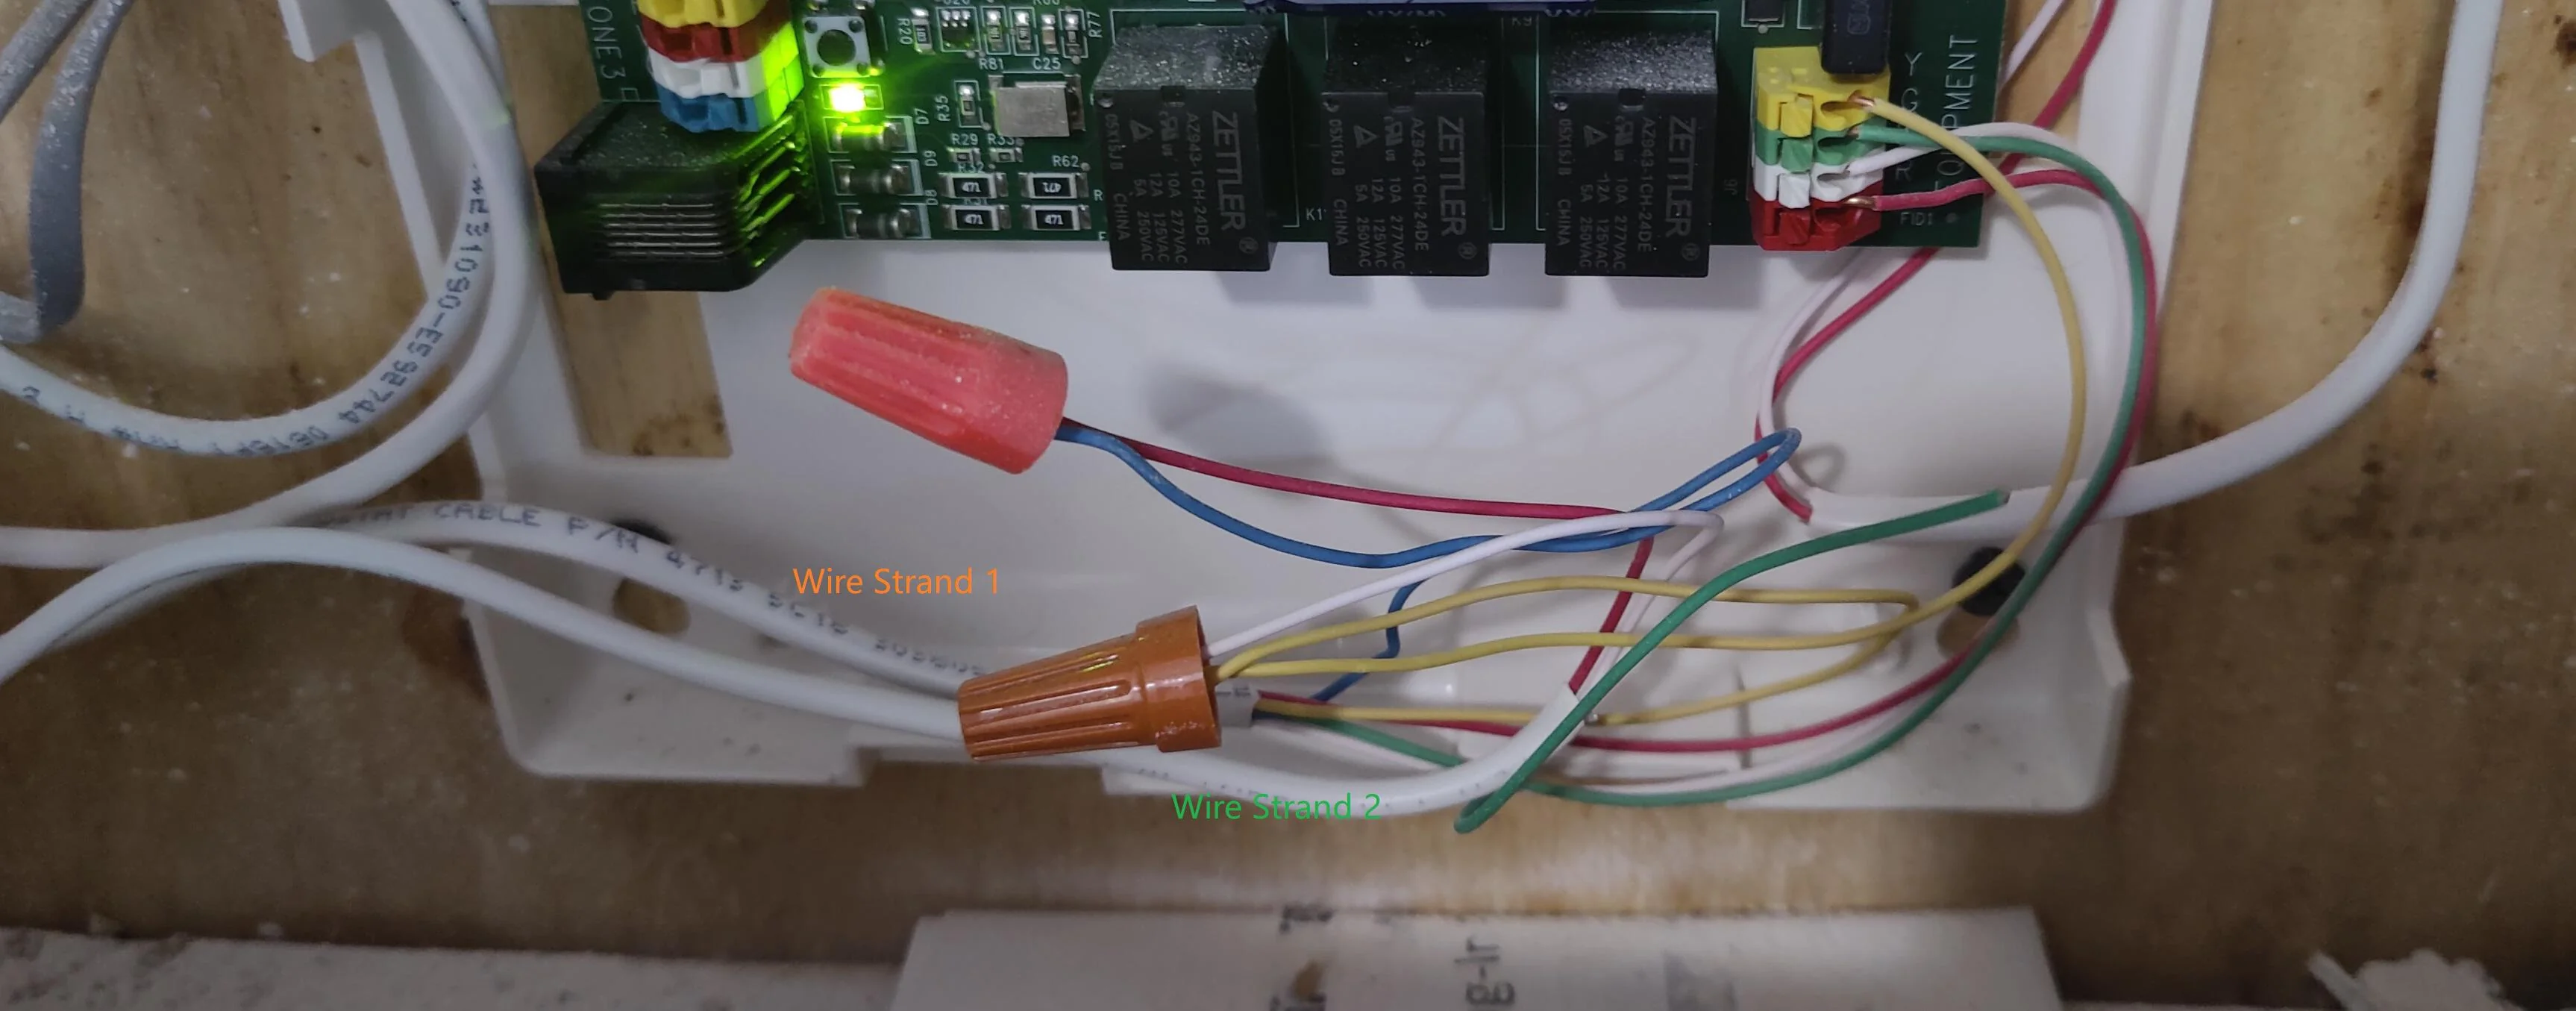
- Low-Voltage Wiring: Home automation systems often utilize low-voltage wiring for communication between devices and the control panel. Plan the routing and installation of these low-voltage wires to ensure efficient communication and minimize interference.
- Structured Wiring: Consider implementing structured wiring, which involves running multiple types of cables, such as Ethernet, coaxial, and HDMI, to different rooms or key locations in your home. This provides flexibility for future expansion and simplifies the integration of various home automation and control systems.
- Labeling and Documentation: Properly label all wiring connections for easy identification during installation, troubleshooting, or future modifications. Keep documentation of your wiring layout and connections for future reference.
- Consider Professional Installation: If you are unfamiliar with home automation wiring or if you have a complex system, consider hiring a professional installer. They can provide expert advice, ensure proper integration of devices and systems, and handle the technical aspects of wiring your home automation and control systems.
Wiring your home for automation and control systems enables centralized management, control, and automation of various devices and systems in your smart home. By considering the centralized control panel, connectivity requirements, power needs, integration with existing systems, low-voltage wiring, structured wiring, proper labeling, and the option of professional installation, you can create a reliable and efficient home automation and control system that enhances the comfort, convenience, and security of your smart home.
Common Troubleshooting Tips for Smart Home Wiring
While wiring your smart home, you may encounter issues that require troubleshooting to ensure proper functionality. Here are some common troubleshooting tips to help you address common wiring problems in your smart home:
- Check for Loose Connections: Loose connections can disrupt the flow of electricity and cause malfunctions. Ensure that all connections are secure and properly tightened.
- Verify Power Supply: If a device or system is not functioning, check if it is receiving power. Ensure that the power supply is connected properly and consider testing it with a voltage tester.
- Inspect Wiring Connections: Thoroughly inspect wiring connections to ensure they are properly connected and terminated. Look for signs of damage, corrosion, or wear and address any issues promptly.
- Test Circuit Breakers: If a specific circuit or device is not receiving power, check the corresponding circuit breaker in the electrical panel. Test the breaker by switching it off and back on again to reset it if necessary. Ensure that the breaker is appropriately sized for the electrical load.
- Check Grounding: Improper grounding can lead to electrical issues and device malfunctions. Ensure that all grounding connections are secure and properly connected.
- Ensure Proper Cable Routing: Improper cable routing can cause signal interference or degradation. Check that cables are not damaged, pinched, or excessively bent. Verify that cables are routed away from sources of interference such as electrical wires or appliances.
- Test Devices and Systems Individually: If a specific device or system is not functioning, test it individually to isolate the problem. Disconnect other devices or systems from the network and test the problematic one separately to identify any issues with that specific component.
- Reset Devices: If a device is unresponsive or behaving unexpectedly, try resetting it. This can be done by power cycling the device or following the manufacturer’s instructions for a reset procedure.
- Refer to Manufacturer Documentation: Consult the documentation provided by the manufacturer for troubleshooting tips specific to your devices or systems. Manufacturers often provide detailed guides or online resources to help address common issues.
- Consult a Professional: If you encounter complex or persistent wiring problems that you are unable to resolve, consider consulting a professional electrician or smart home installer. They can diagnose and address issues effectively and safely.
By following these troubleshooting tips, you can address common wiring problems in your smart home and ensure proper functionality of your devices and systems. Remember to prioritize safety and, if needed, seek professional assistance for complex issues or if you are unfamiliar with electrical work.
Conclusion
Wiring your home for a smart home setup is a critical step in creating a seamless and efficient living environment. By following the proper wiring techniques and considering the specific needs of each smart device or system, you can ensure optimal functionality and performance. From planning and executing the wiring layout to troubleshooting any issues that may arise, attention to detail is crucial in achieving a successful installation.
A well-wired smart home offers numerous benefits, including enhanced convenience, energy efficiency, security, and entertainment. Whether you are installing Ethernet cables for reliable internet connectivity, wiring for smart lighting systems to create ambiance, or connecting security cameras for peace of mind, each step in the wiring process plays a key role in building your smart home’s foundation.
Throughout the wiring process, it is important to prioritize safety. Follow electrical codes and regulations, turn off the power when working on wiring, and use appropriate tools and protective gear. If any wiring task is beyond your capabilities or you are uncertain about the electrical aspects, seek professional assistance to ensure a safe and reliable installation.
By understanding the basics of electrical wiring, choosing the right tools and materials, properly planning the wiring layout, and following troubleshooting tips, you can overcome obstacles and create a well-connected smart home that brings comfort, convenience, and security to your everyday life.
Take the time to plan and execute your smart home wiring project carefully, and enjoy the countless benefits of a seamlessly integrated and technology-driven living space.