Introduction
When it comes to connecting your devices to the internet, a reliable and fast connection is essential. If you are a Starlink user, you already know the benefits of their satellite internet service. However, to ensure optimal performance, it is important to have a stable wired connection. That’s where the Starlink Ethernet Adapter comes in.
The Starlink Ethernet Adapter is a handy device that allows you to connect your devices, such as laptops, gaming consoles, or smart TVs, to the Starlink router using an Ethernet cable. This not only provides a more secure and reliable connection but also ensures faster speeds and lower latency for your online activities.
In this guide, we will walk you through the steps of connecting the Starlink Ethernet Adapter to your Starlink router and your device. We will also provide troubleshooting tips for common issues you may encounter during the setup process. So, let’s get started and get your devices connected to the Starlink network with the Ethernet Adapter.
Before we dive into the details, make sure you have the necessary materials ready. You will need:
- Starlink Ethernet Adapter
- Ethernet cable (Cat 5e or higher recommended)
- Starlink router
- Device you want to connect (e.g., laptop, gaming console, smart TV)
Once you have these materials prepared, you’ll be ready to proceed with the setup process. Follow the steps in the upcoming sections to get your Starlink Ethernet Adapter up and running.
Required Materials
Before you begin setting up the Starlink Ethernet Adapter, ensure that you have the following materials ready:
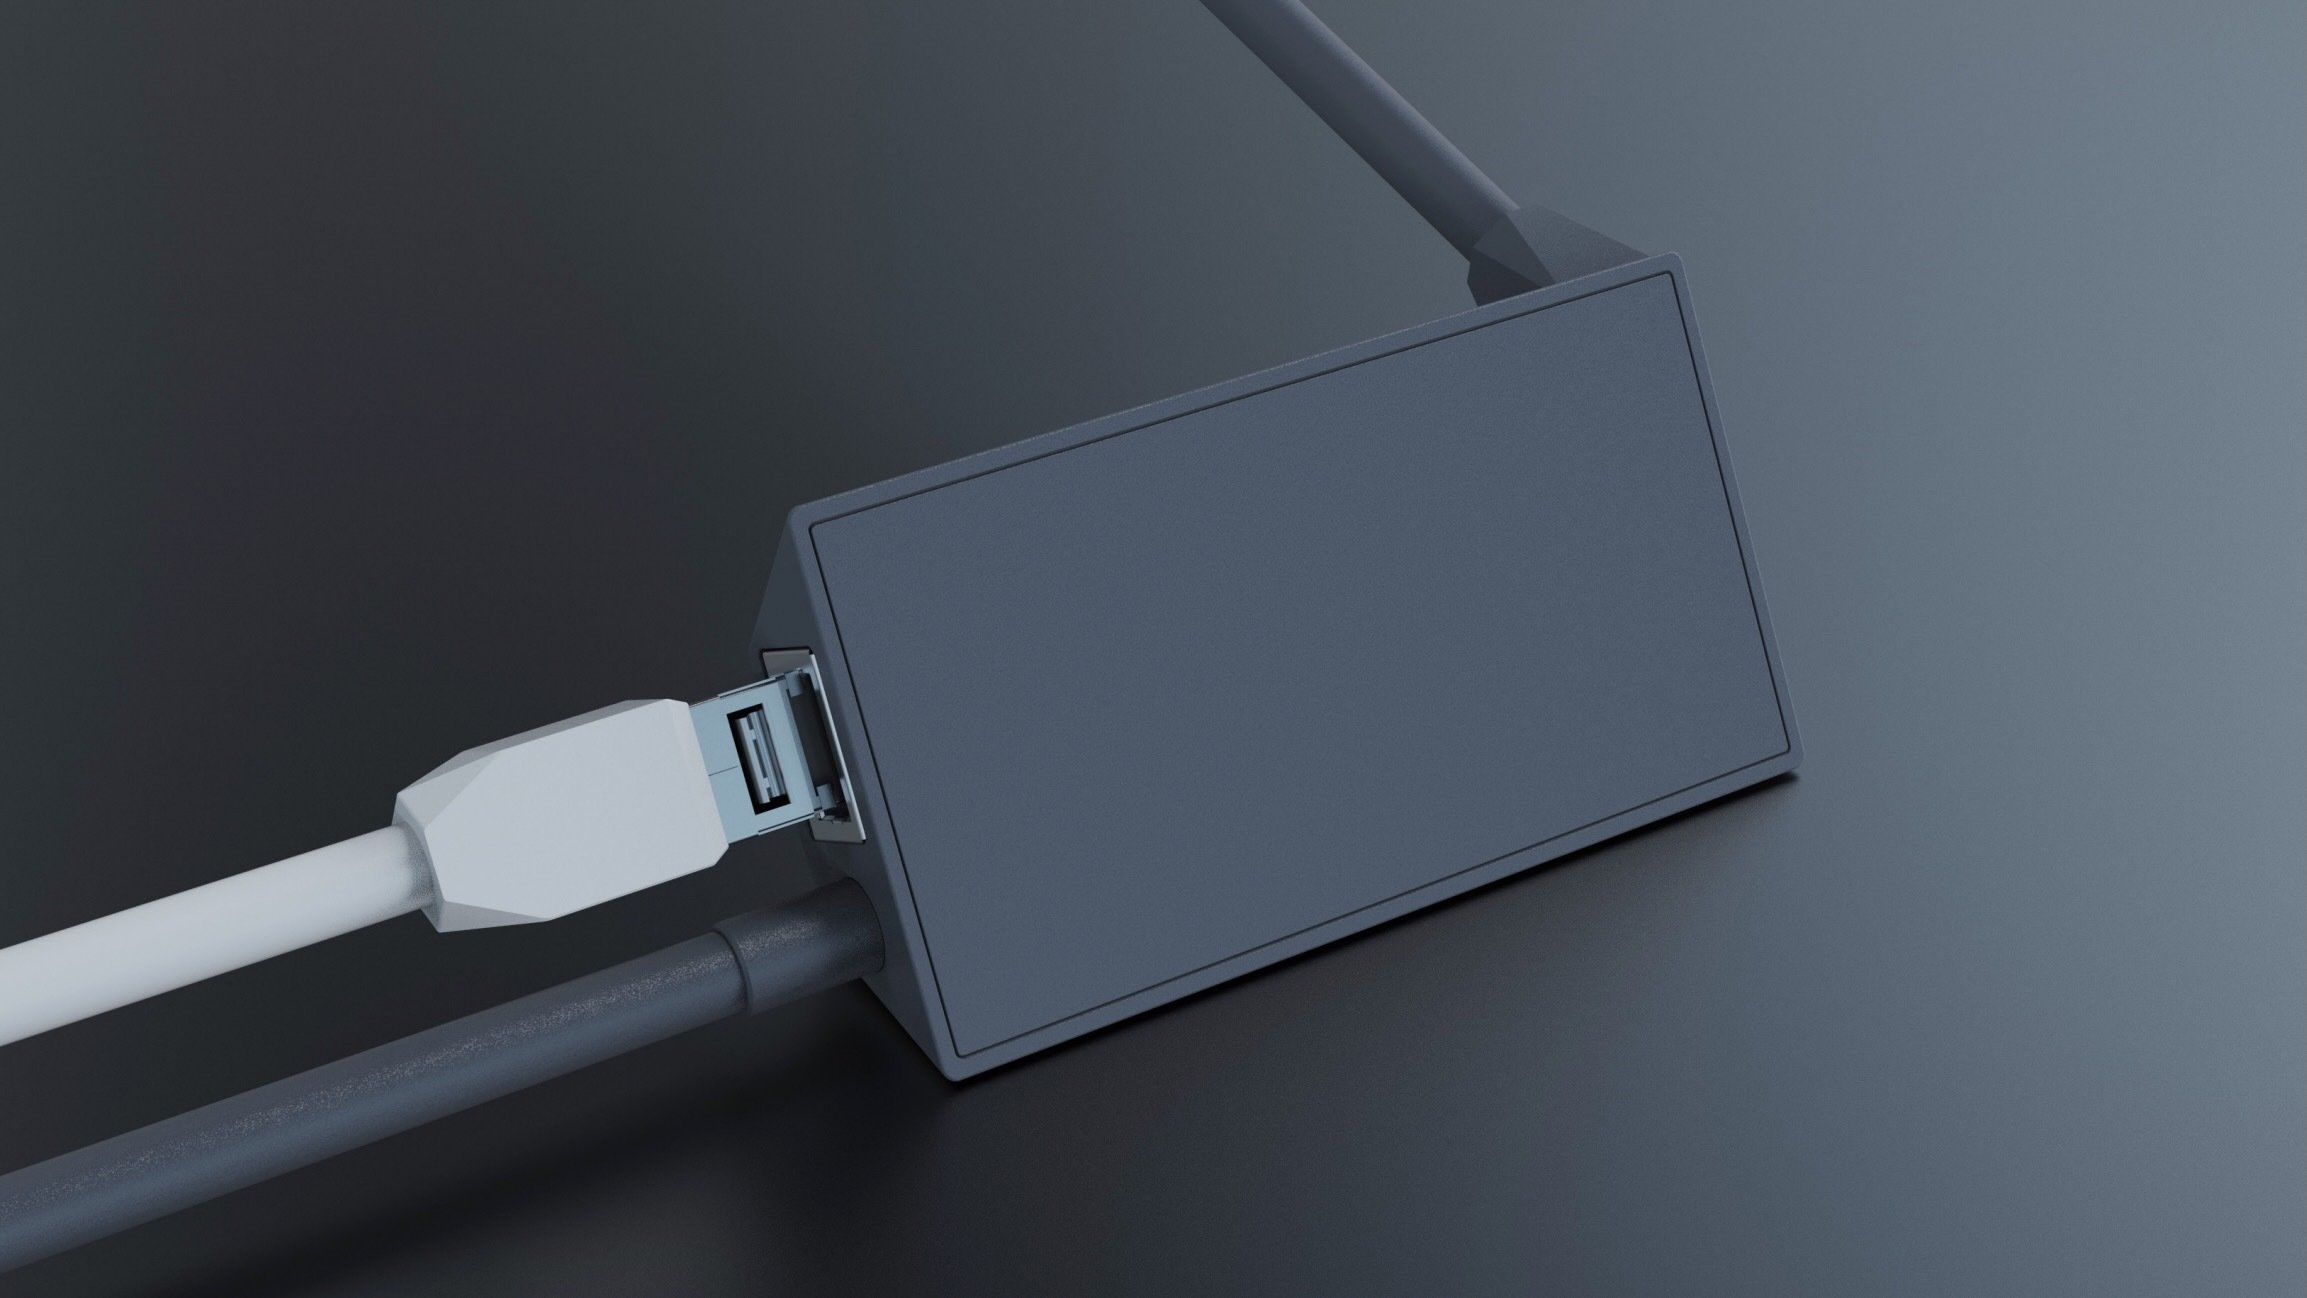
- Starlink Ethernet Adapter: This is the main device that facilitates the wired connection between your device and the Starlink router. Make sure you have the Ethernet Adapter provided by Starlink.
- Ethernet cable: You will need an Ethernet cable to connect the Ethernet Adapter to your device. It is recommended to use a Cat 5e or higher Ethernet cable for optimal performance.
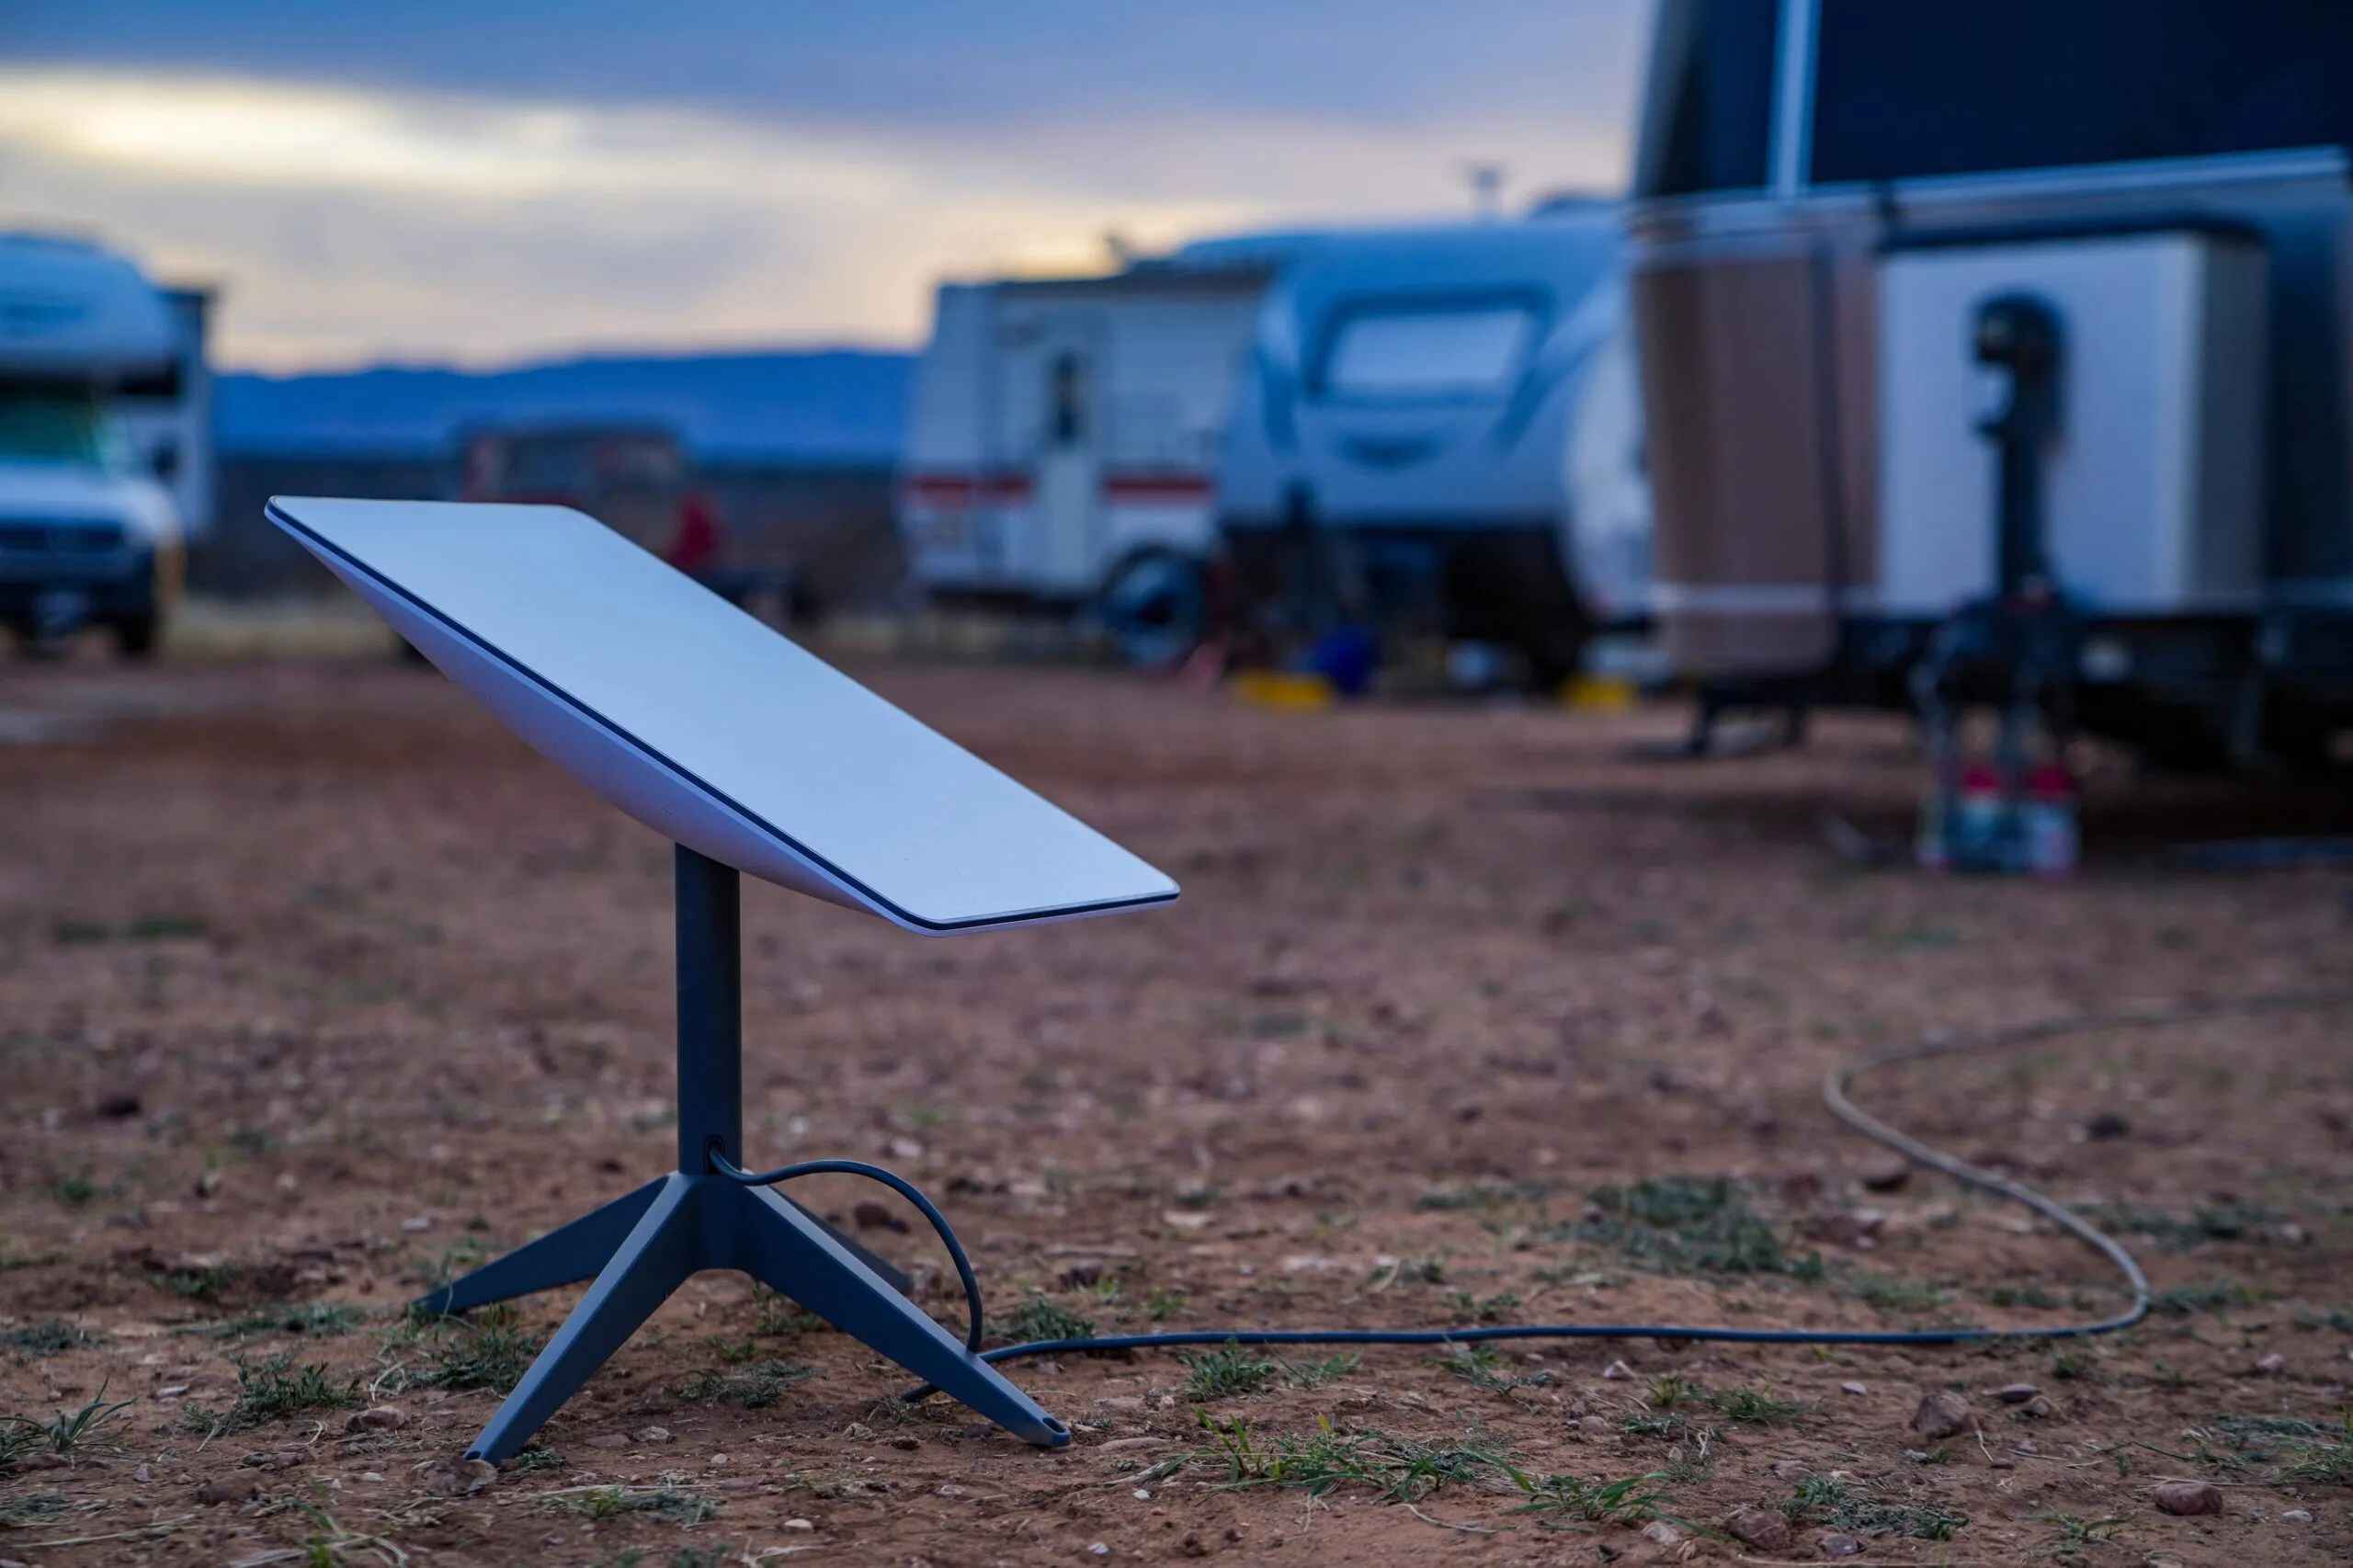
- Starlink router: The Ethernet Adapter will be connected to the Starlink router, so make sure you have your Starlink router set up and ready for the connection.
- Device to connect: Choose the device you want to connect to the Starlink network via the Ethernet Adapter. It could be a laptop, gaming console, smart TV, or any other device with an Ethernet port.
Having these materials ready beforehand will ensure a smooth setup process and minimize any potential delays or interruptions.
It is worth noting that the Starlink Ethernet Adapter is specifically designed for use with the Starlink system. It may not be compatible with other routers or internet service providers. Therefore, it is essential to have the Starlink router and follow the instructions provided by Starlink for a successful connection.
Now that you have the required materials ready, let’s proceed to the next section where we will unbox the Starlink Ethernet Adapter and begin the setup process.
Step 1: Unboxing the Starlink Ethernet Adapter
Before you can start connecting your devices to the Starlink network using the Ethernet Adapter, you need to unbox the device. Follow these steps to unbox the Starlink Ethernet Adapter:
- Locate the package containing the Starlink Ethernet Adapter.
- Carefully open the package, ensuring not to damage any of the contents.
- Take out the Ethernet Adapter from the package.
- Inspect the Ethernet Adapter for any physical damage or defects.
- Check if all the necessary cables and accessories are included, such as the power adapter or additional Ethernet cables.
It is important to handle the Ethernet Adapter with care and avoid dropping it or exposing it to excessive moisture or extreme temperatures. Any physical damage to the device can affect its performance and may even render it unusable.
If you notice any defects or missing accessories, it is recommended to contact Starlink support for assistance. They will provide guidance on how to proceed in such situations and can arrange for a replacement if necessary.
Once you have unboxed the Starlink Ethernet Adapter and ensured that everything is in good condition, you are ready to move on to the next step, which is connecting the Ethernet Adapter to the Starlink router.
Step 2: Connecting the Ethernet Adapter to the Starlink Router
Now that you have unboxed the Starlink Ethernet Adapter, it’s time to connect it to your Starlink router. Follow these steps to establish the connection:
- Identify the Ethernet port on your Starlink router. It is usually labeled with “LAN” or “Ethernet”.
- Take one end of the Ethernet cable and insert it into the Ethernet port on the Starlink router.
- Connect the other end of the Ethernet cable to the Ethernet port on the Starlink Ethernet Adapter.
- Ensure that the connection is secure by gently tugging on the cables. They should not come loose easily.
- If there are additional Ethernet ports on your Starlink router, repeat the previous steps to connect multiple devices.
- Once all the necessary connections are made, power on your Starlink router by plugging it into a power source.
- Wait for a few moments to allow the router to boot up and establish a connection with the Starlink network.
- Verify that the connection between the Starlink Ethernet Adapter and the router is established by checking the indicator lights on both devices. The lights should indicate a successful connection.
By connecting the Ethernet Adapter to your Starlink router, you are enabling a direct and stable wired connection for your devices, ensuring reliable and fast internet access. This connection is particularly beneficial for bandwidth-intensive activities such as online gaming, video streaming, or large file transfers.
Once you have successfully connected the Ethernet Adapter to your Starlink router, you can proceed to the next step, which involves connecting the Ethernet Adapter to your device.
Step 3: Connecting the Ethernet Adapter to Your Device
Now that you have connected the Starlink Ethernet Adapter to your Starlink router, it’s time to establish the wired connection between the Ethernet Adapter and your device. Follow these steps to connect the Ethernet Adapter to your device:
- Take one end of the Ethernet cable and insert it into the Ethernet port on the Starlink Ethernet Adapter.
- Connect the other end of the Ethernet cable to the Ethernet port on your device.
- Ensure that the connection is secure by gently tugging on the cables. They should not come loose easily.
- If you have multiple devices to connect, repeat the previous steps for each device, using separate Ethernet cables for each connection.
Once the Ethernet Adapter is connected to your device, the wired connection is established, providing a stable and reliable network connection. This can be particularly useful in scenarios where a strong and uninterrupted internet connection is required, such as online gaming, video conferencing, or downloading large files.
It is important to note that some devices may require additional configuration to prioritize the Ethernet connection over Wi-Fi or other network interfaces. Refer to the device’s user manual or consult the manufacturer’s website for instructions on configuring network settings specific to your device.
Now that you have successfully connected the Ethernet Adapter to your device, you are ready to proceed to the next step, which involves configuring network settings if necessary.
Step 4: Configuring Network Settings (If necessary)
After connecting the Starlink Ethernet Adapter to your device, you may need to configure certain network settings depending on your device’s requirements. Here are some steps to follow if additional configuration is necessary:
- Access the network settings on your device. This can usually be done through the device’s settings or control panel.
- Look for the network interface options and locate the Ethernet or LAN connection settings.
- If there are multiple network interfaces listed, select the one that corresponds to the Ethernet connection.
- Check if the device is set to prioritize the Ethernet connection. If not, modify the settings to give preference to the Ethernet connection over other network interfaces like Wi-Fi.
- Save the changes and exit the network settings menu.
By configuring the network settings to prioritize the Ethernet connection, you ensure that your device is utilizing the wired connection for its network activities. This can help improve network performance, reduce latency, and provide a more stable internet experience.
It is worth noting that the specific steps to configure network settings may vary depending on your device’s operating system and manufacturer. If you encounter any difficulties or require further assistance, consult the device’s user manual, visit the manufacturer’s support website, or seek help from knowledgeable individuals or technical support personnel.
Once you have configured the network settings (if necessary), you have completed the setup process for the Starlink Ethernet Adapter. You can now enjoy the benefits of a fast and reliable wired connection to the Starlink network.
Step 5: Troubleshooting Common Issues
While setting up the Starlink Ethernet Adapter, you may encounter some common issues that can hinder the connection. Here are a few troubleshooting steps to help you resolve these issues:
- No connection: If you are unable to establish a connection between the Ethernet Adapter and your device, make sure that the Ethernet cable is securely plugged into both devices. Also, check if the Ethernet port on your device is functioning properly.
- Weak or unstable connection: If you experience a weak or unstable connection, try using a different Ethernet cable or connecting the Ethernet Adapter to a different Ethernet port on the Starlink router. Additionally, ensure that there are no physical obstacles or interference affecting the connection.
- No internet access: If you have successfully established a connection but are unable to access the internet, check if the Starlink router is connected to the internet. You can also try rebooting the router and the Ethernet Adapter.
- Configuration issues: If you have configured the network settings on your device but are still facing issues, double-check the settings to ensure that the Ethernet connection is prioritized. You may need to consult the device’s user manual or seek assistance from technical support.
- Device compatibility: Ensure that the Starlink Ethernet Adapter is compatible with your device and the Starlink system. Check for any device-specific requirements or recommendations from Starlink to ensure compatibility.
If you have tried these troubleshooting steps and are still unable to resolve the issue, it is recommended to reach out to Starlink support for further assistance. They can provide specialized guidance and troubleshoot specific issues related to the Starlink Ethernet Adapter and your network setup.
Remember, it is always important to follow the instructions provided by Starlink and refer to their official documentation for any specific guidelines or troubleshooting steps.
With these troubleshooting tips in mind, you are now equipped to handle common issues that may arise during the setup and usage of the Starlink Ethernet Adapter.
Conclusion
Connecting your devices to the internet with a reliable and fast connection is crucial in today’s digital world. The Starlink Ethernet Adapter provides a convenient solution for Starlink users who want to enjoy the benefits of a wired connection. By following the steps outlined in this guide, you can easily set up the Starlink Ethernet Adapter and establish a stable and secure connection between your devices and the Starlink router.
We started by unboxing the Ethernet Adapter and ensuring that all the required materials were present. Then, we connected the Ethernet Adapter to the Starlink router, followed by connecting it to your device. If necessary, we discussed the importance of configuring network settings to prioritize the Ethernet connection. Lastly, we explored troubleshooting tips to overcome common issues that may arise during the setup process.
Remember, it is essential to handle the Ethernet Adapter with care during unboxing and avoid any physical damage. Additionally, make sure to consult the device’s user manual or seek assistance from Starlink support if you encounter any difficulties or have device-specific requirements.
With the Starlink Ethernet Adapter, you can enjoy a stable and reliable wired connection for activities such as gaming, streaming, or remote work. Say goodbye to network interruptions and lag, and embrace the enhanced connectivity that the Starlink Ethernet Adapter provides.
Now that you have successfully set up the Starlink Ethernet Adapter, you are ready to experience the full potential of the Starlink network with fast and reliable internet access on your devices.