Introduction
Sharing internet through Ethernet has become increasingly popular due to its reliability, speed, and ease of setup. Whether you want to provide internet access to multiple devices at home or create a network in a small office, sharing internet through Ethernet offers a robust solution.
So, what exactly is internet sharing? Internet sharing is the process of distributing your internet connection to multiple devices using a wired connection, specifically Ethernet. By connecting your internet source, such as a modem or router, to a device with multiple Ethernet ports, you can share the internet connection with other devices on the network.
There are several reasons why sharing internet through Ethernet is the preferred method for many users. Firstly, Ethernet connections are known for their stability and reliability. Unlike Wi-Fi, which can be affected by interference or signal strength, Ethernet provides a consistent and fast internet connection.
Additionally, sharing internet through Ethernet allows for faster download and upload speeds compared to Wi-Fi. This is particularly beneficial for activities that require a high bandwidth, such as streaming, online gaming, or downloading large files.
Another advantage of using Ethernet for internet sharing is the ability to create a wired local area network (LAN). This allows devices on the network to communicate with each other directly, which can be useful for file sharing, printer sharing, or accessing shared resources within a local network.
Sharing internet through Ethernet is a straightforward process that can be done with minimal equipment and configuration. In the following sections, we will guide you through the necessary steps to share internet through Ethernet and ensure a seamless connection for all your devices.
What is Internet Sharing?
Internet sharing refers to the process of distributing a single internet connection to multiple devices. This allows multiple devices to access the internet using a single source, which is particularly useful in settings where multiple devices need to be connected but only one internet connection is available.
Internet sharing can be achieved through different methods, including Wi-Fi, Ethernet, or cellular connections. In this article, we will focus on internet sharing through Ethernet, which involves using Ethernet cables to establish a wired connection between the internet source and the devices that need internet access.
With internet sharing through Ethernet, you can connect devices such as computers, laptops, gaming consoles, smart TVs, or other Ethernet-enabled devices to the internet without the need for separate Wi-Fi connections. This is especially beneficial in environments where a stable and reliable internet connection is crucial, such as offices, gaming spaces, or homes with multiple users and devices.
One of the primary advantages of internet sharing through Ethernet is the increased speed and reliability compared to Wi-Fi. Wi-Fi signals can be affected by various factors such as distance, obstacles, or interference from other devices. In contrast, Ethernet connections provide a more stable and consistent connection, which is particularly important for bandwidth-intensive activities like streaming high-definition videos or online gaming.
Furthermore, internet sharing through Ethernet allows for the creation of a local area network (LAN) within a specific location. This means that devices connected to the Ethernet network can communicate with one another directly, enabling features like file sharing, printer sharing, or accessing shared resources within the network.
Overall, internet sharing through Ethernet offers a robust and reliable solution for connecting multiple devices to the internet. In the following sections, we will guide you through the necessary steps to set up internet sharing through Ethernet, ensuring a seamless and efficient internet connection for all your devices.
Why Share Internet Through Ethernet?
Sharing internet through Ethernet offers several advantages over other methods and is a preferred choice for many users. Let’s take a closer look at why sharing internet through Ethernet is beneficial:
1. Reliable Connection: Ethernet connections provide a stable and reliable internet connection compared to wireless options, such as Wi-Fi. With Ethernet, you can experience minimal disruptions and consistent performance, making it ideal for activities that require a stable connection, such as video conferencing or online gaming.
2. Faster Speeds: Ethernet connections generally offer faster upload and download speeds compared to Wi-Fi. This is because Ethernet cables have a higher data transfer capacity, allowing for quicker and more efficient data transmission. Whether you’re streaming high-definition videos or transferring large files, sharing the internet through Ethernet can significantly enhance your experience.
3. Reduced Interference: Wireless networks can be susceptible to interference from other devices, neighboring networks, or physical barriers. Ethernet, on the other hand, is not affected by these factors, providing a more reliable connection without the interference issues commonly associated with Wi-Fi.
4. Enhanced Security: Sharing internet through Ethernet adds an extra layer of security as the connection is limited to the physical Ethernet cable. This reduces the risk of unauthorized access to your network since potential intruders would need to physically connect to the Ethernet cable to gain access. This is particularly important for businesses and organizations that prioritize data security.
5. Local Network Benefits: Ethernet connections allow for the creation of a local area network (LAN) within a specific location. This enables devices to communicate with one another directly, allowing for features like printer sharing, file sharing, or accessing network resources seamlessly. It creates a more connected and collaborative environment, making Ethernet-based internet sharing an excellent choice for offices and shared spaces.
6. Scalability: Ethernet-based internet sharing allows for easy expansion and scaling of your network. You can connect multiple devices without worrying about limitations on the number of connected devices or the signal strength issues that may arise with Wi-Fi networks.
With these benefits, it’s clear why sharing internet through Ethernet is a popular choice for many users. In the following sections, we will guide you through the step-by-step process of setting up internet sharing through Ethernet, enabling you to enjoy these advantages and create a reliable network for your devices.
Required Materials
Before you begin setting up internet sharing through Ethernet, make sure you have the following materials ready:
1. Ethernet Cable(s): You’ll need Ethernet cables to establish the connection between the internet source (modem or router) and the device that will share the internet. The length of the cable(s) will depend on the distance between the devices.
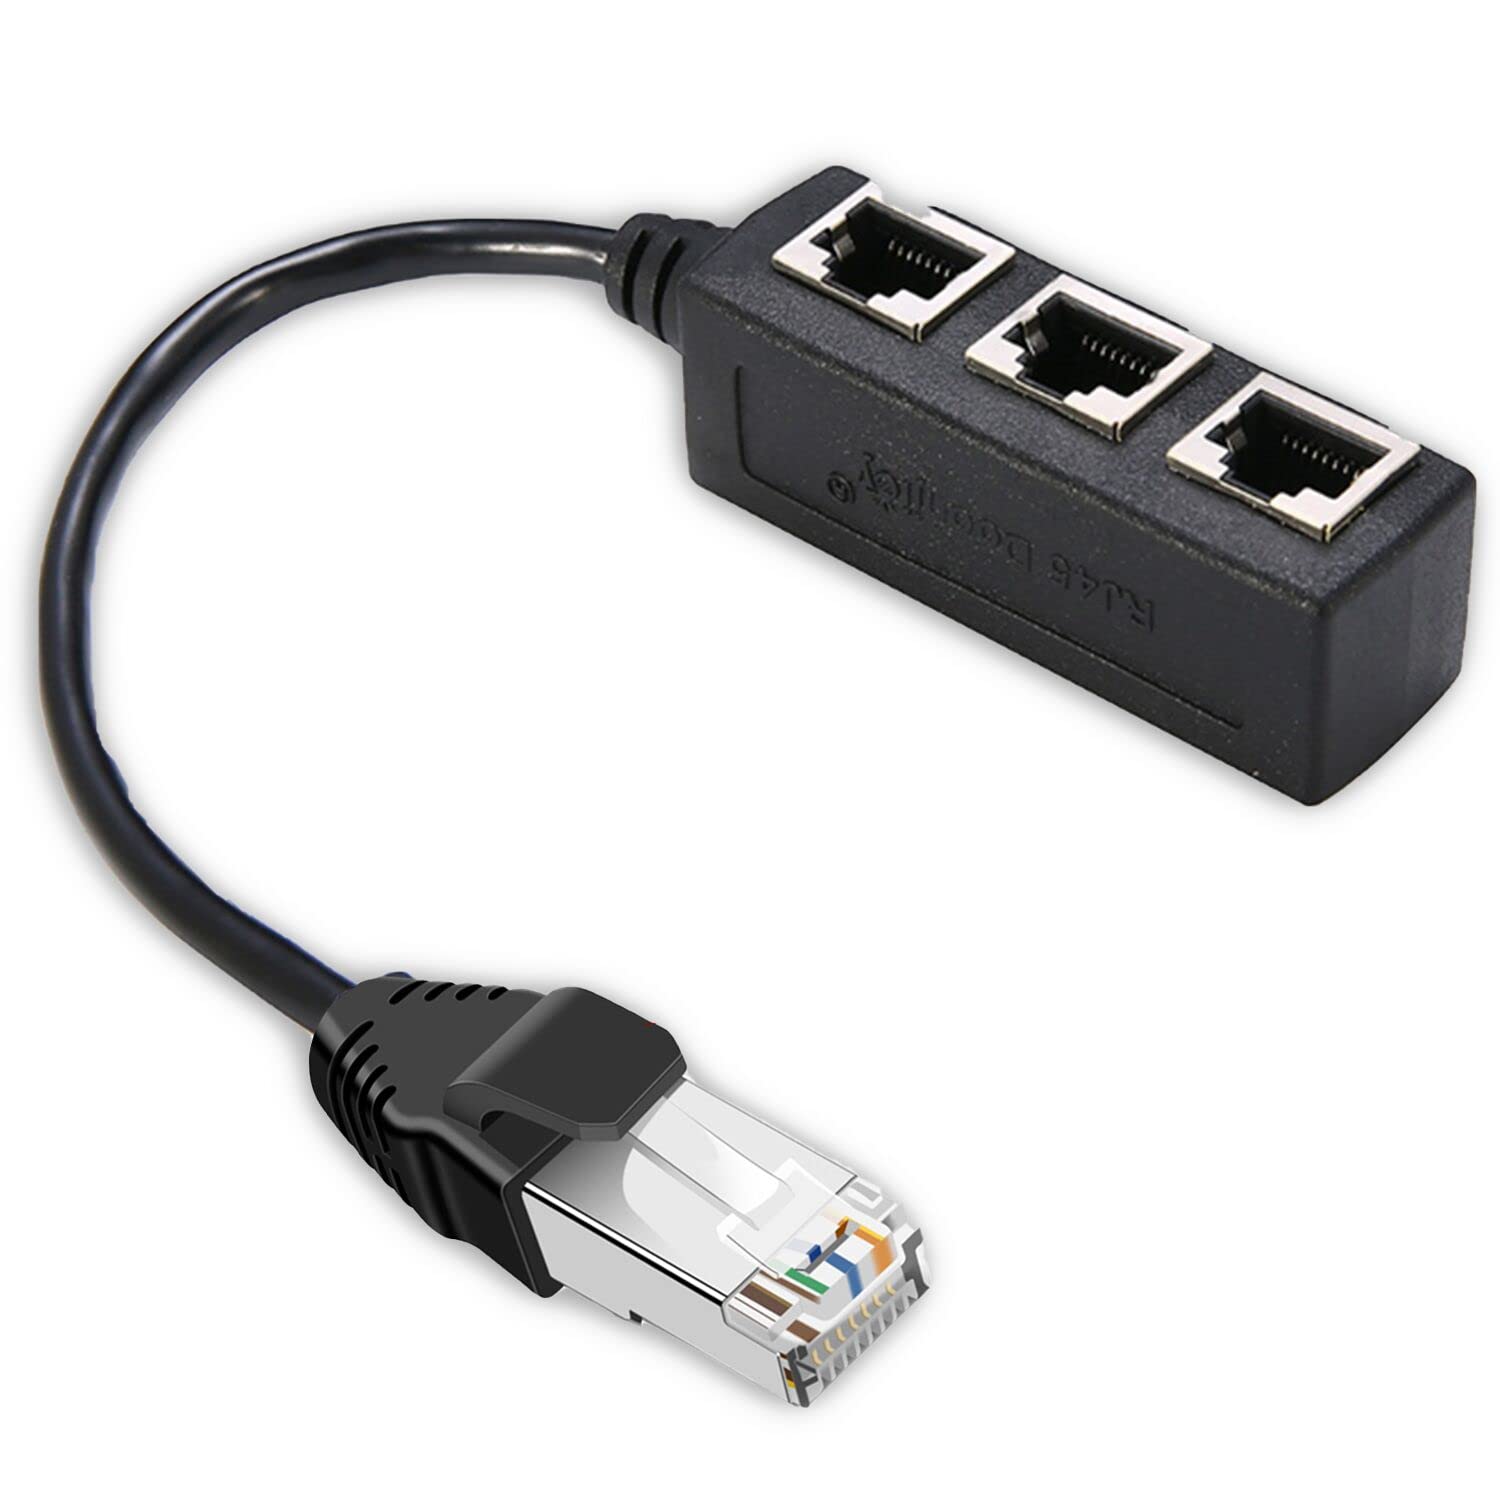
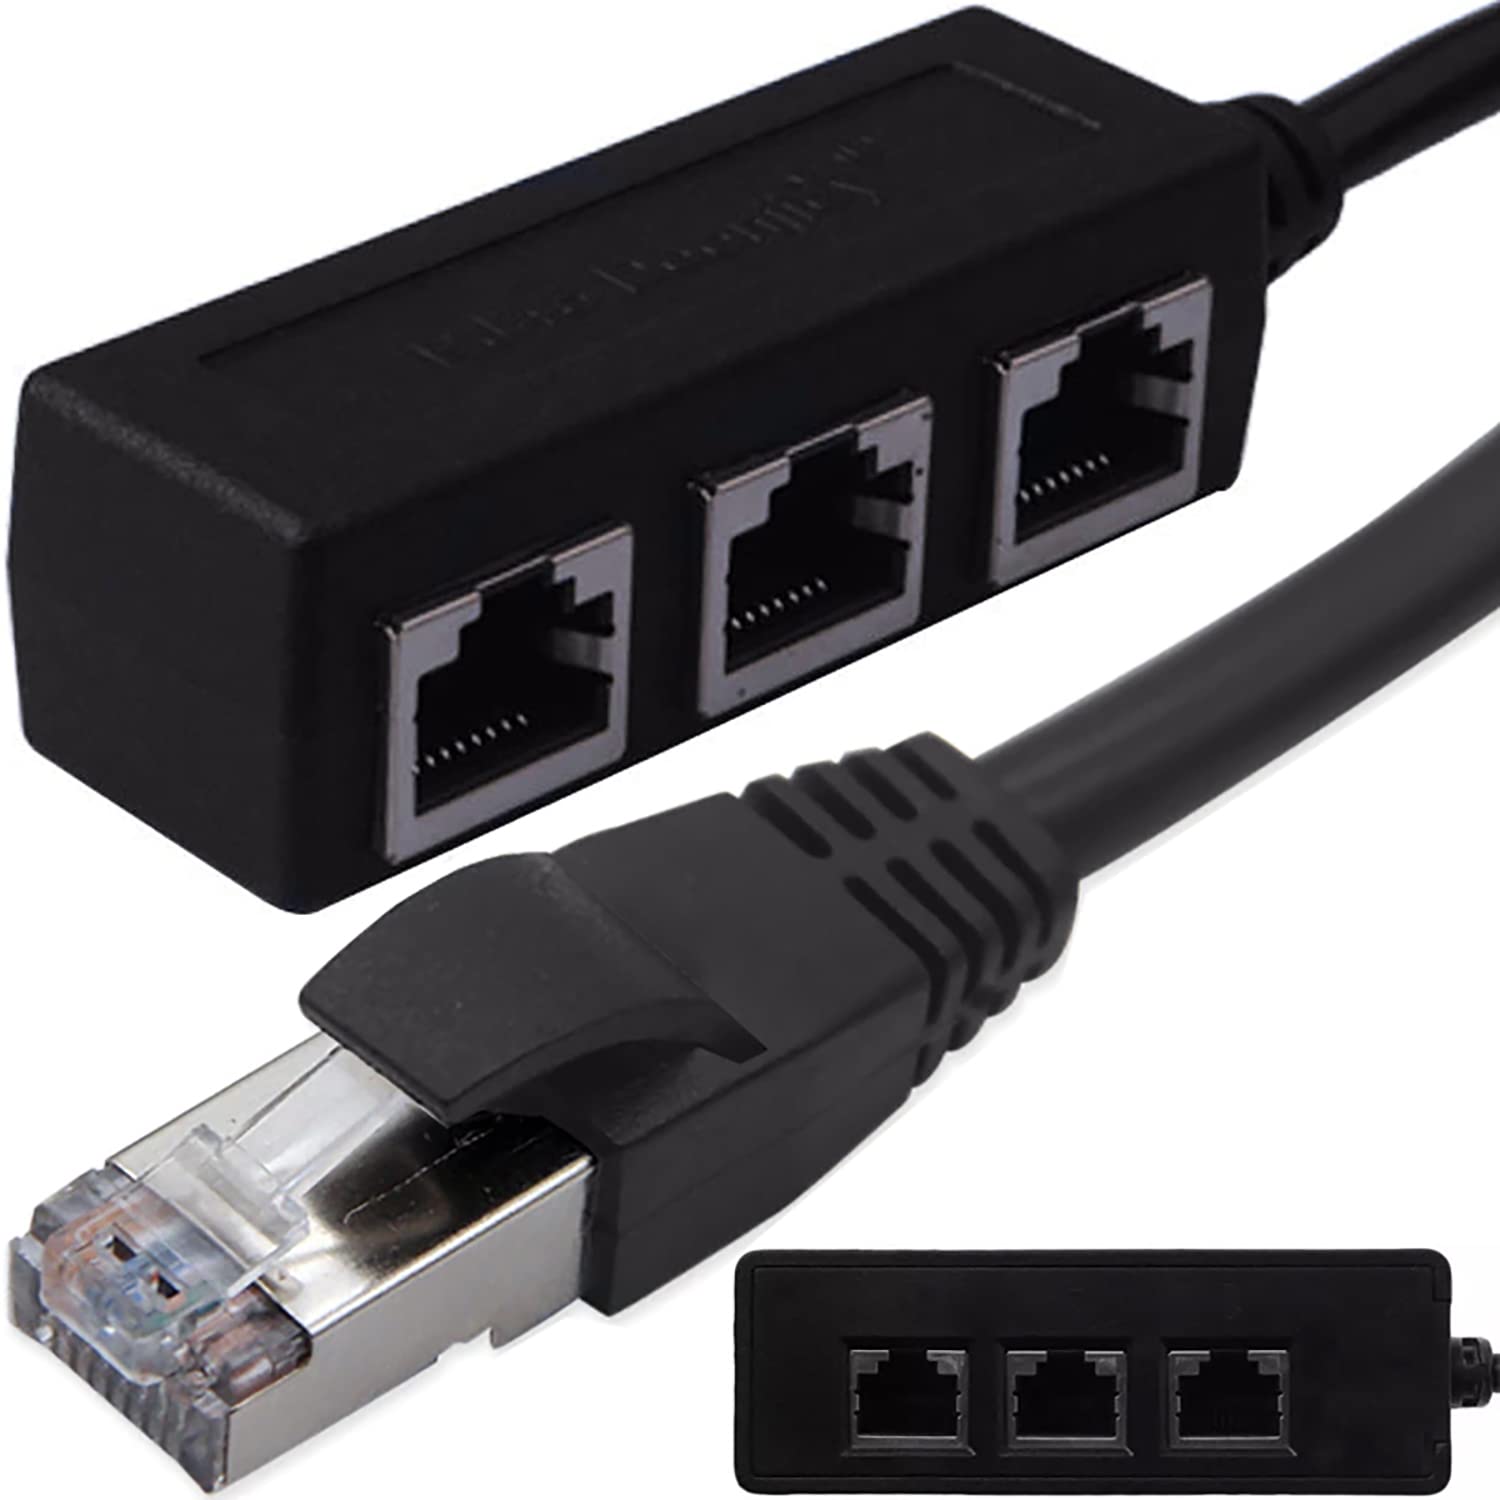
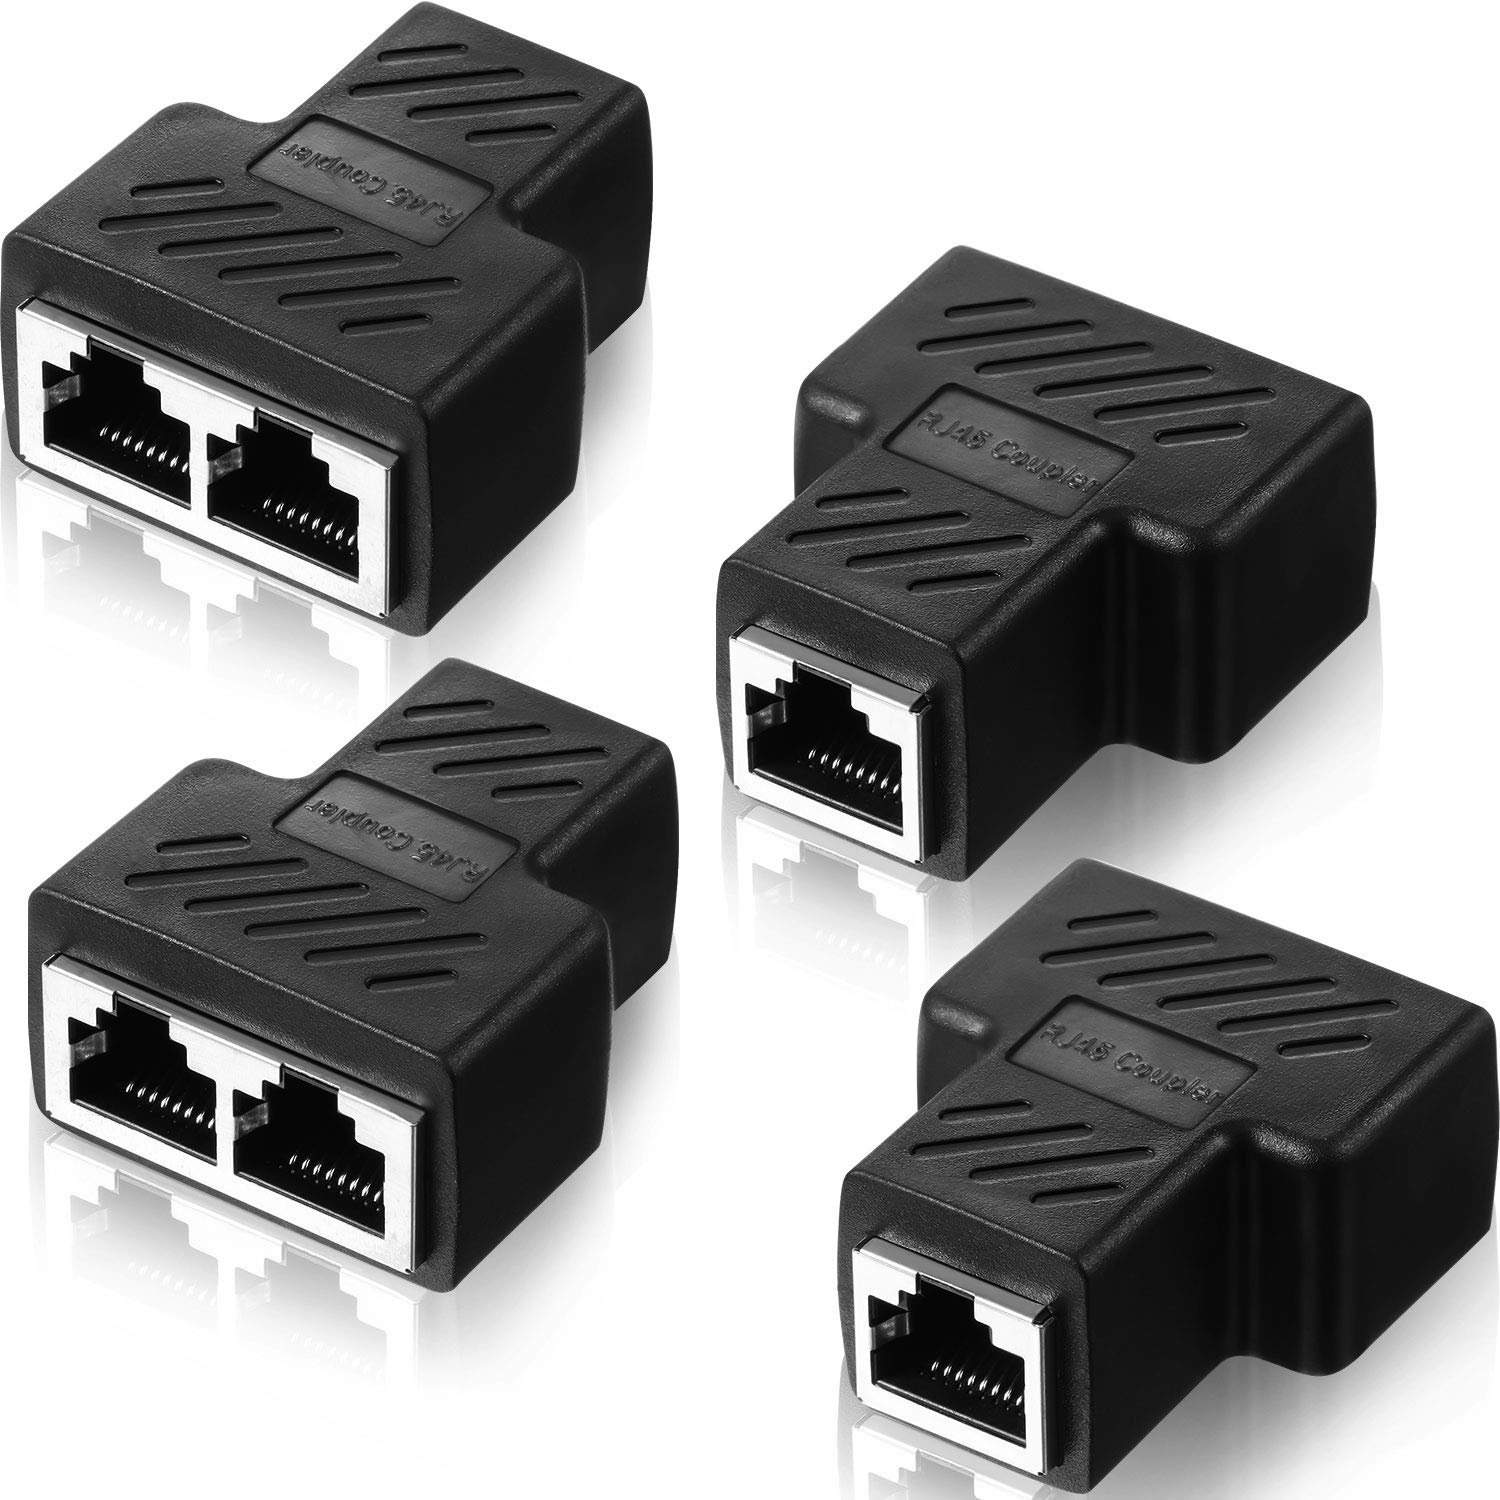
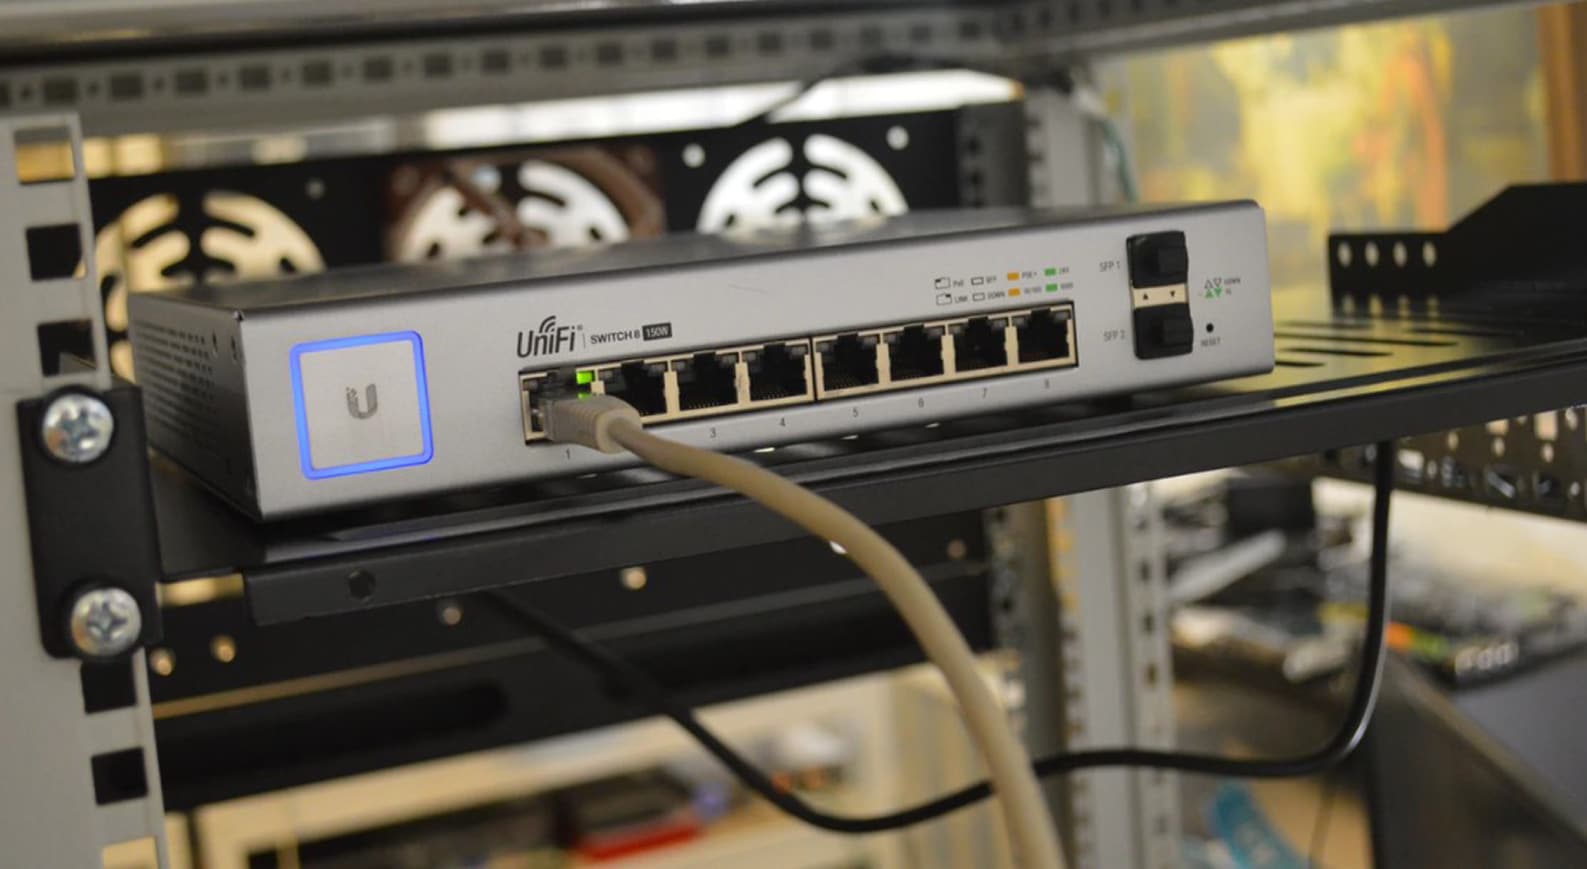
2. Ethernet Switch or Hub: If you plan to connect multiple devices to the internet, you’ll need an Ethernet switch or hub. This device allows you to expand the number of available Ethernet ports for connecting multiple devices simultaneously.
3. Modem or Router: You’ll need a modem or router to connect to the internet. This device will serve as the source of your internet connection. If you already have a modem or router, you can use it for internet sharing. Otherwise, you may need to contact your internet service provider to obtain the necessary equipment.
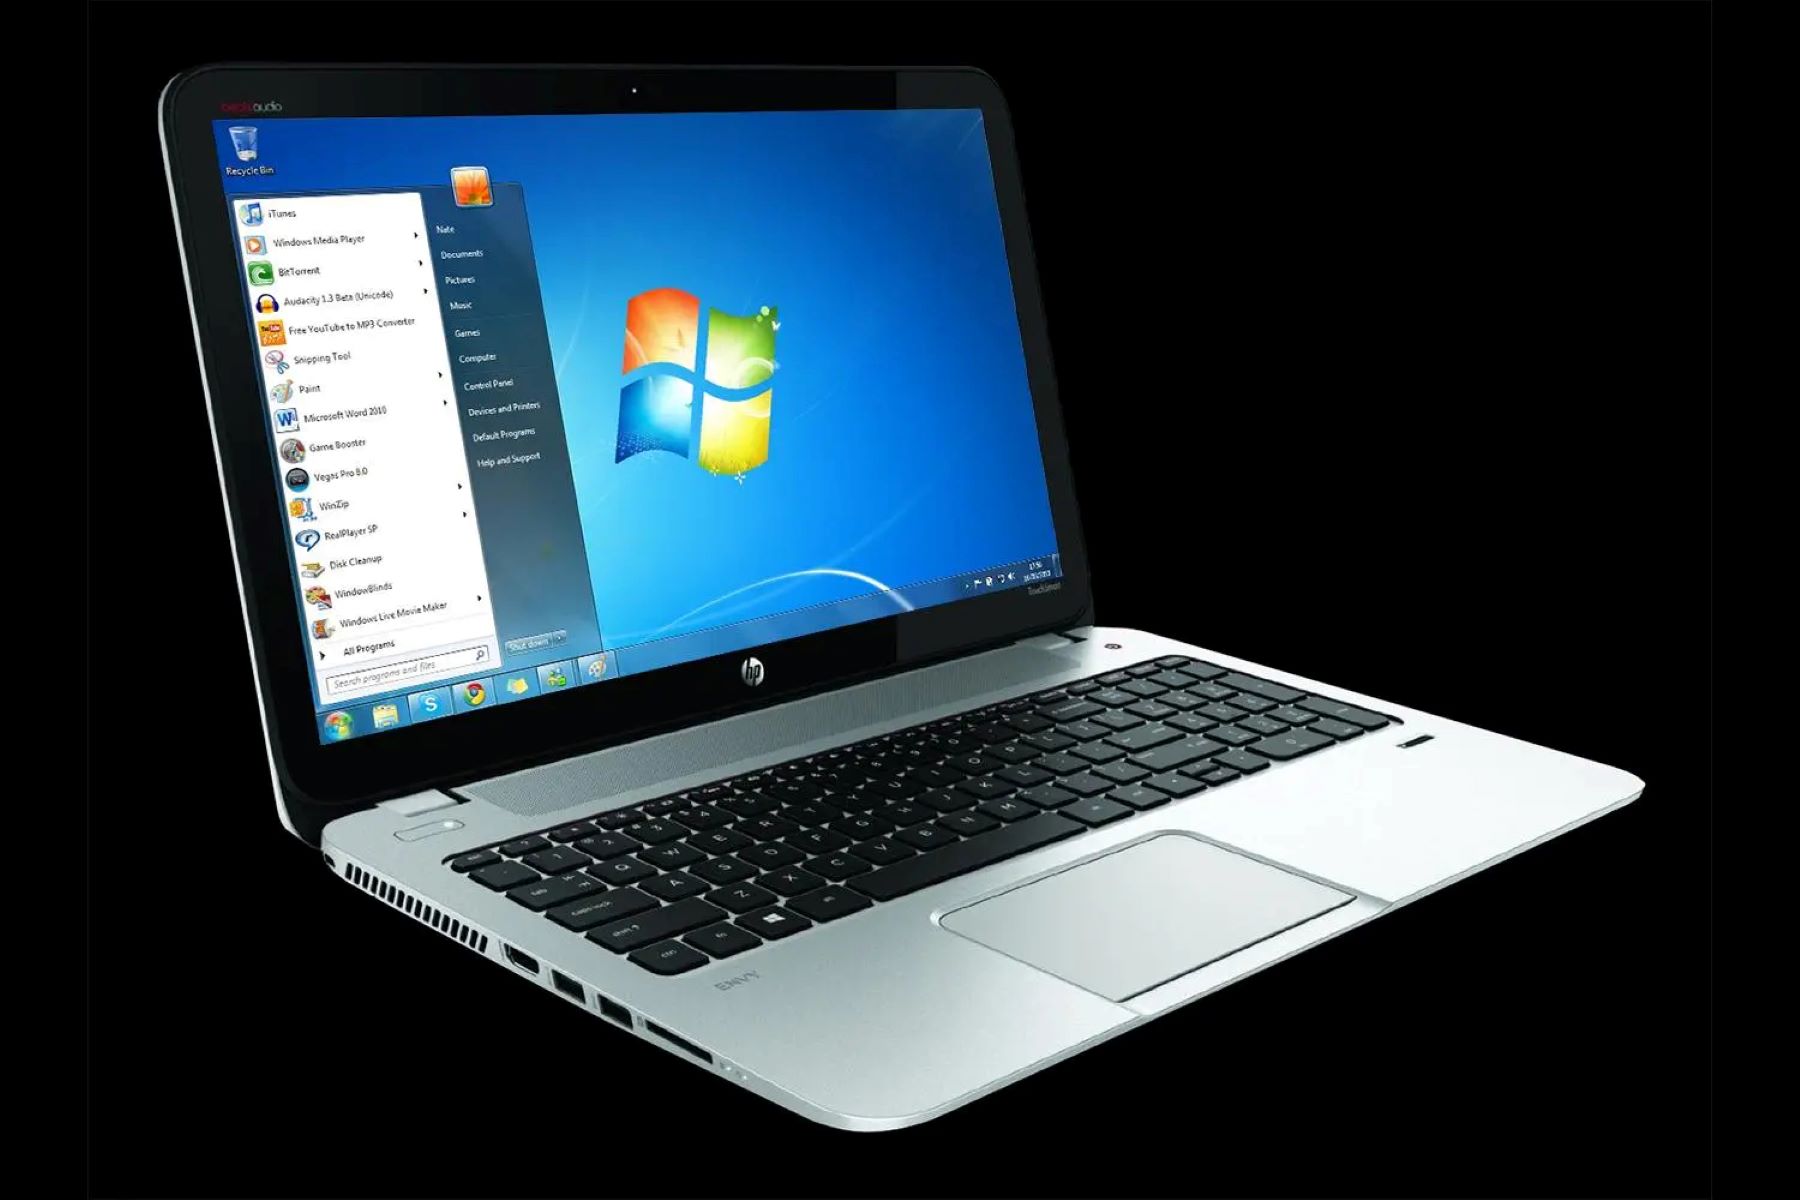
4. Device(s) to Connect: Ensure you have the device(s) you want to connect to the internet through Ethernet, such as computers, laptops, gaming consoles, smart TVs, or any other Ethernet-enabled device.
5. Power Supply: Don’t forget to have power supplies and cables available for all the devices you’ll be using, including the modem, router, Ethernet switch, and any other connected devices. Check the power requirements for each device and ensure you have the appropriate power supply.
6. Internet Service: Of course, you’ll need an active internet service subscription from your internet service provider (ISP). Ensure that your internet service is set up and working properly before proceeding with the internet sharing setup.
Note: It’s essential to ensure that all the equipment and cables you use are in good working condition. Faulty cables or devices may lead to connectivity issues or slow internet speeds. If necessary, consider replacing any damaged or faulty equipment to ensure the best possible performance.
With these materials ready, you’re well-prepared to start setting up internet sharing through Ethernet. In the upcoming sections, we will walk you through the step-by-step process to configure your network and enable smooth internet sharing for all your connected devices.
Step 1: Check Connection Settings
Before setting up internet sharing through Ethernet, it is important to check your connection settings to ensure everything is properly configured. Follow these steps:
1. Locate your Modem or Router: Identify the device that connects to your internet service provider. This is typically a modem or a router. If you’re not sure which device you have, contact your ISP for clarification.
2. Connect to the Device: Use an Ethernet cable to connect your computer or laptop directly to the modem or router. Make sure the cable is securely plugged into the Ethernet port on both ends.
3. Open a Web Browser: Launch a web browser on your computer or laptop and enter the IP address of your modem or router. The IP address is usually provided in the user manual or can be found on the manufacturer’s website. Commonly used IP addresses are 192.168.0.1, 192.168.1.1, or 192.168.2.1.
4. Enter Login Credentials: You’ll be prompted to enter login credentials to access the modem or router settings. If you haven’t changed the default login information, check the manual or the manufacturer’s website for the default username and password. It is recommended to change the default login credentials for security purposes.
5. Check Internet Connection Status: Once logged in, navigate to the status page or dashboard of your modem or router settings. Look for information that indicates the status of your internet connection. Ensure that your modem or router is successfully connected to the internet and that there are no reported issues. If there are any connection problems, contact your ISP for assistance.
6. Verify DHCP (Dynamic Host Configuration Protocol) Settings: DHCP allows devices on your network to obtain IP addresses automatically. Ensure that the DHCP settings are enabled on your modem or router. This ensures that your devices connected through Ethernet will receive the necessary IP addresses to access the internet.
7. Test Your Internet Connection: Finally, test your internet connection by opening a web browser and visiting a website. If you can access the web without any issues, it indicates that your connection settings are correct, and your internet connection is working properly.
By checking your connection settings, you can ensure that your modem or router is connected to the internet and functioning correctly. This is an essential step before proceeding to set up internet sharing through Ethernet. In the next section, we will cover how to connect your devices and configure the sharing options to enable internet sharing through Ethernet.
Step 2: Connect Devices
Once you have verified your connection settings, the next step is to connect your devices to enable internet sharing through Ethernet. Follow these steps:
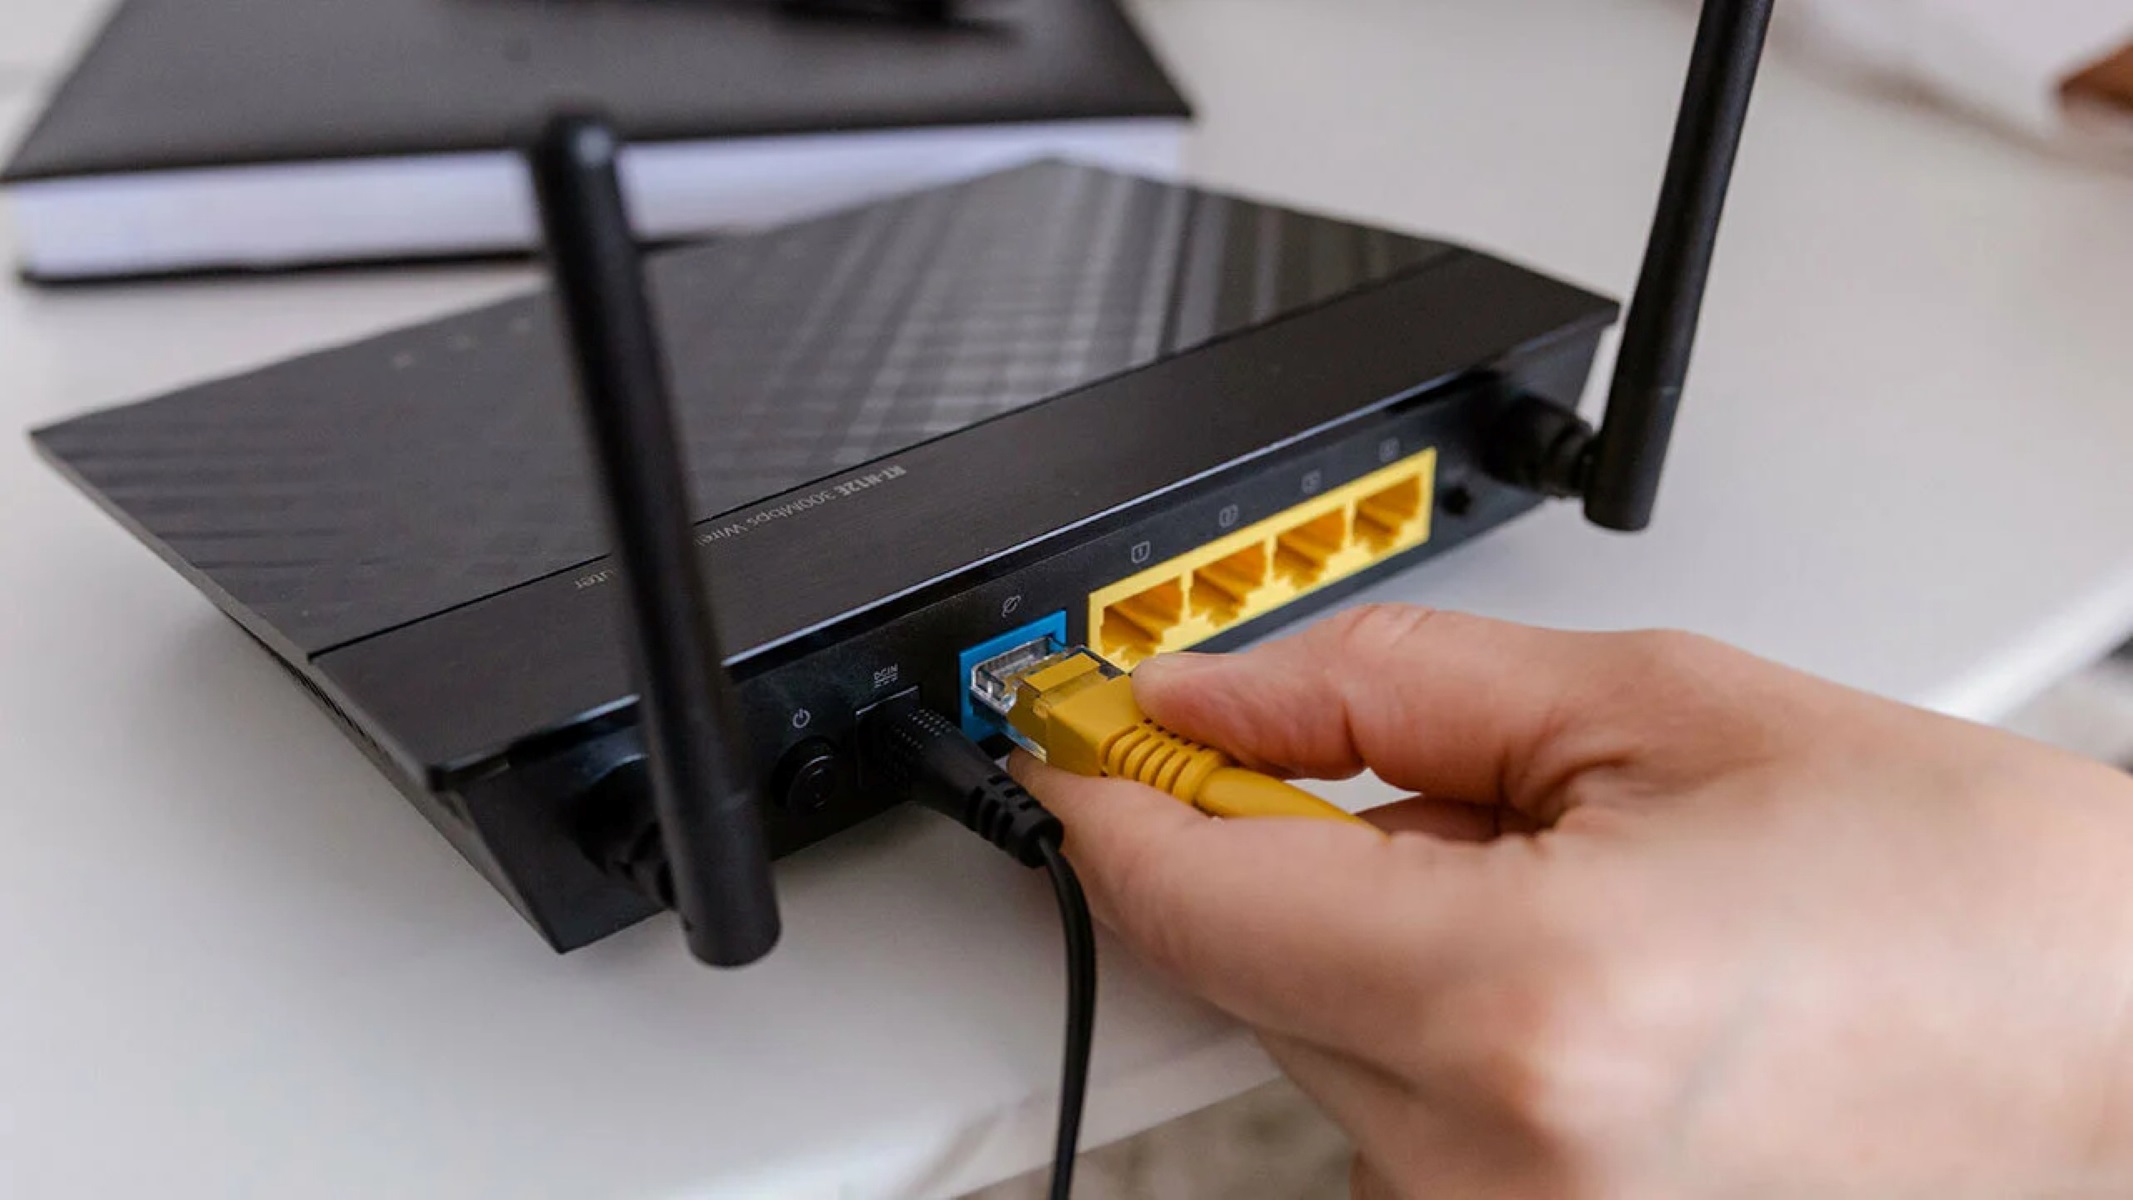
1. Locate Your Ethernet Ports: Identify the Ethernet ports on your modem, router, or Ethernet switch. These ports are usually labeled as “LAN,” “Ethernet,” or have an icon representing a network connection.
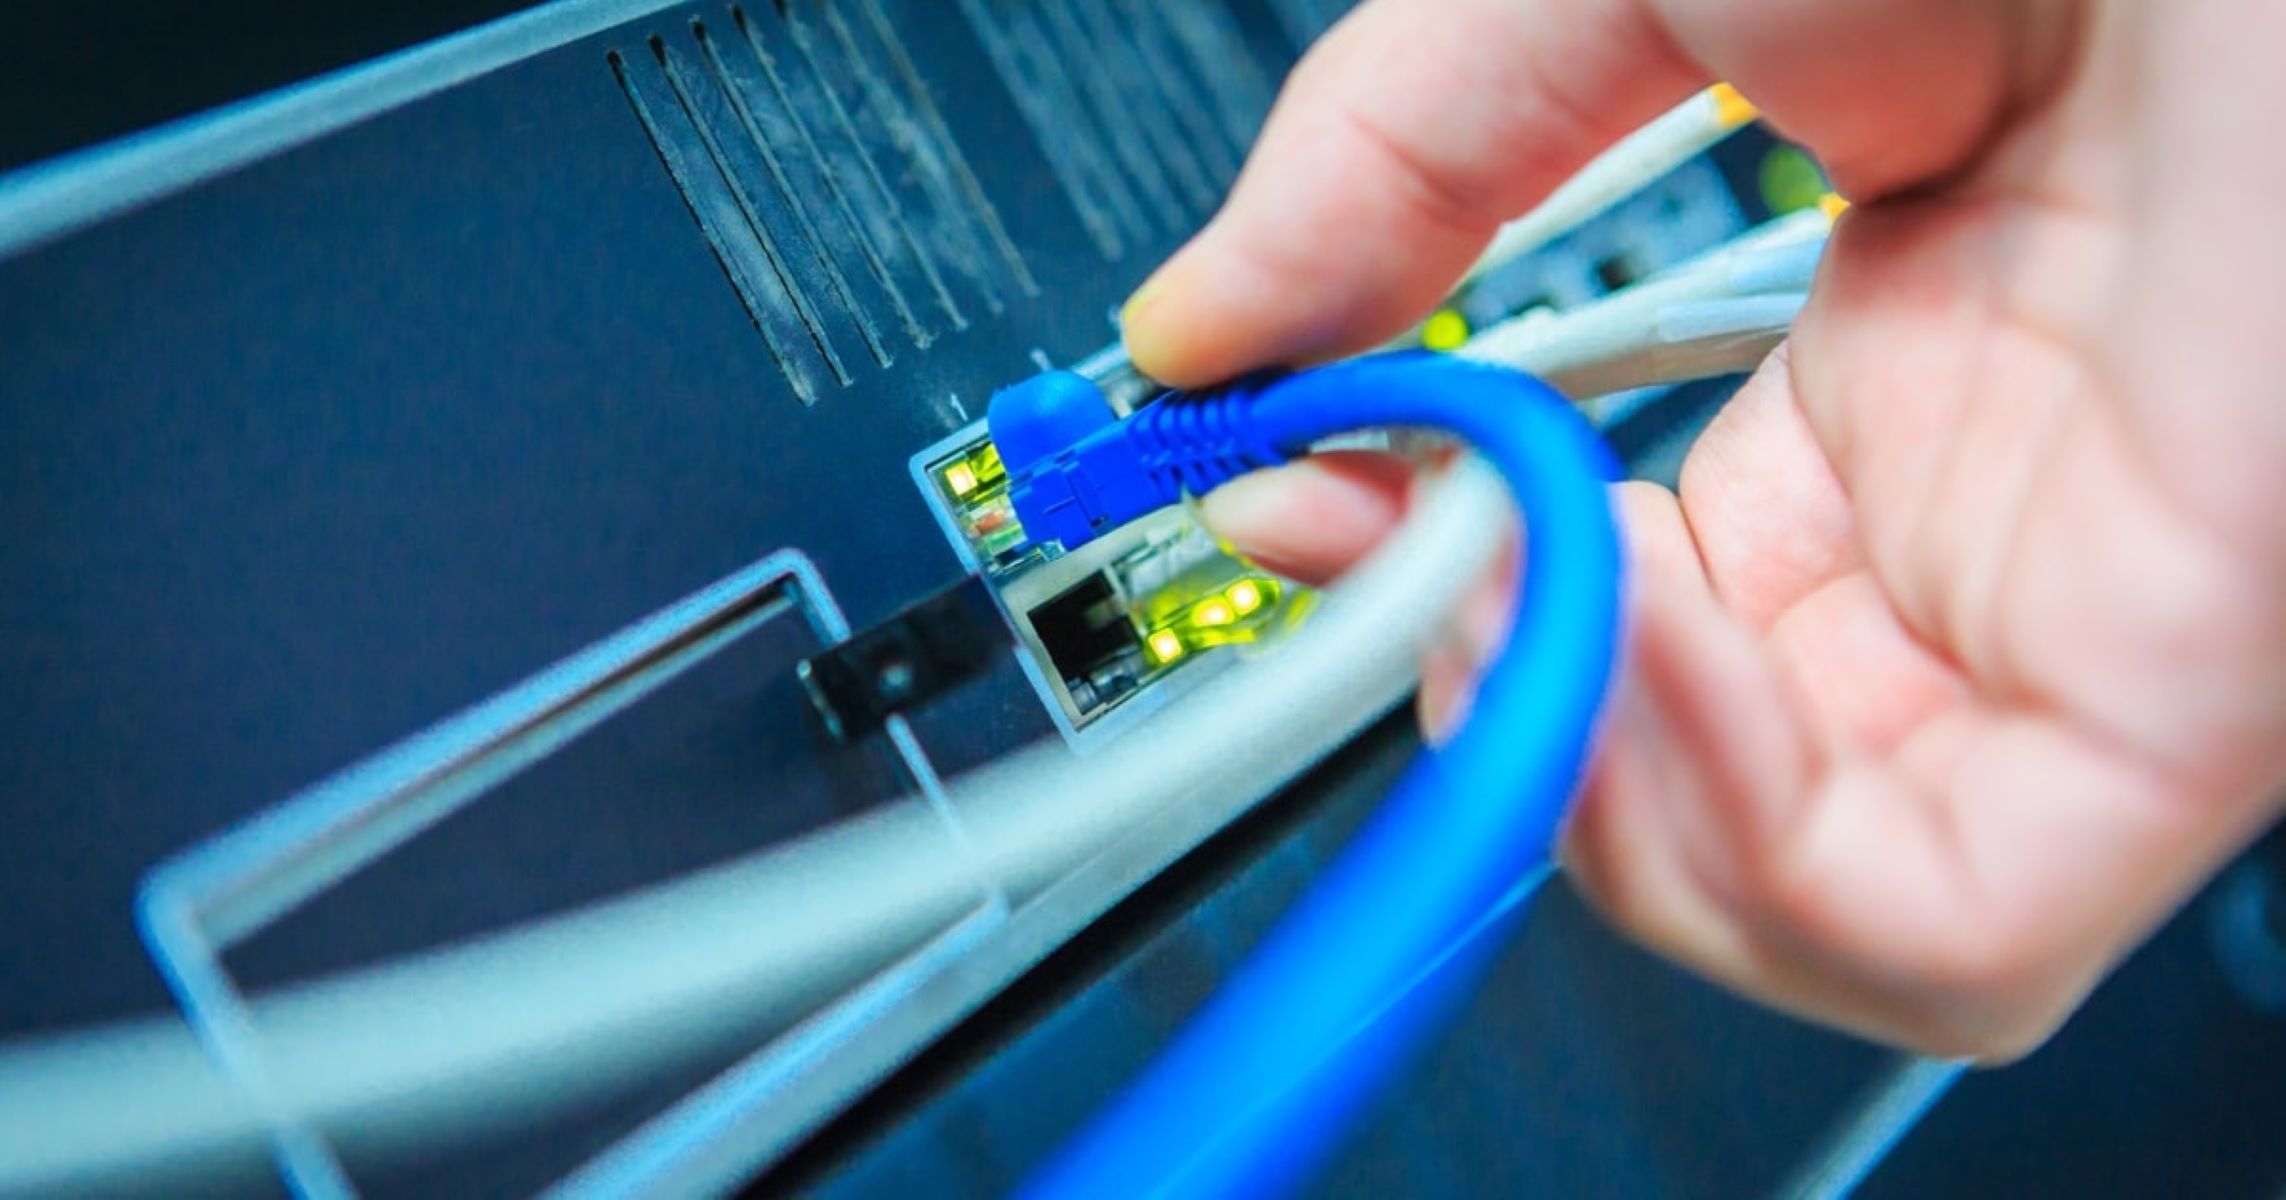
2. Connect Ethernet Cable: Take an Ethernet cable and plug one end into the Ethernet port of your modem, router, or Ethernet switch. Then, plug the other end into the Ethernet port on your computer, laptop, or any other device you want to connect to the internet through Ethernet.
3. Repeat for Additional Devices: If you have more devices to connect, repeat the previous step and connect one end of an Ethernet cable to the available Ethernet port on your modem, router, or Ethernet switch. Then, connect the other end to the Ethernet port of the device you want to connect.
4. Secure the Connections: Ensure that the Ethernet cables are securely plugged into the Ethernet ports to establish a stable and reliable connection. Be careful not to apply excessive force when plugging or unplugging the cables to avoid damaging the ports or the cables themselves.
5. Check for Indicator Lights: Many Ethernet ports have indicator lights that provide information about the status of the connection. These lights may display different colors or patterns to indicate whether the connection is active or experiencing any issues. Check the user manual or the manufacturer’s website for details on the specific indicator light meanings for your devices.
6. Power On the Devices: Ensure that all the devices, including the modem, router, and Ethernet switch (if applicable), are powered on and receiving electricity. Check to see if the indicator lights on the devices are displaying the correct status, indicating that the devices are powered on and functioning properly.
By following these steps, you can connect your devices to the Ethernet ports on your modem, router, or Ethernet switch, enabling them to access the internet through Ethernet. In the next section, we will discuss how to configure the sharing options to ensure that the internet connection is properly shared among the connected devices.
Step 3: Configure Sharing Options
After connecting your devices, the next step is to configure the sharing options to enable internet sharing through Ethernet. Follow these steps:
1. Access Network Settings: On the device that is connected directly to the modem, router, or Ethernet switch, open the network settings. This can usually be accessed through the Control Panel (Windows) or System Preferences (Mac).
2. Locate Network Connection: Find the network connection that is labeled as “Ethernet,” “LAN,” or similar. This is the connection that is established through the Ethernet cable.
3. Enable Internet Sharing: Locate the sharing settings or options within the network connection settings. Enable internet sharing or network sharing by selecting the appropriate option.
4. Choose Sharing Method: Depending on your operating system, you may have different options for sharing the internet connection. Select the option that allows you to share the internet connection from the Ethernet connection to other devices, such as “Share this connection” or “Internet Sharing.”
5. Configure Network Name and Password (if applicable): If prompted, configure the network name (SSID) and password for the shared network. This will be the network name and password that other devices will use to connect to the shared internet connection.
6. Save and Apply Settings: Once you have configured the sharing options, save the settings and apply the changes. The device that is connected directly to the modem, router, or Ethernet switch will now start sharing its internet connection with the connected devices.
7. Connect to the Shared Network: On the other devices you want to connect to the shared internet, open the network settings and locate the shared network name (SSID). Connect to the shared network using the password you configured (if applicable).
Note: If you are using an Ethernet switch, ensure that it is properly connected to the modem or router and that the devices connected to the Ethernet switch are functioning correctly. Refer to the user manual or manufacturer’s instructions for specific guidance on configuring the Ethernet switch.
By following these steps, you can configure the sharing options on the device connected directly to the modem, router, or Ethernet switch, enabling internet sharing through Ethernet. In the next step, we will cover DHCP settings to ensure that devices connected to the network receive proper IP addresses for seamless internet access.
Step 4: Configure DHCP Settings
Configuring the DHCP (Dynamic Host Configuration Protocol) settings is an important step in ensuring that devices connected to the network receive proper IP addresses for seamless internet access. Follow these steps to configure DHCP settings:
1. Access Router Settings: Open a web browser on the device that is connected directly to the modem, router, or Ethernet switch. Enter the IP address of your router in the address bar. The IP address is commonly found in the router’s manual, or you can try the default IP addresses like 192.168.0.1 or 192.168.1.1.
2. Enter Login Credentials: Log in to the router’s settings page using the appropriate login credentials. If you haven’t changed the default login information, you can find the default username and password in the router’s manual or on the manufacturer’s website.
3. Locate DHCP Settings: Navigate to the DHCP settings page within the router’s settings. The location of this page may vary depending on the router’s manufacturer and firmware, but it is commonly found under the “LAN” or “Network” settings.
4. Enable DHCP: Make sure that the DHCP server is enabled. This allows the router to assign IP addresses automatically to the devices connected to the network.
5. Set DHCP Range: Specify the range of IP addresses that the DHCP server can assign. This range should not overlap with any existing static IP addresses on your network. Typically, a range of IP addresses from 192.168.0.2 to 192.168.0.254 is used, leaving .1 as the router’s IP address.
6. Configure Lease Time: Optionally, you can set the lease time for the assigned IP addresses. The lease time determines how long the IP address will be assigned to a device before it expires and becomes available for reassignment.
7. Save and Apply Settings: Once you have configured the DHCP settings, save the changes and apply the settings. The router will now be responsible for dynamically assigning IP addresses to the devices connected to the network.
By configuring the DHCP settings on your router, you ensure that devices connected through Ethernet receive proper IP addresses automatically, allowing for seamless internet access. In the next step, we will test the connection to ensure that everything is set up correctly.
Step 5: Test the Connection
After configuring the necessary settings, it’s important to test the connection to ensure that internet sharing through Ethernet is functioning correctly. Follow these steps to test the connection:
1. Restart Devices: Restart all the devices connected to the network, including the modem, router, Ethernet switch (if applicable), and the devices you want to connect to the shared internet.
2. Verify Ethernet Connectivity: Ensure that all the Ethernet cables are securely connected to the respective devices. Check the indicator lights on the Ethernet ports to confirm that there is a proper connection.
3. Connect to the Shared Network: On the devices you want to connect to the shared internet, open the network settings and locate the shared network name (SSID). Connect to the shared network using the password you configured (if applicable).
4. Test Internet Access: Open a web browser on the connected devices and visit a website to verify internet access. Ensure that the web page loads correctly, indicating a successful internet connection.
5. Check Device Interconnectivity: If you have multiple devices connected to the network, ensure that they can communicate with each other. Test features such as file sharing, accessing shared resources, or printer sharing to verify successful interconnectivity.
6. Monitor Performance: Pay attention to the internet speed and overall performance of the connected devices. If you notice any issues, such as slow speeds or frequent disconnections, ensure all devices are properly connected and that the necessary settings have been configured accurately.
7. Troubleshoot if Needed: If you encounter any issues during the testing phase, double-check the configuration settings, restart the devices, and ensure that all connections are secure. If necessary, consult the user manual or contact the manufacturer’s support for further assistance.
By testing the connection, you can confirm that internet sharing through Ethernet is working as expected. If everything is functioning correctly, you can enjoy a reliable and high-speed internet connection on all the connected devices. If any issues arise, additional troubleshooting may be required to resolve them.
With the connection successfully tested, you have completed the steps to set up and verify internet sharing through Ethernet. Congratulations! You can now enjoy a seamless network connection and efficient sharing of your internet connection across multiple devices.
Conclusion
Sharing internet through Ethernet provides a reliable and efficient way to connect multiple devices to the internet. With its stable connection, faster speeds, and enhanced security, Ethernet-based internet sharing is an ideal choice for homes, offices, and other settings where a robust network connection is required.
In this guide, we have walked you through the steps to set up internet sharing through Ethernet. We started by explaining what internet sharing is and why Ethernet is a preferred method for many users. We then outlined the required materials and provided detailed instructions for each step.
First, we advised you to check your connection settings and ensure that your modem or router is properly connected to the internet. Next, we guided you through connecting your devices, making use of Ethernet cables and ensuring secure connections. After that, we explained how to configure the sharing options, enabling internet sharing through Ethernet.
We also discussed the importance of configuring DHCP settings to ensure proper IP address assignment for connected devices. Finally, we emphasized the importance of testing the connection to verify its functionality and troubleshoot any issues that may arise.
By following these steps, you can successfully set up internet sharing through Ethernet. This enables you to enjoy a stable and high-speed internet connection on all your connected devices while creating a local area network for seamless communication and resource sharing.
Remember, if you encounter any difficulties or encounter specific issues during the setup process, consult the user manuals for your devices or reach out to the technical support of your manufacturers or internet service provider for further assistance.
With the steps completed, you can now fully enjoy the benefits of internet sharing through Ethernet. Whether it’s for work, entertainment, or collaboration, you have created a reliable network that keeps you connected and productive.
So go ahead, connect your devices, share the internet, and reap the rewards of a robust and efficient network!