Introduction
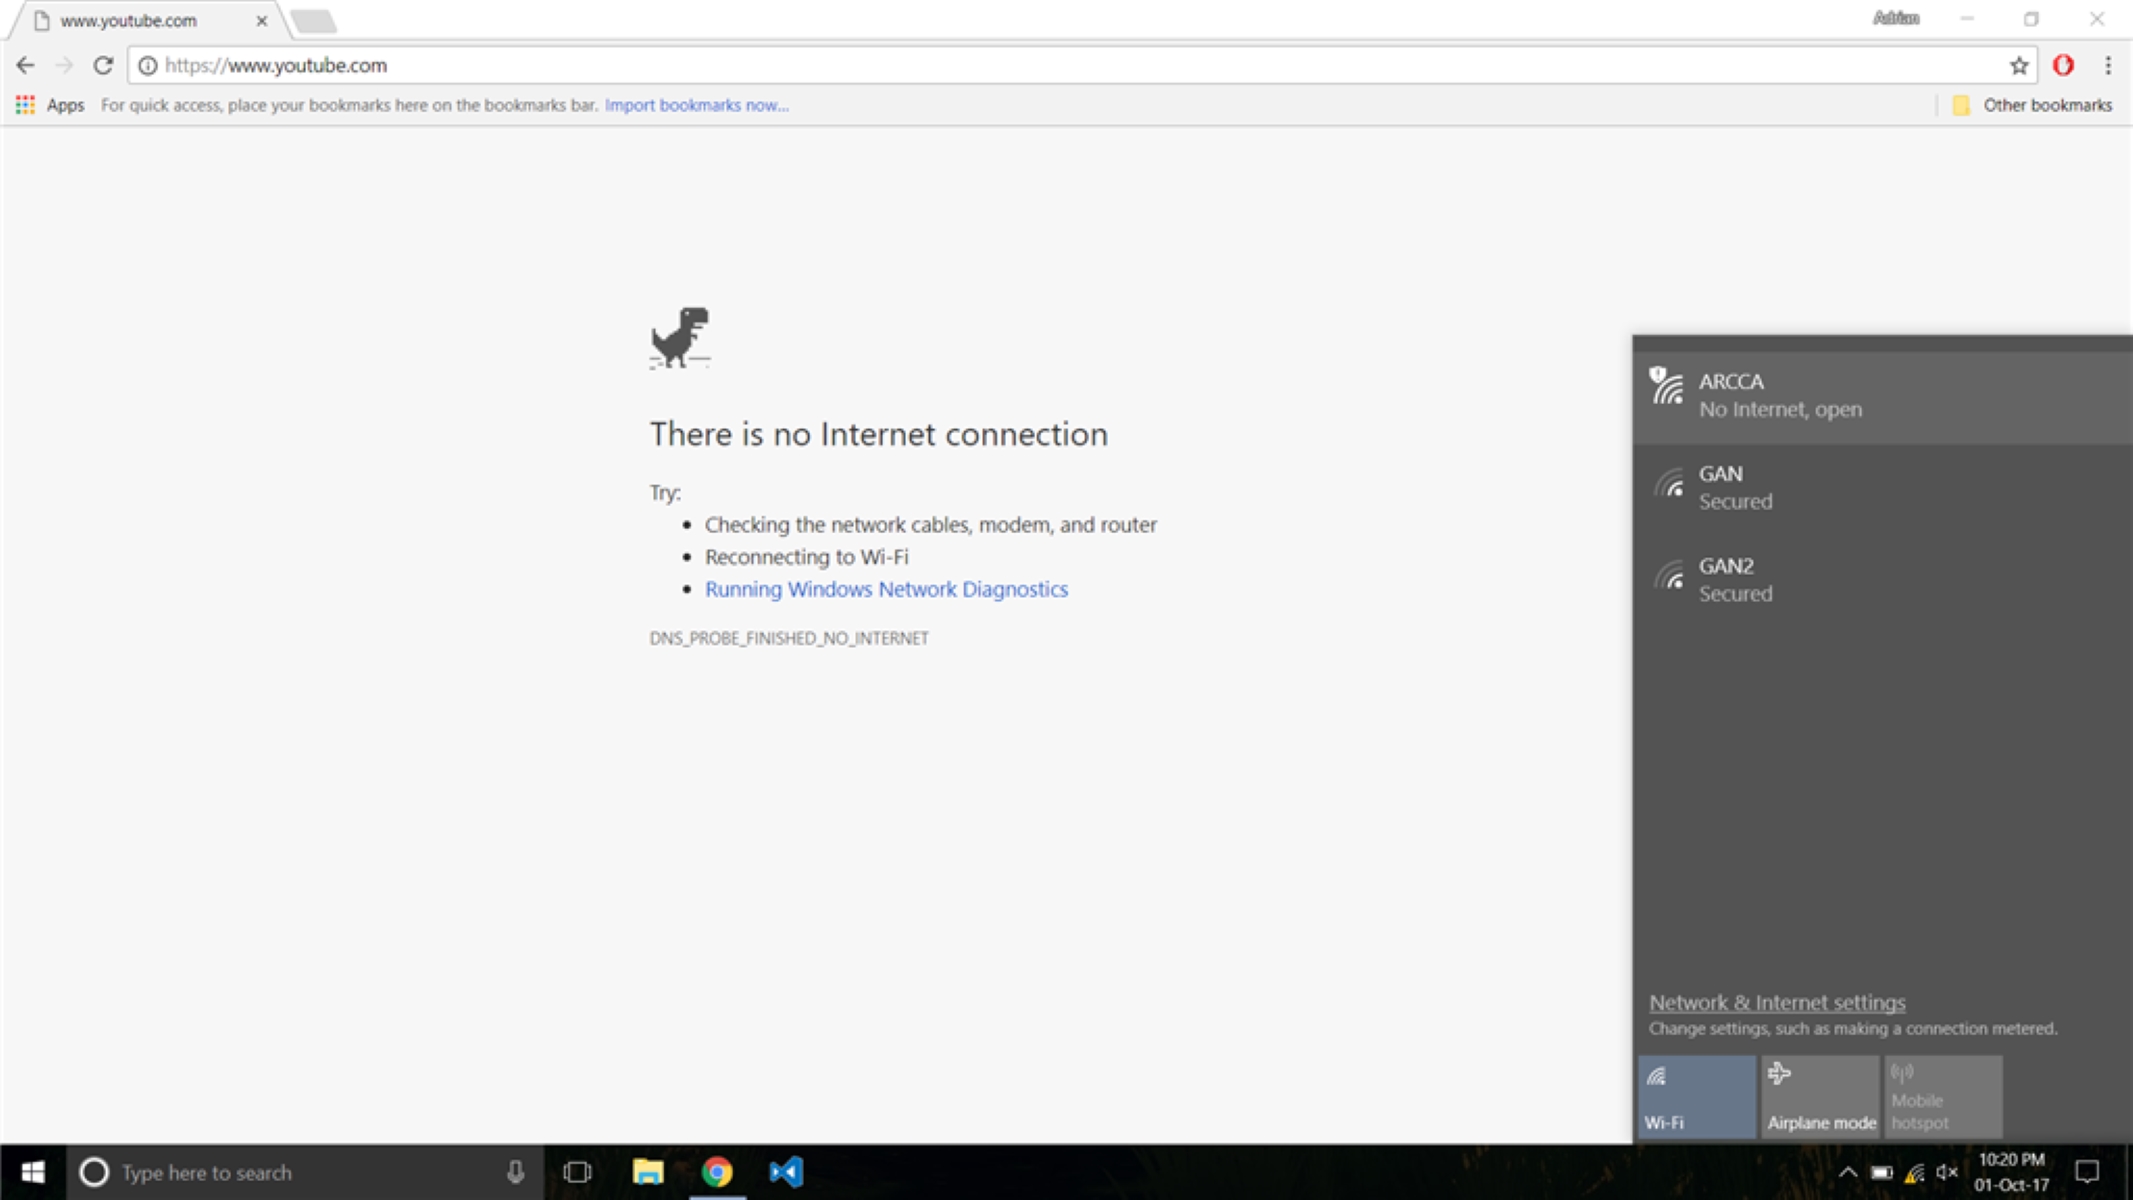
Having a reliable internet connection is crucial in today’s digital age. When your Ethernet connection suddenly shows “No Internet,” it can be frustrating and disruptive to your daily activities. There are several reasons why this error message may appear, and understanding them can help you troubleshoot and resolve the issue swiftly.
The “No Internet” message indicates that your Ethernet connection is unable to establish a connection to the internet. This could be due to various factors, such as problems with your network settings, faulty cables, issues with your network adapter, or even problems with your internet service provider (ISP). It’s important to pinpoint the root cause of the problem to effectively resolve it.
In this article, we will explore some common reasons why your Ethernet connection may show “No Internet” and provide troubleshooting steps to help you regain internet access. From network configuration issues to hardware problems, we’ll cover it all to ensure you have a seamless internet experience. So let’s dive in and uncover the possible causes behind the “No Internet” error on your Ethernet connection.
No Ethernet Connection
One of the most straightforward reasons why your Ethernet connection may show “No Internet” is because there is no connection established between your device and the network. This could be due to a loose Ethernet cable connection or a problem with the Ethernet port on your device.
To troubleshoot this issue, start by ensuring that the Ethernet cable is securely plugged into both your device and the router or modem. Check for any physical damage on the cable and replace it if necessary. You can also try connecting the cable to a different port on your router or device to rule out any port-specific issues.
If the cable and ports are in good condition, verify that the Ethernet adapter on your device is enabled and functional. You can do this by going to the Network and Sharing Center (Windows) or Network Settings (Mac) and checking if the Ethernet adapter is detected and enabled. If it’s disabled, simply enable it and see if the “No Internet” error persists.
In some cases, you may encounter a firmware or driver issue that is preventing your device from establishing an Ethernet connection. To address this, navigate to the manufacturer’s website and download the latest firmware or driver update for your Ethernet adapter. Install the update and restart your device to see if it resolves the issue.
If you’ve checked all the above steps and are still experiencing a lack of Ethernet connection, it’s advisable to contact your ISP for further assistance. They can check if there are any network outages or configuration issues that may be affecting your connection. Additionally, they can provide guidance on troubleshooting steps specific to your internet service.
Remember, a proper Ethernet connection is essential for a stable and fast internet connection. By ensuring the cable is securely plugged in, the Ethernet adapter is enabled, and your device’s firmware and drivers are up to date, you’ll increase your chances of resolving the “No Internet” issue and enjoying uninterrupted connectivity.
Incorrect Network Settings
Incorrect network settings can also lead to your Ethernet connection displaying the “No Internet” message. This can occur when there are misconfigured IP addresses, subnet masks, or DNS settings on your device.
To address this issue, start by checking your network settings. On Windows, you can do this by going to the Network and Sharing Center and clicking on “Change adapter settings.” Right-click on your Ethernet adapter and select “Properties.” From there, ensure that the “Internet Protocol Version 4 (TCP/IPv4)” is selected and click on “Properties.” Ensure that the settings are set to obtain an IP address and DNS server address automatically unless you have specific requirements from your ISP.
On a Mac, navigate to “System Preferences” and click on “Network.” Select your Ethernet connection and click on the “Advanced” button. In the “TCP/IP” tab, ensure that the “Configure IPv4” option is set to “Using DHCP.” Similarly, in the “DNS” tab, ensure that the DNS servers are set to automatically obtain.
If your network settings are already set to automatic and you’re still experiencing the “No Internet” issue, you can try manually entering the IP address, subnet mask, and DNS server addresses provided by your ISP. Contact your ISP’s customer support to get the correct values if necessary. Once you’ve entered the values, restart your device and check if the error persists.
In some cases, the “No Internet” error may be caused by conflicts in the IP address allocation. This can occur if another device on your network has the same IP address as your device. To resolve this, you can try releasing and renewing your IP address. On Windows, open the Command Prompt and type “ipconfig /release” followed by “ipconfig /renew.” On a Mac, open the Terminal and type “sudo ipconfig set en0 DHCP” followed by your admin password.
Correct network settings are crucial for establishing a connection to the internet. By ensuring that your settings are set to obtain IP addresses and DNS server addresses automatically, or configuring them manually if required, you can resolve networking issues and eliminate the “No Internet” error on your Ethernet connection.
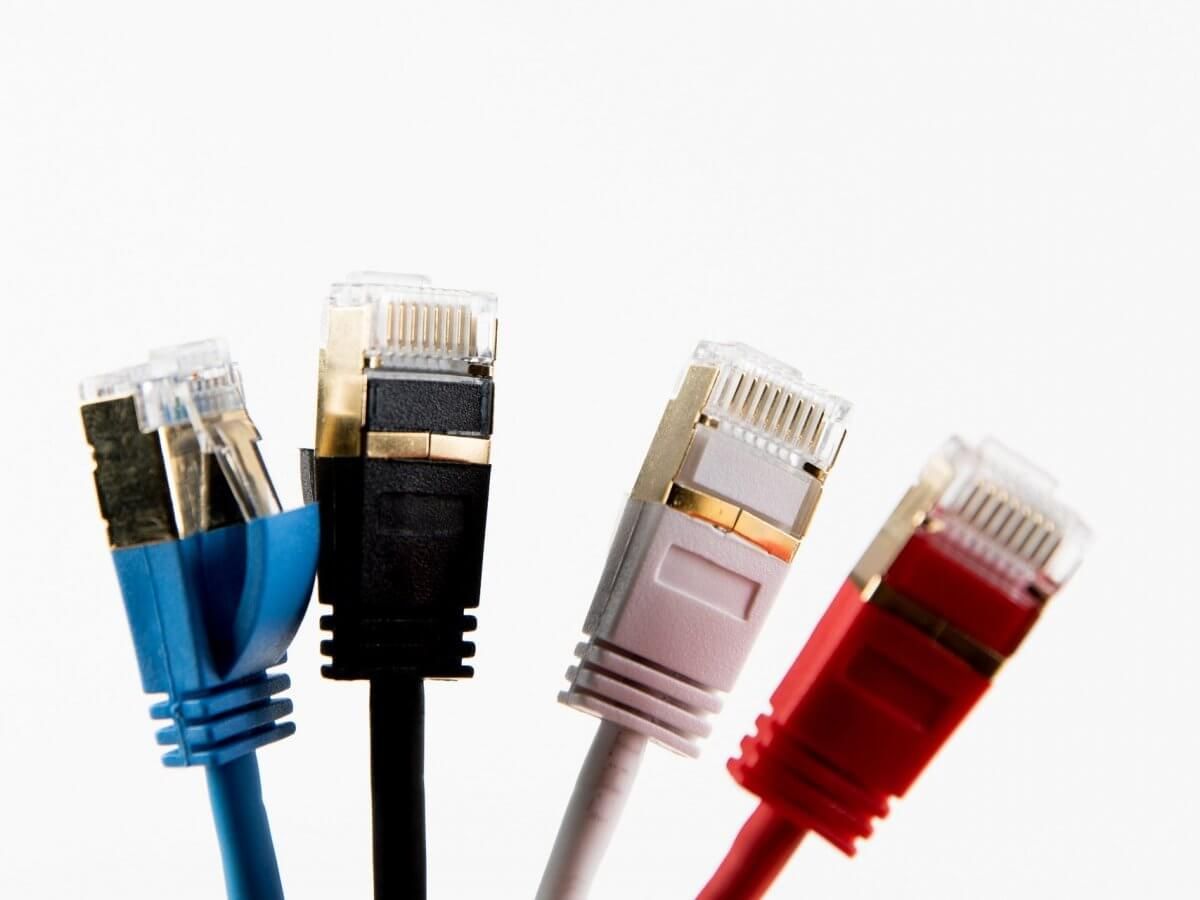
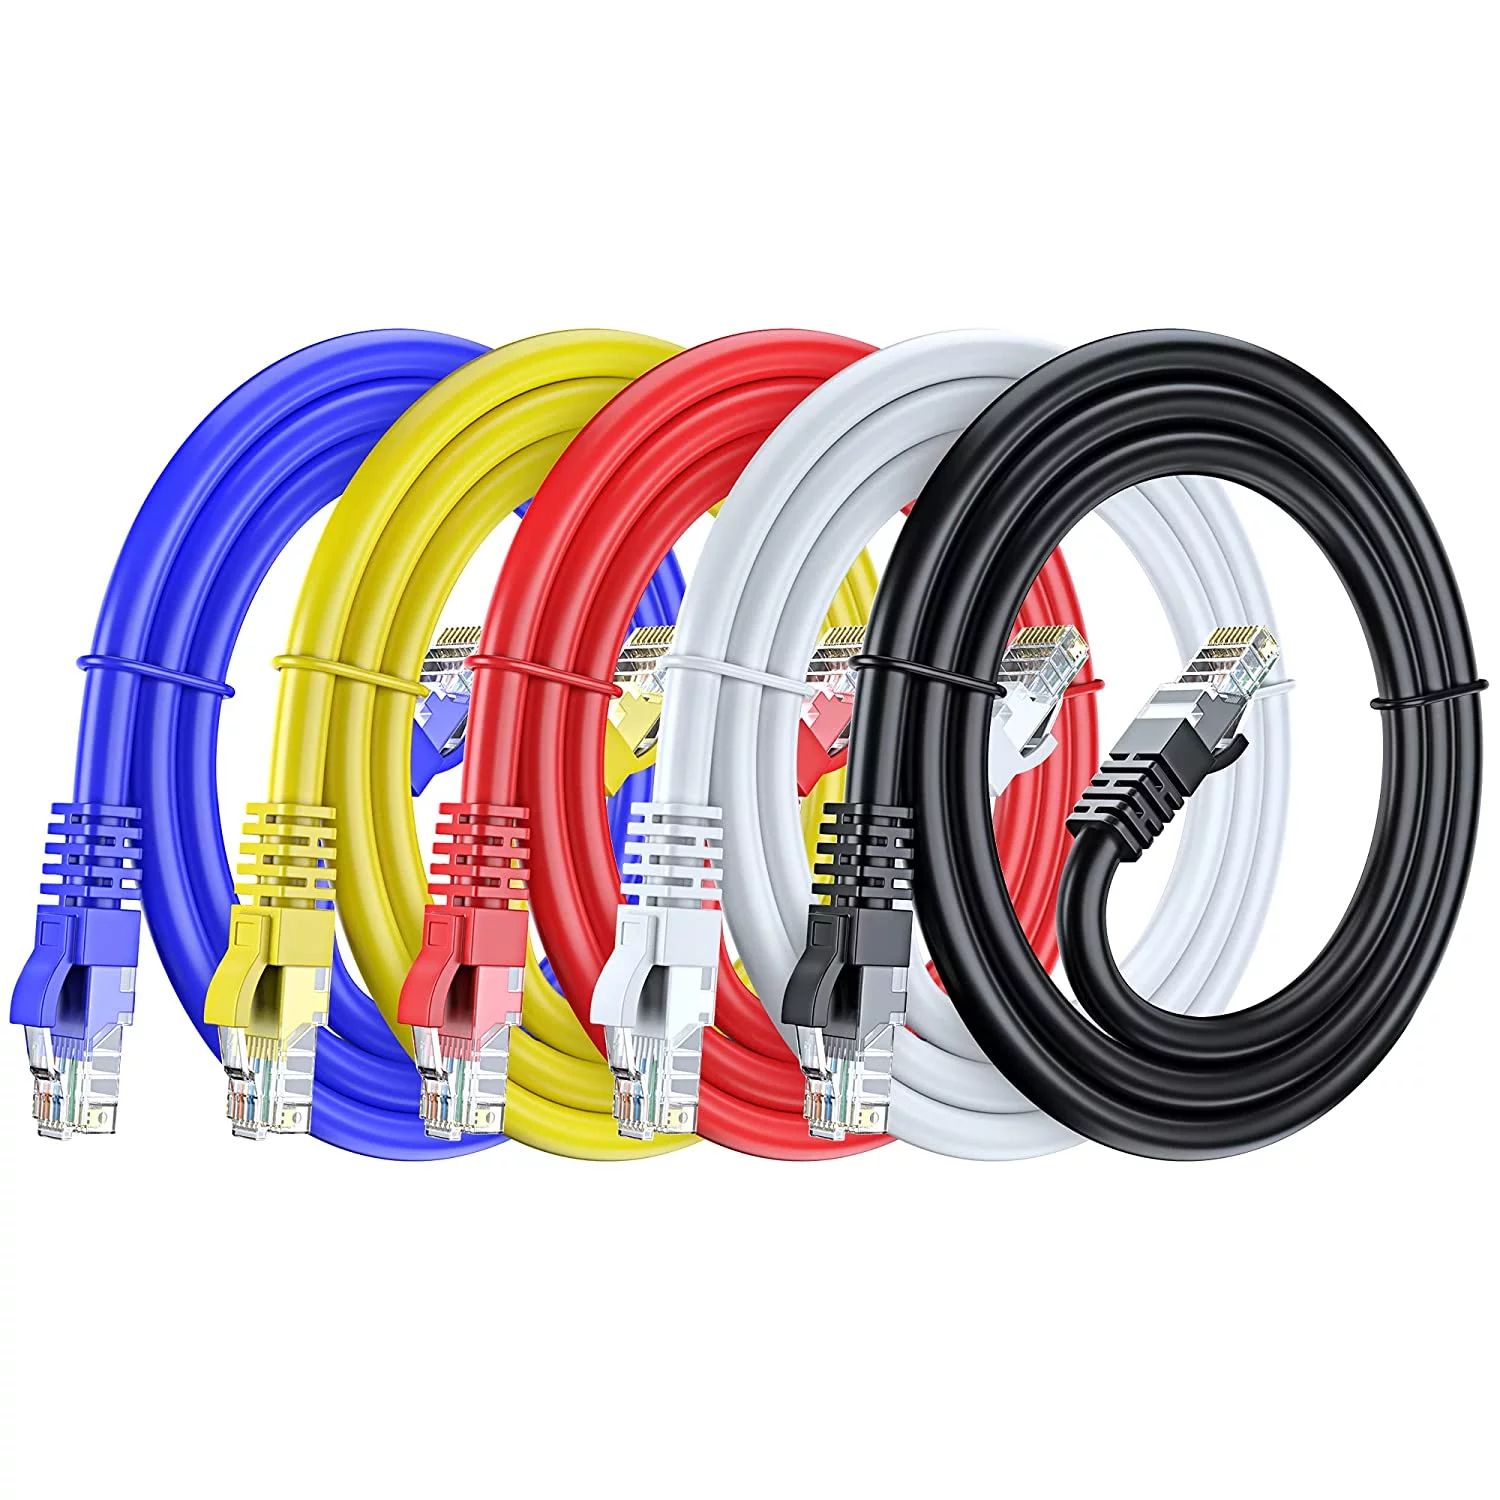
Faulty Ethernet Cable
A faulty Ethernet cable can be a common culprit behind the “No Internet” error on your Ethernet connection. Over time, cables can become worn out or damaged, leading to connectivity issues.
To determine if the Ethernet cable is causing the problem, start by visually inspecting it for any signs of physical damage, such as frayed ends or bent connectors. If you spot any damage, it’s recommended to replace the cable with a new one. Even if there is no visible damage, it’s worth trying a different Ethernet cable to see if the error persists.
Additionally, check if the Ethernet cable is securely plugged into both your device and the router or modem. Sometimes, a loose connection can disrupt the internet signal, resulting in the “No Internet” error. Ensure that the cable is firmly inserted into the Ethernet ports.
If you have access to another device with Ethernet capability, such as a laptop or a gaming console, try connecting the Ethernet cable to that device to see if you can establish a working internet connection. If the other device connects successfully, it indicates that the issue lies with your original device rather than the cable itself.
Sometimes, Ethernet cables that are too long can cause signal degradation and result in a loss of internet connectivity. If you’re using an exceptionally long cable, try using a shorter one to see if it resolves the issue.
By checking for physical damage, ensuring a secure connection, and trying different cables, you can identify if a faulty Ethernet cable is the reason behind the “No Internet” error. By replacing the cable if necessary or using a shorter one, you can restore a stable and reliable internet connection through your Ethernet connection.
Defective Network Adapter
A defective network adapter can also be a potential cause for the “No Internet” error on your Ethernet connection. The network adapter, also known as the Ethernet card or network interface card (NIC), is responsible for facilitating communication between your device and the network.
To determine if the network adapter is the problem, first, check if it is properly enabled on your device. On Windows, go to the Device Manager, expand the “Network adapters” section, and ensure that your Ethernet adapter is not disabled. If it is disabled, right-click on it and select “Enable.”
If the network adapter is enabled but you are still experiencing the “No Internet” error, it could be a hardware issue. Try connecting your device to a different network or using a different Ethernet port on your router or modem. If the issue persists across different networks and Ethernet ports, it’s likely that the network adapter is defective.
One possible solution is to update the driver for your network adapter. Go to the manufacturer’s website or use a driver update utility to download and install the latest driver for your specific network adapter model. After installing the update, restart your device and check if the “No Internet” error is resolved.
In some cases, the network adapter may be faulty beyond repair. In this situation, you may need to replace the network adapter with a new one. Most laptops have built-in network adapters, while desktop computers may require a separate network adapter card. Consult the manufacturer’s documentation or seek professional assistance to ensure compatibility and proper installation.
A defective network adapter can hinder your ability to establish a stable internet connection through Ethernet. By ensuring the adapter is enabled, updating the driver, and potentially replacing the adapter if necessary, you can overcome the “No Internet” error and regain reliable internet access.
Network Driver Issues
Network driver issues can also contribute to the “No Internet” error on your Ethernet connection. Network drivers are software components that allow your operating system to communicate effectively with your network adapter.
Outdated or incompatible network drivers can cause connectivity problems and result in the “No Internet” error. To address this, start by checking if you have the latest driver installed for your network adapter. On Windows, you can do this by going to the Device Manager, expanding the “Network adapters” section, right-clicking on your Ethernet adapter, and selecting “Update driver.” Choose the option to search automatically for updated driver software. If a new driver is found, follow the on-screen instructions to install it.
If Windows doesn’t find an updated driver automatically, you can visit the manufacturer’s website for your device or network adapter and search for the latest driver specifically designed for your operating system. Download the driver and install it. Afterward, restart your device and check if the “No Internet” error is resolved.
In some cases, rolling back to a previous version of the network driver can also resolve connectivity issues. If you recently updated your network driver and started experiencing the “No Internet” error, you can revert to the previous driver version. To do this, go to the Device Manager, right-click on your Ethernet adapter, select “Properties,” go to the “Driver” tab, and click on “Roll Back Driver” if available. Follow the on-screen instructions to complete the process.
If updating or rolling back the driver doesn’t solve the problem, you can try uninstalling the current driver completely. To do this, go to the Device Manager, right-click on your Ethernet adapter, select “Uninstall device,” and follow the prompts. After uninstalling, restart your device. Upon restart, Windows will automatically reinstall the default network driver. Check if the error is resolved with the newly installed default driver.
Network driver issues can disrupt the proper functioning of your Ethernet connection. By ensuring you have the latest driver installed, rolling back if necessary, or uninstalling and reinstalling the driver, you can address driver-related problems and eliminate the “No Internet” error on your Ethernet connection.
IP Address Conflict
An IP address conflict can lead to the “No Internet” error on your Ethernet connection. This occurs when two or more devices on the same network are assigned the same IP address, causing a conflict and disrupting network connectivity.
To resolve an IP address conflict, follow these steps:
- Start by checking if there are any other devices on your network that may be using the same IP address. This can happen if a device has a static IP address set manually and another device is assigned the same IP address automatically.
-
To release and renew your IP address on Windows, open the Command Prompt and enter the following commands:
ipconfig /releaseipconfig /renew -
On a Mac, open the Terminal and enter the following command followed by your admin password:
sudo ipconfig set en0 DHCP
By releasing and renewing your IP address, you are allowing your device to request a new IP address from the DHCP server, which can help resolve conflicts.
If the IP address conflict persists, you may need to manually assign a unique IP address to each device on your network. To do this, access your router’s settings page and navigate to the DHCP or LAN settings. Look for the option to set static or manual IP addresses and assign a unique IP address to each device connected to your network.
It’s important to note that manually assigning IP addresses should be done with caution to prevent future conflicts. It’s recommended to use IP addresses within the private IP range specified by the Internet Assigned Numbers Authority (IANA) to ensure compatibility and avoid conflicts with other networks.
By resolving IP address conflicts and ensuring each device on your network has a unique IP address, you can eliminate network disruptions and overcome the “No Internet” error on your Ethernet connection.
Network Congestion
Network congestion can occur when there is excessive traffic on your network, which can result in a slow or unstable internet connection. This can lead to the “No Internet” error on your Ethernet connection, as the network becomes overwhelmed and struggles to handle the incoming and outgoing data.
To address network congestion, consider the following steps:
- Check if there are multiple devices on your network consuming a significant amount of bandwidth. Streaming services, online gaming, and large file downloads can hog bandwidth and contribute to network congestion. Temporarily pausing or limiting the usage of these devices or activities can help alleviate congestion and improve connectivity.
- If you have a lot of devices connected to your network, consider disconnecting or turning off devices that are not in use. Each connected device consumes a portion of the available bandwidth, and reducing the number of active devices can free up bandwidth for other devices.
- Restart your router or modem to refresh the network connection. This can help clear any temporary congestion or issues that may be impeding your internet connection. Simply unplug the power cable from the router or modem, wait for a few seconds, and then plug it back in. Allow the device to fully reboot before testing your Ethernet connection.
In some cases, upgrading your internet plan with your ISP to a higher bandwidth package can provide a more stable and faster connection, especially if you consistently experience network congestion. Contact your ISP to discuss the available options and determine if an upgrade is feasible and necessary for your needs.
By optimizing your network usage, restarting your router or modem, and considering an upgrade to a higher bandwidth package, you can alleviate network congestion and improve the stability of your Ethernet connection, thus reducing the occurrence of the “No Internet” error.
Firewall or Antivirus Block
Firewalls and antivirus software play a crucial role in protecting your device from malicious threats. However, in some cases, they can also block your Ethernet connection and result in the “No Internet” error. Firewalls and antivirus programs may mistakenly identify network traffic as a potential threat and block the connection.
To address this issue, consider the following steps:
- Check the settings of your firewall software or antivirus program and ensure that they are not blocking the network connection. Look for options such as “Allow network access” or “Whitelist” and add the necessary programs or services associated with your Ethernet connection to the list of trusted applications.
- Temporarily disable your firewall or antivirus software and check if the “No Internet” error is resolved. If the error disappears after disabling the software, it indicates that the software is indeed causing the blockage. In such cases, you may want to consult the software’s documentation or contact their customer support for guidance on how to modify the settings to allow your Ethernet connection.
It is important to note that disabling your firewall or antivirus software should only be temporary, as it can leave your device vulnerable to security threats. Consider re-enabling the software once you have confirmed that it is causing the blockage and have made the necessary adjustments to allow your Ethernet connection.
Firewalls and antivirus software are crucial for your device’s security, but they can sometimes interfere with your Ethernet connection. By adjusting the settings or temporarily disabling the software, you can eliminate any blocks and restore a stable internet connection through your Ethernet connection.
Protocol or DNS Settings
Incorrect protocol or DNS (Domain Name System) settings can also lead to the “No Internet” error on your Ethernet connection. The protocol settings define how data is transmitted between your device and the network, while the DNS settings translate website domain names into their corresponding IP addresses.
To resolve issues related to protocol or DNS settings, consider the following steps:
- Check the protocol settings of your network adapter. On Windows, go to the Network and Sharing Center, click on “Change adapter settings,” right-click on your Ethernet adapter, and select “Properties.” Ensure that the appropriate protocols, such as TCP/IPv4 or TCP/IPv6, are checked or enabled.
- Verify your DNS settings. On Windows, go to the Network and Sharing Center and click on “Change adapter settings.” Right-click on your Ethernet adapter and select “Properties.” In the list of items, double-click on “Internet Protocol Version 4 (TCP/IPv4)” or “Internet Protocol Version 6 (TCP/IPv6)” and select “Obtain DNS server address automatically.” This allows your device to automatically obtain the DNS server addresses from your ISP.
- If you are experiencing DNS-related issues, you can try using alternative DNS servers. Public DNS servers such as Google DNS (8.8.8.8 and 8.8.4.4) or Cloudflare DNS (1.1.1.1 and 1.0.0.1) are commonly used alternatives. To change your DNS settings, follow the steps mentioned above and select the option to “Use the following DNS server addresses,” then enter the preferred alternate DNS server address(es).
It’s important to note that changing protocol or DNS settings should be approached with caution, as incorrect settings can further disrupt your internet connection. If you are unsure or uncomfortable making these changes, it’s recommended to consult with a technical expert or contact your ISP for assistance.
By ensuring the proper protocol settings are enabled and verifying your DNS settings or using alternative DNS servers, you can address issues related to protocol or DNS settings and resolve the “No Internet” error on your Ethernet connection.
ISP or Network Service Problems
Sometimes, the “No Internet” error on your Ethernet connection may be caused by problems with your Internet Service Provider (ISP) or network services. Issues with the ISP’s infrastructure, network outages, or maintenance activities can disrupt your internet connection and result in the error.
To address problems related to your ISP or network services, consider the following steps:
- Check for any service outage notifications from your ISP. If there is a known issue affecting your area, it’s likely that the “No Internet” error is a result of the outage. In such cases, you can contact your ISP’s customer support for more information about the outage and an estimated time for resolution.
- Restart your router or modem to refresh the connection with your ISP. This can help resolve temporary connection issues and establish a stable internet connection. Simply unplug the power cable from the router or modem, wait for a few seconds, and then plug it back in. Allow the device to fully reboot before testing your Ethernet connection.
- Contact your ISP’s customer support for assistance. They can guide you through specific troubleshooting steps tailored to your internet service and help identify any network issues that may be affecting your connection. They may also be able to provide additional insights or schedule a technician to visit your premises if needed.
Understanding that network problems can be frustrating, it’s essential to stay patient and cooperate with your ISP to resolve the issue. In most cases, network problems are temporary and can be fixed by the ISP’s technical team.
By keeping an eye out for service outage notifications, restarting your router or modem, and contacting your ISP’s customer support, you can address problems related to your ISP or network services and overcome the “No Internet” error on your Ethernet connection.
Troubleshooting Steps
If you’ve encountered the “No Internet” error on your Ethernet connection and none of the previous solutions have resolved the issue, here are some additional troubleshooting steps you can try:
- Restart your device: Sometimes, a simple device reboot can resolve connectivity issues. Restart your computer or device and check if the “No Internet” error persists.
-
Clear DNS cache: DNS cache stores information about previously visited websites and can sometimes cause conflicts. Clearing the DNS cache can help resolve DNS-related issues. On Windows, open the Command Prompt and type “
ipconfig /flushdns“. On a Mac, open the Terminal and enter “sudo killall -HUP mDNSResponder“. - Disable VPN or proxy: If you are using a VPN (Virtual Private Network) or proxy server, try disabling it temporarily to see if it resolves the issue. VPNs or proxy servers can sometimes interfere with your internet connection and cause the “No Internet” error.
- Check hardware compatibility: Ensure that your Ethernet adapter and router are compatible with each other. Depending on the hardware specifications, compatibility issues can cause connectivity problems.
- Perform a system scan: Run a thorough scan of your device using reliable antivirus or antimalware software. Malware or viruses can sometimes disrupt the network connection. Remove any detected threats and restart your device.
- Update your firmware: Check if there are any firmware updates available for your router or modem. Outdated firmware can sometimes cause connectivity issues. Visit the manufacturer’s website for your device to download and install the latest firmware update.
- Reset your router: If none of the previous steps have worked, you can try resetting your router or modem to its default settings. Note that this will erase any custom settings, so make sure to have your ISP login details and configuration information at hand. Consult your router’s manual or contact your ISP for guidance on performing a factory reset.
By following these troubleshooting steps, you can effectively identify and resolve the “No Internet” error on your Ethernet connection. If the issue persists despite trying these steps, it may be necessary to consult with an IT professional or contact your ISP for further assistance.