Why Use Ethernet on iPhone?
When it comes to connecting to the internet on your iPhone, most people rely on Wi-Fi or cellular data. However, there are several reasons why using Ethernet on your iPhone can be advantageous in certain situations:
- Reliability: Unlike wireless connections, Ethernet offers a more stable and reliable internet connection. This is particularly beneficial when you are in an area with weak Wi-Fi signals or when you need a consistently strong connection for activities such as video streaming or online gaming.
- Speed: Ethernet connections have the potential to provide faster internet speeds compared to Wi-Fi or cellular data. This is especially relevant when you need to transfer large files or engage in bandwidth-intensive tasks.
- Security: Wi-Fi networks are prone to potential security risks, such as unauthorized access or data breaches. By utilizing Ethernet on your iPhone, you can ensure a more secure connection since it eliminates the risk of Wi-Fi-related vulnerabilities.
- Reduced Electromagnetic Interference: In certain environments, such as hospitals or industrial settings, Wi-Fi signals may interfere with sensitive equipment or machinery. Ethernet provides a wired connection that eliminates this interference, ensuring uninterrupted functionality.
- Battery Life: Using Ethernet for internet connectivity on your iPhone can help conserve battery life since it doesn’t require the device to constantly search and maintain a wireless connection.
While Ethernet may not be necessary for everyday use, having the option to connect your iPhone via Ethernet can be incredibly useful in specific scenarios. Whether you need a more reliable connection, faster speeds, increased security, or reduced interference, Ethernet can deliver a superior internet experience on your iPhone.
What You Need
Before you can start using Ethernet on your iPhone, you will need a few essential components:
- iPhone: Make sure you have an iPhone that supports Ethernet connectivity. This includes iPhone models with a Lightning port (iPhone 5 or later) or USB-C port (iPhone 12 or later).
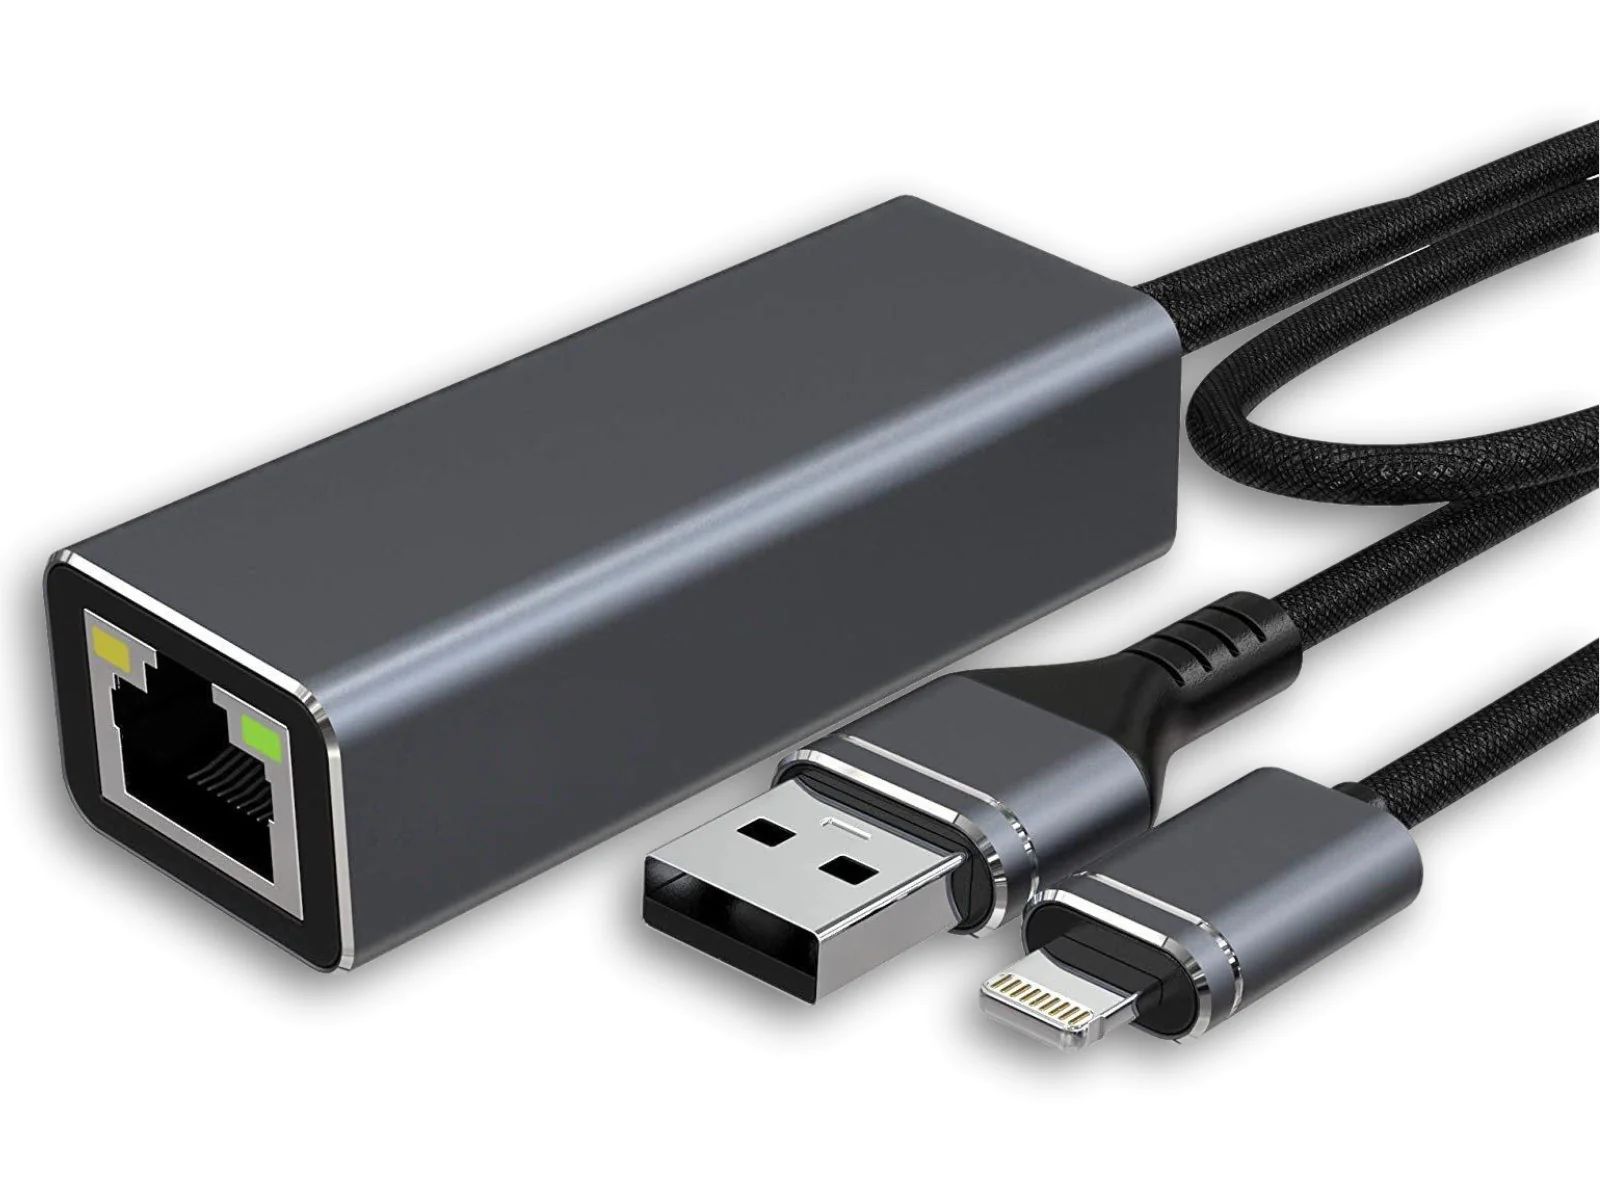
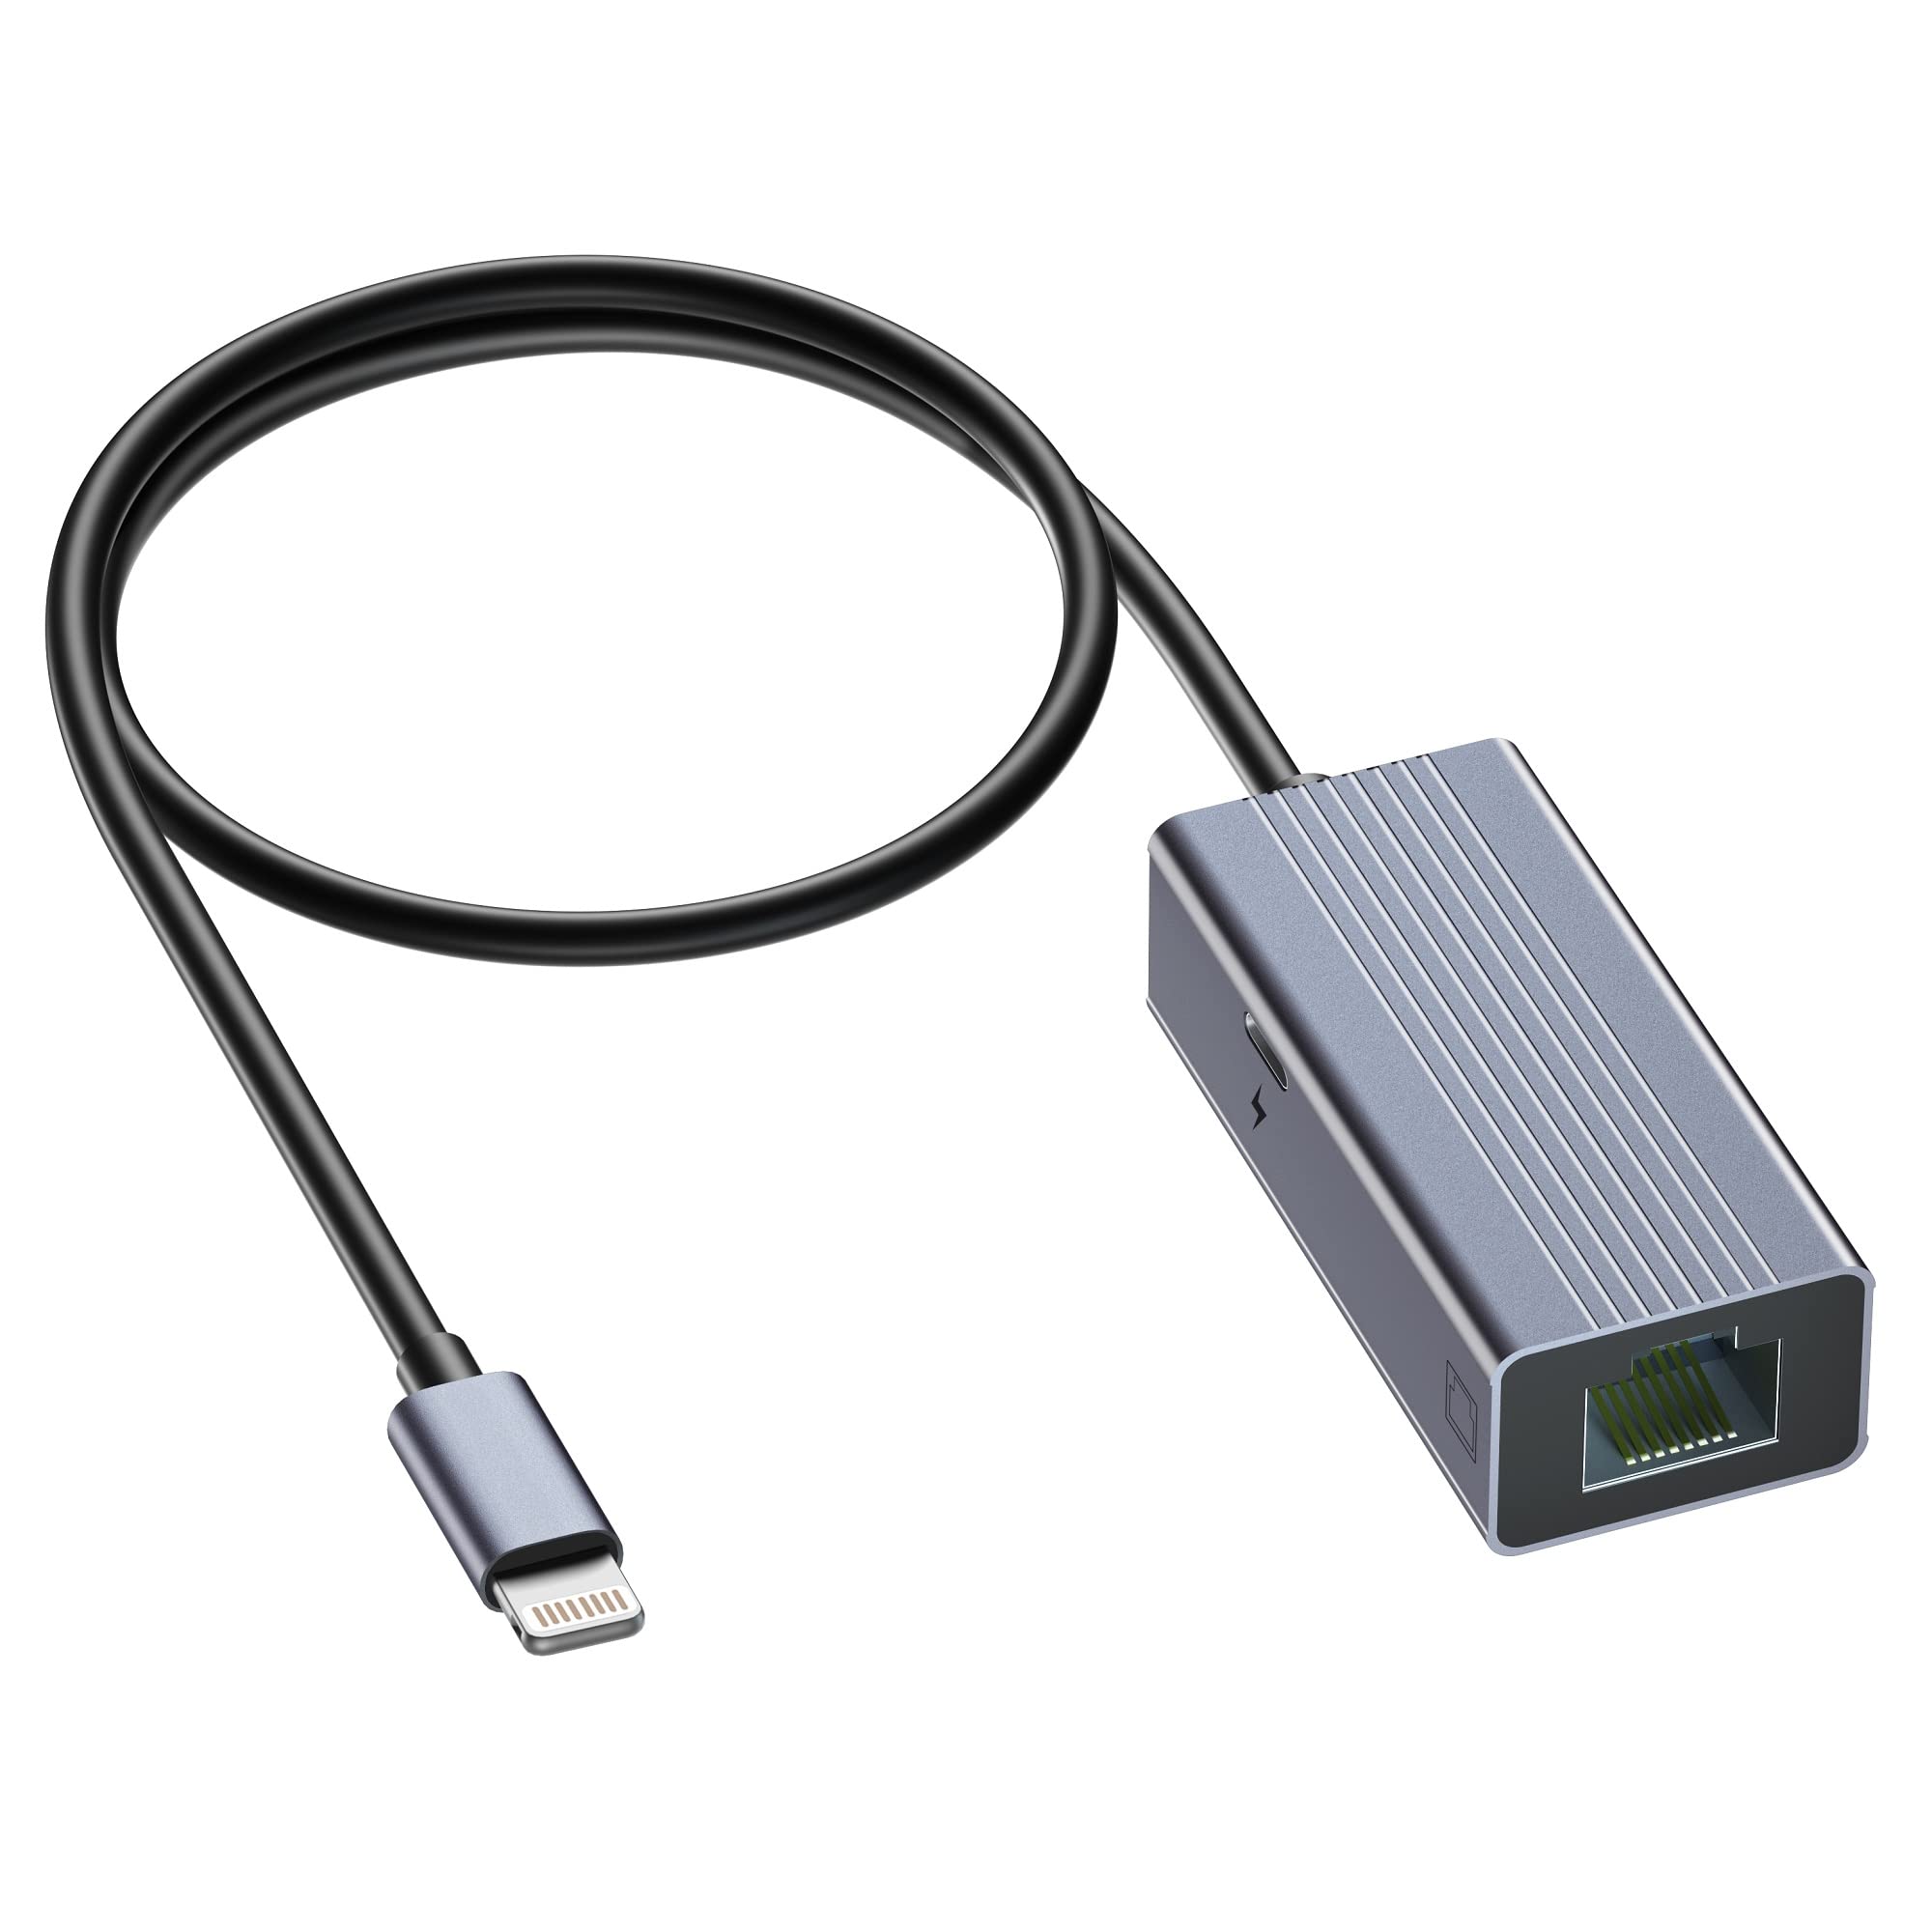
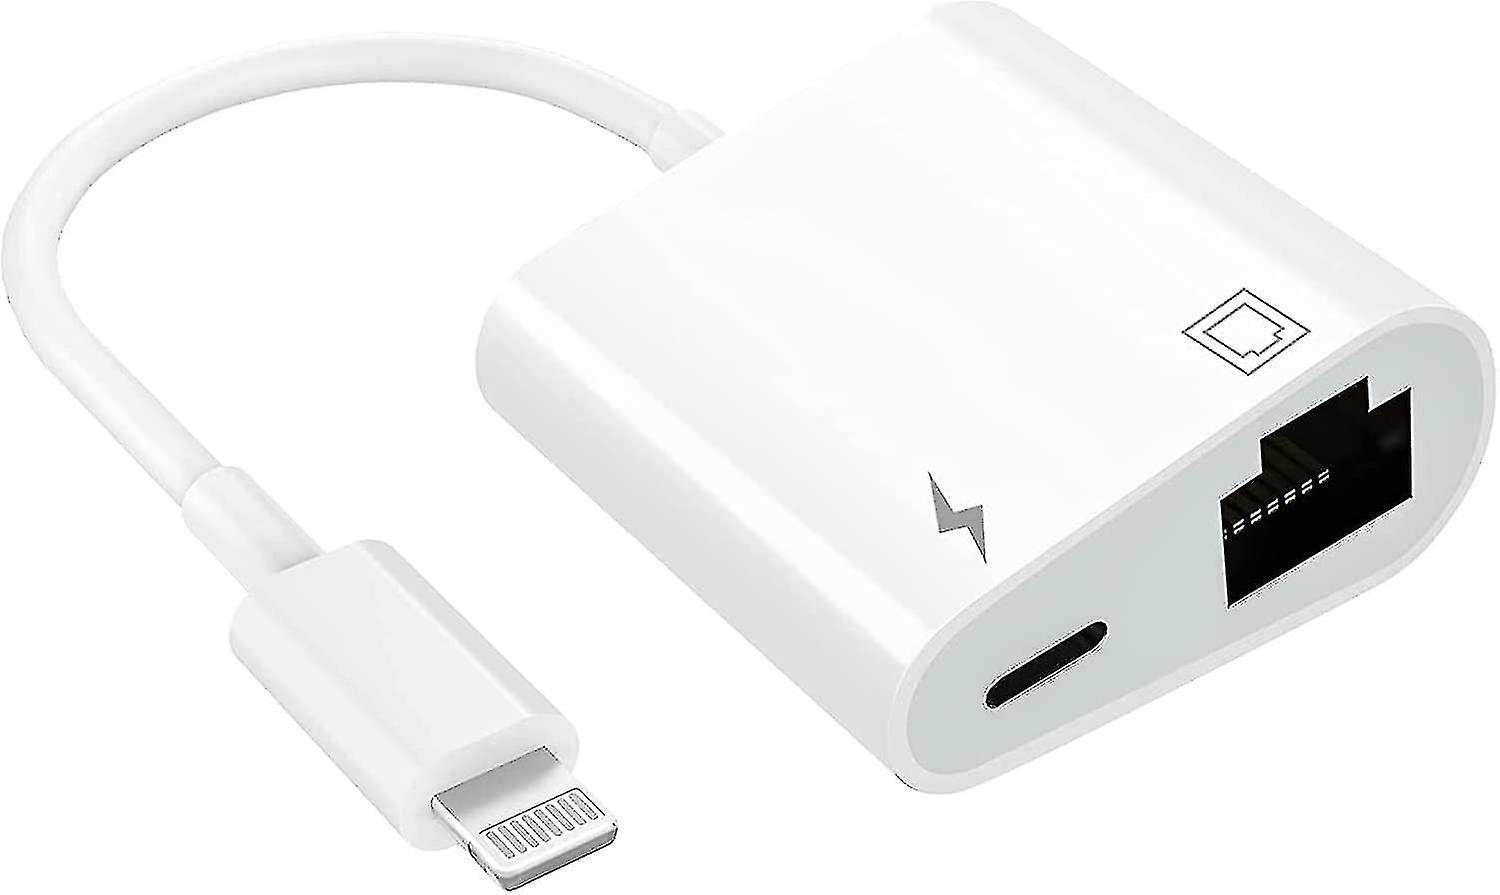
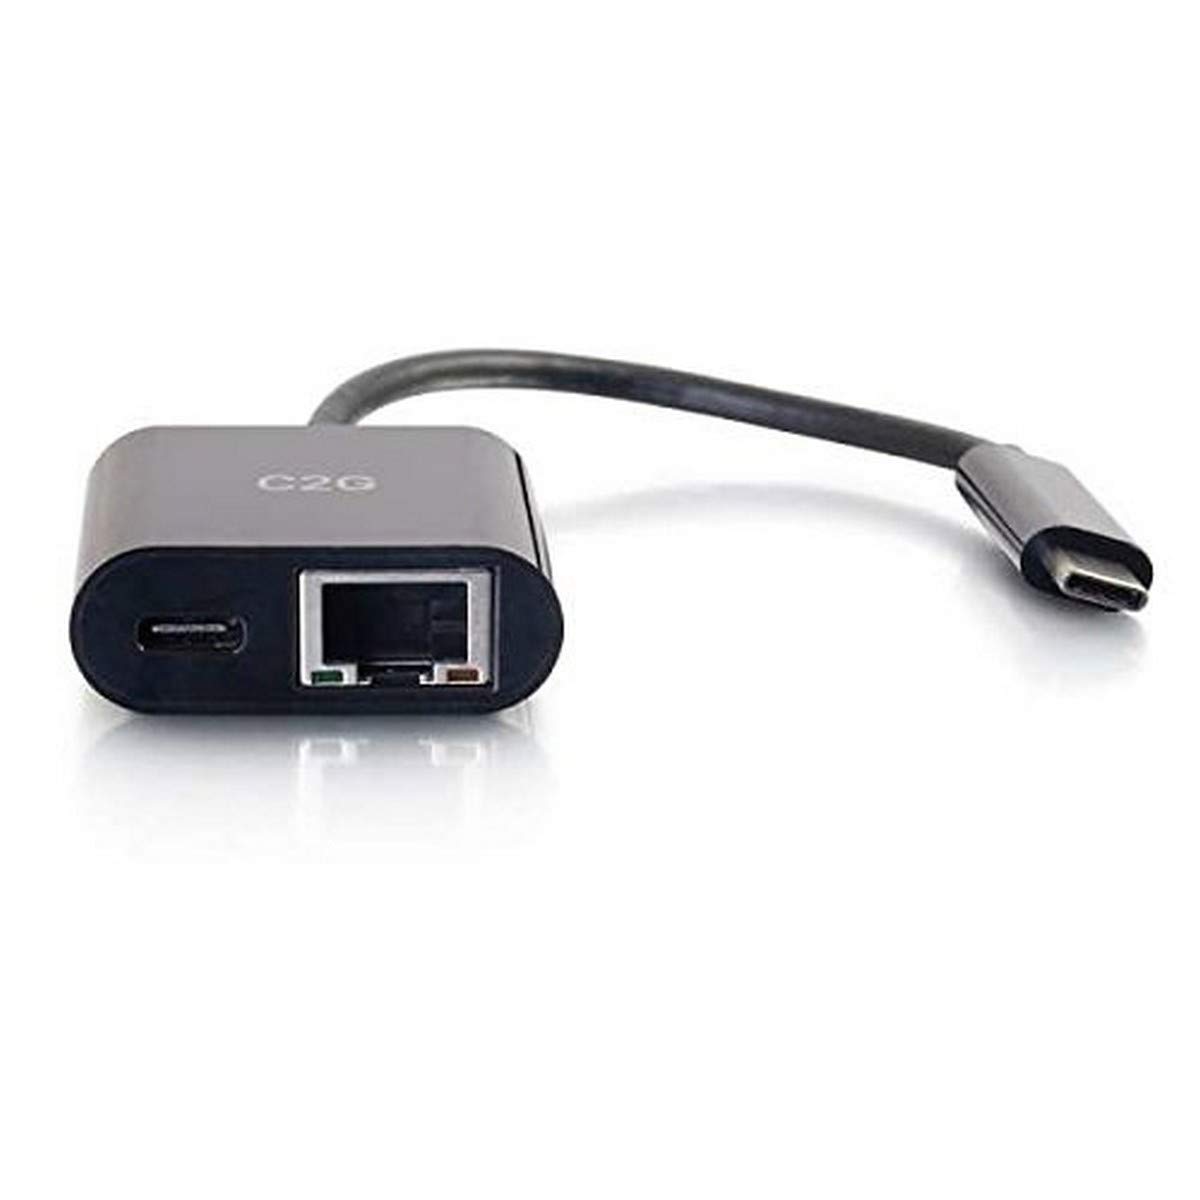
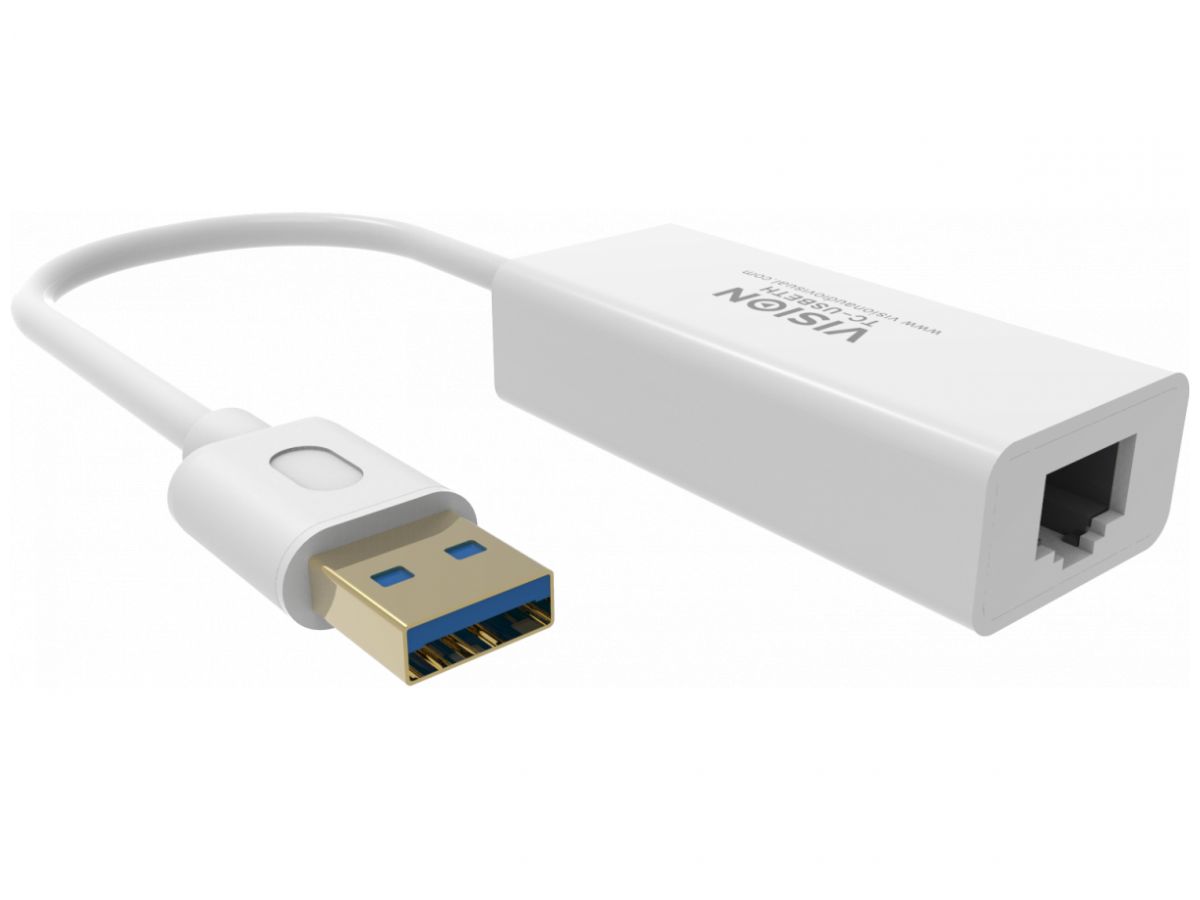
- Ethernet Adapter: To connect your iPhone to an Ethernet cable, you will need an Ethernet adapter. You can find a variety of adapters available in the market, such as Lightning to Ethernet adapters or USB-C to Ethernet adapters. Choose an adapter that is compatible with your iPhone model.
- Ethernet Cable: You will also need an Ethernet cable to establish a connection between your iPhone and the Ethernet adapter. Make sure you have a properly functioning Ethernet cable that is long enough to reach from your iPhone to the Ethernet port.
- Active Ethernet Connection: Lastly, ensure that you have access to an active Ethernet connection. This can be in your home or office, or any other location where Ethernet is available.
Once you have these necessary components ready, you can proceed to connect your iPhone to the Ethernet network and enjoy the benefits of a wired internet connection on your device.
Step 1: Check Your iPhone Compatibility
Before you begin using Ethernet on your iPhone, it’s important to ensure that your device is compatible with Ethernet connectivity. Follow these steps to check the compatibility:
- Identify your iPhone model: The compatibility of Ethernet adapters varies depending on the iPhone model. Determine which iPhone model you have, whether it has a Lightning port or a USB-C port.
- Research Ethernet adapter compatibility: Look for Ethernet adapters that are specifically designed for your iPhone model. Check the product specifications or do some online research to find out if the adapter is compatible with your iPhone.
- Check iOS requirements: Ensure that your iPhone is running the latest version of iOS. Some Ethernet adapters may require specific iOS versions to work properly. You can update your iOS by going to Settings > General > Software Update.
- Read user reviews and recommendations: Before purchasing an Ethernet adapter, read user reviews and recommendations to ensure that it functions well with your iPhone model. Look out for any potential issues or limitations that others may have experienced.
By following these steps, you can determine if your iPhone is compatible with Ethernet connectivity. This is an essential first step to ensure a successful setup and usage of Ethernet on your device.
Step 2: Get an Ethernet Adapter
Once you have confirmed the compatibility of your iPhone, the next step is to obtain an Ethernet adapter that is suitable for your device. Here’s what you need to do:
- Research and choose the right adapter: Look for Ethernet adapters that are specifically designed for your iPhone model. Consider factors such as the connector type (Lightning or USB-C) and the brand’s reputation for compatibility and performance.
- Purchase the adapter: Once you have chosen the adapter, you can purchase it from authorized retailers, online marketplaces, or directly from the manufacturer’s website. Ensure that you are buying from a reliable source to get a genuine and high-quality product.
- Check additional features: Some Ethernet adapters may offer additional features, such as USB ports or pass-through charging. Take note of these features and decide if they align with your needs and preferences.
- Consider user reviews and ratings: Before making a final decision, read user reviews and ratings for the specific adapter you are considering. This will give you insights into the performance, durability, and user experience of the product.
- Make the purchase: Once you have gathered all the necessary information and reviews, go ahead and make the purchase. Ensure that you follow the provided instructions, whether it’s an online purchase or a local store visit.
By following these steps, you can acquire an Ethernet adapter that is compatible with your iPhone model. This adapter will serve as the bridge between your iPhone and the Ethernet cable, enabling you to establish a wired internet connection on your device.
Step 3: Connect the Adapter
Now that you have obtained the Ethernet adapter for your iPhone, it’s time to connect it to your device. Follow these steps to establish the connection:
- Power off your iPhone: Before connecting the Ethernet adapter, power off your iPhone to avoid any potential issues.
- Locate the Ethernet port: Identify the Ethernet port on your adapter. It is usually located on one end of the adapter and resembles an Ethernet input.
- Connect the Ethernet cable: Take the Ethernet cable and plug one end into the Ethernet port on the adapter.
- Plug the adapter into your iPhone: Insert the adapter with the connected Ethernet cable into the Lightning or USB-C port of your iPhone. Ensure that it is securely connected.
- Power on your iPhone: After connecting the adapter, power on your iPhone. The device will automatically detect the Ethernet connection.
Once you have followed these steps, your iPhone should be connected to the Ethernet network through the adapter. You are now ready to configure the Ethernet settings on your device and start using the wired internet connection.
Step 4: Configure Ethernet Settings
After connecting the Ethernet adapter to your iPhone, you need to configure the Ethernet settings to ensure proper functionality. Follow these steps to configure the settings:
- Open the Settings app: Tap on the Settings icon on your iPhone’s home screen to launch the Settings app.
- Select Wi-Fi: From the Settings menu, tap on the “Wi-Fi” option.
- Tap on the information (i) icon: Locate the network name associated with your Ethernet connection and tap on the information (i) icon next to it.
- Configure the Ethernet settings: In the network settings page, you will find various options to configure your Ethernet connection. Some common settings include configuring IP address settings, DNS settings, and proxy settings, if required. Consult the adapter’s manual or the manufacturer’s instructions for specific settings related to your adapter.
- Save the settings: Once you have configured the Ethernet settings as needed, tap on the “Save” or “Apply” button to save the changes.
By following these steps, you can customize the Ethernet settings on your iPhone to match the requirements of your specific Ethernet network. Once the settings are saved, your iPhone will be ready to use the wired connection for internet access.
Step 5: Test the Connection
After configuring the Ethernet settings on your iPhone, the final step is to test the connection and ensure that it is working properly. Here’s how you can do it:
- Open a web browser: Launch a web browser app on your iPhone, such as Safari, Chrome, or Firefox.
- Navigate to a website: Type in the URL of a website you want to visit in the address bar of the web browser.
- Check for internet access: If the web page loads successfully, it indicates that your iPhone is connected to the internet through the Ethernet connection. You can try browsing different websites to further verify the connectivity.
- Test other online services: Apart from accessing websites, you can also test the connectivity by using other online services, such as streaming music or videos, checking email, or using messaging apps.
- Verify speed and stability: Pay attention to the speed and stability of the internet connection. If you notice significantly improved speeds and a stable connection compared to Wi-Fi or cellular data, it indicates that your Ethernet connection is working effectively.
By testing the connection through web browsing and other online services, you can ensure that your iPhone is successfully connected to the internet using Ethernet. If you experience any issues or connectivity problems, refer to the troubleshooting section or contact the adapter manufacturer for assistance.
Additional Tips and Troubleshooting
While using Ethernet on your iPhone, here are some additional tips and troubleshooting suggestions to enhance your experience:
- Use a high-quality Ethernet cable: Opt for a reliable and high-quality Ethernet cable to ensure a stable and efficient connection.
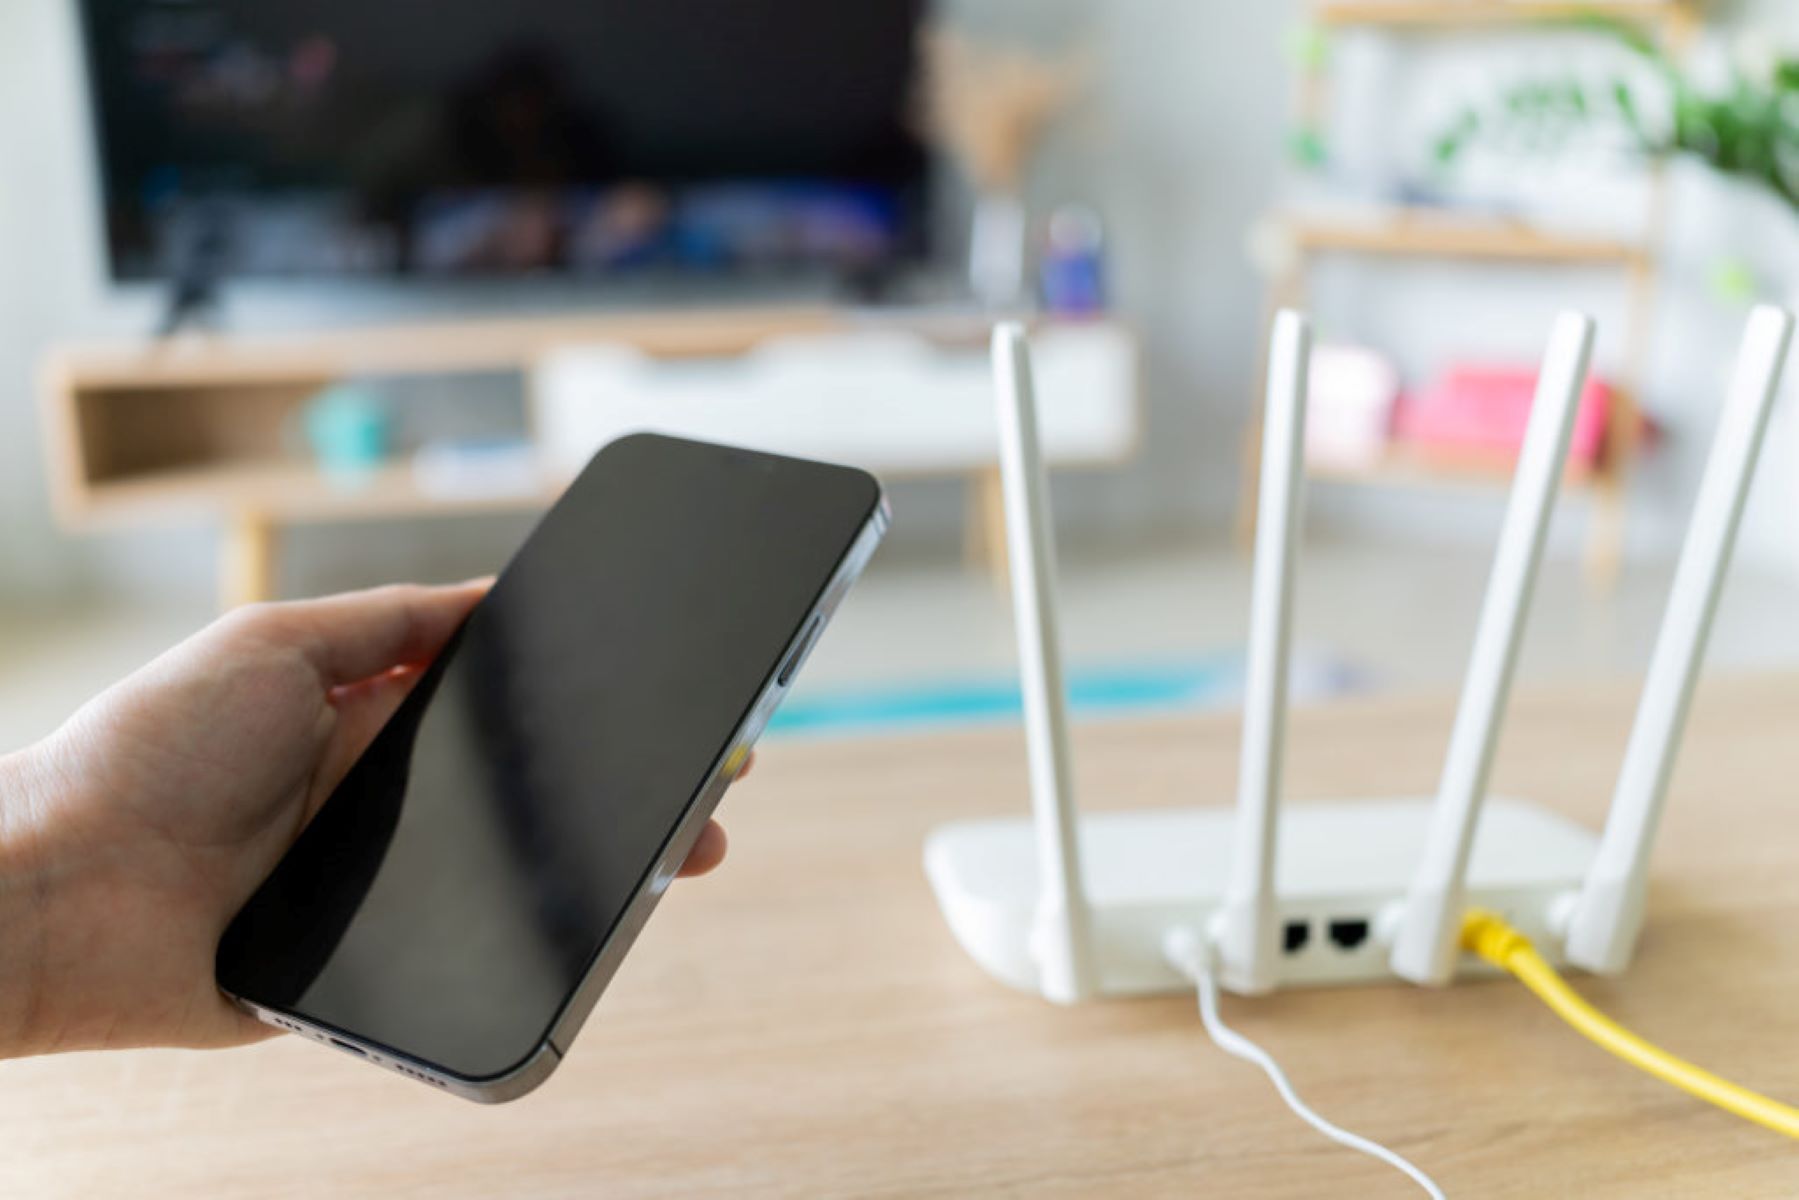
- Restart your iPhone and router: If you encounter connection issues, try restarting both your iPhone and the router to reset the network settings.
- Update adapter firmware: Check if there are any firmware updates available for your Ethernet adapter. Updating the firmware can resolve compatibility issues and improve performance.
- Disable Wi-Fi: To prioritize the Ethernet connection, disable Wi-Fi on your iPhone when you are using Ethernet. This will prevent your device from switching back to Wi-Fi automatically.
- Reset network settings: If you are experiencing persistent connectivity problems, you can try resetting your iPhone’s network settings. Go to Settings > General > Reset > Reset Network Settings.
- Contact adapter manufacturer: If you are unable to resolve any issues, reach out to the manufacturer of your Ethernet adapter for support and troubleshooting assistance.
Remember, Ethernet connectivity on iPhone is primarily designed for specific situations where a wired connection is preferred. It may not be necessary for everyday use, especially when you have a reliable Wi-Fi or cellular data connection available.
By following these additional tips and troubleshooting steps, you can make the most out of your Ethernet connection and address any potential issues that may arise during usage.
Conclusion
Using Ethernet on your iPhone can provide you with a reliable, faster, and more secure internet connection in certain scenarios. By following the necessary steps, you can easily connect your iPhone to an Ethernet network and enjoy the benefits of a wired connection.
First, ensure that your iPhone is compatible with Ethernet connectivity. Verify the connector type and check for any specific iOS requirements. Then, acquire an Ethernet adapter that is suitable for your iPhone model and purchase a reliable Ethernet cable.
Connect the adapter to your iPhone by plugging it into the Lightning or USB-C port. Afterward, configure the Ethernet settings on your device to ensure proper functionality. Take time to test the connection by accessing websites and using various online services to verify speed, stability, and overall connectivity.
Finally, remember to follow additional tips such as using a high-quality Ethernet cable and updating adapter firmware for optimal performance. Troubleshooting steps like resetting network settings or seeking support from the adapter manufacturer can help resolve any issues you may encounter.
Ultimately, using Ethernet on your iPhone is a valuable option when you need a more stable and secure internet connection, faster speeds, reduced electromagnetic interference, or improved battery life. Evaluate your specific needs and consider incorporating Ethernet usage to enhance your overall internet experience on your iPhone.