Introduction
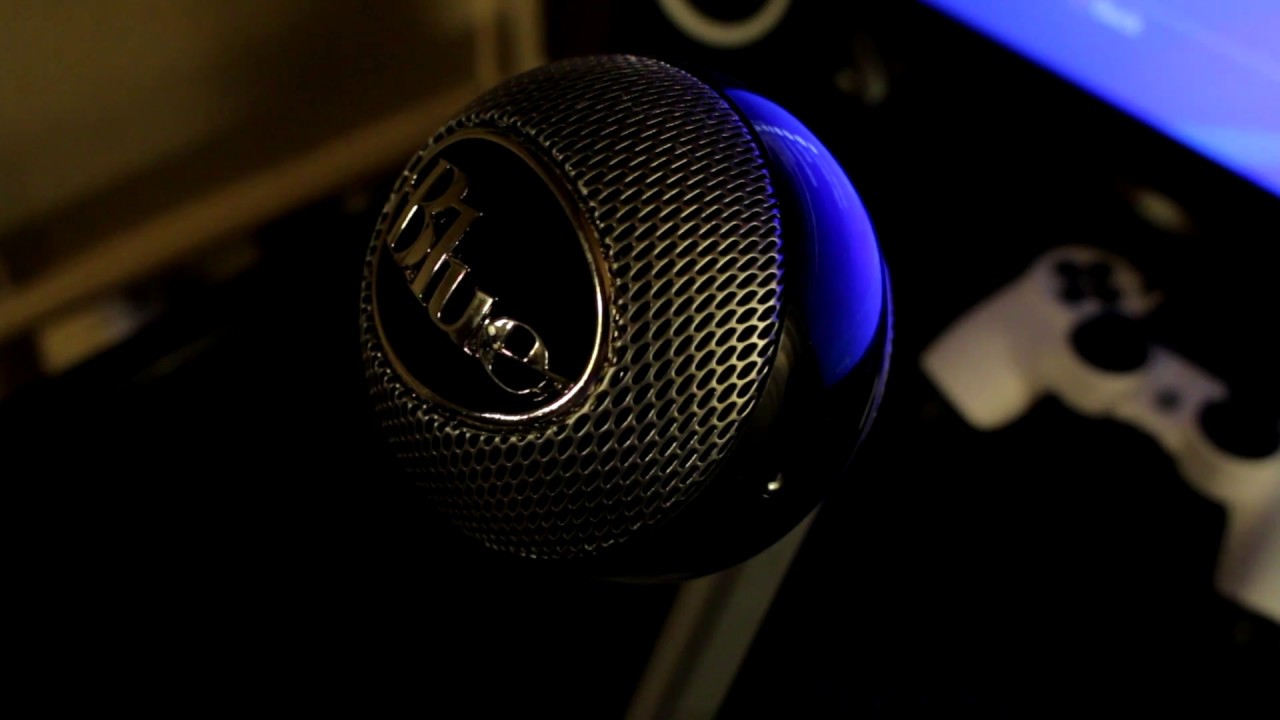
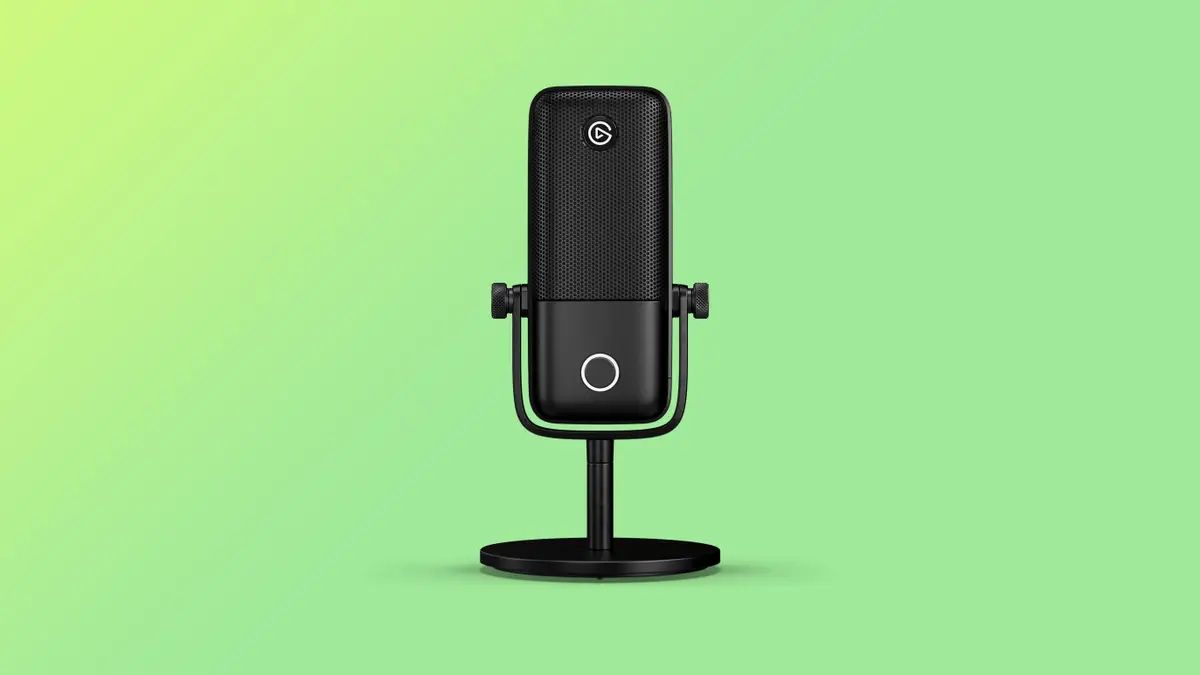
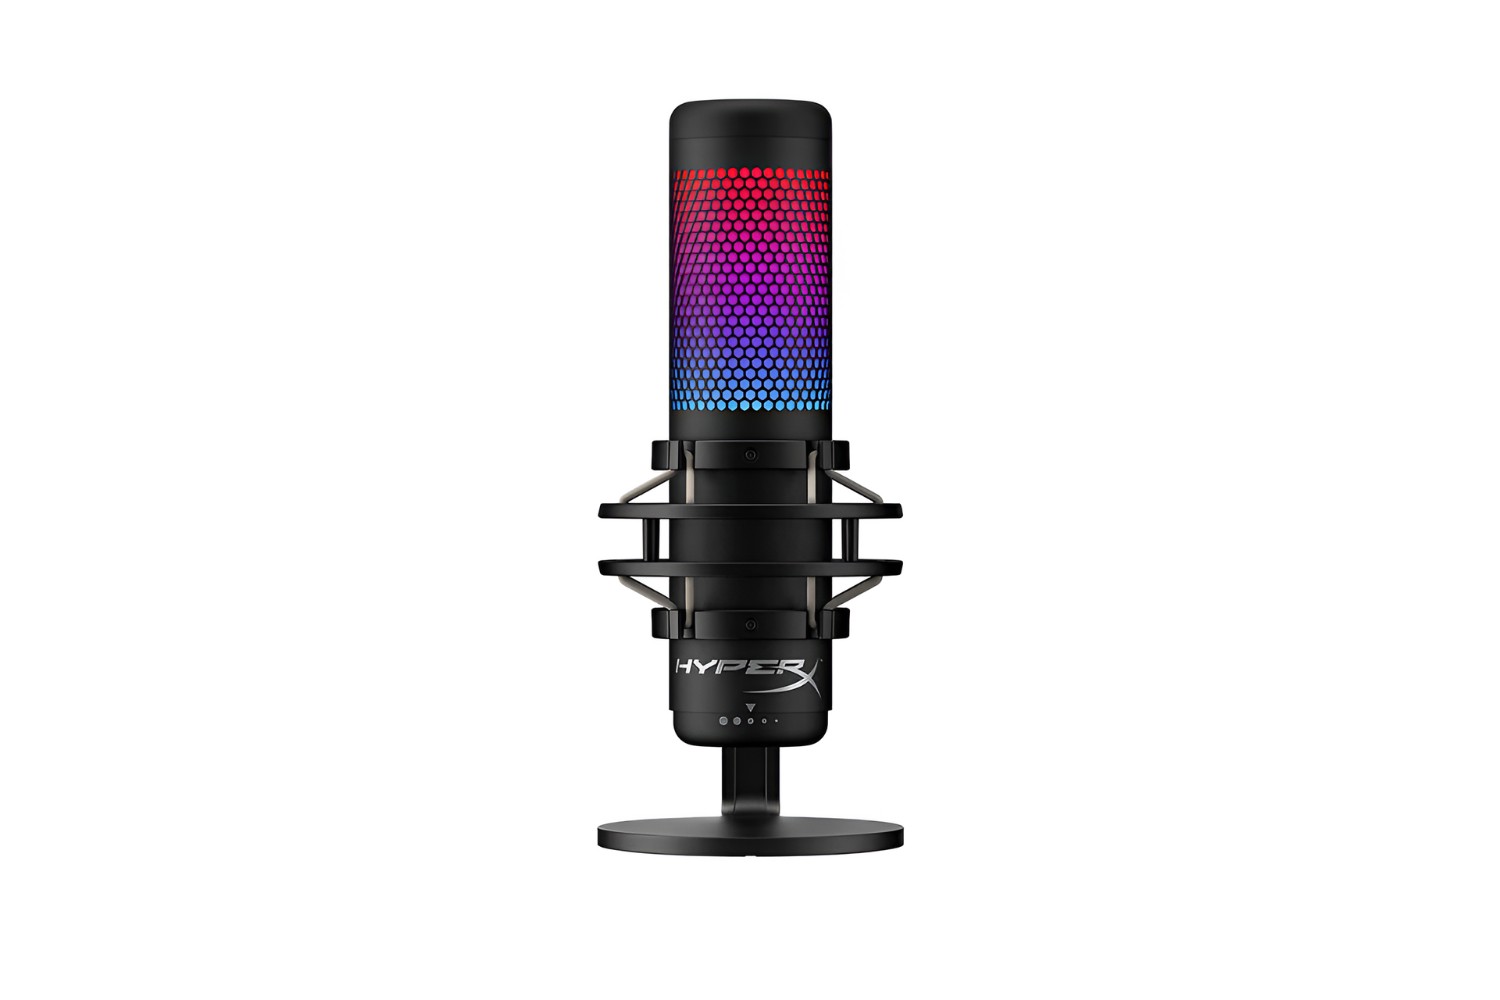
Welcome to the world of gaming, where communication is key to a successful gaming experience. Playing multiplayer games on your PlayStation 4 (PS4) can be even more enjoyable if you can chat and interact with your fellow players. While the PS4 comes with its own microphone, using a USB microphone can provide better sound quality and increased flexibility.
In this guide, we will take you through the process of getting a USB microphone to work on your PS4. Whether you’re an aspiring eSports player, a casual gamer, or just someone who wants to enhance their gaming experience, we’ve got you covered.
Before we dive into the steps, it’s important to note that not all USB microphones are compatible with the PS4. The PS4 has specific requirements for USB microphones, so it is crucial to confirm compatibility before purchasing one. Once you’ve determined that your USB microphone is compatible, you can follow the steps below to get it up and running on your PS4.
So, without further ado, let’s get started on configuring your USB microphone for optimal gaming audio on your PS4.
Step 1: Check Compatibility
The first and most important step in getting your USB microphone to work on your PS4 is to check its compatibility. Not all USB microphones are supported by the PS4, so it’s crucial to ensure that the one you have or plan to purchase is compatible.
To check compatibility, you can refer to the official website of your microphone manufacturer. They should provide a list of compatible devices or specifications that will work with the PS4. Alternatively, you can also search online forums or communities dedicated to gaming to see if other users have successfully used the same microphone on their PS4.
Keep in mind that the PS4 requires USB microphones to be “class-compliant,” which means they should work without the need for additional drivers or software installations. If your microphone requires special drivers or software, it may not be compatible with the PS4.
Once you have confirmed that your USB microphone is compatible with the PS4, you can proceed to the next step.
Step 2: Connect the USB Microphone to PS4
Now that you have checked the compatibility of your USB microphone, it’s time to connect it to your PS4. Connecting a USB microphone to your PS4 is a simple process, and here’s how you can do it:
- Turn off your PS4 console.
- Locate the USB port on the front or back of your PS4 console. It is typically located next to the HDMI port.
- Take the USB cable that came with your microphone and plug it into the USB port on your PS4.
- Connect the other end of the USB cable to the USB port on your microphone.
- Turn on your PS4 console.
Once you have connected the USB microphone to your PS4, the console should recognize the device and configure it automatically.
It’s worth noting that if you have any other USB devices connected to your PS4, such as a keyboard or external storage, make sure to connect the USB microphone to an available USB port without compromising the connection of other devices.
That’s it! You have successfully connected your USB microphone to your PS4. Now it’s time to move on to the next step and configure the PS4 settings.
Step 3: Adjust PS4 Settings
After connecting your USB microphone to the PS4, you need to adjust the console settings to ensure that the microphone is recognized and functioning properly. Here are the steps to adjust the PS4 settings:
- From the PS4 home screen, navigate to the “Settings” menu.
- Select “Devices” from the settings menu.
- Choose “Audio Devices” from the devices menu.
- Under the “Input Device” section, select the USB microphone that you have connected to the PS4.
- Adjust the microphone volume by moving the corresponding slider. You can also do a quick test by speaking into the microphone and monitoring the audio input levels on the screen.
- Check if other options, such as microphone monitoring or sidetone, are available and configure them according to your preferences.
By following these steps, you can ensure that your USB microphone is properly configured and ready to be used in your gaming sessions.
Remember, it’s important to periodically check for firmware or software updates for your USB microphone. Manufacturers often release updates to improve compatibility and performance. Check the manufacturer’s website or their provided software for any available updates, and install them if necessary.
With the PS4 settings adjusted, you’re ready to move on to the next step: testing and troubleshooting your USB microphone on the PS4.
Step 4: Test and Troubleshoot
After connecting and adjusting the settings for your USB microphone on the PS4, it’s time to test it out and troubleshoot any potential issues that may arise. Follow these steps to ensure your USB microphone is working correctly:
- Launch a game or application on the PS4 that supports voice chat or microphone input.
- Engage in a voice chat or start using the microphone input feature in the game or application.
- Speak into the USB microphone and monitor if your voice is being picked up and transmitted to other players or recorded in the game or application.
If you encounter any issues during the testing phase, here are a few troubleshooting tips:
- Confirm that the USB microphone is properly connected to the PS4. Check the USB connection and ensure that it is secure.
- Try using a different USB port on the PS4 to rule out any issues with the port you initially connected the microphone to.
- Restart your PS4 console and repeat the steps for connecting and adjusting the settings.
- Check if there are any firmware updates available for your USB microphone and install them if necessary.
- Ensure that the microphone volume is not set too low or muted in the PS4 settings.
- If possible, test the USB microphone on a different device to determine if the issue is specific to the PS4 or if it is a microphone hardware problem.
By following these troubleshooting steps, you should be able to identify and resolve any issues that may arise with your USB microphone on the PS4.
Remember, it’s important to regularly check for updates to both the PS4 system software and your USB microphone’s firmware to ensure compatibility and optimal performance.
With your USB microphone tested and any issues resolved, you can now enjoy clear and crisp audio during your gaming sessions on the PS4.
Conclusion
Congratulations! You have successfully learned how to get a USB microphone to work on your PS4. By following the steps outlined in this guide, you can now enjoy improved audio quality and enhanced communication in your gaming experiences.
Remember to always check the compatibility of your USB microphone with the PS4 before making a purchase. Ensuring compatibility will save you time and frustration down the line.
By connecting the USB microphone to your PS4 and adjusting the console settings, you can optimize the microphone’s performance. Testing and troubleshooting any potential issues will help you resolve any problems that may arise.
However, it’s important to keep in mind that periodically checking for updates, both for the PS4 system software and your USB microphone’s firmware, is crucial to ensure compatibility and optimal performance.
Now that your USB microphone is up and running on your PS4, you can enjoy crystal-clear communication with your fellow gamers. Whether you’re strategizing in multiplayer games, engaging in voice chats, or simply having fun with friends, your USB microphone will enhance your overall gaming experience.
So go ahead, dive into your favorite games, and let your voice be heard with the help of your USB microphone on the PS4!


