Introduction
Welcome to the world of karaoke! If you’re looking to bring the excitement of a karaoke bar right into the comfort of your own home, a USB microphone can be the perfect accessory to help you belt out your favorite tunes. Whether you’re a seasoned performer or just starting out, a USB microphone can make a world of difference in your karaoke experience.
With the rise of online karaoke platforms and virtual parties, having a USB microphone that works seamlessly with your computer is essential. It allows you to amplify your voice, add effects, and enjoy a crystal-clear audio output while singing along to your favorite songs.
In this guide, we’ll walk you through the process of getting your USB microphone to work as a karaoke tool. We’ll cover everything from selecting the right USB microphone for your needs to troubleshooting common issues that may arise during setup.
By the end of this guide, you’ll have all the knowledge and tools you need to transform your living room into a karaoke stage. So, warm up those vocal cords and get ready to showcase your singing talents!
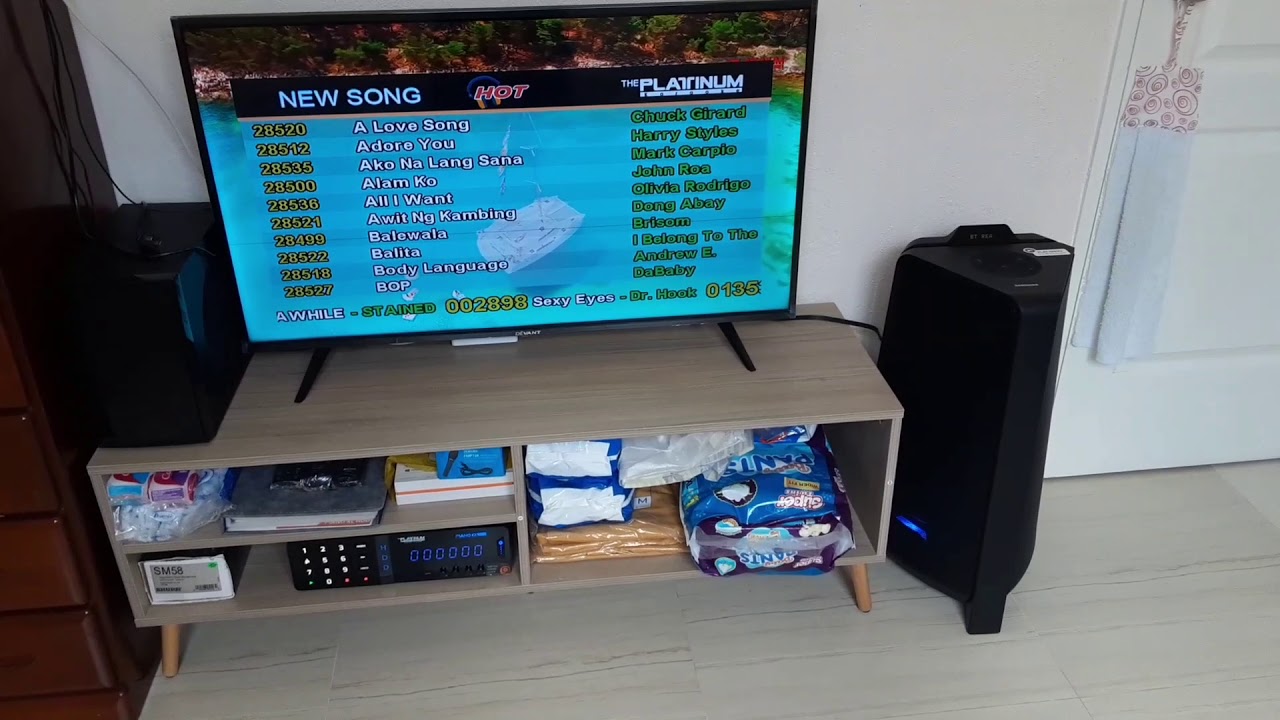
Choosing the Right USB Microphone for Karaoke
When it comes to choosing the right USB microphone for karaoke, there are a few factors to consider. The quality of your microphone will directly impact the sound of your vocals, so it’s important to make an informed decision. Here are some key points to keep in mind:
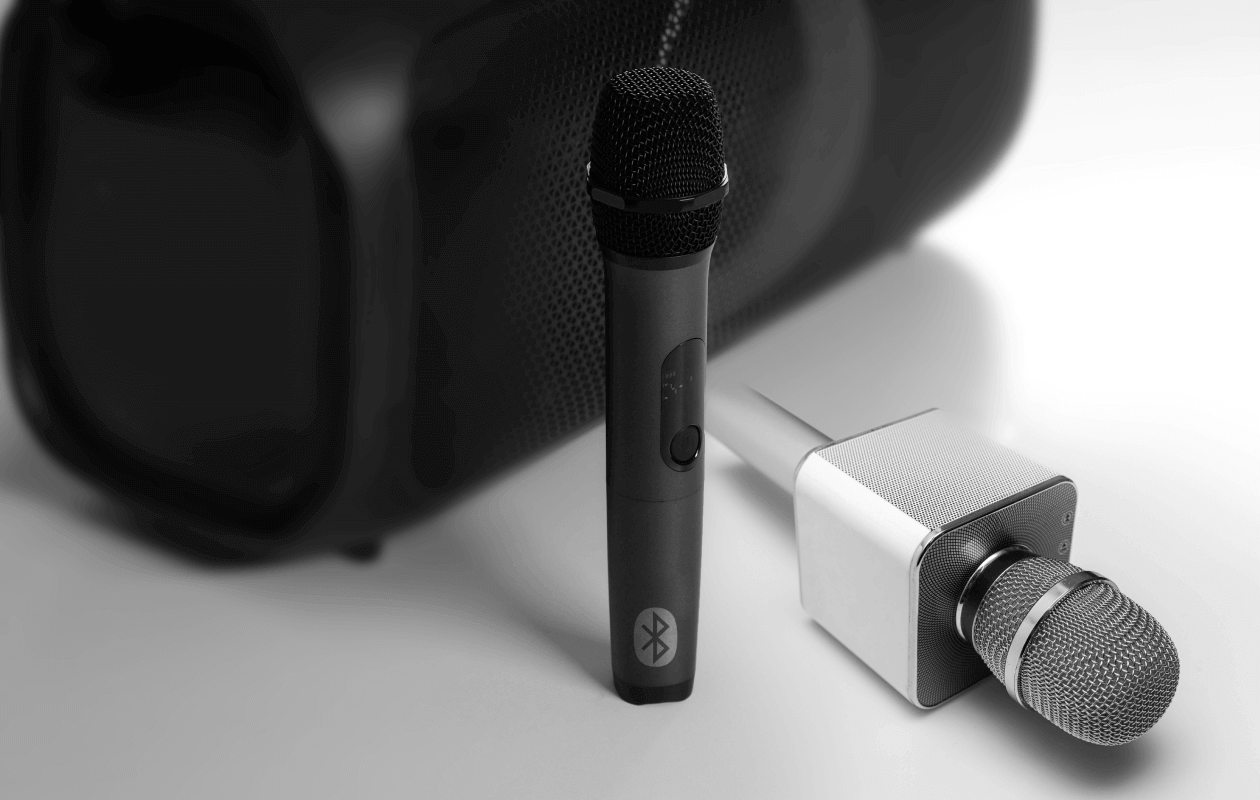
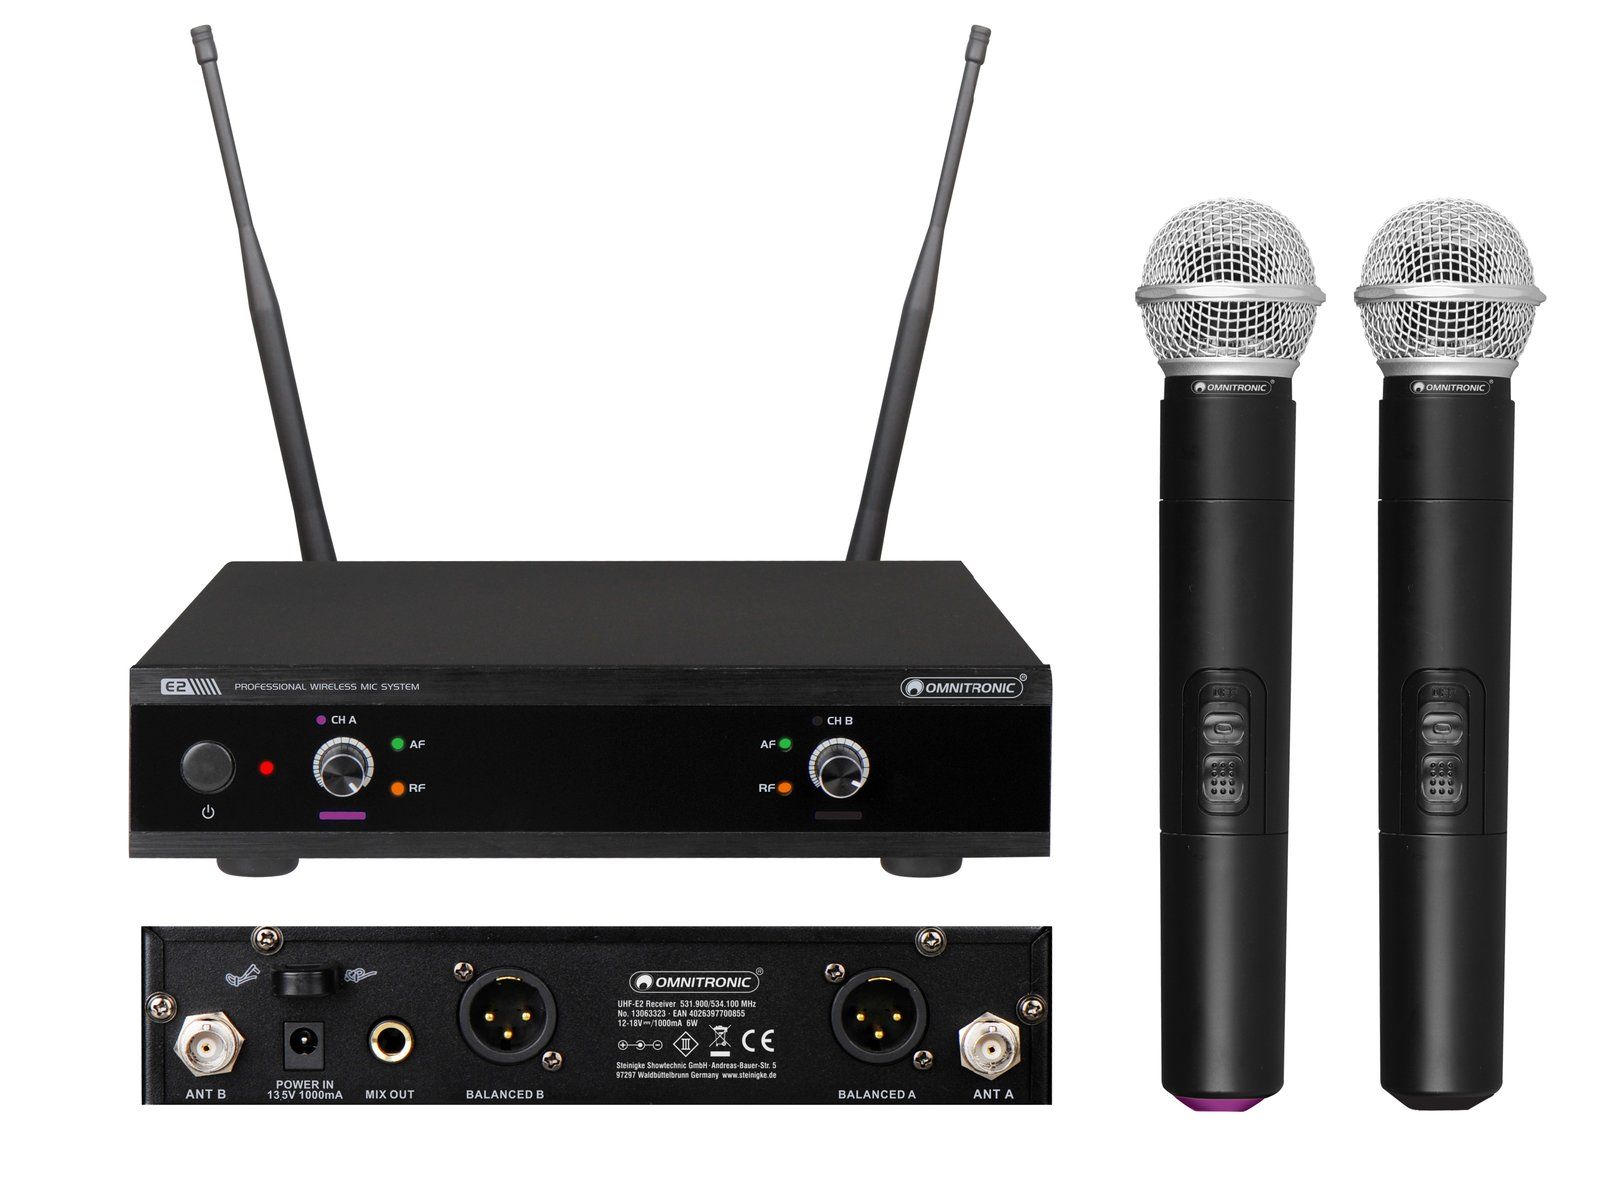
- Type of Microphone: There are different types of USB microphones available, including handheld microphones and condenser microphones. Handheld microphones are great for mobility and live performances, while condenser microphones offer studio-like sound quality.
- Sound Quality: Look for a USB microphone that offers high-quality sound recording with minimal distortion. Check customer reviews and specifications to ensure that it delivers clear and accurate vocals.
- Durability: Consider the build quality and durability of the microphone. If you plan on using it frequently or taking it on the go, a sturdy and reliable microphone will be a wise investment.
- Compatibility: Ensure that the USB microphone is compatible with your computer and operating system. Most USB microphones work on both Windows and Mac systems, but it’s always good to double-check before making a purchase.
- Additional Features: Some USB microphones come with extra features such as headphone monitoring jacks, gain control knobs, and mute buttons. These features can enhance your karaoke experience and give you more control over your audio settings.
Take your time to research different USB microphone models and read reviews from both experts and customers. This will give you a better understanding of the performance and reliability of each microphone. Additionally, consider your budget and prioritize the features that are most important to you.
By choosing the right USB microphone for your karaoke needs, you can ensure that your vocals sound crisp and clear, allowing you to fully enjoy your karaoke sessions.
Setting Up Your USB Microphone
Setting up your USB microphone may seem daunting at first, but with a few simple steps, you’ll be ready to start your karaoke session in no time. Here’s a step-by-step guide to help you get your USB microphone up and running:
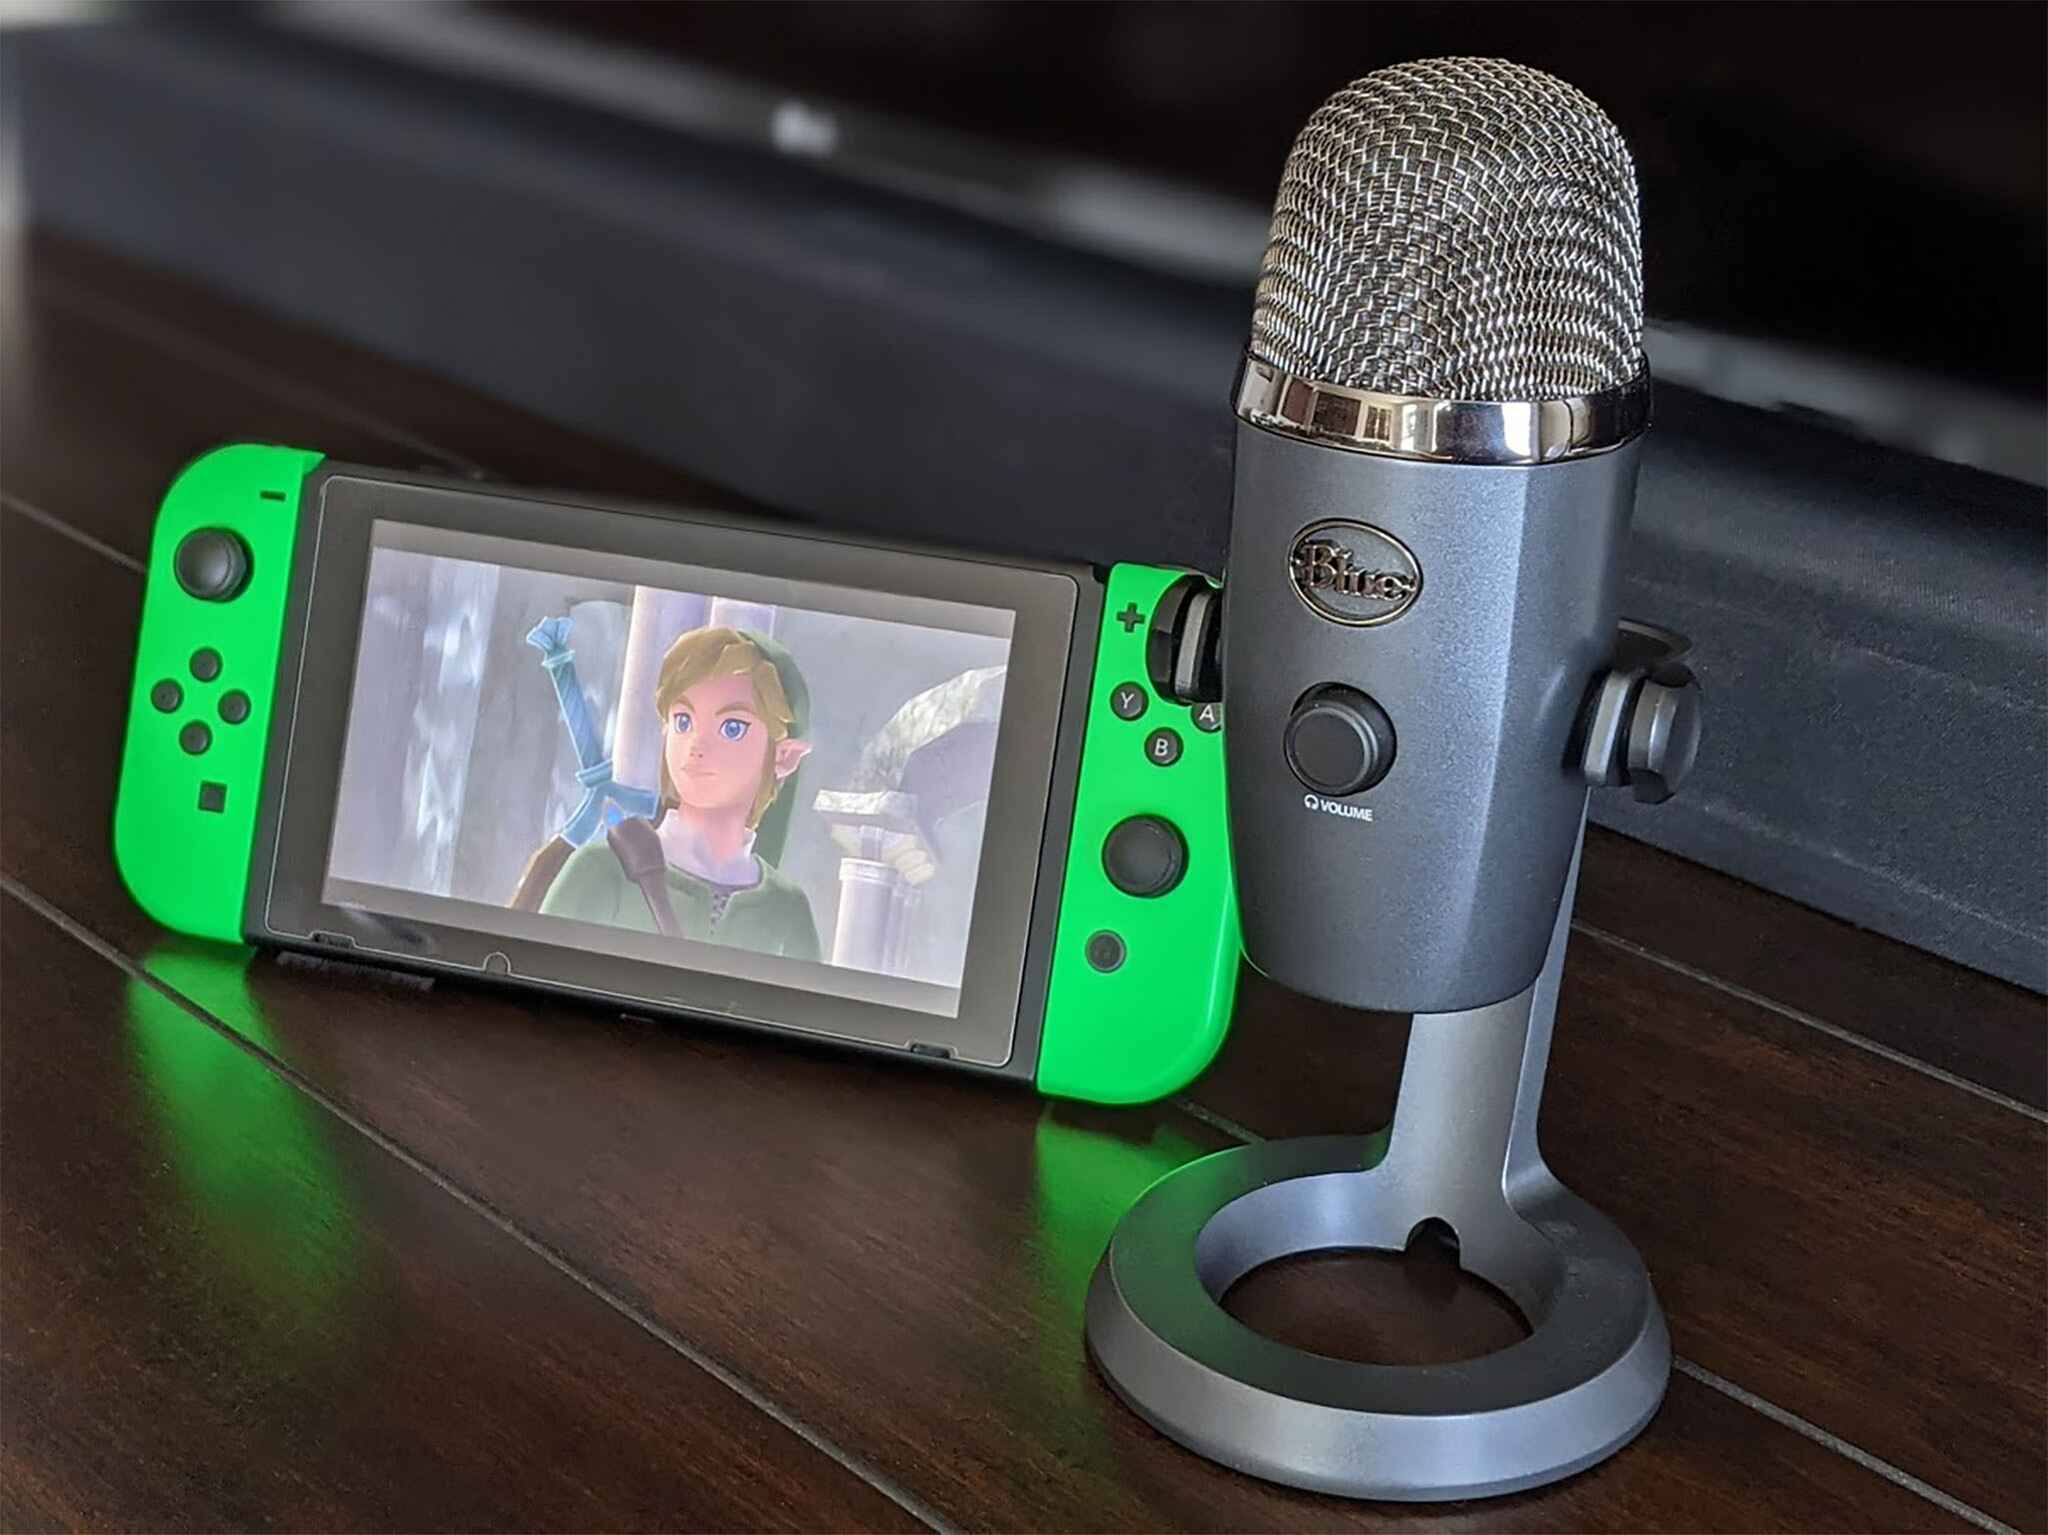
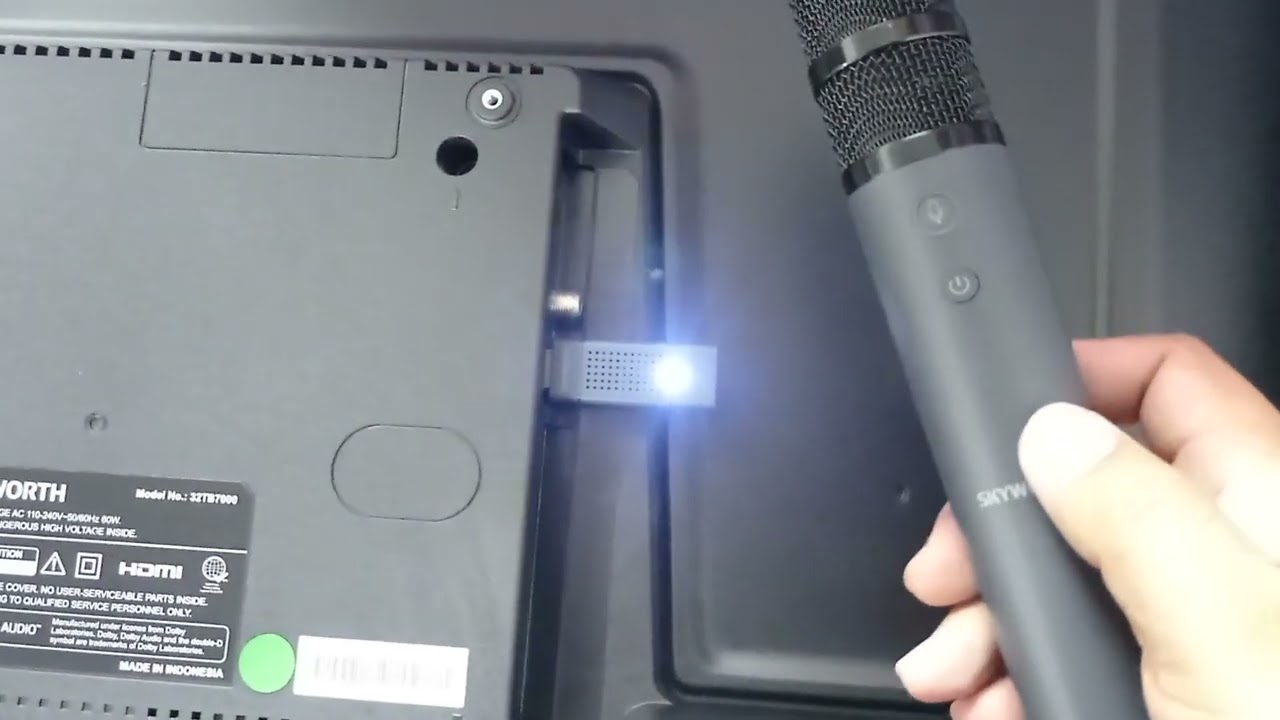
- Check Your Computer: Ensure that your computer has an available USB port to connect your microphone. Most modern computers have multiple USB ports, so choose a port that is easily accessible.
- Connect the USB Cable: Plug the USB cable of your microphone into the USB port on your computer. Make sure it is securely connected to avoid any connection issues.
- Driver Installation: In most cases, your computer will automatically recognize and install the necessary drivers for your USB microphone. However, if prompted, follow the on-screen instructions to install any required drivers.
- Adjust Microphone Settings: Open your computer’s audio settings and navigate to the input devices section. Select your USB microphone as the default input device. You may also need to adjust the microphone’s volume level to optimize the sound quality.
- Position the Microphone: Find a suitable position for your USB microphone. If using a handheld microphone, hold it at a comfortable distance from your mouth. If using a microphone with a stand, position it at a height and angle that allows for easy singing without obstructing your view.
- Test the Microphone: Launch a karaoke software or any audio recording software on your computer to test the microphone. Sing into the microphone and check if the sound levels are consistent and clear.
- Adjustment and Fine-tuning: If necessary, make any further adjustments to the microphone’s position or audio settings to achieve the desired sound quality. Experiment with different microphone settings to find the perfect balance for your voice.
Once you’ve completed these steps, your USB microphone should be properly set up and ready for your karaoke sessions. Remember to always adjust the microphone’s position and settings according to your preferences and singing style. Enjoy your karaoke experience to the fullest!
Configuring Audio Settings on Your Computer
Configuring the audio settings on your computer is an important step in ensuring optimal performance and sound quality when using your USB microphone for karaoke. Follow these steps to configure your audio settings:
- Open Sound Settings: Access your computer’s sound settings by clicking on the volume icon in the system tray and selecting “Sound” or by searching for “Sound” in the system’s search bar.
- Select Input Device: In the sound settings, navigate to the “Input” or “Recording” tab. Select your USB microphone from the list of available input devices. Set it as the default input device so that your computer recognizes it for karaoke applications.
- Adjust Microphone Levels: Once you’ve selected your USB microphone, you can adjust the input volume levels. Increase or decrease the microphone sensitivity to achieve the desired audio levels. Test your microphone by speaking or singing into it to monitor the sound levels visually and make necessary adjustments.
- Enable Microphone Enhancements: Some computers have built-in audio enhancements for microphones. In the sound settings, you may find options such as “Microphone Boost” or “Noise Cancellation.” Enable these enhancements if they are available and help improve the audio quality of your USB microphone.
- Configure Karaoke Software: If you’re using dedicated karaoke software, open its settings menu and ensure that the correct audio input device is selected. Adjust any additional audio settings such as echo, reverb, or effects according to your preferences.
- Test and Fine-tune: Before starting your karaoke session, test the audio settings by singing a few lines into your USB microphone. Listen to the playback and make any necessary adjustments to the microphone levels or software settings to achieve the desired sound quality.
By carefully configuring the audio settings on your computer, you can ensure that your USB microphone captures your vocals accurately and delivers a rich sound output for an immersive karaoke experience. Feel free to experiment with different settings to find the best balance and audio quality that suits your singing style.
Selecting Karaoke Software and Songs
Once you have your USB microphone set up and configured, it’s time to choose the right karaoke software and songs to take your karaoke experience to the next level. Here are some tips to help you make the best selections:
- Research Different Karaoke Software: There are numerous karaoke software options available, ranging from free to paid versions. Research and compare different software programs to find one that suits your needs. Look for features such as a user-friendly interface, a vast library of songs, customizable settings, and compatibility with your computer’s operating system.
- Consider Streaming Platforms: If you prefer a more convenient option, consider using popular streaming platforms that offer karaoke features. Platforms like YouTube, Spotify, and Smule have extensive libraries of karaoke songs that you can access without the need for separate software installation.
- Check Song Selection: Ensure that the karaoke software or platform offers a diverse and extensive library of songs to cater to your musical preferences. Look for genres, languages, and artists that you enjoy to enhance your karaoke experience.
- Read Reviews: Before committing to a specific karaoke software or platform, read reviews from other users. Pay attention to comments about the app’s stability, song availability, and the overall user experience. This will help you make an informed decision and avoid any potential issues.
- Customization Options: Look for karaoke software that allows you to customize various settings such as background visuals, lyric display, font size, and color. Having the ability to personalize your karaoke experience can add a fun touch and make it more enjoyable.
- Try Before You Buy: If opting for a paid karaoke software, see if they offer a free trial or demo version. This allows you to test the software and evaluate its features, user interface, and song selection before making a purchase.
- Explore Song Recommendations: Karaoke software often includes song recommendations based on popular choices or new releases. Take advantage of these suggestions to discover new songs or revisit old favorites that you might not have considered for your karaoke sessions.
Remember that the ultimate goal is to have fun while singing your heart out. Experiment with different karaoke software options and songs to find the perfect combination that suits your style and preferences. Get ready to unleash your inner superstar and enjoy the thrill of karaoke from the comfort of your own home!
Testing Your USB Microphone
Before you start your full-fledged karaoke session, it’s essential to test your USB microphone to ensure that it’s functioning properly and delivering the desired sound quality. Follow these steps to perform a simple microphone test:
- Open Audio Recording Software: Launch any audio recording software on your computer, such as the default Voice Recorder app or a third-party recording program.
- Select the USB Microphone as Input: In the audio recording software, navigate to the audio settings or preferences and choose your USB microphone as the input device.
- Set Recording Levels: Adjust the recording levels or microphone sensitivity in the software settings to optimize the sound quality. You can usually find this option in the audio settings or preferences.
- Perform a Test Recording: Click on the record button and speak or sing into the USB microphone for a few seconds. Make sure to test different vocal ranges to get an accurate representation of the microphone’s performance.
- Playback and Evaluate: Stop the recording and play back the recorded audio. Listen carefully to ensure that your vocals are clear, balanced, and free from any distortion or background noise. Pay attention to the overall sound quality and adjust settings if necessary.
- Check for Latency: While playing back the recorded audio, observe if any noticeable delay or latency exists between your singing and the playback. If there’s a significant delay, you may need to adjust the audio settings or seek support from the microphone manufacturer or software developer.
- Make Adjustments: If you’re not satisfied with the sound quality or the recorded audio, make further adjustments to the microphone position, levels, or software settings. Experiment with different configurations until you achieve the desired sound.
- Repeat the Test as Needed: Perform multiple test recordings if necessary to ensure consistency and accuracy in the microphone’s performance. This will also allow you to fine-tune any adjustments and validate the microphone’s reliability.
By testing your USB microphone, you can identify any issues or adjustments required to optimize the sound quality for your karaoke sessions. Take the time to familiarize yourself with the microphone’s behavior and make necessary tweaks to make your vocals shine.
Troubleshooting Common Issues
While setting up and using your USB microphone for karaoke, you may encounter some common issues. Don’t worry, as most problems have simple solutions. Here are a few troubleshooting tips for common USB microphone issues:
- No Sound or Low Volume: Ensure that your USB microphone is properly connected to the computer and the volume levels are adjusted appropriately. Check the audio settings and make sure the microphone is selected as the default input device. If the issue persists, try using a different USB port or restart your computer.
- Poor Sound Quality: If you’re experiencing poor sound quality, check the microphone’s position and distance from your mouth. Adjust the microphone’s sensitivity or gain settings to optimize the sound levels. Avoid placing the microphone near sources of interference such as fans or other electronic devices.
- Background Noise: If you’re hearing unwanted background noise, make sure the microphone is not picking up environmental sounds. Try reducing the microphone volume or using software features like noise cancellation or noise gate if available. Additionally, consider using a pop filter or foam cover to minimize plosive sounds and wind noise.
- Compatibility Issues: If your USB microphone is not recognized or compatible with your computer, ensure that you have installed the necessary drivers. Visit the manufacturer’s website to find and download the latest drivers for your specific microphone model and operating system.
- Latency or Delay: If you’re experiencing a noticeable delay between your singing and the playback, try adjusting the buffer size or latency settings in your audio recording software. Lowering the buffer size can help reduce latency, but keep in mind that it may also increase the processing load on your computer.
- Software Compatibility: If you’re having trouble running specific karaoke software on your computer, check for software updates or try alternative software options. Ensure that the karaoke software is compatible with your operating system version and meets the minimum system requirements.
- Driver Issues: If you’re encountering driver-related problems, uninstall the existing drivers for your USB microphone and reinstall them from the manufacturer’s website. Make sure you follow the provided installation instructions carefully.
If you’ve tried troubleshooting and the issues persist, it’s always a good idea to reach out to the manufacturer’s support team or consult online forums for additional guidance. Each USB microphone and karaoke software may have its own unique quirks, and seeking specialized support can help resolve specific issues.
Remember, patience and perseverance are key when troubleshooting. With some troubleshooting know-how and a little bit of troubleshooting, you’ll be able to overcome any obstacles and enjoy your karaoke experience to the fullest.
Conclusion
Congratulations! You’ve now learned how to get your USB microphone to work as a karaoke tool. By choosing the right USB microphone, setting it up correctly, configuring your audio settings, selecting the appropriate karaoke software, and testing your microphone, you’re well on your way to experiencing the joy of karaoke right from the comfort of your own home.
Remember to take your time in selecting the right USB microphone for your needs, considering factors like microphone type, sound quality, durability, compatibility, and additional features. Once you have your USB microphone, follow the step-by-step setup process and adjust your computer’s audio settings to optimize your microphone’s performance.
Explore different karaoke software options, considering factors like song selection, customization features, and user reviews. Test your USB microphone to ensure that it captures your vocals accurately and delivers high-quality sound. Troubleshoot any issues you may encounter along the way, such as low volume, poor sound quality, background noise, or compatibility problems.
Now, it’s time to let your voice shine and unleash your inner superstar. Whether you’re singing alone or hosting karaoke parties with friends and family, your USB microphone will elevate your karaoke experience. Bring out your favorite songs, sing your heart out, and enjoy the magic of karaoke in the comfort of your own home.
So, grab your USB microphone, find that perfect karaoke song, and let the music fill the room. Get ready for hours of entertainment, laughter, and unforgettable moments as you embark on your karaoke journey. Happy singing!