Introduction
Understanding the Basics of Condenser Microphones
Condenser microphones are a popular choice for karaoke enthusiasts and professionals alike due to their exceptional sensitivity and clarity. Unlike dynamic microphones, which are commonly used for live performances, condenser microphones are ideal for capturing the nuances of vocal performances in a studio or home setting. Understanding the unique characteristics and requirements of condenser microphones is crucial for maximizing their potential for karaoke sessions.
When using a condenser microphone for karaoke, it's important to consider factors such as setup, positioning, and maintenance to ensure optimal performance. This guide will provide valuable insights into setting up and using a condenser microphone for karaoke, allowing you to elevate your singing experience to new heights.
Throughout this article, we will delve into the technical aspects of condenser microphones, explore the best practices for setting up and using them for karaoke, and discuss essential tips for maintaining and handling these delicate yet powerful devices. By the end of this guide, you will have a comprehensive understanding of how to harness the full potential of a condenser microphone for an unforgettable karaoke experience. Let's embark on this journey to unlock the true potential of your condenser microphone for karaoke performances.
Understanding Condenser Microphones
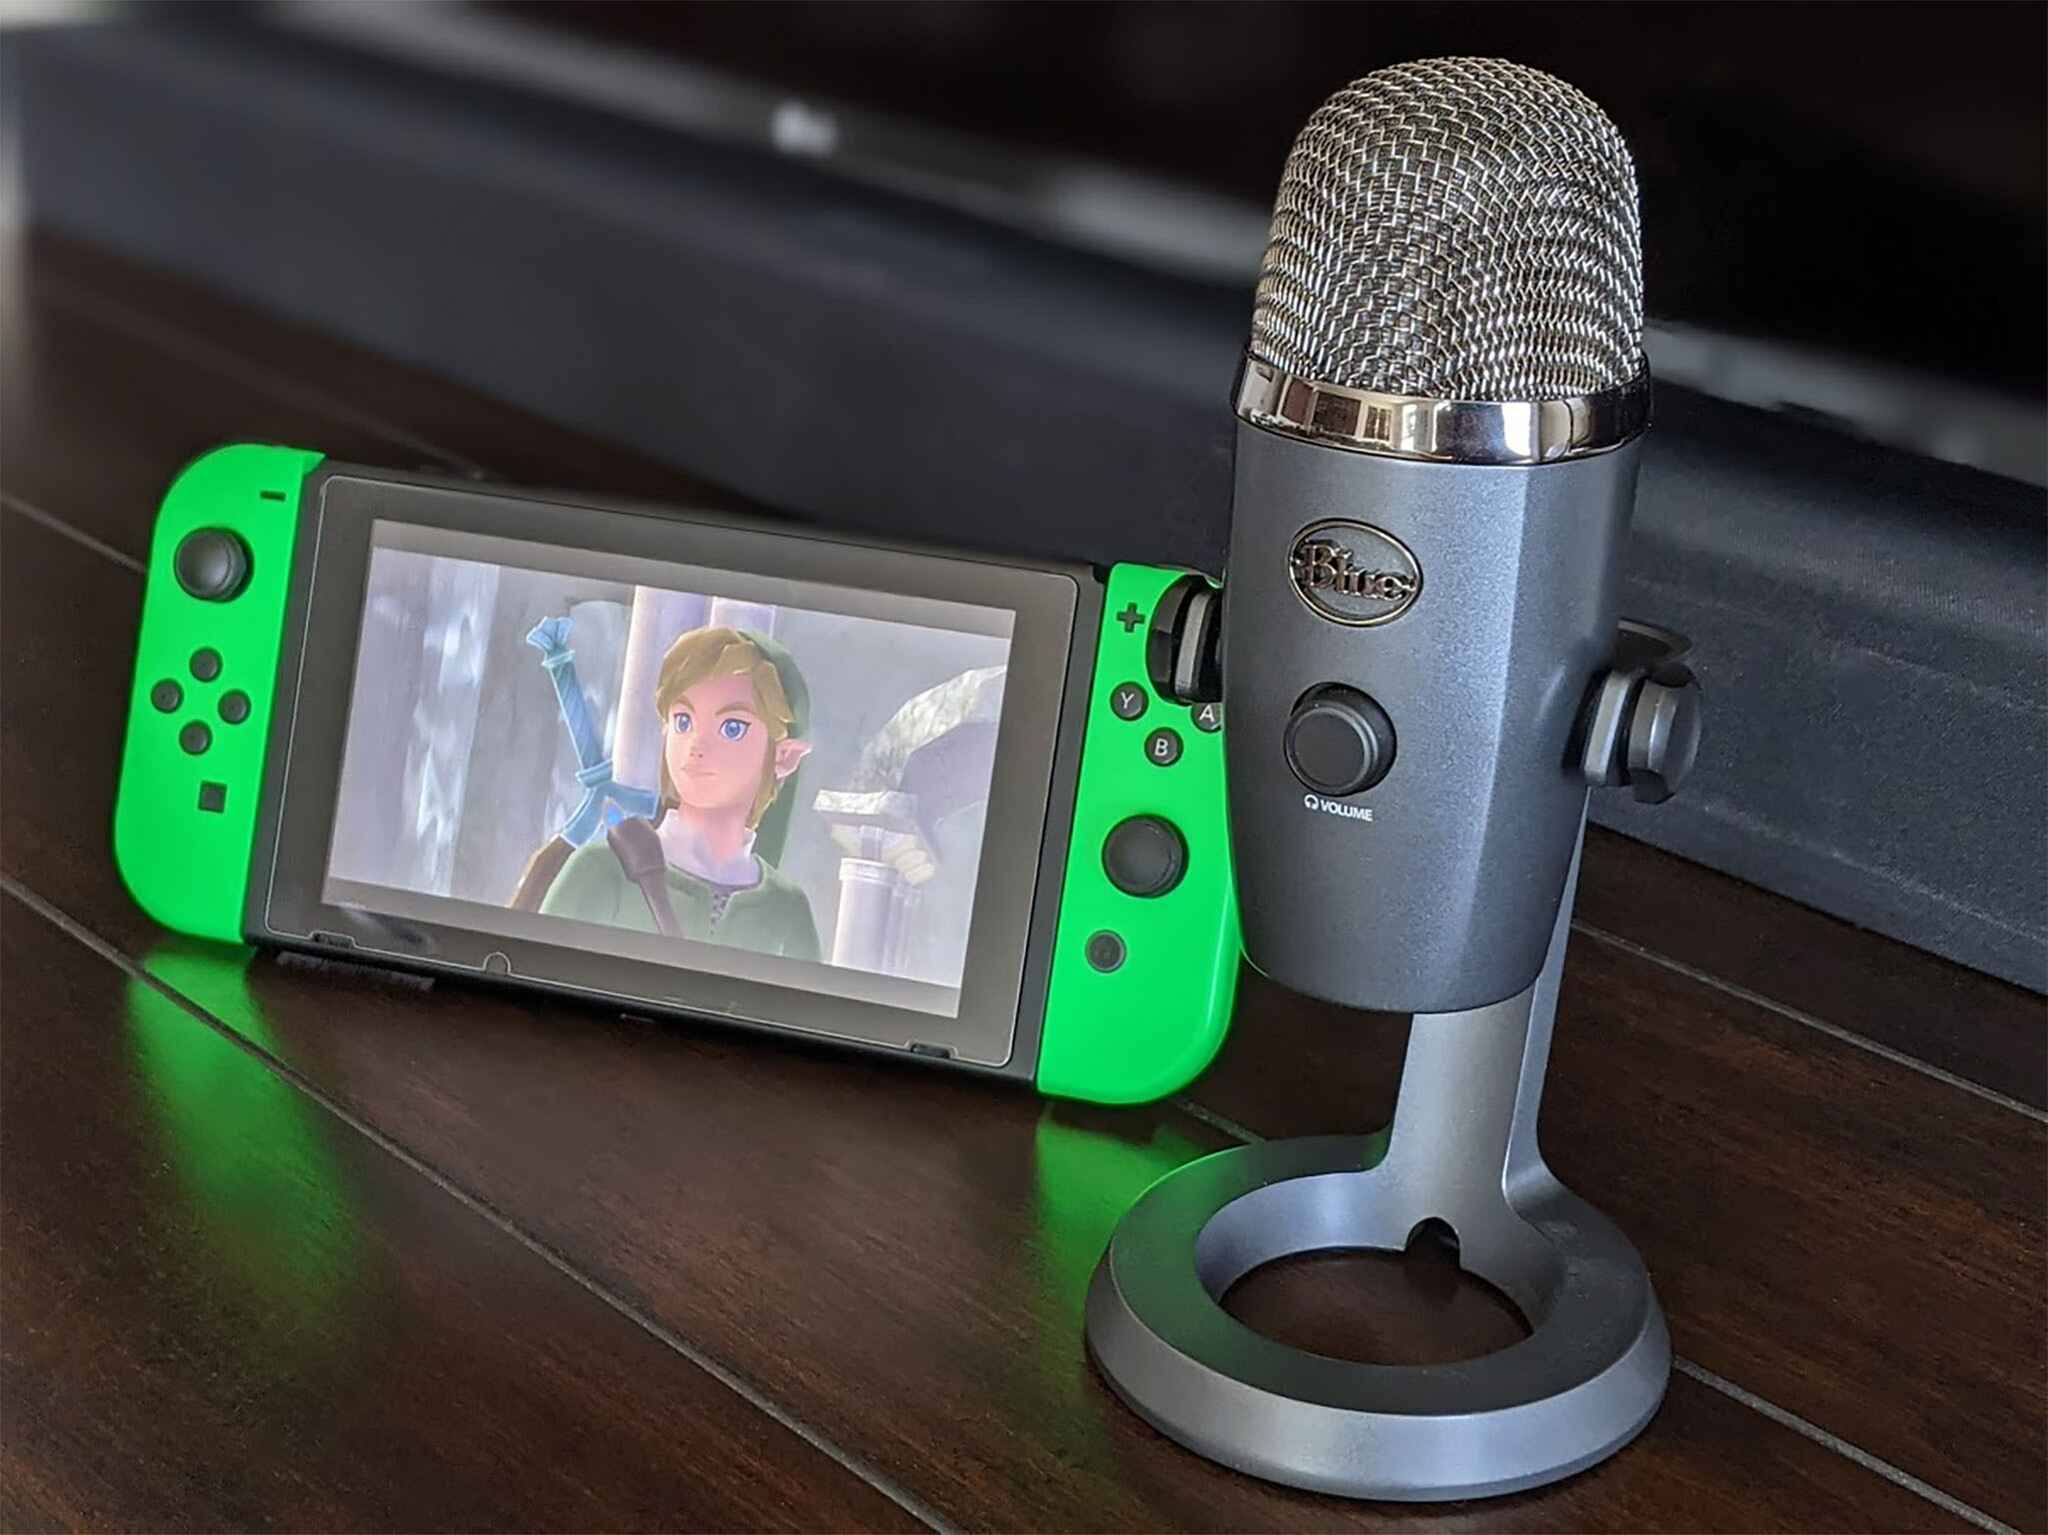
Condenser microphones, also known as capacitor microphones, are renowned for their exceptional sensitivity and high-quality audio capture. Unlike dynamic microphones, which rely on electromagnetic induction to generate an output signal, condenser microphones operate on a different principle, utilizing an electrostatic capacitor to convert sound waves into electrical signals. This unique mechanism enables condenser microphones to offer unparalleled clarity and detail, making them a popular choice for studio recordings, podcasting, and vocal performances, including karaoke.
One of the defining features of condenser microphones is their diaphragm, a thin membrane that vibrates in response to sound waves. This diaphragm is positioned in close proximity to a backplate, forming a capacitor that stores electrical charge. When sound waves cause the diaphragm to vibrate, the distance between the diaphragm and the backplate changes, resulting in the modulation of the electrical charge. This variation in capacitance is then converted into an electrical signal, faithfully capturing the nuances of the sound being recorded.
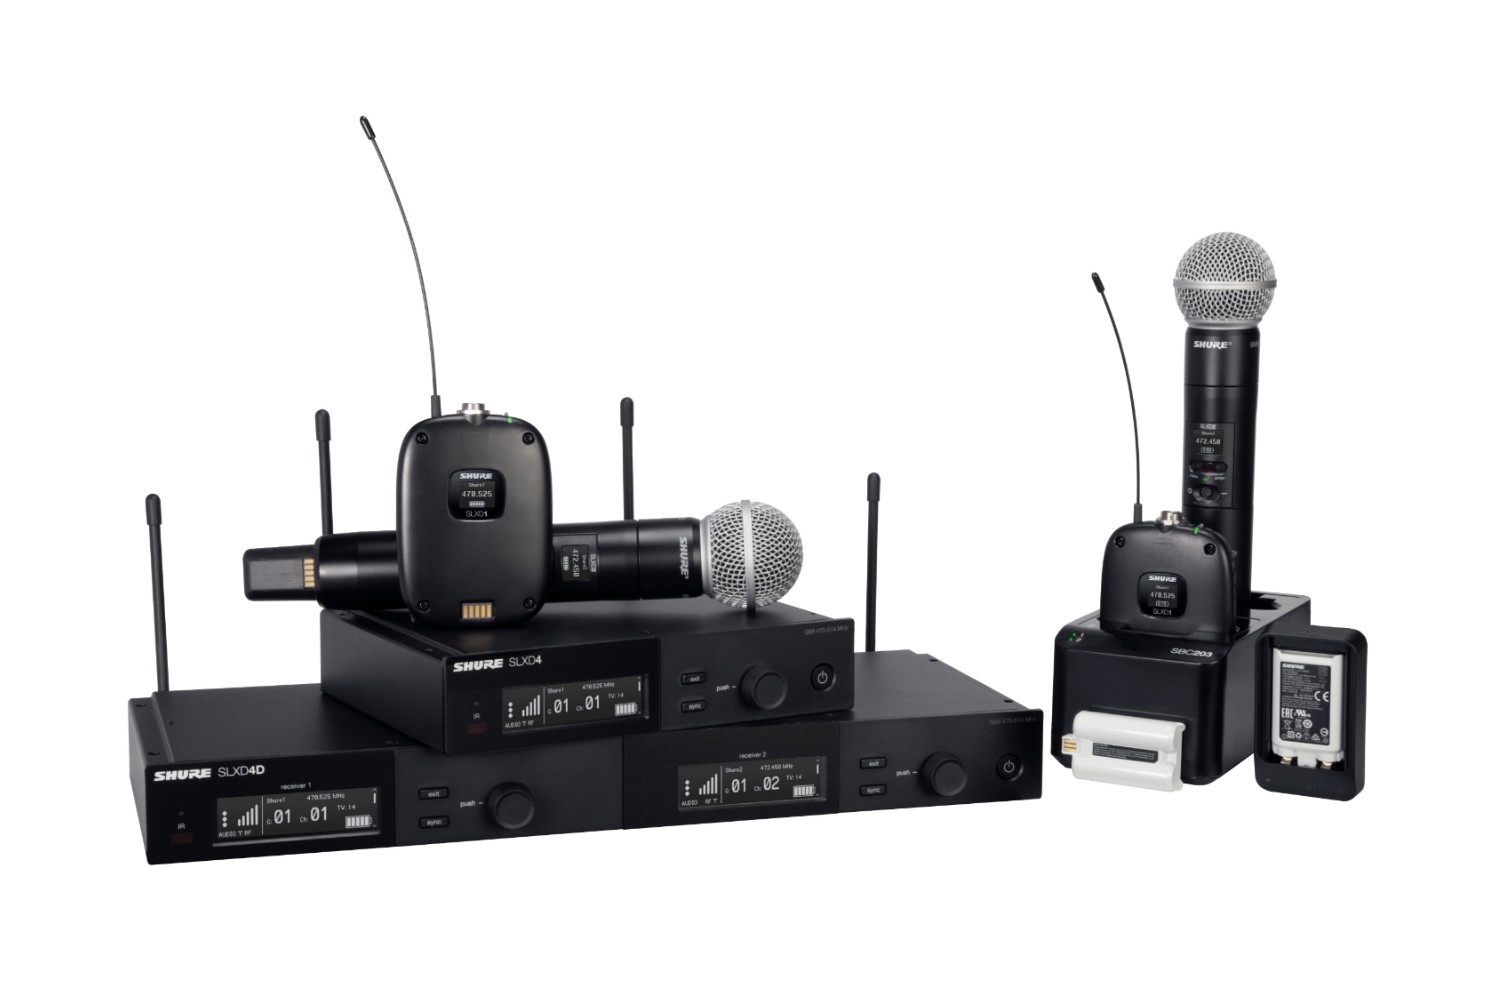
It’s important to note that condenser microphones require an external power source to polarize the diaphragm and maintain the electrical charge. This power, known as phantom power, is typically supplied through the microphone cable from a mixing console, audio interface, or dedicated power supply. Some condenser microphones feature built-in batteries or USB connectivity, eliminating the need for external phantom power in certain scenarios.
Furthermore, condenser microphones are available in two main types: large diaphragm and small diaphragm. Large diaphragm condenser microphones excel in capturing the warmth and richness of vocal performances, making them a popular choice for karaoke enthusiasts seeking a professional sound. On the other hand, small diaphragm condenser microphones are prized for their accuracy and transient response, making them suitable for capturing intricate details in instrumental performances and ensemble recordings.
By understanding the fundamental principles and unique characteristics of condenser microphones, karaoke enthusiasts can make informed decisions when selecting and utilizing these sophisticated audio devices. The next section will delve into the essential steps for setting up a condenser microphone for karaoke, ensuring optimal performance and audio quality.
Setting Up Your Condenser Microphone for Karaoke
Properly setting up your condenser microphone is crucial for achieving the best possible sound quality during karaoke sessions. Before diving into the technical aspects, it’s essential to ensure that you have the necessary equipment and a suitable environment for using a condenser microphone.
Equipment:
- Condenser Microphone: Select a high-quality condenser microphone that suits your vocal style and performance preferences. Large diaphragm condenser microphones are popular choices for karaoke due to their ability to capture the nuances of vocal performances with warmth and clarity.
- Microphone Stand: Invest in a sturdy microphone stand to securely position the condenser microphone at the desired height and angle. This will allow you to maintain a consistent microphone position during your karaoke sessions.
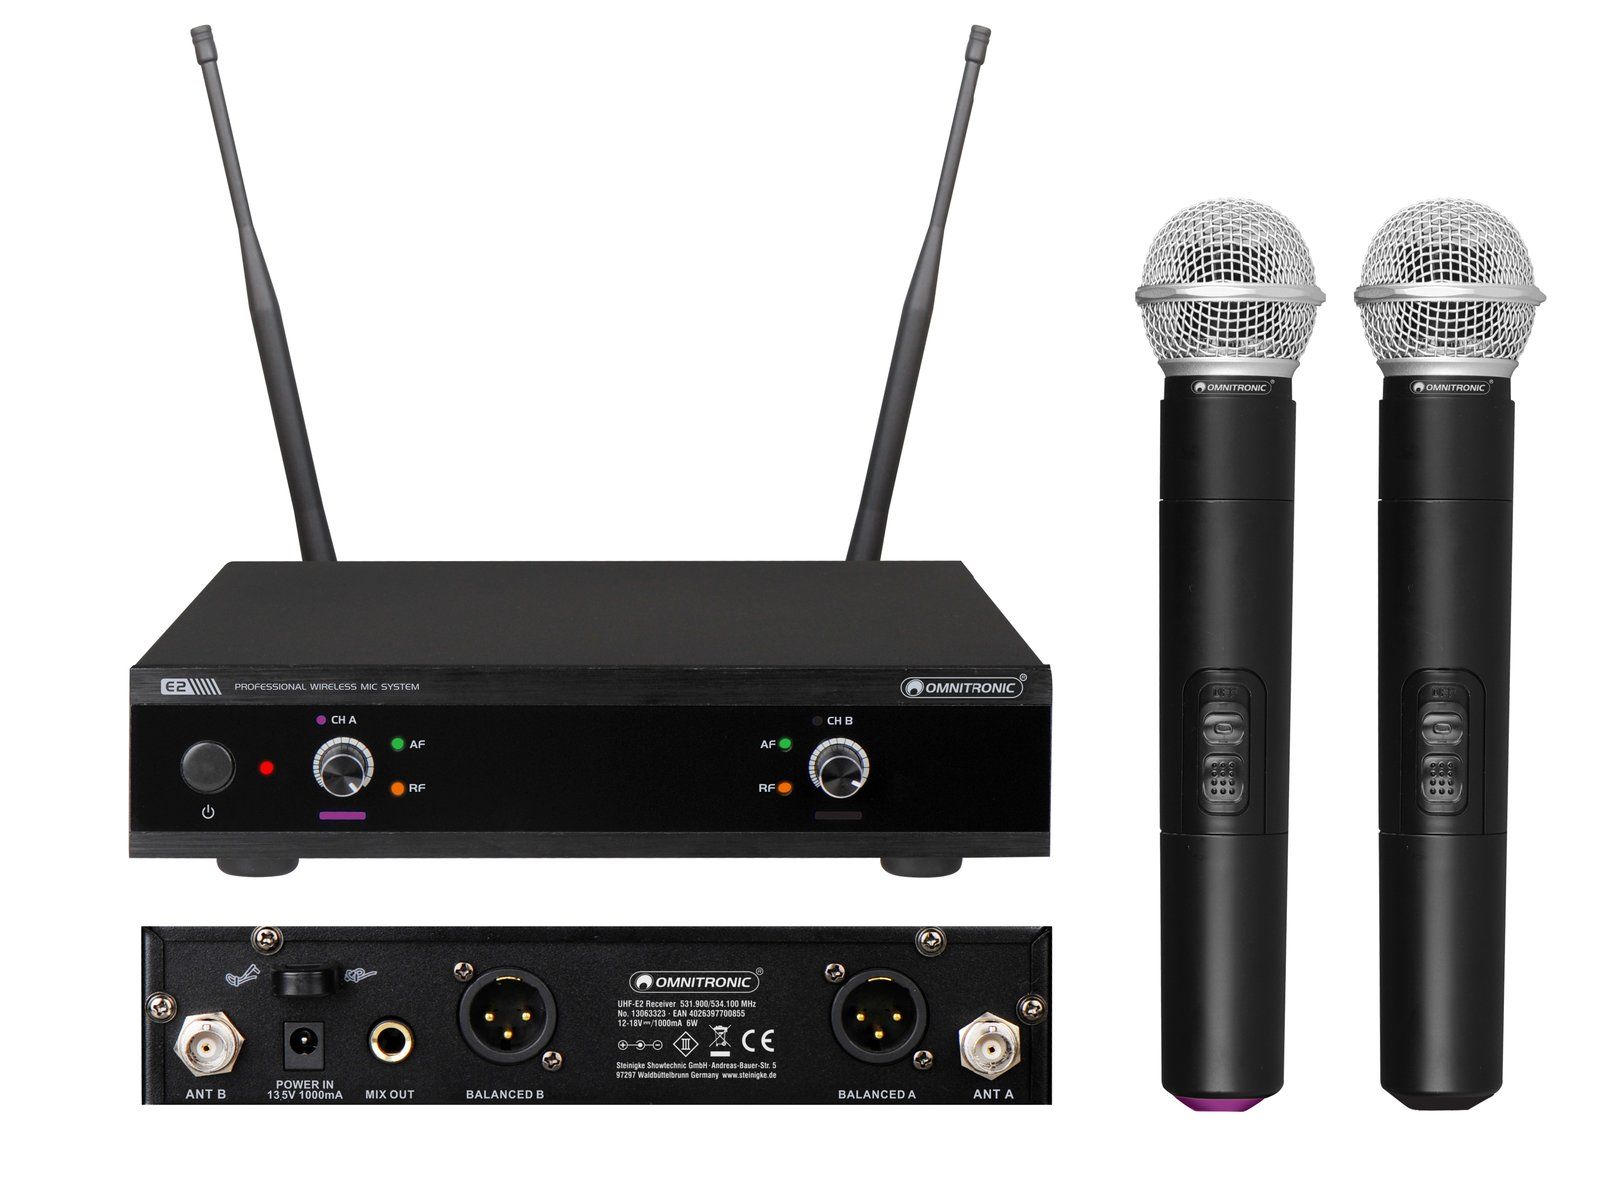
- Phantom Power Supply: Ensure that your audio interface, mixer, or preamp provides phantom power to the condenser microphone. Phantom power is essential for polarizing the microphone’s diaphragm and enabling it to capture sound effectively.
- Pop Filter: Consider using a pop filter to minimize plosive sounds and sibilance, enhancing the overall vocal clarity during karaoke performances.
Environment:
- Noise Control: Choose a quiet environment for your karaoke sessions to minimize background noise and ensure optimal vocal clarity. If possible, use acoustic treatment to reduce reflections and improve the acoustics of the space.
- Lighting: Adequate lighting can enhance the overall karaoke experience, so consider setting up suitable lighting to create an inviting and enjoyable atmosphere for your performances.
Once you have the necessary equipment and a conducive environment, it’s time to set up your condenser microphone for karaoke. Start by attaching the microphone to the stand and adjusting its position to suit your singing style and height. Ensure that the microphone is securely mounted to prevent any accidental movements during your performance.
Next, connect the condenser microphone to your audio interface, mixer, or preamp using an XLR cable, and activate the phantom power supply if required. It’s important to handle the microphone and cable with care to avoid any damage to the delicate components.
Position the pop filter in front of the condenser microphone to minimize plosives and ensure consistent vocal clarity. Adjust the distance and angle of the microphone to align with your mouth, allowing for comfortable singing without compromising sound quality.
With the microphone set up and ready to go, you’re one step closer to enjoying high-quality karaoke experiences with the exceptional audio capture capabilities of a condenser microphone. The next section will explore the importance of using the right distance and angle when utilizing a condenser microphone for karaoke performances.
Using the Right Distance and Angle
When using a condenser microphone for karaoke, achieving the optimal distance and angle is essential for capturing your vocals with precision and clarity. Proper microphone placement plays a significant role in ensuring balanced sound reproduction and minimizing unwanted artifacts during your performances.
Distance:
Maintaining the appropriate distance from the condenser microphone is crucial for achieving consistent sound levels and minimizing variations in vocal intensity. As a general guideline, aim to position the microphone approximately 6 to 12 inches away from your mouth to capture a natural and well-balanced vocal tone. Experiment with different distances to find the sweet spot that complements your singing style and vocal dynamics.
It’s important to note that getting too close to the microphone can lead to excessive bass frequencies and plosive sounds, while standing too far away may result in a lack of presence and clarity in your vocals. By finding the optimal distance, you can ensure that your karaoke performances are characterized by clear articulation and an even frequency response.
Angle:
The angle at which you address the condenser microphone can significantly impact the tonal characteristics and projection of your vocals. Position the microphone at a slight angle, typically around 45 degrees, to minimize plosive sounds and sibilance while capturing the nuances of your voice effectively. This angle allows for smooth airflow and reduces the impact of direct plosive bursts on the microphone diaphragm.
Additionally, adjusting the microphone angle can help mitigate off-axis coloration, ensuring that the captured vocals remain consistent and well-defined across different vocal registers. By addressing the microphone at an appropriate angle, you can enhance the overall intelligibility and tonal balance of your karaoke performances, creating an immersive and enjoyable experience for yourself and your audience.
Experiment with different microphone positions and angles during your karaoke sessions to identify the setup that best complements your vocal style and preferences. It’s worth noting that individual vocal techniques and singing dynamics may influence the ideal distance and angle for microphone placement, so don’t hesitate to make adjustments based on your unique performance characteristics.
By mastering the art of utilizing the right distance and angle when using a condenser microphone for karaoke, you can elevate the quality of your vocal renditions and immerse yourself in the captivating world of professional-grade audio capture. The next section will delve into the essential considerations for adjusting the gain and volume levels to optimize the performance of your condenser microphone during karaoke sessions.
Adjusting the Gain and Volume
Optimizing the gain and volume levels of your condenser microphone is a critical step in ensuring balanced audio output and preventing distortion during karaoke performances. By understanding the role of gain and volume adjustments, you can effectively manage the input signal strength and output levels, resulting in clear and pristine vocal reproduction.
Gain:
The gain control on your audio interface, mixer, or preamp allows you to adjust the input sensitivity of the condenser microphone. When setting the gain, aim to achieve an optimal signal-to-noise ratio, ensuring that the microphone captures your vocals with clarity while minimizing background noise and electronic interference. Start by setting the gain to a conservative level and gradually increase it until your vocals are adequately amplified without introducing unwanted noise or distortion.
It’s important to monitor the gain levels during your karaoke sessions, especially when transitioning between different vocal dynamics and song sections. Avoid excessive gain that leads to clipping or distortion, as this can compromise the overall audio quality and diminish the impact of your performances. By finding the right balance, you can harness the full dynamic range of your vocals while maintaining a clean and distortion-free signal.
Volume:
Managing the output volume of the condenser microphone is essential for controlling the overall sound levels and ensuring a comfortable listening experience for yourself and your audience. Whether you’re using a dedicated monitor system or relying on speakers for audio playback, adjusting the microphone’s output volume allows you to tailor the sound to suit the acoustics of the environment and the preferences of the listeners.
When adjusting the microphone volume, consider the dynamics of the karaoke songs and the projection of your vocals. Aim to strike a balance between a compelling vocal presence and a controlled sound level that avoids overwhelming the audience. By monitoring the microphone’s volume and making real-time adjustments as needed, you can deliver engaging and well-balanced karaoke performances that captivate your audience and elevate your singing experience.
Throughout your karaoke sessions, remain attentive to the gain and volume settings, making incremental adjustments to accommodate different songs, vocal techniques, and performance dynamics. By mastering the art of managing gain and volume, you can unleash the full potential of your condenser microphone, allowing your vocals to shine with clarity and impact.
The next section will provide valuable insights into the proper handling and maintenance of condenser microphones, ensuring their longevity and consistent performance for countless karaoke sessions to come.
Proper Handling and Maintenance
Ensuring the proper handling and maintenance of your condenser microphone is essential for preserving its performance and longevity, allowing you to enjoy countless karaoke sessions without compromising audio quality. By adopting good practices and adhering to maintenance guidelines, you can safeguard the delicate components of the microphone and maximize its reliability.
Handling:
When handling a condenser microphone, it’s important to exercise care and precision to avoid damaging the sensitive diaphragm and internal circuitry. Always hold the microphone by its body or designated grip area, avoiding direct contact with the diaphragm to prevent potential damage from fingerprints, dust, or moisture. Additionally, use a protective case or pouch to store the microphone when it’s not in use, shielding it from accidental impacts and environmental elements.
During karaoke performances, handle the microphone with attentiveness, avoiding sudden movements or impacts that could compromise its structural integrity. By treating the microphone with respect and mindfulness, you can maintain its pristine condition and ensure consistent performance throughout your singing endeavors.
Maintenance:
Regular maintenance routines are instrumental in preserving the optimal functionality of your condenser microphone. Start by inspecting the microphone for any signs of wear, such as loose connections, damaged cables, or debris accumulation. Gently clean the microphone’s exterior using a soft, lint-free cloth to remove dust and smudges, taking care not to apply excessive pressure or cleaning agents that could harm the finish.
Furthermore, pay attention to the storage conditions of the microphone, keeping it in a dry and controlled environment to prevent exposure to extreme temperatures, humidity, or direct sunlight. Proper storage contributes to the microphone’s longevity and ensures that it remains in prime condition for consistent karaoke performances.
Periodically check the microphone’s accessories, such as the XLR cable and pop filter, for any signs of wear or damage, and replace them as needed to maintain a reliable and secure setup. Additionally, if your microphone features removable grilles or pop filters, clean them gently to prevent the accumulation of debris that could affect the microphone’s audio capture capabilities.
By incorporating these handling and maintenance practices into your karaoke routine, you can safeguard the integrity of your condenser microphone and enjoy uninterrupted performances with confidence and peace of mind. With proper care and attention, your microphone will continue to deliver exceptional audio quality, allowing you to immerse yourself in the joy of karaoke without concerns about equipment reliability.
Conclusion
Embarking on the journey of using a condenser microphone for karaoke opens up a world of possibilities for elevating your vocal performances and immersing yourself in the art of professional-grade audio capture. Throughout this guide, we’ve explored the fundamental aspects of condenser microphones, from their unique operating principles to the essential steps for setting up, positioning, and utilizing them effectively in karaoke settings.
Understanding the intricacies of condenser microphones empowers karaoke enthusiasts to make informed decisions when selecting and utilizing these sophisticated audio devices. By investing in high-quality condenser microphones, sturdy microphone stands, and essential accessories such as pop filters, karaoke enthusiasts can create an environment conducive to exceptional vocal performances with unparalleled clarity and warmth.
Optimizing the distance and angle of the condenser microphone, adjusting the gain and volume levels, and implementing proper handling and maintenance practices are pivotal in ensuring consistent audio quality and the longevity of the microphone. By mastering these aspects, karaoke enthusiasts can unleash the full potential of their condenser microphones, allowing their vocals to shine with clarity and impact, enriching the overall karaoke experience.
As you continue your karaoke journey with a condenser microphone, remember to embrace experimentation and exploration, fine-tuning your microphone setup and performance techniques to align with your unique vocal style and preferences. By immersing yourself in the world of professional audio capture, you can elevate your karaoke experiences to new heights, captivating your audience and experiencing the joy of singing with exceptional sound quality.
Whether you’re a seasoned karaoke enthusiast or a newcomer to the world of condenser microphones, the insights and guidelines presented in this guide serve as valuable resources for harnessing the full potential of your microphone and enhancing your karaoke performances. With dedication, creativity, and a deep appreciation for the art of vocal expression, you can embark on a rewarding journey of karaoke excellence, supported by the remarkable capabilities of condenser microphones.
So, step into the spotlight, unleash your vocal prowess, and let the captivating sound of your voice resonate with clarity and emotion, as you embrace the enriching world of karaoke with a condenser microphone as your trusted companion.