Introduction
Connecting a microphone to an AV receiver can significantly enhance your audio setup, allowing for clear and amplified sound during presentations, karaoke sessions, or public speaking engagements. Whether you're a home audio enthusiast or a professional event organizer, understanding how to seamlessly integrate a microphone with your AV receiver is essential for achieving optimal sound quality.
In this comprehensive guide, we will explore the step-by-step process of connecting a microphone to an AV receiver. We will delve into the various types of microphones commonly used in conjunction with AV receivers, and provide detailed instructions on how to configure your AV receiver to accommodate the microphone input. By the end of this guide, you will have the knowledge and confidence to successfully integrate a microphone into your audio-visual system, ensuring crystal-clear sound reproduction for your specific needs.
Let's embark on this enlightening journey to demystify the process of connecting a microphone to an AV receiver, empowering you to harness the full potential of your audio setup. Whether you're a novice in the realm of audio equipment or a seasoned professional seeking to expand your knowledge, this guide will equip you with the essential know-how to seamlessly integrate a microphone into your AV receiver system.
Understanding the AV Receiver
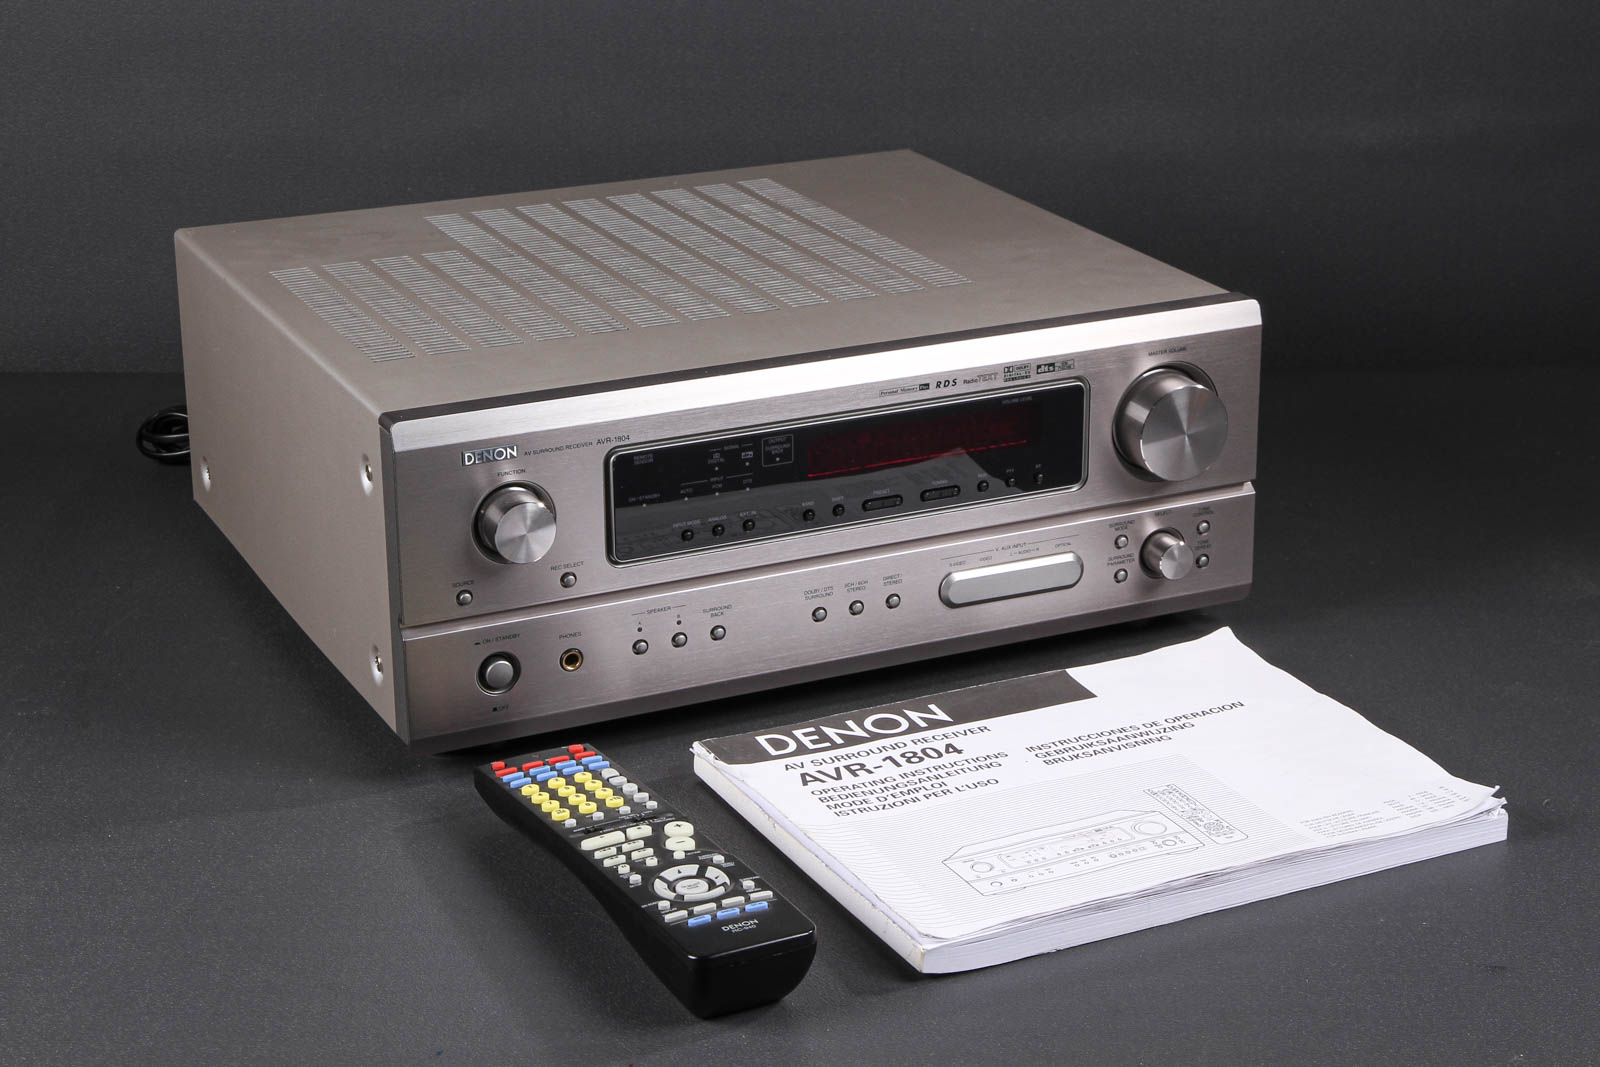
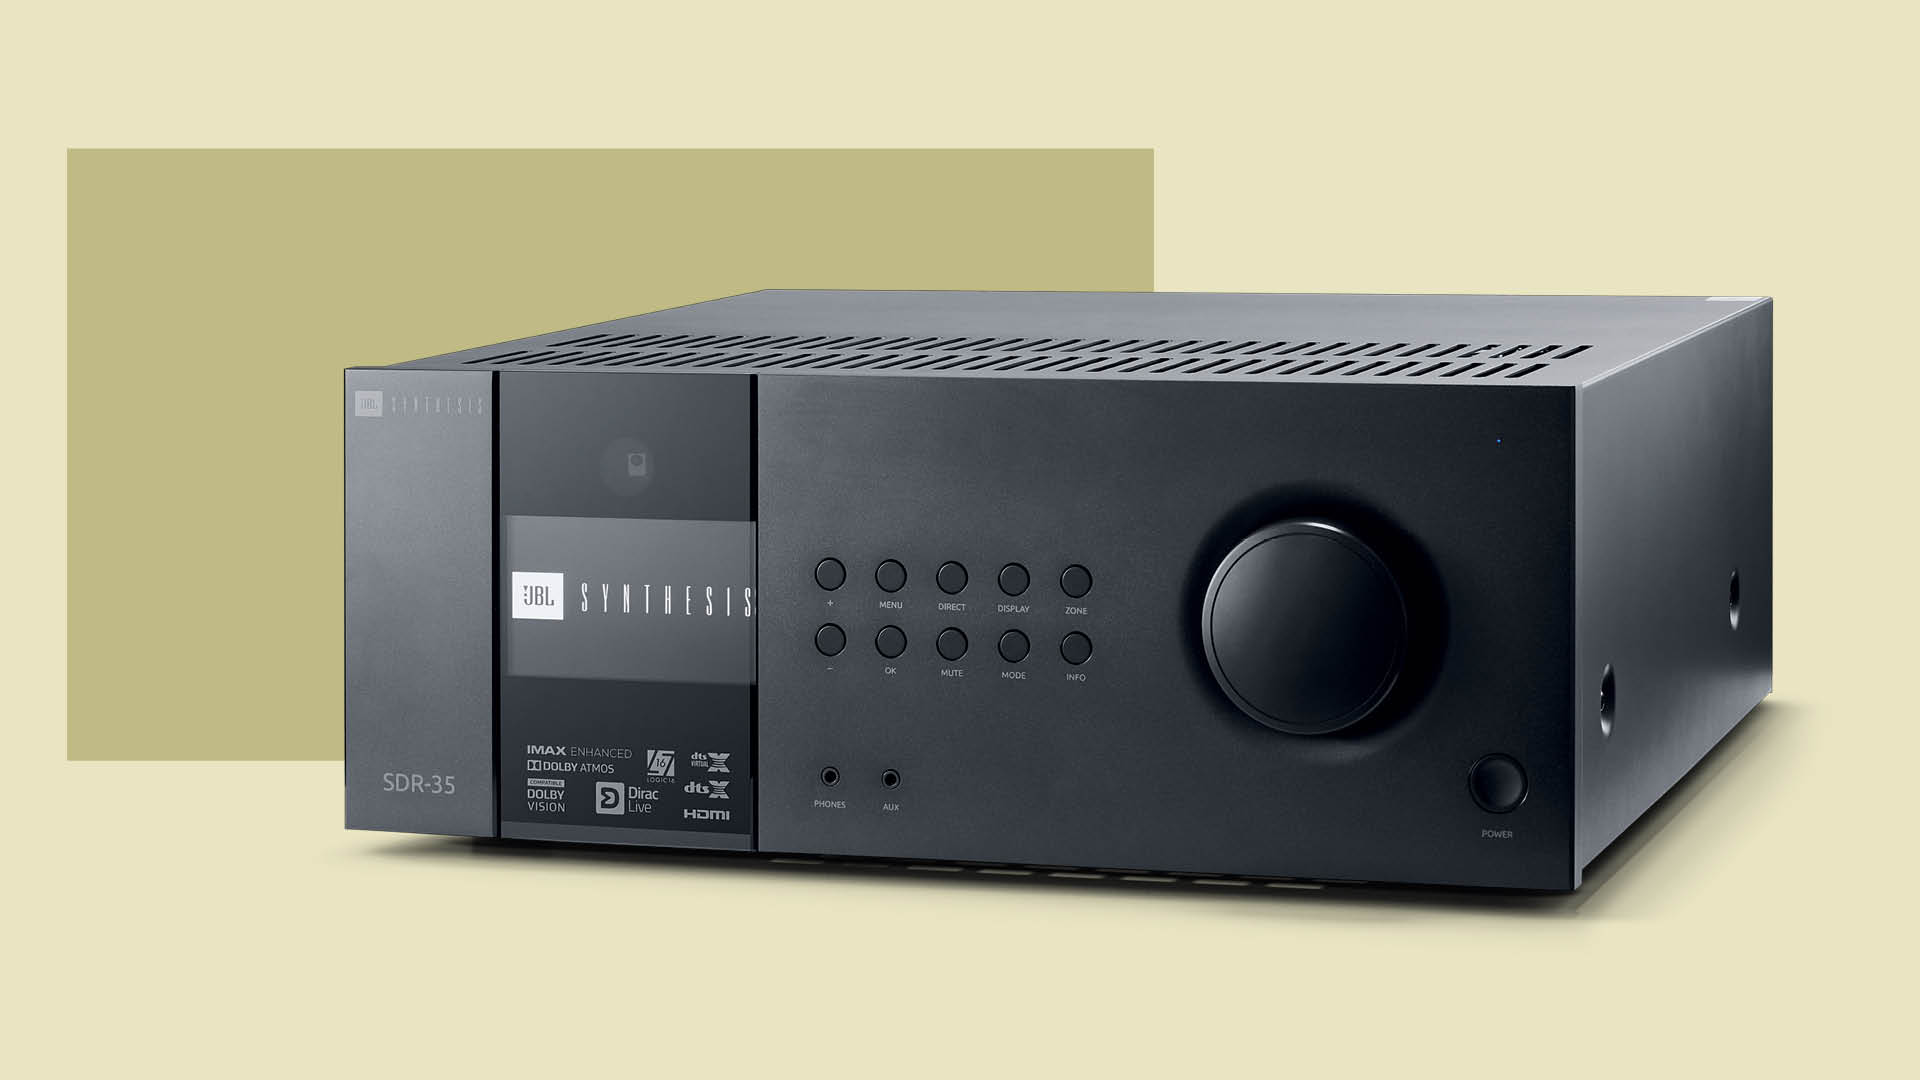
Before delving into the technicalities of connecting a microphone to an AV receiver, it’s crucial to grasp the fundamental role of the AV receiver within an audio-visual setup. An AV receiver serves as the central hub for audio and video processing, seamlessly integrating various audio and video sources to deliver a unified and immersive entertainment experience.
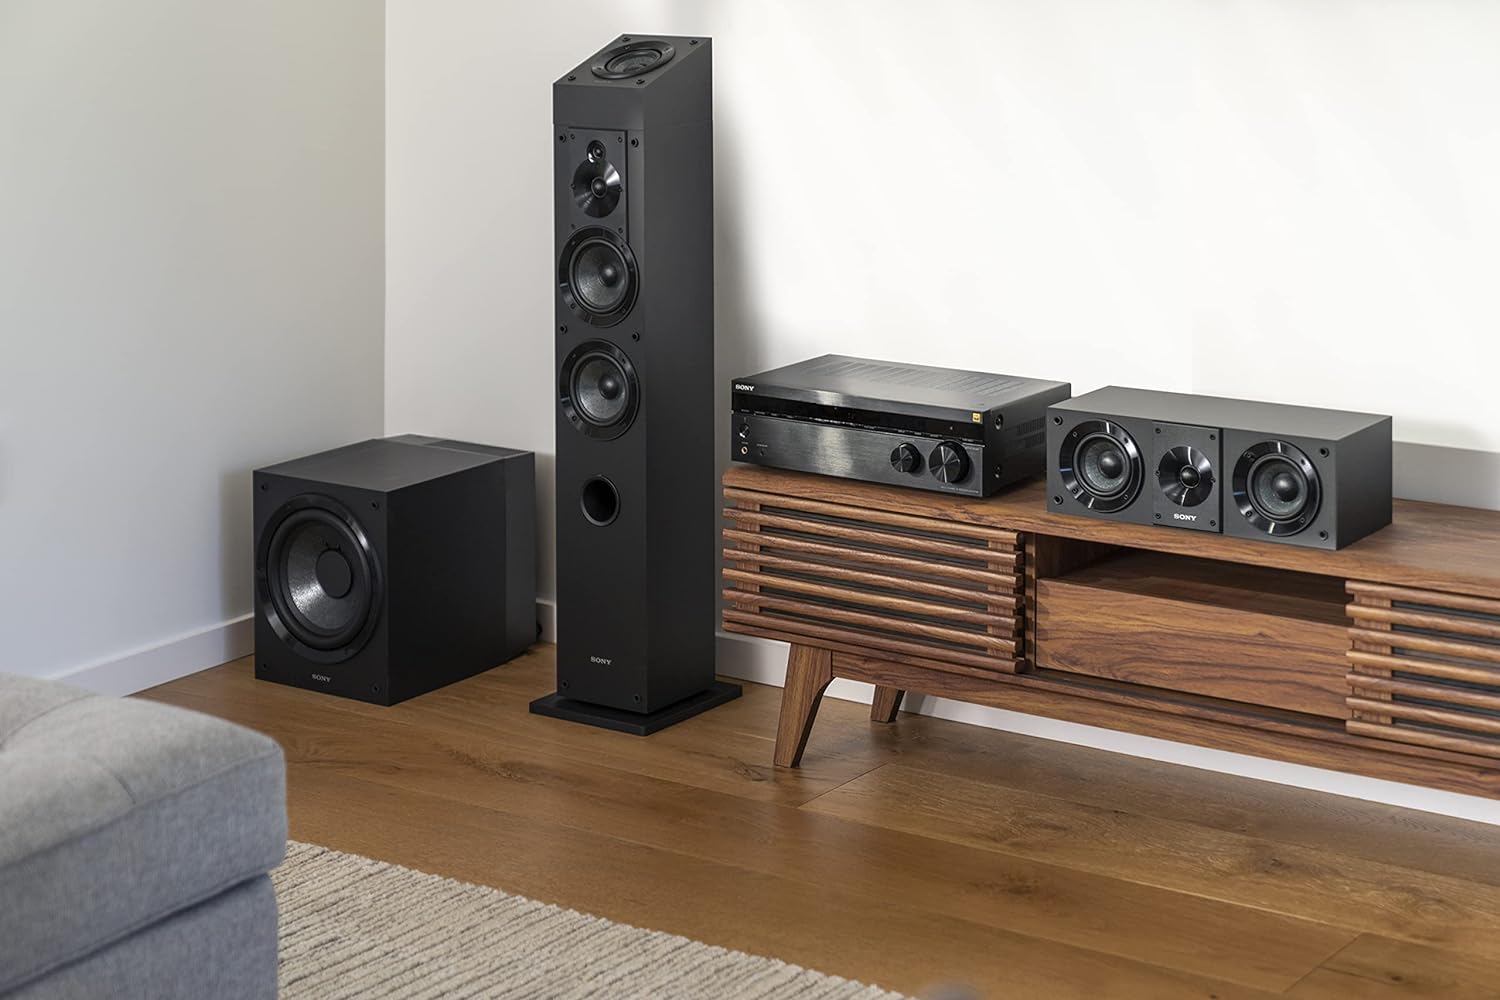
At its core, an AV receiver acts as a powerhouse, combining the functionalities of a preamplifier, amplifier, and audio/video switcher. It processes audio signals from different sources, such as Blu-ray players, gaming consoles, streaming devices, and cable boxes, and distributes them to connected speakers or other audio output devices. Additionally, the AV receiver decodes surround sound formats, such as Dolby Atmos and DTS:X, to create a captivating audio environment for movies, music, and other media.
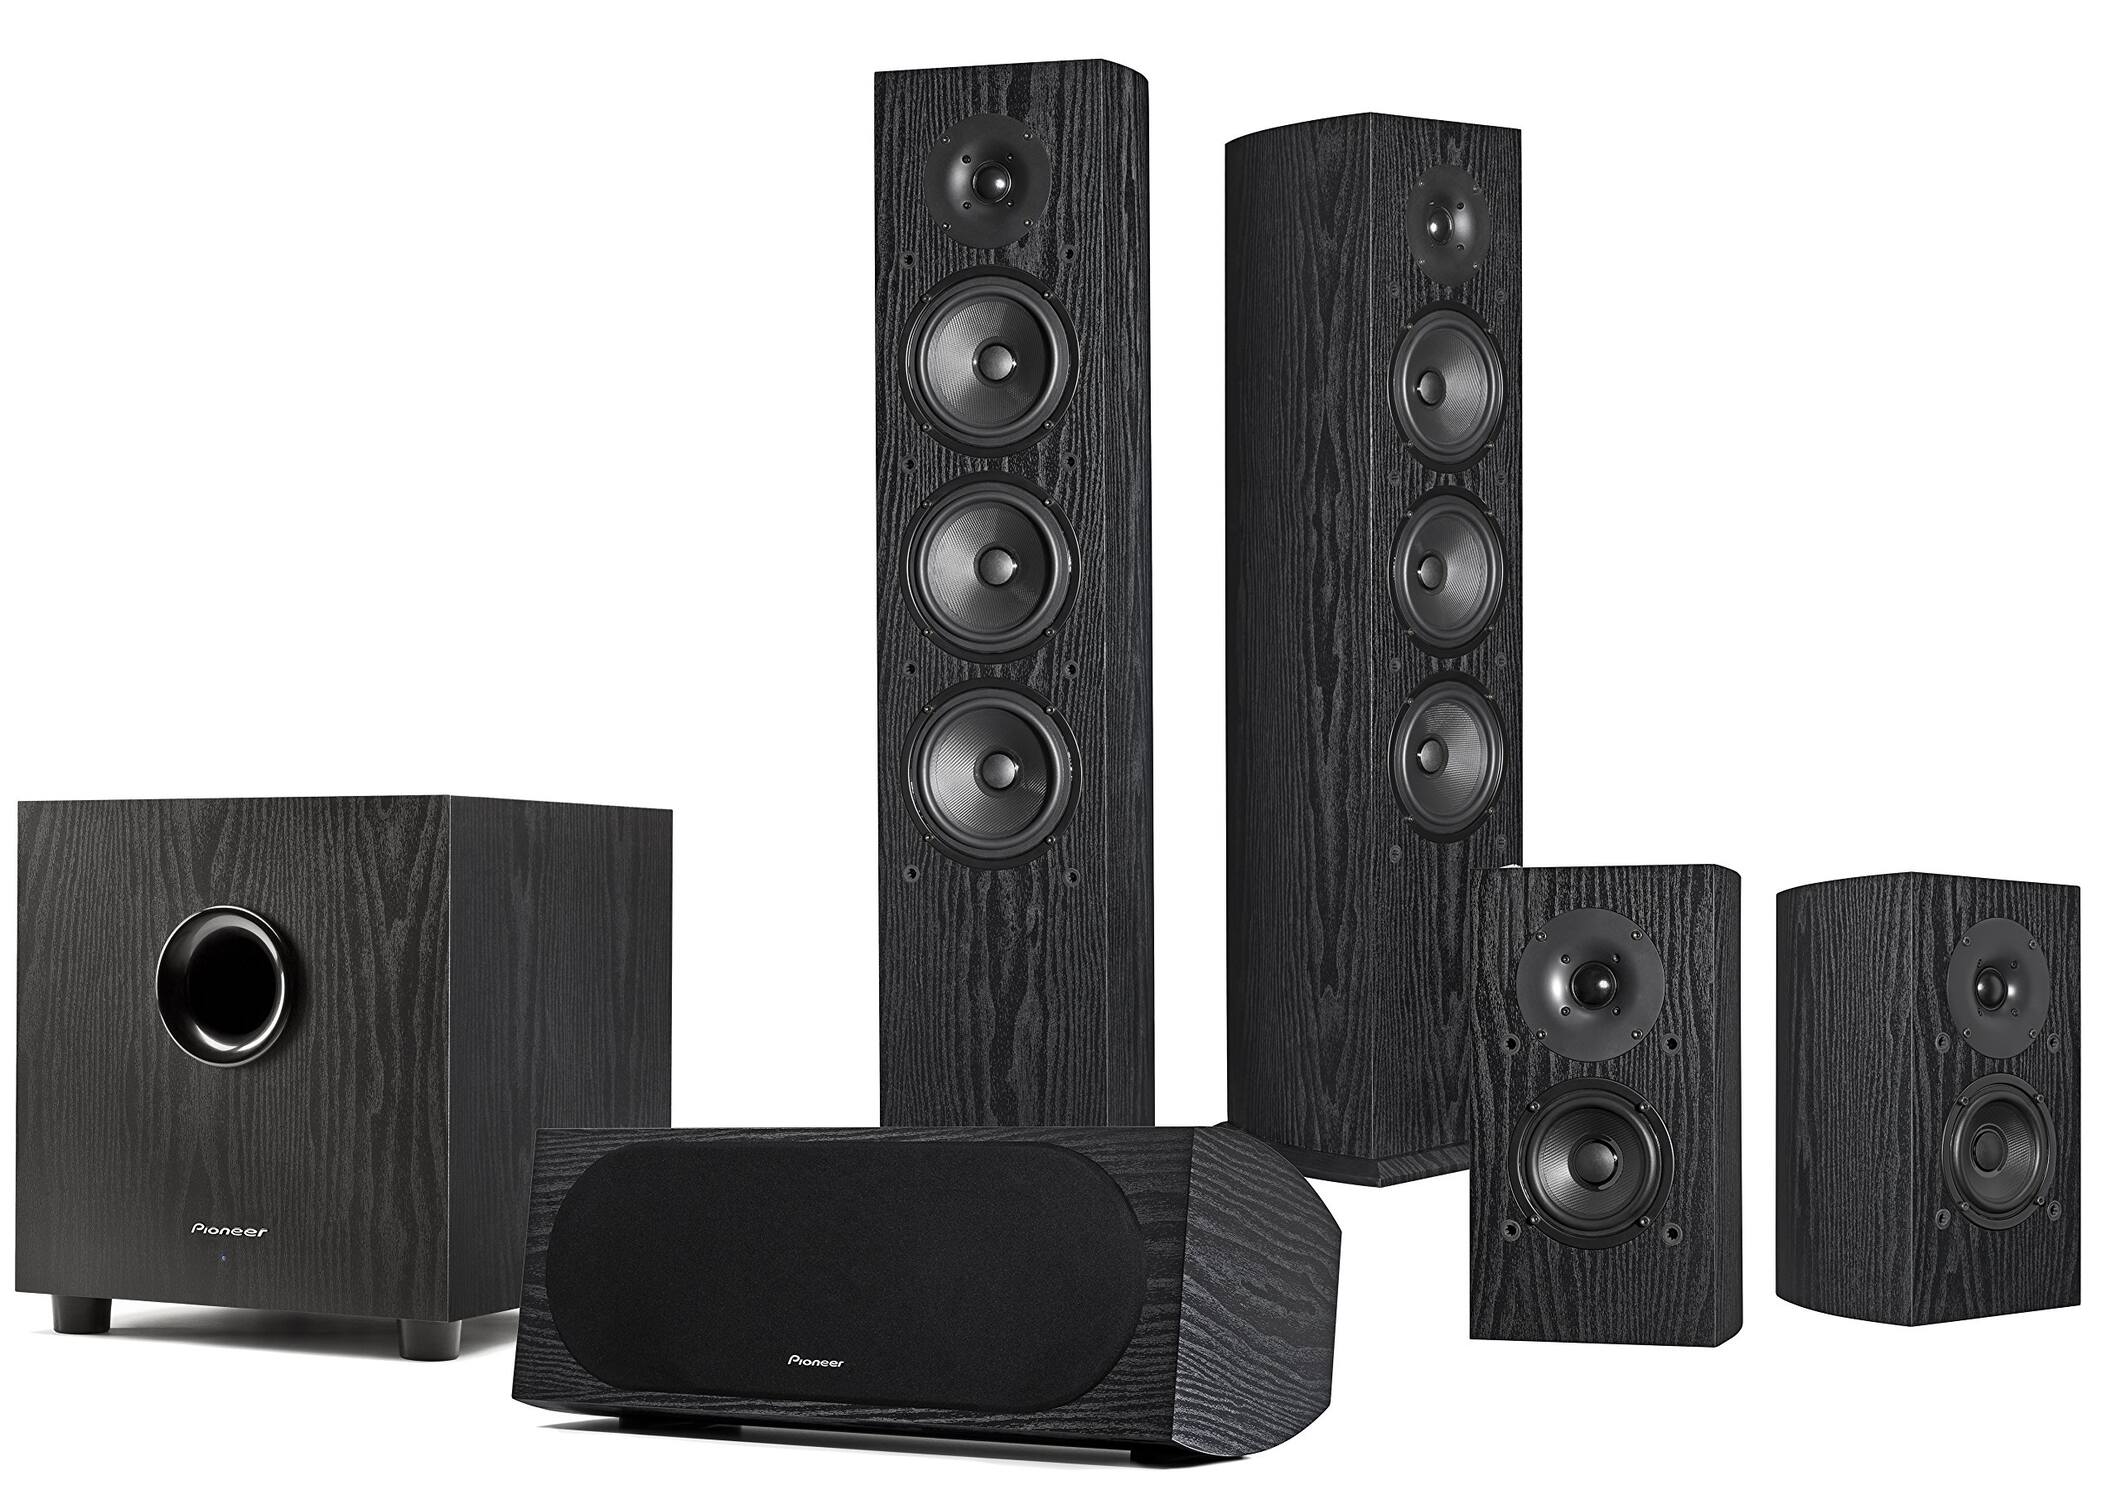
Furthermore, modern AV receivers are equipped with a diverse range of input and output options, including HDMI, optical, and analog audio connections, catering to the connectivity needs of various audio devices. These versatile input ports enable seamless integration of microphones, allowing users to harness the full potential of their AV receiver for live performances, public address systems, and other applications requiring microphone input.
Understanding the layout and functionality of an AV receiver is pivotal for effectively incorporating a microphone into the audio setup. By familiarizing yourself with the key features and capabilities of the AV receiver, you can optimize its performance to accommodate microphone input, thereby elevating the overall audio experience within your home entertainment system or professional audio setup.
Types of Microphones
Microphones come in various types, each designed to capture sound in specific ways to suit diverse applications. Understanding the characteristics and functionalities of different microphone types is essential for selecting the most suitable option when integrating a microphone with an AV receiver.
- Dynamic Microphones: Known for their durability and versatility, dynamic microphones are ideal for live performances, public speaking, and recording loud sound sources. These microphones operate on electromagnetic induction and are capable of handling high sound pressure levels, making them well-suited for capturing vocals and instruments in dynamic audio environments.
- Condenser Microphones: Renowned for their exceptional sensitivity and high-frequency response, condenser microphones are favored for studio recording, podcasting, and capturing nuanced sound details. These microphones utilize an electrically-charged diaphragm and a backplate to convert sound waves into electrical signals, delivering pristine audio quality and capturing subtle nuances with remarkable clarity.
- Ribbon Microphones: Characterized by their warm and natural sound reproduction, ribbon microphones excel in capturing the rich tonal characteristics of musical instruments and vocals. With their bidirectional polar pattern, ribbon microphones capture sound from the front and rear, making them an excellent choice for achieving a balanced and natural sound representation in both studio and live settings.
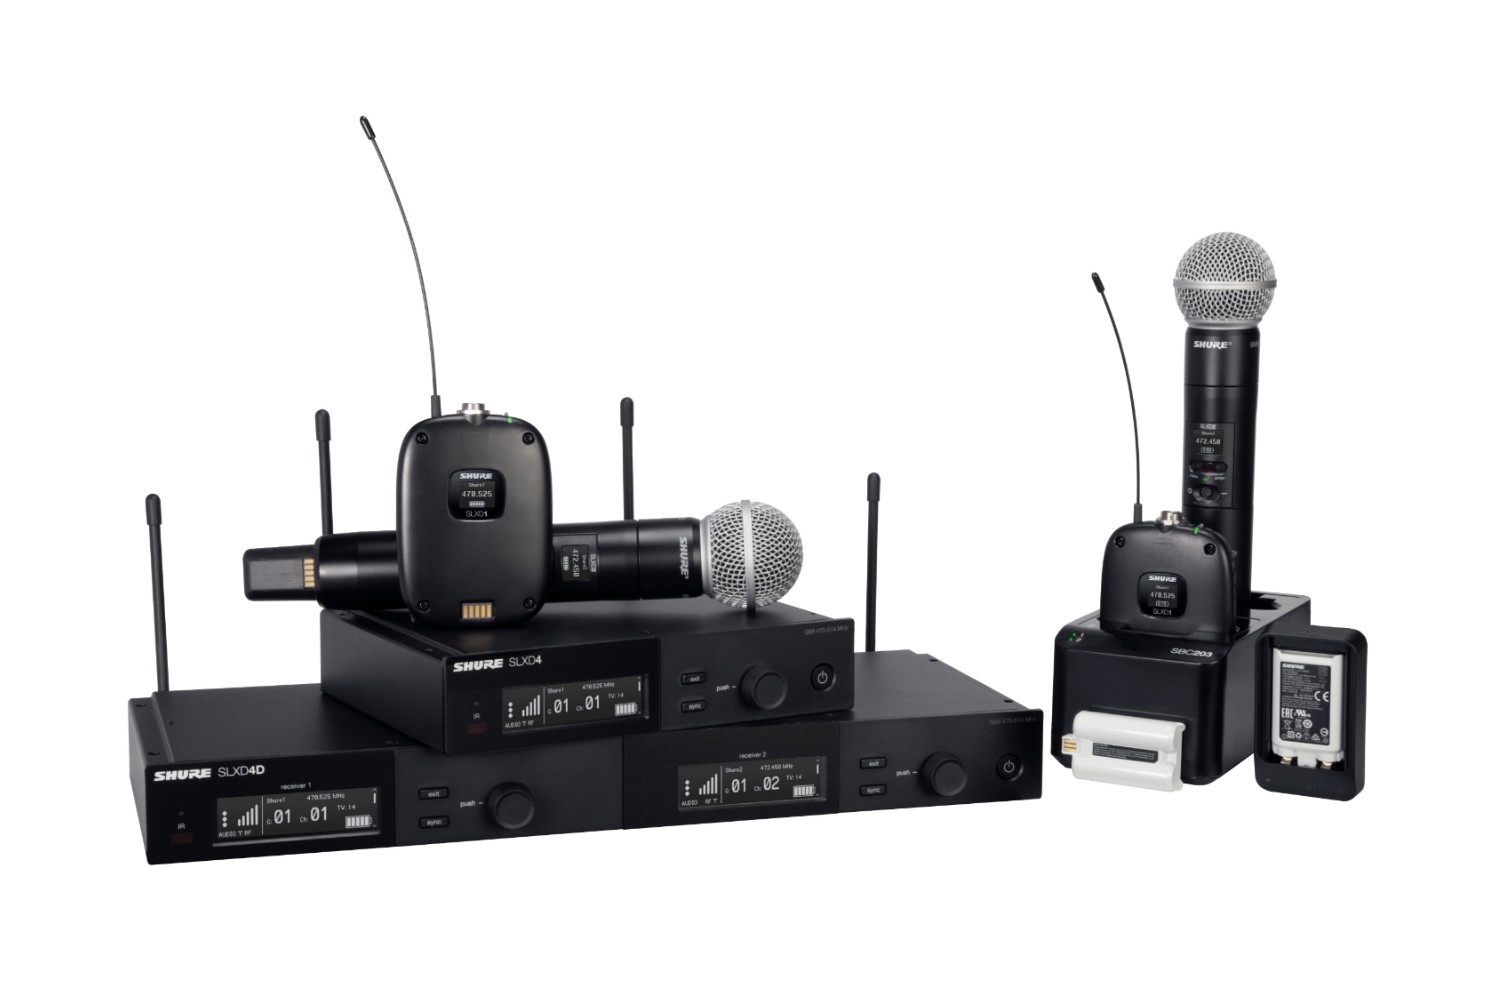
- Wireless Microphones: Offering freedom of movement and flexibility, wireless microphones utilize radio frequency transmission to convey audio signals to a receiver unit, eliminating the constraints of physical cables. These microphones are widely used in live performances, public speaking engagements, and presentations, providing performers and speakers with unrestricted mobility while delivering consistent and reliable audio output.
By familiarizing yourself with the distinctive characteristics of each microphone type, you can make informed decisions when selecting a microphone to integrate with your AV receiver. Whether you prioritize durability, sensitivity, natural sound reproduction, or wireless convenience, choosing the right microphone type is pivotal for achieving optimal audio performance and meeting the specific requirements of your audio-visual setup.
Connecting a Microphone to an AV Receiver
Integrating a microphone with an AV receiver involves establishing a seamless connection to leverage the microphone’s audio input capabilities. The process entails utilizing the appropriate input ports on the AV receiver to accommodate the microphone’s output signal, thereby enabling the transmission of clear and amplified audio through the audio-visual system.
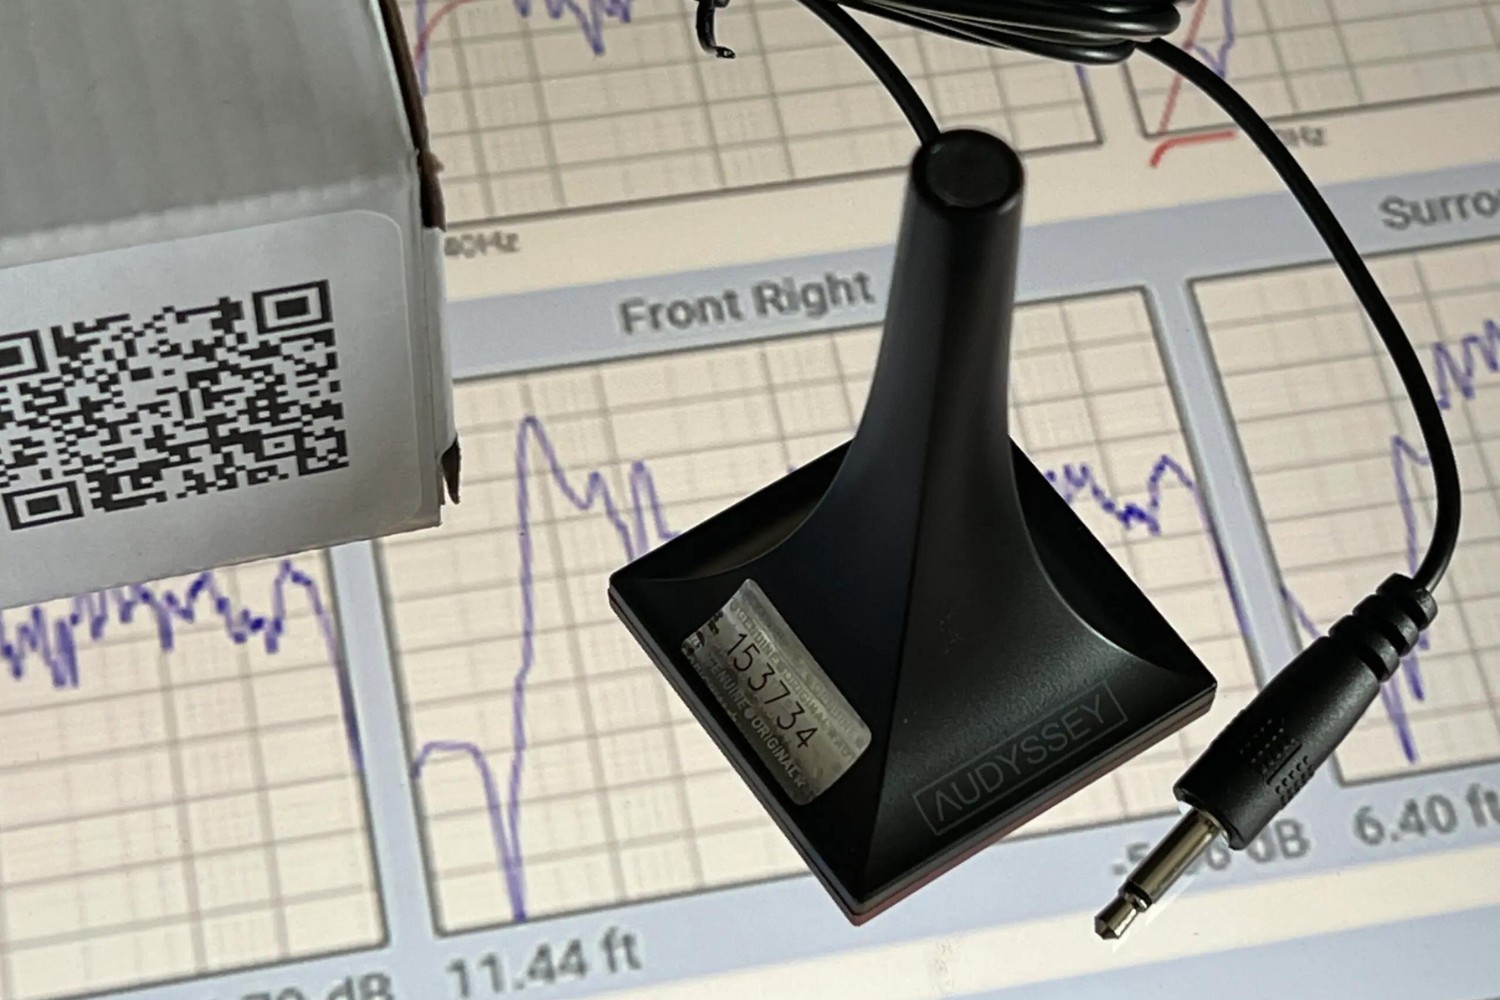
To initiate the connection, identify the microphone’s output connector, which may vary depending on the microphone type. Common connectors include XLR, 1/4-inch TRS, and 3.5mm jacks. Once the output connector is identified, locate the corresponding input port on the AV receiver. Most AV receivers feature dedicated microphone input ports, often labeled as “Mic,” “Microphone,” or “Audio In,” typically located on the front or rear panel of the receiver.
Upon identifying the appropriate input port, proceed to connect the microphone’s output to the designated input port on the AV receiver using a compatible audio cable. Ensure a secure and snug connection to prevent signal interference or disconnection during operation. If the microphone requires phantom power, verify that the AV receiver’s microphone input port provides phantom power, as condenser microphones, in particular, necessitate this feature for proper operation.
Furthermore, if you intend to use multiple microphones simultaneously, consider utilizing an external audio mixer to consolidate and manage the microphone inputs before routing the mixed signal to the AV receiver. This approach enables precise control over individual microphone levels and enhances the overall audio management capabilities within your setup.
Once the microphone is securely connected to the AV receiver, you are poised to harness its audio input capabilities, amplifying your voice or instrument to resonate throughout the audio system with clarity and precision. This integration paves the way for engaging presentations, captivating performances, and seamless audio reinforcement, enriching the overall audio-visual experience for both performers and audiences alike.
Adjusting Settings on the AV Receiver
After successfully connecting the microphone to the AV receiver, it is essential to configure the receiver’s settings to optimize the microphone input and ensure seamless integration with the audio system. By adjusting specific parameters and audio settings, you can fine-tune the microphone’s performance, control its audio levels, and tailor the sound output to suit your specific requirements.
Begin by accessing the AV receiver’s settings menu, typically navigable through the receiver’s remote control or front panel interface. Locate the audio settings section, which may include dedicated options for microphone input configuration. Depending on the receiver model and manufacturer, the settings menu may offer various adjustments to refine the microphone input, such as input sensitivity, equalization, and signal routing options.
Adjust the microphone input sensitivity to optimize the audio levels and prevent distortion or clipping. This setting allows you to control the microphone’s input gain, ensuring that the audio signal remains within the receiver’s optimal operating range without overloading the input stage. Fine-tuning the input sensitivity is particularly crucial when using dynamic or condenser microphones with varying output levels.
Additionally, explore the equalization settings to tailor the microphone’s tonal characteristics and address any frequency response adjustments necessary for your specific application. By adjusting the equalization parameters, you can enhance the microphone’s sonic profile, compensate for room acoustics, and achieve a balanced and natural sound representation tailored to your preferences.
Furthermore, if the AV receiver provides signal routing options, consider configuring the microphone input to route the audio signal to the desired output channels, such as the main speakers, surround sound system, or dedicated audio zones within a multi-room setup. This flexibility enables you to direct the microphone’s audio output precisely where it is needed, optimizing the audio distribution for diverse applications.
By meticulously adjusting the settings on the AV receiver to accommodate the microphone input, you can unleash the full potential of your audio system, delivering clear, intelligible sound with precision and finesse. These tailored adjustments empower you to harness the microphone’s capabilities within your audio-visual setup, ensuring seamless integration and optimized audio performance across various applications.
Testing the Microphone
Once the microphone is connected to the AV receiver and the settings are adjusted to optimize its performance, it is imperative to conduct thorough testing to ensure that the microphone functions seamlessly within the audio-visual setup. Testing the microphone allows you to evaluate its audio output, verify the integration with the AV receiver, and address any potential issues or adjustments required to achieve the desired sound quality.
Commence the testing process by activating the microphone input on the AV receiver, ensuring that the input source selection corresponds to the connected microphone. If the AV receiver features multiple input sources, verify that the microphone input is selected to route the audio signal from the microphone to the designated output channels, such as the main speakers or other audio playback devices.
Subsequently, speak or perform into the microphone to generate an audio signal, monitoring the sound output through the connected audio playback devices. Assess the clarity, volume, and overall fidelity of the microphone’s output, paying attention to any potential distortions, background noise, or irregularities in the audio reproduction. This critical evaluation enables you to gauge the microphone’s performance and identify any adjustments required to refine its audio output.
During the testing phase, consider experimenting with different microphone placements and orientations to assess the sound capture characteristics and optimize the microphone’s positioning for optimal audio pickup. This experimentation allows you to determine the microphone’s ideal placement to capture vocals, instruments, or speech with precision and clarity, enhancing its overall performance within the audio system.
Furthermore, if the AV receiver offers real-time audio monitoring or equalization adjustments, leverage these features to fine-tune the microphone’s audio output while testing. By actively monitoring and adjusting the microphone’s audio levels and tonal characteristics, you can tailor the sound to align with your specific preferences and optimize its integration within the audio-visual environment.
Conducting comprehensive testing of the microphone within the AV receiver setup empowers you to validate its functionality, address any potential audio irregularities, and refine its performance to meet your exacting standards. By meticulously evaluating the microphone’s output and making necessary adjustments during testing, you can ensure that it seamlessly integrates into your audio-visual system, delivering exceptional sound quality for diverse applications.
Conclusion
Embarking on the journey to connect a microphone to an AV receiver unveils a realm of possibilities for enhancing audio experiences, whether in the comfort of your home entertainment space or within professional audio setups. Understanding the pivotal role of the AV receiver as the central hub for audio processing and the diverse types of microphones available equips you with the knowledge to make informed decisions when integrating a microphone into your audio-visual system.
By comprehensively exploring the process of connecting a microphone to an AV receiver, you have gained insights into the intricate steps involved in establishing a seamless audio input connection. From identifying the appropriate input ports on the AV receiver to selecting the optimal microphone type for your specific requirements, this guide has empowered you to navigate the integration process with confidence and precision.
Moreover, adjusting the settings on the AV receiver to optimize the microphone input and conducting thorough testing to evaluate the microphone’s performance have enabled you to fine-tune the audio output, address potential irregularities, and refine the microphone’s integration within the audio-visual environment. This meticulous approach ensures that the microphone seamlessly integrates into your setup, delivering exceptional sound quality and amplifying your voice or instrument with clarity and precision.
As you venture forth with your newfound knowledge, the seamless integration of a microphone with an AV receiver opens doors to captivating presentations, immersive audio experiences, and engaging performances. Whether you’re hosting a karaoke night, delivering a compelling public speech, or enriching your home entertainment setup with amplified vocals, the successful integration of a microphone with an AV receiver amplifies the audio experience, enriching every moment with crystal-clear sound.
Armed with the expertise garnered from this guide, you are well-equipped to harness the full potential of your audio-visual system, seamlessly integrating a microphone to elevate the auditory experience across diverse applications. This newfound proficiency enables you to unlock the transformative power of audio amplification, enriching your engagements, presentations, and entertainment endeavors with unparalleled sound quality and immersive audio reinforcement.