Introduction
Welcome to the world of immersive audio and cinematic experiences with Pioneer Surround Sound Systems. Whether you’re a music lover, a movie enthusiast, or a gamer, a well-set-up surround sound system can elevate your entertainment to a whole new level.
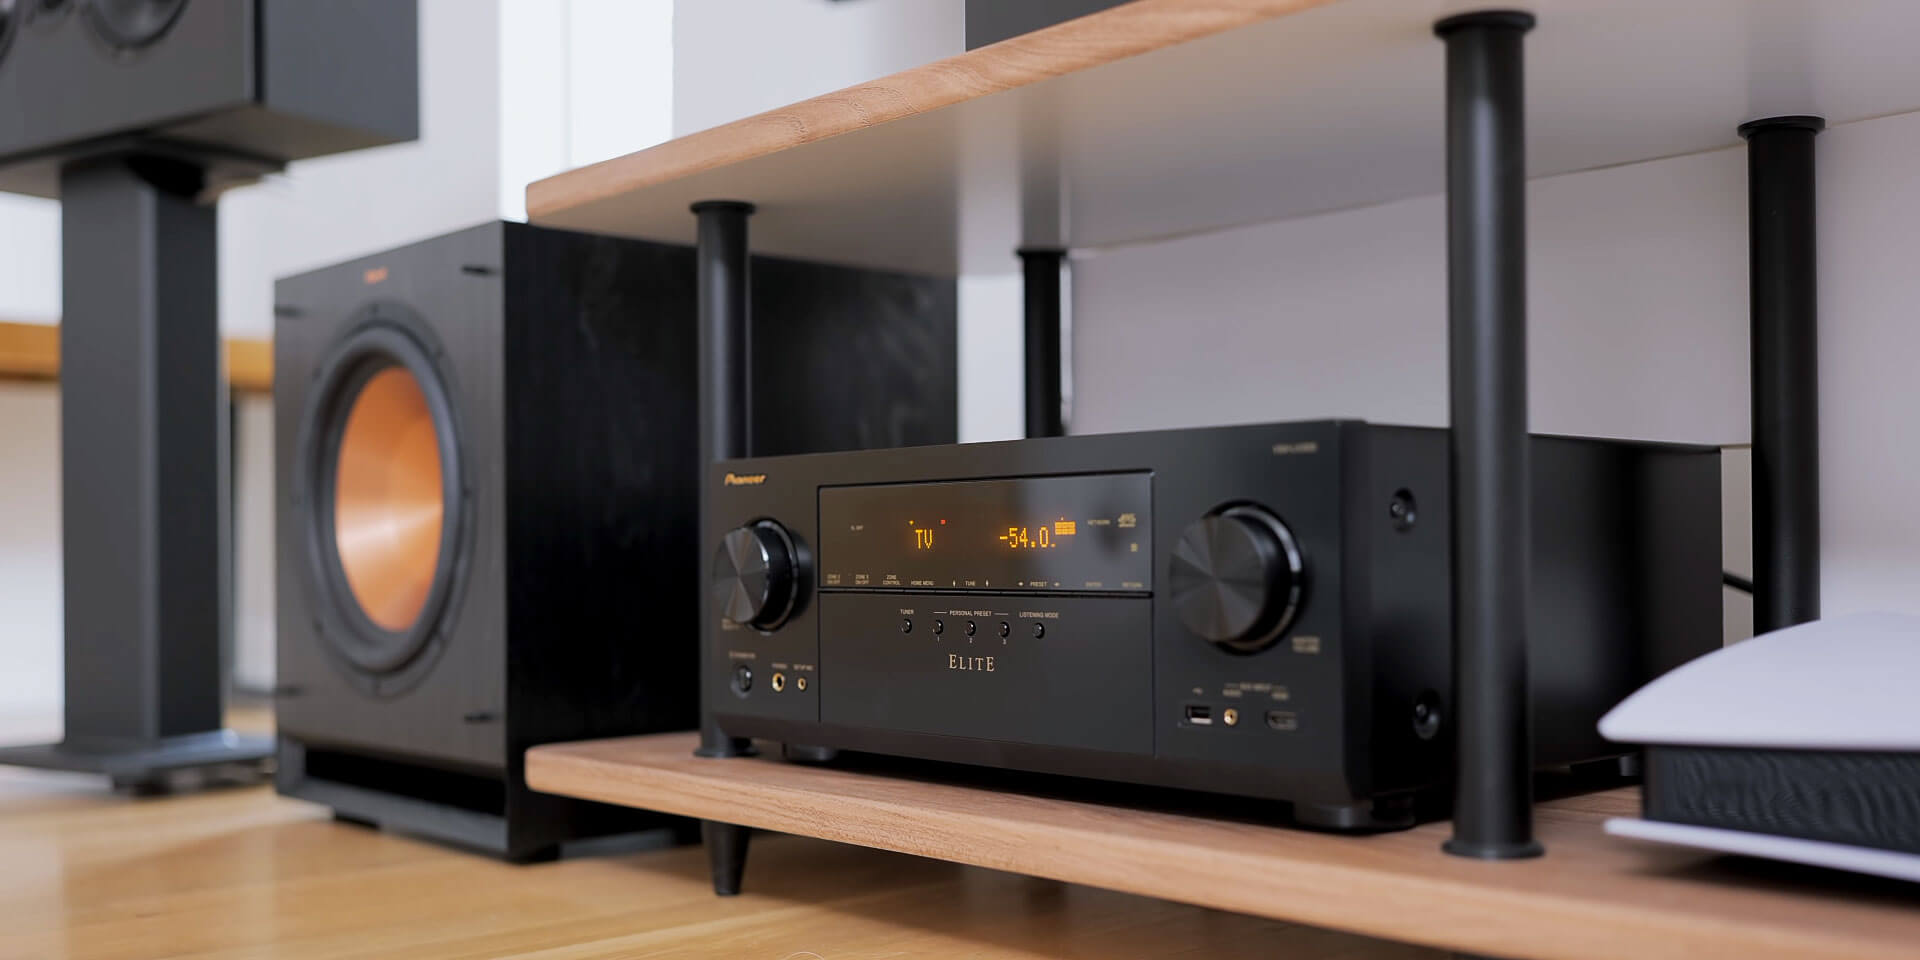
Pioneer, a renowned brand in the audio industry, offers a wide range of surround sound systems that deliver exceptional sound quality and create a realistic audio environment in your home. These systems consist of an AV receiver and multiple speakers strategically placed around the room to replicate the immersive experience of being in a movie theater or concert hall.
In this guide, we will walk you through the process of setting up your Pioneer Surround Sound System, from choosing the right system to configuring the settings and calibrating the sound. Whether you’re a beginner or have some experience with audio systems, this guide will help you get the most out of your Pioneer system and create an audio setup that meets your specific needs and preferences.
Before we dive into the setup process, it’s important to note that every home theater setup is unique, and you may need to adjust the instructions based on your specific system and room layout. However, this guide will provide you with a solid foundation to start with and troubleshoot any issues that may arise along the way.
So, if you’re ready to transform your entertainment space into a truly immersive audio oasis, let’s get started by choosing the right Pioneer Surround Sound System that fits your needs and budget.
Choosing the Right Pioneer Surround Sound System
When it comes to selecting a Pioneer Surround Sound System, it’s essential to consider your audio preferences, room size, and budget. Pioneer offers a range of systems with different features and specifications to suit varying needs. Here are some factors to keep in mind:
- Room Size: The size of your room plays a crucial role in determining the right Pioneer system for you. Larger rooms typically require more powerful speakers and a higher wattage AV receiver to fill the space with balanced sound. Smaller rooms, on the other hand, may benefit from compact systems that still provide excellent audio quality without overwhelming the space.
- Audio Requirements: Consider how you plan to use your surround sound system. If you’re mainly interested in music, a system with high-quality stereo speakers may be sufficient. However, if you’re a movie lover or a gamer, a system with dedicated center and surround speakers, along with a subwoofer, will provide a more immersive experience.
- Budget: Determine your budget range beforehand, as it will help narrow down your options. Pioneer offers a range of systems at different price points, so you can find one that fits your budget without compromising on audio quality.
- Compatibility: Ensure that the Pioneer system you choose is compatible with your existing devices, such as your TV, gaming console, or streaming devices. Check the available connectivity options, such as HDMI or optical inputs, to ensure seamless integration with your home entertainment setup.
- User Reviews: Before making a final decision, it’s always helpful to read user reviews and professional recommendations. This will give you insights into the performance, reliability, and overall satisfaction of other users who have already purchased and used the Pioneer system you’re considering.
By considering these factors and doing thorough research, you can find the Pioneer Surround Sound System that best matches your audio preferences and room requirements. Remember, investing in a high-quality system that suits your needs will enhance your audio experience and provide hours of immersive entertainment.
Unpacking and Inspecting the Package
After selecting the perfect Pioneer Surround Sound System for your audio needs, it’s time to dive into the exciting process of setting it up. But before we get started, it’s crucial to unpack and inspect the package to ensure that everything is in order. Here’s what you need to do:
- Unboxing: Carefully open the package and take out all the components of your Pioneer Surround Sound System. These typically include the AV receiver, speakers, subwoofer, remote control, speaker wires, and any other accessories that come with the system. Check the packaging for any additional materials or documentation.
- Inspecting for Damages: Thoroughly examine each component for any visible damages or defects. Look for any scratches, dents, or signs of mishandling during shipping. If you notice any issues, contact the retailer or Pioneer customer support for assistance.
- Checking for Missing Parts: Make sure that all the necessary parts and accessories are present in the package. Refer to the user manual or the product’s documentation to ensure that you have everything you need for a successful setup.
- Reviewing the User Manual: Take some time to read through the user manual and familiarize yourself with the setup instructions and safety precautions. This will give you a clear understanding of the installation process and help you avoid any potential pitfalls.
- Organizing the Components: As you inspect and review the contents, organize the components in an easily accessible and logical manner. This will make the setup process more efficient and minimize the chances of misplacing any important parts.
By carefully unpacking and inspecting the package, you can ensure that everything is in good condition and that you have all the necessary components for a smooth and successful setup. If you encounter any issues or have any concerns, don’t hesitate to reach out to Pioneer customer support for assistance and guidance.
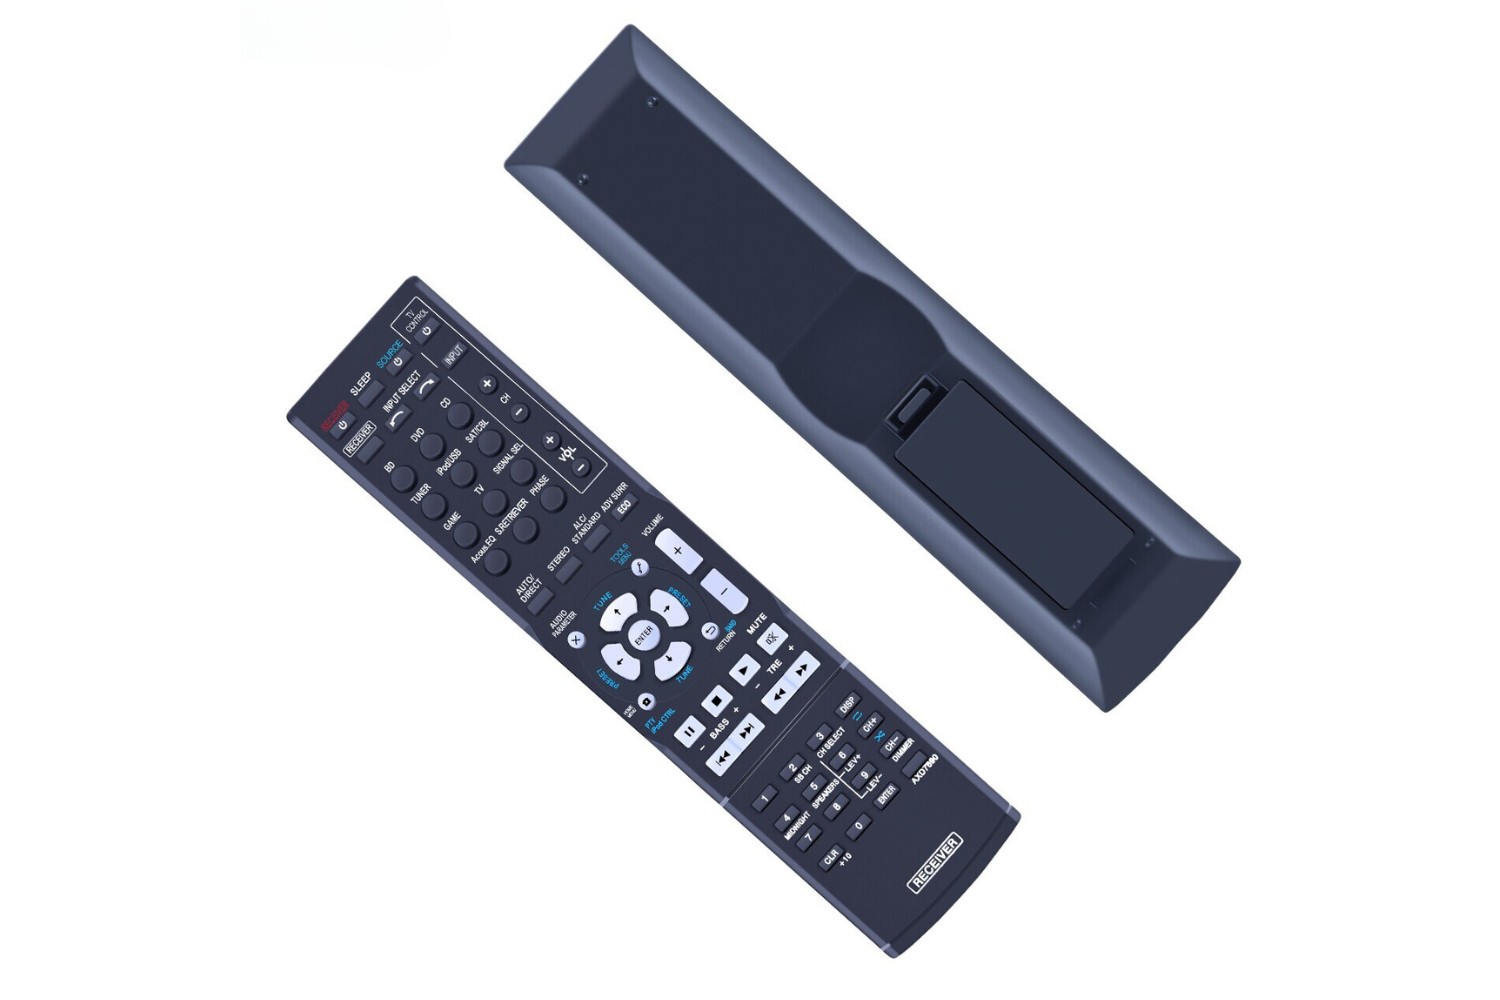
Setting Up the AV Receiver
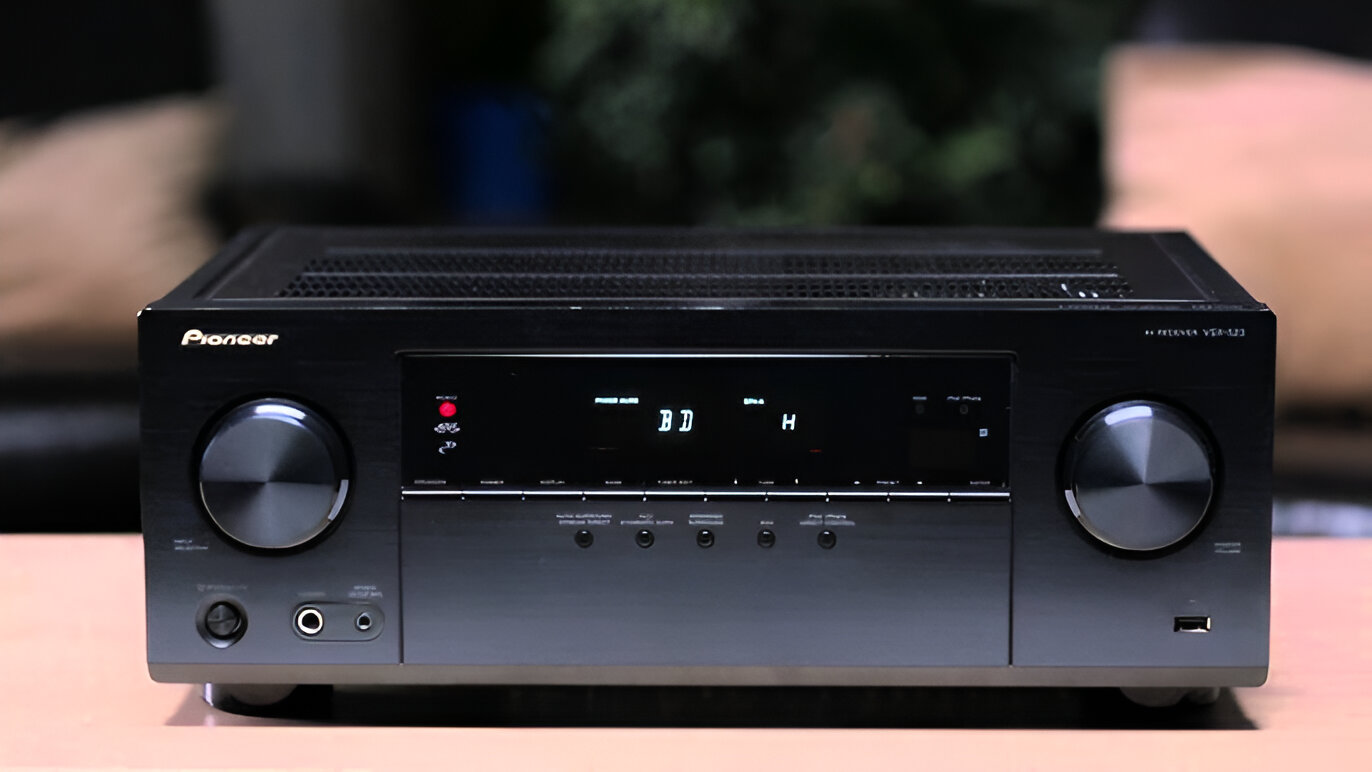
The AV receiver is the central hub of your Pioneer Surround Sound System. It receives audio signals from various sources and distributes them to the speakers, allowing you to control and customize your audio experience. Here’s how to set up the AV receiver:
- Placement: Choose a suitable location for the AV receiver, preferably near your TV or entertainment center. Make sure there is enough ventilation around the receiver to prevent overheating. Avoid placing it on top of other devices or in enclosed spaces.
- Connectivity: Connect one end of the HDMI cable to the HDMI output port on the AV receiver and the other end to the HDMI input port on your TV. If your TV doesn’t have an HDMI input, you can use other available options like optical or analog audio connections.
- Power Connection: Plug the power cord into a power outlet and connect it to the AV receiver. Ensure that the power cord is securely inserted and that the power outlet is properly grounded.
- Initial Setup: Turn on the AV receiver and follow the on-screen prompts to complete the initial setup. This may involve selecting the language, connecting to your Wi-Fi network, and configuring any other necessary settings. Refer to the user manual for specific instructions.
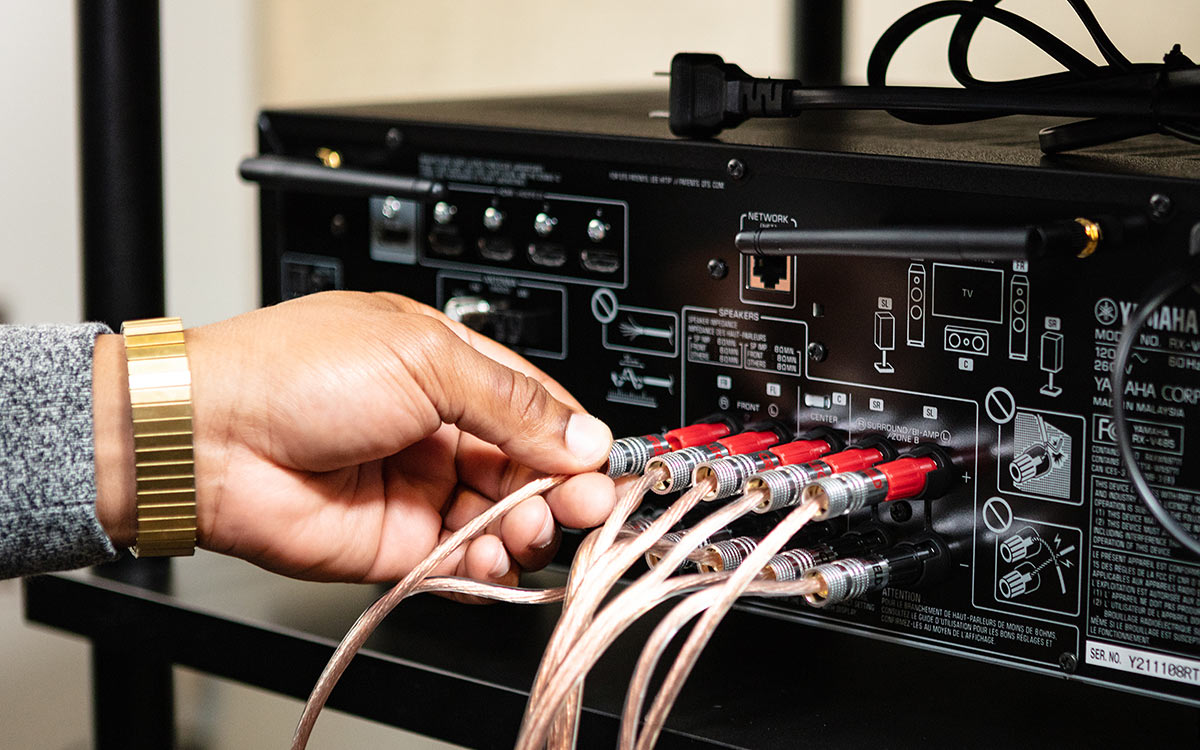
- Speaker Connections: Depending on your Pioneer Surround Sound System, you may have different types of speaker connections. The most common method is using speaker wires with color-coded connections. Match the corresponding colored terminals on the AV receiver to the respective speakers and connect them securely.
- Subwoofer Connection: If your system includes a subwoofer, connect it to the AV receiver using the provided subwoofer cable. The subwoofer cable typically has an RCA connector that plugs into the dedicated subwoofer output on the AV receiver.
- Wire Management: As you connect the speakers, make sure to keep the speaker wires organized and avoid tangling or crossing them. This will help maintain a neat and tidy setup and prevent any interference in the audio signal.
Once you have completed the setup of the AV receiver, you are one step closer to enjoying immersive audio with your Pioneer Surround Sound System. In the next section, we will guide you through the process of connecting the speakers and configuring the system settings to optimize your audio experience.
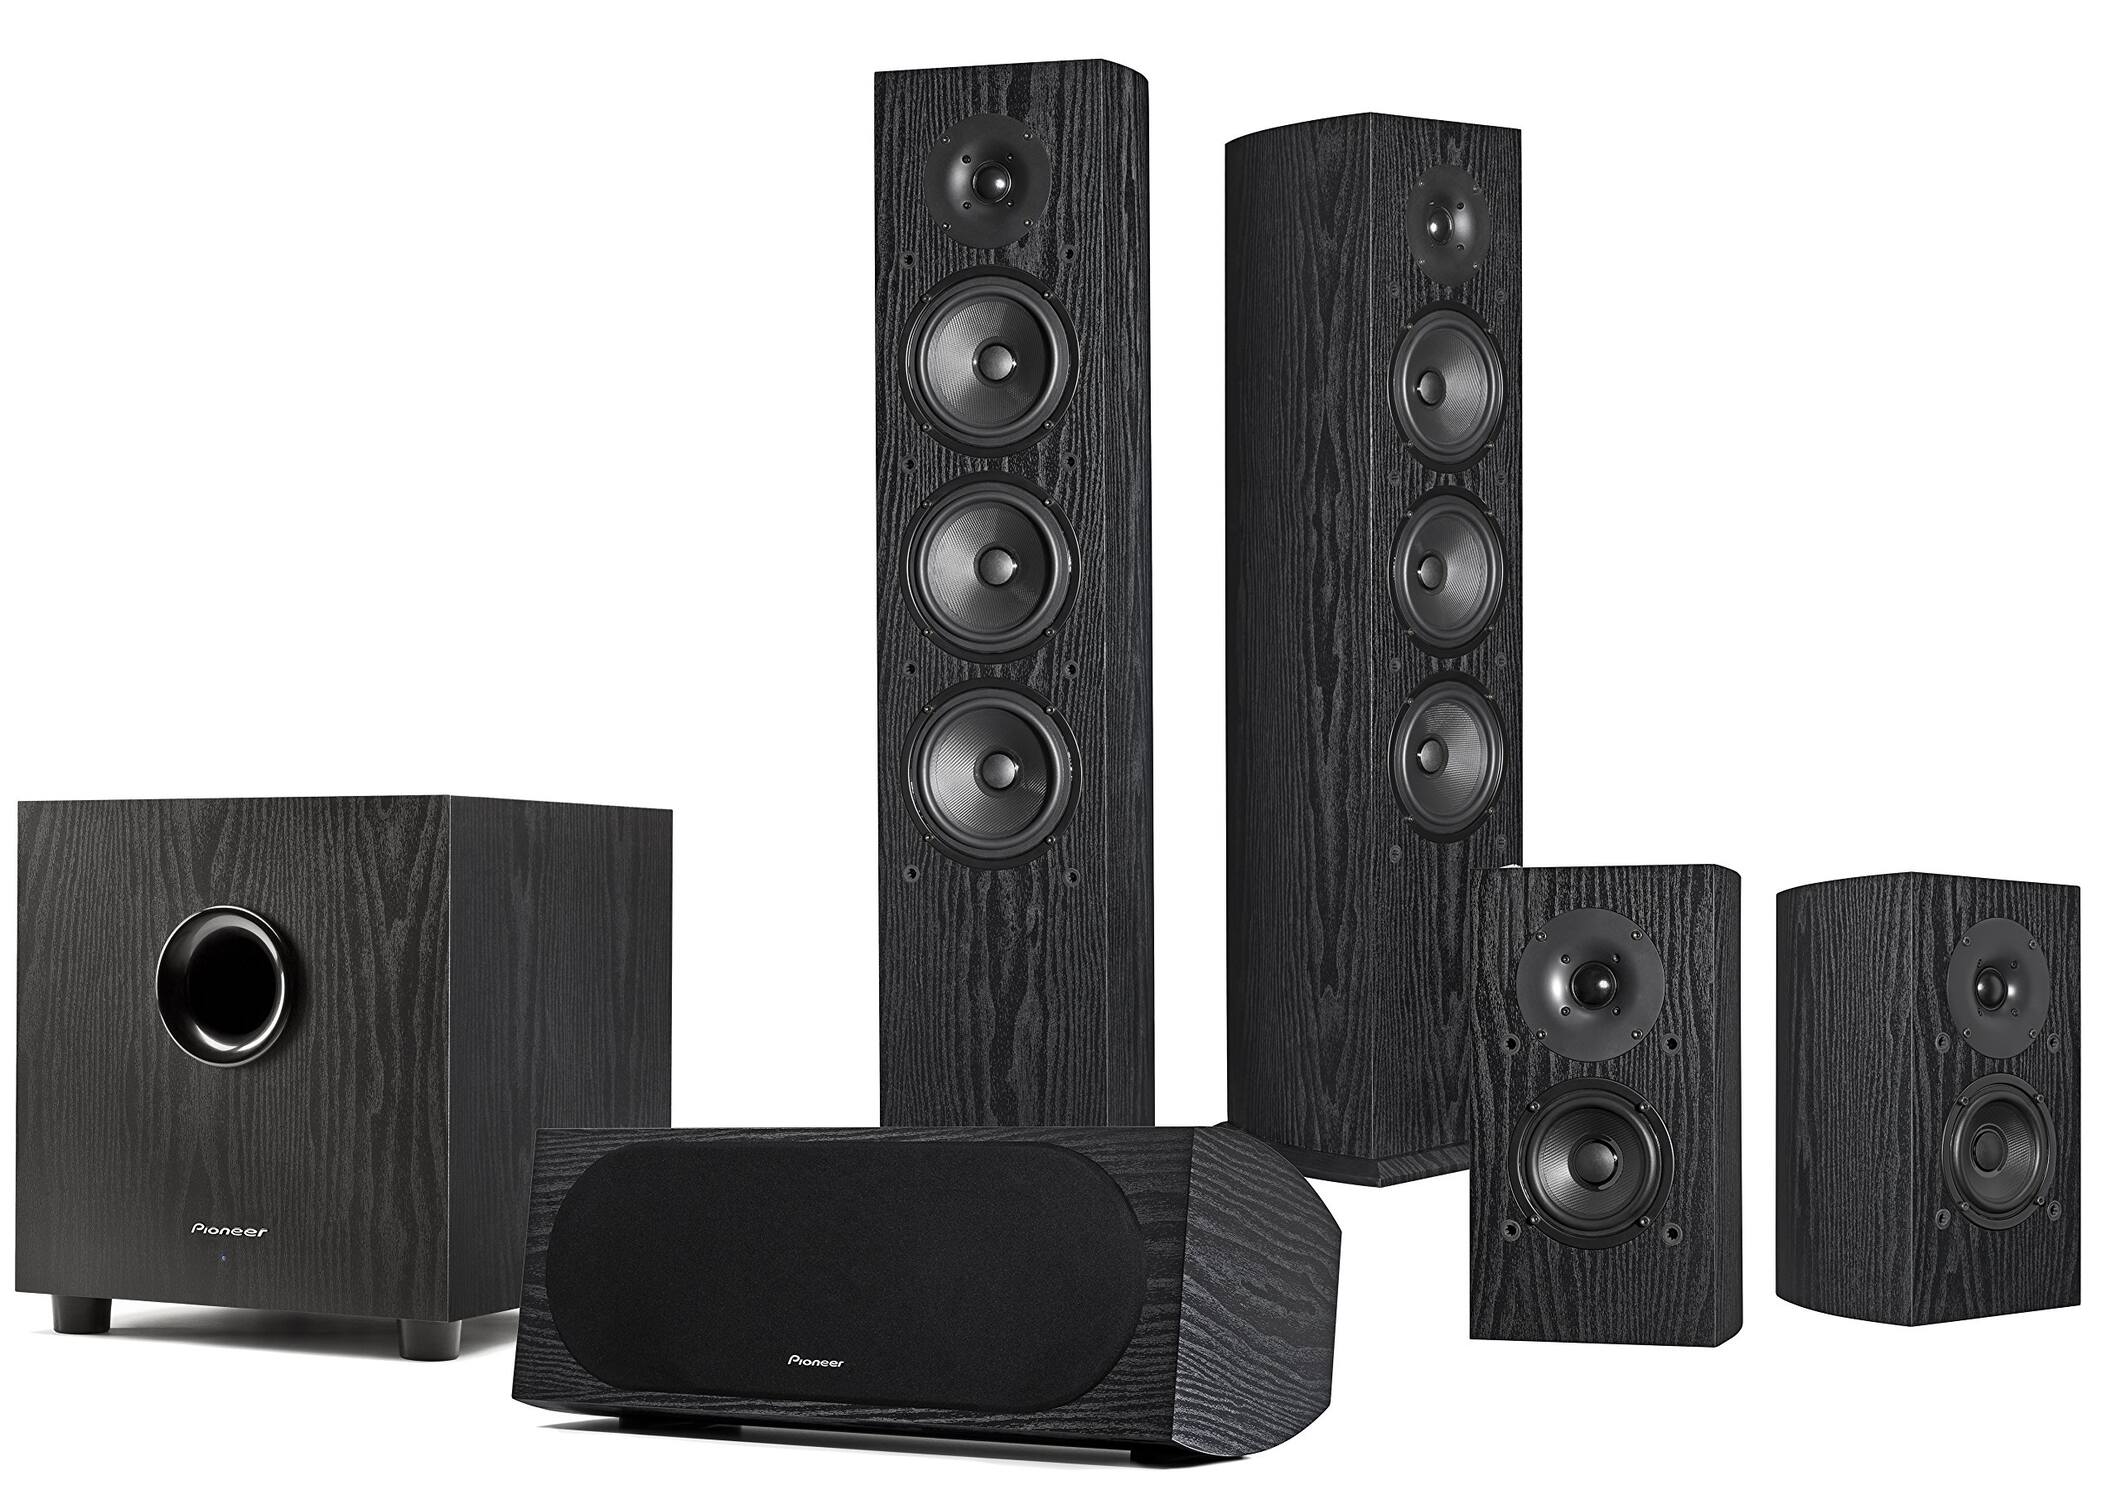
Connecting the Speakers
Now that you have set up the AV receiver, it’s time to connect the speakers of your Pioneer Surround Sound System. The placement and connection of the speakers play a crucial role in achieving optimal audio performance. Here’s how to connect the speakers:
- Speaker Placement: Determine the ideal placement for each speaker in your listening area. The front speakers should be positioned on either side of the TV or entertainment center, facing the audience. The center speaker should be placed directly above or below the TV, aligned with the front speakers. The surround speakers should be positioned to the sides or slightly behind the seating area, facing inward.
- Speaker Connections: Take the speaker wires and carefully strip a small amount of insulation from each wire end. Match the positive (+) and negative (-) terminals on the speakers with the corresponding terminals on the AV receiver. Connect the positive wire to the positive terminal and the negative wire to the negative terminal. Ensure that the connections are secure and snug.
- Subwoofer Connection: If your Pioneer Surround Sound System includes a subwoofer, connect it to the AV receiver as per the manufacturer’s instructions. This may involve using a dedicated subwoofer cable, connecting it to the AV receiver’s subwoofer pre-out port, and then to the input on the subwoofer.
- Speaker Calibration: Many Pioneer systems come with an automatic calibration feature, such as MCACC (Multi-Channel Acoustic Calibration System). This feature helps optimize the audio performance based on your room’s acoustics. Follow the instructions in the user manual to run the calibration process, as it will ensure the speakers are properly balanced and calibrated for your specific room.
- Testing the Speakers: Once all the speaker connections are made, test each speaker individually by playing some audio content. Make sure that sound is coming from each speaker and that the audio is clear and well-balanced. Adjust the speaker levels or trim settings on the AV receiver, if necessary, to achieve the desired sound quality.
With the speakers properly connected and positioned, you’re now ready to configure the system settings to further enhance your audio experience. In the next section, we will guide you through the process of configuring the system settings on your Pioneer Surround Sound System.
Positioning the Speakers
The positioning of your speakers is crucial as it can significantly impact the audio experience in your Pioneer Surround Sound System. By properly placing and aligning the speakers, you can create a more immersive and balanced soundstage. Here’s how to position the speakers:
- Front Speakers: The front speakers, typically the left and right speakers, should be positioned at ear level when seated. Place them on either side of the TV or entertainment center, facing the audience. Make sure they are equidistant from the seating area for a balanced soundstage.
- Center Speaker: The center speaker plays a crucial role in dialogue reproduction. It should be positioned directly above or below the TV, aligned with the front speakers. This placement ensures that dialogues and vocals are clear and centered, enhancing the overall audio experience.
- Surround Speakers: Place the surround speakers to the sides or slightly behind the seating area, facing inward towards the audience. This positioning helps create a sense of envelopment and immerses you in the sound effects and ambiance of movies or games.
- Subwoofer Placement: The subwoofer can be placed in various locations in the room since it produces low-frequency sounds that are less direction-specific. Experiment with different placements to find the spot that offers the best bass response. Common placements include next to the TV stand, in a corner, or along the front wall.
- Tweaking for Acoustics: Depending on the acoustics of your room, you may need to make some adjustments. Consider using acoustic treatments, such as absorptive panels or diffusers, to minimize sound reflections and improve the overall sound quality in the room.
Keep in mind that every room is unique, and the positioning of the speakers may vary based on the size and layout of your space. It’s recommended to experiment with different speaker placements and make small adjustments to find the setup that delivers the best audio experience for your room. Refer to the user manual of your Pioneer system for any specific guidelines on speaker placement.
Now that your speakers are properly positioned, it’s time to move on to the next step, which involves configuring the system settings on your Pioneer Surround Sound System. This will help fine-tune the audio performance to suit your preferences and room acoustics.
Configuring the System Settings
Once your speakers are positioned correctly, the next step is to configure the system settings on your Pioneer Surround Sound System. These settings allow you to customize and optimize the audio performance according to your preferences and room acoustics. Here’s how to configure the system settings:
- On-Screen Display: Most Pioneer AV receivers have an on-screen display that allows you to navigate and adjust the settings. Connect the AV receiver to your TV and follow the prompts to access the on-screen menu.
- Speaker Configuration: Access the speaker settings menu and verify that the system recognizes your speakers correctly. Check if the speakers are set to the appropriate size (small or large) and ensure the crossover frequency is properly configured.
- Audio Formats and Decoding: Configure the receiver to decode and play the desired audio formats, such as Dolby Digital or DTS. Additionally, enable any other audio processing features, such as virtual surround sound or dynamic range compression, if desired.
- Channel Levels and Balance: Adjust the channel levels to achieve a balanced soundstage. Use the receiver’s built-in test tone feature or an audio calibration tool to set the volume level for each speaker. Make slight adjustments as needed to achieve optimal balance and ensure that the dialogues, sound effects, and music are well-balanced.
- Room EQ and Acoustic Calibration: If your Pioneer AV receiver supports it, utilize the built-in room EQ functionality like MCACC (Multi-Channel Acoustic Calibration System). This feature analyzes the room’s acoustics and adjusts the speaker settings to optimize audio performance based on your specific environment.
- Network and Streaming Setup: If your AV receiver has networking capabilities, configure the network settings to enable streaming services, firmware updates, and other online features. Follow the on-screen instructions or consult the user manual for detailed instructions on the networking setup process.
- Personalized Sound Profiles: Some Pioneer systems allow you to create and save personalized sound profiles. Experiment with different settings, such as equalizer adjustments or surround sound modes, to find the sound profile that suits your preferences and enhances your audio experience.
Remember that every Pioneer Surround Sound System may have different menu options and settings. Refer to the user manual or on-screen instructions specific to your AV receiver model to ensure you configure the system settings correctly.
Once you have successfully configured the system settings, you’re now ready to enjoy a personalized and optimized audio experience with your Pioneer Surround Sound System. However, if you encounter any issues or require further assistance, consult the user manual or reach out to Pioneer customer support for guidance.
Calibrating the Sound
Calibrating the sound of your Pioneer Surround Sound System is a crucial step to ensure accurate and balanced audio reproduction. By calibrating the system, you can optimize the speaker levels, distance, and other audio parameters to better suit your room’s acoustics. Here’s a step-by-step guide to calibrating the sound:
- Enable Automatic Calibration: Most Pioneer AV receivers offer an automatic calibration feature, such as MCACC (Multi-Channel Acoustic Calibration System). Activate this feature by accessing the receiver’s setup menu and selecting the automatic calibration option.
- Room Preparation: Close any doors or windows in the room to minimize outside noise interference during the calibration process. Ensure that the speakers and listening area are clear of any obstacles or furniture that might affect sound projection and measurement.
- Microphone Placement: Connect the supplied calibration microphone to the AV receiver. Position the microphone at the listening position, typically at ear level, using a microphone stand or tripod. Follow the receiver’s instructions or user manual for specific microphone placement guidelines.
- Start Calibration: Begin the calibration process by following the on-screen instructions provided by the AV receiver. This typically involves playing test tones through each speaker and measuring their output using the microphone. The receiver will analyze the data and adjust the audio settings accordingly.
- Review Calibration Results: After the calibration process is complete, review the results on the receiver’s display or on-screen menu. Verify that the speaker levels, distances, and other settings are correctly adjusted. Make any manual adjustments if needed to fine-tune the sound to your preferences.
- Save Calibration Settings: Once you’re satisfied with the calibration results, save the settings in the receiver’s memory. This allows you to easily recall the calibrated sound settings whenever you use the system, ensuring consistent and optimized audio performance.
It’s important to note that room acoustics and personal preferences may vary, so the automatic calibration feature may not always produce the desired sound. In such cases, consider making manual adjustments to the settings based on your specific requirements and listening preferences. Experiment with different settings and test different audio content to find the optimal sound signature for your Pioneer Surround Sound System.
By calibrating the sound of your Pioneer system, you can enjoy a more accurate and immersive audio experience tailor-made for your room. Don’t hesitate to consult the user manual or reach out to Pioneer customer support if you have any questions or need further assistance during the calibration process.
Connecting External Devices
One of the advantages of a Pioneer Surround Sound System is its ability to connect and enhance the audio experience from various external devices. Whether it’s a gaming console, Blu-ray player, streaming device, or other audio sources, integrating these devices into your system can provide a more versatile entertainment setup. Here’s how to connect external devices to your Pioneer Surround Sound System:
- Identify the Audio Outputs: Determine the available audio outputs on your external device. Common options include HDMI, optical (TOSLINK), RCA (analog), or 3.5mm headphone jack. Ensure that the external device supports the audio output you plan to use.
- Select the Input on the AV Receiver: Locate the corresponding input ports on the AV receiver. These inputs may be labeled “HDMI,” “OPTICAL,” “AUX,” or similar. Choose an available input that matches the output of your external device. HDMI inputs are recommended for devices that support it, as they can carry both audio and video signals.
- Connect the Cables: Use the appropriate cable to connect the output of your external device to the selected input on the AV receiver. For HDMI, simply connect one end of the HDMI cable to the output on the external device and the other end to the HDMI input on the AV receiver. For other connection types, use the corresponding cables and ensure a secure connection on both ends.
- Toggle the Input Source: On the AV receiver, select the input source that corresponds to the connected external device. This can typically be done through the receiver’s remote control or front panel. The receiver will then route the audio from the external device to the appropriate speakers.
- Configure Audio Settings: Check the audio settings on the external device and make any necessary adjustments. For example, ensure that the audio output format, such as bitstream or PCM, is set correctly to match the capabilities of your Pioneer system.
- Test and Enjoy: Play audio or video content on the external device to test the connection and verify that the sound is properly routed through the Pioneer Surround Sound System. Adjust the volume and other settings on the receiver as needed to optimize the audio experience.
By connecting external devices to your Pioneer Surround Sound System, you can enjoy enhanced audio quality and immersive sound from a wide range of sources. Whether you’re gaming, watching movies, or streaming music, integrating external devices expands the versatility and entertainment options of your Pioneer system.
Remember to consult the user manual of your Pioneer AV receiver for any specific instructions or considerations when connecting certain external devices. If you encounter any issues or need further assistance, don’t hesitate to reach out to the manufacturer’s support or an audio professional for guidance.
Troubleshooting Tips
While setting up and using your Pioneer Surround Sound System, you may encounter common issues or challenges. Here are some troubleshooting tips to help you diagnose and resolve potential problems:
- No Sound: If you’re not getting any sound from your speakers, check the following:
- Ensure all cables are securely connected to the AV receiver and speakers.
- Verify that the speakers are powered on and the volume is set appropriately.
- Check the input selection on the AV receiver, ensuring it matches the connected device.
- Confirm that the receiver’s mute function is disabled.
- Ensure the connected device is emitting audio and the source’s volume is turned up.
- Poor Audio Quality: If you notice distorted or unclear sound, consider the following steps:
- Check the speaker connections and ensure they are properly aligned and secure.
- Verify that the speaker wires are not damaged or frayed, as this can affect audio quality.
- Inspect the placement of the speakers and adjust their position if necessary.
- Review the speaker configuration settings on the AV receiver to ensure they match the speaker setup in your system.
- Adjust the equalizer settings on the AV receiver to optimize the audio output according to your preferences.
- Intermittent Connection: If you experience intermittent loss of audio or signal, consider the following troubleshooting steps:
- Inspect the cables for any visible damage or loose connections and replace or reseat them if needed.
- Ensure the receiver and connected devices have the latest firmware updates installed.
- Check for any wireless interference in the vicinity that may be affecting the signal, such as other electronic devices or wireless networks.
- If using wireless speakers, ensure they are in range of the receiver and not obstructed by any physical barriers.
- Consider using shielded cables to minimize electromagnetic interference.
- Remote Control Issues: If you’re having trouble with the remote control, try the following troubleshooting steps:
- Ensure the batteries in the remote control are properly inserted and have sufficient power.
- Check for any obstructions between the remote control and the AV receiver.
- Try resetting the remote control by removing the batteries, waiting a few seconds, and reinserting them.
- If available, try using the remote control app provided by Pioneer instead of the physical remote control.
- Refer to the user manual or contact Pioneer customer support for further assistance with remote control issues.
If you encounter persistent issues or are unable to resolve a problem with your Pioneer Surround Sound System, it is recommended to consult the user manual, visit the Pioneer website for troubleshooting resources, or contact Pioneer customer support for more in-depth assistance. They can provide specific guidance tailored to your system model and help you troubleshoot and resolve any challenges you may face along the way.
Conclusion
Congratulations! You’ve successfully set up and configured your Pioneer Surround Sound System, allowing you to enjoy immersive audio experiences right in the comfort of your own home. By following the steps outlined in this guide, you have chosen the right system, unpacked and inspected the package, set up the AV receiver, connected and positioned the speakers, configured the system settings, calibrated the sound, and connected external devices. Additionally, we provided troubleshooting tips to address any issues you may encounter along the way.
With your Pioneer system properly installed and calibrated, you can now indulge in the incredible audio quality it delivers. Whether you’re listening to your favorite music, watching movies, or gaming, the surround sound experience will bring a new level of depth and immersion to your entertainment.
Remember, as you enjoy your Pioneer Surround Sound System, feel free to experiment with different audio settings, speaker placements, and configurations to find the setup that best suits your preferences and room acoustics. Don’t hesitate to consult the user manual or reach out to Pioneer customer support for any further guidance or assistance.
We hope this guide has been helpful in setting up your Pioneer Surround Sound System. Embrace the power of high-quality audio and elevate your entertainment experiences to new heights!