Introduction
Setting up a Pioneer AV receiver to send sound to your TV can significantly enhance your home entertainment experience. By connecting the receiver to your TV and configuring the audio settings, you can enjoy immersive audio from your TV's speakers or external sound system. Whether you're a cinephile seeking theater-like audio or a music enthusiast craving high-fidelity sound, optimizing your AV receiver for TV sound is essential.
In this guide, we will walk you through the process of connecting your Pioneer AV receiver to your TV and fine-tuning the audio settings to ensure optimal sound output. Whether you're a tech-savvy individual or a novice in the realm of audio equipment, this step-by-step guide will empower you to harness the full potential of your AV receiver and TV setup.
By the end of this tutorial, you'll be equipped with the knowledge and skills to seamlessly integrate your Pioneer AV receiver with your TV, unlocking a world of captivating soundscapes for your viewing pleasure. Let's dive into the intricacies of configuring your AV receiver to deliver exceptional audio to your TV.
Connecting the AV Receiver to the TV
Before delving into the audio settings, it’s crucial to establish a physical connection between your Pioneer AV receiver and your TV. This entails utilizing the appropriate cables to ensure seamless transmission of audio signals. Here’s a straightforward guide to help you establish the connection:
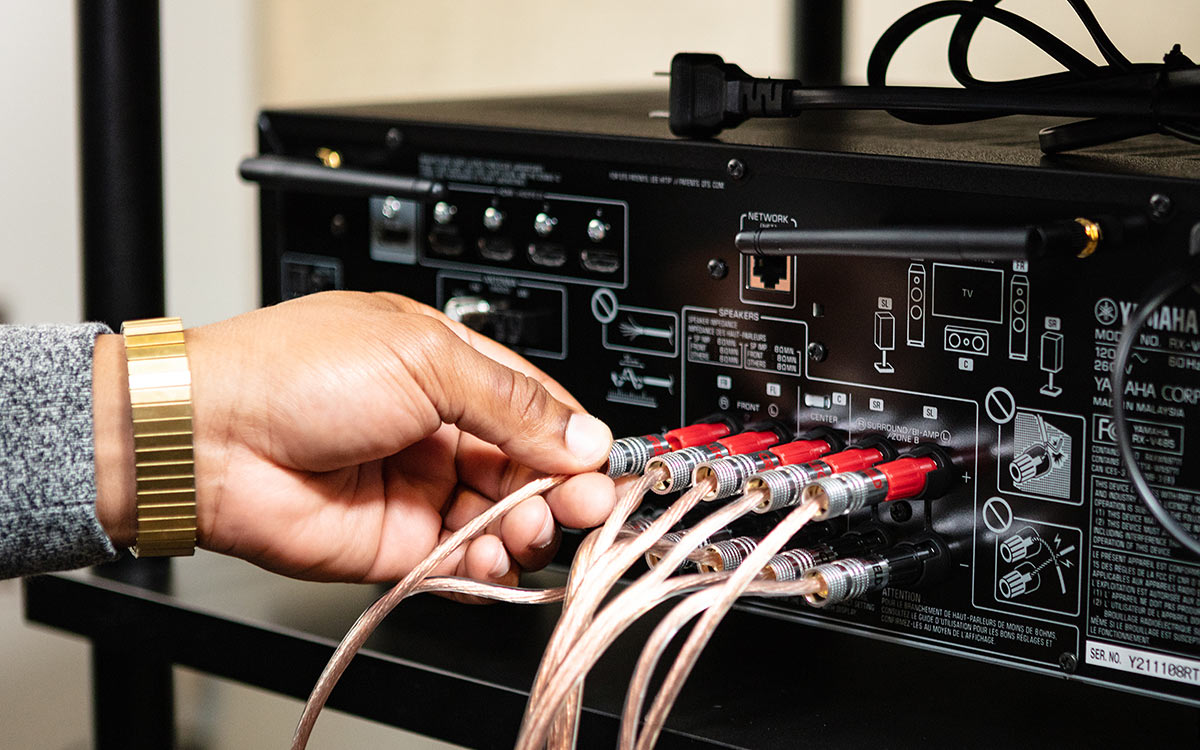
- Identify the Audio Outputs: First, identify the audio output ports on your Pioneer AV receiver. These may include HDMI, optical (Toslink), coaxial, or analog audio outputs.
- Locate the Audio Inputs on the TV: Next, locate the corresponding audio input ports on your TV. These may include HDMI ARC (Audio Return Channel), optical (Toslink), coaxial, or analog audio inputs.
- Select the Appropriate Cable: Depending on the available ports on both the AV receiver and the TV, choose the suitable cable for the connection. For instance, if both devices have HDMI ARC ports, an HDMI cable can be used. Alternatively, optical, coaxial, or analog cables can be employed based on the available options.
- Connect the Devices: With the chosen cable, connect the audio output port on the AV receiver to the corresponding audio input port on the TV. Ensure a secure and snug connection to prevent signal loss or interference.
- Power On and Select Input: Power on the AV receiver and the TV. Using the TV’s remote or on-screen menu, select the input corresponding to the port to which the AV receiver is connected. This step ensures that the TV receives audio signals from the AV receiver.
Once the physical connection is established, the audio signals from your TV will be routed through the Pioneer AV receiver, allowing you to leverage its advanced audio processing capabilities for an enhanced listening experience.
Configuring Audio Settings on the AV Receiver
After establishing the physical connection between your Pioneer AV receiver and your TV, it’s time to fine-tune the audio settings to optimize the sound output. The AV receiver offers a plethora of audio adjustments and enhancements that can significantly elevate your audio experience. Here’s a step-by-step guide to configuring the audio settings:
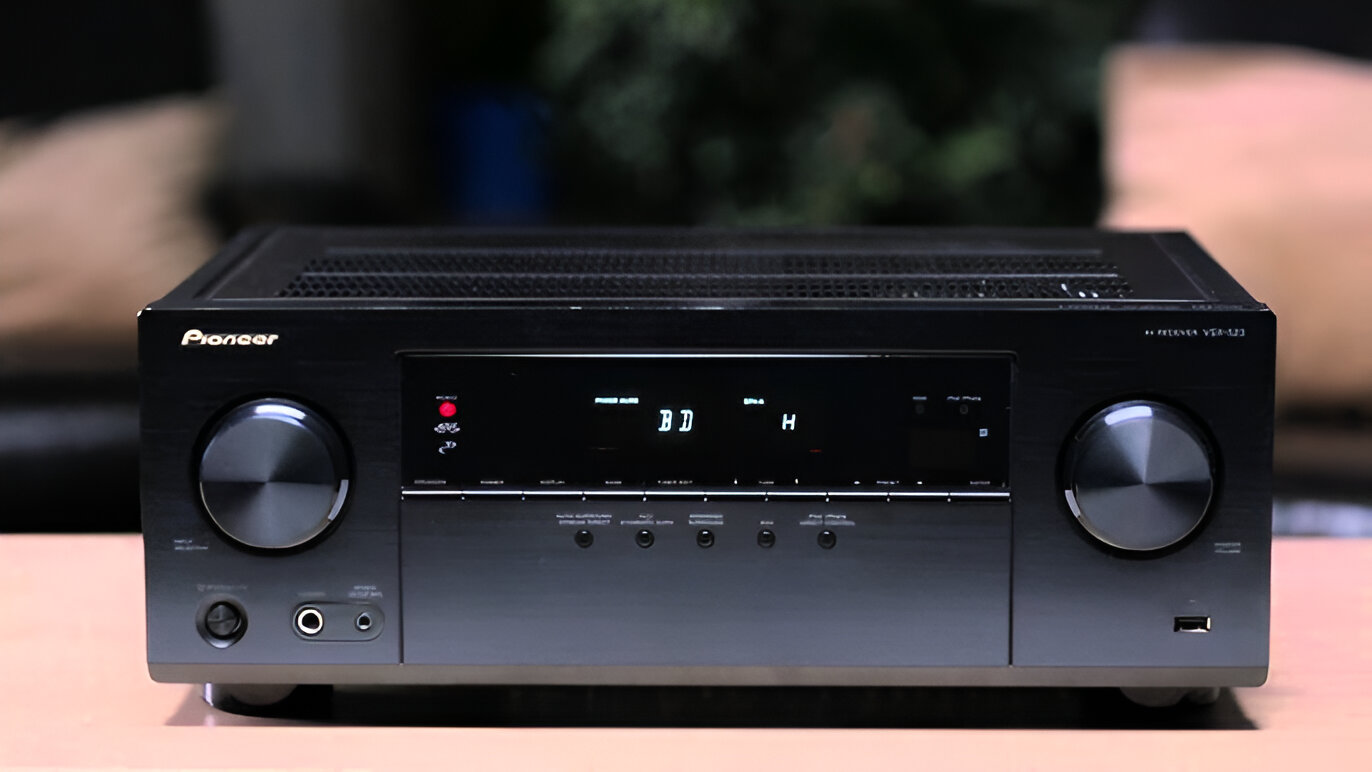
- Select the Input Source: Using the AV receiver’s remote or front panel controls, select the input source corresponding to the connected TV. This ensures that the receiver processes audio signals from the TV.
- Audio Mode Selection: Depending on your preference and the content being played, you can choose different audio modes such as Stereo, Surround Sound, Dolby Atmos, DTS:X, or other proprietary audio processing modes supported by your AV receiver. These modes can create a more immersive audio experience tailored to your specific content.
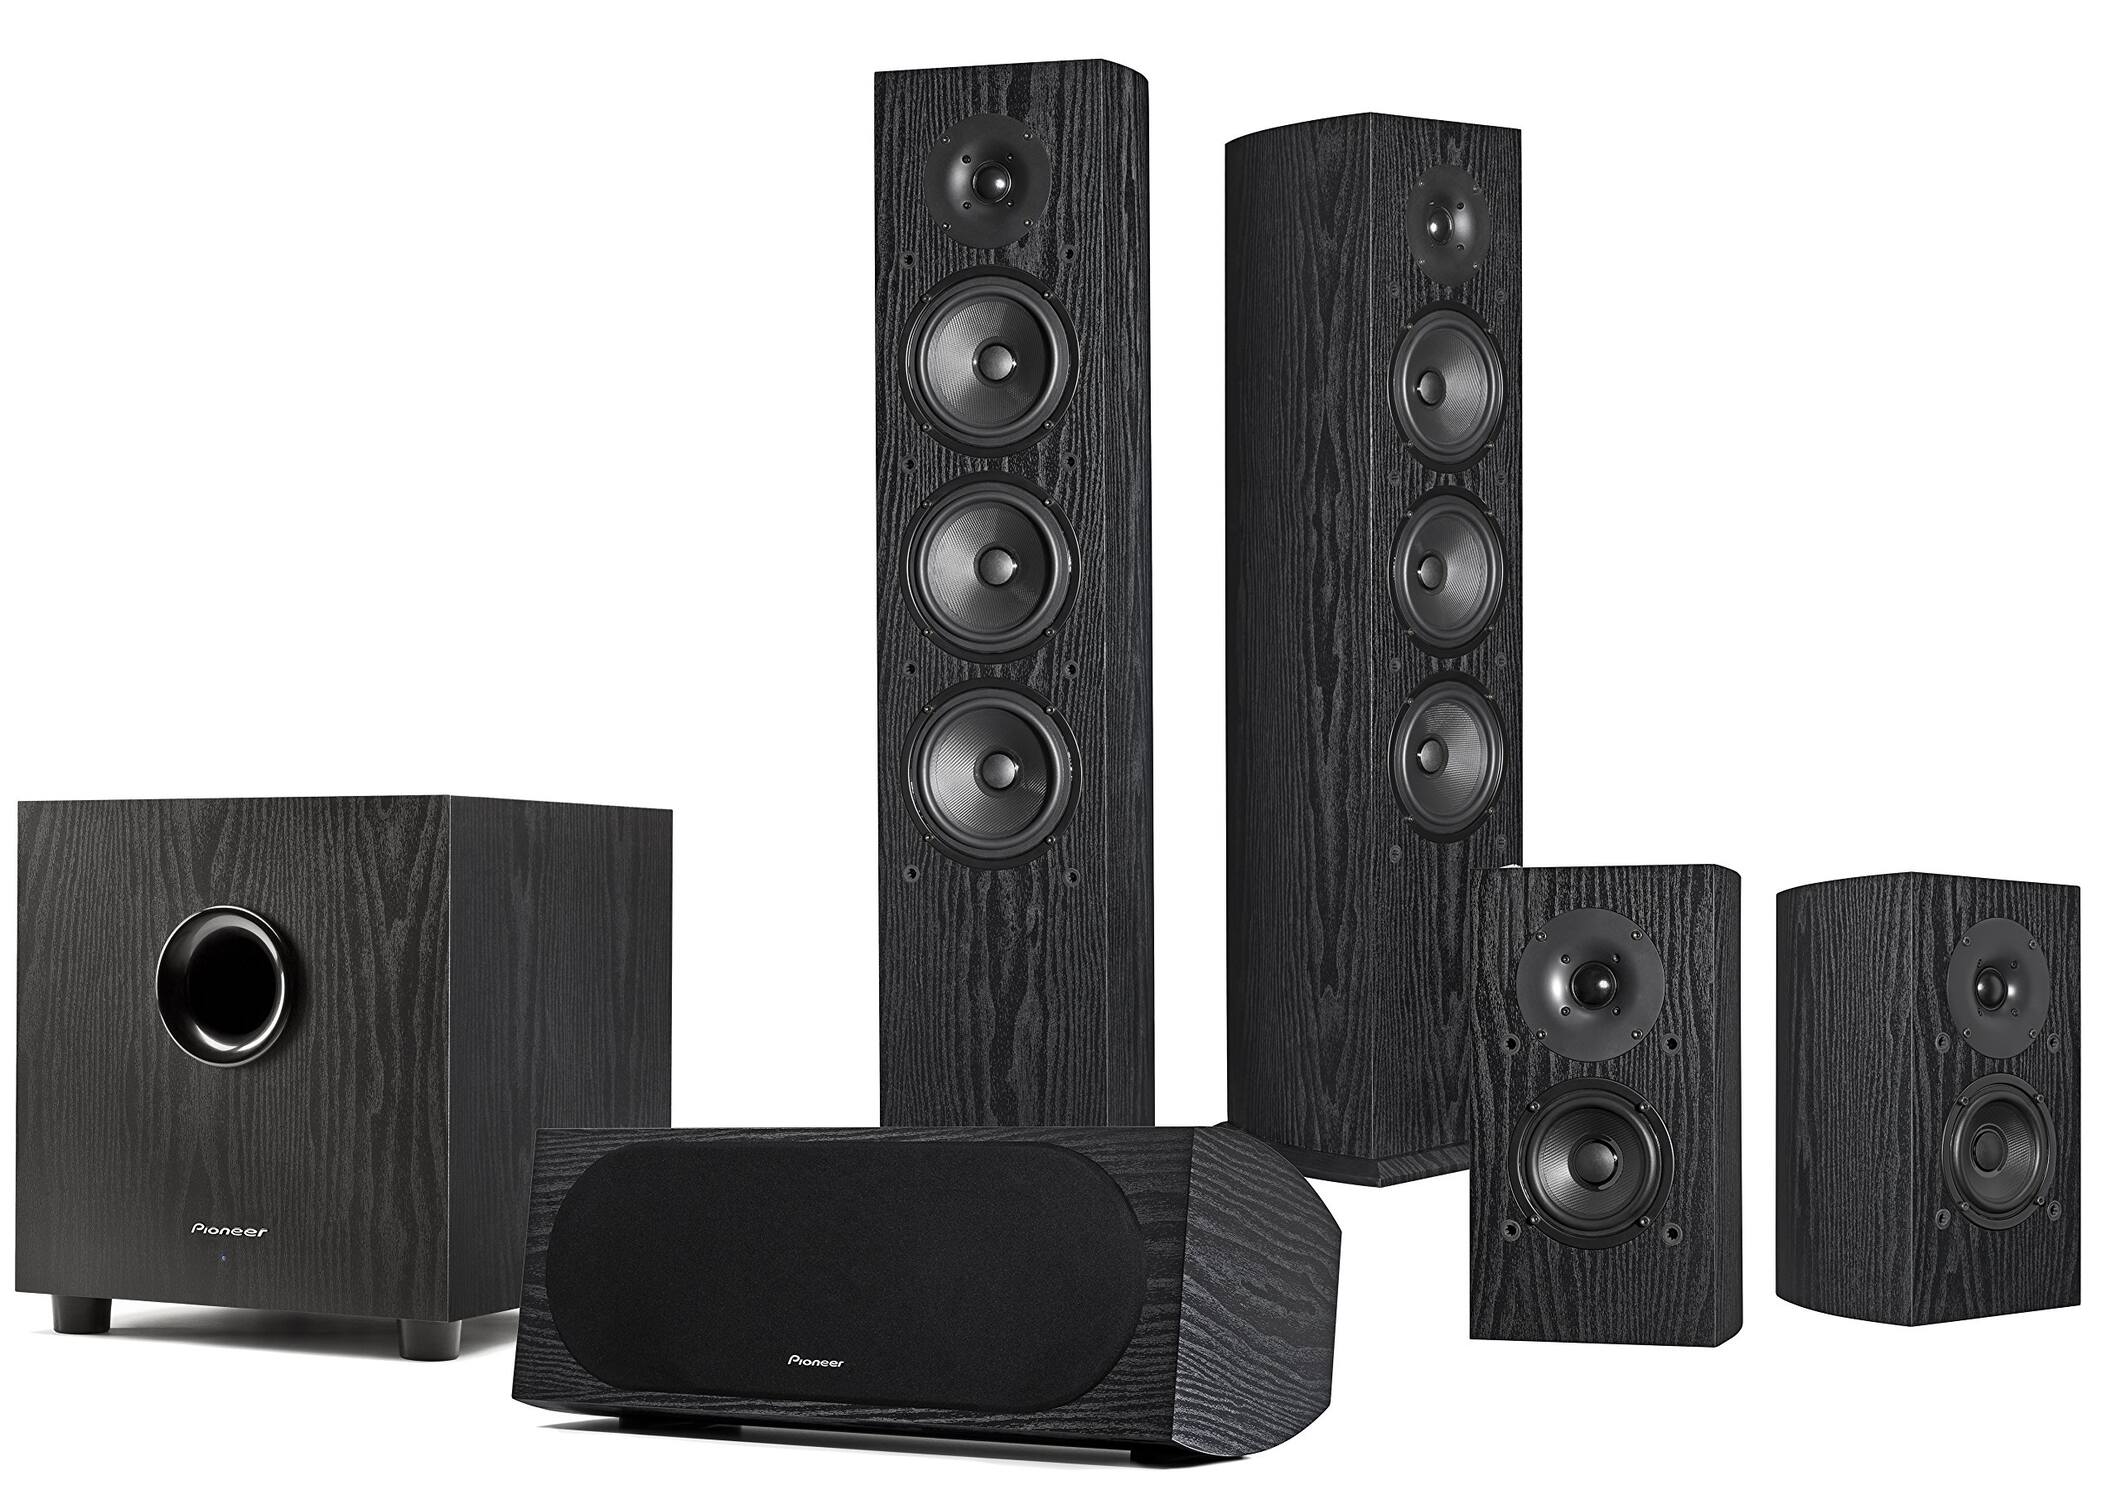
- Speaker Configuration: Access the receiver’s setup menu to configure the speaker settings. This includes specifying the speaker size, crossover frequencies, and speaker distances to ensure optimal audio distribution and balance.
- Room Calibration: Some Pioneer AV receivers feature advanced room calibration systems, such as MCACC (Multi-Channel Acoustic Calibration System) or Advanced MCACC, which analyze the acoustic characteristics of your listening environment and automatically adjust the audio settings for optimal sound quality. Follow the on-screen prompts or user manual instructions to perform the room calibration process.
- Equalization and Tone Controls: Explore the receiver’s equalization and tone control options to tailor the audio output to your preference. Adjust parameters such as bass, treble, and dialogue enhancement to achieve a personalized audio profile.
By meticulously configuring these audio settings on your Pioneer AV receiver, you can unleash the full potential of your audio system, delivering rich, immersive sound that complements your viewing experience. The next step involves adjusting the sound output settings on your TV to ensure seamless integration with the AV receiver.
Adjusting Sound Output on the TV
Once the Pioneer AV receiver is connected and its audio settings are configured, it’s essential to adjust the sound output settings on your TV to complement the audio setup. By optimizing the TV’s sound output, you can ensure harmonious integration with the AV receiver and capitalize on the combined audio capabilities. Here are the key steps to adjust the sound output on your TV:
- Select the Audio Output: Access the TV’s settings menu and navigate to the audio or sound settings. Select the audio output option that corresponds to the connected AV receiver. This might be labeled as HDMI ARC, Optical Out, or similar, depending on your TV’s connectivity options.
- Audio Format and Output: Verify that the audio format and output settings on the TV align with the capabilities of the AV receiver. Ensure that the TV is set to output audio in a compatible format, such as PCM, Dolby Digital, DTS, or other formats supported by your AV receiver.
- Volume Control and Audio Delay: Adjust the TV’s volume control to a suitable level, keeping in mind that the AV receiver will also have its own volume control. Additionally, if there is any noticeable audio delay between the TV’s video and the audio from the AV receiver, the TV settings may offer an audio delay adjustment to synchronize the audio and video playback.
- Additional Audio Enhancements: Some TVs provide additional audio enhancement features such as virtual surround sound, dialogue enhancement, or sound modes tailored for specific content types. Experiment with these settings to determine if they complement the audio processing capabilities of your AV receiver.
By fine-tuning the sound output settings on your TV, you can ensure seamless compatibility with the Pioneer AV receiver, enabling a cohesive audio-visual experience that maximizes the potential of your home entertainment setup.
Testing the Audio Output
With the Pioneer AV receiver connected, audio settings configured, and the TV’s sound output adjusted, it’s time to conduct a comprehensive test to ensure that the audio output meets your expectations. This testing phase allows you to evaluate the audio quality, surround sound performance, and overall integration of the AV receiver with your TV. Here’s a systematic approach to testing the audio output:
- Playback of Various Content: Play a diverse range of audio and video content to assess the performance of the AV receiver and TV combination. This can include movies with dynamic soundtracks, music with intricate instrumentation, and dialogue-heavy scenes to gauge the clarity of speech.
- Surround Sound Verification: If your AV receiver supports surround sound formats such as Dolby Atmos or DTS:X, test content that is specifically encoded for these formats. Verify that the surround sound effects are accurately reproduced, creating an immersive audio environment that enhances your viewing experience.
- Volume and Dynamic Range: Evaluate the system’s ability to deliver consistent sound levels across different content types. Assess the dynamic range by playing content with varying audio intensities, ensuring that quiet passages are clearly audible and intense sequences are impactful without distortion.
- Dialogue Clarity: Focus on scenes with dialogue to ensure that speech is clear and intelligible. Adjust the AV receiver’s center channel settings if necessary to optimize the reproduction of dialogue from the TV’s speakers or external center channel speaker.
- Audio Synchronization: Pay attention to the synchronization of audio and video. Confirm that there are no perceptible delays between the video displayed on the TV and the corresponding audio from the AV receiver, especially during fast-paced scenes or dialogue interactions.
By systematically testing the audio output, you can identify any potential issues, fine-tune the settings further if needed, and ultimately revel in the captivating audio experience facilitated by your Pioneer AV receiver and TV setup.
Conclusion
Setting up your Pioneer AV receiver to deliver sound to your TV is a transformative process that elevates your home entertainment to new heights. By following the steps outlined in this guide, you’ve embarked on a journey to create an immersive audio-visual experience that complements your viewing preferences and audio discernment.
From the initial connection of the AV receiver to the TV to the meticulous configuration of audio settings, you’ve taken the essential steps to synchronize these components seamlessly. This harmonious integration ensures that the audio signals from your TV are channeled through the advanced audio processing capabilities of the Pioneer AV receiver, enriching the sonic landscape of your entertainment space.
By adjusting the sound output settings on your TV, you’ve fine-tuned the entire audio chain, aligning the TV’s audio delivery with the capabilities of the AV receiver. This synchronization fosters a cohesive audio-visual experience, where the sound complements the on-screen action, dialogue, and musical scores with precision and clarity.
Through the comprehensive testing of the audio output, you’ve scrutinized the performance of your audio setup across various content types, ensuring that it meets your expectations and delivers an immersive, high-fidelity experience. Whether it’s the thunderous impact of action sequences, the subtlety of ambient effects, or the emotional resonance of music, your AV receiver and TV now work in tandem to faithfully reproduce the intended audio nuances.
As you immerse yourself in the captivating audio reproduction facilitated by your Pioneer AV receiver and TV, remember that the configurations and settings can always be adjusted to suit your evolving preferences and content choices. Embrace the flexibility and versatility of your audio setup, allowing it to adapt to different genres, formats, and viewing environments.
With your Pioneer AV receiver optimized for sound delivery to your TV, you’re poised to embark on a sensory journey where every sonic detail enriches your visual experiences, creating a symbiotic relationship between sight and sound that transcends the ordinary and transforms your home into a realm of captivating audio immersion.