Introduction
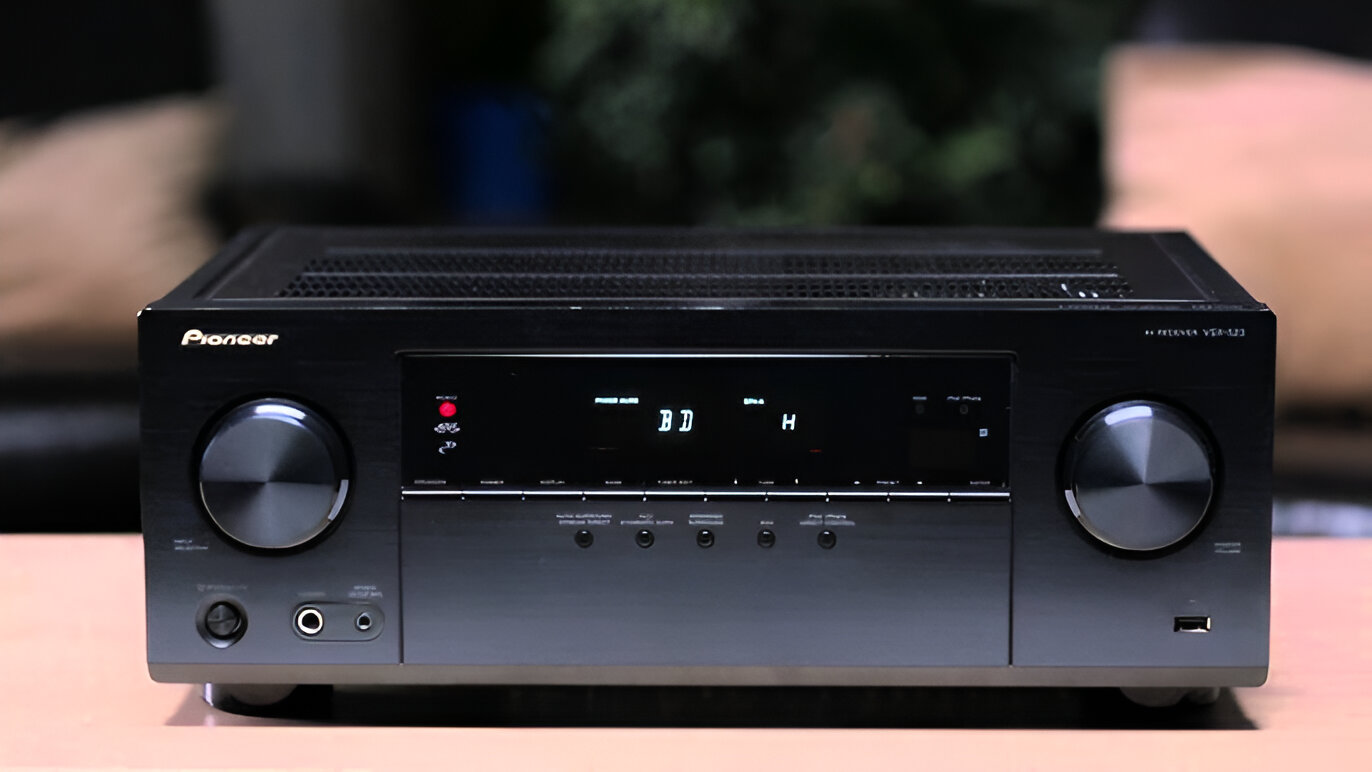
So, you've got a Comcast basic cable box and a Pioneer AV receiver, and you want to connect the two to enjoy your favorite TV shows and movies with high-quality sound. This guide will walk you through the process, ensuring that you can seamlessly integrate your cable box with your AV receiver for an enhanced entertainment experience.
By connecting your cable box to your AV receiver, you can take advantage of the superior audio capabilities of your receiver, elevating your viewing experience to a whole new level. Whether you're a movie buff, a sports enthusiast, or a casual TV viewer, optimizing the audio output from your cable box through the AV receiver can make a significant difference in your overall enjoyment.
This step-by-step guide will provide clear instructions on how to gather the necessary cables, connect the cable box to the AV receiver, set up the receiver, and test the connection. With these easy-to-follow instructions, you'll be able to enjoy immersive audio and crystal-clear sound from your cable box through your Pioneer AV receiver in no time.
Let's dive into the process of connecting your Comcast basic cable box to your Pioneer AV receiver and unlock the full potential of your home entertainment system.
Step 1: Gather the Necessary Cables
Before you start connecting your Comcast basic cable box to your Pioneer AV receiver, it’s essential to gather the necessary cables to ensure a smooth setup process. Here’s what you’ll need:
- HDMI Cable: This cable will transmit both high-definition video and audio signals from your cable box to your AV receiver. Ensure that the cable is of sufficient length to reach from the cable box to the AV receiver with some slack for flexibility.
- Power Cables: Make sure you have the power cables for both the cable box and the AV receiver. These cables are essential for providing the necessary power to both devices.
- Audio Cables: Depending on the available audio output options on your cable box and input options on your AV receiver, you may need audio cables such as RCA or optical cables to transmit the audio signal.
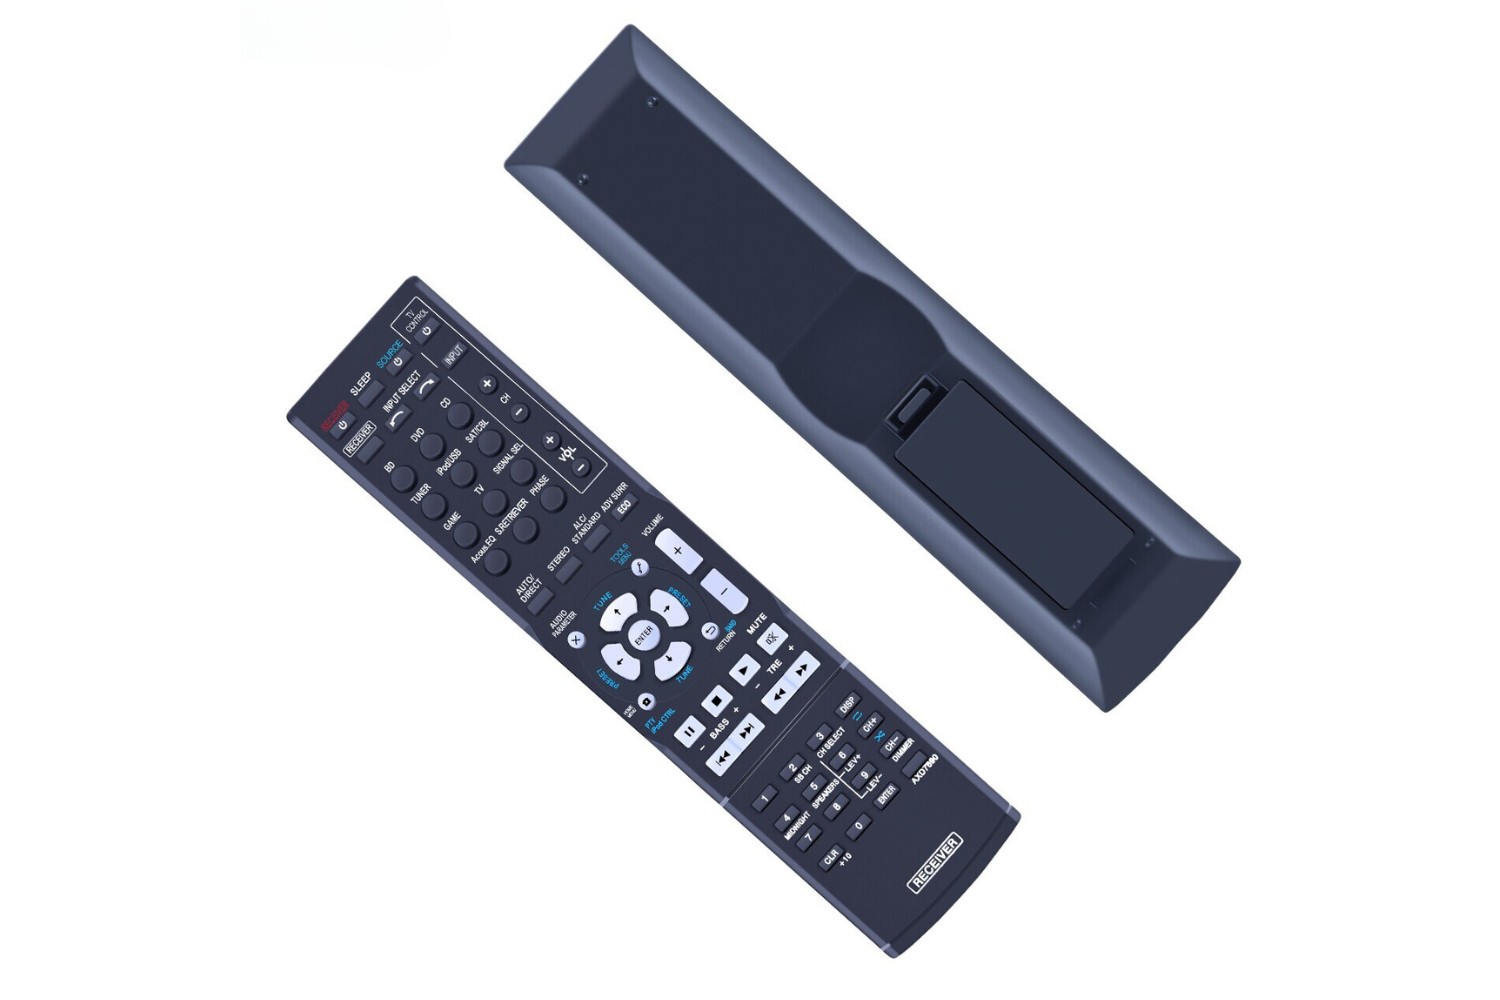
- Remote Control: Keep the remote controls for both the cable box and the AV receiver handy. You may need to access certain settings and functions during the setup process.
By ensuring that you have all the required cables and accessories at your disposal, you’ll be well-prepared to proceed with the cable box to AV receiver connection process without any interruptions. Once you have gathered these items, you’re ready to move on to the next step of the setup process.
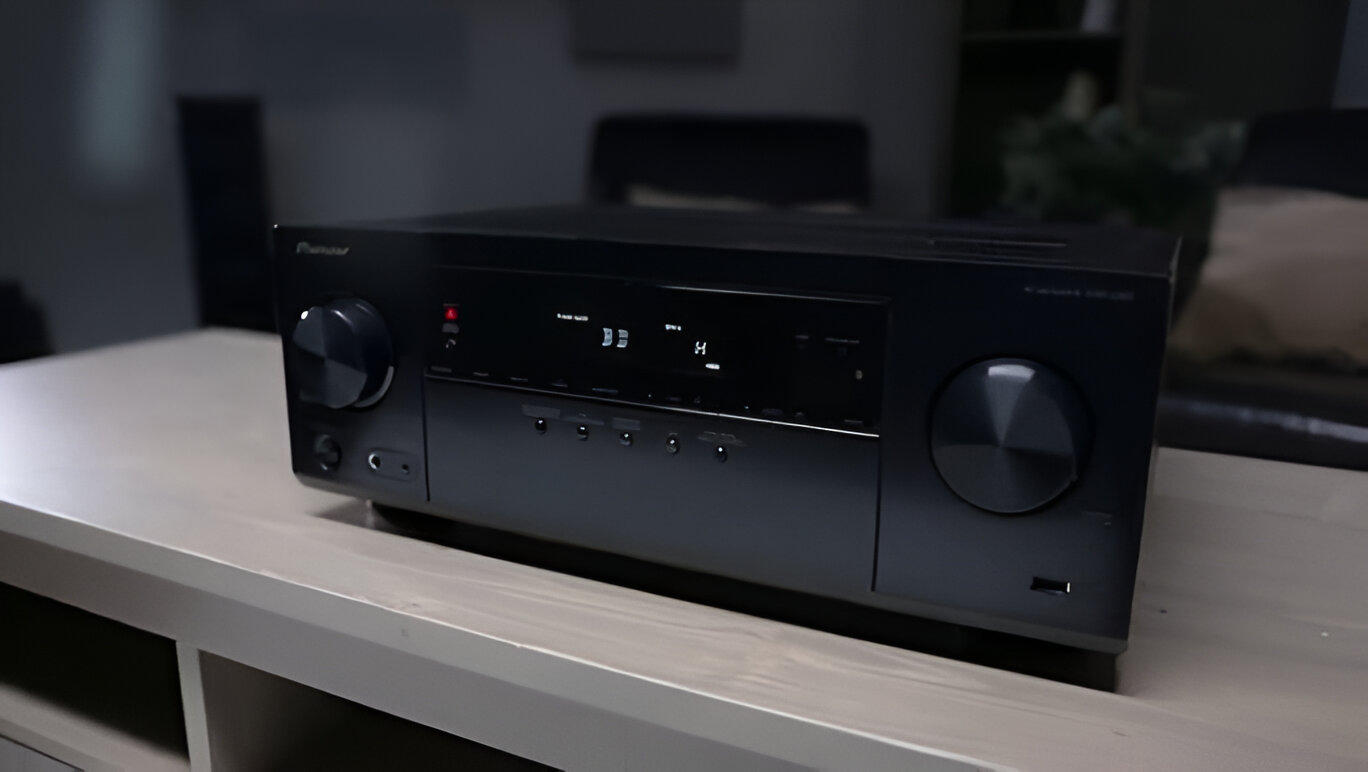
Step 2: Connect the Cable Box to the AV Receiver
Now that you have the necessary cables at hand, it’s time to proceed with connecting your Comcast basic cable box to your Pioneer AV receiver. Follow these steps to establish a seamless connection between the two devices:
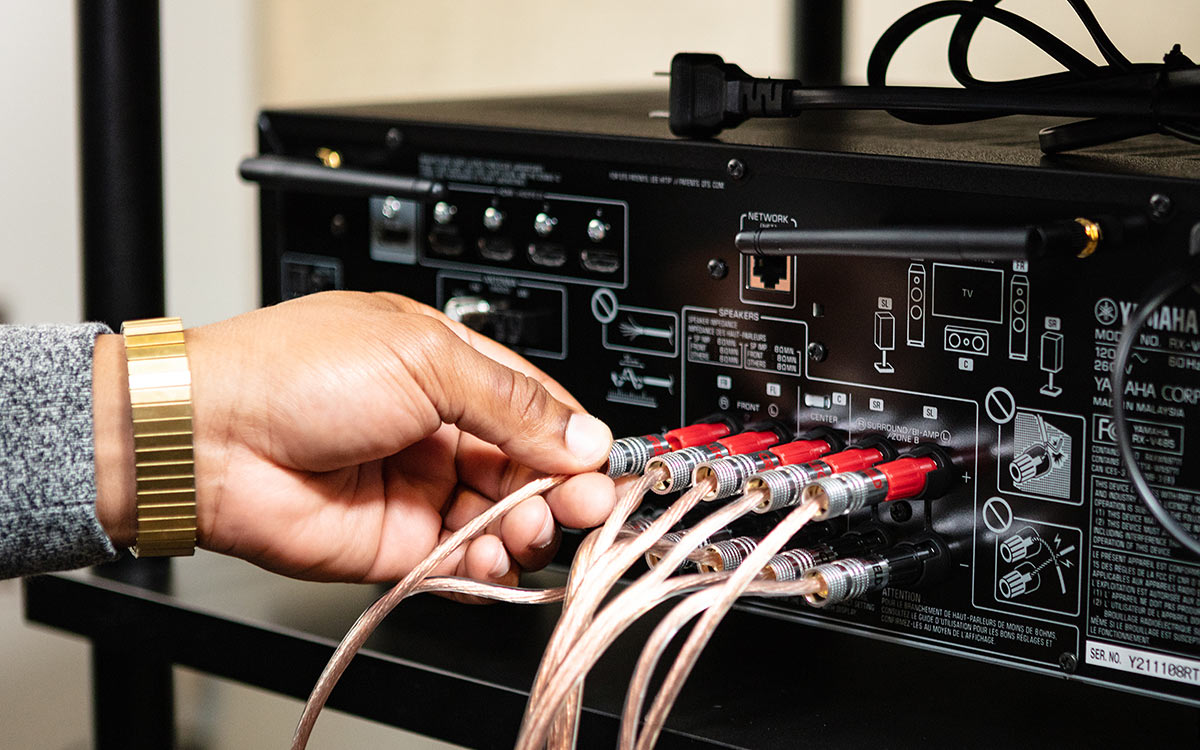
- Locate the HDMI Ports: Identify the HDMI output port on your cable box and the HDMI input port on your AV receiver. These ports are typically labeled for easy identification.
- Connect the HDMI Cable: Take one end of the HDMI cable and plug it into the HDMI output port on your cable box. Then, connect the other end of the HDMI cable to an available HDMI input port on your AV receiver. Ensure a secure connection on both ends.
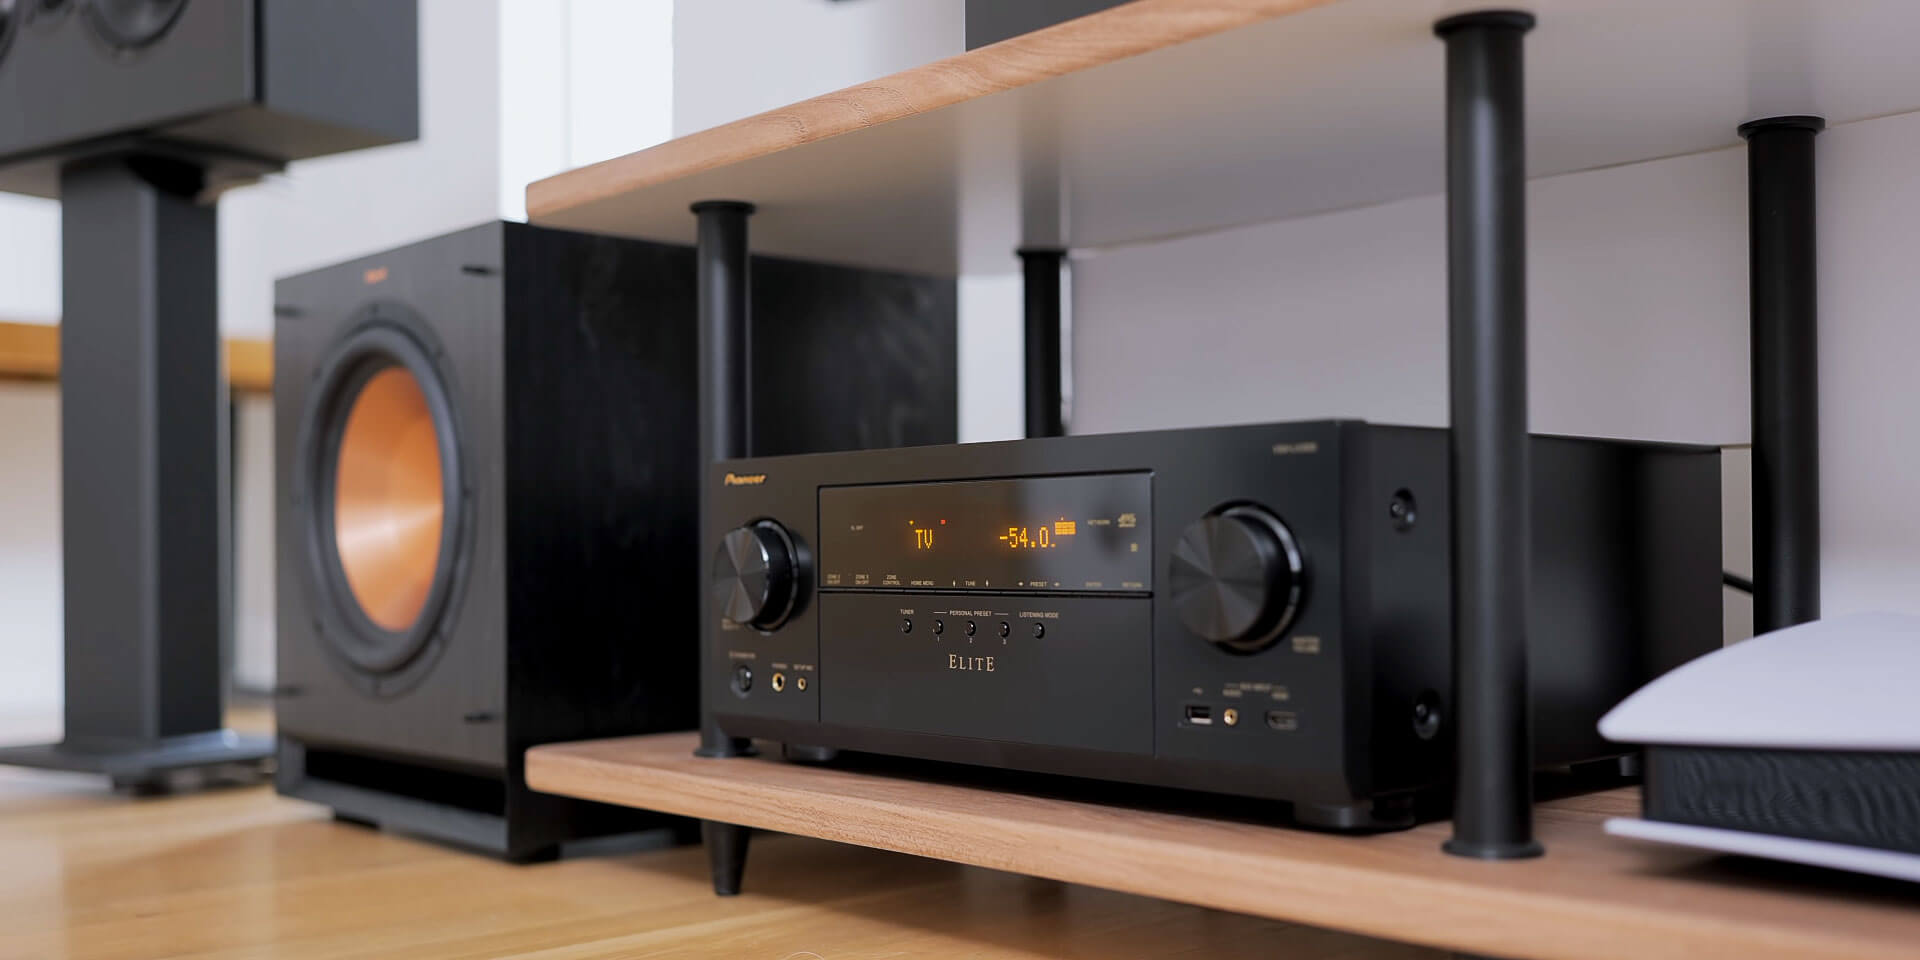
- Power On the Devices: Plug in the power cables for both the cable box and the AV receiver. Turn on both devices and set the AV receiver to the appropriate input source corresponding to the HDMI input port used for the cable box.
- Configure Audio Settings (if necessary): If you’re using separate audio cables for transmitting audio from the cable box to the AV receiver, connect them according to the available input and output options. Set the audio input source on the AV receiver to correspond with the connected audio cables.
- Check for Signal Reception: Use the remote control for the cable box to tune into a channel and verify that the video and audio signals are being transmitted to the AV receiver. If you encounter any issues, ensure that the HDMI cable is securely connected and that the AV receiver is set to the correct input source.
By following these steps, you can effectively establish a direct connection between your Comcast basic cable box and your Pioneer AV receiver, ensuring that both video and audio signals are seamlessly transmitted for an immersive viewing experience.
Step 3: Set Up the AV Receiver
After successfully connecting the cable box to the AV receiver, it’s crucial to set up the receiver to optimize the audio and video output. Follow these essential steps to configure your Pioneer AV receiver:
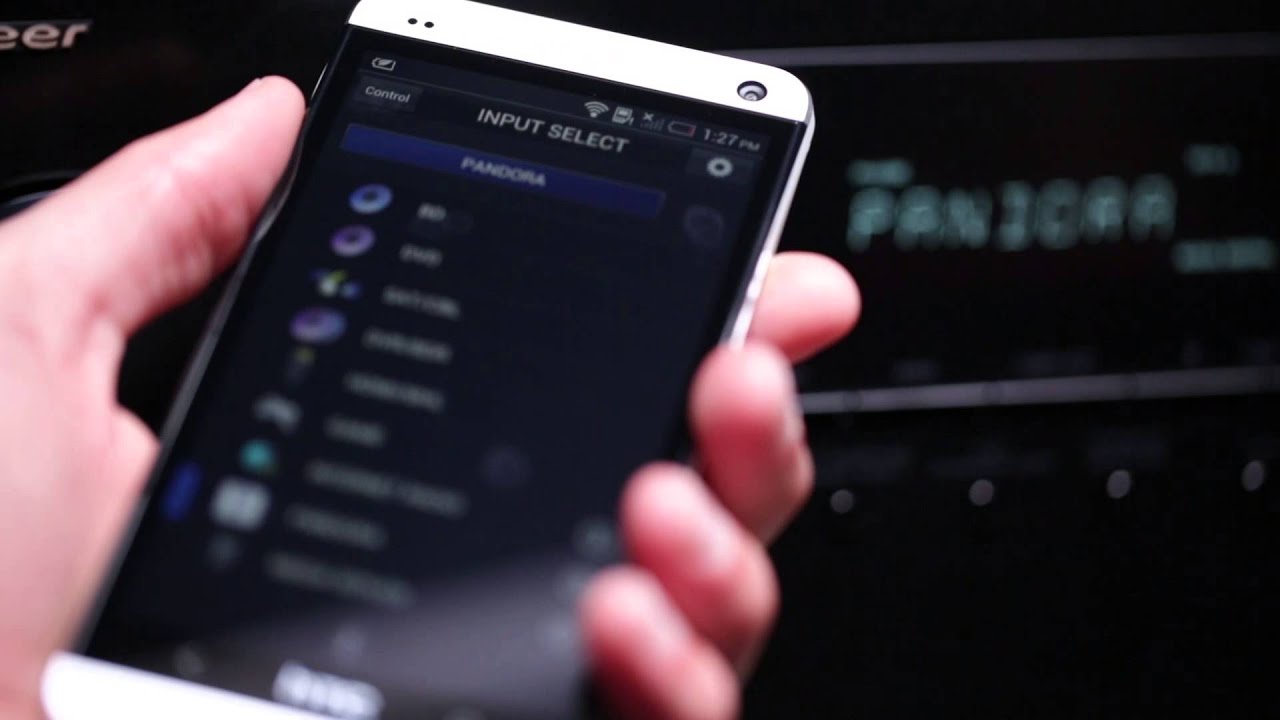
- Access the Receiver’s Settings: Use the remote control or the front panel of the AV receiver to access the settings menu. This may involve navigating through the on-screen display or using the receiver’s built-in interface.
- Audio Settings: Configure the audio settings on the receiver to match your preferences and the capabilities of your audio setup. This may include adjusting the speaker configuration, setting the crossover frequency, and enabling any audio enhancement features.
- Video Settings: If your AV receiver is connected to a TV or a display, ensure that the video output settings are optimized for your viewing experience. This may involve setting the video resolution, adjusting color settings, and enabling any video processing features.
- Input Assignments: Assign the input sources to the corresponding connected devices. In this case, ensure that the HDMI input used for the cable box is properly labeled and assigned within the receiver’s input settings.
- Speaker Calibration (Optional): If your AV receiver supports automatic speaker calibration using a setup microphone, consider running the calibration process to optimize the audio performance based on your room’s acoustics.
By meticulously setting up your Pioneer AV receiver, you can tailor the audio and video output to suit your specific preferences and the capabilities of your home entertainment setup. This step is crucial in ensuring that you can fully leverage the capabilities of your AV receiver when using it in conjunction with your Comcast basic cable box.
Step 4: Test the Connection
Once you’ve completed the setup process for connecting your Comcast basic cable box to your Pioneer AV receiver, it’s essential to test the connection to ensure that both devices are functioning harmoniously. Follow these steps to verify the successful integration and performance of the connected devices:
- Playback Test: Select a TV channel or media source on the cable box and play a video or audio content that you’re familiar with. This will allow you to assess both the video and audio output from the AV receiver.
- Audio Performance: Pay attention to the audio quality and ensure that the sound is being delivered through the connected speakers or audio output devices. Verify that the audio is clear, balanced, and in sync with the video playback.
- Video Output: Evaluate the video output on your TV or display to confirm that the AV receiver is transmitting high-quality video signals from the cable box without any visual artifacts or distortions.
- Remote Control Functionality: Test the functionality of the remote controls for both the cable box and the AV receiver to ensure that you can seamlessly control the devices and access essential settings.
- Signal Stability: Monitor the stability of the audio and video signals during playback to identify any potential issues such as signal dropouts, audio interruptions, or video flickering.
By conducting a comprehensive test of the connection between your cable box and AV receiver, you can address any potential issues and fine-tune the settings to achieve optimal performance. Testing the connection allows you to confirm that the integration is successful and that you can enjoy a seamless and immersive entertainment experience with your enhanced audio-visual setup.
Conclusion
Connecting your Comcast basic cable box to your Pioneer AV receiver can significantly elevate your home entertainment experience by delivering high-quality audio and video performance. By following the steps outlined in this guide, you’ve successfully established a seamless connection between the cable box and the AV receiver, enabling you to enjoy immersive sound and stunning visuals.
Through the process of gathering the necessary cables, connecting the devices, setting up the AV receiver, and testing the connection, you’ve taken the essential steps to ensure that your cable box and AV receiver work in harmony to deliver an enhanced viewing and listening experience.
With the cable box connected to the AV receiver, you can now enjoy your favorite TV shows, movies, and multimedia content with superior audio clarity and dynamic surround sound. The integration of these devices allows you to make the most of your home entertainment system, creating a captivating and immersive environment for your viewing pleasure.
As you continue to explore the capabilities of your cable box and AV receiver, you can further customize the settings, experiment with different audio modes, and fine-tune the performance to suit your preferences and the specific requirements of your home theater setup.
By successfully connecting your Comcast basic cable box to your Pioneer AV receiver, you’ve unlocked the full potential of your home entertainment system, bringing the cinematic experience directly to your living room. Whether you’re enjoying a thrilling action movie, a captivating drama, or an exhilarating sports event, the seamless integration of your cable box with your AV receiver ensures that every moment is accompanied by exceptional audio and video quality.