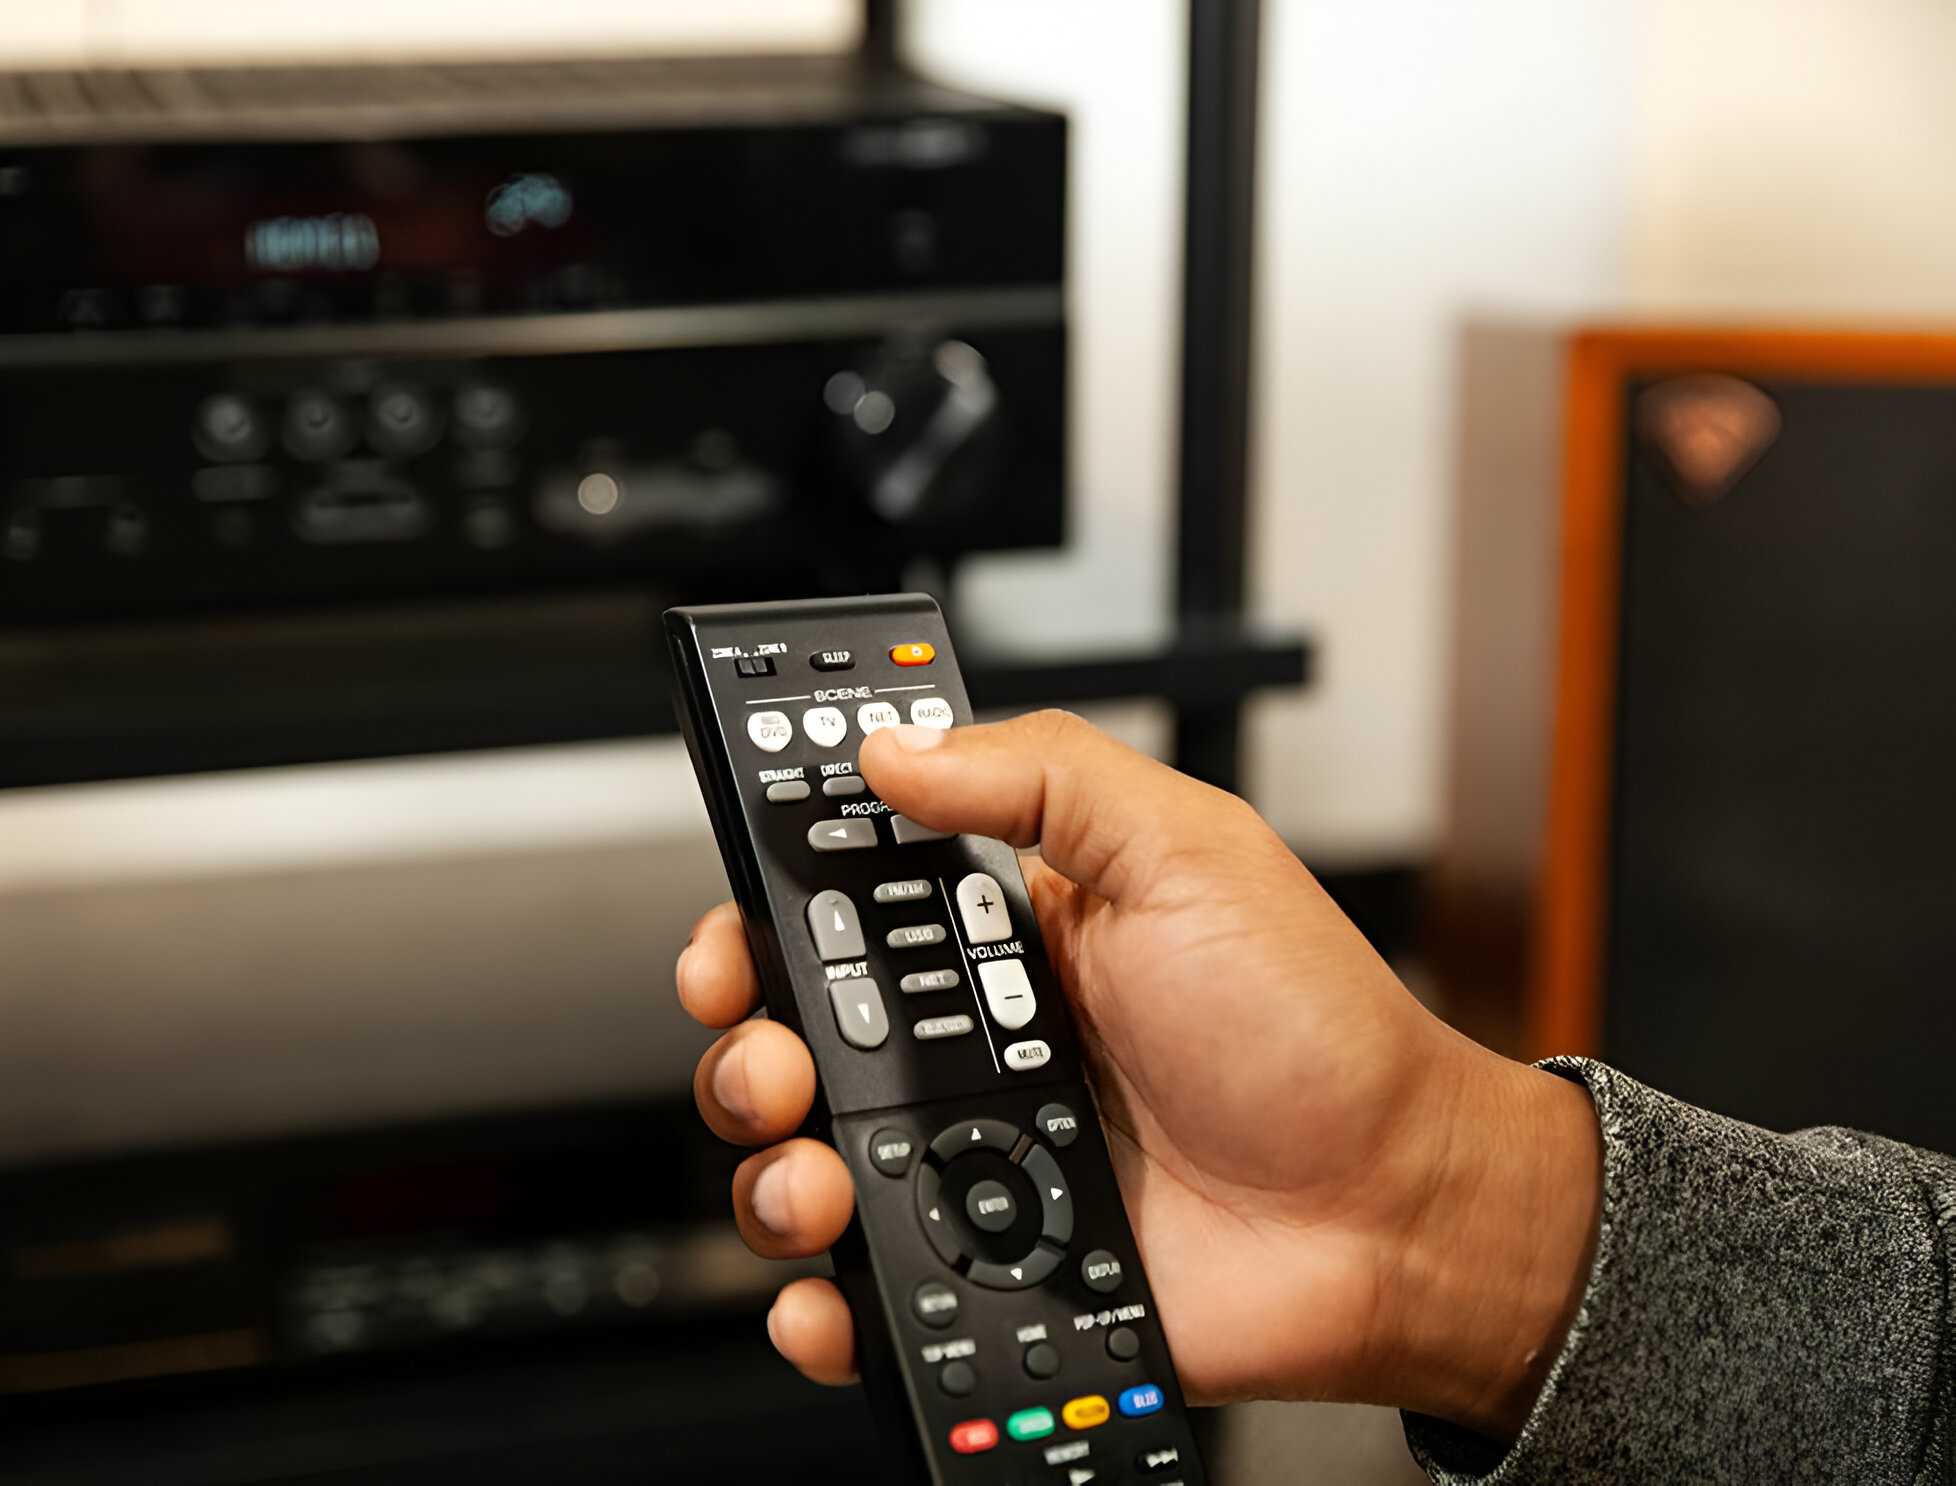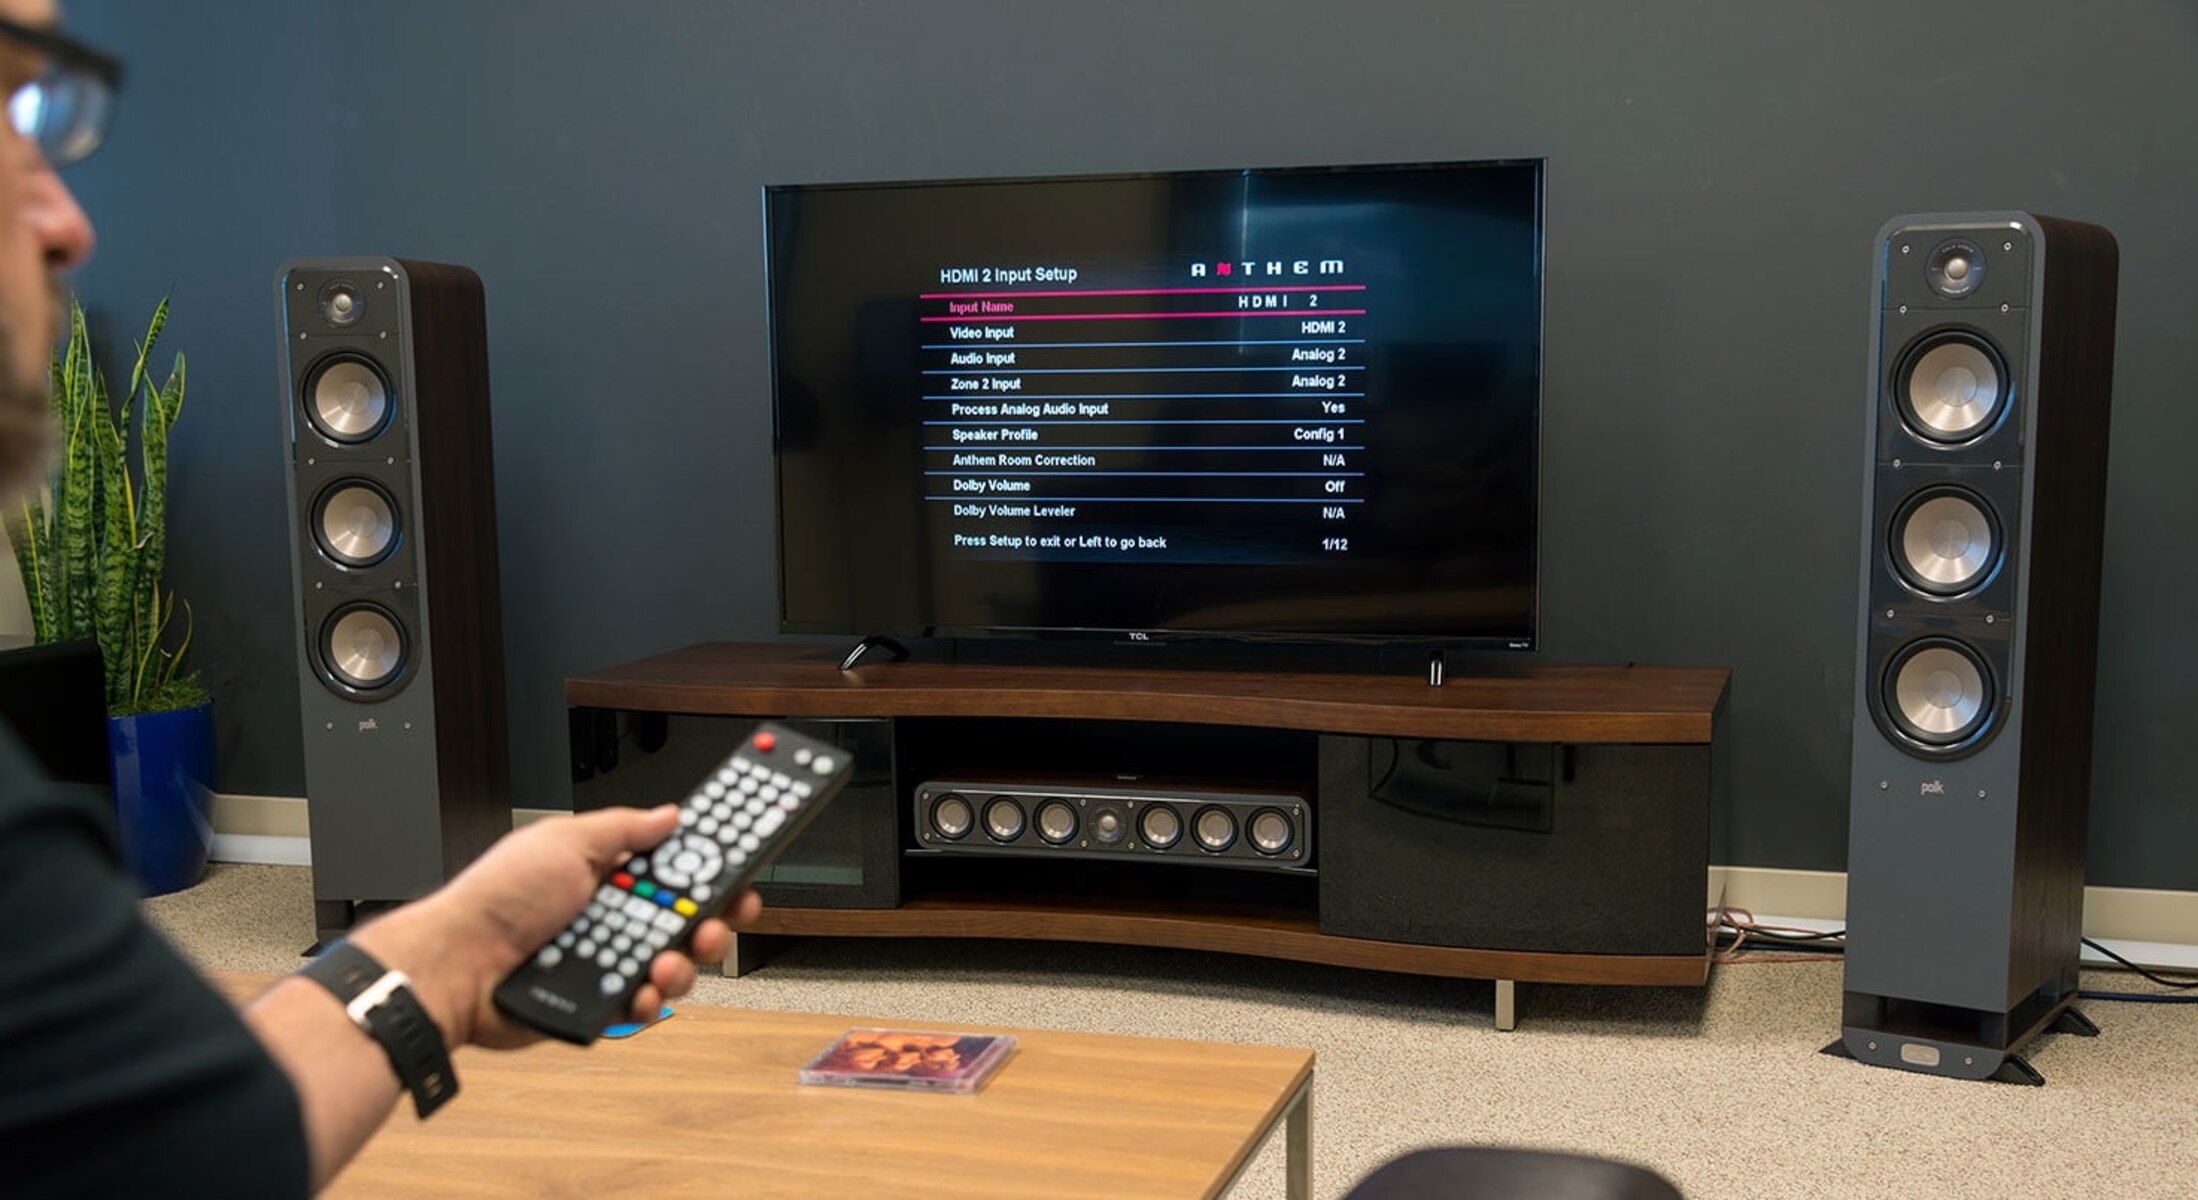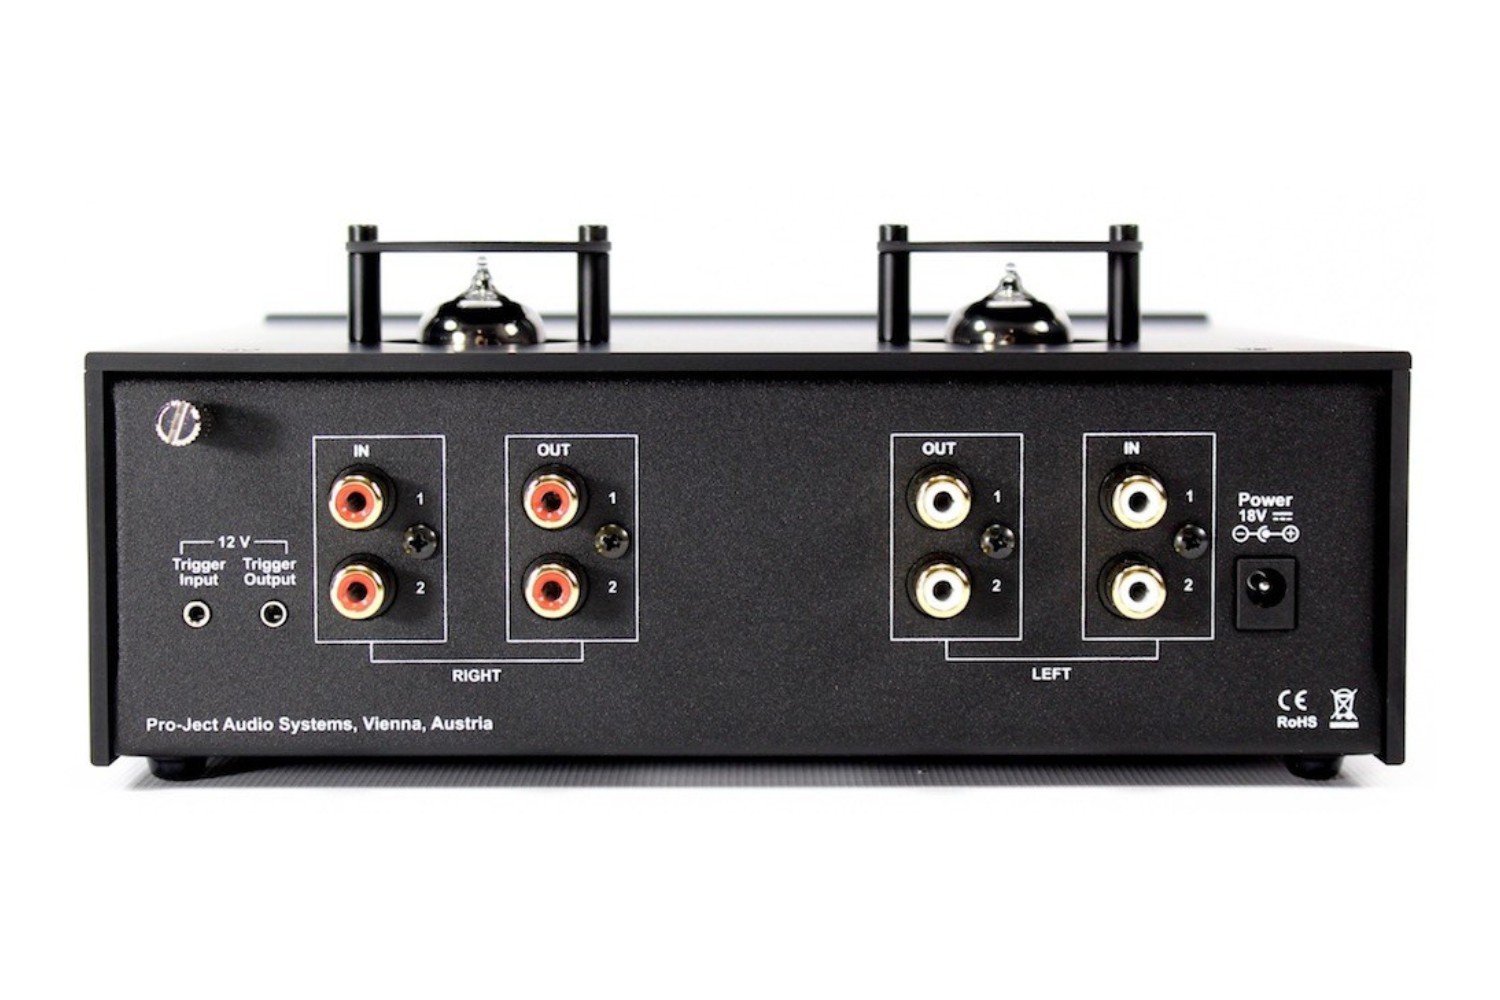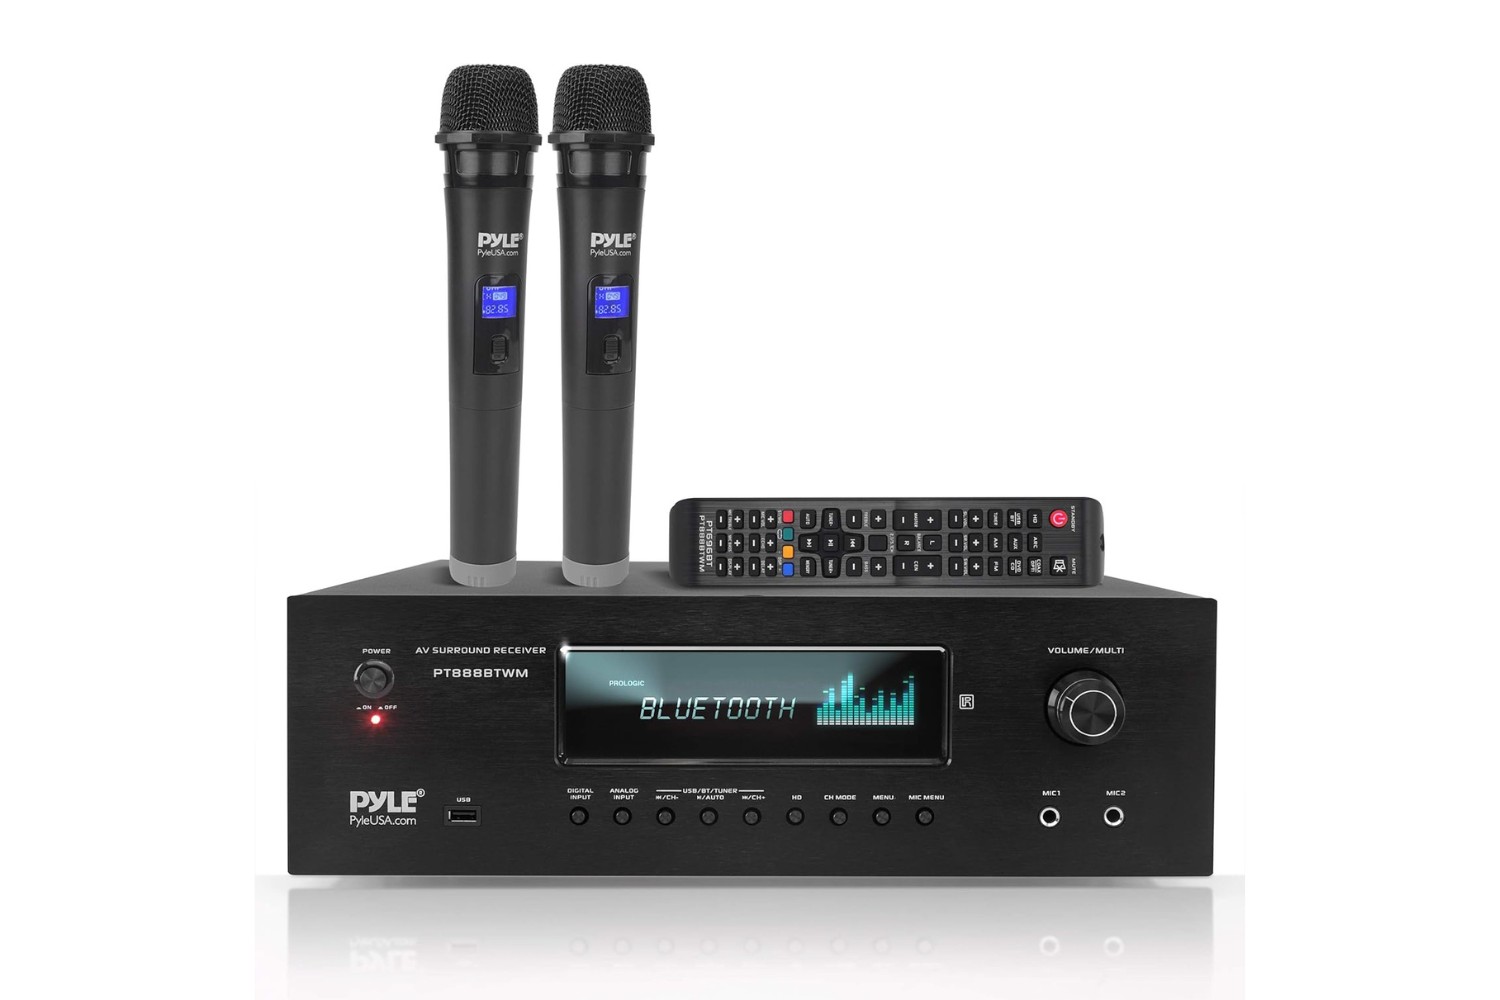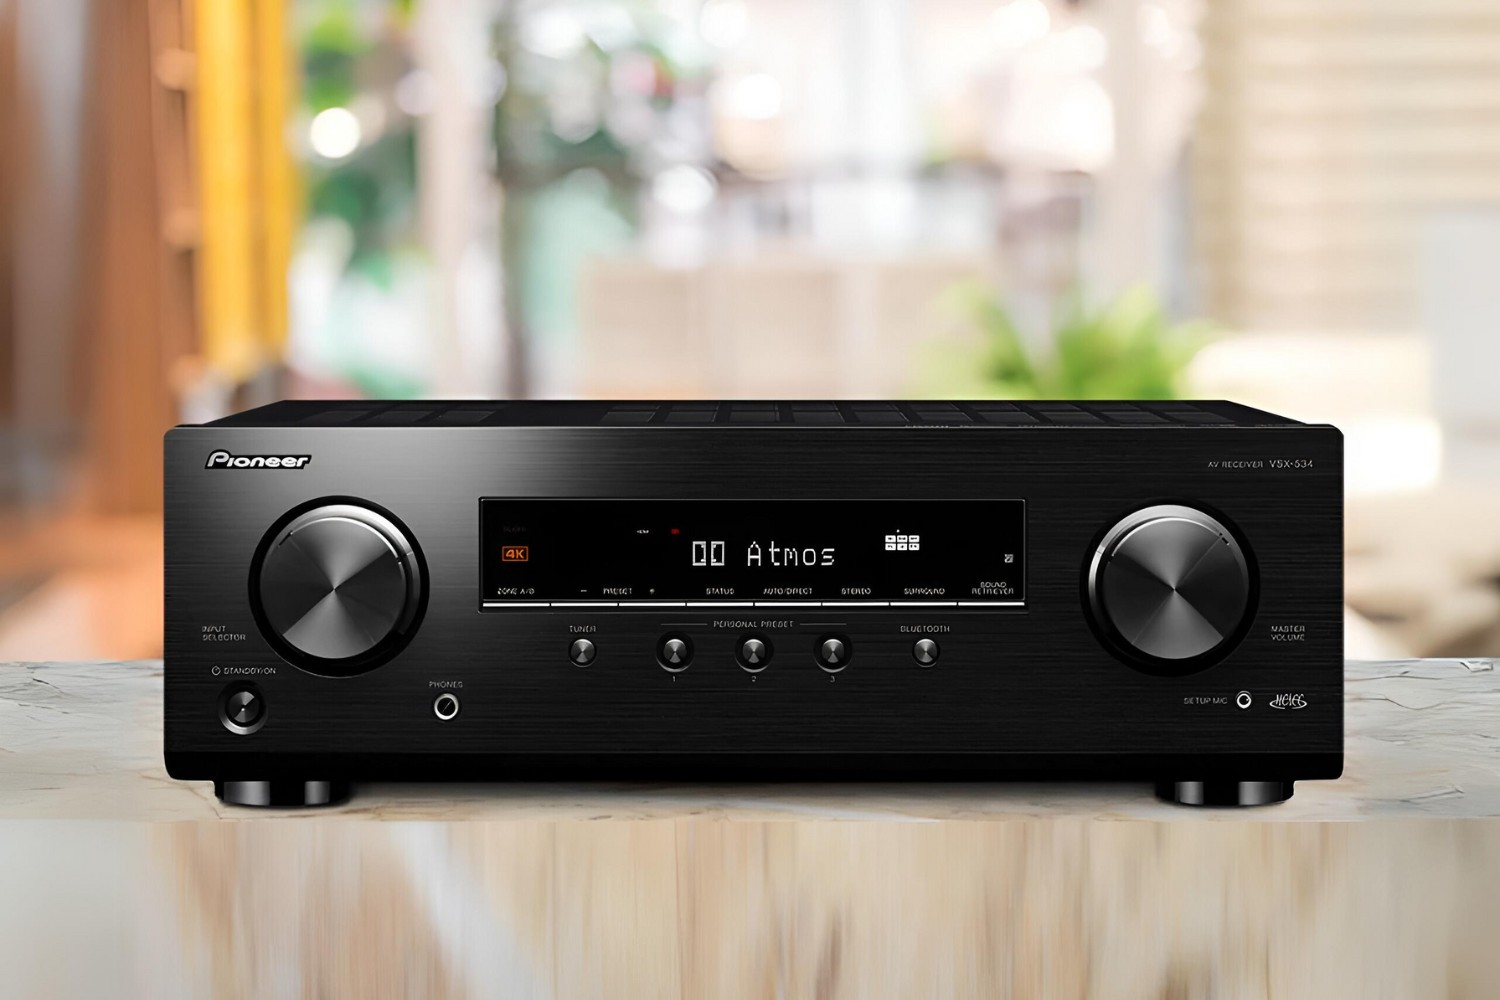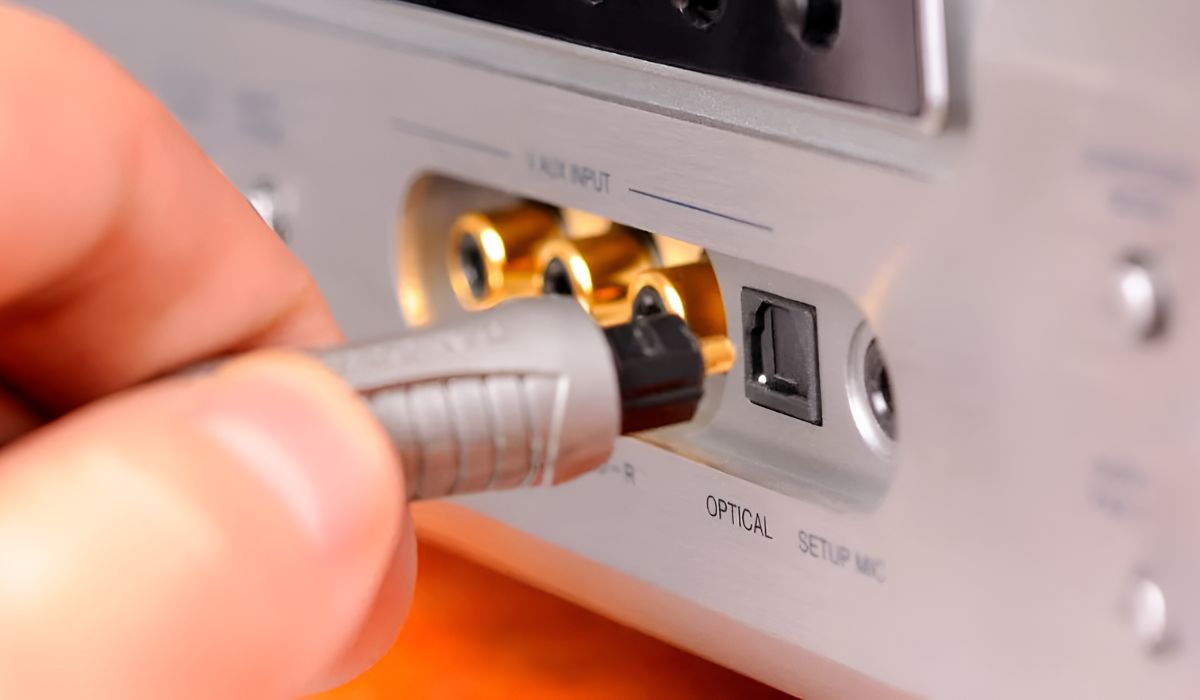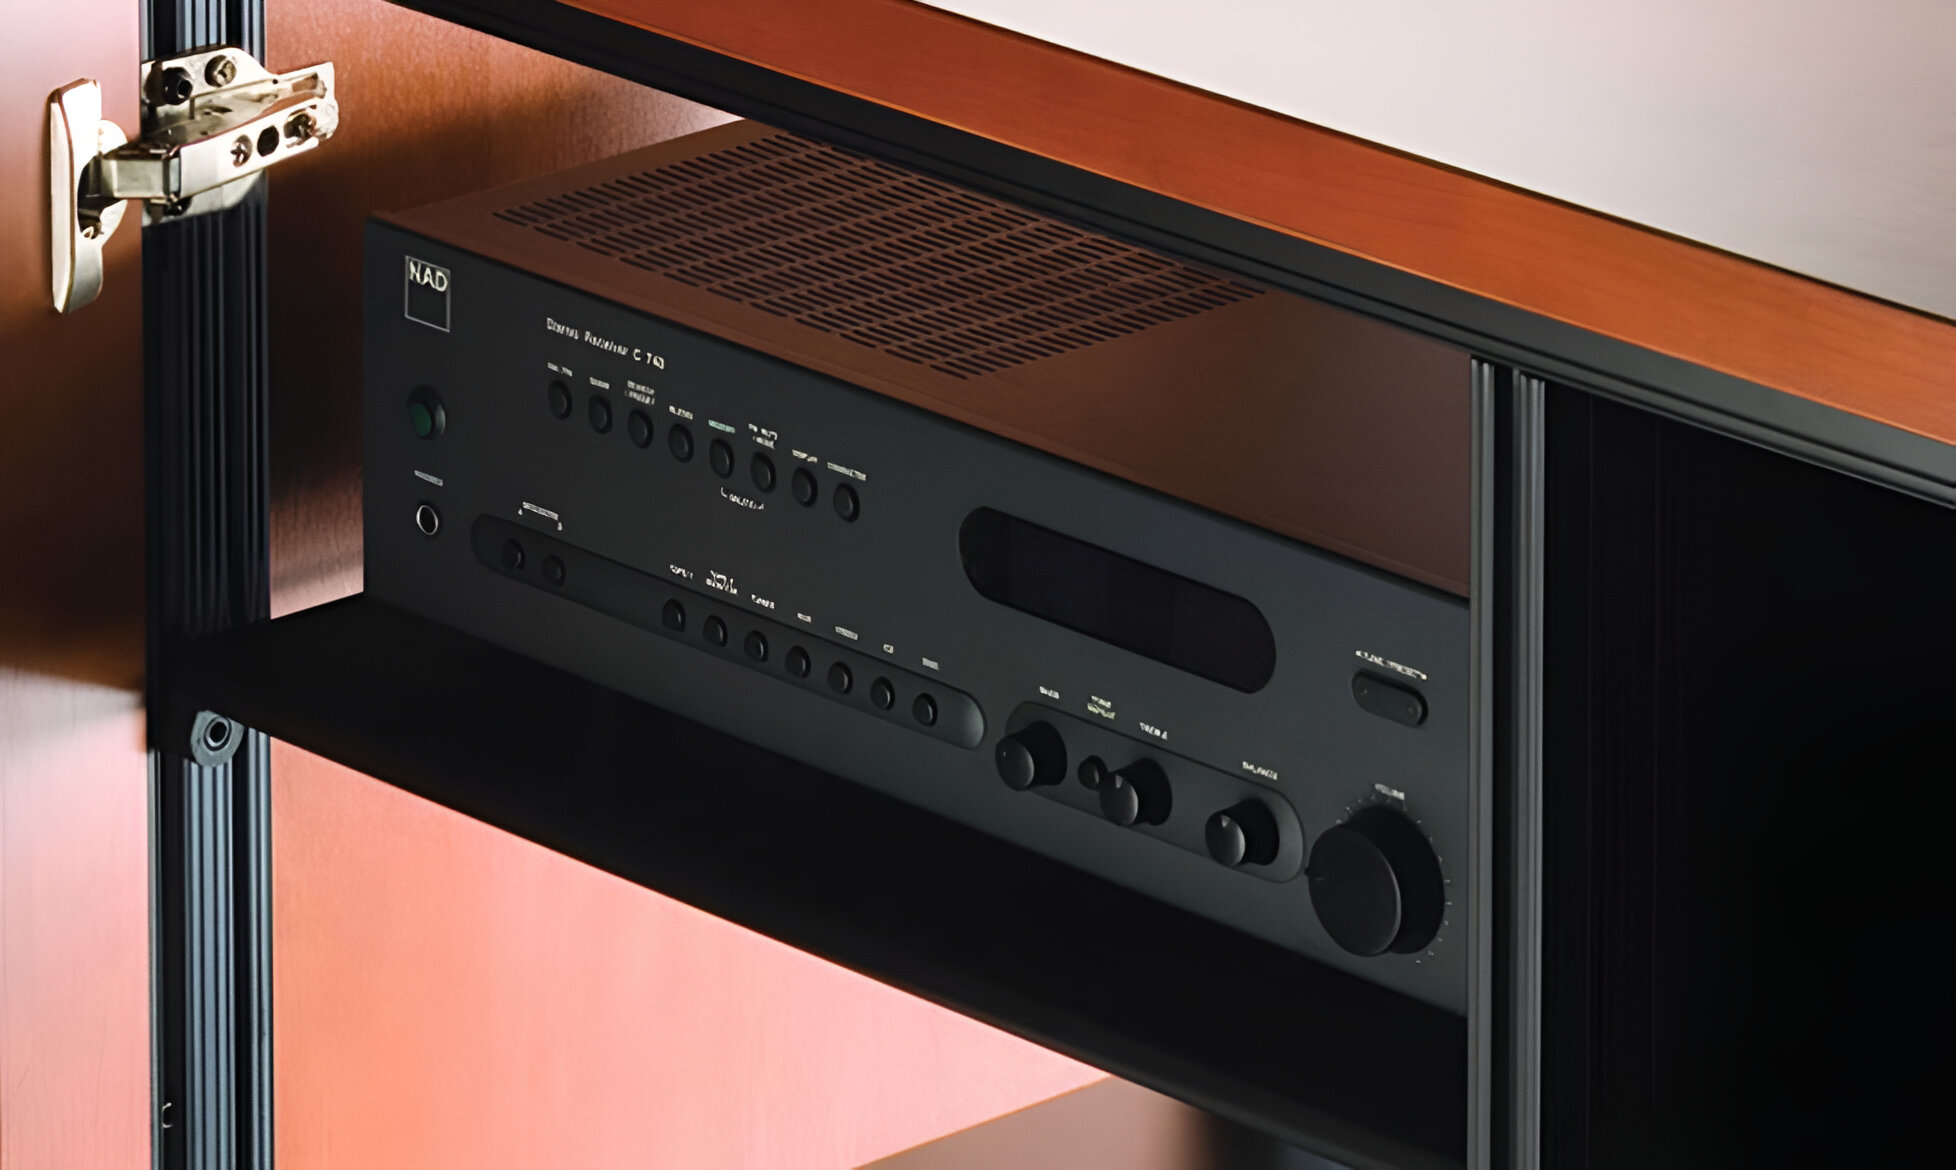
To control an AV receiver in a closet, you need a system that bridges the gap between your remote and the hidden gear, and an IR repeater is the most reliable way to do it. This guide walks you through installing an IR repeater, programming a universal remote, and verifying the setup, so you can enjoy a clutter-free room without losing command of your entertainment.
Tools and equipment to control av receiver in closet
Before you start, gather the essentials. An IR repeater kit is the backbone of this project, it captures your remote’s infrared signal in the viewing area and re-transmits it to the closet. You’ll also need a programmable universal remote to consolidate control, plus basic installation items like a drill for mounting the receiver and labels to keep track of which emitter goes to which device. If the distance between the receiver and the closet is long, pick up extension cables for the emitters. Cable ties or clips are optional but help keep the closet tidy.
Setting up an IR repeater system
An IR extender system typically includes an IR receiver (visible to your remote), an IR extension unit, and IR emitters (flashers) that stick onto each device. The receiver sits in your living space, the emitters go on the components in the closet, and a distribution block connects them all.
- Place the IR receiver in a central, unobstructed spot in the viewing room, on a shelf near the TV or on a side table where your remote naturally points.
- Affix each IR emitter to the front panel of the hidden component, directly over its IR sensor. Use the adhesive backing or the included mounting hardware to secure them.
- Run the emitter cables to the distribution block, plugging each one into a labeled port. Connect the distribution block to the IR receiver.
- Power the system according to the kit’s instructions, then point your remote at the receiver and press a button to confirm the signal reaches the closet.
- Adjust the emitter position if a device doesn’t respond, sometimes a slight shift over the sensor improves transmission.
This setup eliminates the need for line-of-sight between your remote and the equipment, so you can keep everything hidden while still controlling it from your couch.
Programming your universal remote control
Once the IR repeater is live, program your universal remote to talk to each component. This step consolidates all your remotes into one, making the system easier to use daily.
- Find the manufacturer codes for your AV receiver, TV, media player, and any other devices in the remote’s manual or the manufacturer’s online code list.
- Enter programming mode on the universal remote, usually by holding down a specific button (like “Setup” or “Code Search”) until the indicator light blinks.
- Input the manufacturer code for the first device using the number pad, then press “Enter” or “OK” to save it.
- Repeat the process for each component, assigning them to the appropriate mode buttons (e.g., “TV,” “AUX,” “DVD”).
- Test basic functions, power, volume, input switching, on each device to confirm the codes work. If a function fails, try the next code in the list for that brand.
This gives you a single remote that controls everything, even though the gear is out of sight.
Alternative control methods to consider
IR repeaters aren’t your only option. RF (Radio Frequency) remotes transmit signals through walls and cabinets, eliminating the need for line of sight entirely, they work even if the closet door is closed. The trade-off is that you’ll need an RF remote that matches your components or a separate RF-to-IR converter. HDMI-CEC is another route: it allows devices connected via HDMI to communicate and be controlled by a single remote (typically the TV remote) for basic functions like power, volume, and input switching. However, HDMI-CEC can be inconsistent across different brands due to varying implementations and is generally limited to basic commands, often requiring device-specific remotes for advanced functions. If you only need simple control, CEC might suffice; for full functionality, stick with the IR repeater or go RF.
Testing and troubleshooting your setup
After everything is connected and programmed, test thoroughly to catch issues before they become daily frustrations.
- Walk around the room and press buttons on the remote from different spots, near the receiver, across the room, and from a seated position. The system should respond consistently from all angles.
- Test every function on each device: power, volume, mute, input selection, and any special features like menu navigation or playback controls.
- Check for interference by turning on bright lights, lamps, or placing reflective objects near the IR receiver. Sunlight or LED bulbs can sometimes disrupt IR signals, so reposition the receiver if you notice dropouts.
- If a specific device doesn’t respond, check that its emitter is still adhered and aligned with the sensor. Swap the emitter to a different port on the distribution block to rule out a bad connection.
- For non-responsive devices, re-enter the manufacturer code or try a different code from the list. If the remote still fails, verify the device’s IR sensor is actually working by pointing the original remote at it directly.
If you run into persistent issues, revisit the placement of the IR receiver, it needs a clear view of your remote’s signal. Also, ensure the distribution block is powered and that no cables are pinched or damaged. With a little patience, you’ll have a responsive system that keeps your living space clean and your entertainment fully under control.
\nRelated reading: How To Control An AV Receiver With Xfinity Remote Control, How To Set Up A 7.2 Surround Sound System, and Understanding Trigger In And Out On Your AV Receiver.