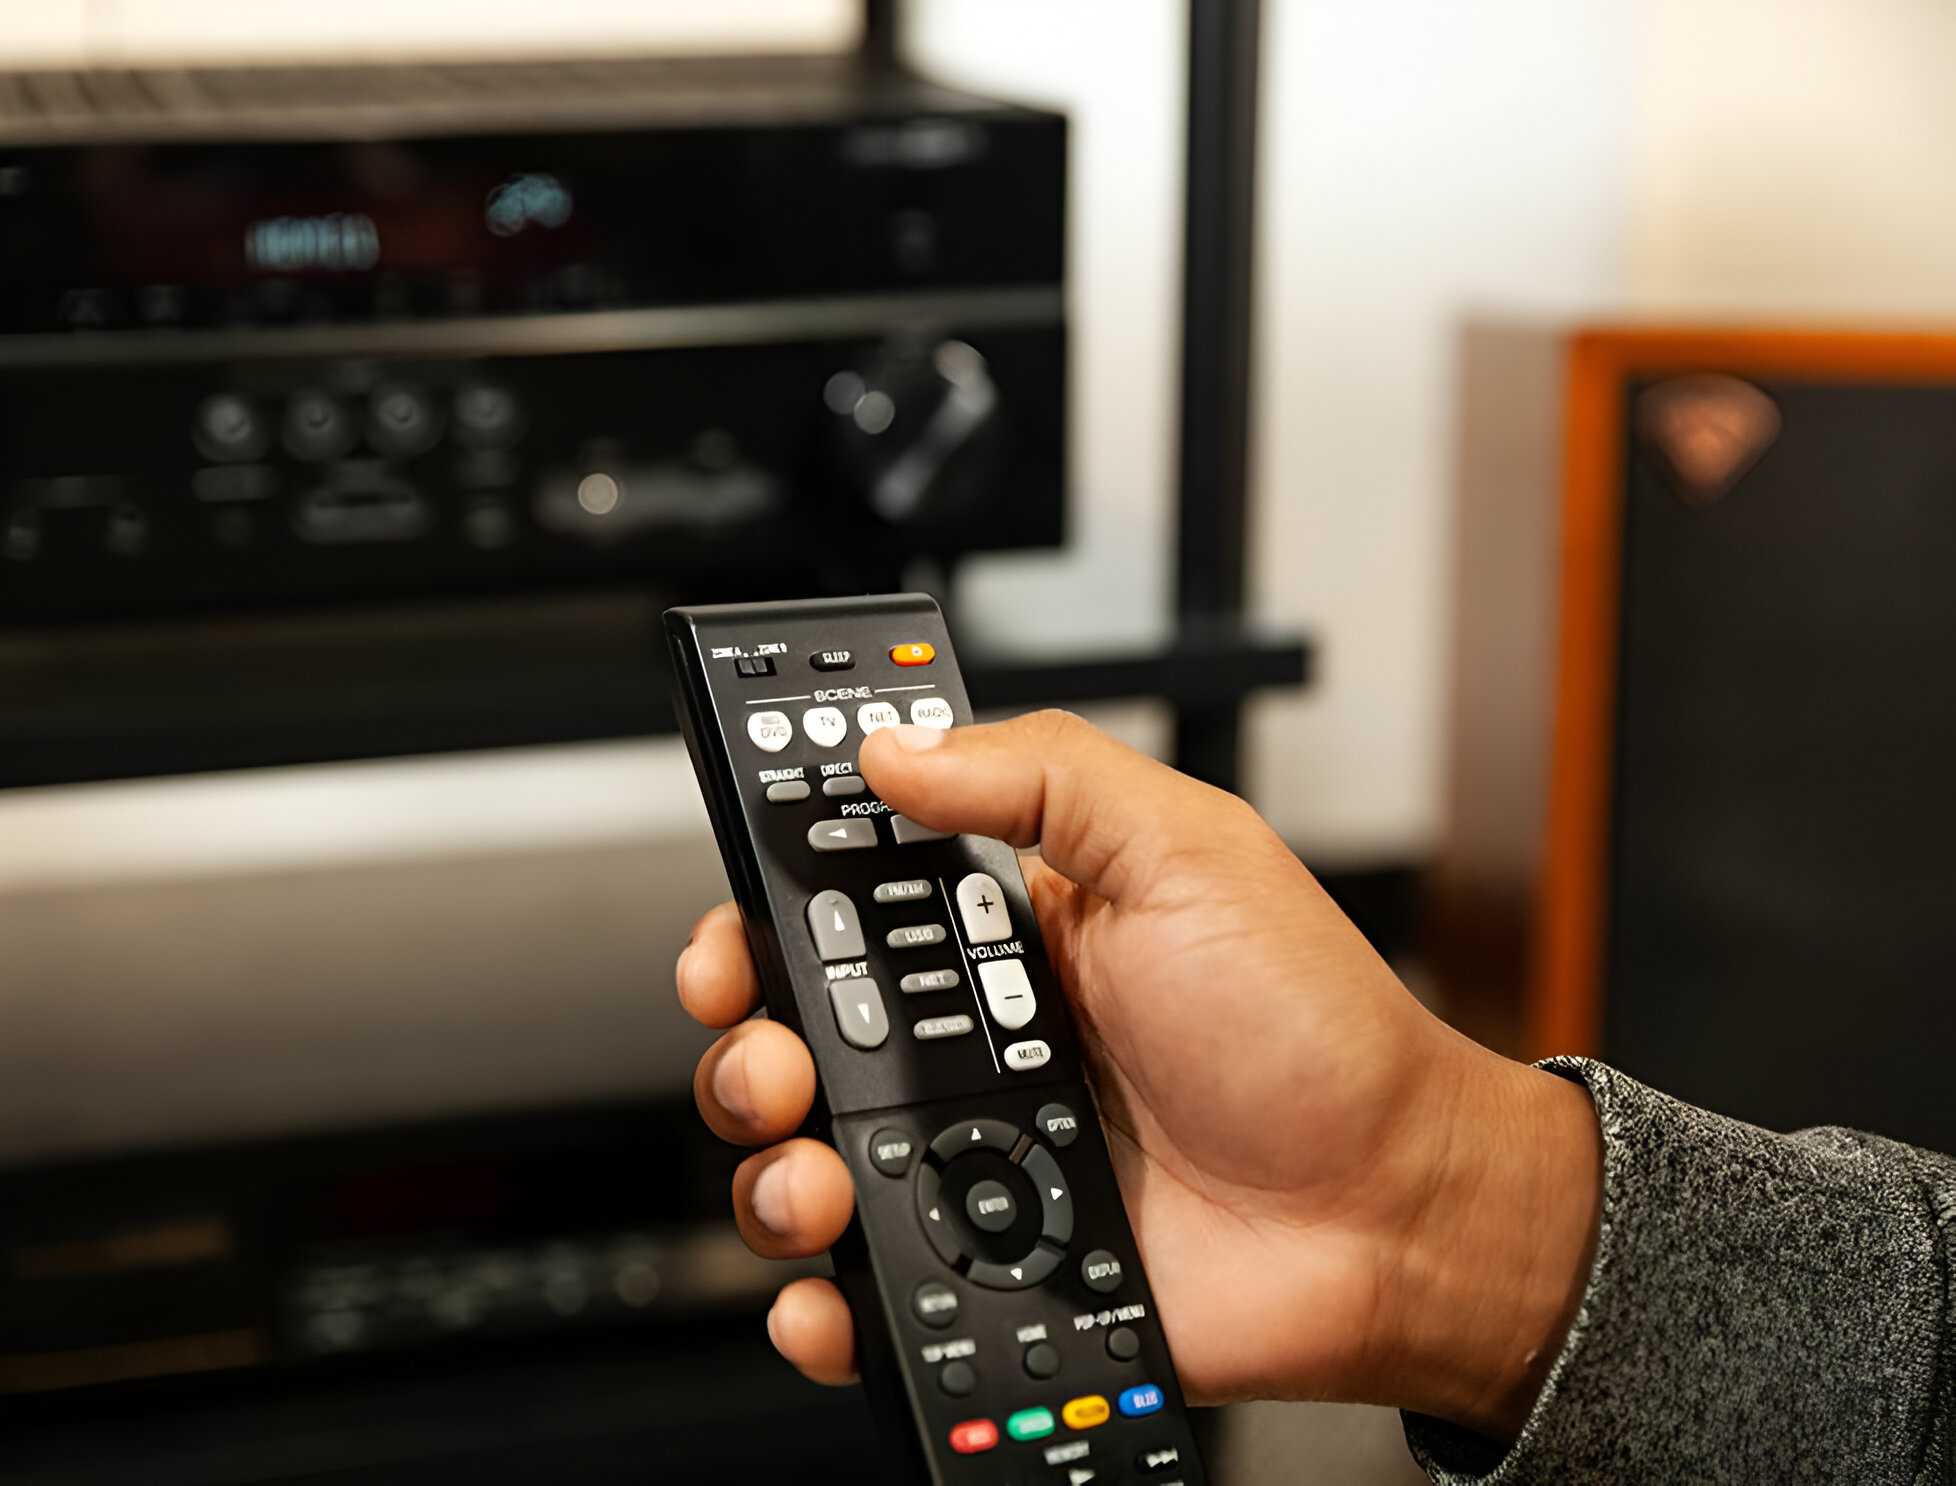
Which Xfinity remote do you have?
To control an AV receiver with Xfinity remote, you first need to identify which model you own, because the XR11, XR15, and XR16 use different programming methods. The XR11 is the older, bulkier model with a dedicated Setup button near the top and a full number pad. The XR15 is slimmer, has number buttons, but no Setup button, instead you'll use the Xfinity and Mute keys together. The XR16 (also called the Flex remote) is the smallest, with no number pad at all and a prominent microphone button. If you're unsure, look at the back of the remote or check the battery compartment, the model number is printed there. Once you've identified your remote, follow the corresponding instructions below to program it.
How to program an XR16 voice remote to control an AV receiver
For the XR16, the process is entirely voice-driven, which makes it the easiest of the three to set up. Start by aiming the remote at your TV Box (the X1 or Flex device) and pressing the microphone button. Say the command "Program remote" out loud, then wait for the on-screen setup wizard to appear. The system will guide you through a series of questions, when it asks if you want to control your audio receiver, select Yes. Then, use the on-screen keyboard to type in the brand of your AV receiver (e.g., Sony, Yamaha, Denon). The remote will automatically test the code and confirm when it's successful. This method works because the XR16 relies on the X1 or Flex interface to handle the heavy lifting, so you don't need to look up any codes manually. Once the on-screen prompt says the setup is complete, press the volume up or down button to verify that the receiver responds. If it does, you're done, no further steps required.
How to program an XR15 voice remote to control an AV receiver
The XR15 uses a manual code-entry method that requires you to find your receiver's 5-digit code first. To locate it, go to xfinity.com/remotes on your phone or computer and look up your AV receiver's brand and model. Once you have the code, turn on both your TV and your AV receiver manually. Then, press and hold the Xfinity and Mute buttons together for about five seconds, you'll see the light at the top of the remote change from red to green. While the light is green, enter the 5-digit code using the number pad. If the code is accepted, the light will blink twice and then stay green. Test the volume button on the remote, it should now control the receiver instead of the TV. If the first code doesn't work, try the next code from the lookup tool; sometimes a brand has multiple codes depending on the model year. This method is reliable because it doesn't rely on the on-screen interface, so it works even if your TV Box is off or unplugged.
How to program an XR11 voice remote to control an AV receiver
The XR11 is the older sibling of the XR15, and its programming is similar but uses a different button combo. First, turn on your TV and AV receiver. Find the Setup button on the top left of the remote, it's a small key labeled "Setup" that you'll need to press and hold. Keep holding it until the light at the top of the remote changes from red to green (this takes about five seconds). Once the light is green, enter the 5-digit code for your AV receiver, which you can find using the same xfinity.com/remotes lookup tool. After entering the code, the light will blink twice to confirm. If not, repeat the process with a different code from the list. The XR11 is a bit more finicky than the XR15 because the Setup button can be easy to press accidentally, but the process is otherwise identical in logic.
Understanding power and volume control
Once you've programmed your Xfinity remote to control your AV receiver, the volume and mute buttons will now operate the receiver instead of the TV. This is the core benefit of the setup, you no longer need to reach for a second remote to adjust audio levels. However, there's an important nuance with the power button. The All Power button on your Xfinity remote (the red power key at the top) is designed to turn both the TV and the audio receiver on or off together. When you press it, it sends a power command to both devices simultaneously, which is convenient for a single-touch on/off experience. But note that the X1 TV Box itself is designed to remain on at all times, it doesn't power down with the All Power button. So if you press All Power, your TV and receiver will shut off, but the X1 box will stay on (showing a screensaver or idle screen). This is intentional and normal; the X1 box is meant to be always ready for recording and instant-on.
Troubleshooting your Xfinity remote setup
If your remote isn't controlling the AV receiver after programming, a factory reset often solves the problem. For the XR11, press and hold the Setup button until the light turns green, then enter 981. For the XR15, press and hold the A (triangle) and D (diamond) buttons together for three seconds until the light turns green, then enter 981. For the XR16, press and hold the Info (i) and Home (house icon) buttons for about five seconds until the light blinks, then press Power, Last (the back arrow), and Volume Down (-) in sequence. After a factory reset, you'll need to pair the remote to your TV Box again and reprogram the AV receiver from scratch. Before doing a full reset, though, check the batteries, weak batteries are the most common cause of intermittent remote failures. Replace them with fresh ones and try the volume button again. Also, verify there's a clear line of sight between the remote and the receiver; while Xfinity remotes use IR for AV control (not RF like they do for the TV Box), any obstruction can block the signal. If you've tried all these steps and the remote still won't control the receiver, double-check that you're using the correct code from the lookup tool, some brands have multiple codes, and the first one might not match your specific model year.
\nRelated reading: How To Control Your AV Receiver And Media Components In A Closet, Understanding Trigger In And Out On Your AV Receiver, and How To Set Up A 7.2 Surround Sound System.