Introduction
So, you've just purchased a Sony AV receiver, and you're ready to take your home entertainment to the next level. Congratulations! Setting up a new AV receiver can seem like a daunting task, but with the right guidance, you'll be enjoying immersive, high-quality sound and video in no time. This comprehensive guide will walk you through the process step by step, ensuring that you get the most out of your new Sony AV receiver.
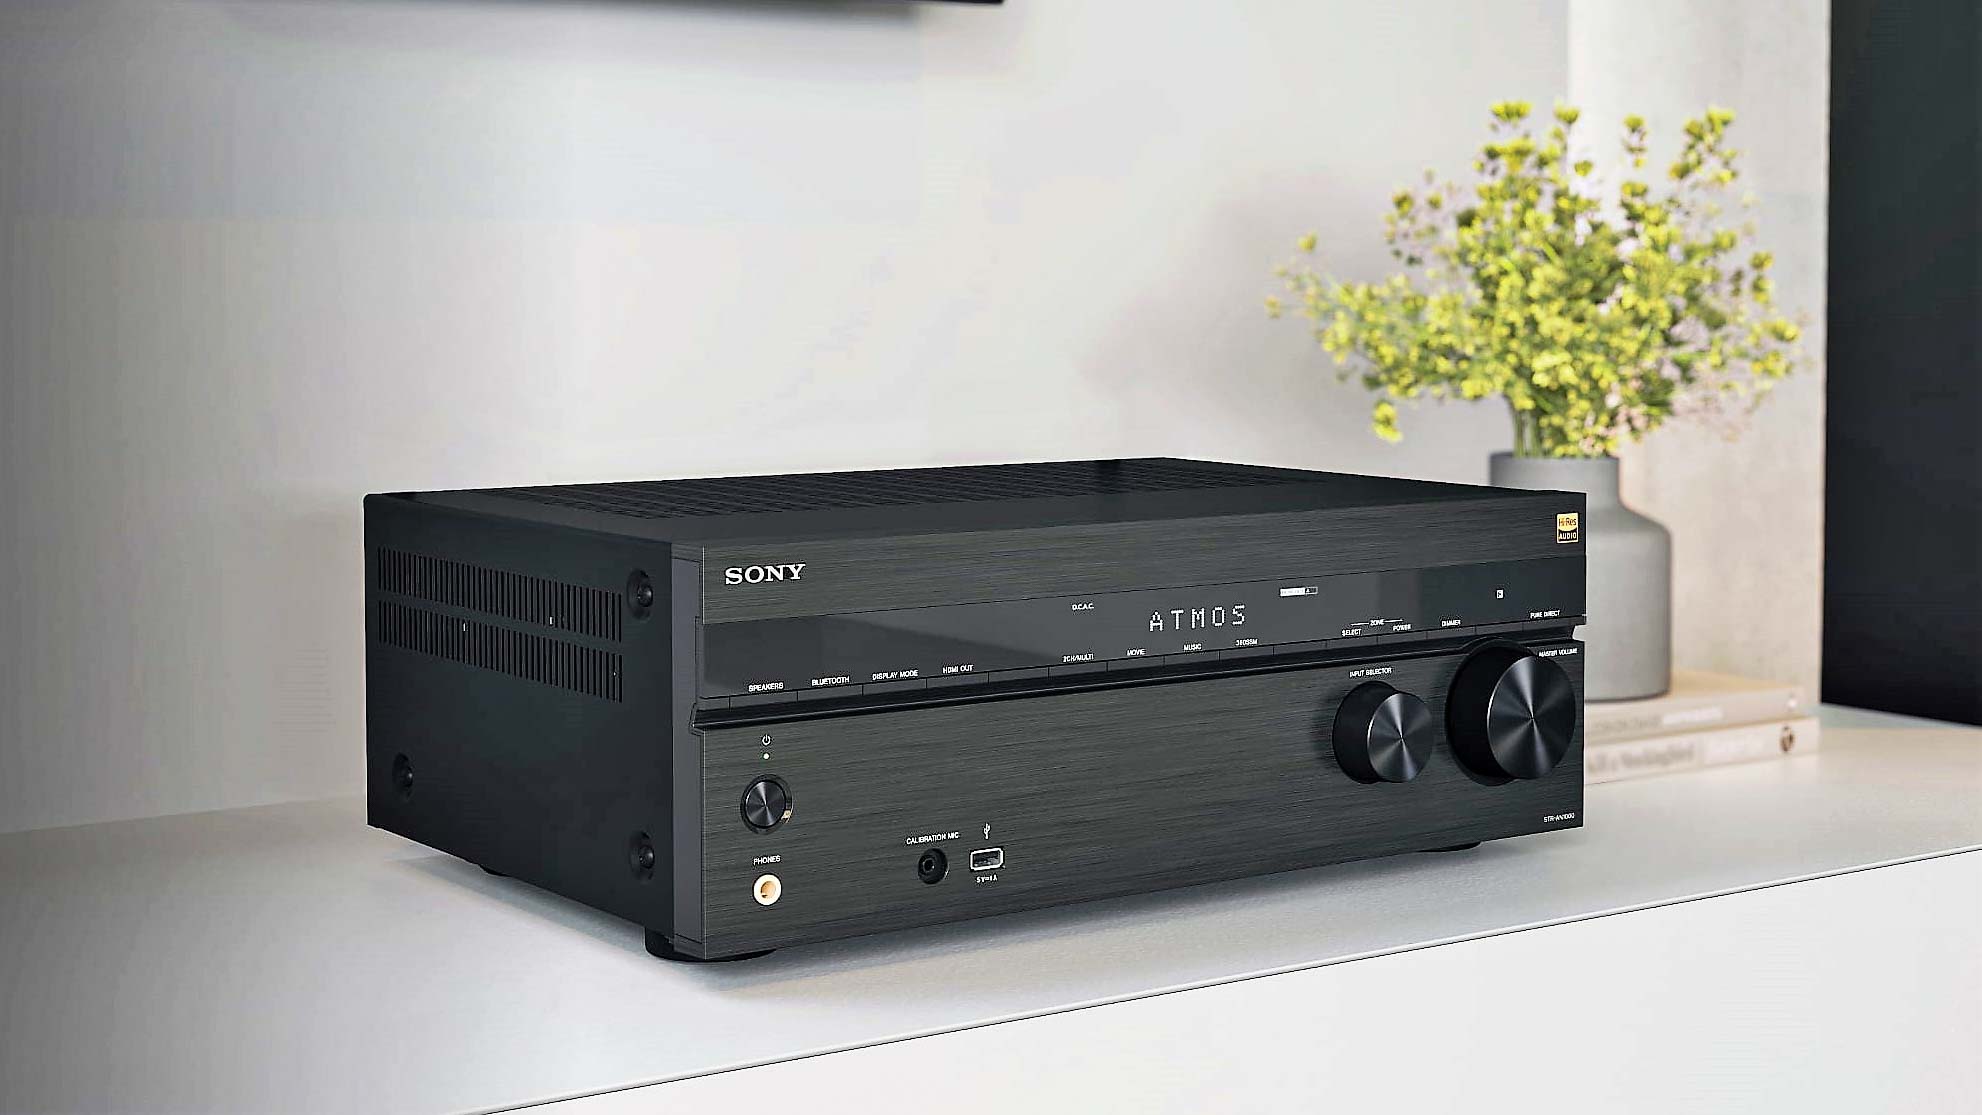
A top-of-the-line AV receiver like the Sony models offers a multitude of features that can significantly enhance your home theater experience. From advanced audio processing to seamless connectivity with various devices, these receivers are designed to deliver exceptional performance and versatility. Whether you're a cinephile, a gaming enthusiast, or a music lover, a Sony AV receiver can be the cornerstone of your home entertainment system, providing powerful, crystal-clear sound and stunning visuals.
In this guide, we will cover everything from unboxing and setting up your receiver to connecting speakers, TV, and other devices. We'll also delve into configuring audio and video settings, calibrating the sound for optimal performance, and connecting your receiver to the network for firmware updates. By the end of this walkthrough, you'll have a deep understanding of how to harness the full potential of your Sony AV receiver, allowing you to create a captivating and immersive audio-visual environment in your home.
So, grab your new Sony AV receiver, roll up your sleeves, and let's embark on this exciting journey to unlock its full potential. Get ready to be blown away by the breathtaking sound and visuals that await you!
Unboxing and Setting Up the Receiver
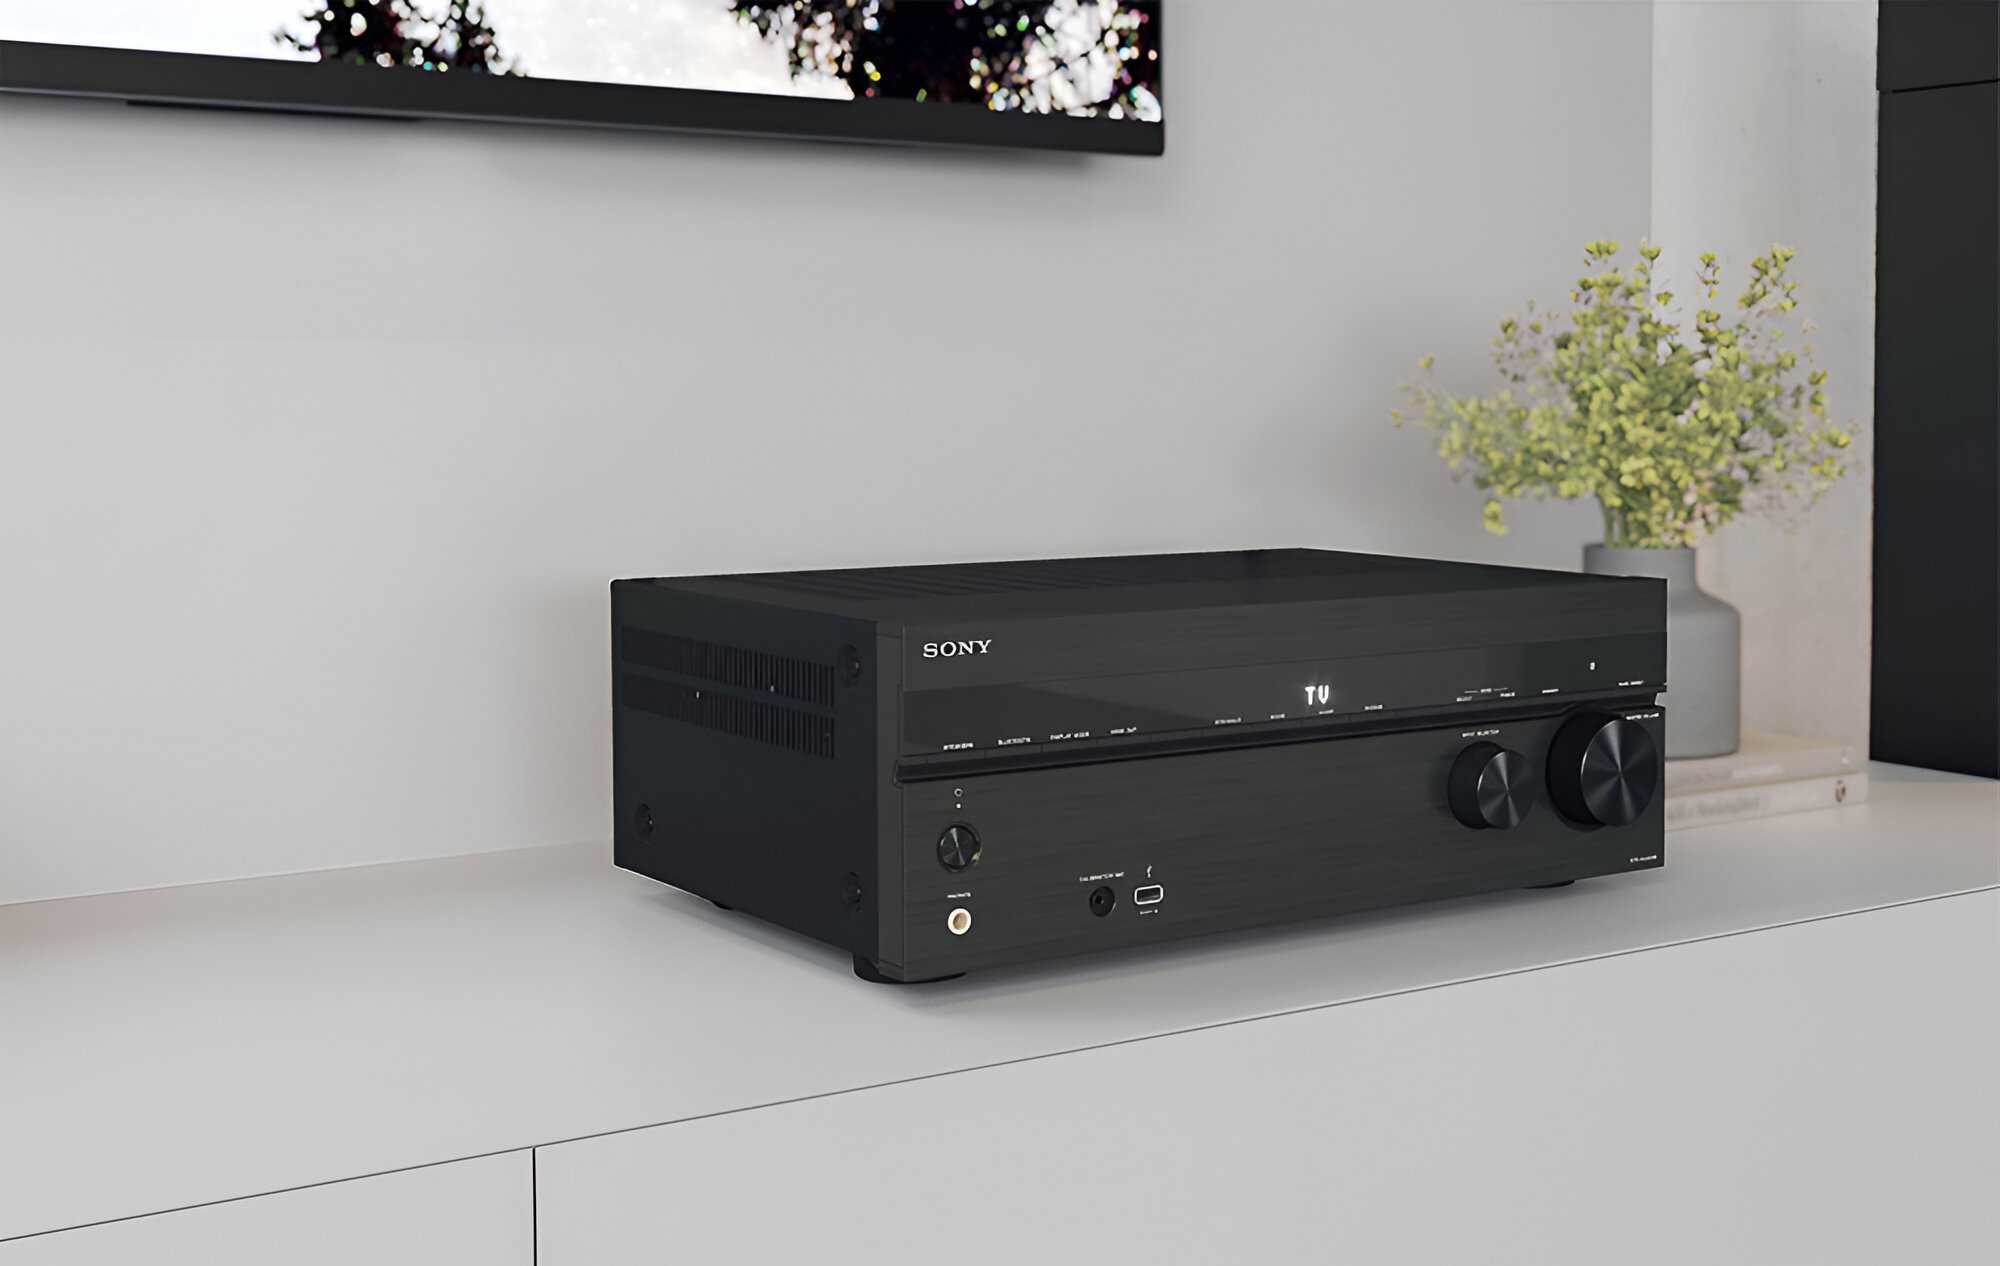
Before you dive into the world of immersive audio and video, you need to start by unboxing and setting up your Sony AV receiver. The unboxing process is often an exciting moment for any new gadget owner, and the Sony AV receiver is no exception. As you carefully unpack the receiver, you’ll notice the sleek design and robust build quality that Sony is renowned for. Once you have everything laid out, it’s time to move on to the setup phase.
Begin by finding the ideal location for your receiver. It should be well-ventilated and easily accessible, as you’ll need to connect various cables and access the controls. Make sure there’s enough space around the receiver to allow for proper airflow and heat dissipation. Once you’ve chosen the perfect spot, carefully place the receiver in position, ensuring that it’s level and stable.
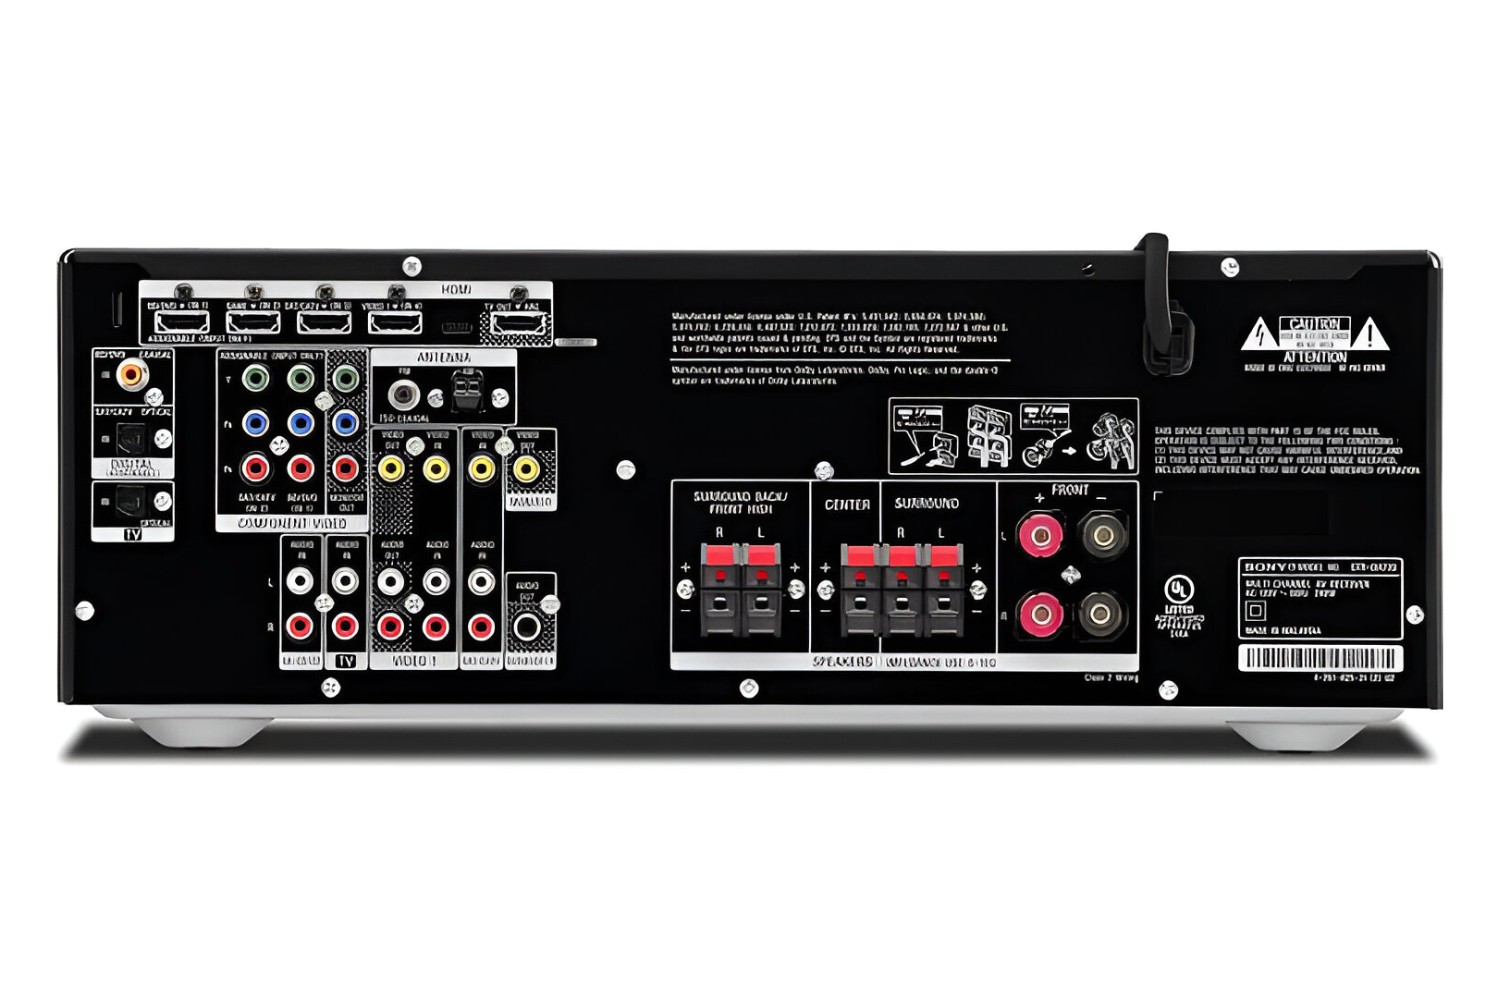
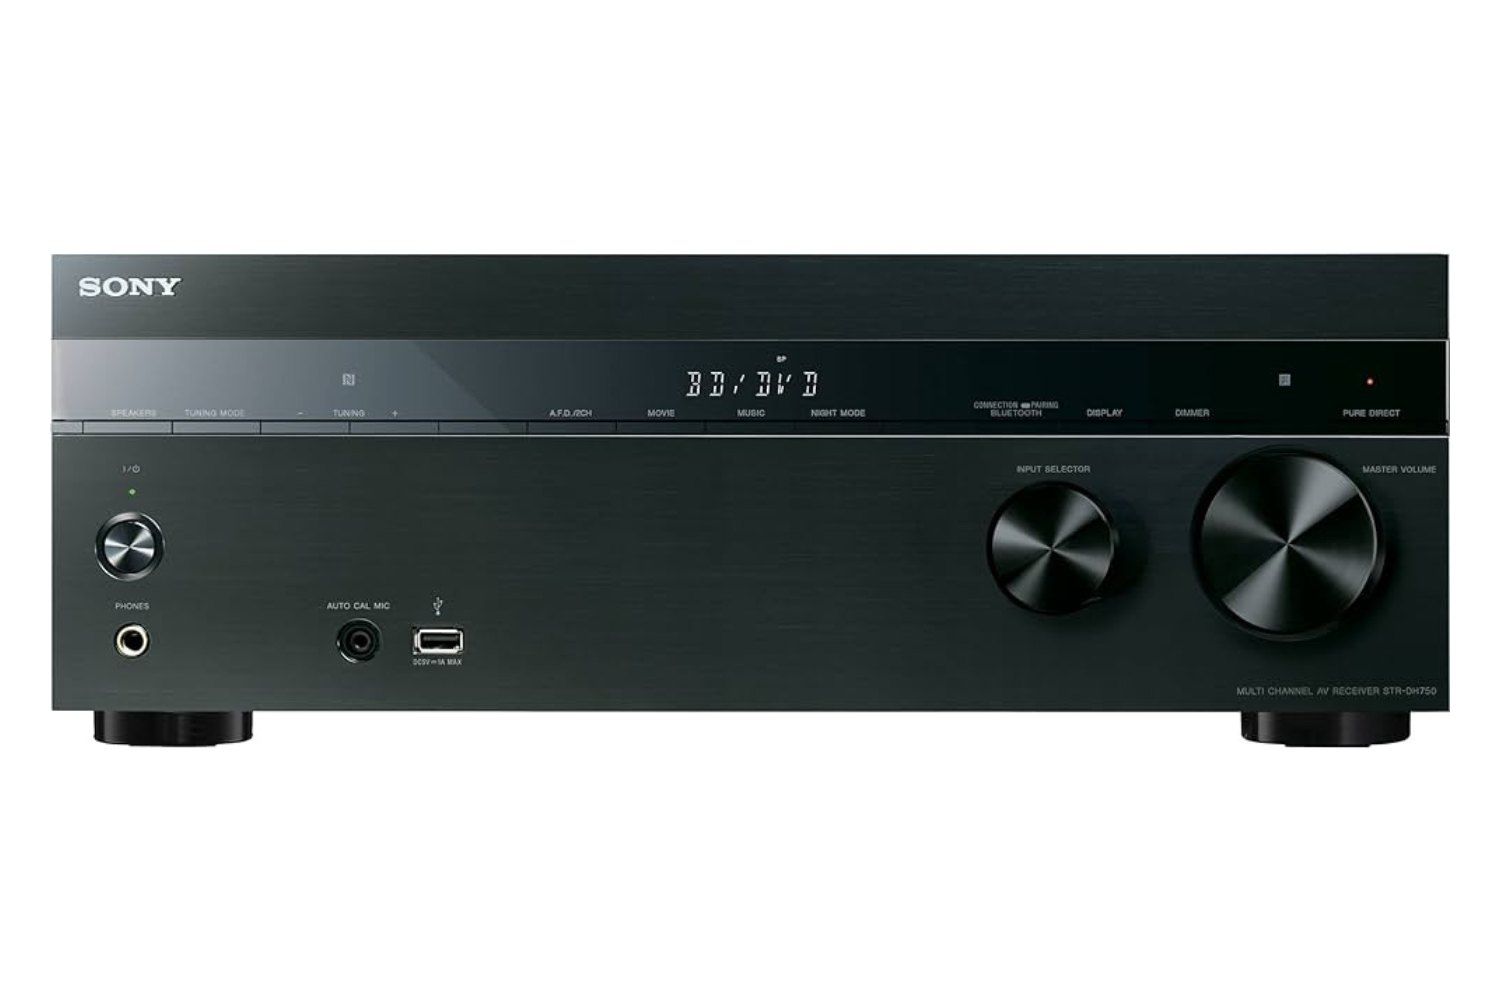
Next, it’s time to connect the power cord to the receiver and plug it into a power outlet. Before powering on the receiver, take a moment to familiarize yourself with the front and rear panels. The rear panel is where you’ll find a multitude of input and output ports for connecting various devices, including speakers, TV, gaming consoles, and more. Take note of the labeling for each port, as this will be crucial during the setup process.
After connecting the power cord, it’s time to establish the initial connections. Begin by connecting the HDMI cable from your TV to the HDMI OUT port on the receiver. This will serve as the primary connection for video output. If you have additional devices such as a Blu-ray player, gaming console, or streaming device, you can connect them to the available HDMI inputs on the receiver. For audio, you can connect your speakers using speaker wire or banana plugs, ensuring that the polarity is correct for each channel.
Once the physical connections are in place, power on the receiver and follow the on-screen prompts to complete the initial setup. This may involve selecting the language, configuring the network settings, and performing a firmware update if available. With the initial setup completed, you’re now ready to move on to the next crucial step: connecting the speakers.
Connecting the Speakers
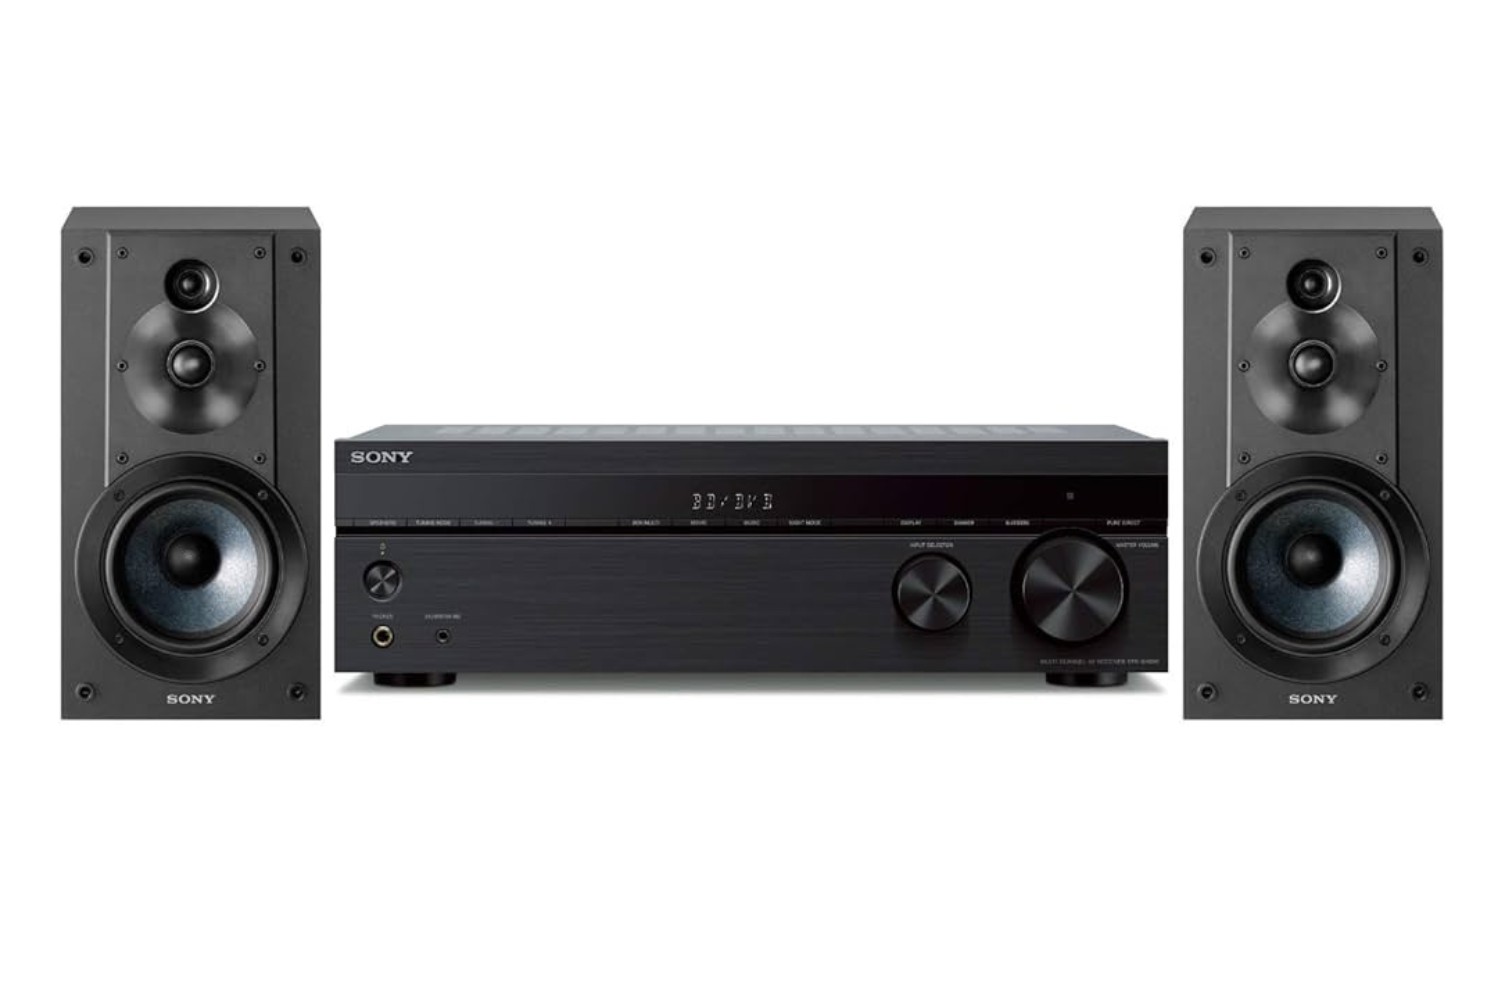
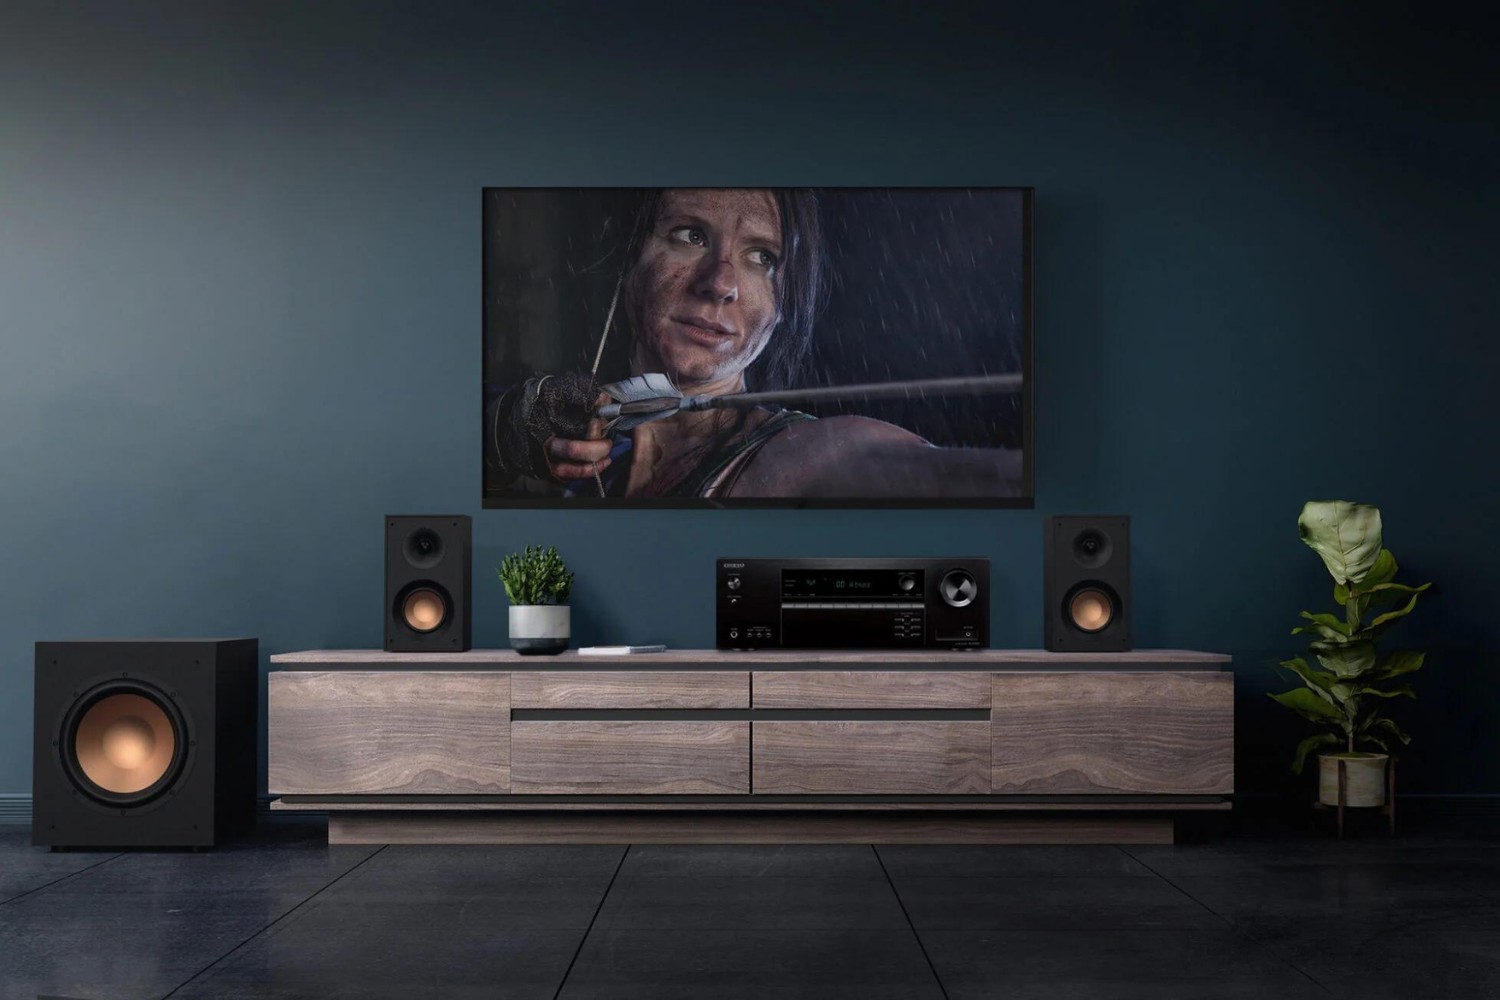
Now that your Sony AV receiver is set up and ready to go, it’s time to connect the speakers and unleash the full potential of your home theater system. Proper speaker placement and connection are essential for achieving optimal sound quality and immersive surround sound. Whether you have a 5.1, 7.1, or even a Dolby Atmos setup, the process of connecting the speakers remains fundamentally similar.
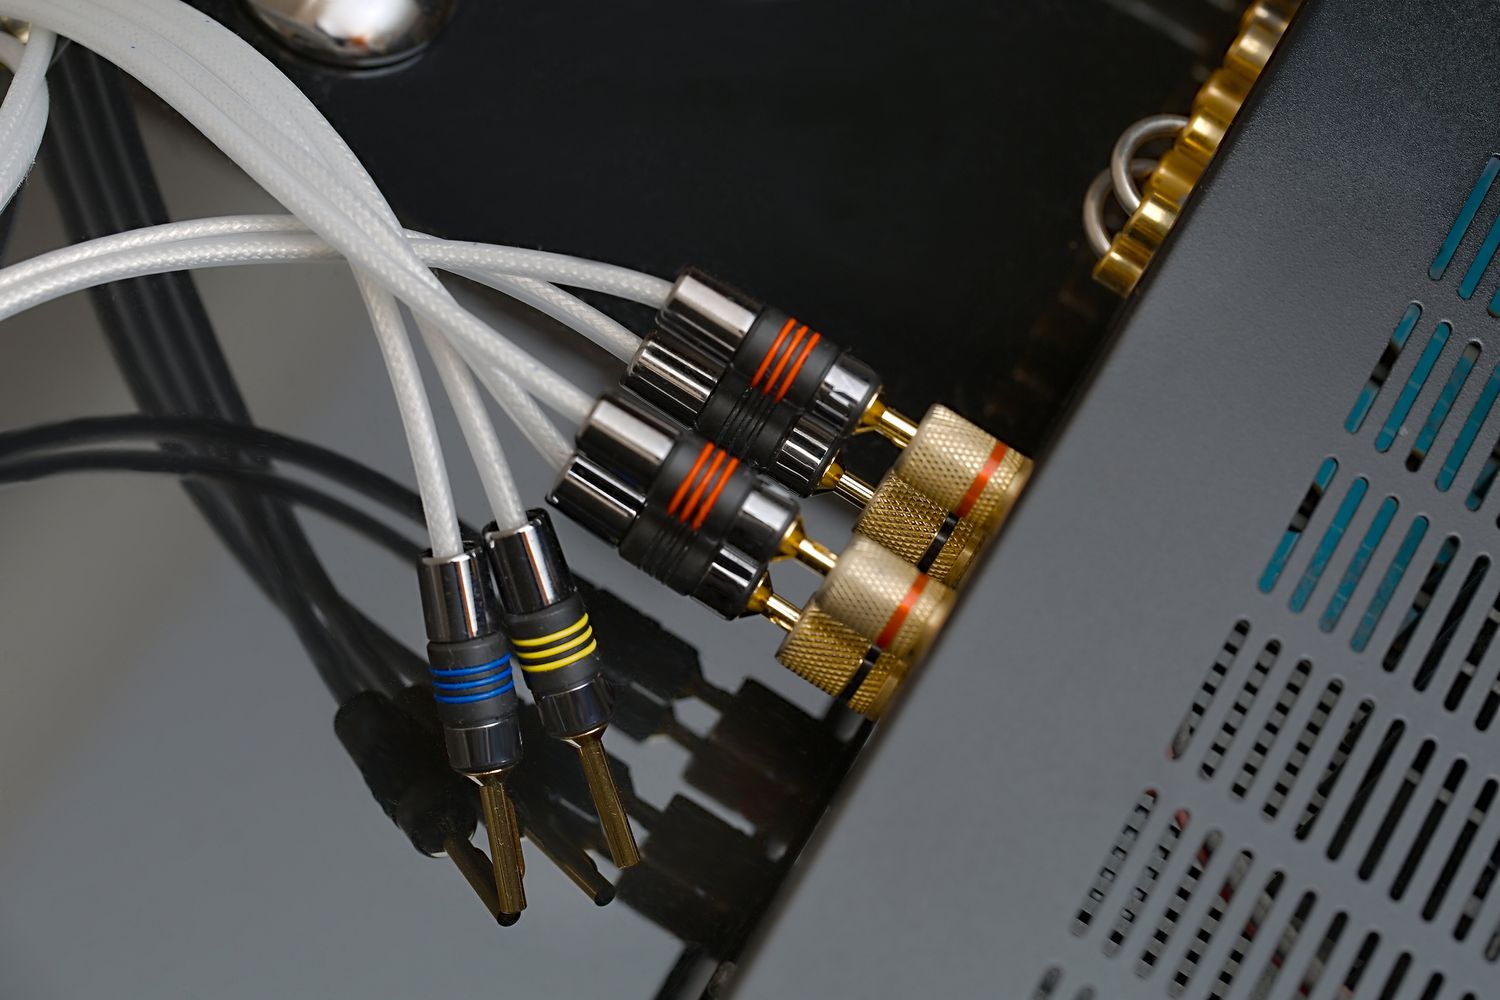
Start by identifying the speaker outputs on the rear panel of the receiver. These outputs are typically labeled for each channel, such as Front Left, Front Right, Center, Surround Left, Surround Right, and Subwoofer. If you have a Dolby Atmos setup, you may also have additional height or overhead speaker outputs. Ensure that the speaker wires are stripped and prepared for connection, allowing for a clean and secure fit into the binding posts.
When connecting the speakers, pay close attention to the polarity of the speaker wires. Most speaker wires are color-coded, with one wire having a stripe or marking to indicate polarity. It’s crucial to maintain the correct polarity for each speaker connection to ensure that the sound is coherent and balanced across all channels. Typically, the red terminal on the receiver corresponds to the positive (+) terminal on the speaker, while the black terminal corresponds to the negative (-) terminal.
Once you’ve connected the speaker wires to the appropriate terminals on the receiver, it’s time to position the speakers in your room. The ideal placement will depend on the specific speaker configuration you have, as well as the layout of your room. For example, front speakers should be positioned at ear level and equidistant from the primary viewing/listening position, while surround speakers should be placed slightly behind and to the sides of the seating area.
If you have a subwoofer, connect the subwoofer cable from the subwoofer pre-out on the receiver to the LFE (Low-Frequency Effects) input on the subwoofer. This dedicated connection allows the receiver to send low-frequency effects and bass signals to the subwoofer, enhancing the overall impact of your audio experience.
With the speakers properly connected and positioned, you’re now ready to move on to the next phase of setting up your Sony AV receiver: connecting the TV and other devices.
Connecting the TV and Other Devices
With the speakers successfully connected, it’s time to establish the connections between your Sony AV receiver, TV, and other audio-visual devices. This step is crucial for ensuring seamless integration and the smooth transmission of audio and video signals. By connecting your TV and other devices to the receiver, you’ll be able to centralize your home entertainment setup and take full advantage of the receiver’s advanced features.
Begin by identifying the video output options on your TV. Most modern TVs feature HDMI inputs, which provide the best quality for transmitting both audio and video signals. Locate an available HDMI input on your TV and connect it to the HDMI OUT port on the receiver. This connection will serve as the primary pathway for video signals from the receiver to the TV. If your TV supports eARC (enhanced Audio Return Channel), consider using an eARC-compatible HDMI input for the best audio performance.
Next, gather the audio-visual devices you plan to connect to the receiver, such as a Blu-ray player, gaming console, media streaming device, or cable/satellite box. Identify the available HDMI inputs on the receiver and connect each device to a separate HDMI input. This will allow you to switch between different sources seamlessly and enjoy high-definition audio and video from each device through the receiver.
If you have older devices that rely on analog connections, such as composite or component video, the receiver may also feature corresponding input options. Ensure that you use the appropriate cables to connect these devices to the receiver, taking note of the input labeling to maintain clarity and organization within your setup.
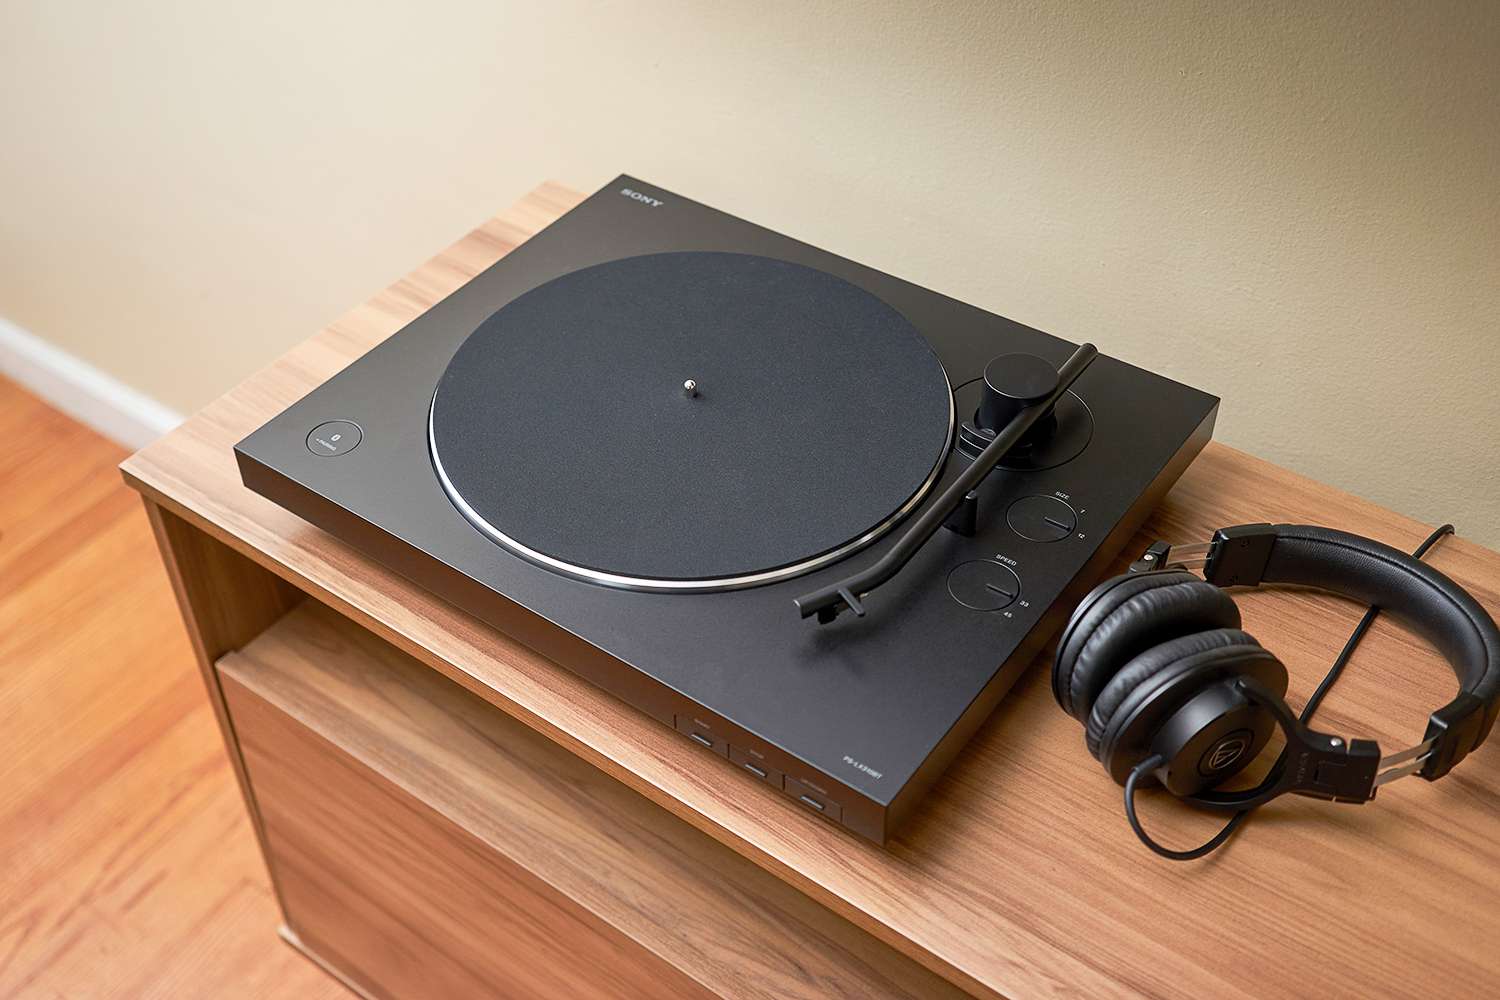
For audio-only devices, such as a CD player or turntable, you can connect them to the receiver using digital audio inputs (e.g., optical or coaxial) or analog audio inputs. This allows the receiver to serve as the central hub for all your audio sources, providing a unified and cohesive listening experience.
Once all the connections are in place, power on your TV and the connected devices. Use the TV’s input/source selection menu to ensure that the receiver’s output is displayed correctly. If everything is set up correctly, you should now be able to enjoy audio and video from all connected devices through your Sony AV receiver, creating a unified and immersive home entertainment experience.
With the TV and other devices successfully connected, it’s time to delve into the next phase of the setup process: configuring the audio and video settings on your Sony AV receiver.
Setting Up the Audio and Video Settings
Configuring the audio and video settings on your Sony AV receiver is a crucial step in optimizing your home entertainment experience. These settings allow you to tailor the sound and visuals to suit your preferences and the specific characteristics of your viewing and listening environment. With a wide range of customization options available, you can fine-tune the audio output, adjust video parameters, and even apply advanced processing technologies to enhance the overall quality of your media playback.
Begin by accessing the receiver’s on-screen menu or user interface, which provides a comprehensive array of audio and video settings. Navigate to the audio settings section, where you can configure parameters such as speaker size, crossover frequency, channel levels, and equalization. Adjusting the speaker size settings ensures that the receiver directs the appropriate frequencies to each speaker, optimizing the sound reproduction for your specific speaker configuration.
Next, consider setting the crossover frequency, which determines the point at which low-frequency signals are redirected from the main speakers to the subwoofer. This is particularly important for maintaining a balanced and cohesive sound across all frequency ranges, especially in systems with a dedicated subwoofer. Additionally, fine-tune the channel levels to achieve a balanced soundstage, ensuring that each speaker contributes to a harmonious and immersive audio experience.
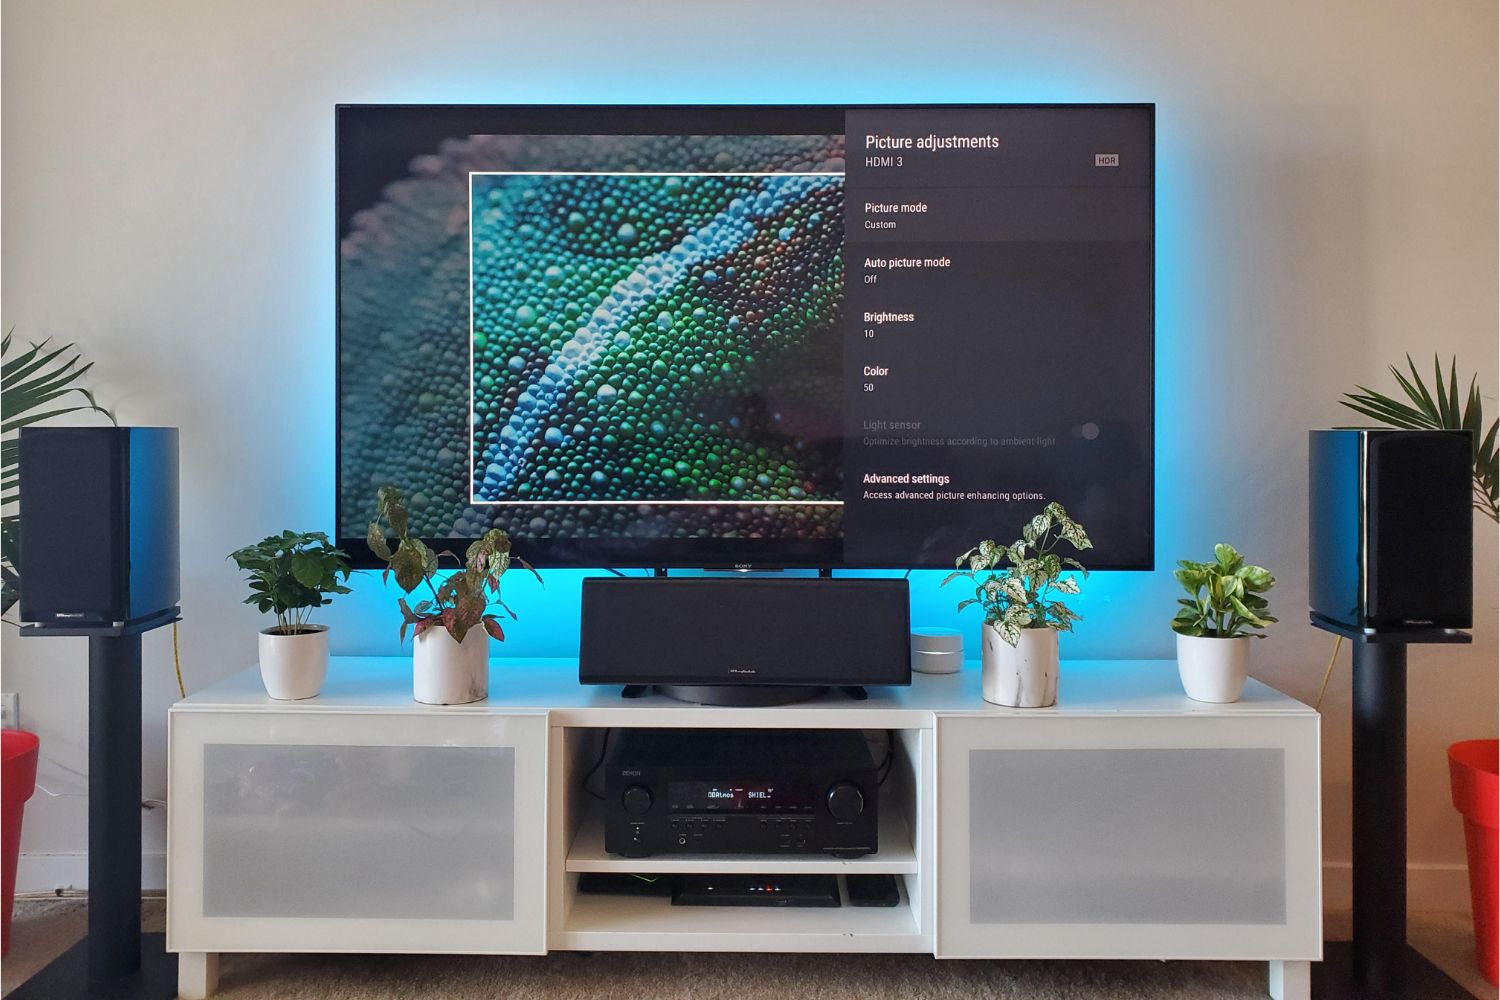
For video settings, you can adjust parameters such as display resolution, color space, HDR (High Dynamic Range) settings, and video upscaling. If your TV supports 4K resolution and HDR, ensure that these settings are properly configured to take full advantage of the stunning visual capabilities offered by modern media content. Additionally, if your receiver features video upscaling capabilities, you can enable this feature to enhance the clarity and detail of lower-resolution content when displayed on a high-definition TV.
Many Sony AV receivers also offer advanced audio processing technologies, such as Dolby Atmos, DTS:X, and various sound modes tailored for different types of content. Explore these options to experience immersive, three-dimensional soundscapes that elevate your home theater experience to new heights. Whether you’re watching a blockbuster movie, gaming, or enjoying your favorite music, these advanced audio technologies can transport you into the heart of the action and create a captivating audio environment.
Once you’ve fine-tuned the audio and video settings to your satisfaction, it’s time to move on to the next critical step in the setup process: calibrating the sound to achieve optimal performance in your specific listening environment.
Calibrating the Sound
Calibrating the sound of your Sony AV receiver is essential for achieving optimal audio performance tailored to your specific listening environment. By fine-tuning the receiver’s settings and ensuring that the sound is balanced and accurate, you can create a captivating and immersive audio experience that brings your home theater to life. Whether you’re watching movies, playing games, or listening to music, proper sound calibration can make a significant difference in the overall quality of your audio playback.
Many modern Sony AV receivers come equipped with an automatic speaker calibration feature, often referred to as Digital Cinema Auto Calibration (DCAC) or Advanced Digital Cinema Auto Calibration (ADVANCED DCAC). This feature uses a microphone to analyze the acoustic characteristics of your room and the performance of your speakers, automatically adjusting the receiver’s settings to optimize the sound output. To initiate the calibration process, simply connect the provided microphone to the receiver and follow the on-screen instructions.
During the calibration process, the receiver emits test tones through each connected speaker while the microphone captures the sound. The receiver then analyzes the acoustic properties of the room, including factors such as speaker distances, levels, and frequency response, to create an optimized audio profile. This profile ensures that the sound is balanced and coherent, compensating for any acoustic anomalies in the room that may affect the audio reproduction.
After the calibration process is complete, you can review the settings that the receiver has applied and make any manual adjustments if necessary. This may include fine-tuning the speaker levels, adjusting the crossover frequencies, or modifying the equalization settings to suit your personal preferences. By taking the time to review and potentially refine the calibration results, you can further tailor the sound to your liking and achieve a truly customized audio experience.
If your receiver offers manual calibration options, you can use an SPL meter and test tones to manually adjust the speaker levels and ensure that they are balanced relative to the primary listening position. This method allows for precise adjustments based on your specific listening preferences and room acoustics, providing a high degree of control over the sound output.
By calibrating the sound of your Sony AV receiver, you can unlock its full potential and enjoy a captivating audio experience that complements the stunning visuals of your home theater setup. With the sound finely tuned to suit your preferences and room characteristics, you’re now ready to explore the next phase of the setup process: connecting your receiver to the network and updating the firmware.
Connecting to the Network and Updating Firmware
Connecting your Sony AV receiver to the network opens up a world of possibilities, allowing you to access streaming services, online content, and firmware updates that enhance the functionality and performance of your receiver. By establishing a network connection, you can seamlessly integrate your receiver into your home network, enabling convenient access to a wide range of audio-visual resources and ensuring that your receiver remains up to date with the latest software improvements.
Begin by locating the network port on your receiver, typically labeled as LAN (Local Area Network) or Ethernet. Connect one end of an Ethernet cable to this port and the other end to an available LAN port on your router or network switch. Alternatively, if your receiver supports wireless connectivity, you can configure the wireless network settings to establish a Wi-Fi connection. Follow the on-screen prompts to enter your Wi-Fi network credentials and complete the setup process.
Once your receiver is connected to the network, you can explore a variety of online features, such as streaming music services, internet radio, and firmware updates. Many Sony AV receivers offer built-in support for popular streaming platforms, allowing you to access a vast library of music and audio content directly through the receiver’s interface. Additionally, internet radio services provide access to a diverse range of radio stations and audio channels from around the world, expanding your listening options beyond traditional broadcast radio.
One of the most crucial benefits of network connectivity is the ability to update the firmware of your receiver. Firmware updates often include performance enhancements, bug fixes, and new features that can significantly improve the overall functionality and reliability of the receiver. By keeping your receiver’s firmware up to date, you ensure that it remains compatible with the latest audio and video standards, as well as any evolving network protocols or security measures.
To check for firmware updates, navigate to the system settings or network settings menu on your receiver and locate the option for firmware update or system update. Follow the on-screen instructions to initiate the update process, during which the receiver will connect to the internet and check for the latest firmware version. If an update is available, you can proceed to download and install it, typically with the option to schedule automatic updates for future releases.
By connecting your Sony AV receiver to the network and updating its firmware, you ensure that it remains at the forefront of audio-visual technology, delivering an exceptional entertainment experience with the latest features and improvements. With the network setup and firmware update complete, you’ve successfully optimized the functionality of your receiver and are now ready to immerse yourself in a world of captivating audio and video content.
Conclusion
Congratulations on successfully setting up your Sony AV receiver! By following this comprehensive guide, you’ve embarked on a journey to unlock the full potential of your home entertainment system. From unboxing and connecting the receiver to calibrating the sound and updating the firmware, you’ve taken the necessary steps to create a captivating and immersive audio-visual environment in your home.
With your Sony AV receiver in place, you now have the power to transform your living space into a dynamic home theater, delivering powerful, crystal-clear sound and stunning visuals for movies, music, gaming, and more. The careful placement and connection of your speakers, along with the fine-tuning of audio and video settings, ensure that you can enjoy a personalized and optimized entertainment experience that caters to your specific preferences and room characteristics.
By connecting your receiver to the network, you’ve opened the door to a world of online content and streaming services, expanding your access to a diverse range of music, radio, and audio-visual resources. Furthermore, by keeping your receiver’s firmware up to date, you’ve ensured that it remains at the forefront of technology, capable of delivering exceptional performance and compatibility with the latest audio and video standards.
As you settle in to enjoy the immersive audio and visual experience made possible by your Sony AV receiver, take the time to explore its advanced features and customization options. Whether it’s the seamless integration with streaming platforms, the immersive capabilities of Dolby Atmos and DTS:X, or the convenience of wireless connectivity, your receiver offers a wealth of possibilities to enhance your home entertainment experience.
Remember that as technology evolves and new content becomes available, your Sony AV receiver can adapt and grow alongside it, ensuring that your home entertainment setup remains relevant and compelling for years to come. Whether you’re hosting movie nights, gaming sessions, or simply enjoying your favorite music, your receiver serves as the cornerstone of your audio-visual experience, delivering captivating sound and visuals that elevate every moment.
With your Sony AV receiver set up and optimized, you’re now ready to immerse yourself in a world of captivating audio and video content, creating lasting memories and shared experiences with friends and family. Embrace the power of immersive sound and stunning visuals, and let your Sony AV receiver be the conduit through which you embark on unforgettable audio-visual journeys in the comfort of your own home.