Introduction
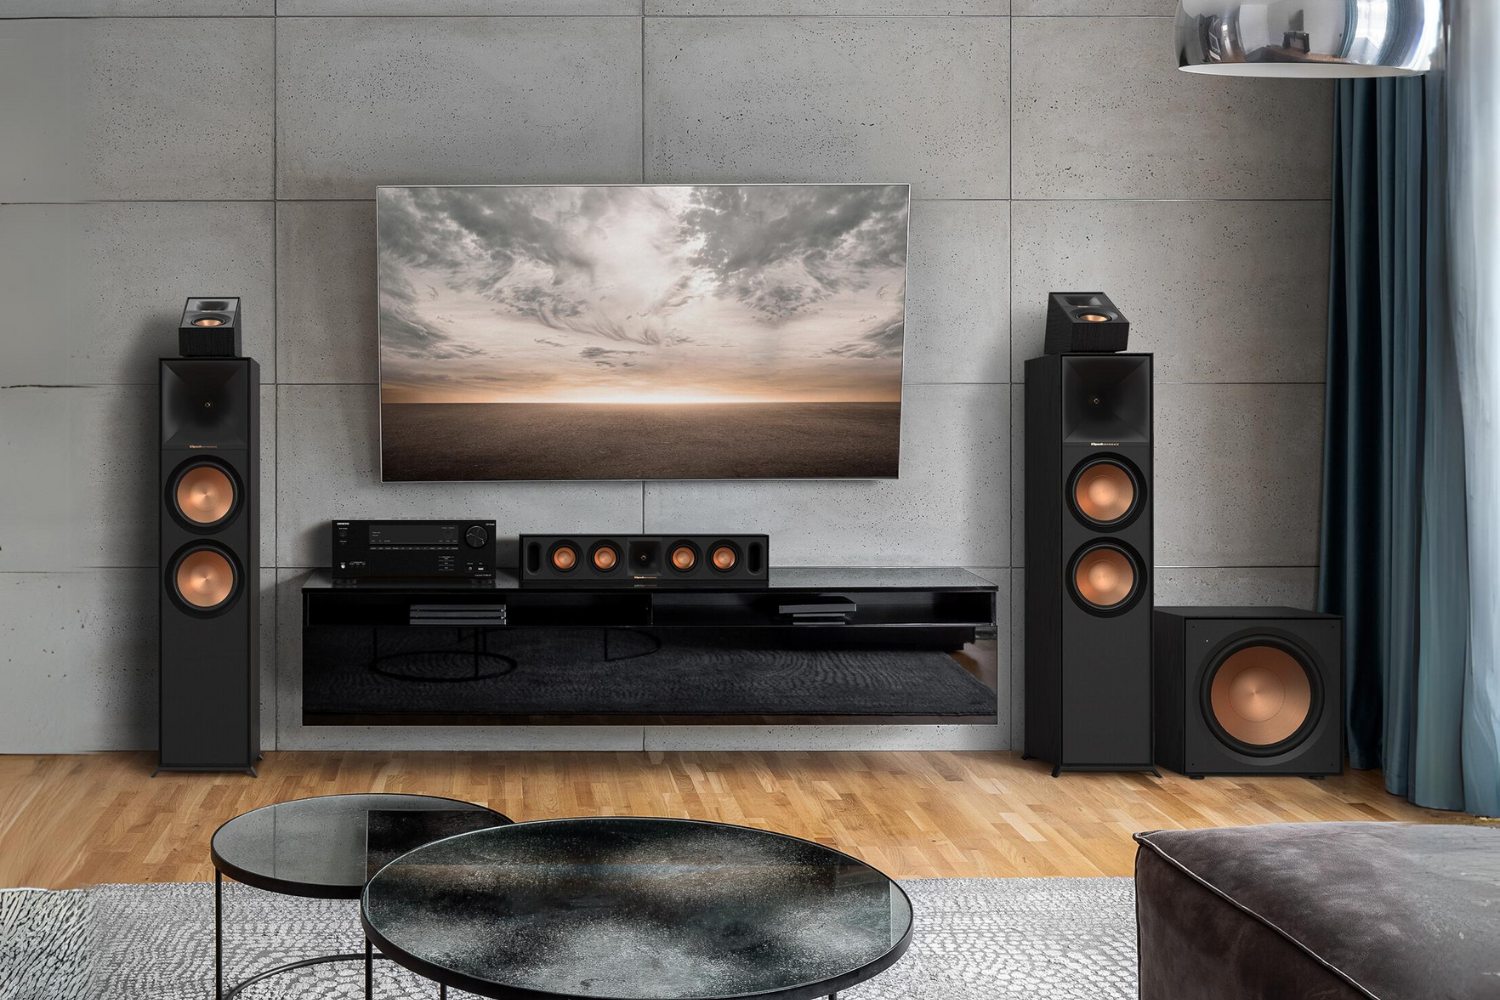
Are you ready to immerse yourself in the heart-pounding bass of your Sony Multi-Channel AV Receiver's subwoofer? The powerful low-frequency audio produced by the subwoofer can elevate your home entertainment experience to new heights. Whether you're preparing for a movie night or looking to enhance the impact of your favorite music, understanding how to activate the subwoofer on your Sony Multi-Channel AV Receiver is essential.
In this guide, we'll walk you through the step-by-step process of turning on the subwoofer on your Sony Multi-Channel AV Receiver. By following these straightforward instructions, you'll be able to unleash the full potential of your home audio system and enjoy a truly immersive sound experience.
The subwoofer plays a crucial role in delivering deep, rich bass that adds depth and intensity to your audio. Whether it's the rumbling of an explosion in an action movie or the thumping beats of your favorite music, the subwoofer brings these sounds to life, creating a captivating audio landscape that engages your senses.
By understanding how to activate and adjust the subwoofer settings on your Sony Multi-Channel AV Receiver, you can tailor the audio output to suit your preferences and the specific characteristics of your listening environment. Whether you're a cinephile, a music enthusiast, or simply someone who appreciates high-quality audio, mastering the art of controlling your subwoofer will significantly enhance your overall audio-visual experience.
So, let's dive into the steps required to power on the subwoofer on your Sony Multi-Channel AV Receiver and unlock the full potential of your home entertainment system. Get ready to feel the impact of every beat and the depth of every rumble as we guide you through the process of activating and optimizing your subwoofer for an unparalleled audio experience.
Step 1: Power on the Sony Multi-Channel AV Receiver
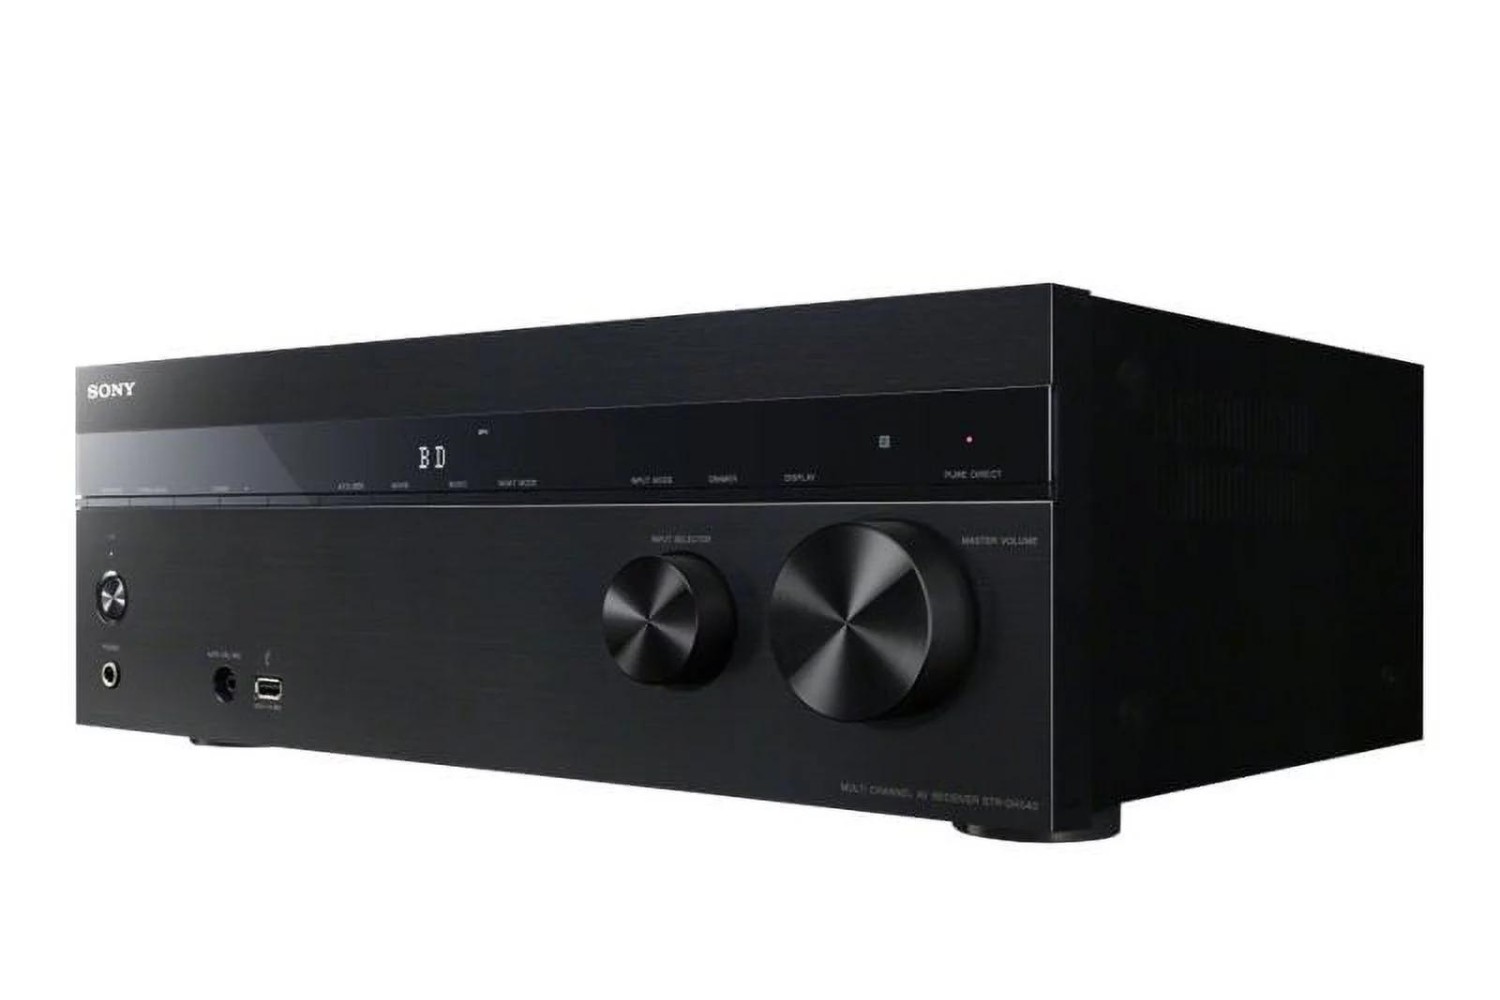
Before you can activate the subwoofer on your Sony Multi-Channel AV Receiver, it’s essential to ensure that the receiver itself is powered on and ready to deliver the immersive audio experience you crave. The process of powering on the receiver is the foundational step that sets the stage for configuring the subwoofer and optimizing your audio setup.
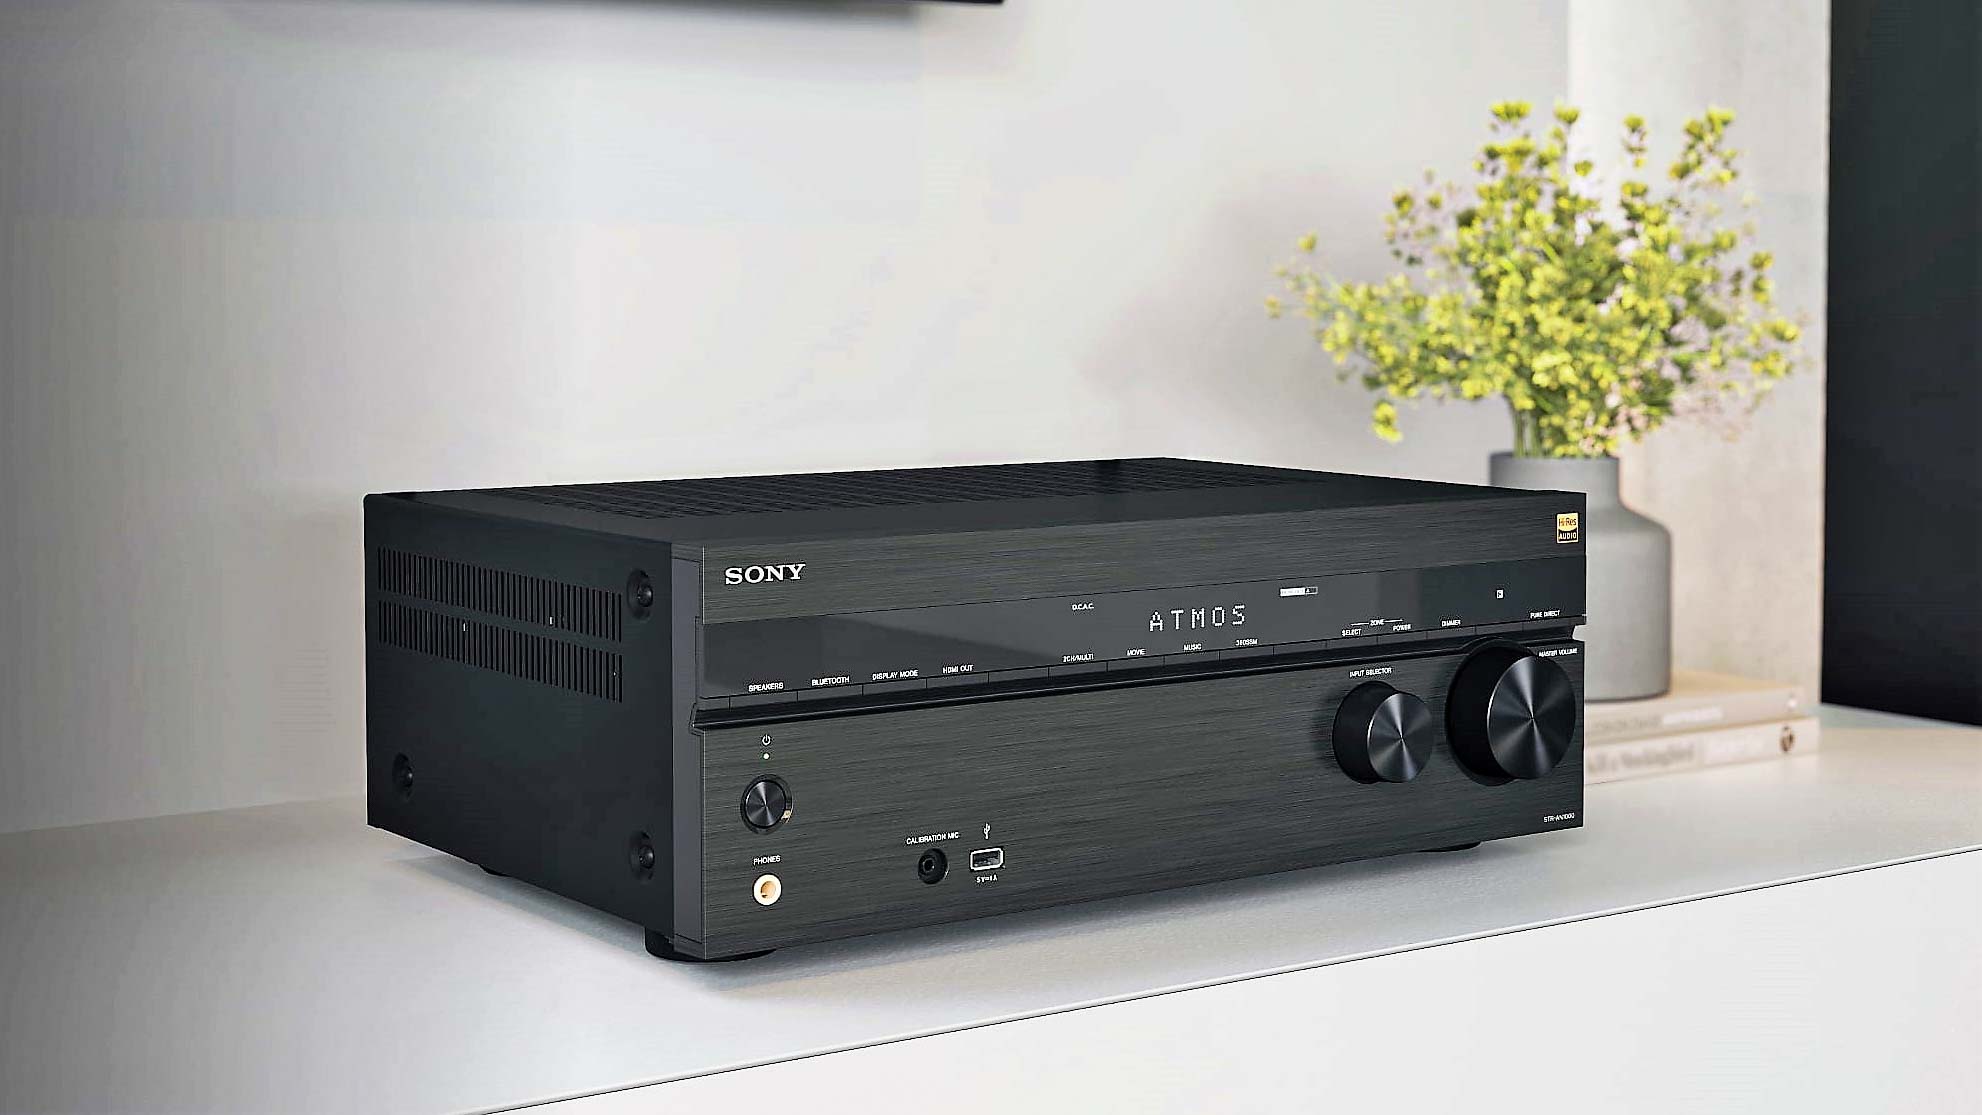
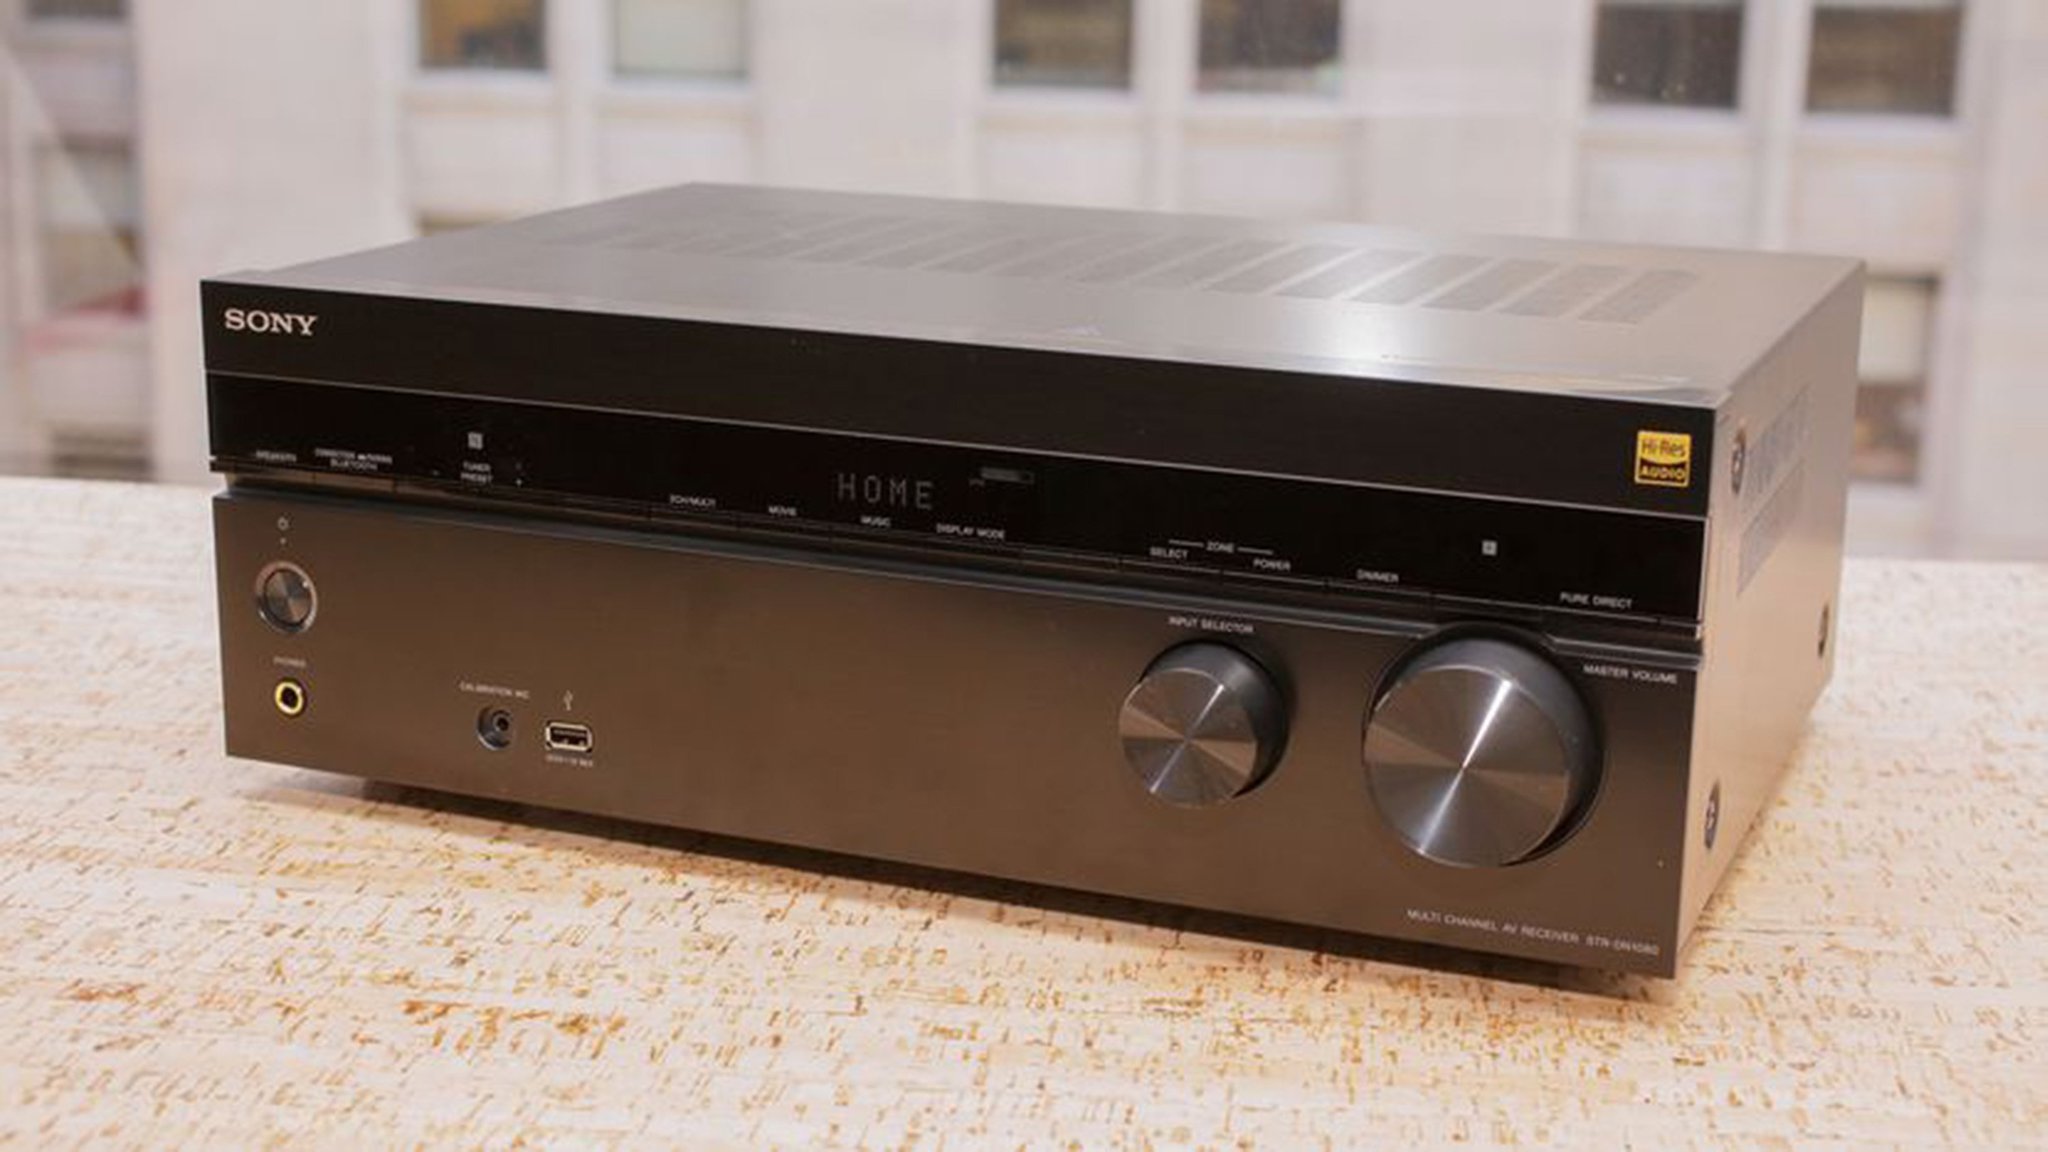
To power on your Sony Multi-Channel AV Receiver, locate the power button on the front panel or remote control. Press the power button to initiate the startup sequence, and you’ll notice the receiver’s display illuminating as it comes to life. Depending on the specific model of your Sony Multi-Channel AV Receiver, the startup process may vary slightly, but the general concept remains consistent across the product line.
As the receiver powers on, you may hear a reassuring click as the internal components engage, signaling that the system is ready to accept your commands and begin delivering high-quality audio to your speakers, including the subwoofer. It’s important to allow the receiver a few moments to initialize fully, ensuring that all audio channels, including the subwoofer output, are active and ready to be configured.
Once the receiver has powered on and completed its startup routine, you’ll be greeted by the display, indicating that the unit is operational and awaiting your instructions. With the Sony Multi-Channel AV Receiver now powered on, you’re ready to proceed to the next step in the process of activating the subwoofer and fine-tuning your home audio setup.
By ensuring that your Sony Multi-Channel AV Receiver is powered on and ready to deliver exceptional audio performance, you’re setting the stage for an immersive and captivating entertainment experience. With the receiver up and running, you’re now prepared to access the menu and navigate the settings that will enable you to unleash the full potential of your subwoofer and create a truly dynamic audio environment.
Step 2: Access the Receiver’s Menu
Once the Sony Multi-Channel AV Receiver is powered on, the next step in the process of activating the subwoofer involves accessing the receiver’s menu system. The menu provides access to a range of settings and configurations, allowing you to customize the audio output, including the subwoofer, to suit your preferences and the specific characteristics of your listening environment.
To access the menu, you can typically use the remote control that accompanies your Sony Multi-Channel AV Receiver. Look for the “Menu” or “Settings” button, which is often clearly labeled for easy identification. Press the button to initiate the menu interface on the receiver’s display, providing you with access to the various audio and system settings.
As the menu appears on the display, you’ll be presented with a series of options and categories that allow you to navigate through the receiver’s settings. Depending on the specific model of your Sony Multi-Channel AV Receiver, the menu interface may vary in appearance and organization, but the fundamental purpose remains consistent across the product line.
Using the remote control, you can navigate through the menu options to find the settings related to the audio output and speaker configuration. Look for categories such as “Audio Settings,” “Speaker Setup,” or “Sound Configuration,” where you’re likely to find the controls that govern the subwoofer and its associated settings.
Once you’ve located the relevant menu section, you’ll be ready to proceed to the next step in the process of activating the subwoofer on your Sony Multi-Channel AV Receiver. By accessing the receiver’s menu, you’ve set the stage for configuring the subwoofer settings and ensuring that it’s ready to deliver the impactful bass that enhances your overall audio experience.
Accessing the receiver’s menu is a critical step that empowers you to tailor the audio output to your preferences, allowing you to create a personalized and immersive listening environment. With the menu interface at your fingertips, you’re now poised to navigate to the speaker settings and access the controls that will enable you to activate and optimize the performance of the subwoofer on your Sony Multi-Channel AV Receiver.
Step 3: Navigate to the Speaker Settings
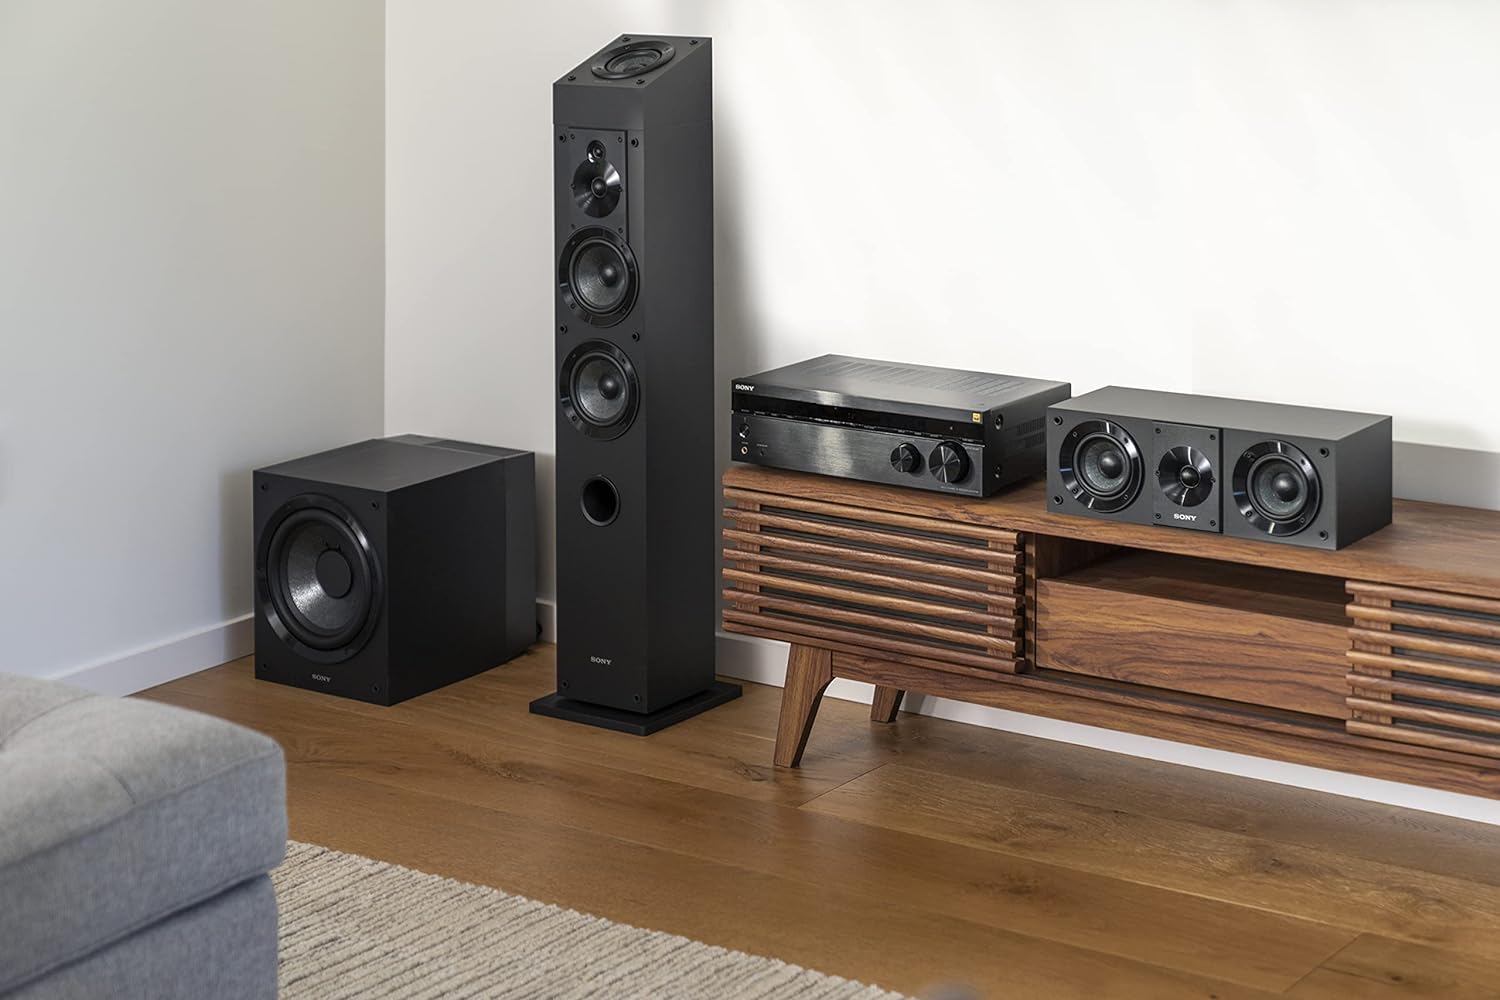
With the menu of your Sony Multi-Channel AV Receiver accessible, the next crucial step in activating the subwoofer involves navigating to the speaker settings. This pivotal stage allows you to configure the specific audio output channels, including the subwoofer, to ensure that they are optimized for delivering the immersive and impactful sound that enhances your overall audio-visual experience.
Using the remote control, navigate through the menu options to find the section dedicated to speaker settings or audio output configuration. Depending on the model of your Sony Multi-Channel AV Receiver, this section may be labeled as “Speaker Setup,” “Audio Channels,” or “Sound Configuration.” Once you’ve located the appropriate category, enter the submenu to access the individual speaker settings.
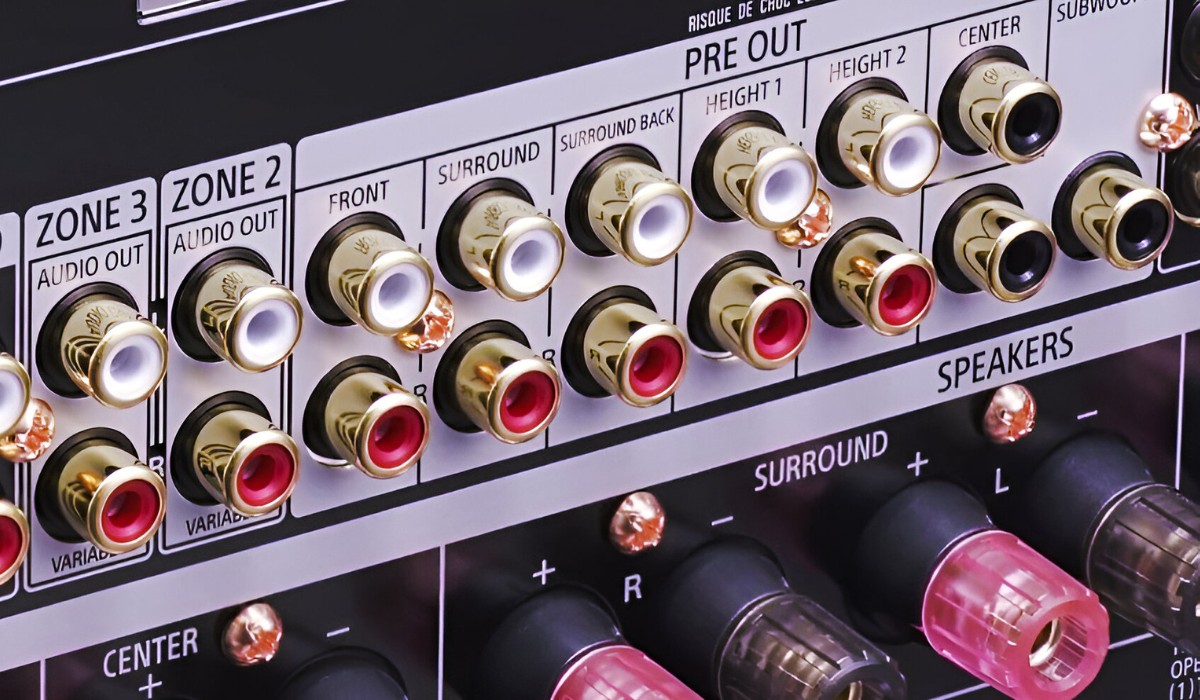
Within the speaker settings menu, you’ll typically find a list of the audio channels available for configuration, including the front, center, surround, and subwoofer channels. Locate the entry for the subwoofer to access its specific settings and controls, allowing you to activate and fine-tune its performance to suit your preferences and the characteristics of your listening environment.
As you navigate to the subwoofer settings, you’ll encounter options that enable you to adjust parameters such as the crossover frequency, phase, and volume level. These controls allow you to tailor the subwoofer’s output to seamlessly integrate with the rest of your speaker system, ensuring a balanced and cohesive audio experience that fully utilizes the capabilities of your Sony Multi-Channel AV Receiver.
By reaching the speaker settings within the receiver’s menu, you’ve positioned yourself to take control of the subwoofer’s performance and optimize its output to deliver the impactful bass that enriches your audio-visual content. With the speaker settings at your disposal, you’re now ready to proceed to the next step in the process of activating and fine-tuning the subwoofer on your Sony Multi-Channel AV Receiver.
Navigating to the speaker settings represents a pivotal stage in the journey toward unleashing the full potential of your home audio system. By accessing these controls, you’re empowered to customize the audio output to suit your preferences, ensuring that the subwoofer and other speakers work harmoniously to create a captivating and immersive sound environment that enhances your entertainment experiences.
Step 4: Select the Subwoofer Option
Having navigated to the speaker settings within the menu of your Sony Multi-Channel AV Receiver, the next vital step in activating the subwoofer involves selecting the specific options dedicated to configuring the subwoofer’s performance. This critical stage allows you to access the controls that govern the subwoofer’s behavior, enabling you to fine-tune its output to suit your preferences and the characteristics of your listening environment.
Within the speaker settings menu, locate and select the subwoofer option to access its dedicated settings. Depending on the menu interface of your Sony Multi-Channel AV Receiver, the subwoofer option may be listed alongside other speaker channels or within a dedicated submenu specifically for configuring the subwoofer’s performance.
Once you’ve selected the subwoofer option, you’ll be presented with a range of controls and parameters that allow you to tailor the subwoofer’s output to suit your preferences. These settings typically include options for adjusting the crossover frequency, phase, and volume level, providing you with the flexibility to optimize the subwoofer’s performance and seamlessly integrate it with the rest of your speaker system.
When selecting the subwoofer option, take the time to review and adjust the available settings to ensure that the subwoofer’s output aligns with your desired audio experience. By fine-tuning parameters such as the crossover frequency, you can define the point at which the subwoofer begins to handle the low-frequency audio, creating a seamless transition between the subwoofer and the other speakers in your system.
Additionally, adjusting the phase and volume level of the subwoofer allows you to optimize its output to suit the specific characteristics of your listening environment, ensuring that it delivers impactful bass that enhances your overall audio experience without overpowering the rest of the audio spectrum.
By selecting the subwoofer option within the speaker settings menu, you’re taking a crucial step toward activating and optimizing the subwoofer’s performance on your Sony Multi-Channel AV Receiver. With these controls at your fingertips, you’re now prepared to fine-tune the subwoofer’s behavior to create a truly immersive audio environment that enhances your entertainment experiences.
Choosing the subwoofer option within the receiver’s menu represents a pivotal stage in the process of unleashing the full potential of your home audio system. By accessing these controls, you’re empowered to customize the subwoofer’s output, ensuring that it seamlessly integrates with the rest of your speaker system and delivers impactful bass that enriches your audio-visual content.
Step 5: Turn On the Subwoofer
After accessing and configuring the subwoofer settings within the menu of your Sony Multi-Channel AV Receiver, the next crucial step in the process of activating the subwoofer involves turning it on to ensure that it’s ready to deliver the impactful bass that enriches your audio-visual content. By enabling the subwoofer, you’re setting the stage for a truly immersive and dynamic sound experience that enhances your overall entertainment enjoyment.
Locate the specific control or option within the subwoofer settings that allows you to activate or turn on the subwoofer. This may be represented by a toggle switch, a selection option, or a dedicated setting that indicates the subwoofer’s operational status within the menu interface of your Sony Multi-Channel AV Receiver.
Once you’ve identified the control for activating the subwoofer, proceed to enable it to ensure that the subwoofer is ready to contribute its powerful low-frequency audio to your overall audio output. By turning on the subwoofer, you’re initiating its engagement within your home audio system, allowing it to complement the performance of the other speakers and deliver the deep, impactful bass that enhances your listening experience.
As you activate the subwoofer, take a moment to ensure that the settings and configurations you’ve adjusted align with your preferences and the specific characteristics of your listening environment. By confirming that the subwoofer is turned on and its settings are optimized, you’re positioning yourself to enjoy a captivating audio experience that fully utilizes the capabilities of your Sony Multi-Channel AV Receiver and speaker system.
Turning on the subwoofer represents a pivotal stage in the journey toward unleashing the full potential of your home audio setup. By activating the subwoofer, you’re ensuring that it’s ready to deliver the impactful bass that enriches your entertainment content, whether it’s movies, music, or other audio-visual experiences.
With the subwoofer now turned on and ready to contribute its powerful low-frequency audio to your home entertainment setup, you’re poised to experience the immersive and dynamic sound that elevates your audio-visual content to new heights. By enabling the subwoofer, you’re setting the stage for an audio experience that fully engages your senses and enhances your overall enjoyment of entertainment.
Step 6: Adjust Subwoofer Settings
With the subwoofer turned on, the final step in the process of activating and optimizing its performance on your Sony Multi-Channel AV Receiver involves adjusting its settings to ensure that it seamlessly integrates with the rest of your speaker system and delivers impactful, well-balanced bass that enriches your audio-visual content.
Refer to the subwoofer settings within the menu interface of your receiver to access the controls that allow you to fine-tune the subwoofer’s performance. These settings typically include options for adjusting the crossover frequency, phase, and volume level, providing you with the flexibility to tailor the subwoofer’s output to suit your preferences and the specific characteristics of your listening environment.
Begin by reviewing the crossover frequency setting, which defines the point at which the subwoofer begins to handle the low-frequency audio. Adjusting this parameter allows you to create a seamless transition between the subwoofer and the other speakers in your system, ensuring that the bass output is well-integrated and complements the overall audio experience.
Next, consider the phase control, which allows you to align the timing of the subwoofer’s output with that of the other speakers, ensuring a cohesive and balanced audio presentation. By fine-tuning the phase setting, you can optimize the subwoofer’s performance to suit the specific characteristics of your listening environment, ensuring that it delivers impactful bass without overpowering the rest of the audio spectrum.
Finally, adjust the volume level of the subwoofer to ensure that its output aligns with your desired audio experience. By fine-tuning the volume, you can optimize the subwoofer’s impact, creating a captivating and immersive sound environment that enhances your entertainment experiences without overpowering the overall audio output.
By carefully adjusting the subwoofer settings, you’re ensuring that it seamlessly integrates with the rest of your speaker system, delivering impactful bass that enriches your audio-visual content. With these controls at your disposal, you have the power to create a truly immersive audio environment that enhances your overall entertainment experiences.
By fine-tuning the subwoofer settings, you’re taking the final step toward unleashing the full potential of your home audio system. With the subwoofer’s performance optimized and seamlessly integrated with the rest of your speaker setup, you’re poised to enjoy a captivating and dynamic audio experience that elevates your entertainment to new heights.
Conclusion
Congratulations! By following the step-by-step process outlined in this guide, you’ve successfully activated and optimized the subwoofer on your Sony Multi-Channel AV Receiver, unlocking the full potential of your home audio system. The impactful bass and immersive sound experience that the subwoofer delivers will undoubtedly enhance your enjoyment of movies, music, and other audio-visual content.
By powering on the receiver, accessing the menu, navigating to the speaker settings, selecting the subwoofer option, turning on the subwoofer, and adjusting its settings, you’ve gained the knowledge and skills to tailor the audio output to suit your preferences and the specific characteristics of your listening environment. This level of control empowers you to create a personalized and captivating audio environment that fully engages your senses.
As you fine-tune the subwoofer settings, you’re ensuring that it seamlessly integrates with the rest of your speaker system, delivering impactful bass that enriches your audio-visual content without overpowering the overall audio output. The cohesive and balanced audio presentation you’ve achieved will undoubtedly elevate your entertainment experiences to new heights.
With the subwoofer’s performance optimized and seamlessly integrated with the rest of your speaker setup, you’re now poised to enjoy a captivating and dynamic audio experience that enhances your entertainment in ways you may not have experienced before. The heart-pounding bass and immersive sound quality will undoubtedly enrich your movie nights, music listening sessions, and overall audio-visual experiences.
As you continue to explore the capabilities of your Sony Multi-Channel AV Receiver and the subwoofer, don’t hesitate to revisit the settings and make adjustments to suit different types of content or listening environments. This flexibility allows you to adapt the audio output to various scenarios, ensuring that you always enjoy the best possible sound experience.
By mastering the art of controlling your subwoofer and optimizing your home audio system, you’ve embarked on a journey toward a more immersive and engaging entertainment experience. The impactful bass, rich audio quality, and dynamic soundscapes you’ve unlocked will undoubtedly enhance your enjoyment of movies, music, and all forms of audio-visual content.